Generating Reports and Attaching to a Mail Merge
Last updated 29/01/2025
Attach a Report to a Mail Merge
Reports can be generated in the backend and attached to emails through code, for example, via a job or a process. The following is an example of generating a report in the backend and attaching it to an email. An email address can then be entered and you can run a process to send the email.
- Create a function to attach the report to an email in the backend. The addAttachment()function on theFiveobject will attach the report to the email. ThetoDataURL()on theFiveobject enables you to convert the content of the report into a data URL. This data URL can then be used as the report attachment.
- Create a mail merge and attach the above function to the Do Merge Record event, this will attach the report to the mail merge.
- Create a function to generate the report in the backend. executeAction()will generate the report on the Five server.executeAction()will also be used to pass in the mail merge, so when we run the process and the mail merge will be sent.
- Attach the above function to the Do Run event, and the report will be generated in the backend and attached to the mail merge when the Run button is clicked for the process.
- Create a menu item for the process.
- Your report is created.
- Your SMTP settings have been configured on the Mail page in the Instance record.
Step 1 - Create the function that will attach your report to the mail merge.
1. Create your function in either the Functions view or the Code Editor.info
This function will attach the StaffExtension report using the
addAttachment()
function on the Five
object as an application/pdf MIME Type using the toDataURL()
function on the Five
object. The context
parameter will contain an array of attachments provided for the mail merge.tip
The name you give the report here, does not need to be the report's action!

Example function
function DoAddAttachments(five, context, result)  {
     if (context.Attachments && context.Attachments.length > 0) {
        for (let i = 0; i < context.Attachments.length; i++) {
            const attachment = context.Attachments[i];
            five.addAttachment(five.toDataURL('application/pdf', attachment), 'StaffExtension');
        }
    }
    return five.success(result);
}
Step 2 - Create the mail merge and attach your function to the Do Merge Record event.
1. Create your mail merge.2. After configuring your mail merge on the General page, click in the Merge Text field to design your email template.
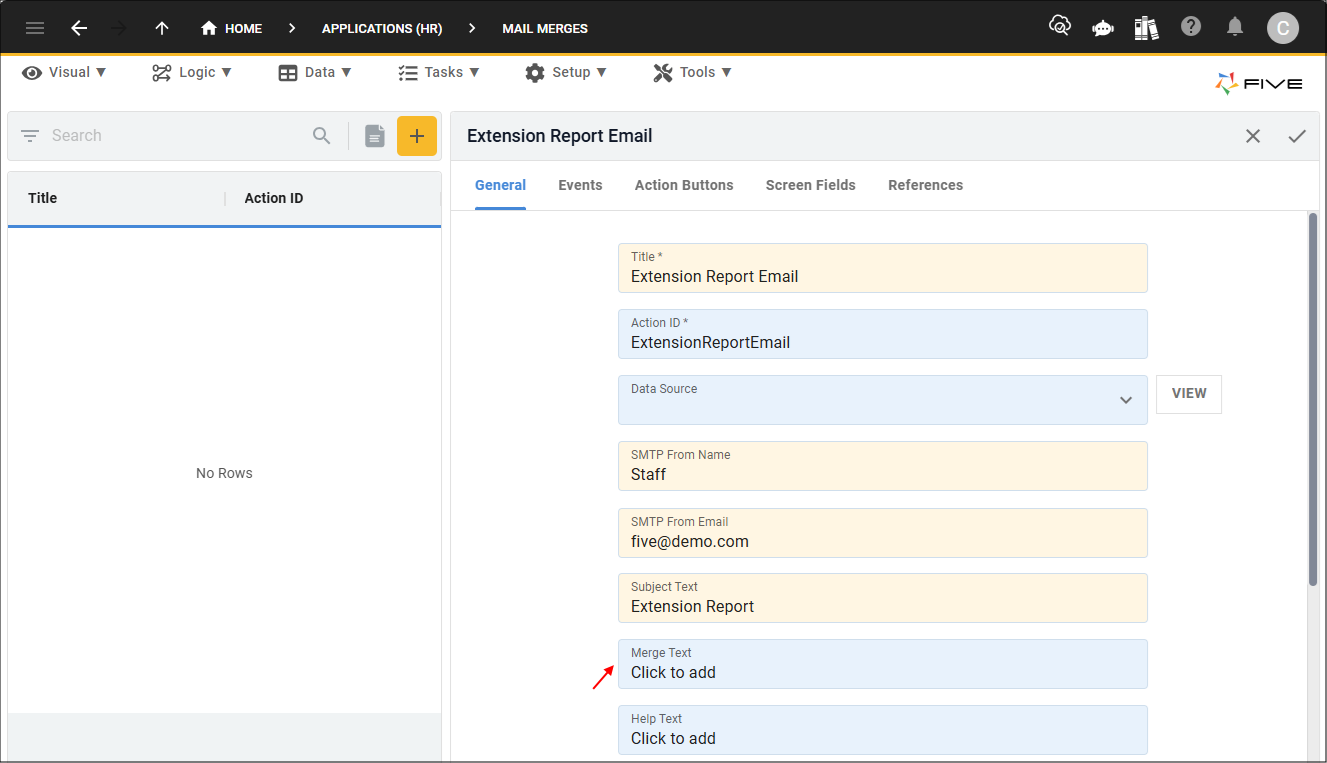
Figure 1 - Merge Text field
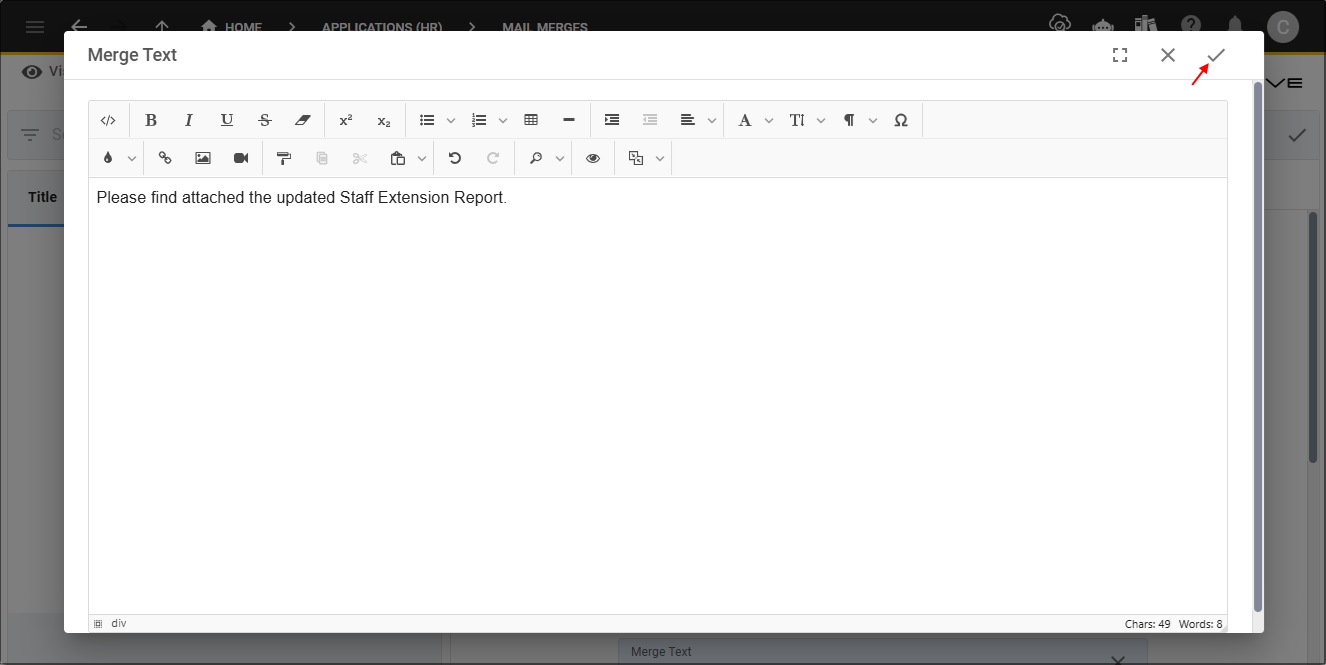
Figure 2 - Email template
3. Click the Events tab.
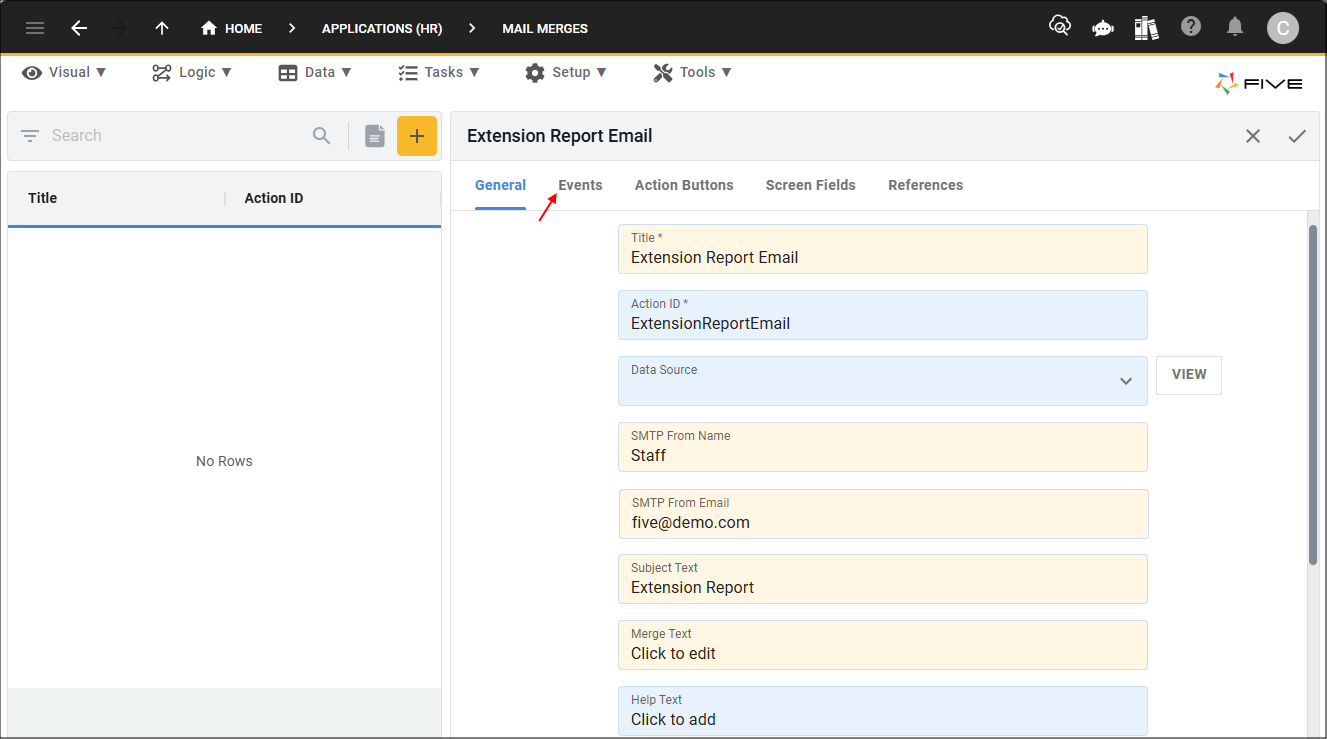
Figure 3 - Events tab
4. Click the lookup icon in the Do Merge Record field and select your function that will attach your report to the mail merge.
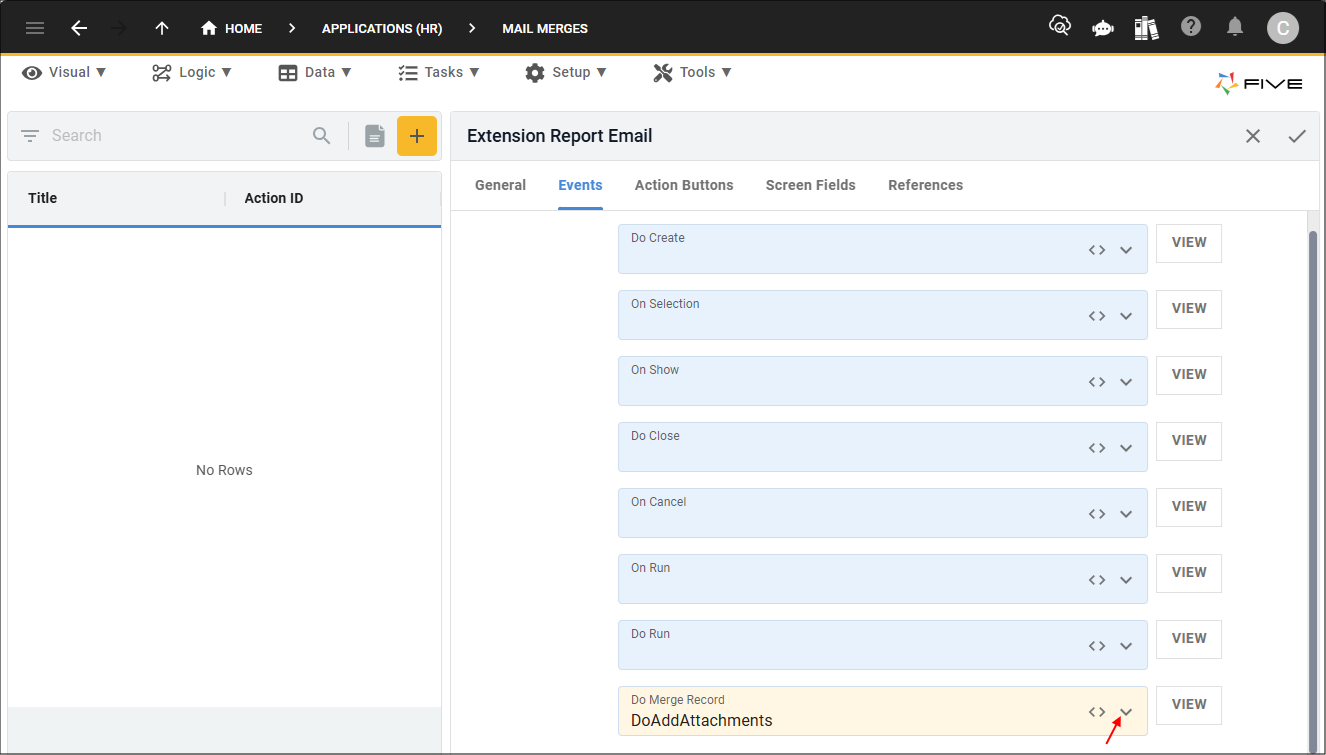
Figure 4 - Do Merge Record field
5. Click the Save button in the form app bar

Figure 5 - Save button
Step 3 - Create the function to generate the report in the backend and pass in the mail merge for the process.
1. Create your function in either the Functions view or the Code Editor.info
This function will execute the report action in the backend making it available in the Do Run event. The
reportResult
object will contain the report
as a property called report
.The EmailAddress field will be a screen field on the process so an email address can be entered. It is passed into the
context
parameter using the field
property on the Five
object. Example, five.field.EmailAddress
.
The SMTPToEmail
, SMTPToName
, and SMTPAttachments
properties are also passed into the context
parameter of the executeAction()
function. Please refer to the API documentation
to have a full list of Five's mail merge reserved context options.The mail merge action ID is passed in as the first parameter to Five's executeAction() function.

Example function
function EmailReport(five, context, result)  {
    ////////////////////////////////////////////////////////////////////////////////////////////////
    // Execute the report action
    ////////////////////////////////////////////////////////////////////////////////////////////////
    const reportResult = five.executeAction('StaffPhoneExtensions', {});
    if (reportResult.isOk() === false)   {
        return five.createError(reportResult);
    }

    ////////////////////////////////////////////////////////////////////////////////////////////////
    // The reportResult contains a parameter called report, which is the report result in the format
    // of a pdf (encoded as data url application/pdf mimetype)
    ////////////////////////////////////////////////////////////////////////////////////////////////
    const mailMergeContext = {SMTPToEmail: five.field.EmailAddress, SMTPToName: "Staff", SMTPAttachments: [reportResult.report]};
    const mailResult = five.executeAction('ExtensionReportEmail', mailMergeContext);
    if (mailResult.isOk() === false) {
        return five.createError(mailResult);
    }

    return five.success('Report has been sent');
}
Step 4 - Create the process and attach your function to the Do Run event.
info
With the function attached to the Do Run event, when the process runs the report will generate in the backend and it will be attached to the mail merge before it is sent.
1. Create your process.
2. After you have given your process a title, click the Events tab.
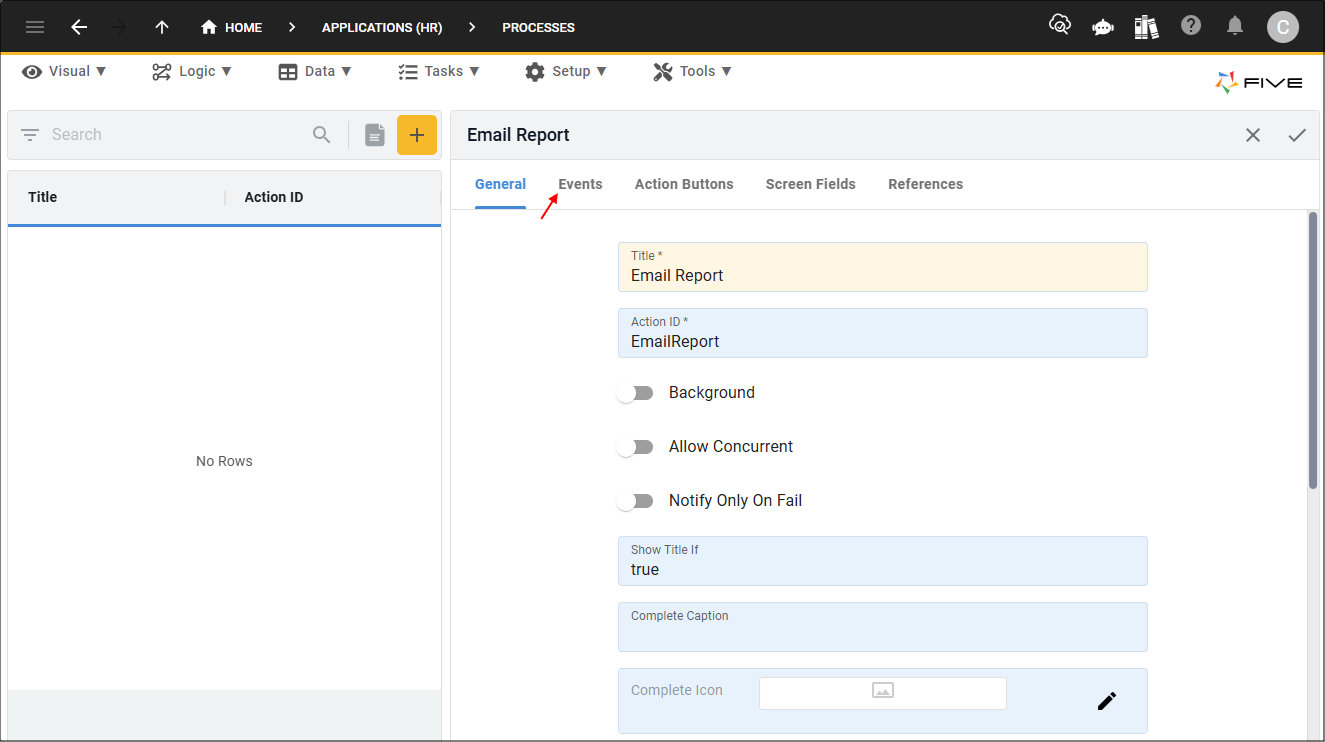
Figure 6 - Events tab
3. Click the lookup icon in the Do Run field and select your function.
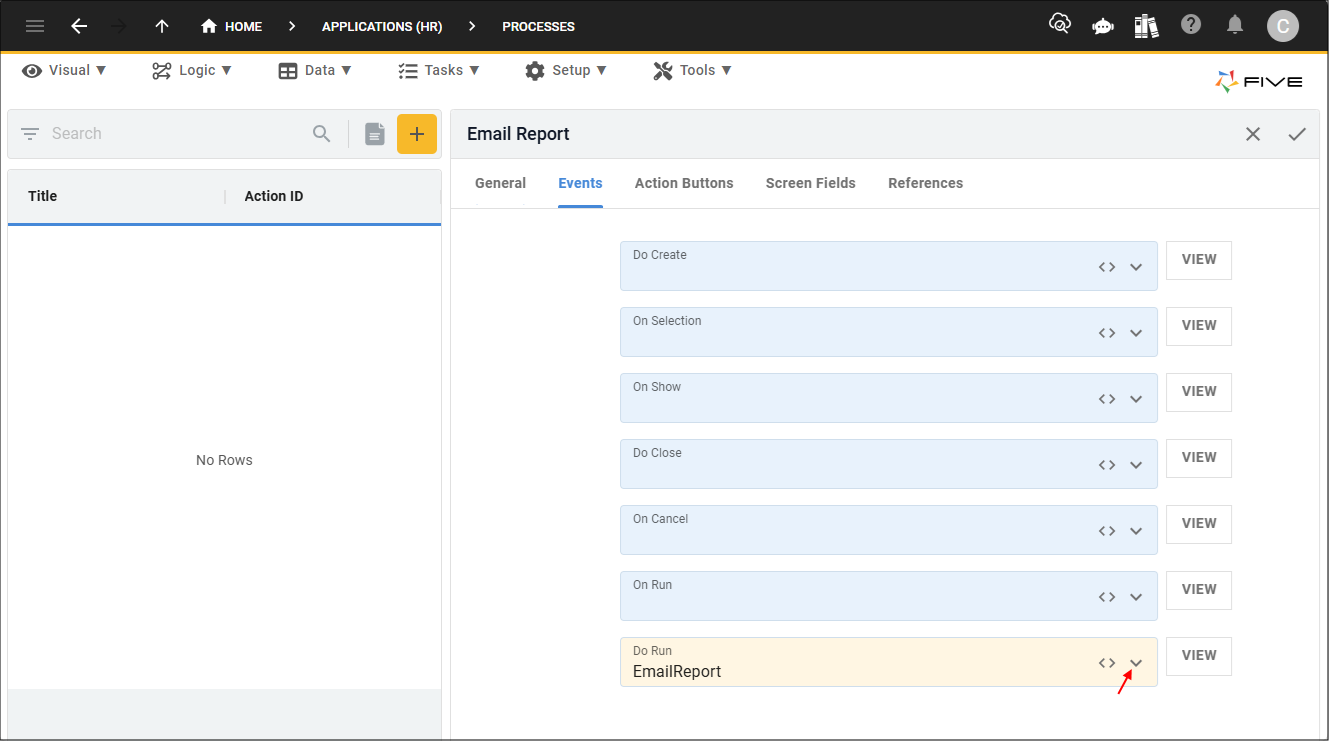
Figure 7 - Do Run field
4. Click the Screen Fields tab.
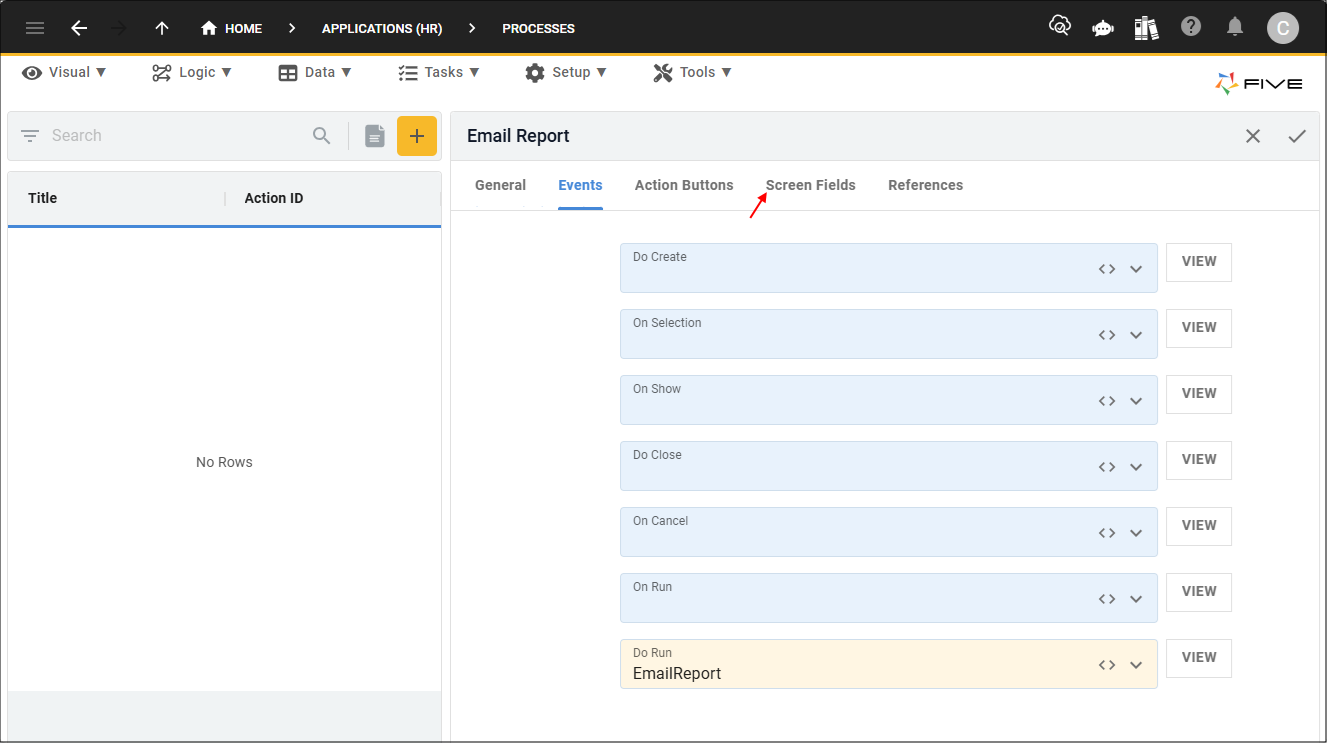
Figure 8 - Screen Fields tab
info
Screen fields enable you to get data that you may need, however, the values entered into the fields are not saved in the database. For this scenario, the email address we want to send the mail merge with the report attachment needs to be entered into the screen field.
5. Click the Add Screen Fields button.
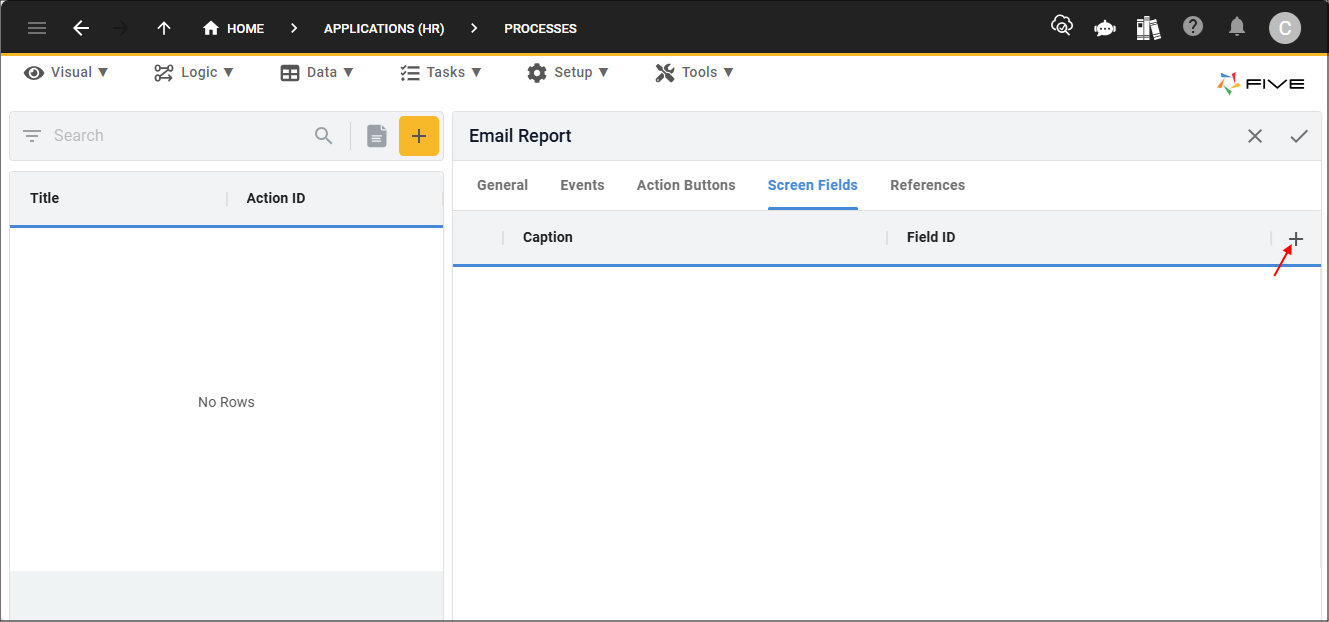
Figure 9 - Add Screen Fields button
6. Type a caption in the Caption field.
info
The field ID for the screen field must be exactly the same as the field ID that was passed into your function using
five.field
.7. Click the lookup icon in the Display Type field and select _Email.
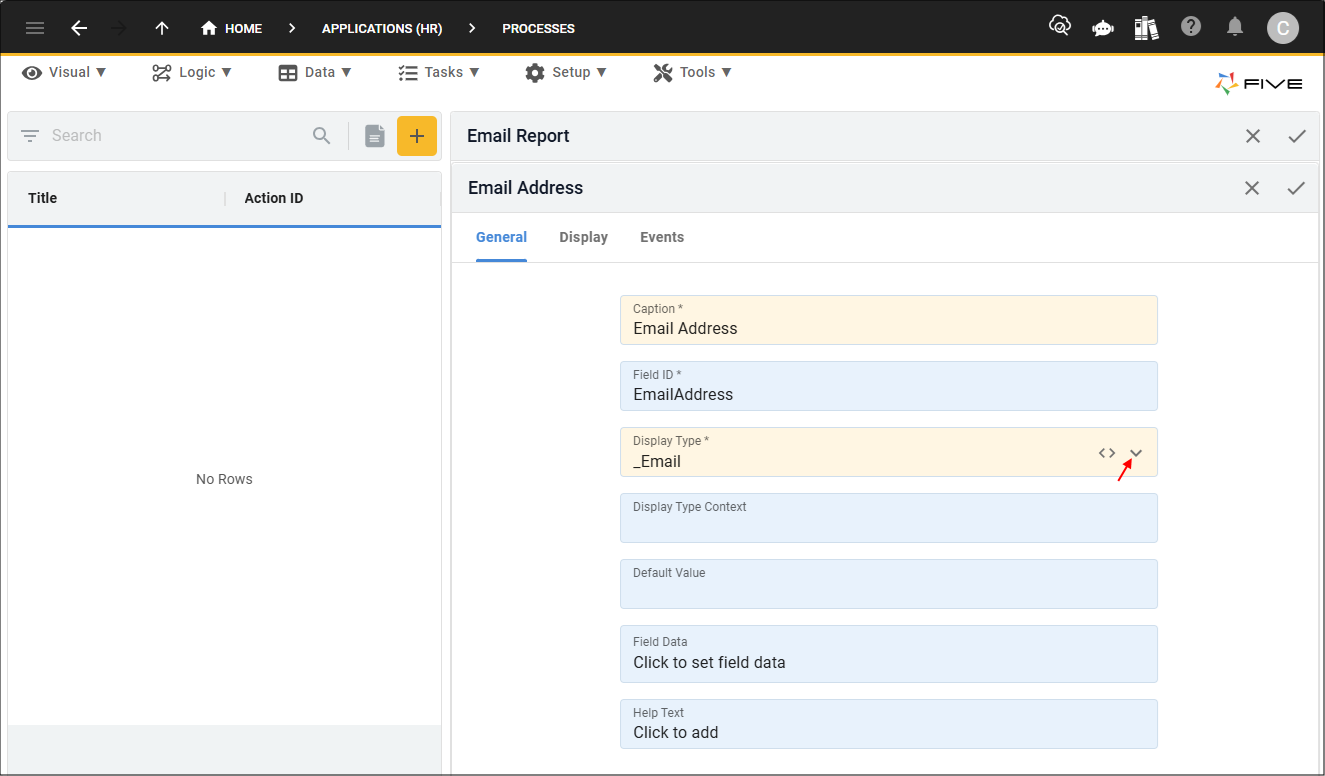
Figure 10 - Add a screen field
8. Click both Save buttons in the stacked form app bars.
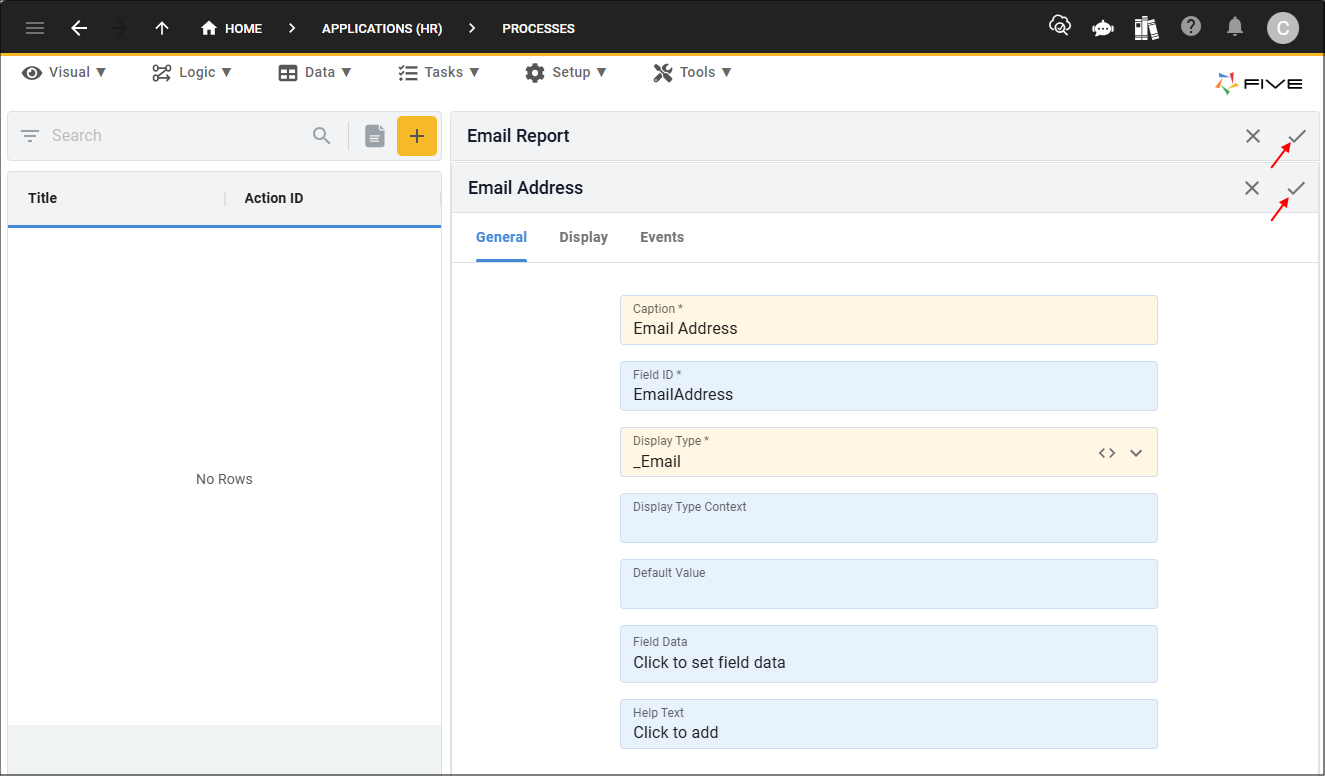
Figure 11 - Save buttons
Step 5 - Create a menu for your process.
1. Create your menu and reference your process.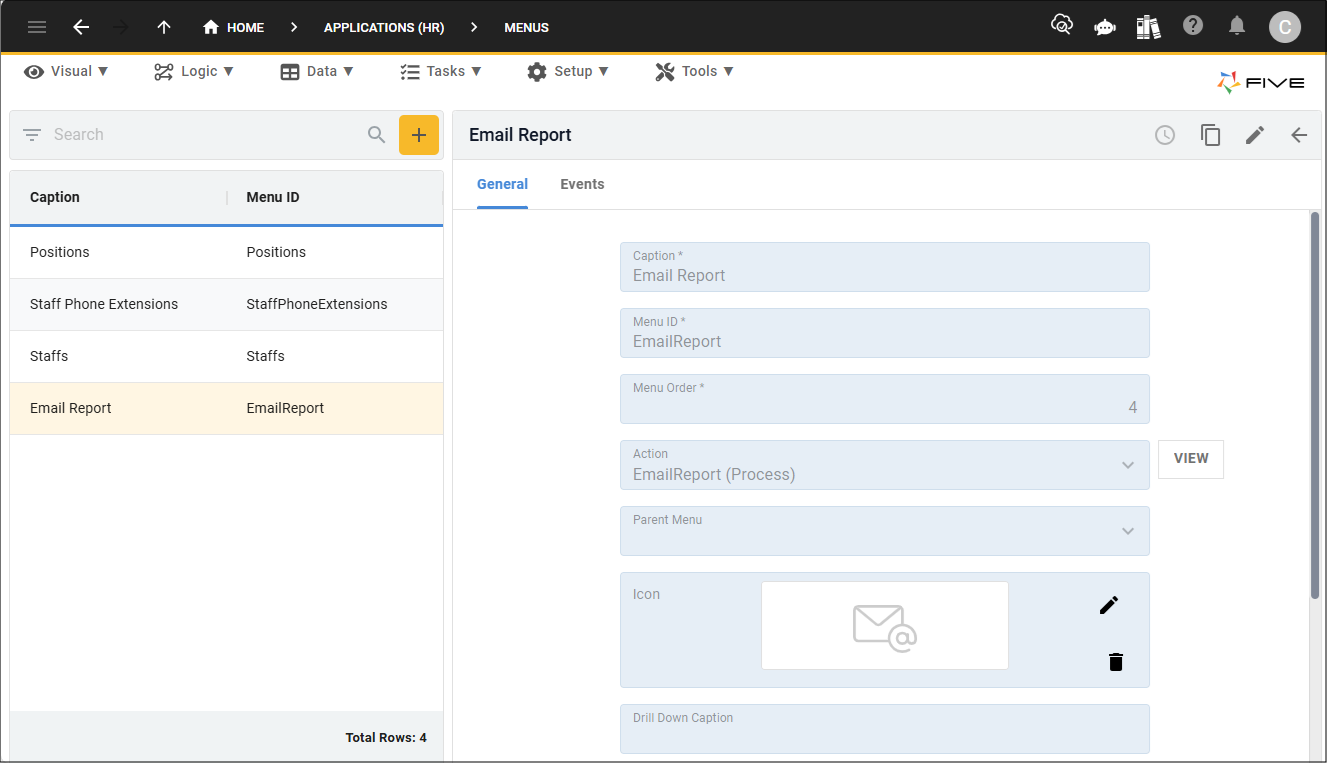
Figure 12 - Email Report menu
Step 6 - Test your application.
1. Deploy/run your application.2. Select the menu item holding your process.
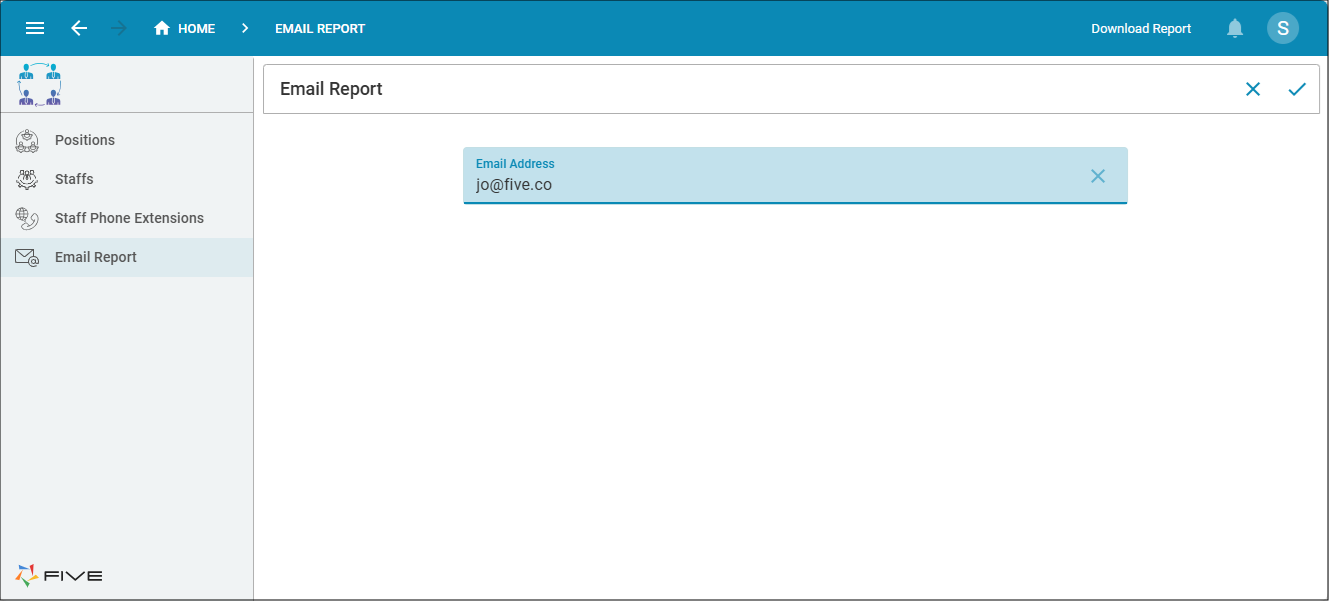
Figure 13 - Email Report process
3. Enter your email in the Email Address field.
4. Click the Run button and an email will be sent to the provided email address with the report attached.

Figure 14 - Run button
info
A success message is displayed, this message was defined in our code. A notification is also sent to the notification bell.
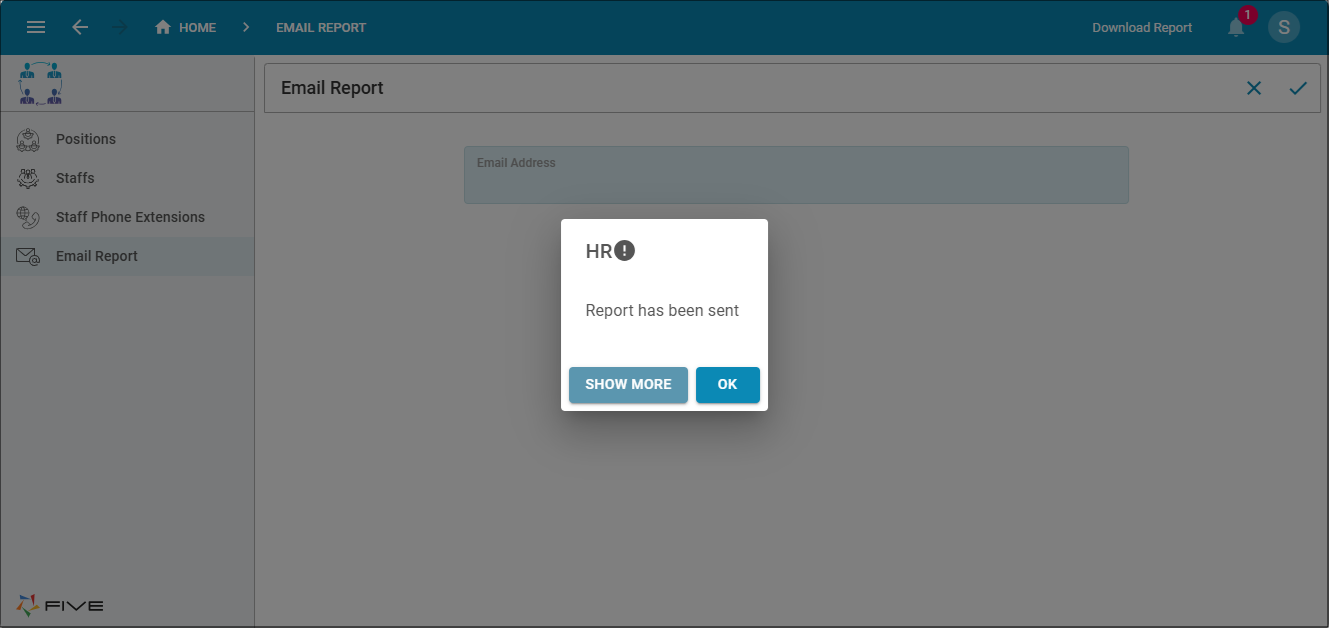
Figure 15 - Report has been sent message
info
The report is generated in the backend and attached to the email before the email is sent.
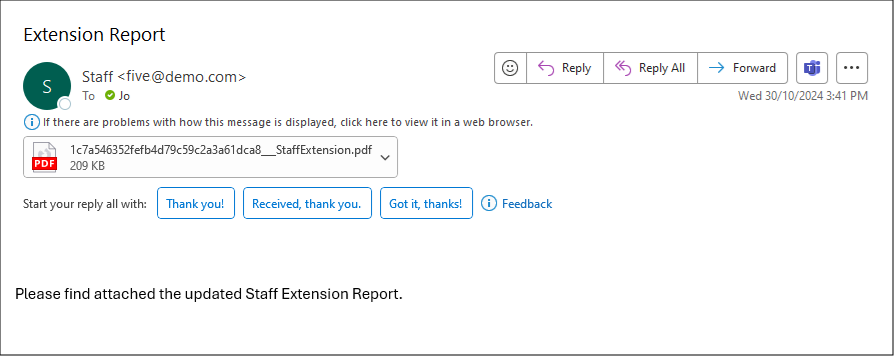
Figure 16 - Email with report attached