Work With Data Views
Last updated 12/03/2025
This how to guide will demonstrate how to work with data views. Data views simply display the results from your selected data source, however, you can add action buttons, clickable data fields, and screen fields to display, filter, and navigate through records.
The following video shows the features you will learn in this tutorial and how they are applied in an application.
If you want the Filter Customer application as a reference, click to download the FDF file FilterCustomer.fdf and you can import this FDF into your Five account.
If you are building the application, you can't have both application ID's called FilterCustomer.In this tutorial you will learn how to:
A small application with just one table will be used to demonstrate this.
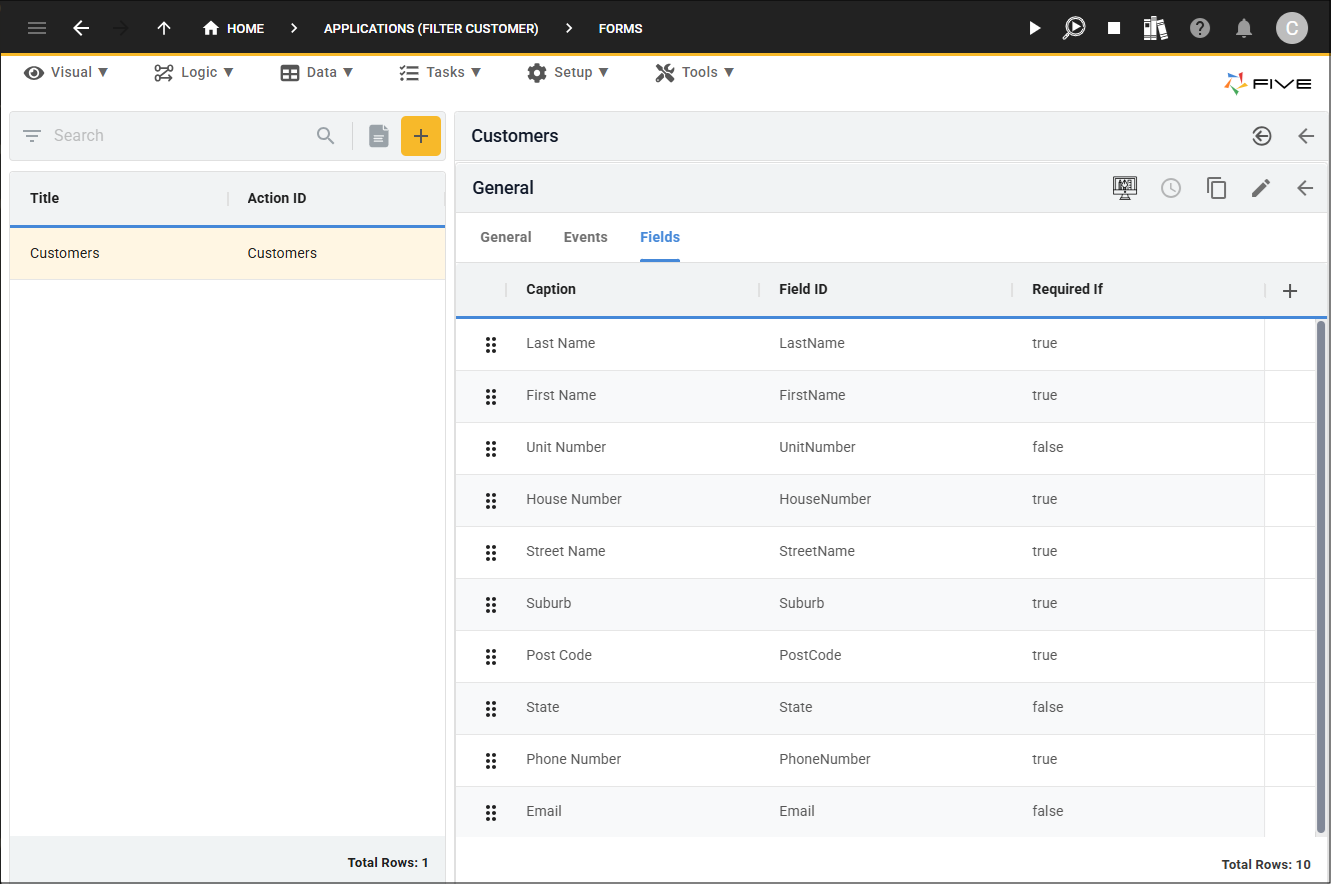
The application has one form that is attached to a menu item. The form has all the fields from the table except the primary key field.
Before beginning this tutorial you will need to:
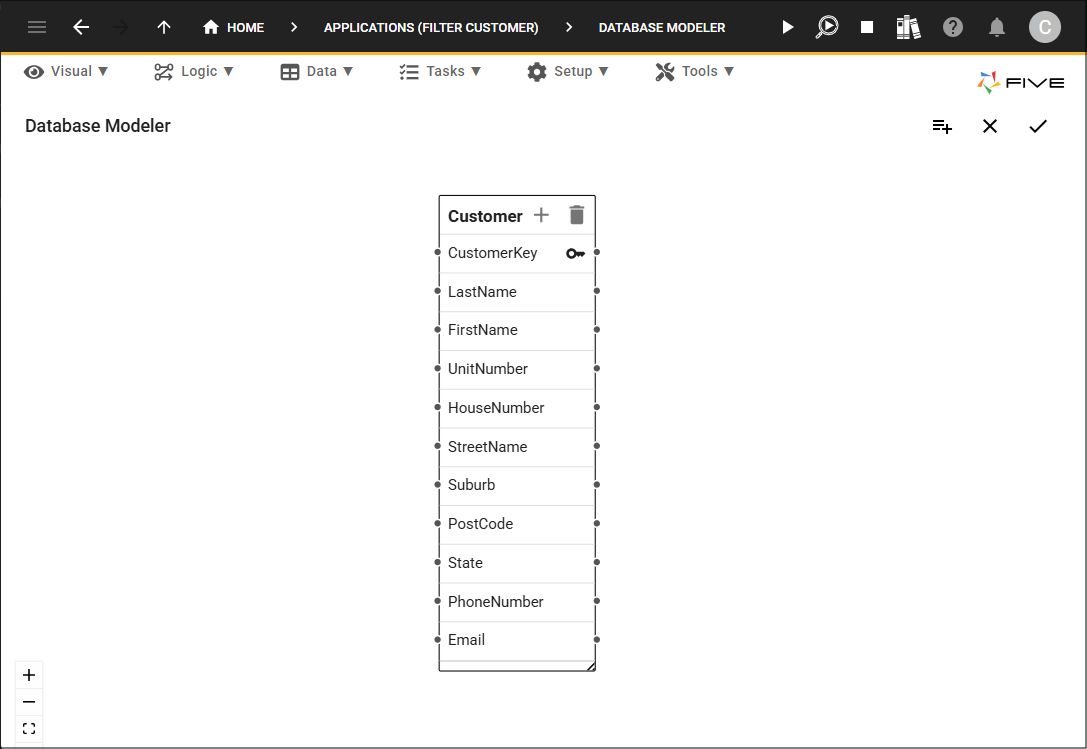
- Create your application
- Create the Customer table with the fields in image 1
- Create the Customers form with the fields in image 2
Add the CustomerSearchQuery
The CustomerSearchQuery will be added and used as our data source for the data view. We are selecting the CustomerKey, FirstName, and LastName fields from our Customer table and adding a
The parameters need to be defined in your query using the
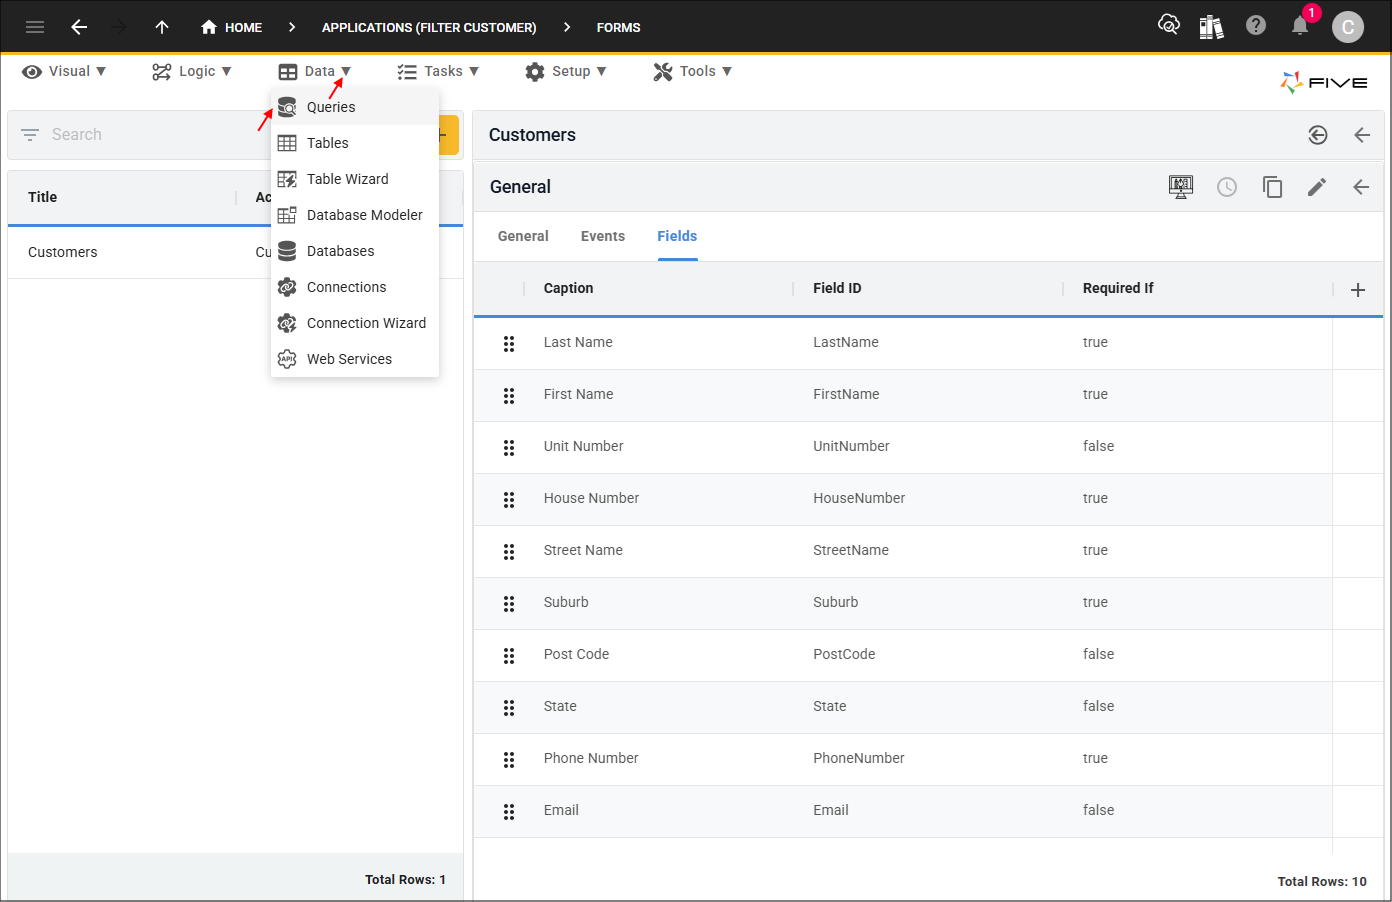
2. Select Queries in the sub-menu.
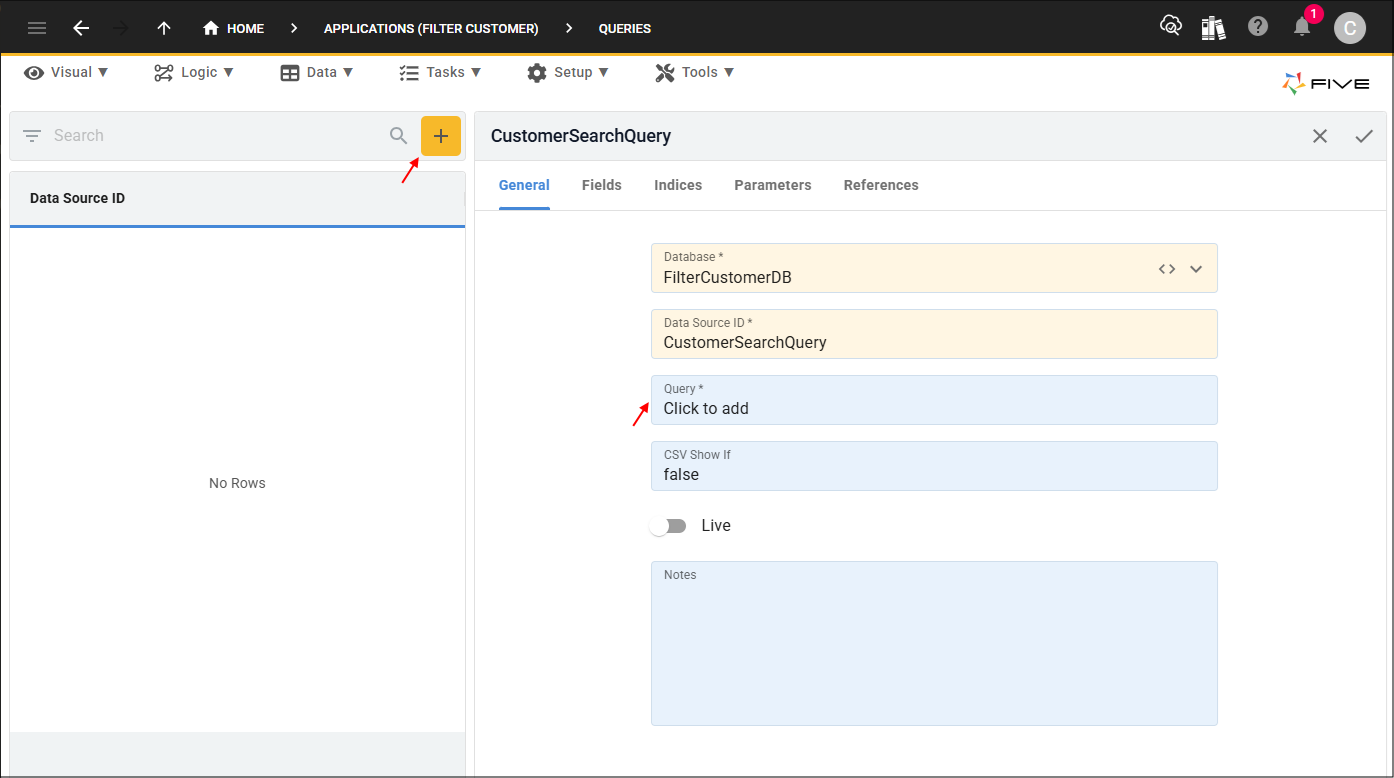
3. Click the Add Item button.
4. Type CustomerSearchQuery in the Data Source ID field.
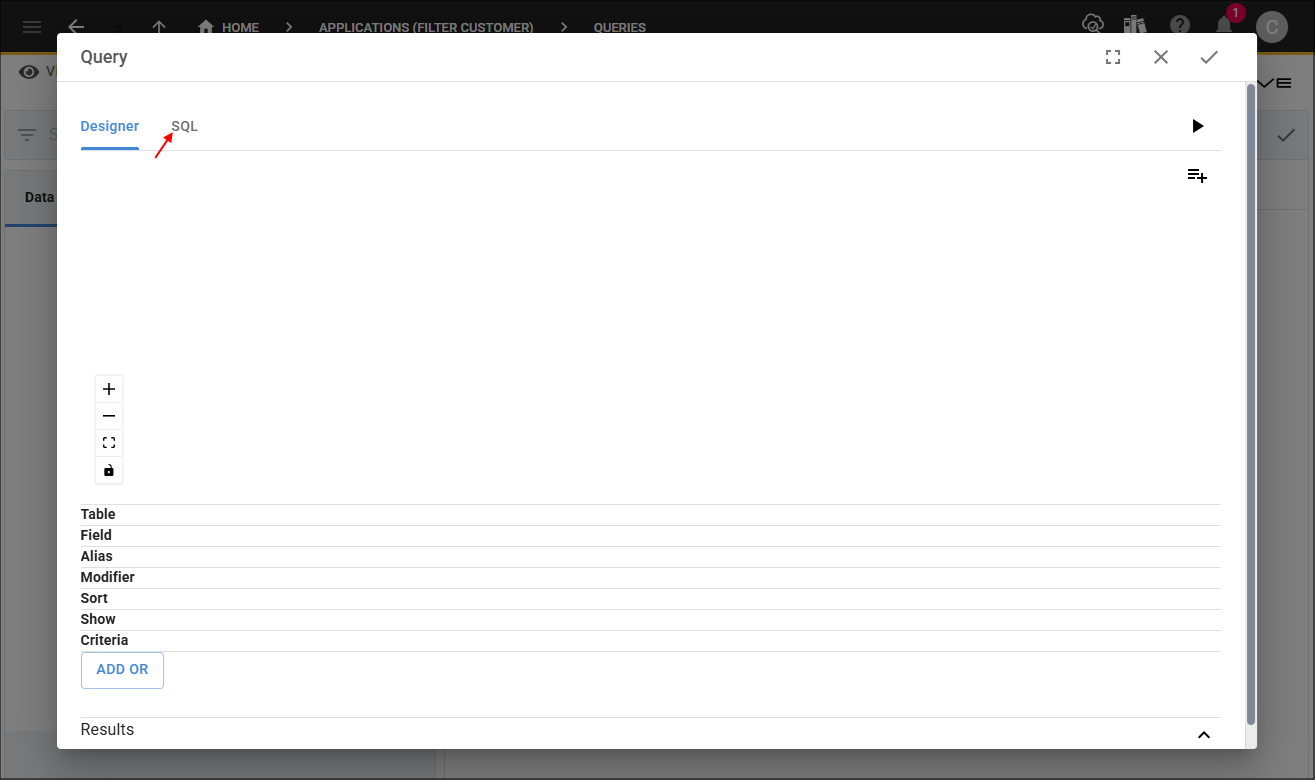
5. Click in the Query field to open the Query Editor.
6. Click the SQL tab in the editor app bar.
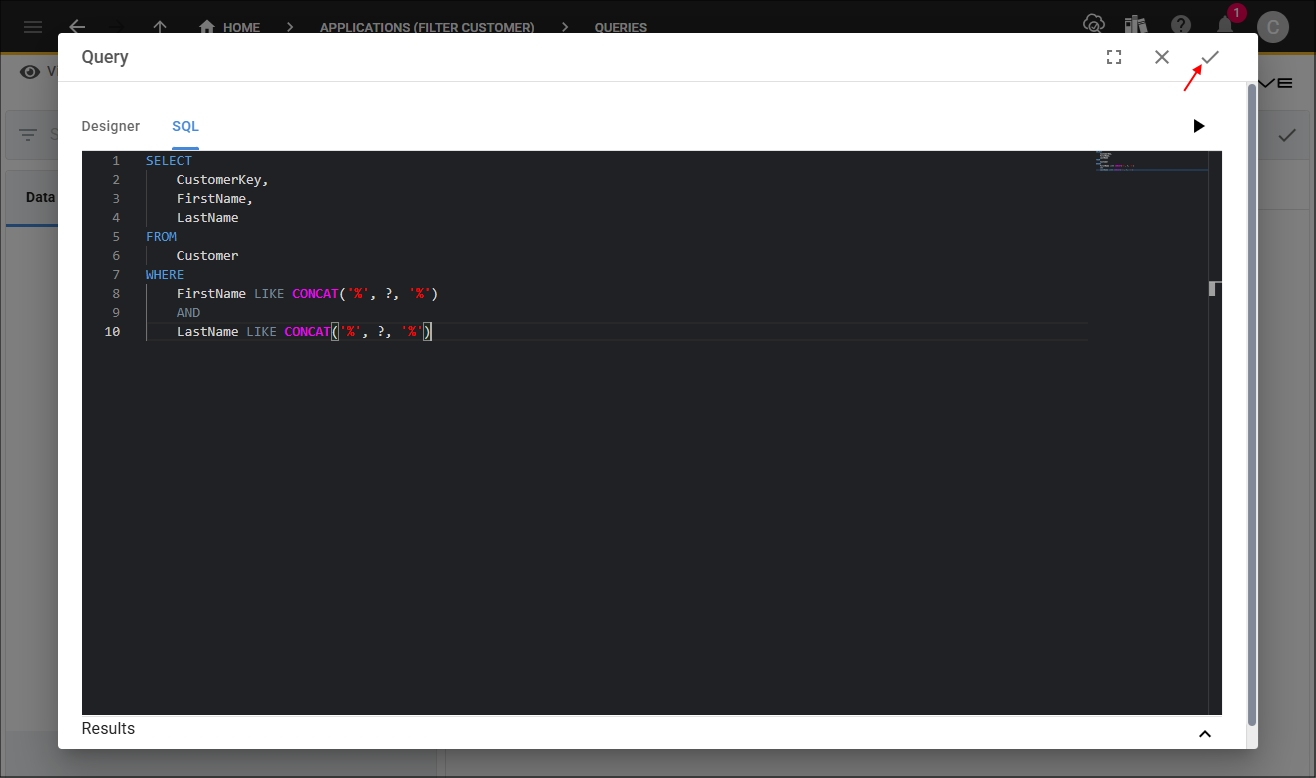
7. Copy and paste the syntax below.

SELECT
    CustomerKey,
    FirstName,
    LastName
FROM
    Customer
WHERE
    FirstName LIKE CONCAT('%', ?, '%')
    AND
    LastName LIKE CONCAT('%', ?, '%')
8. Click the Save button in the editor app bar.
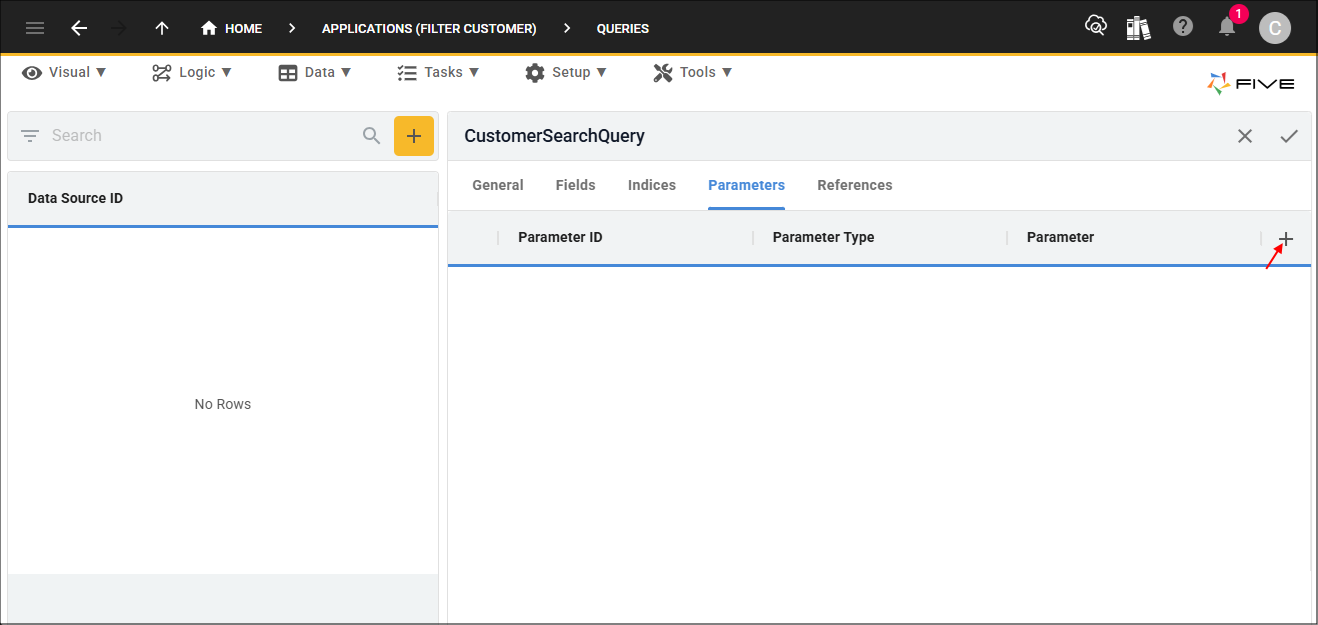
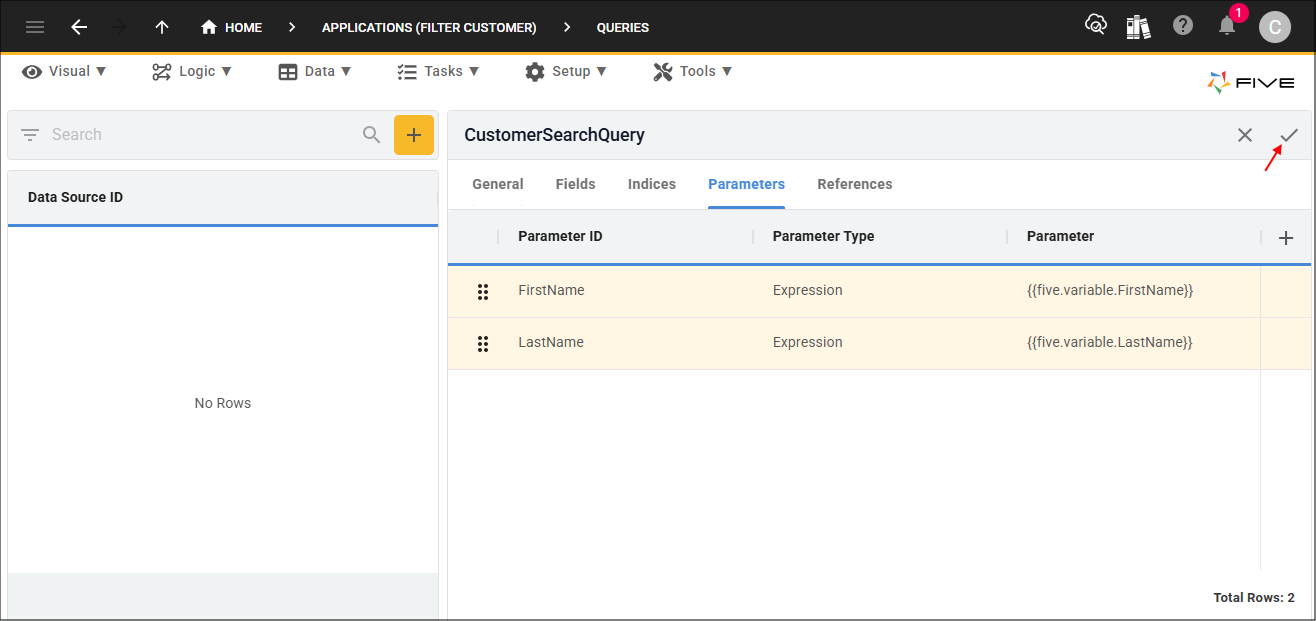
9. Click the Parameters tab.
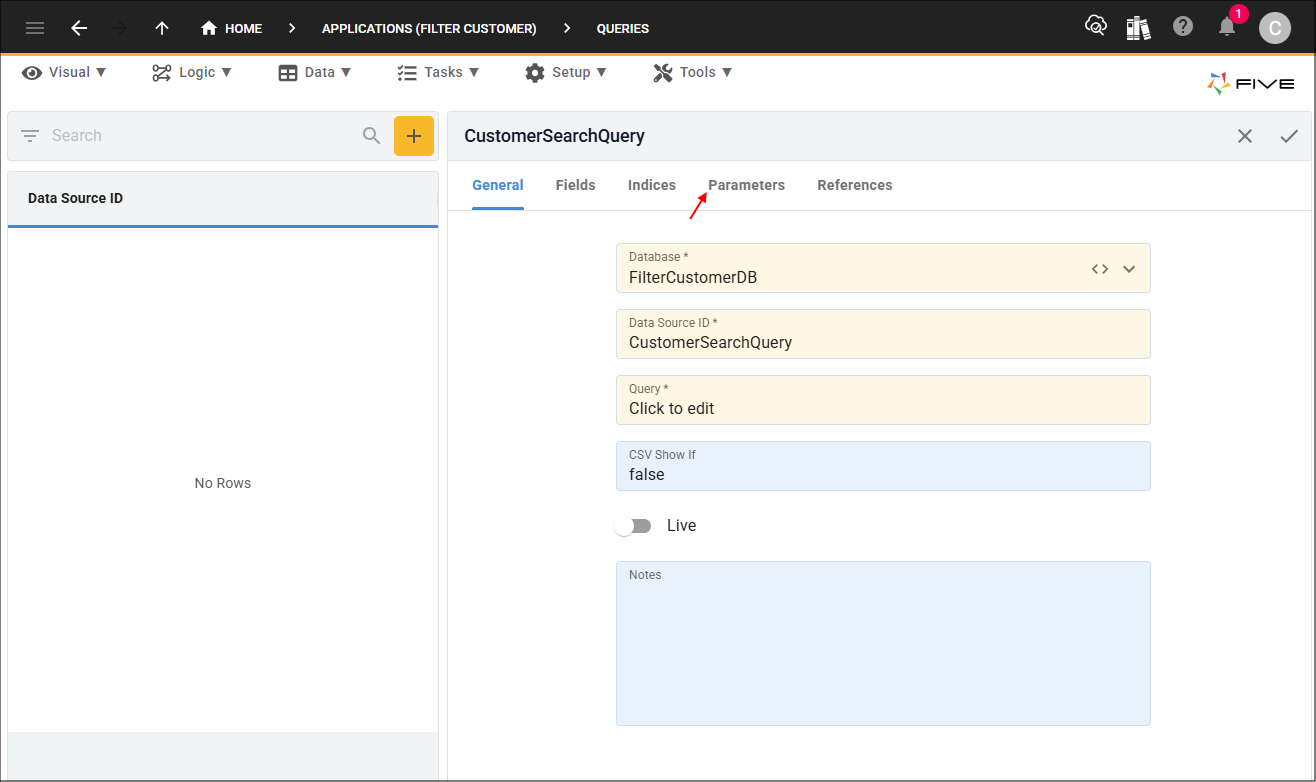
10. Click the Add Parameters button.
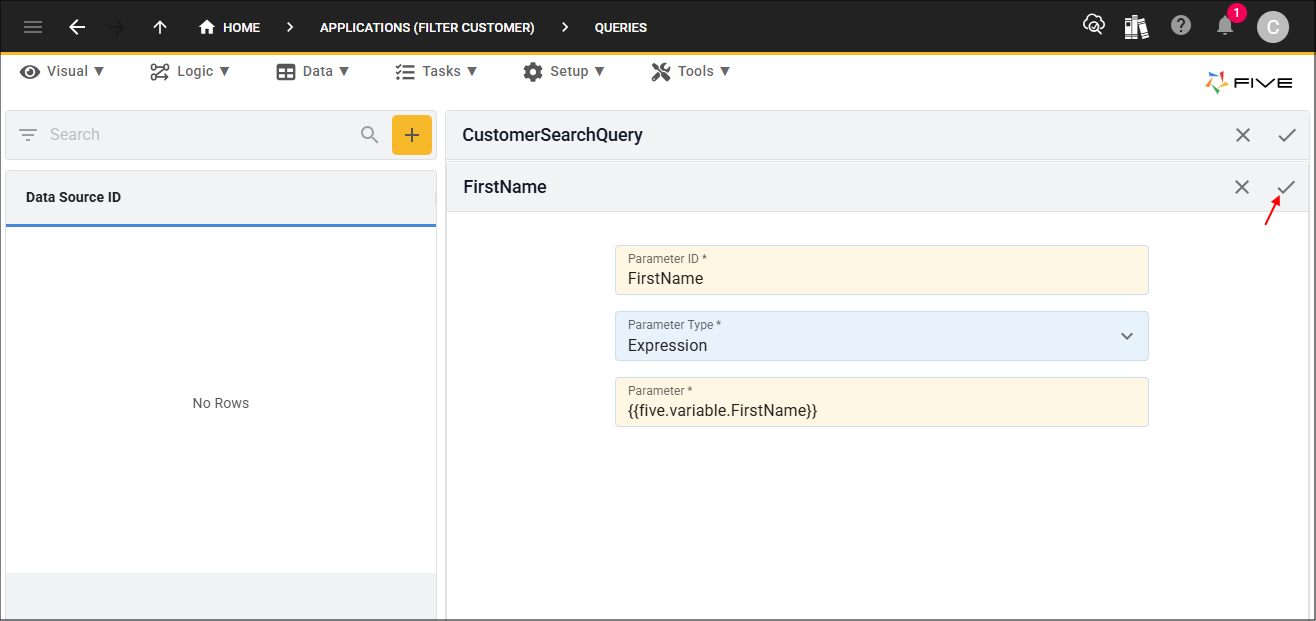
11. Type FirstName in the Parameter ID field.
12. Type

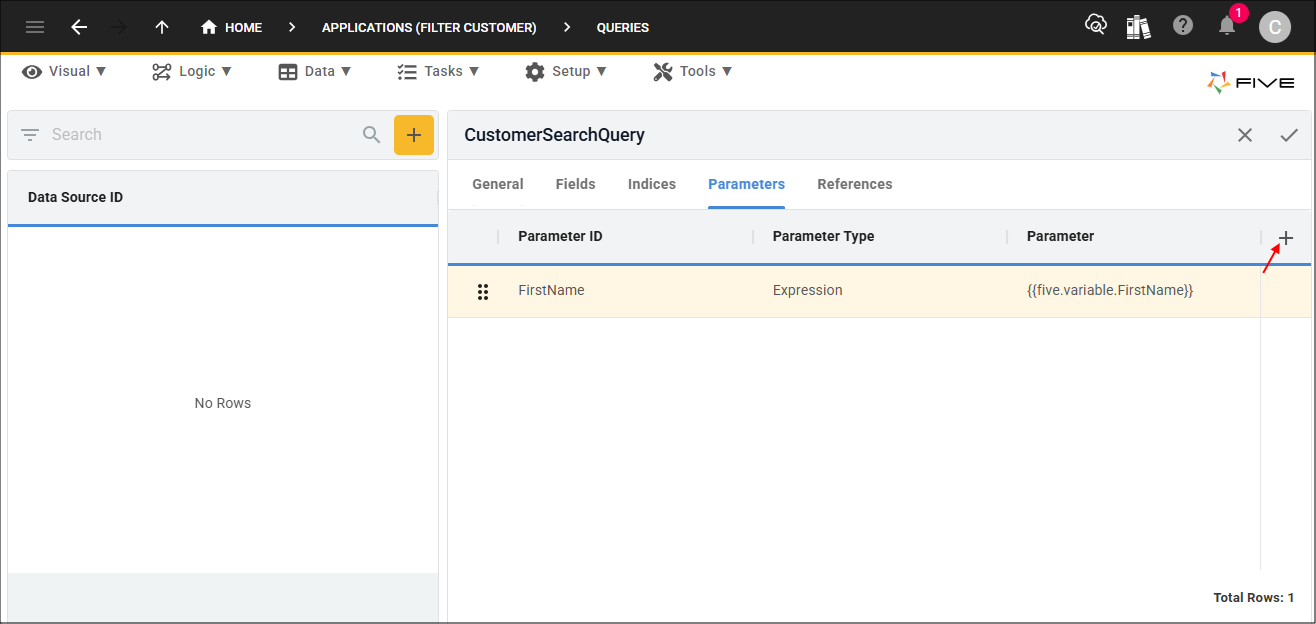
13. Click the Save button.
14. Click the Add Parameters button.
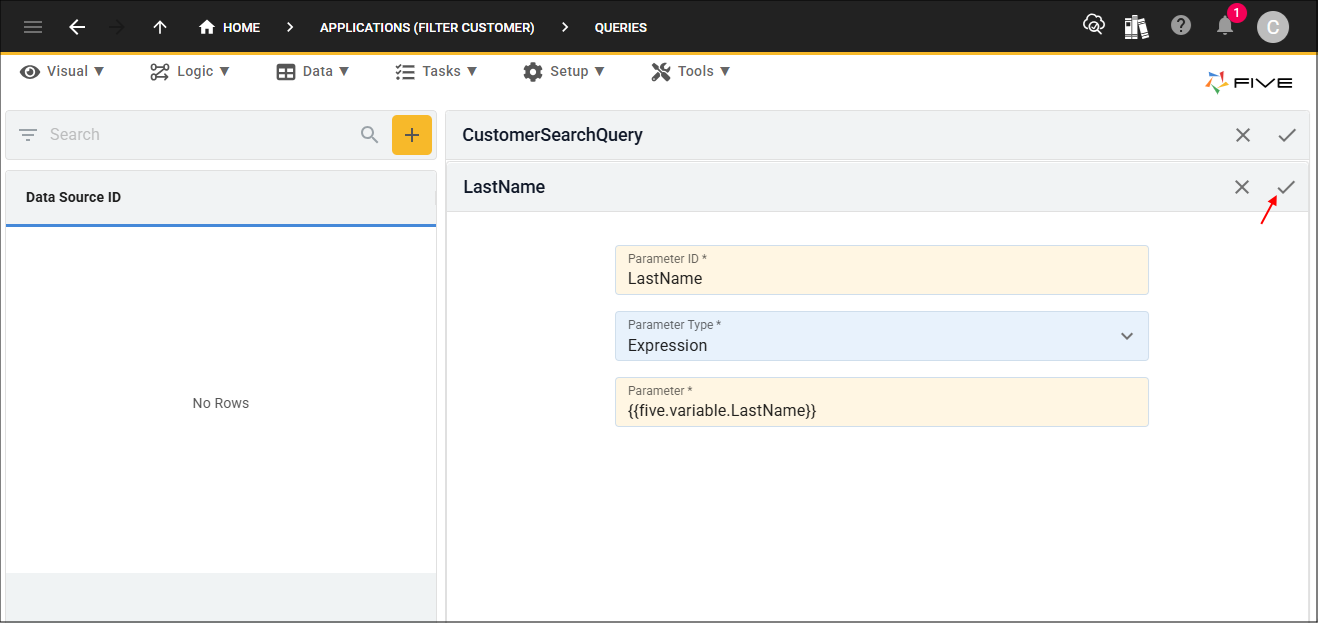
15. Type LastName in the Parameter ID field.
16. Type
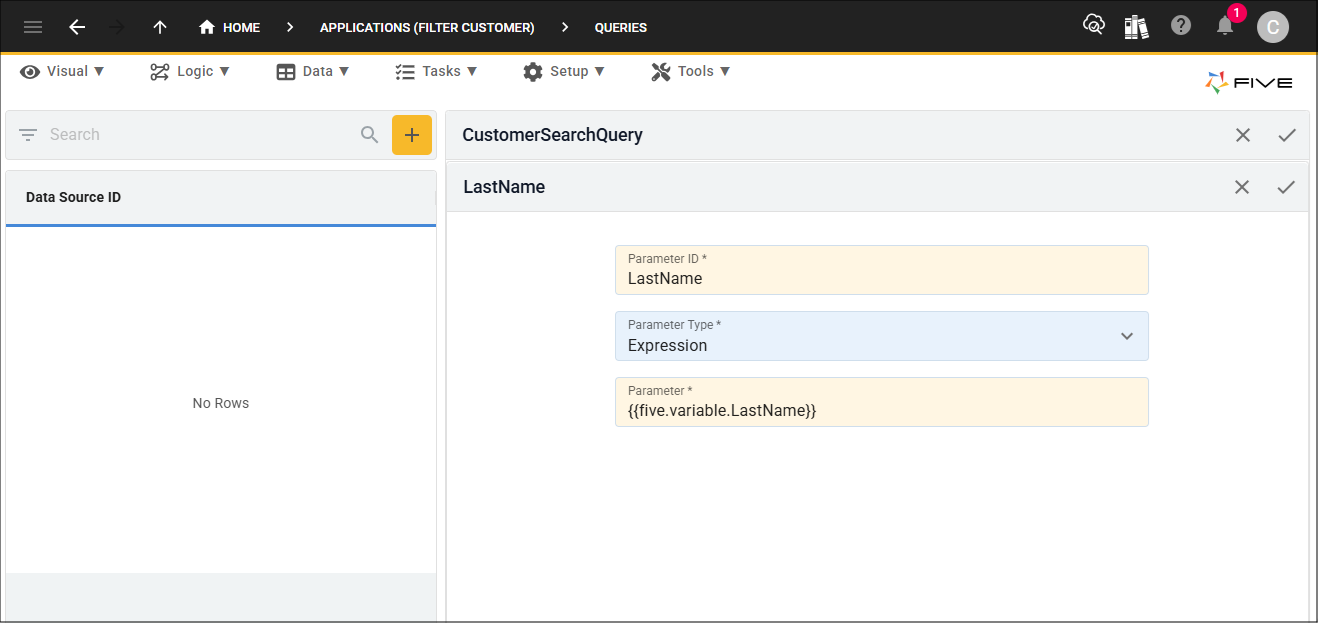
17. Click the Save button in the form app bar.
18. Click the Save button in the form app bar above the list.
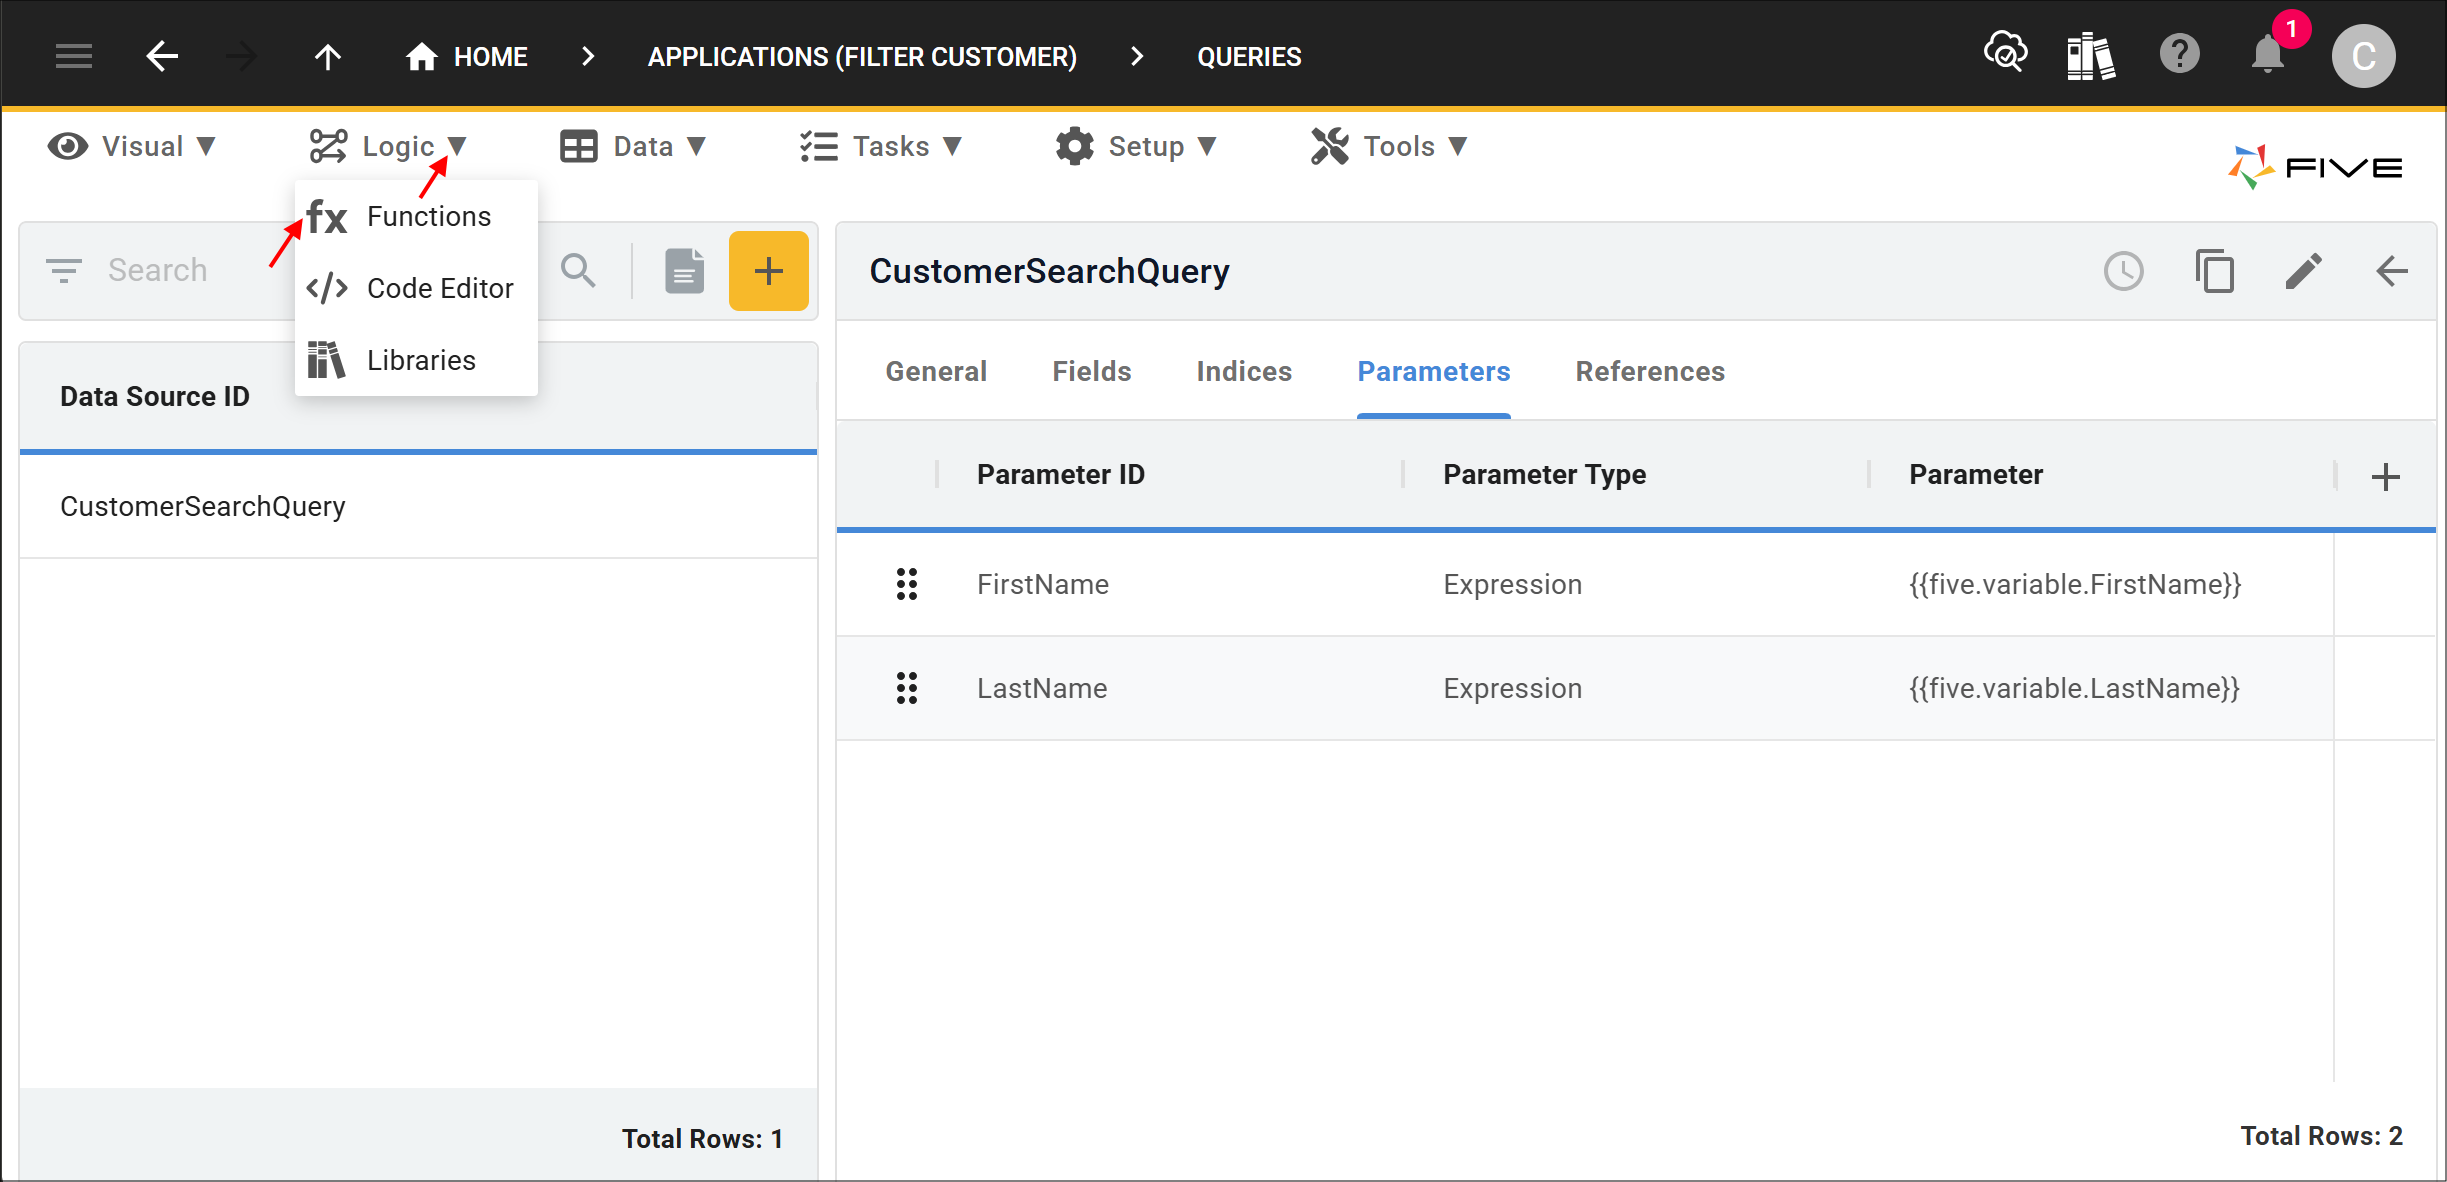
Add the ShowCustomerRecord Function
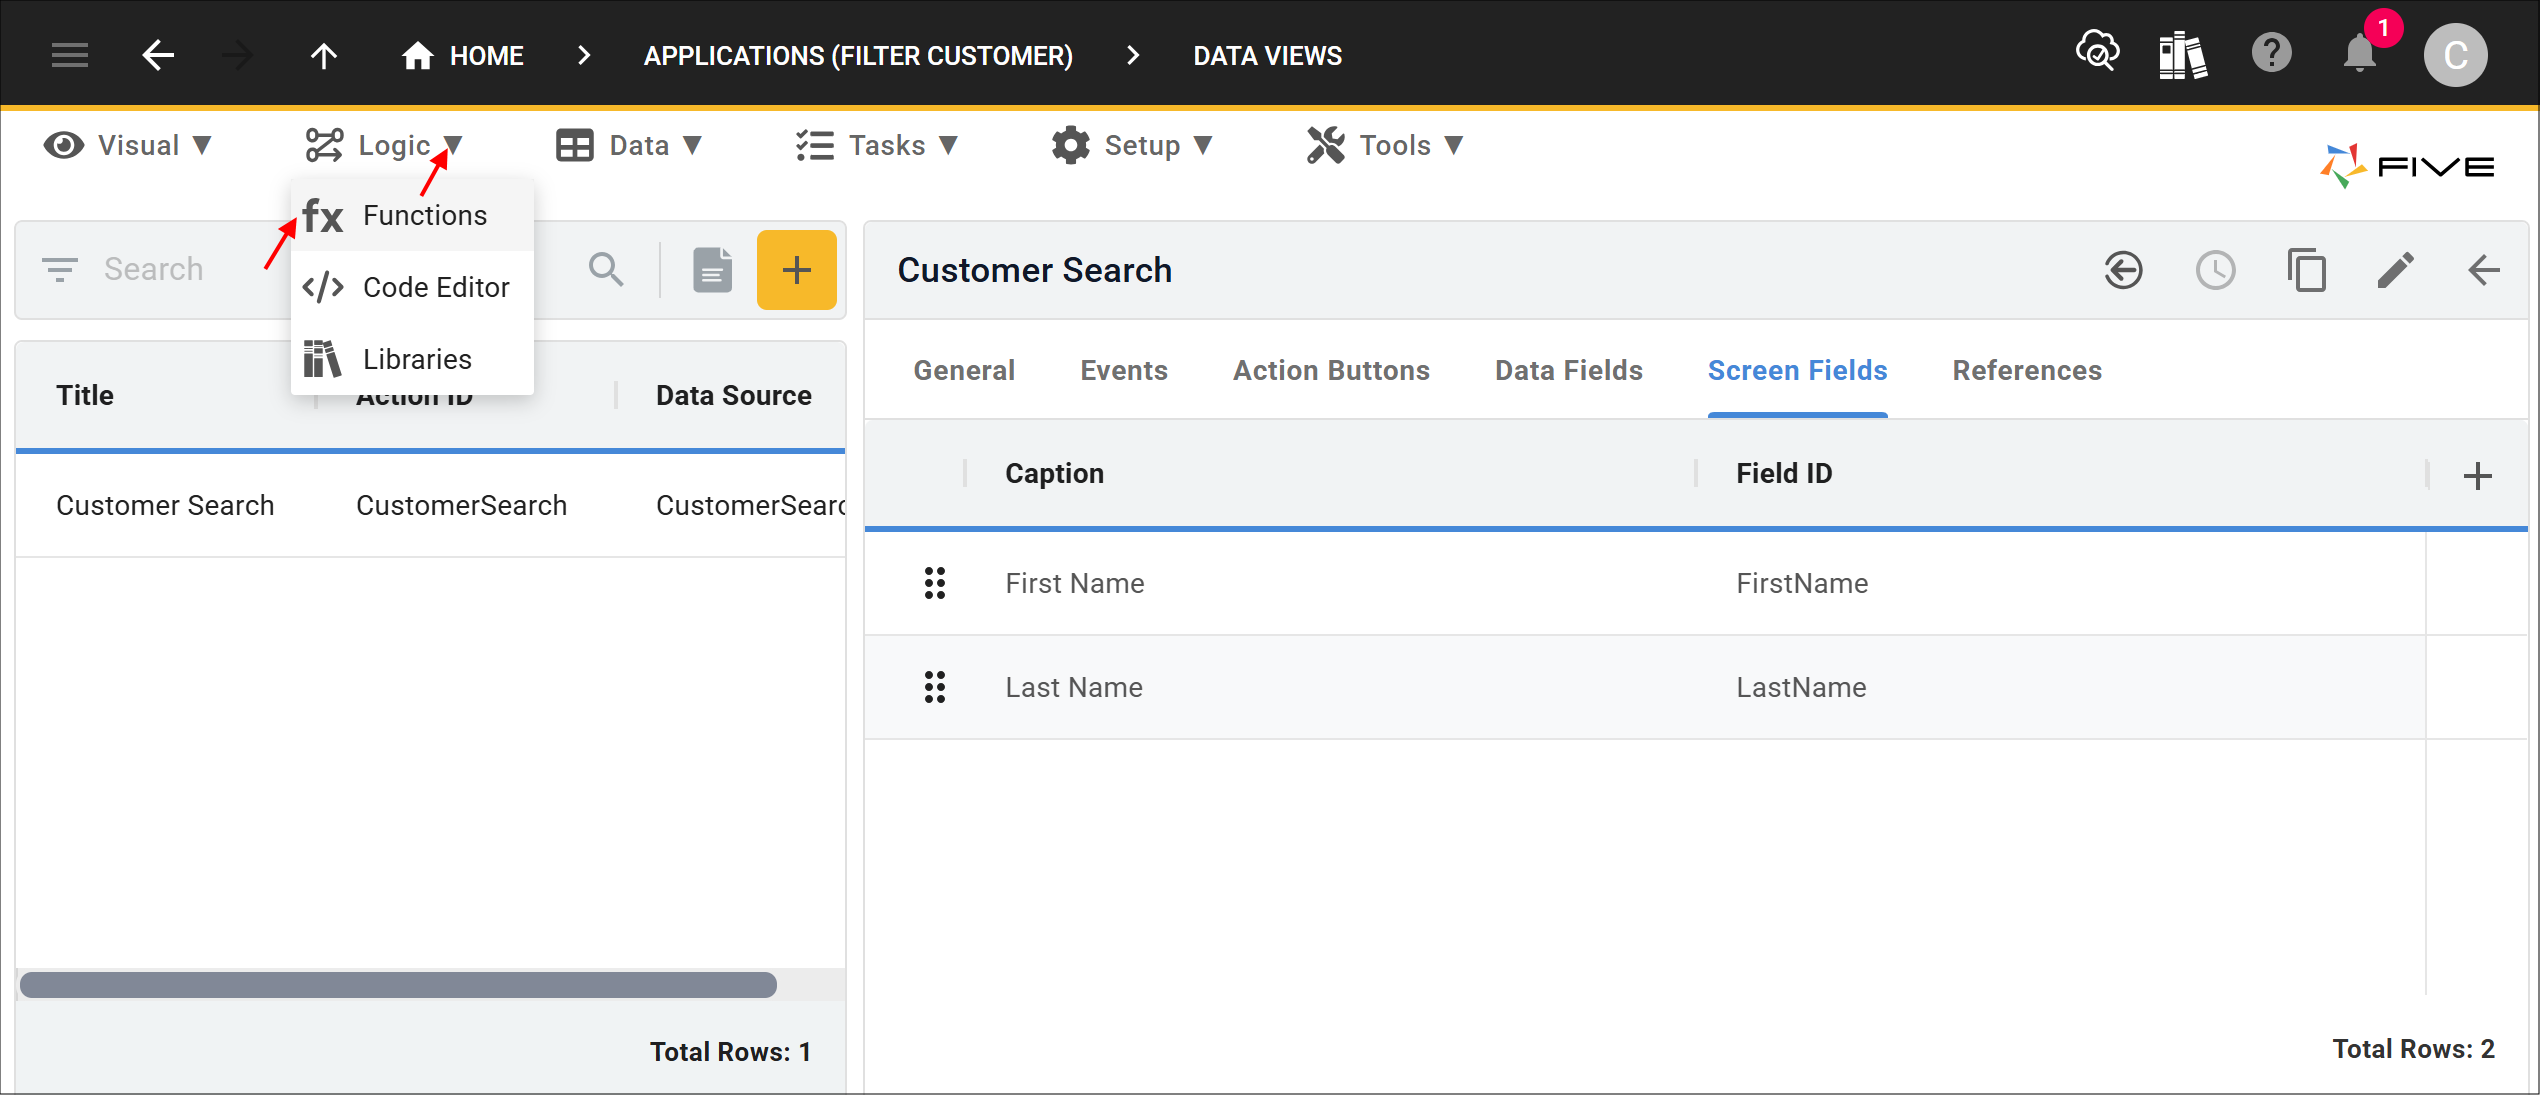
The
2. Select Functions in the sub-menu.
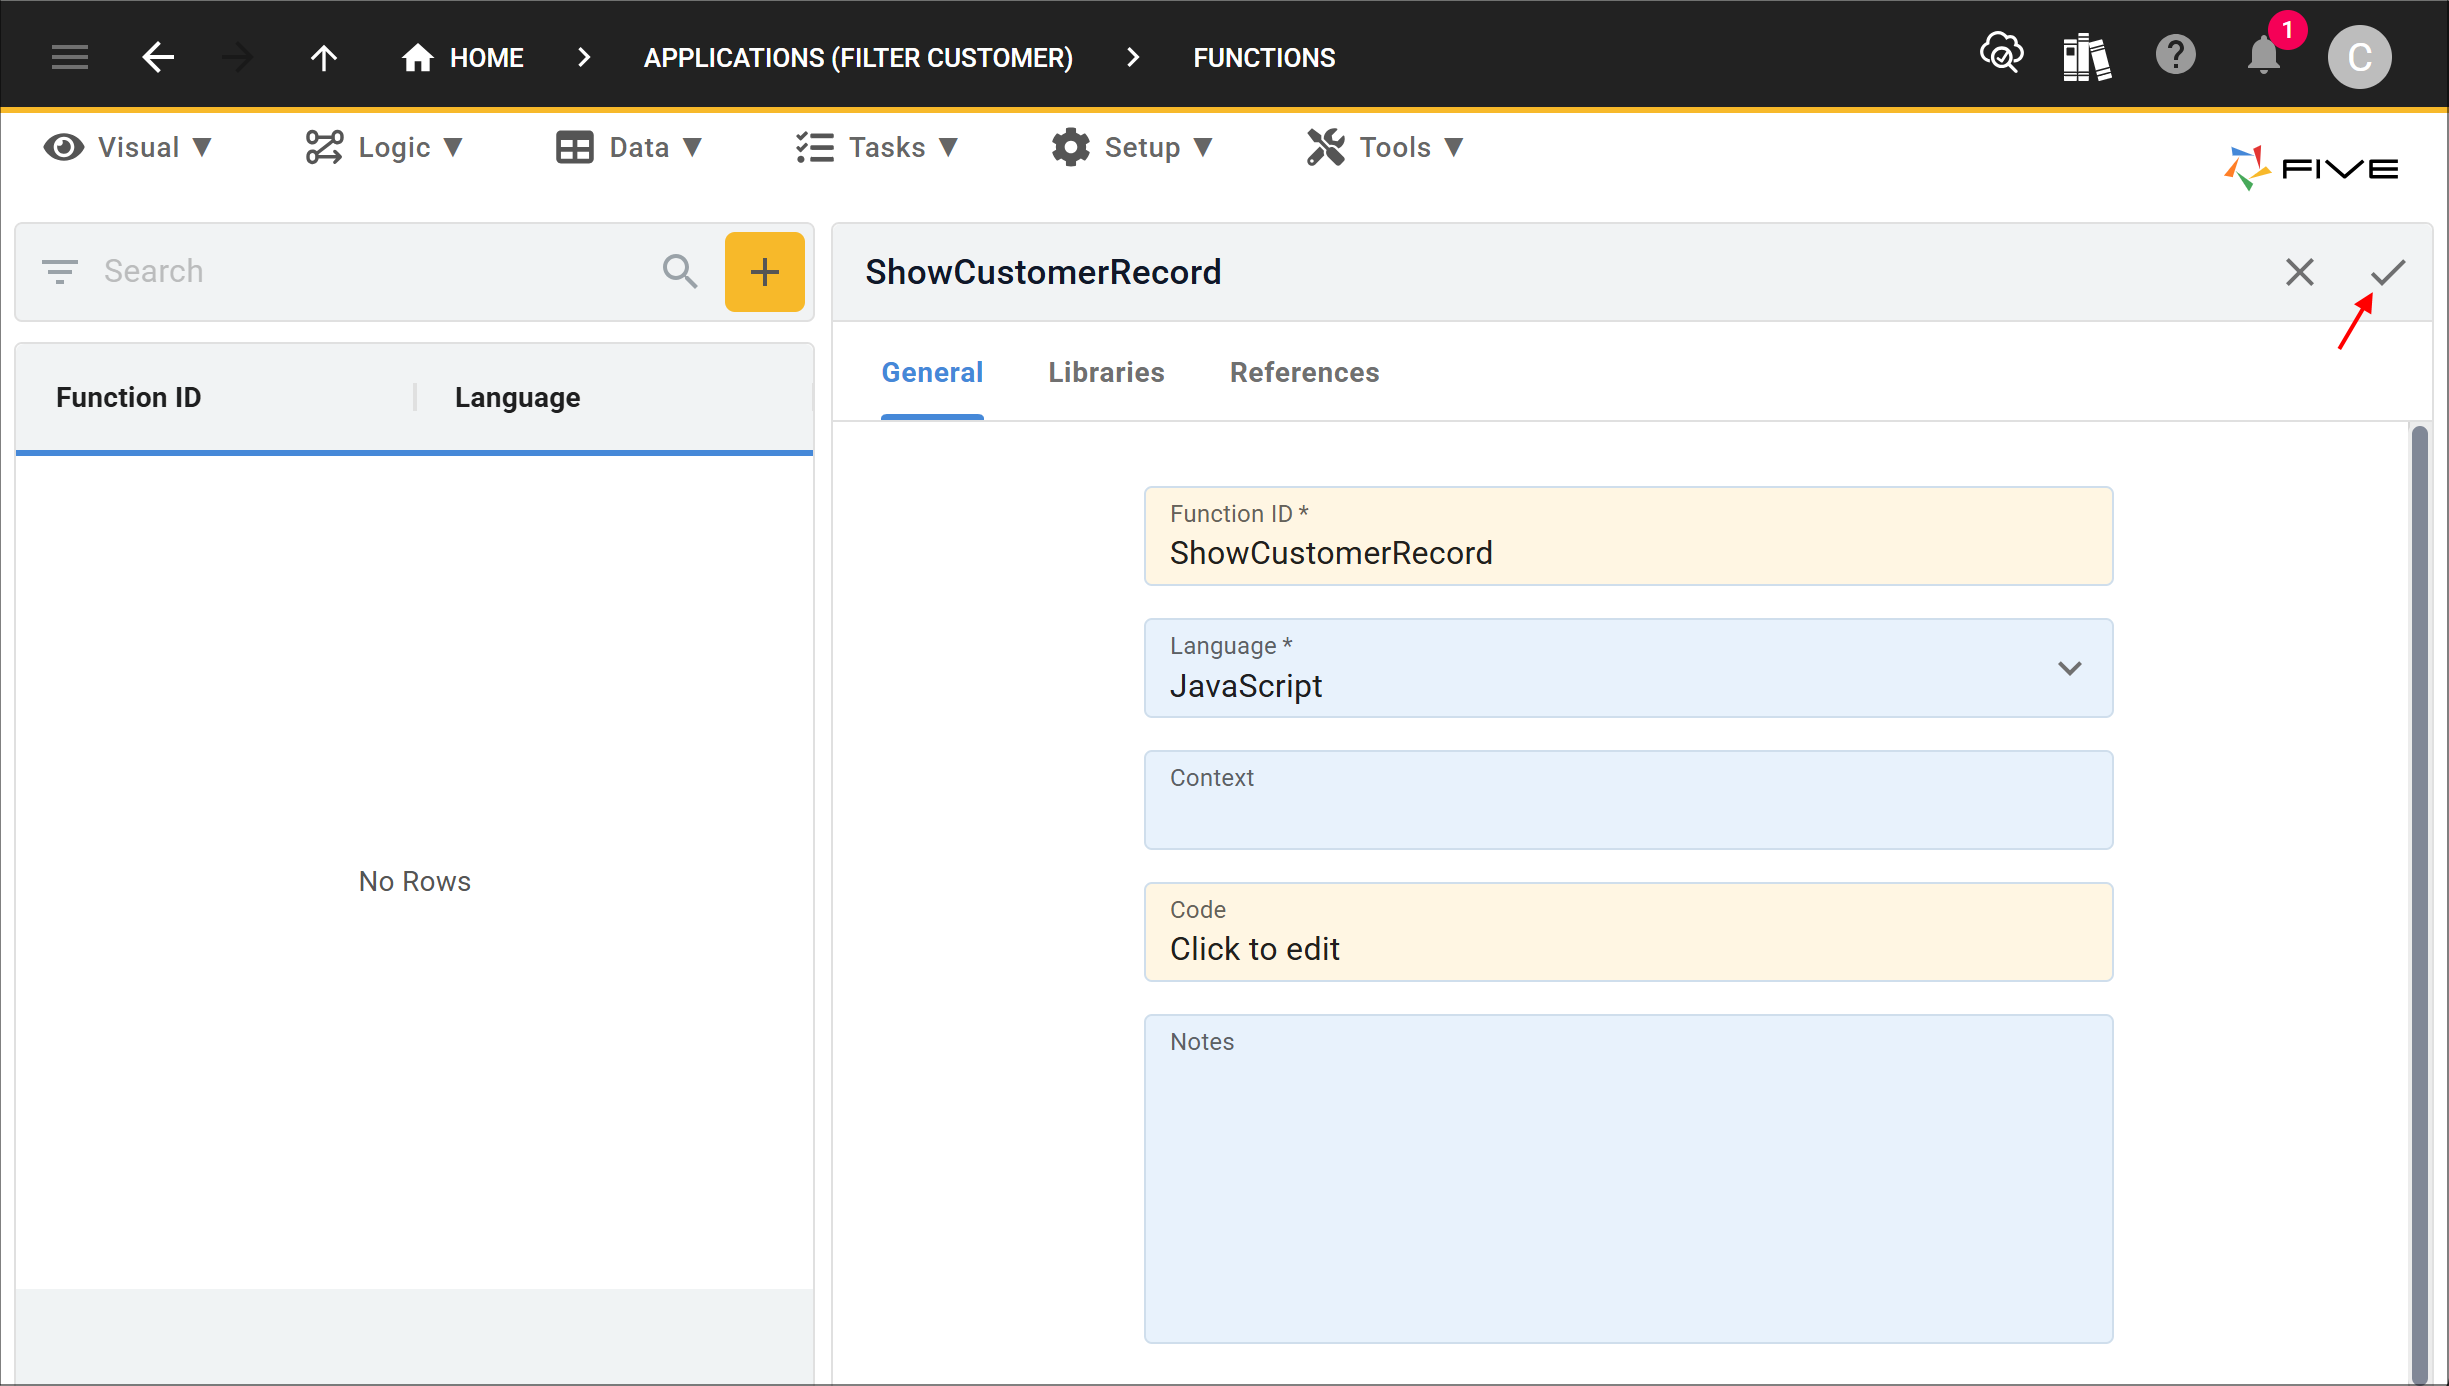
3. Click the Add Item button.
4. Type ShowCustomerRecord in the Function ID field.
5. Click in the Code field to open the Code Editor.
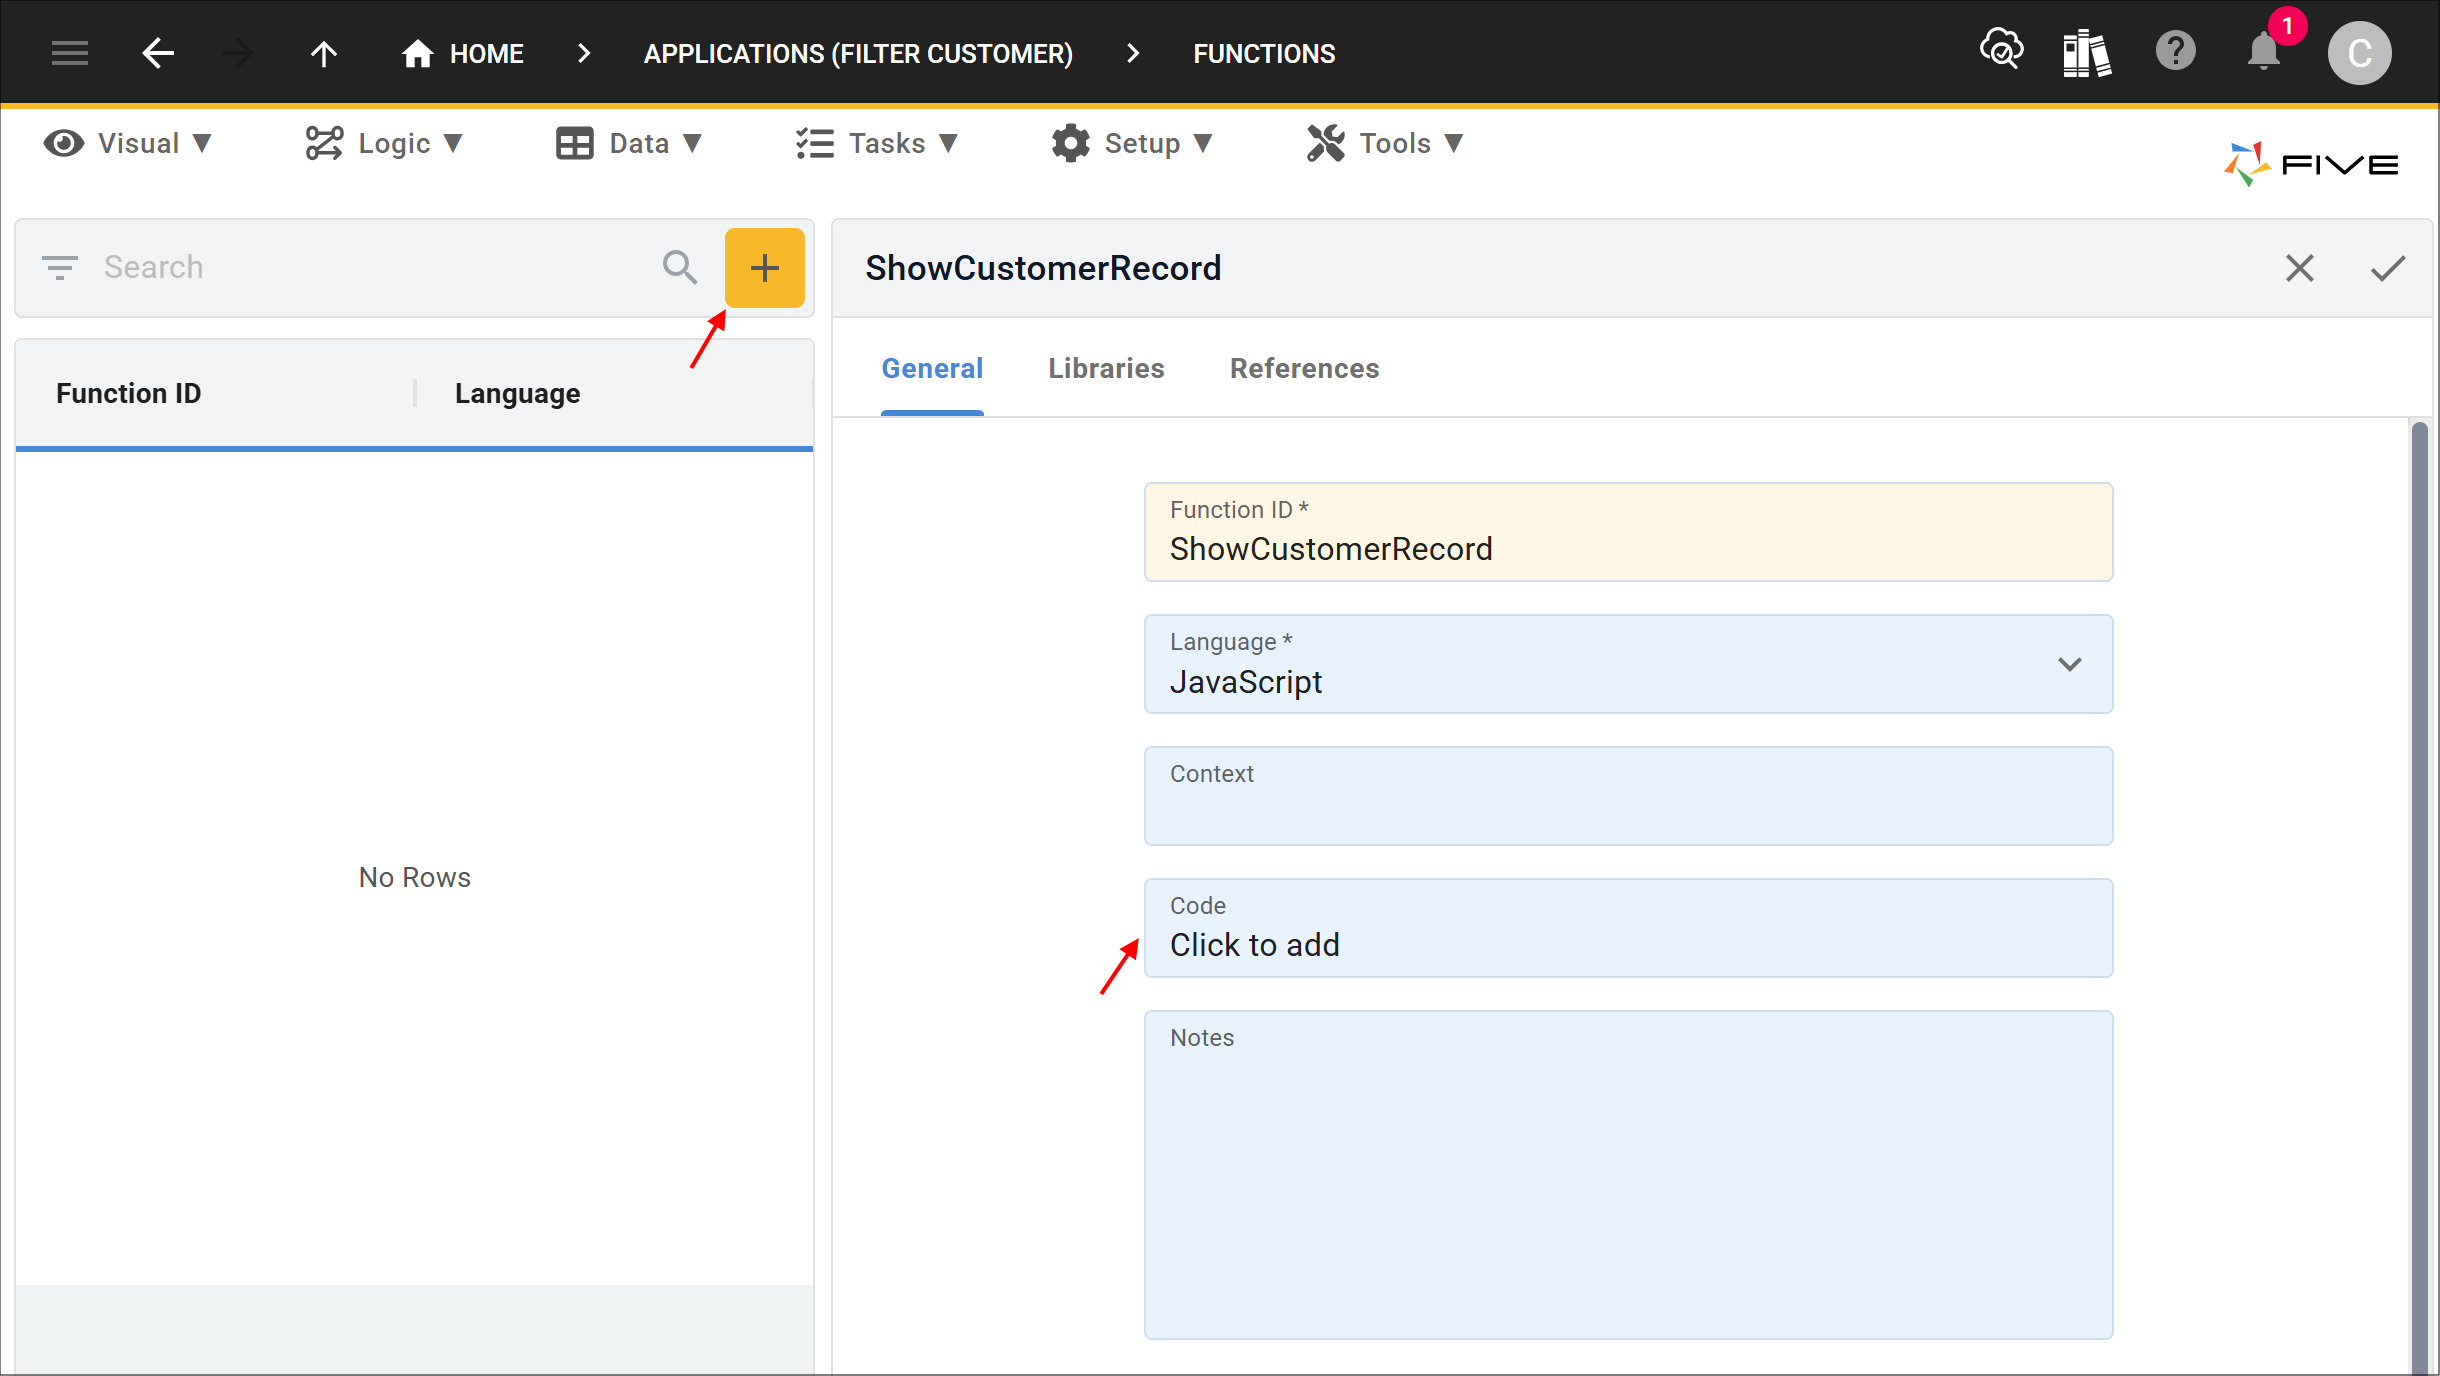
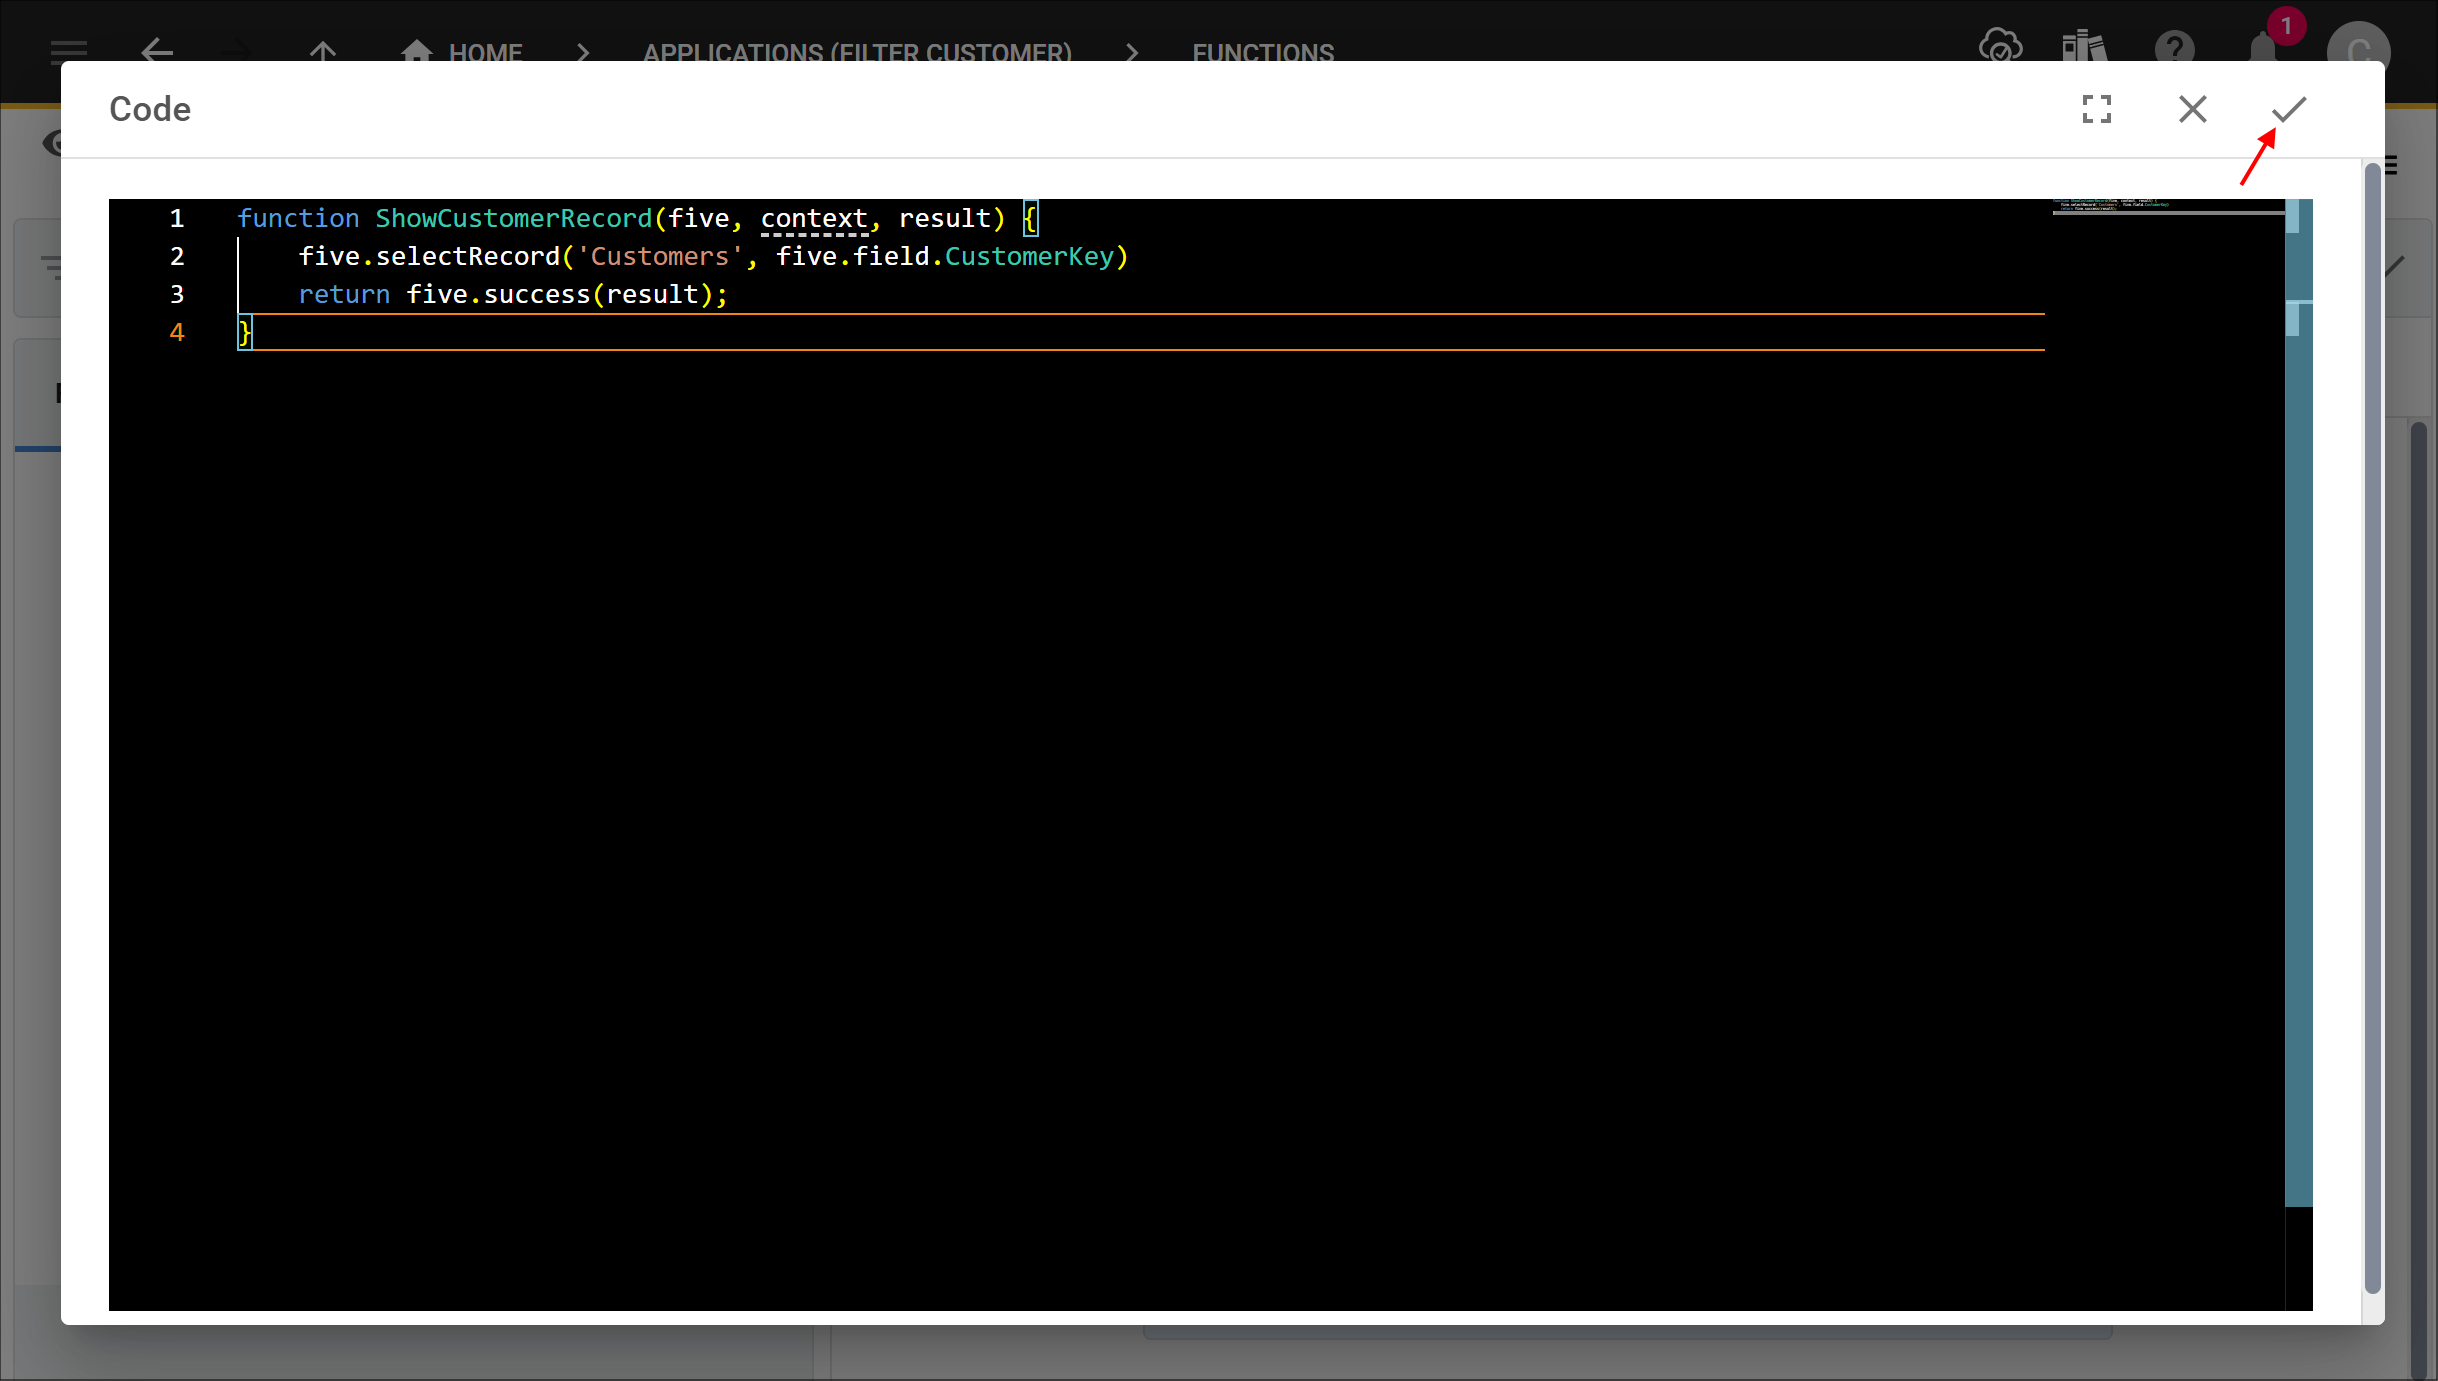
6. Copy and paste the code block below into the editor.

function ShowCustomerRecord(five, context, result)  {
    five.selectRecord('Customers', five.field.CustomerKey)
    return five.success(result);
}
7. Click the Save button in the Code Editor app bar.
8. Click the Save button in the form app bar.
Add the Customer Search Data View
The Customer Search data view will enable you to filter the records with the First Name and the Last Name screen fields, once you have your targeted record you will be able to click the First Name data field in your data view and this will select and display the record for the selected customer record. The CustomerSearchQuery and the ShowCustomerRecord function will be used on the Customer Search data view.
The data fields will be displayed in your results and the screen fields will filter your results.
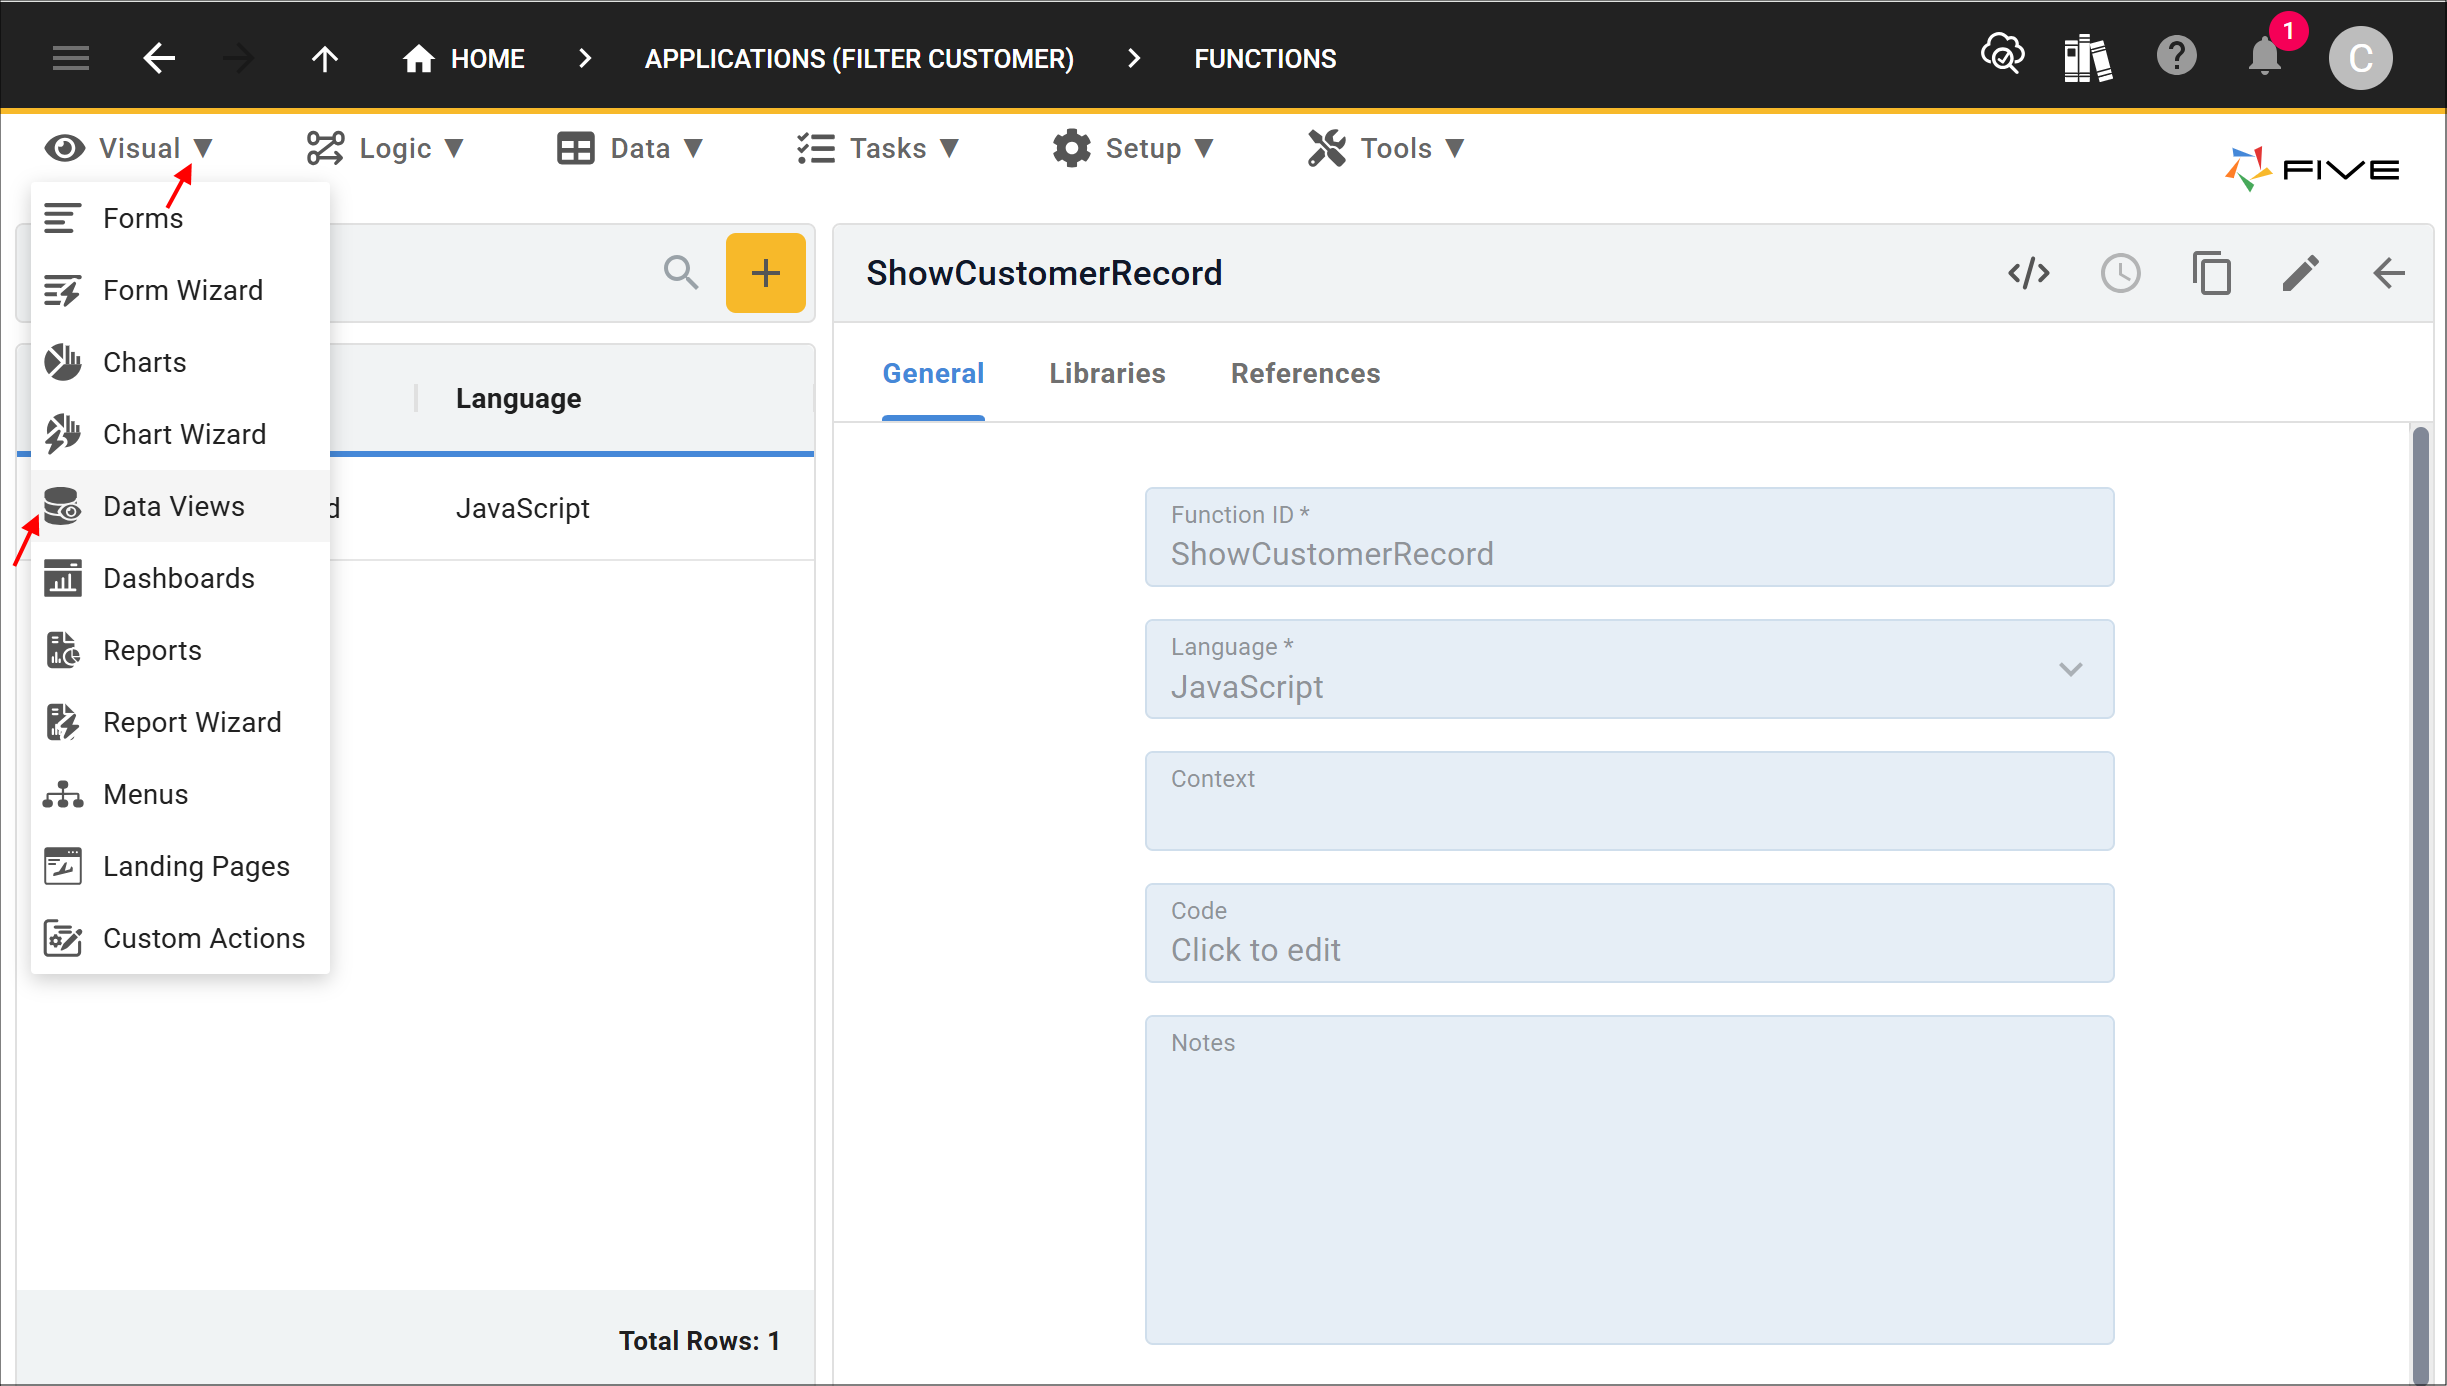
1. Select Visual in the menu.2. Select Data Views in the sub-menu.
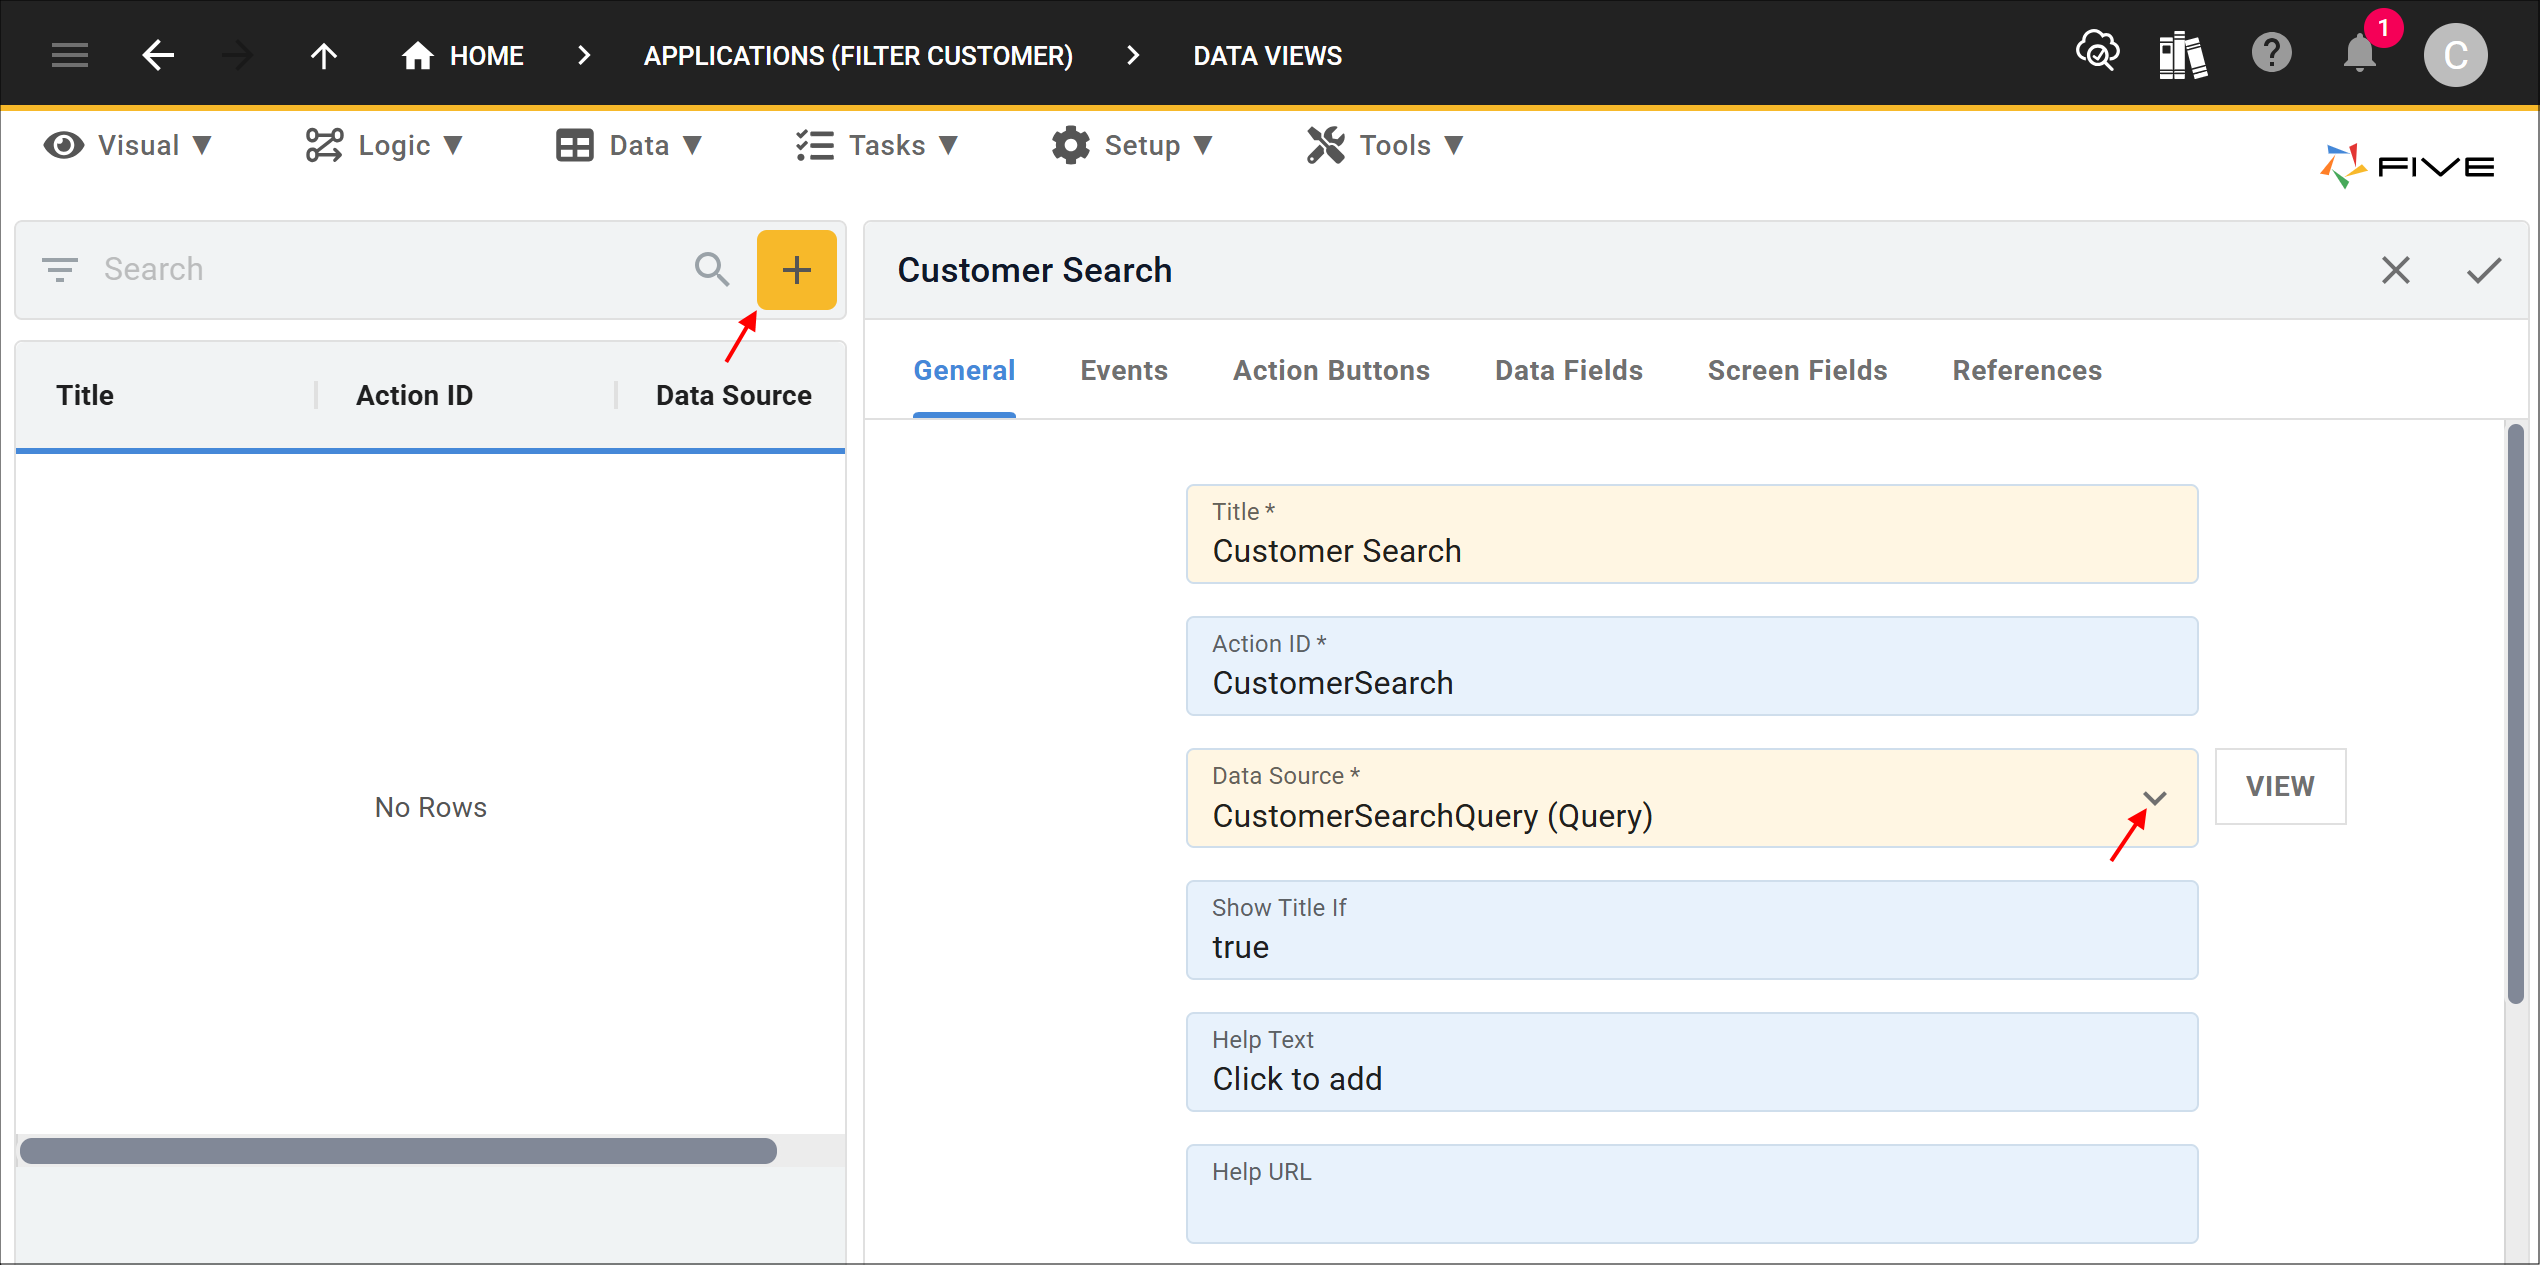
3. Click the Add Item button.
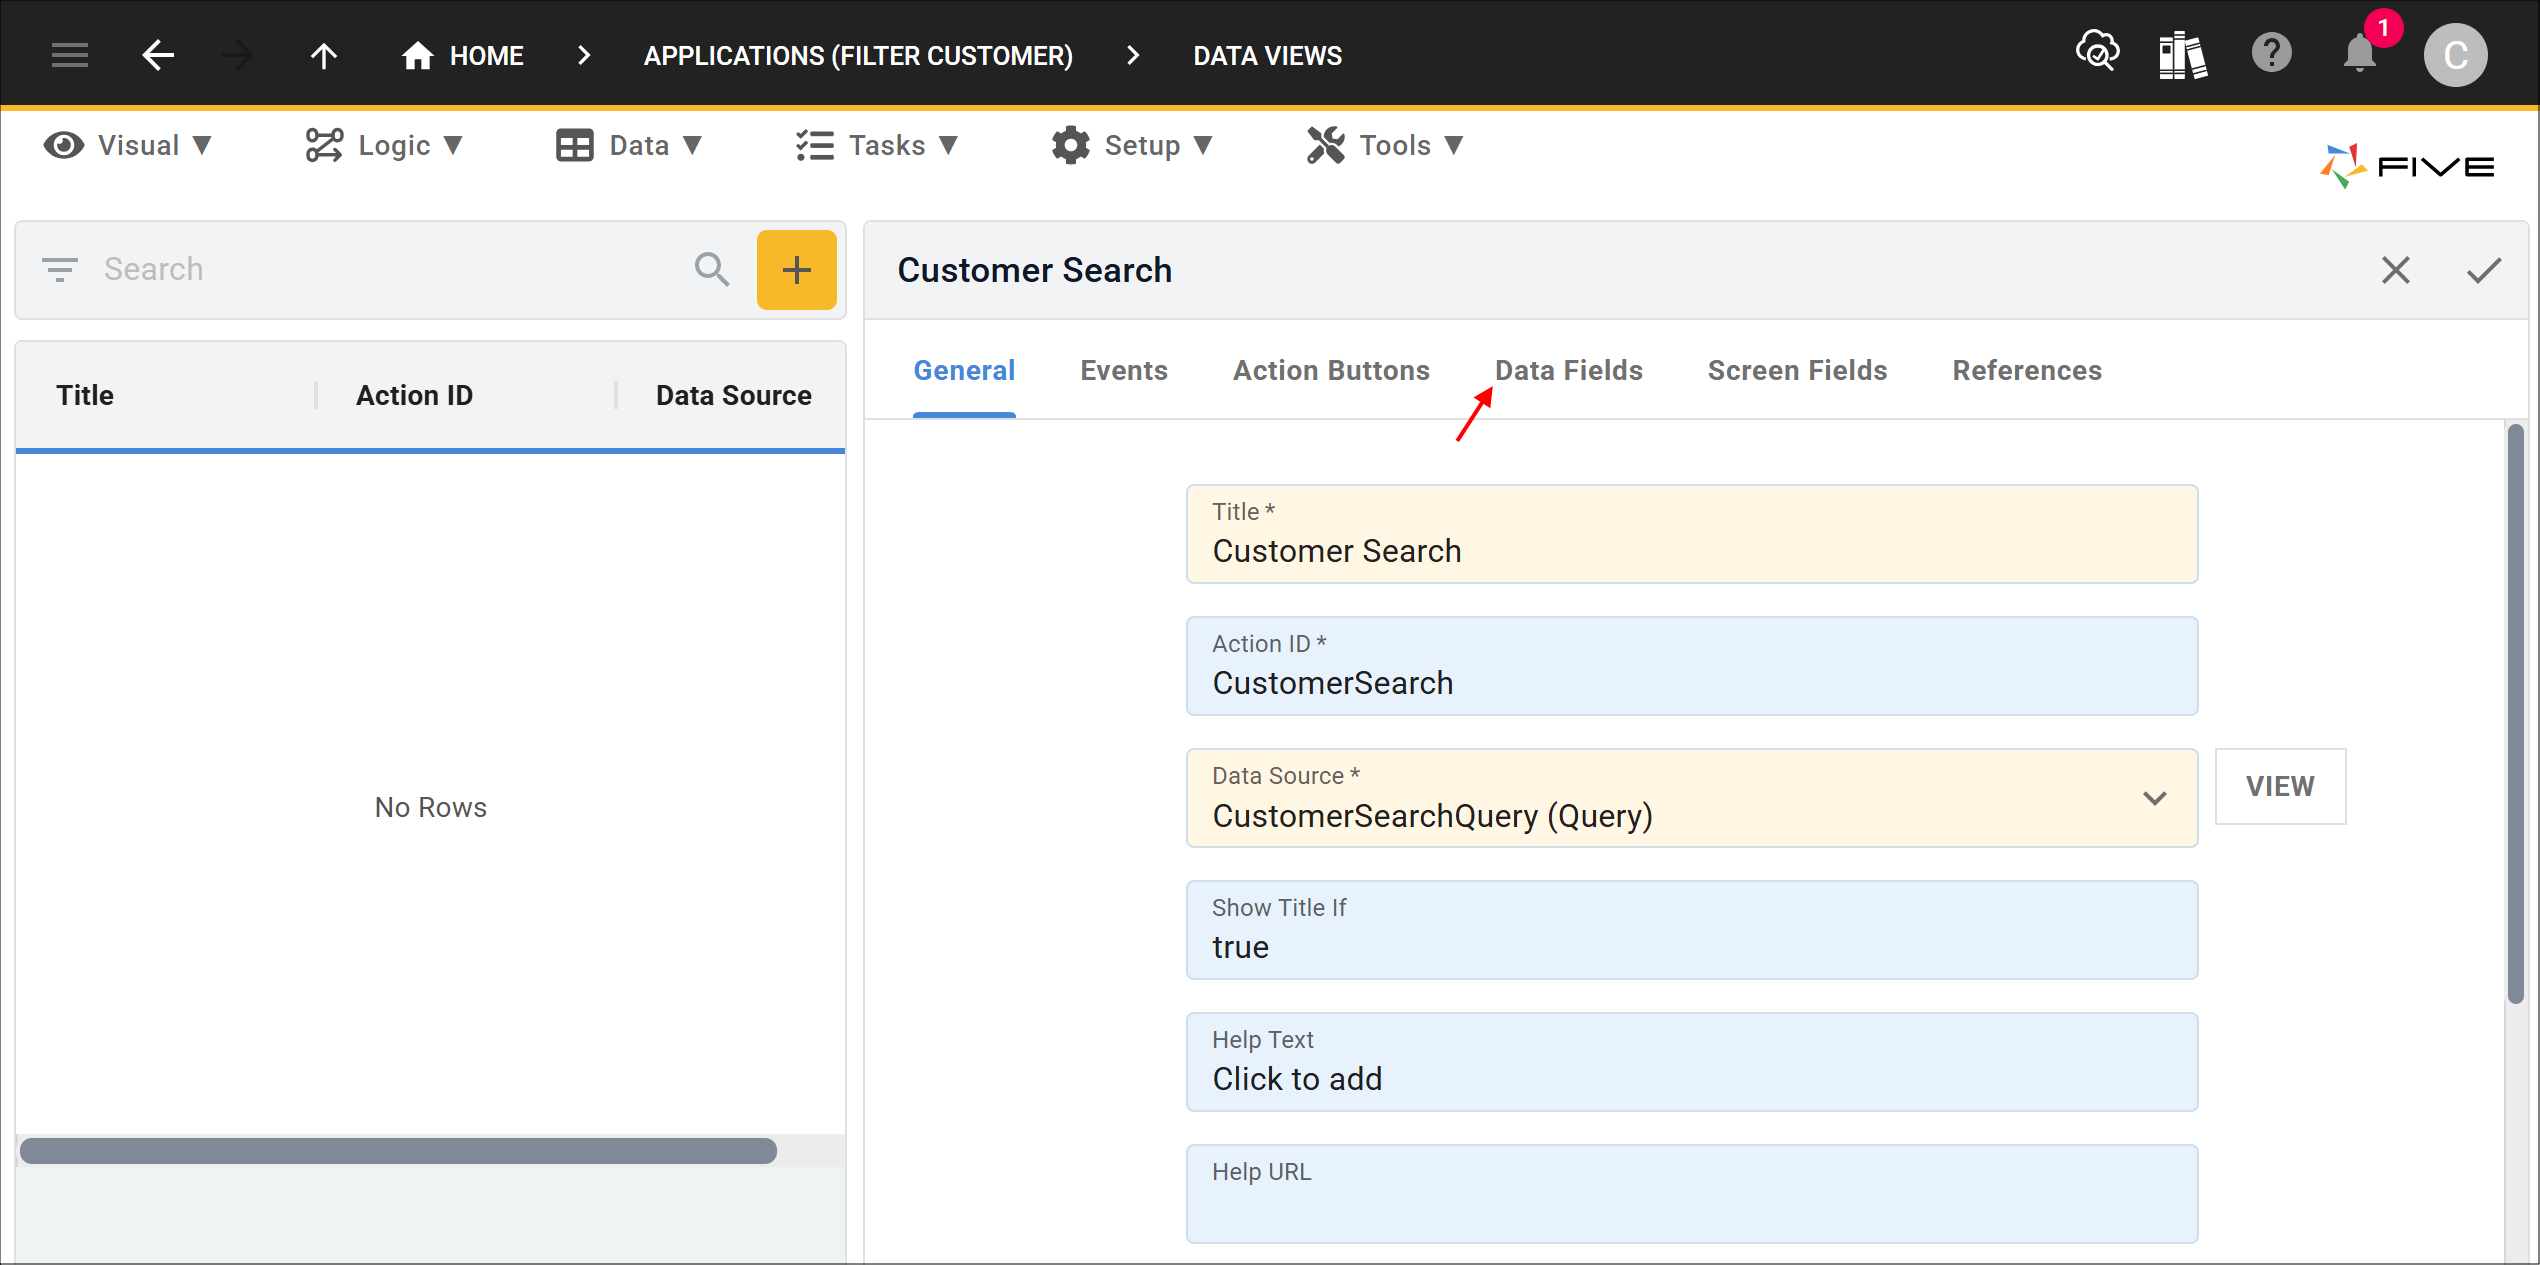
4. Type Customer Search in the Title field.
5. Click the lookup icon in the Data Source field and select CustomerSearchQuery (Query).
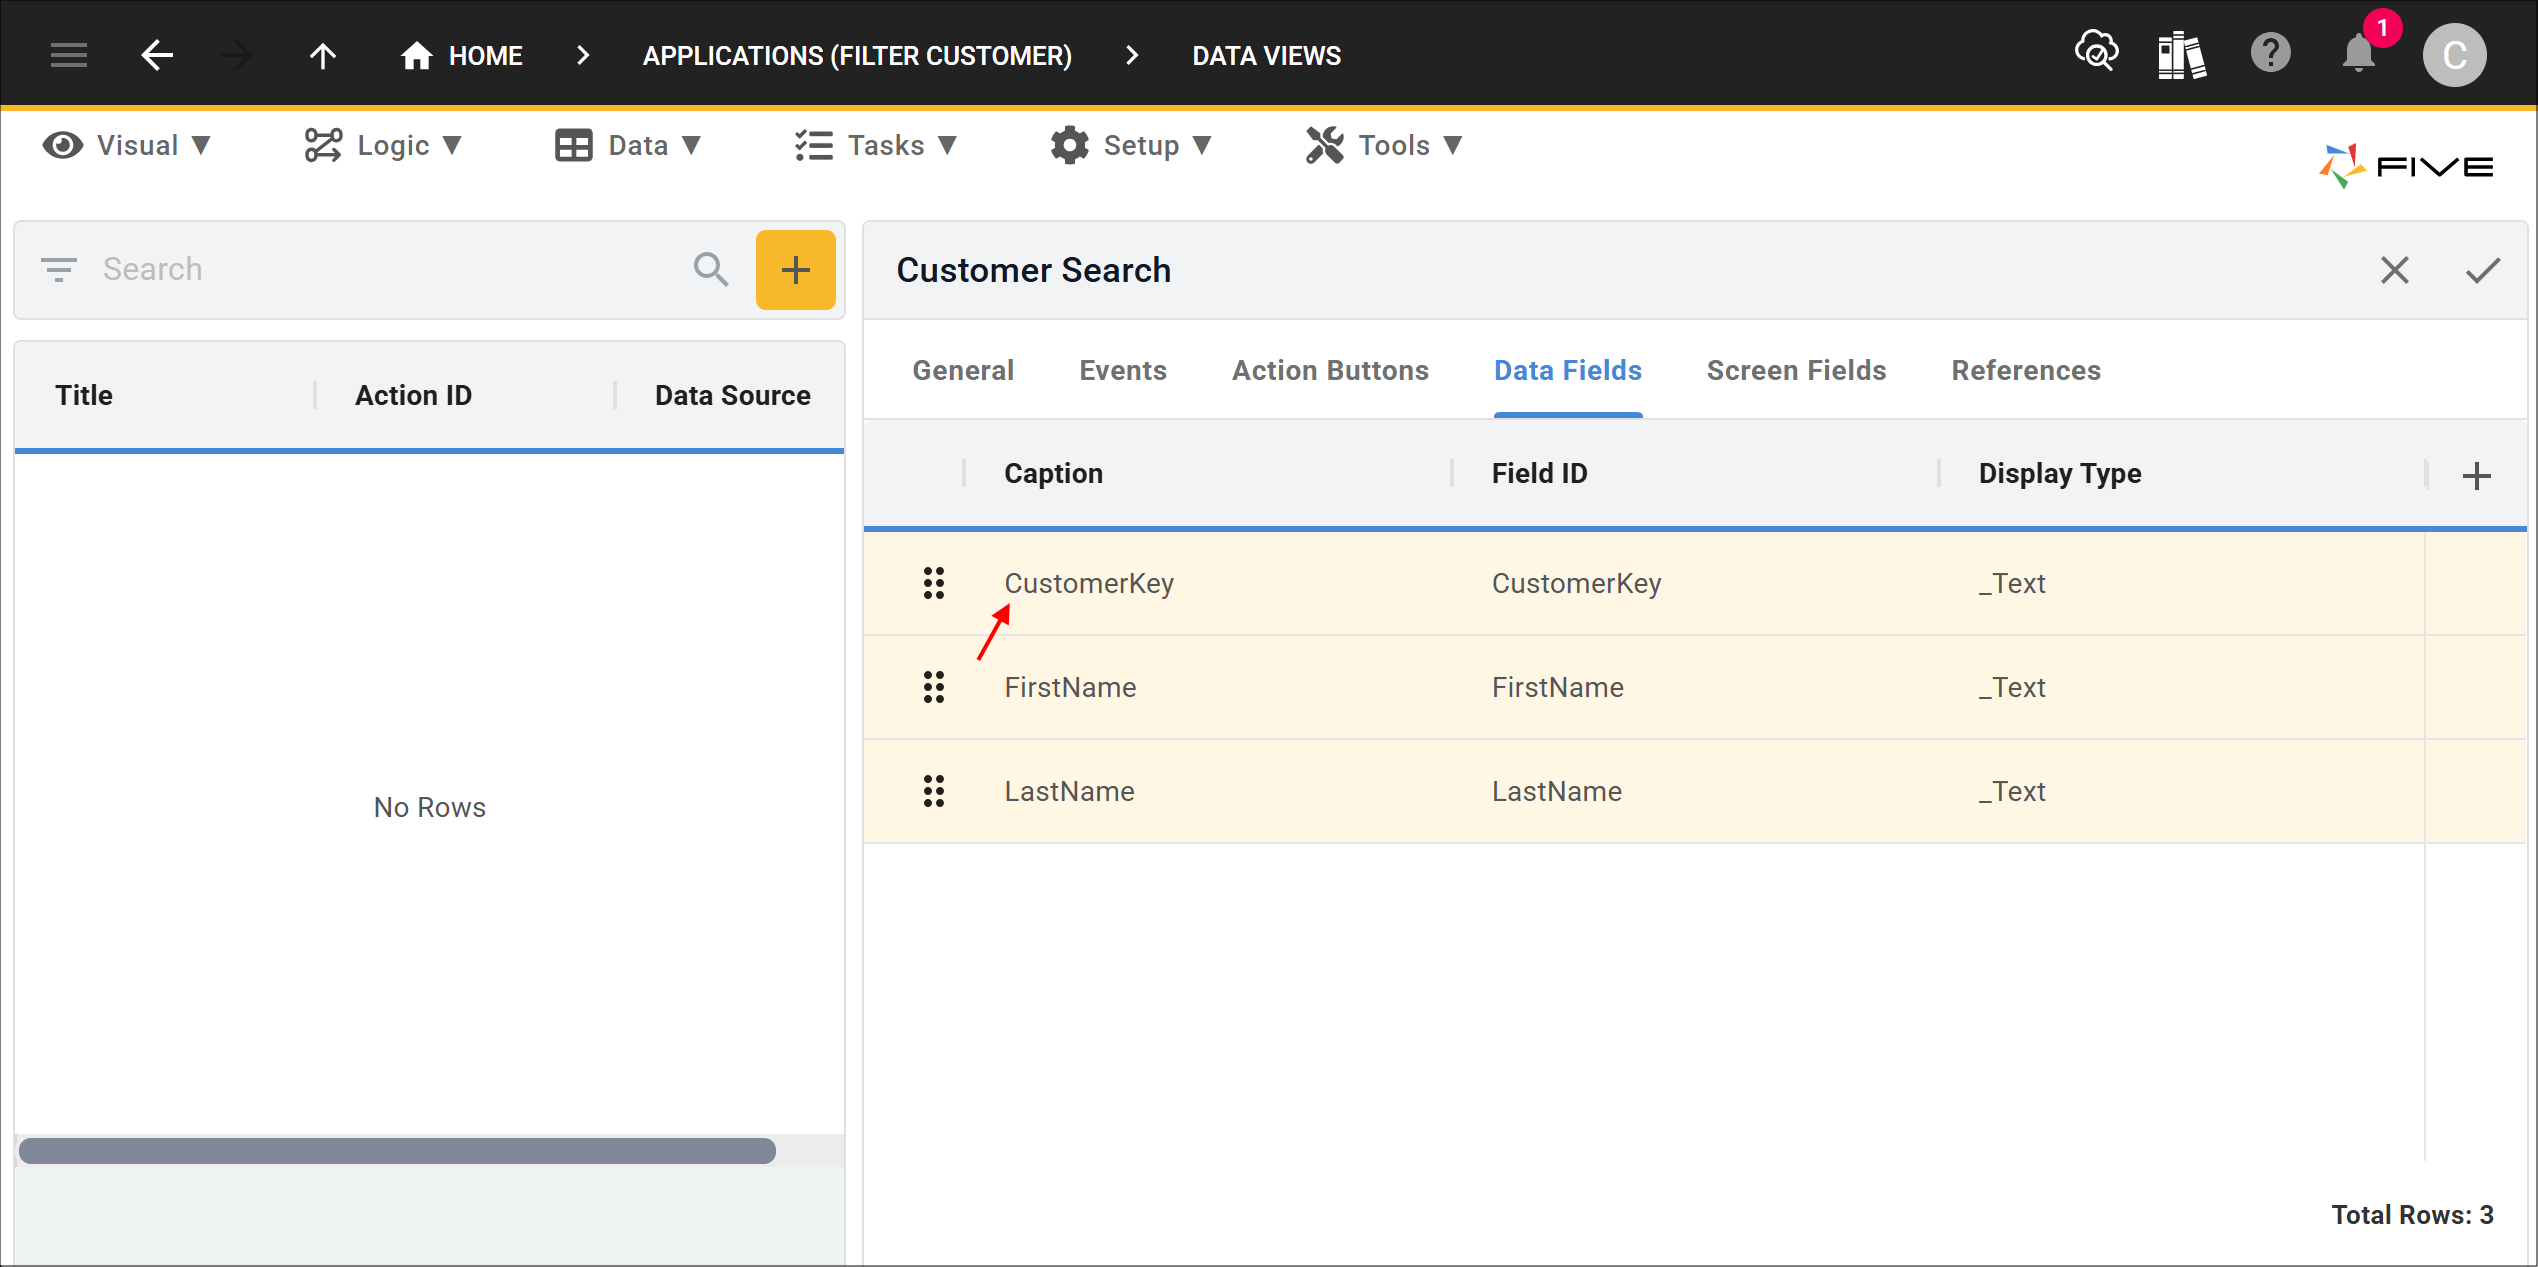
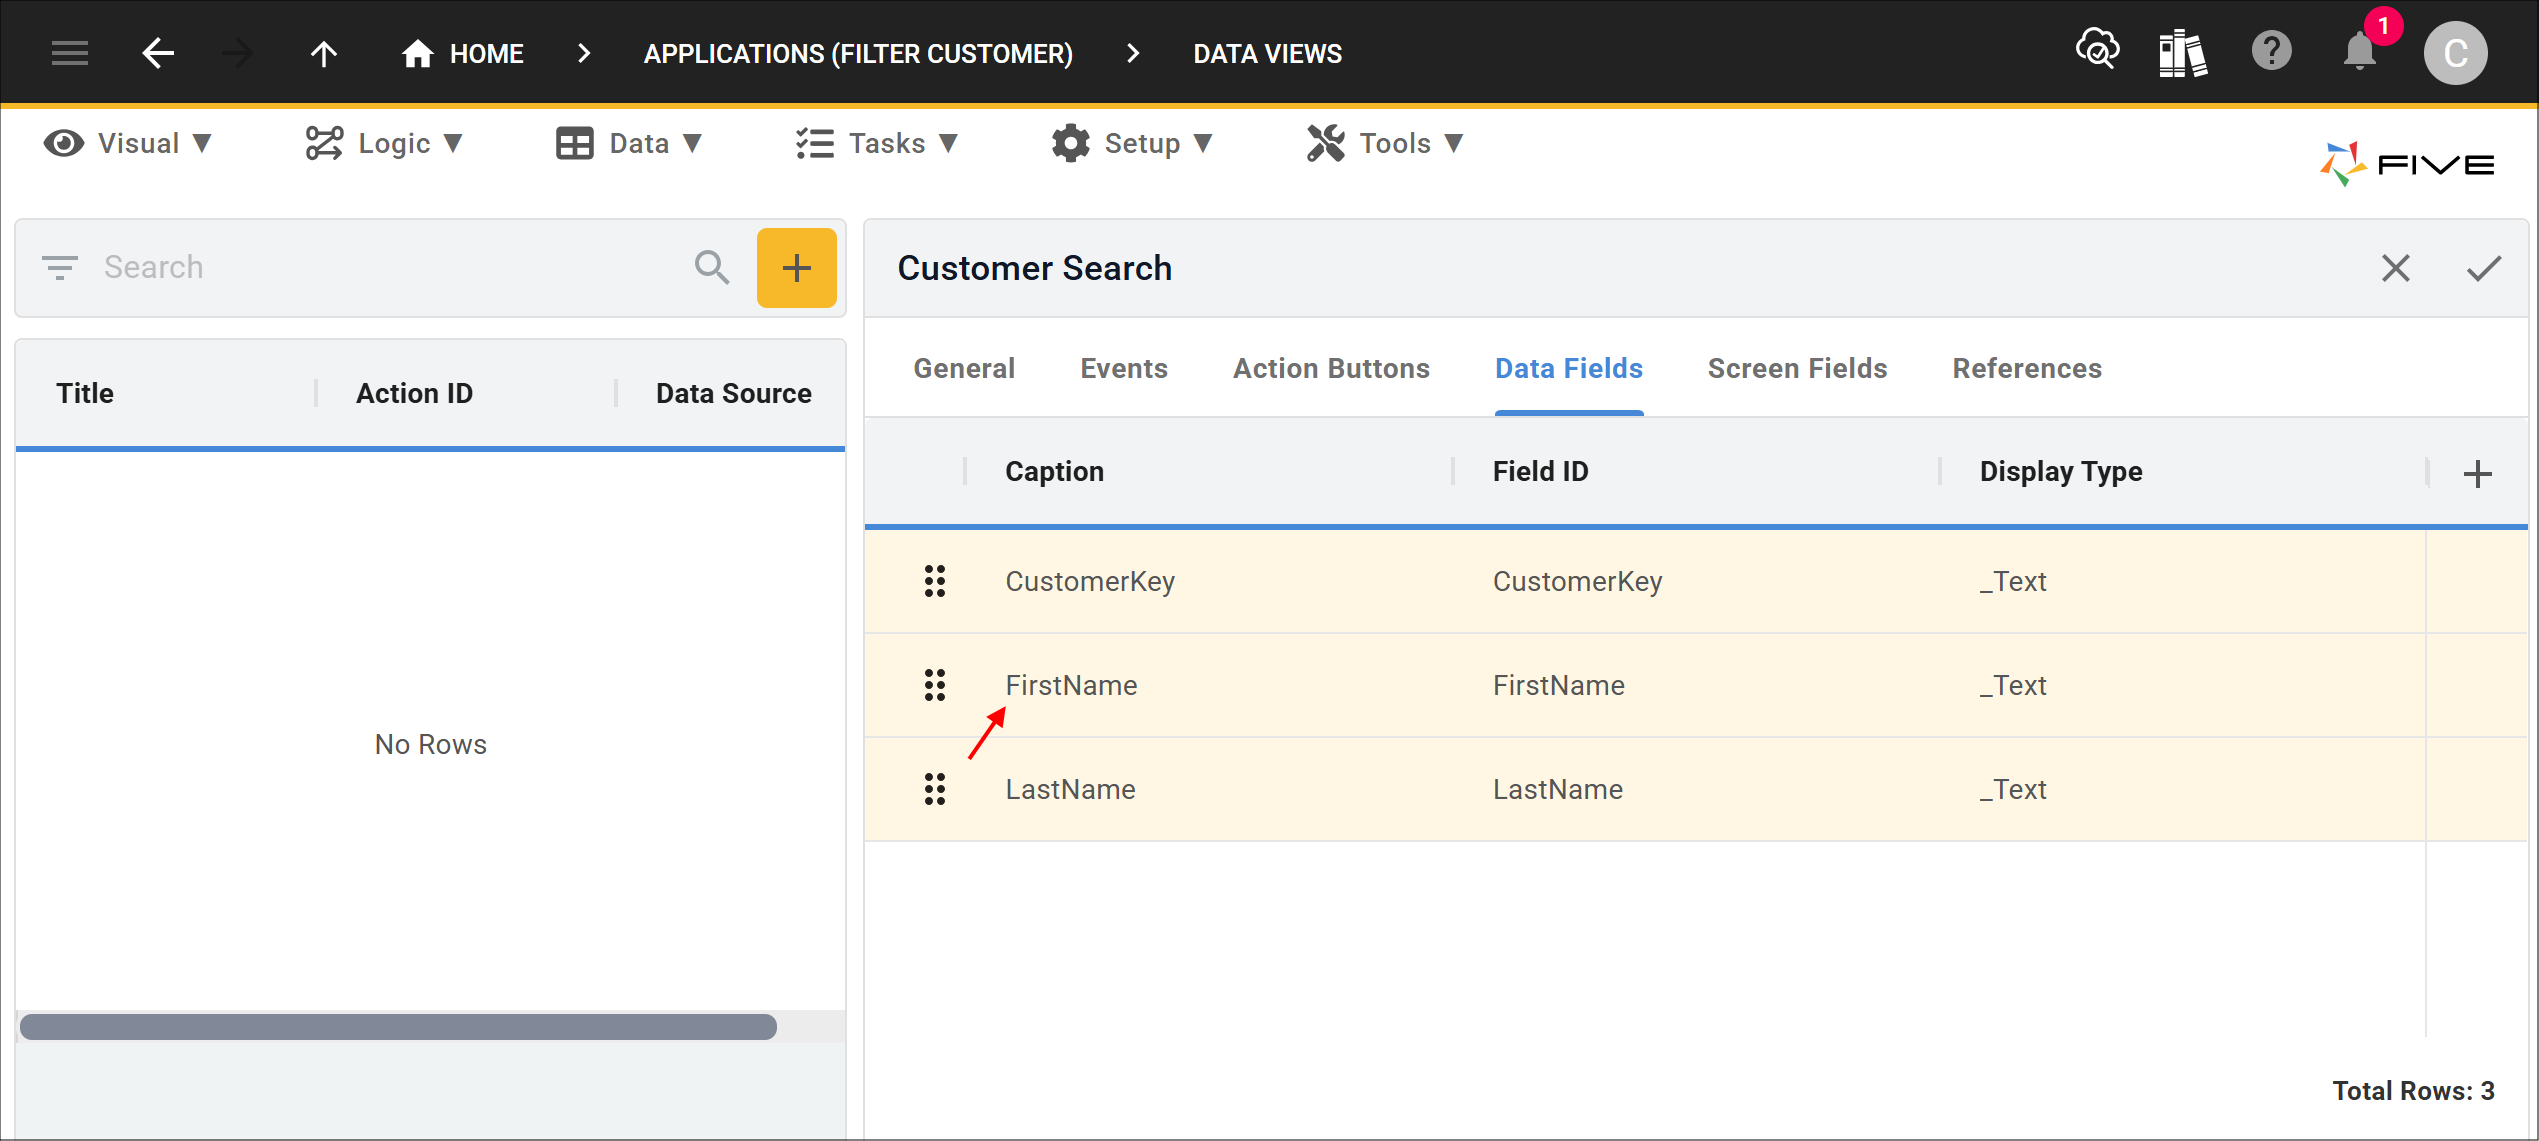
6. Click the Data Fields tab.
7. Select the CustomerKey record.
8. Either click the Edit button in the form app bar or click directly in the Show If field.
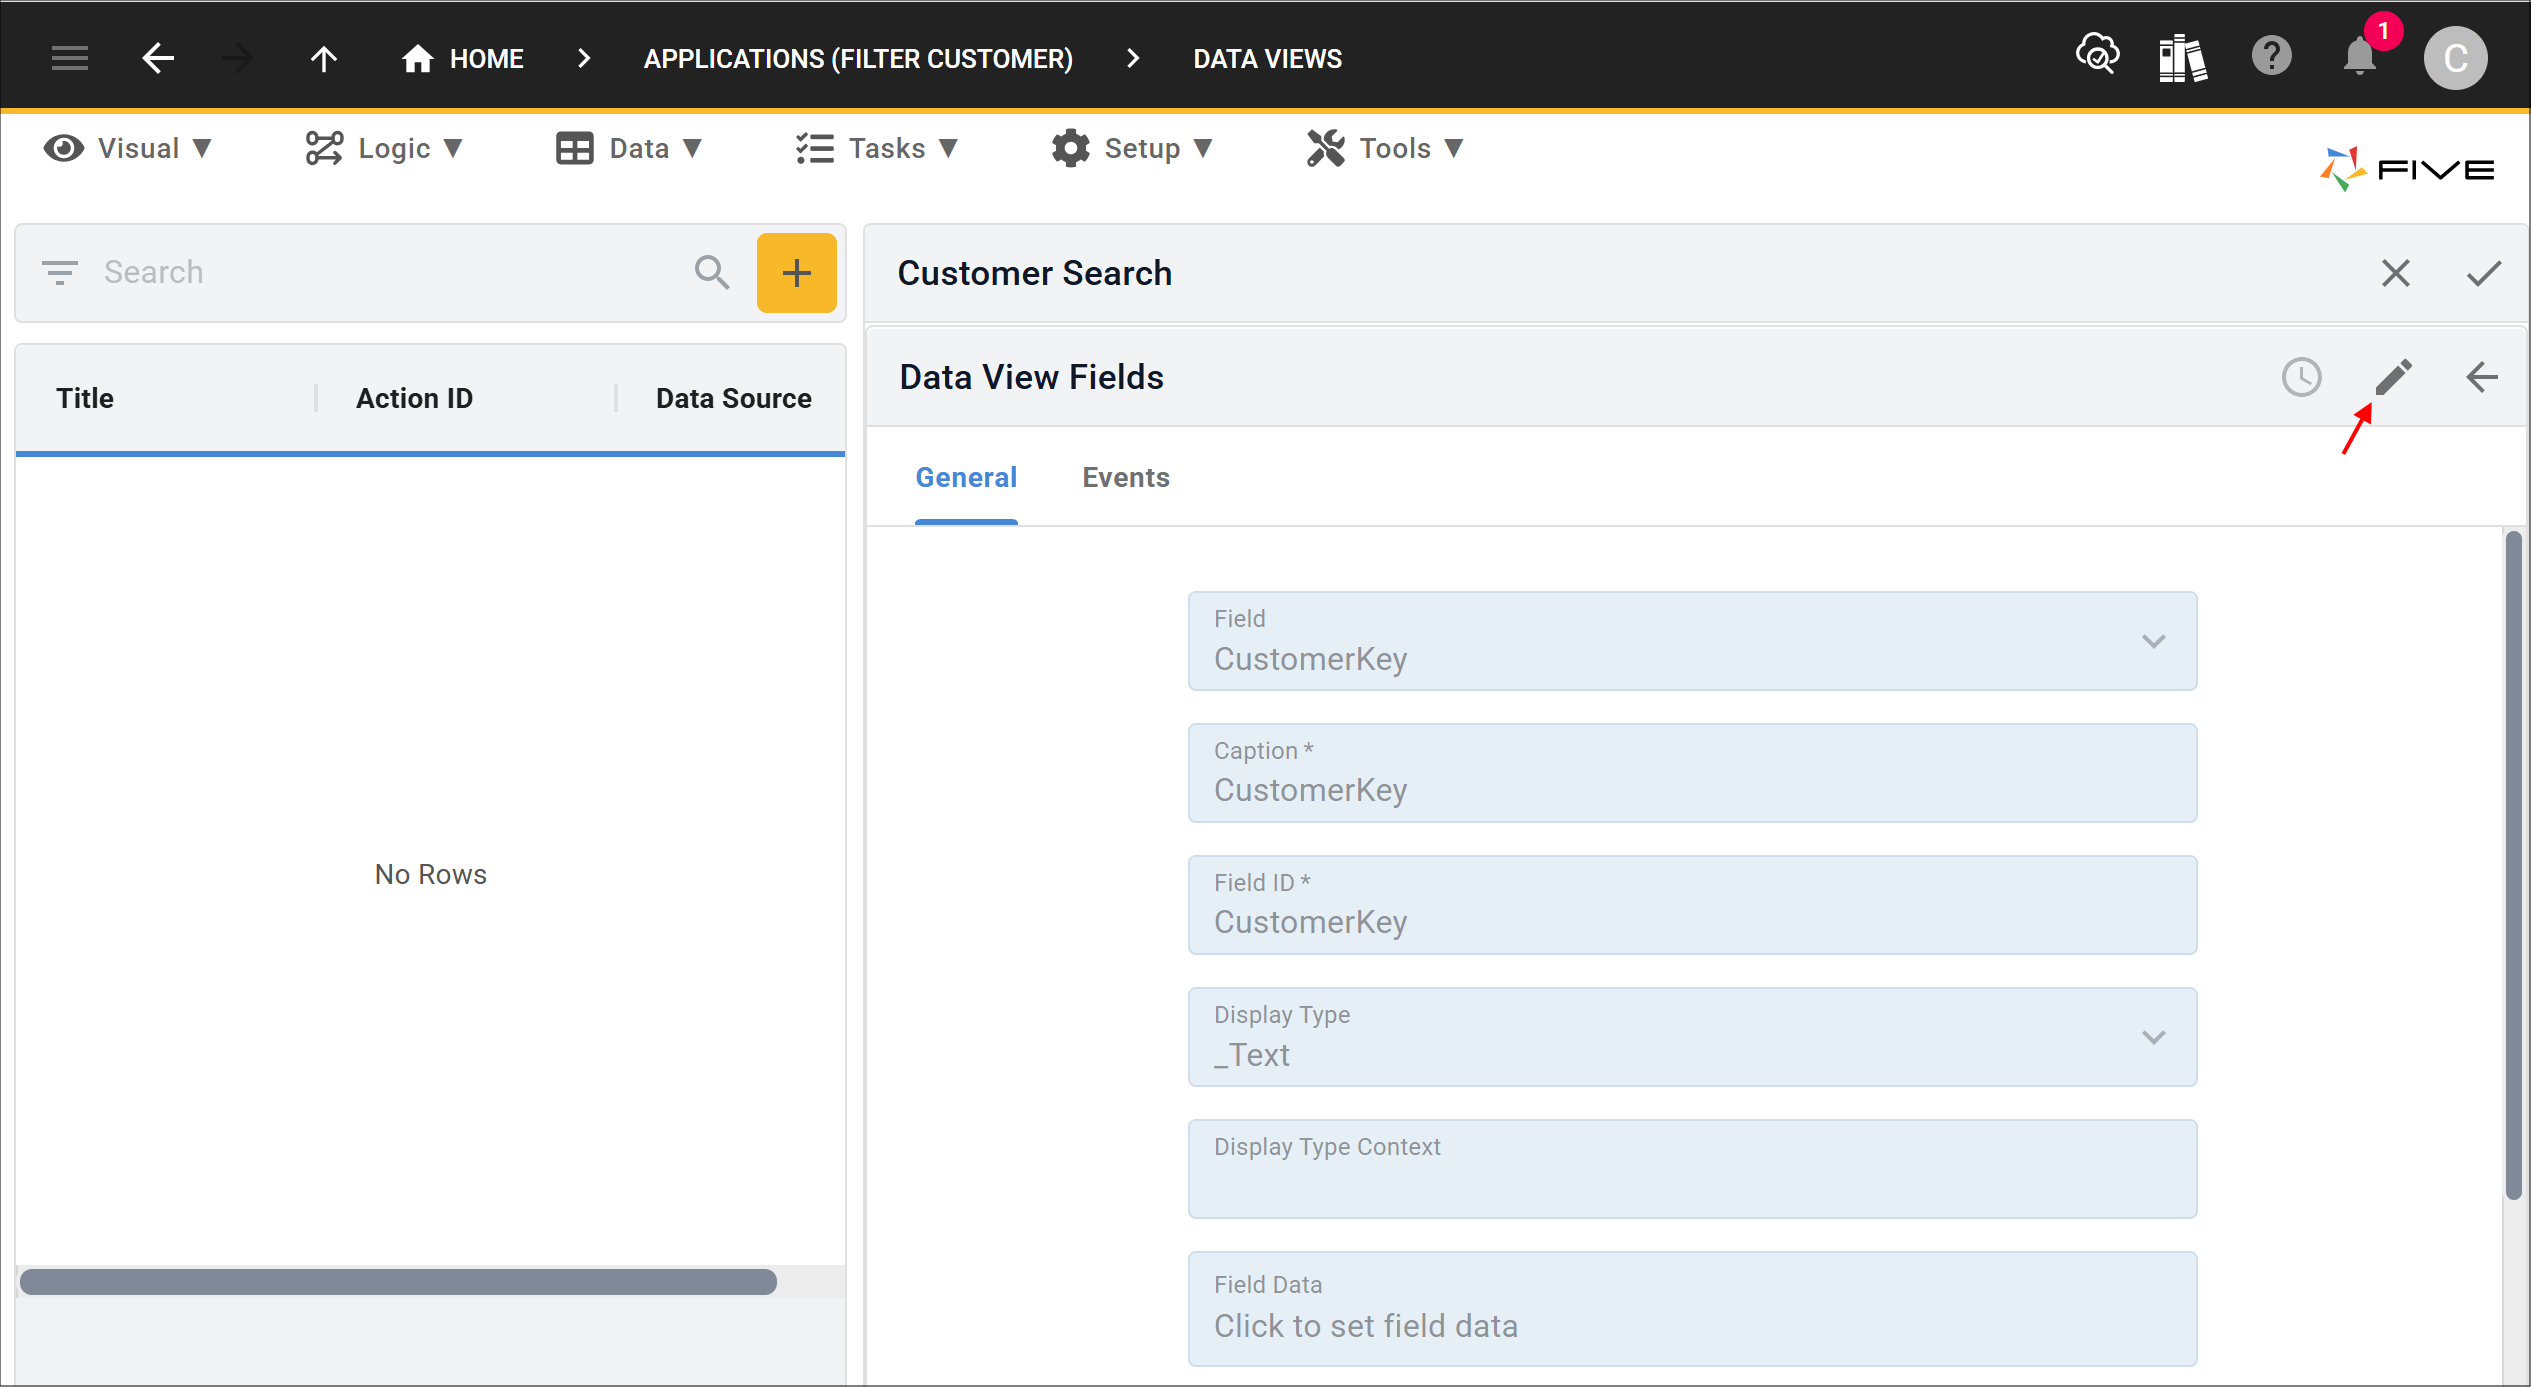
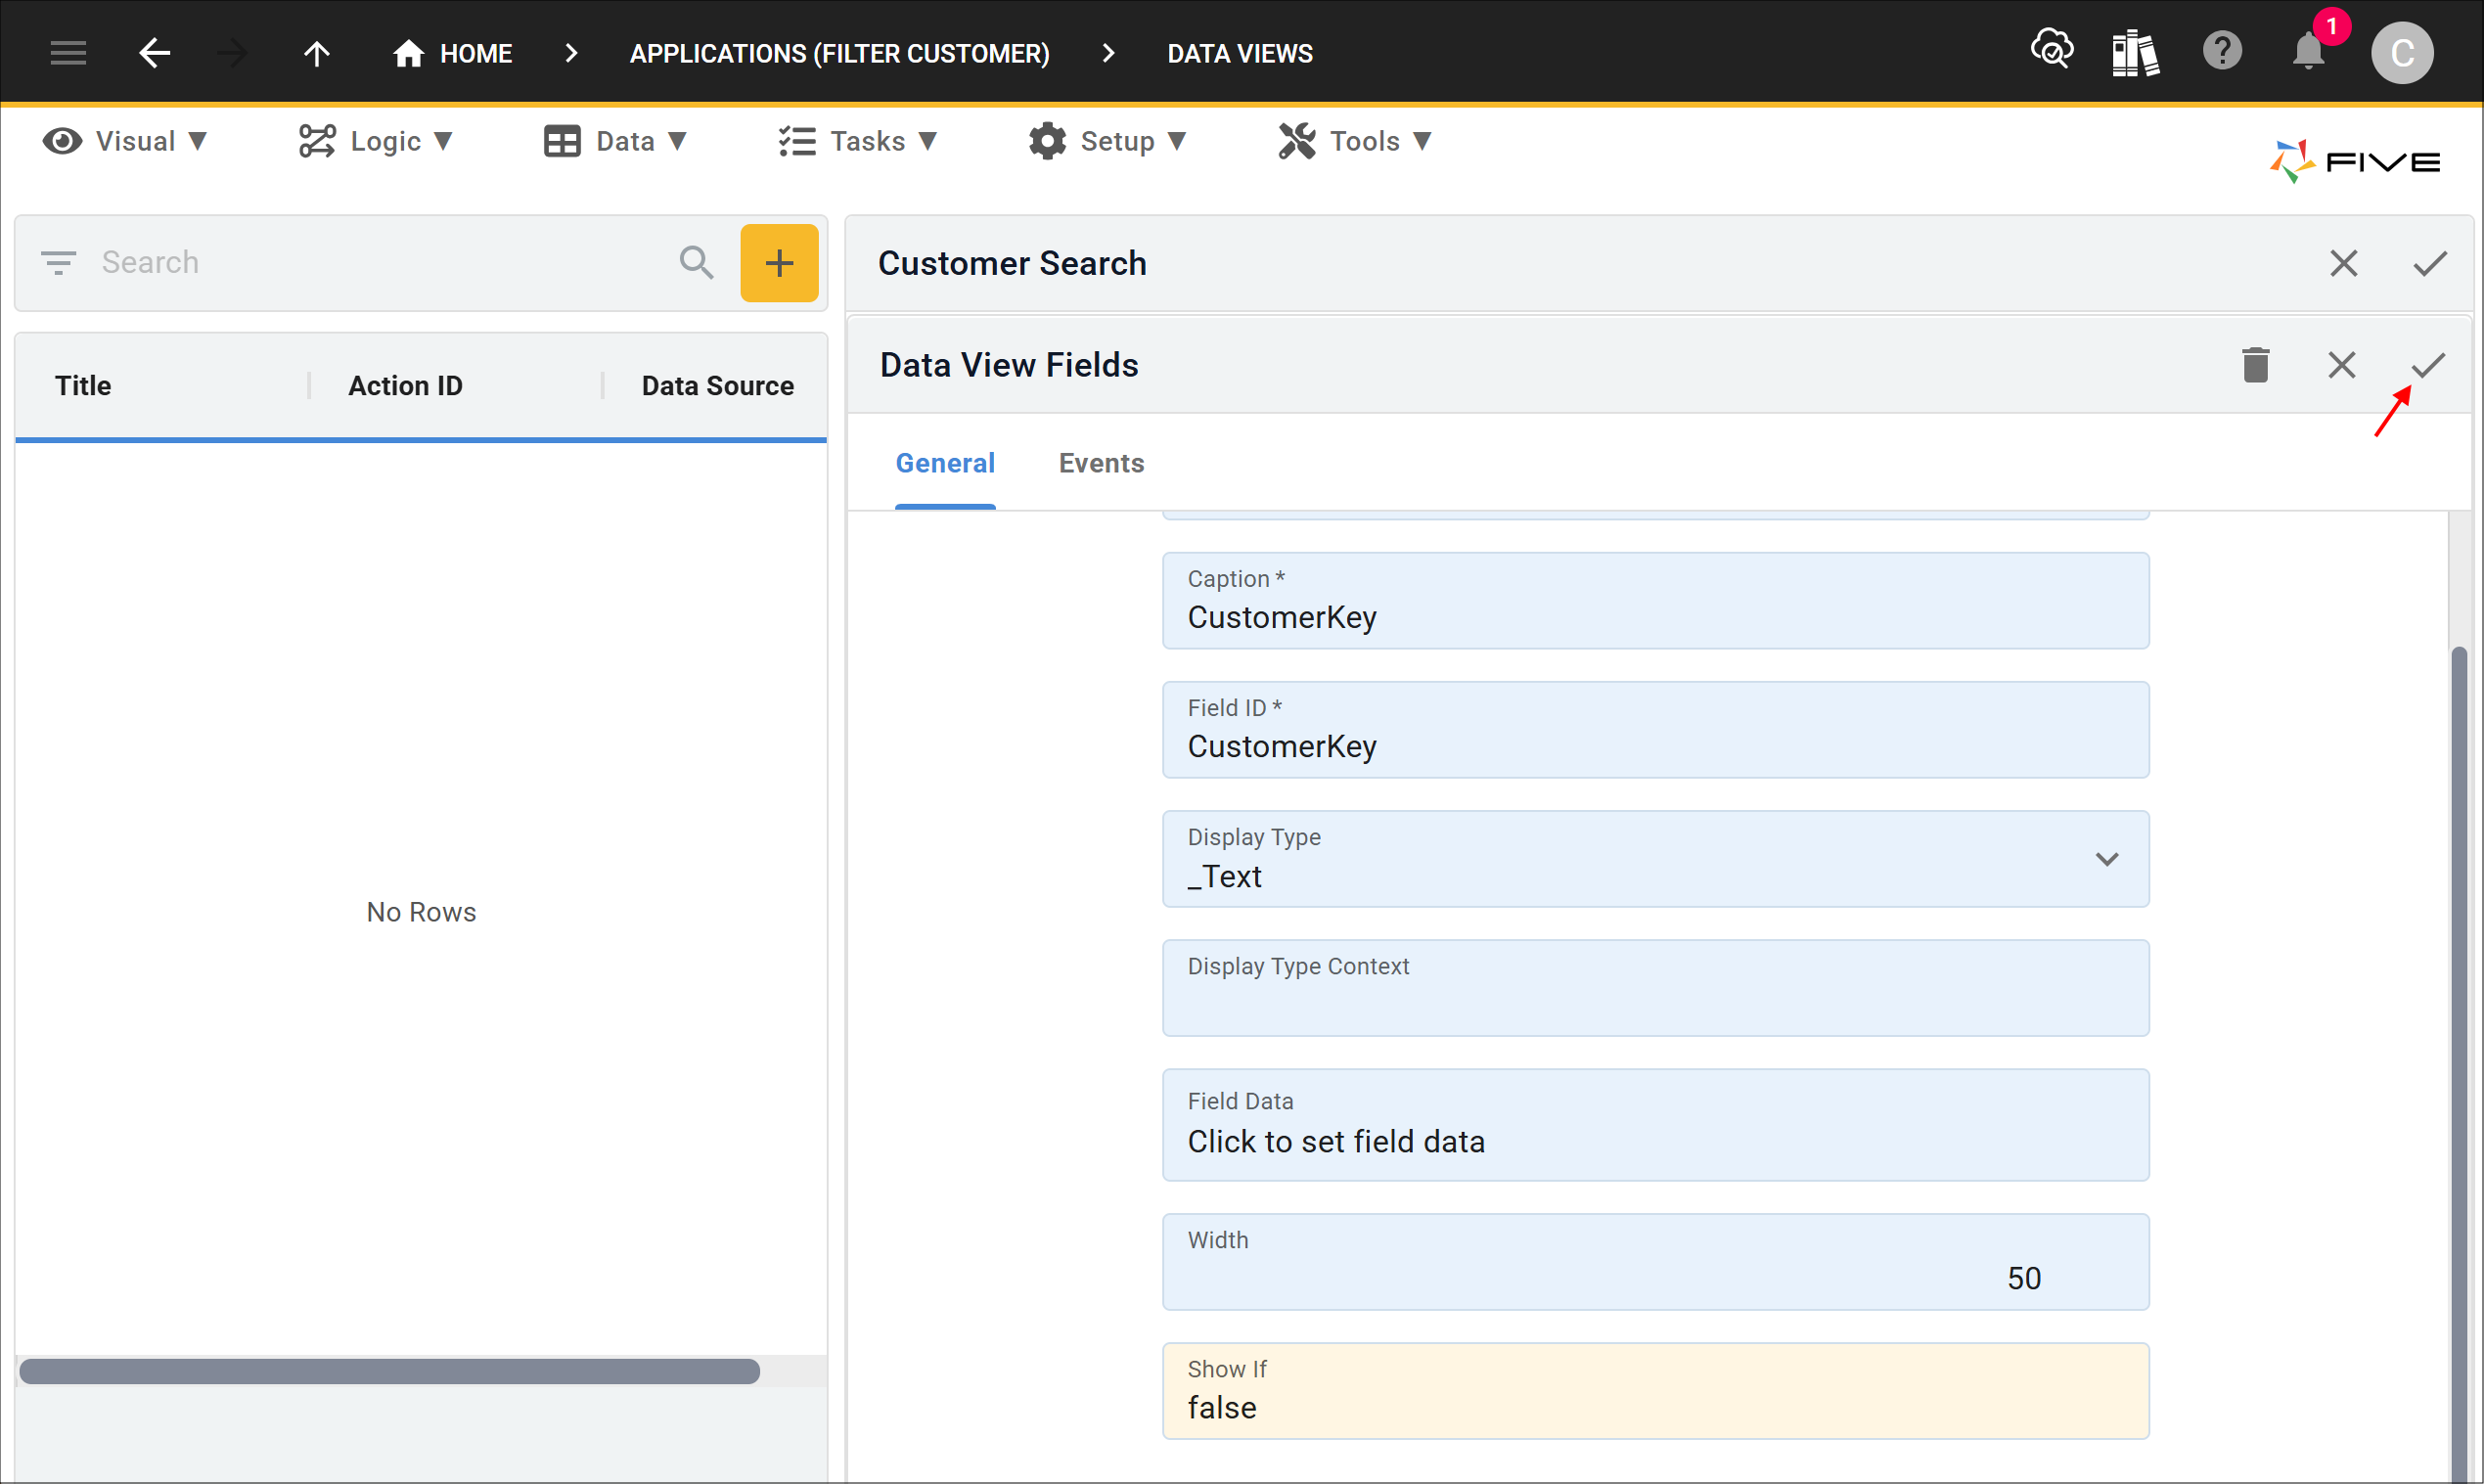
9. Click the Cancel button in the Show If field and type false.
10. Click the Save button in the form app bar.
11. Select the FirstName record.
12. Either click the Edit button in the form app bar or click directly in the Caption field.
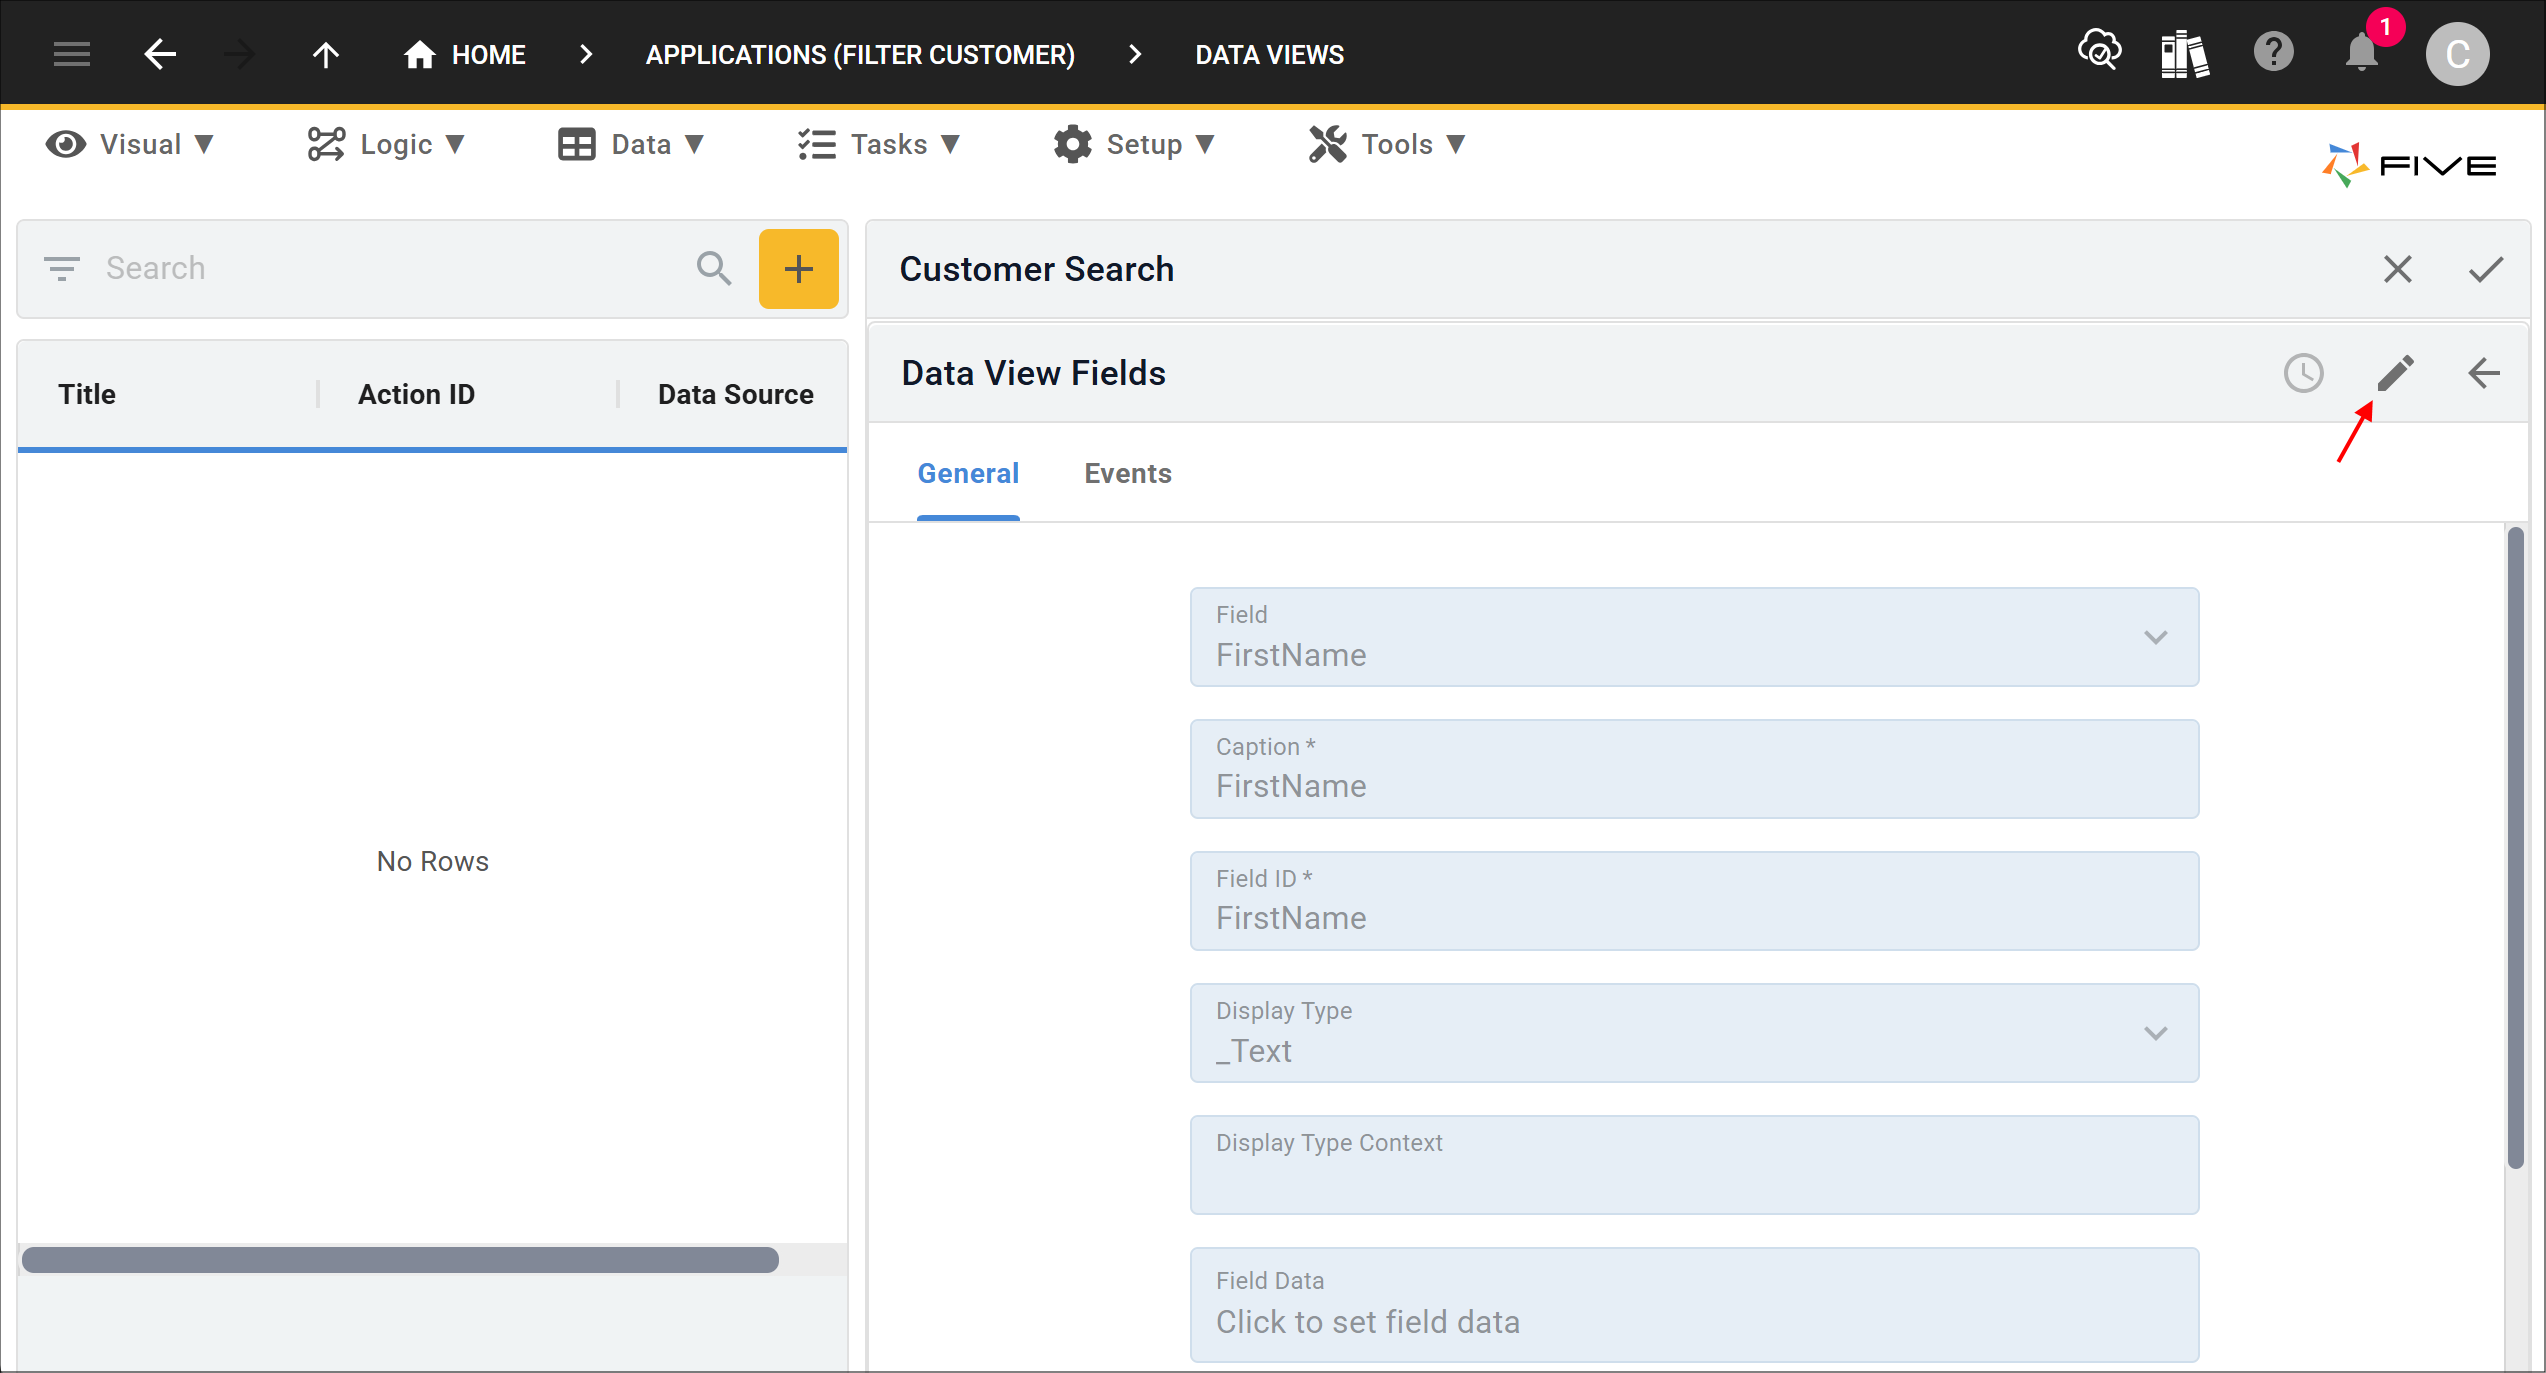
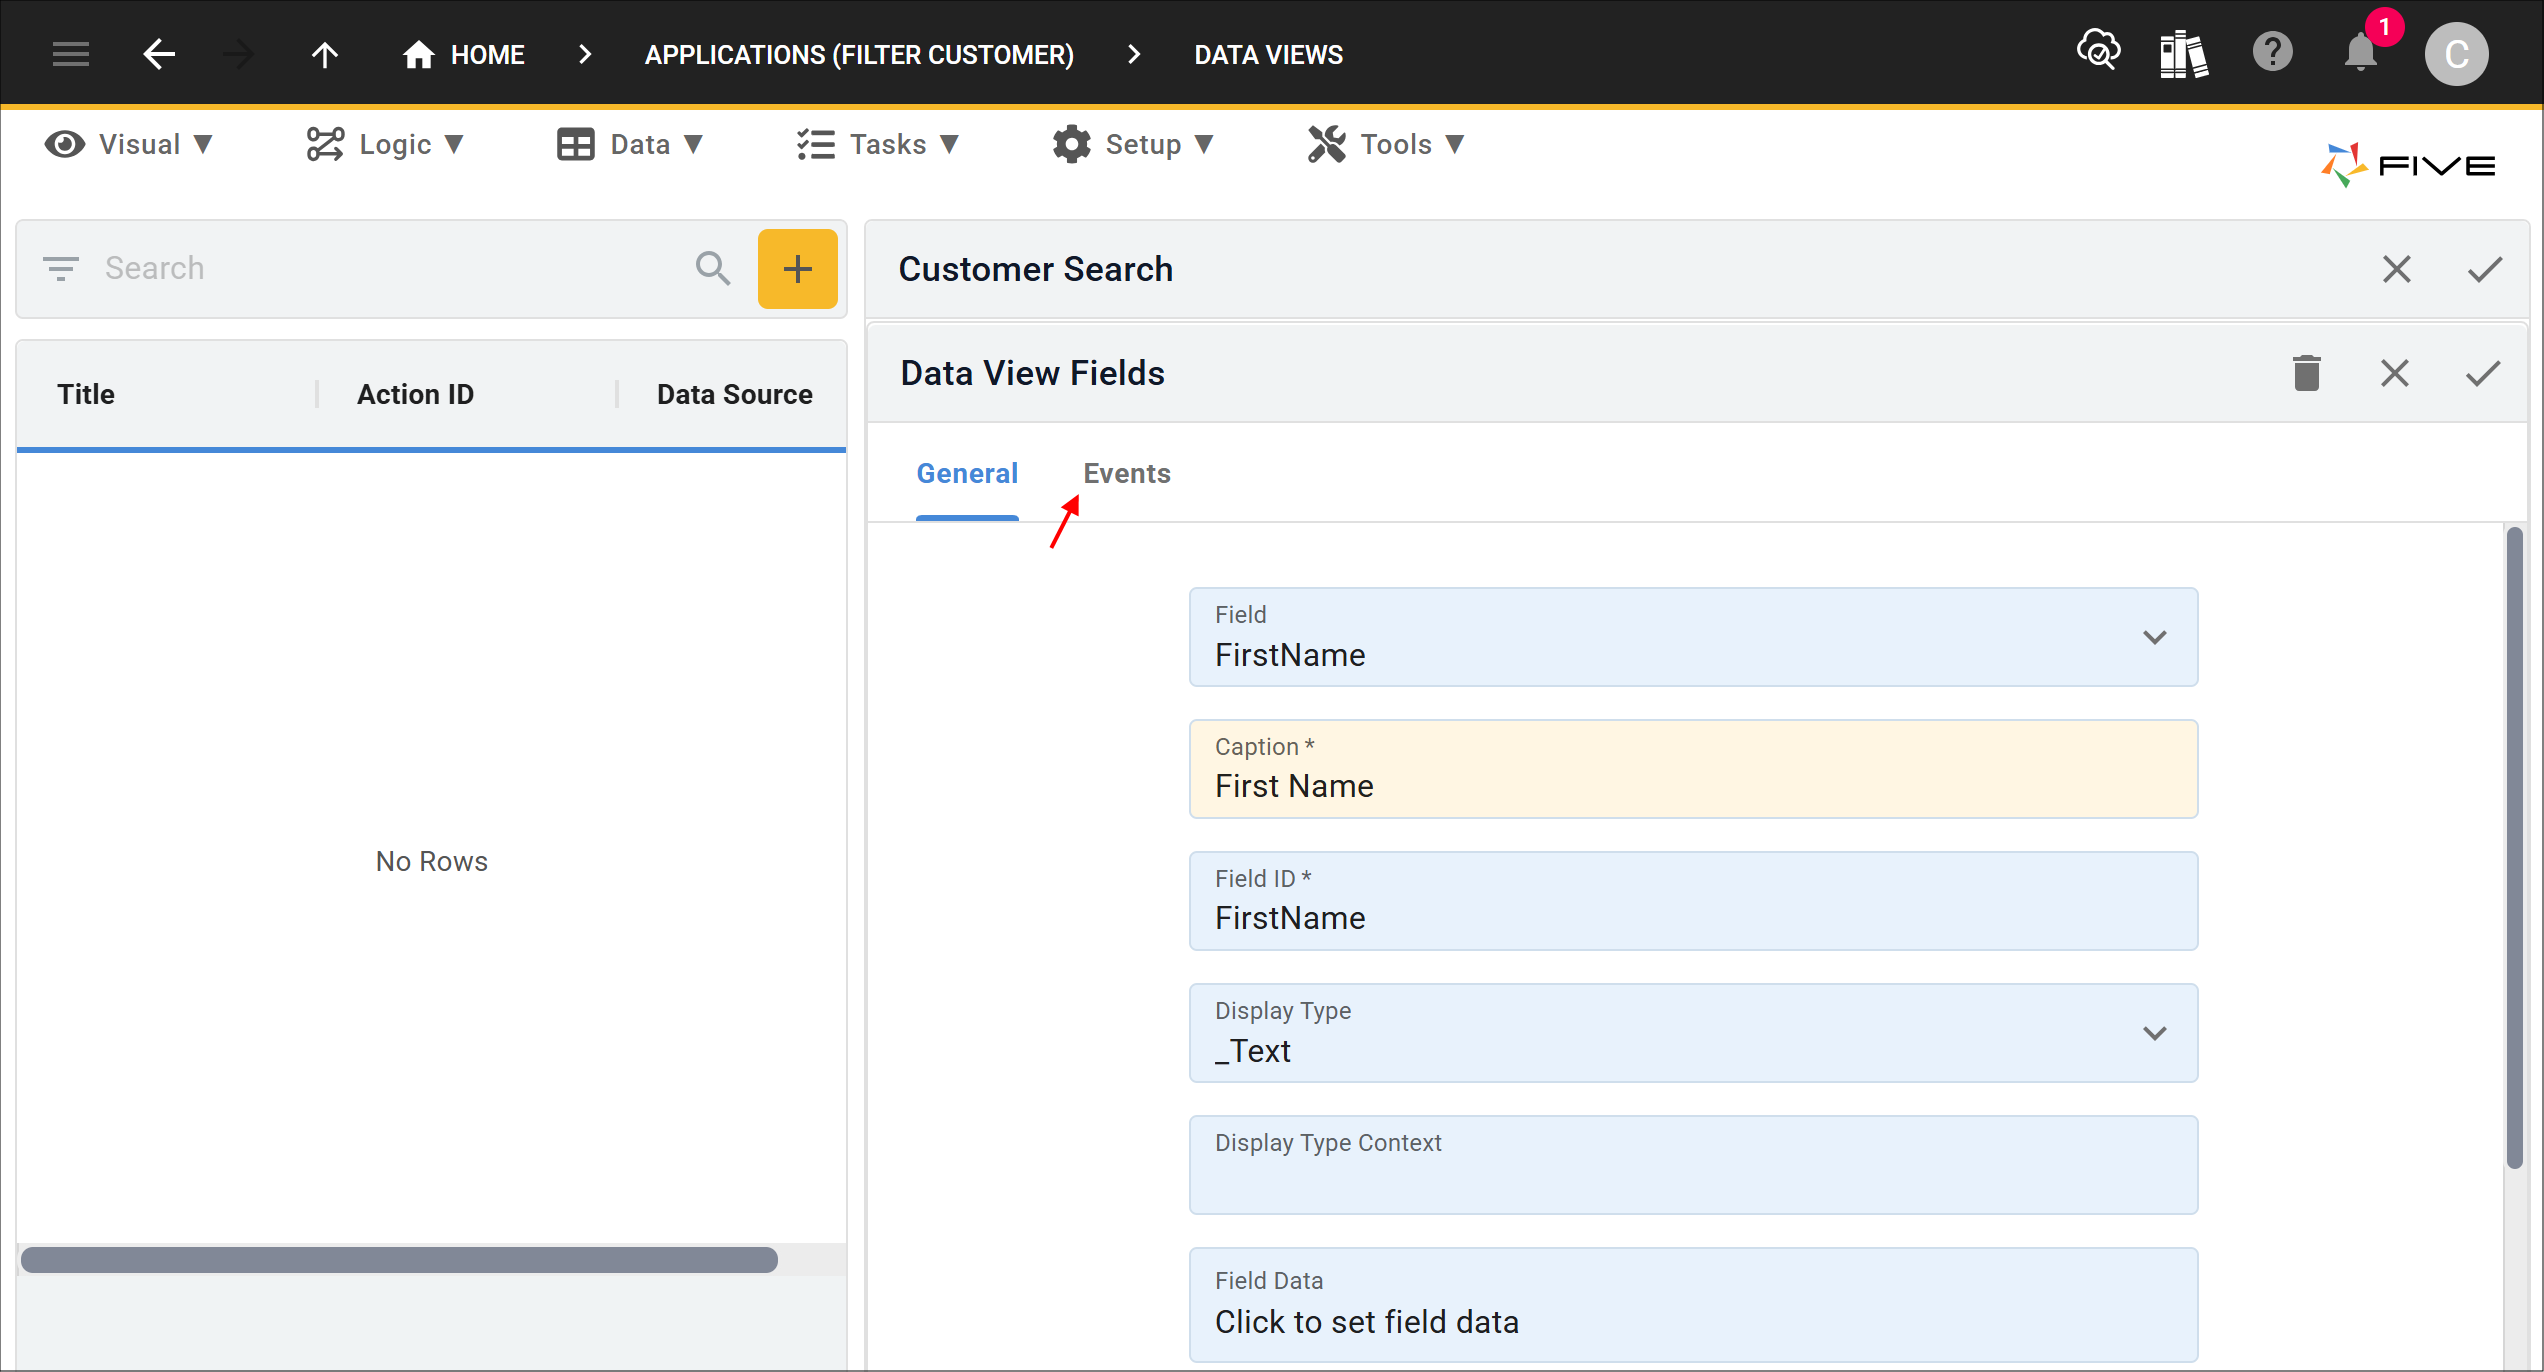
13. Add a space between First and Name.
14. Click the Events tab.
15. Click the lookup icon in the On Click field and select ShowCustomerRecord.
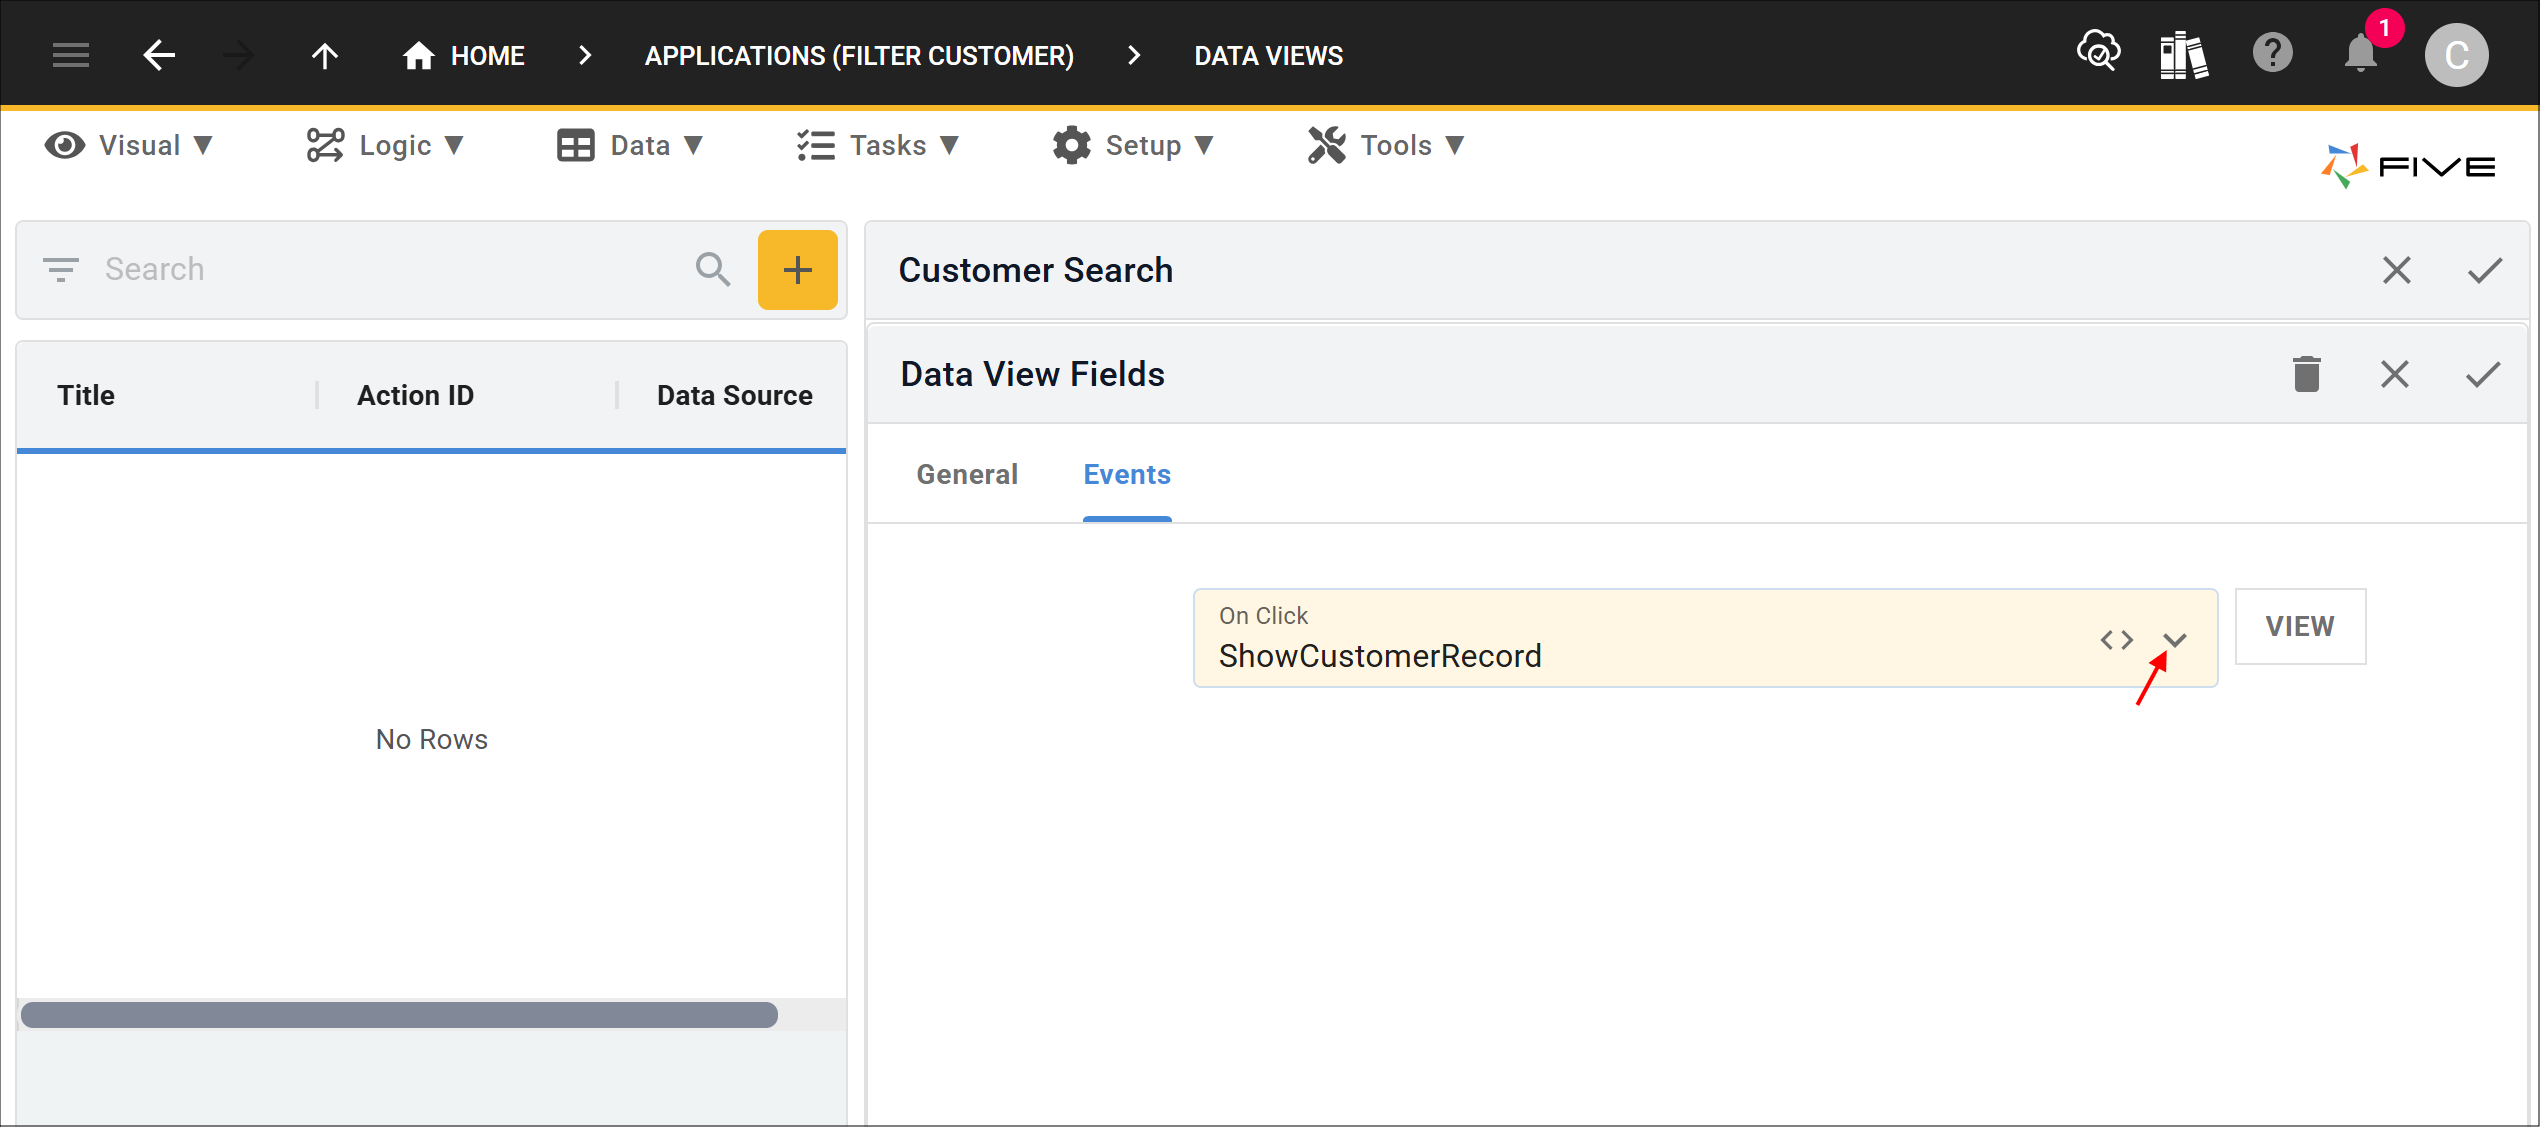
16. Click the Save button in the form app bar.

17. Select the LastName record.

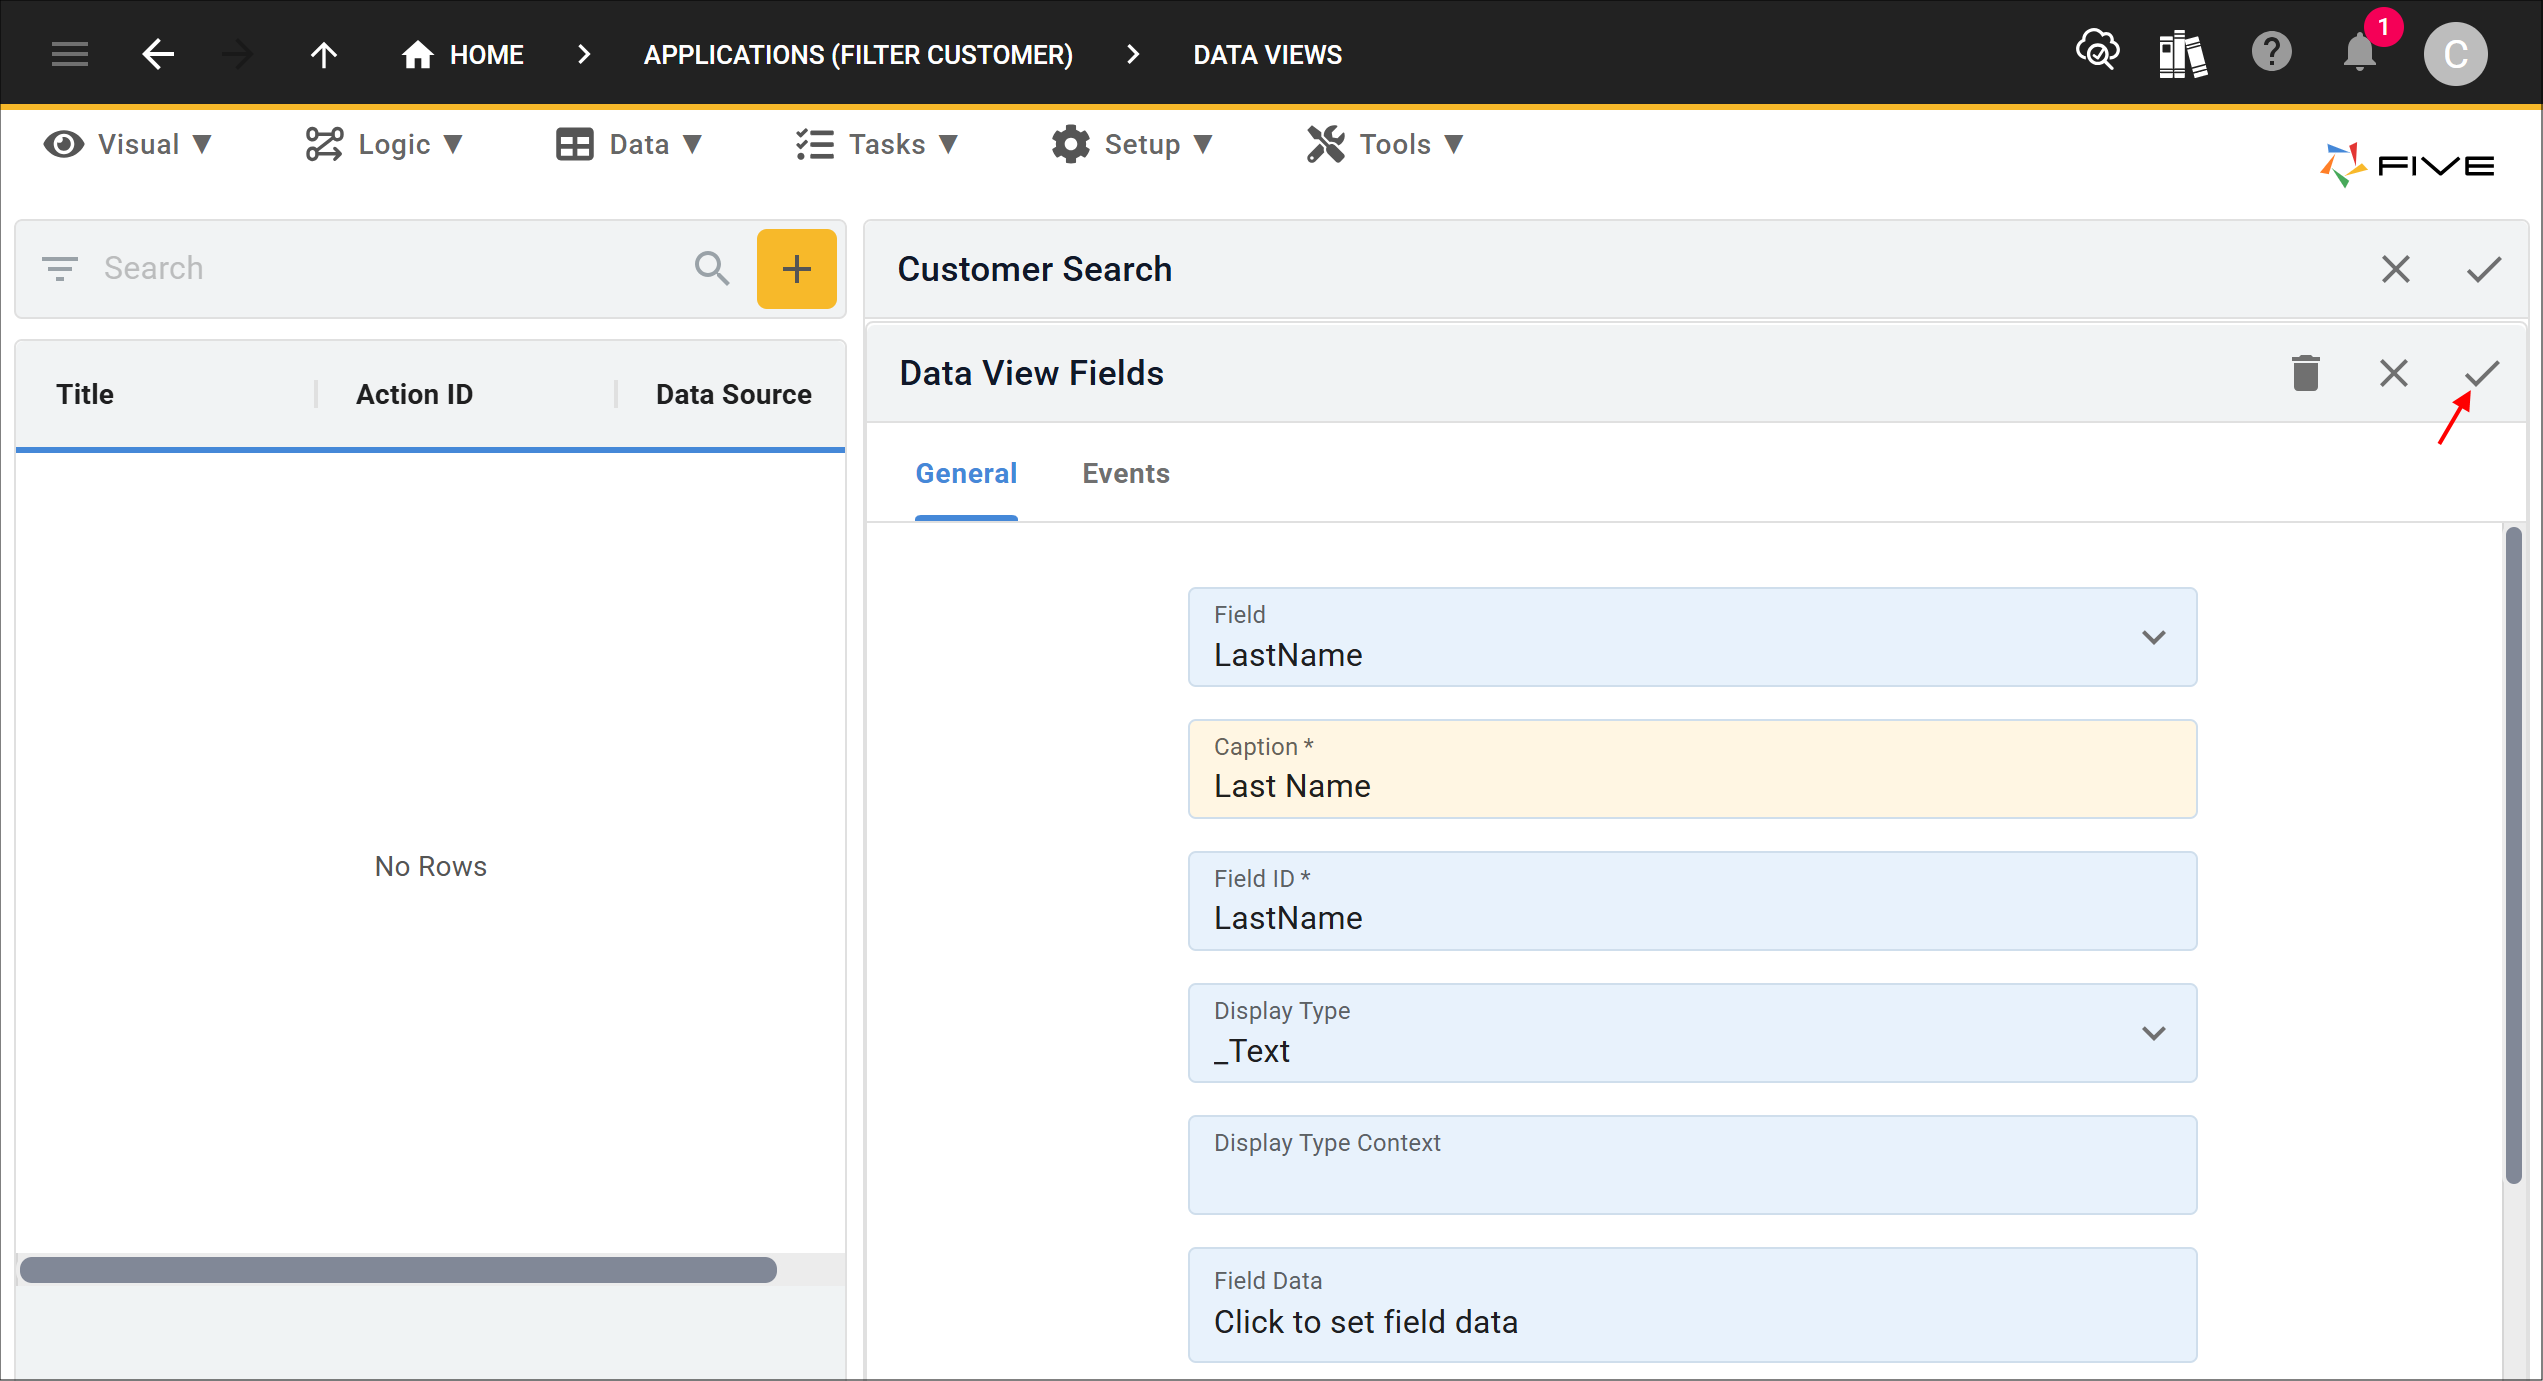
18. Either click the Edit button in the form app bar or click directly in the Caption field.
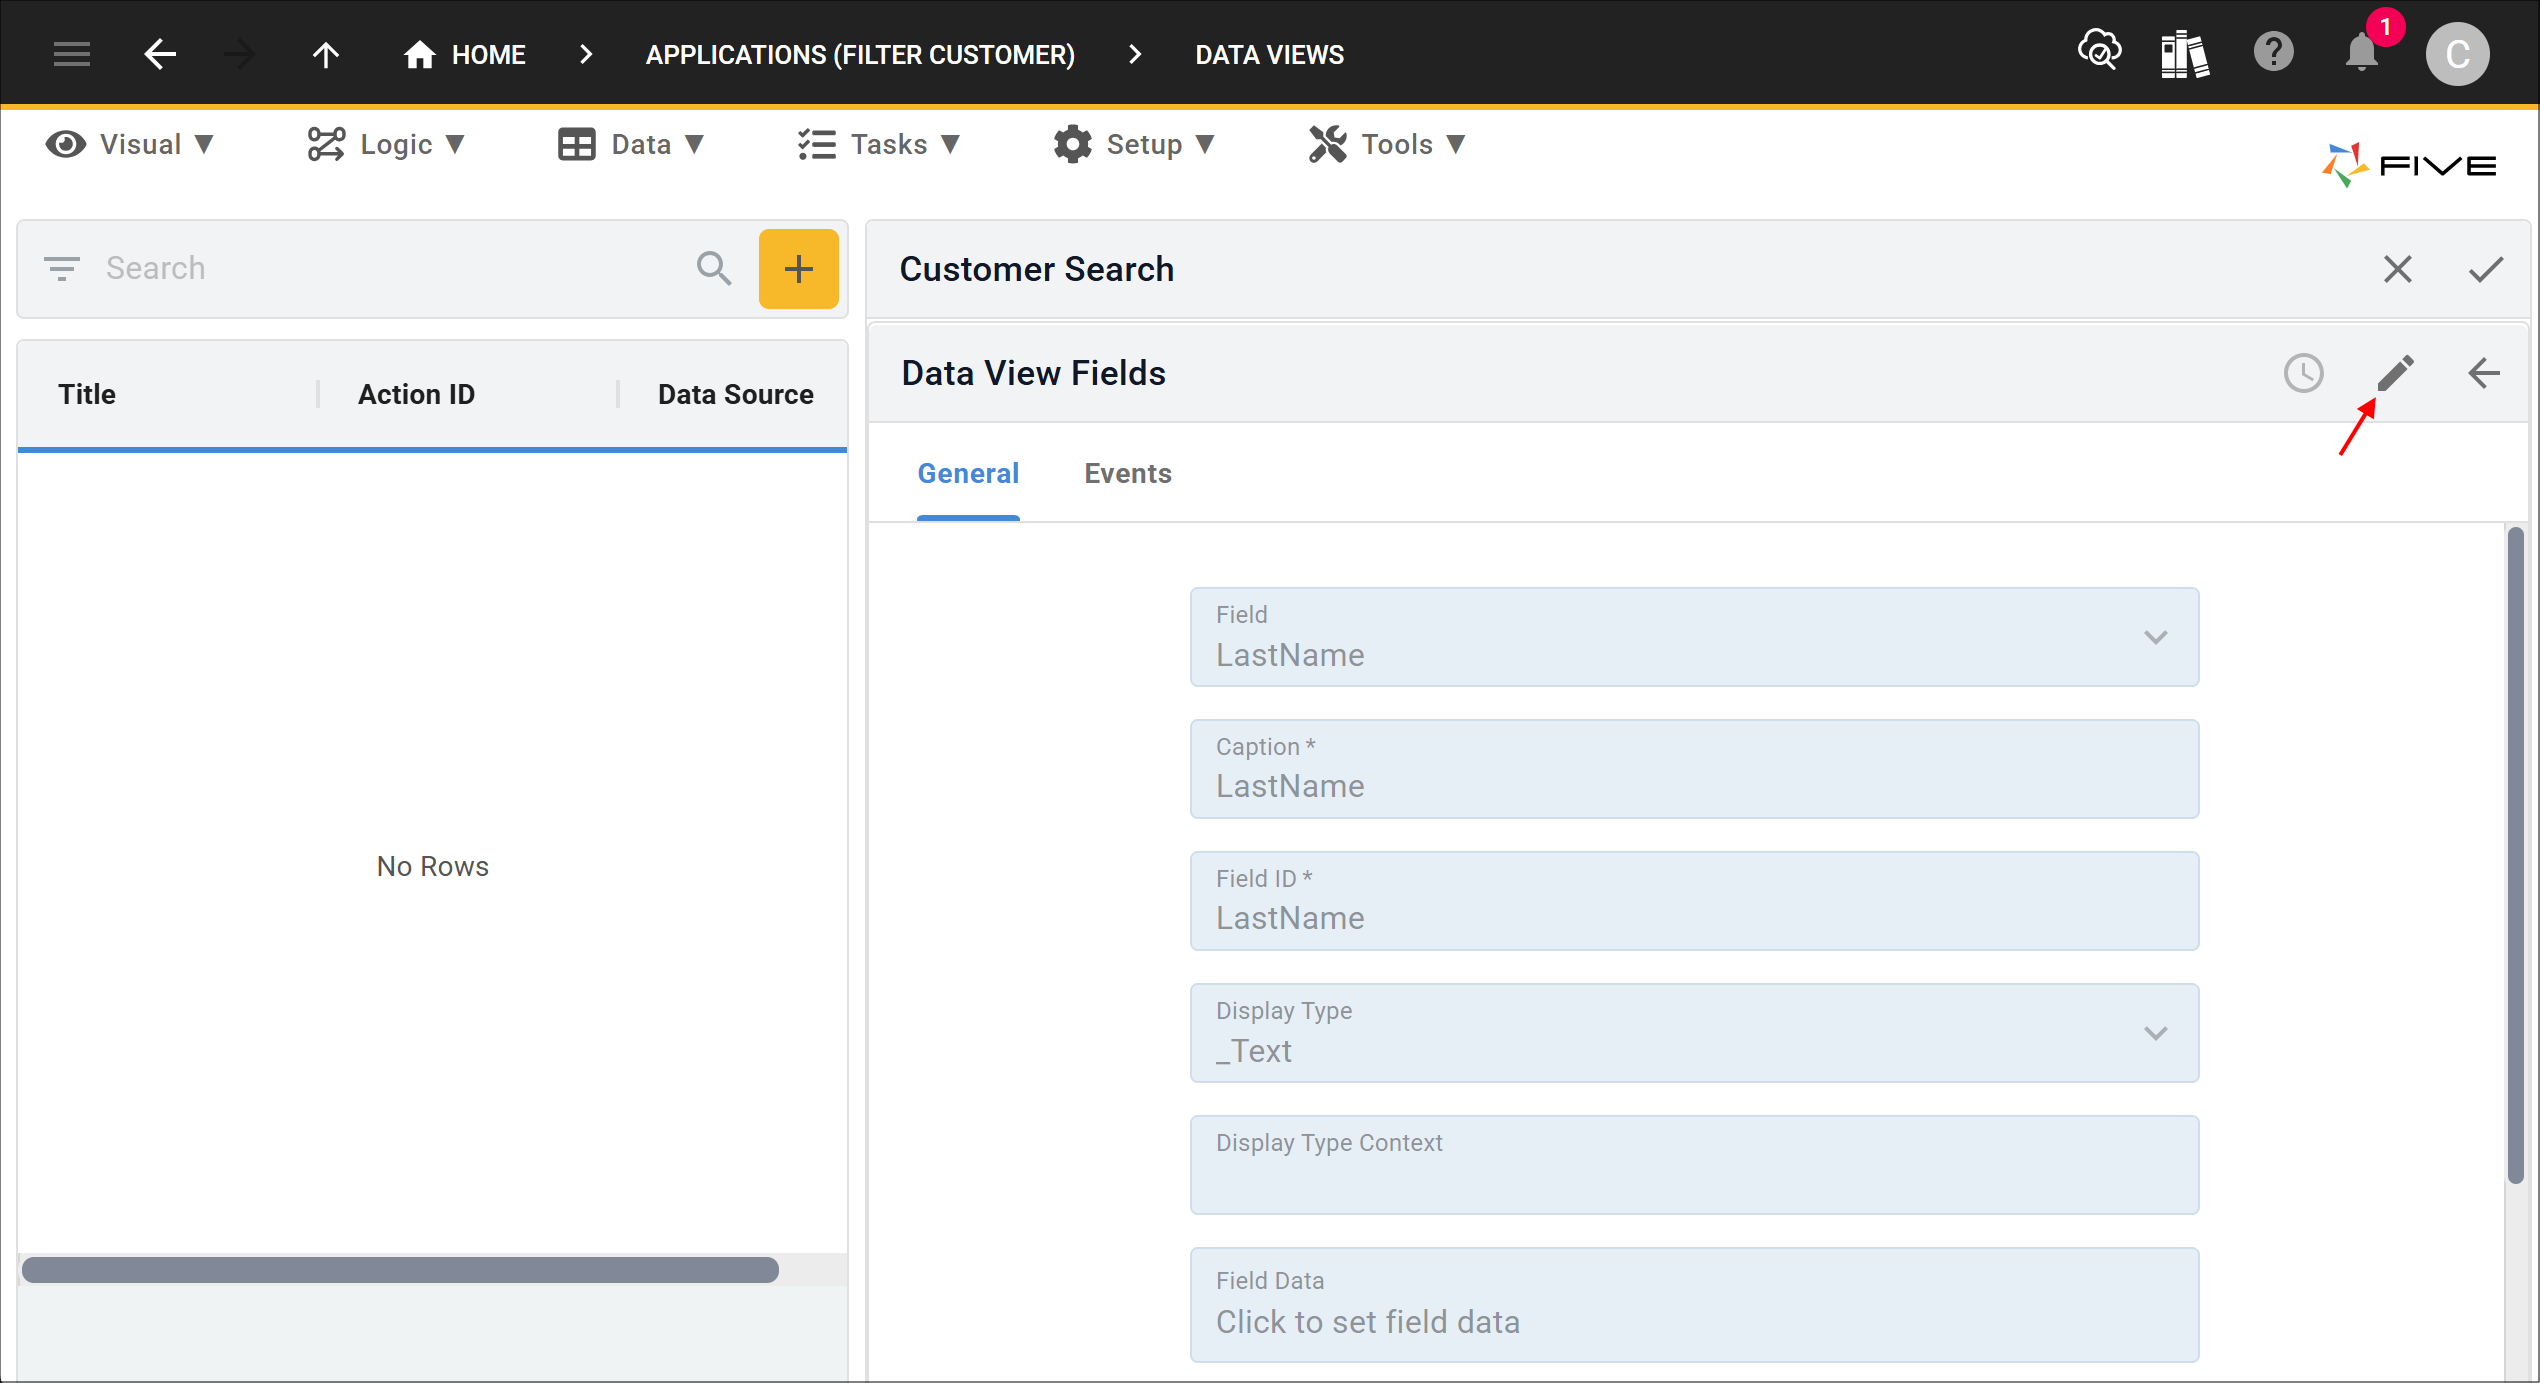
19. Add a space between Last and Name.
20. Click the Save button in the form app bar.
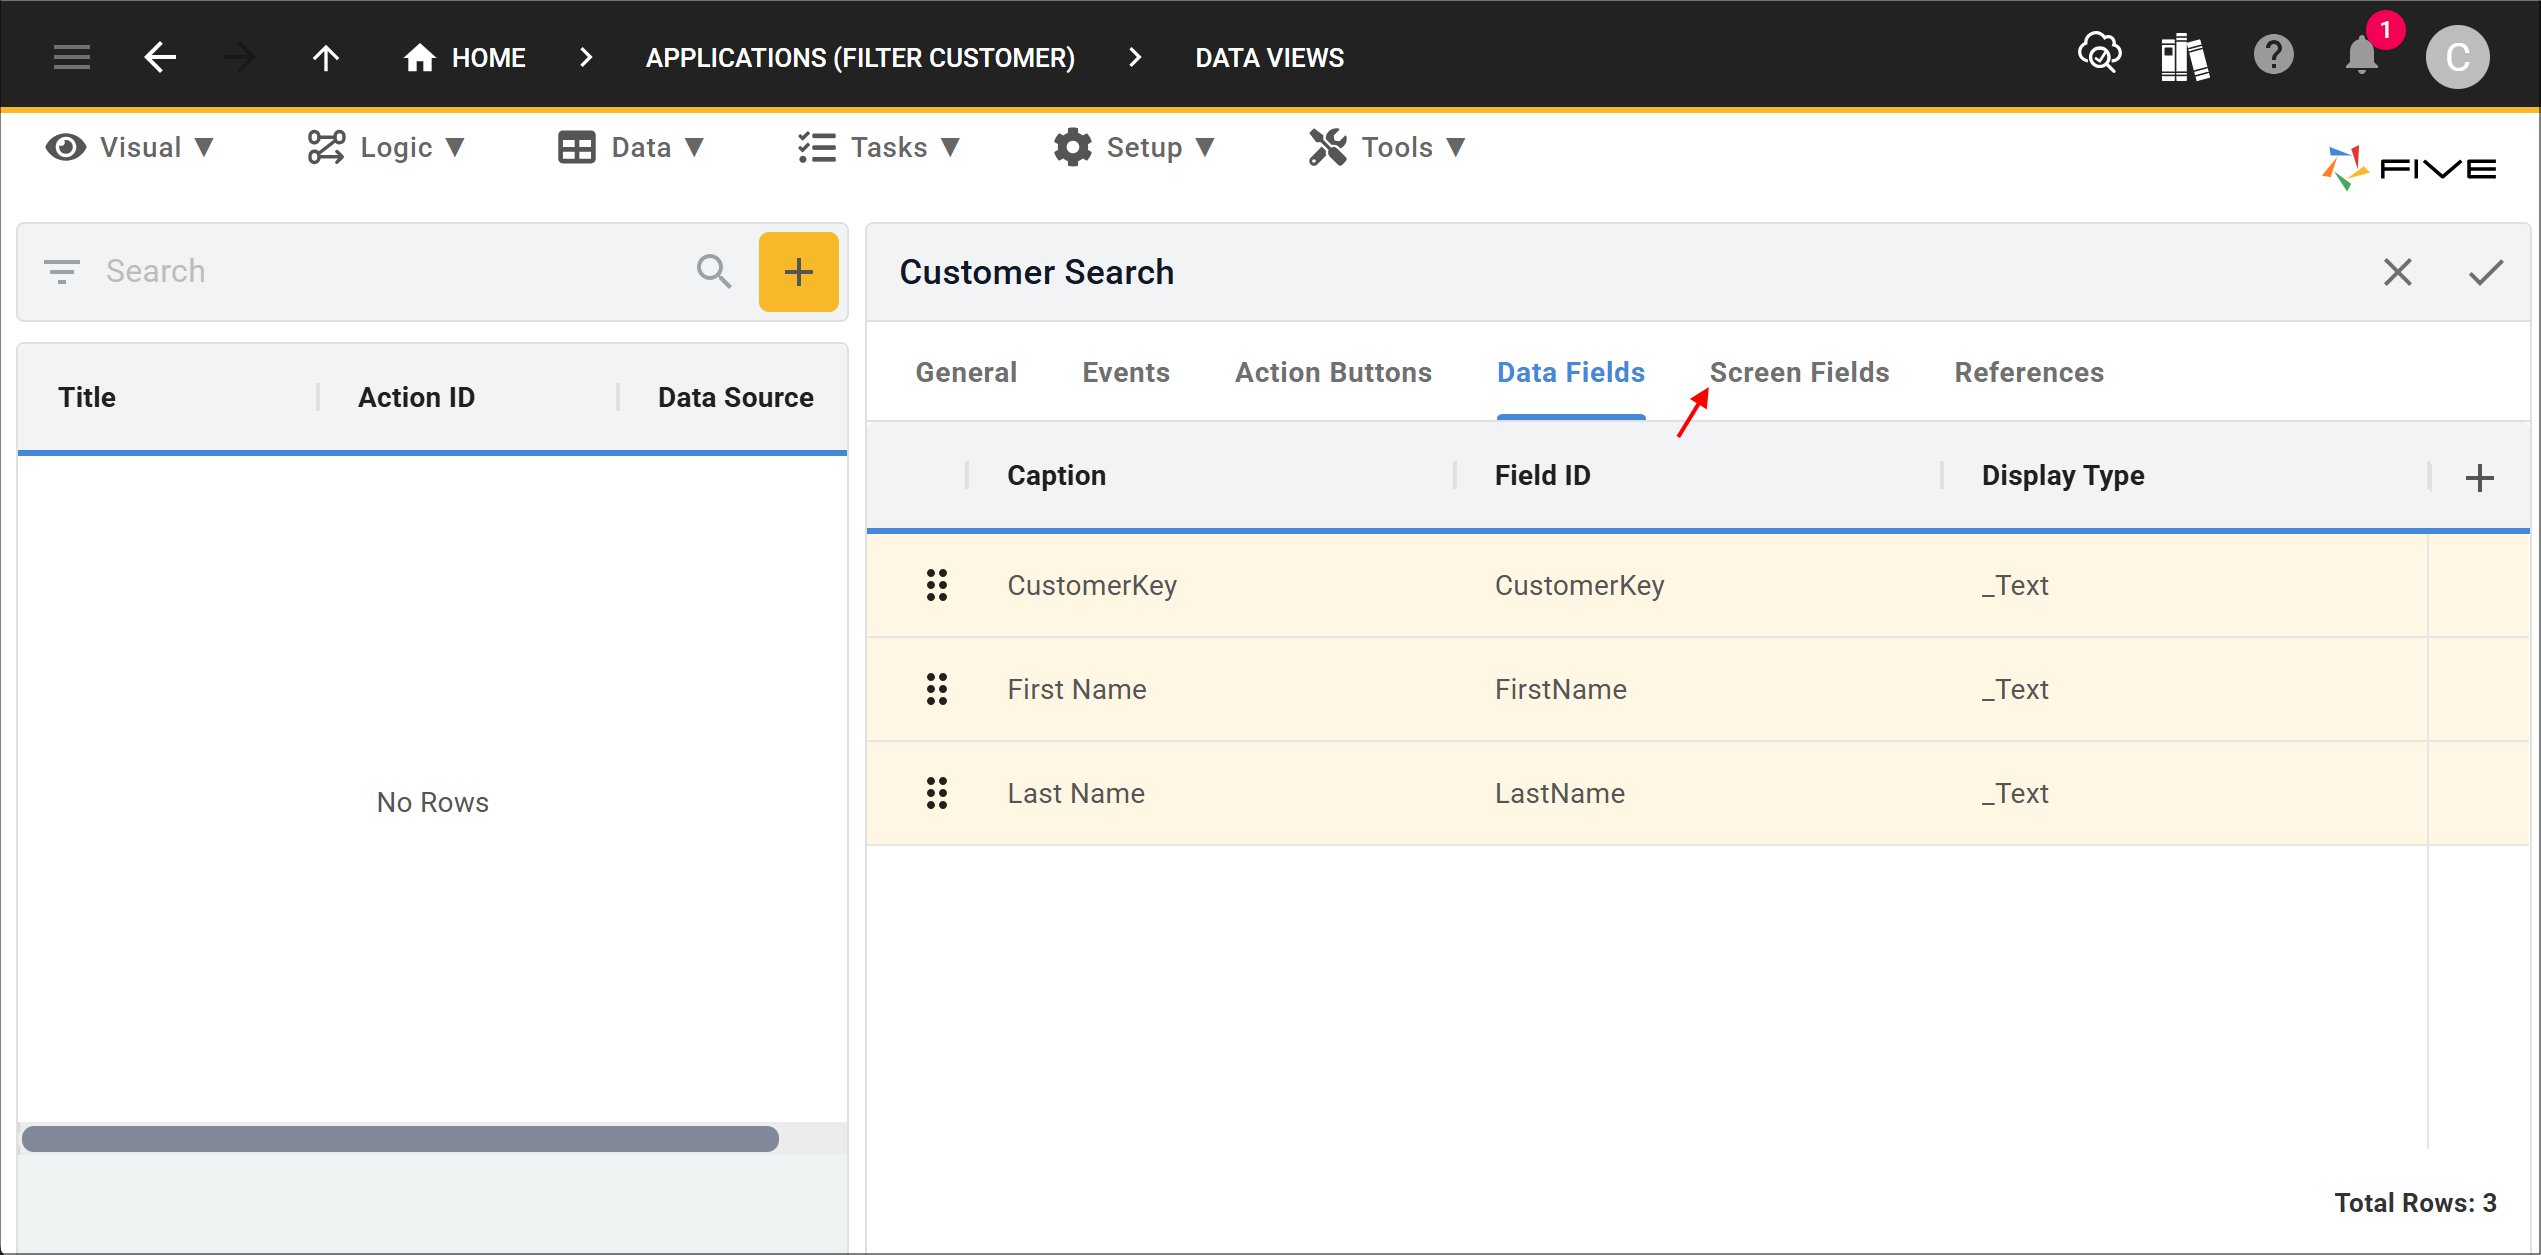
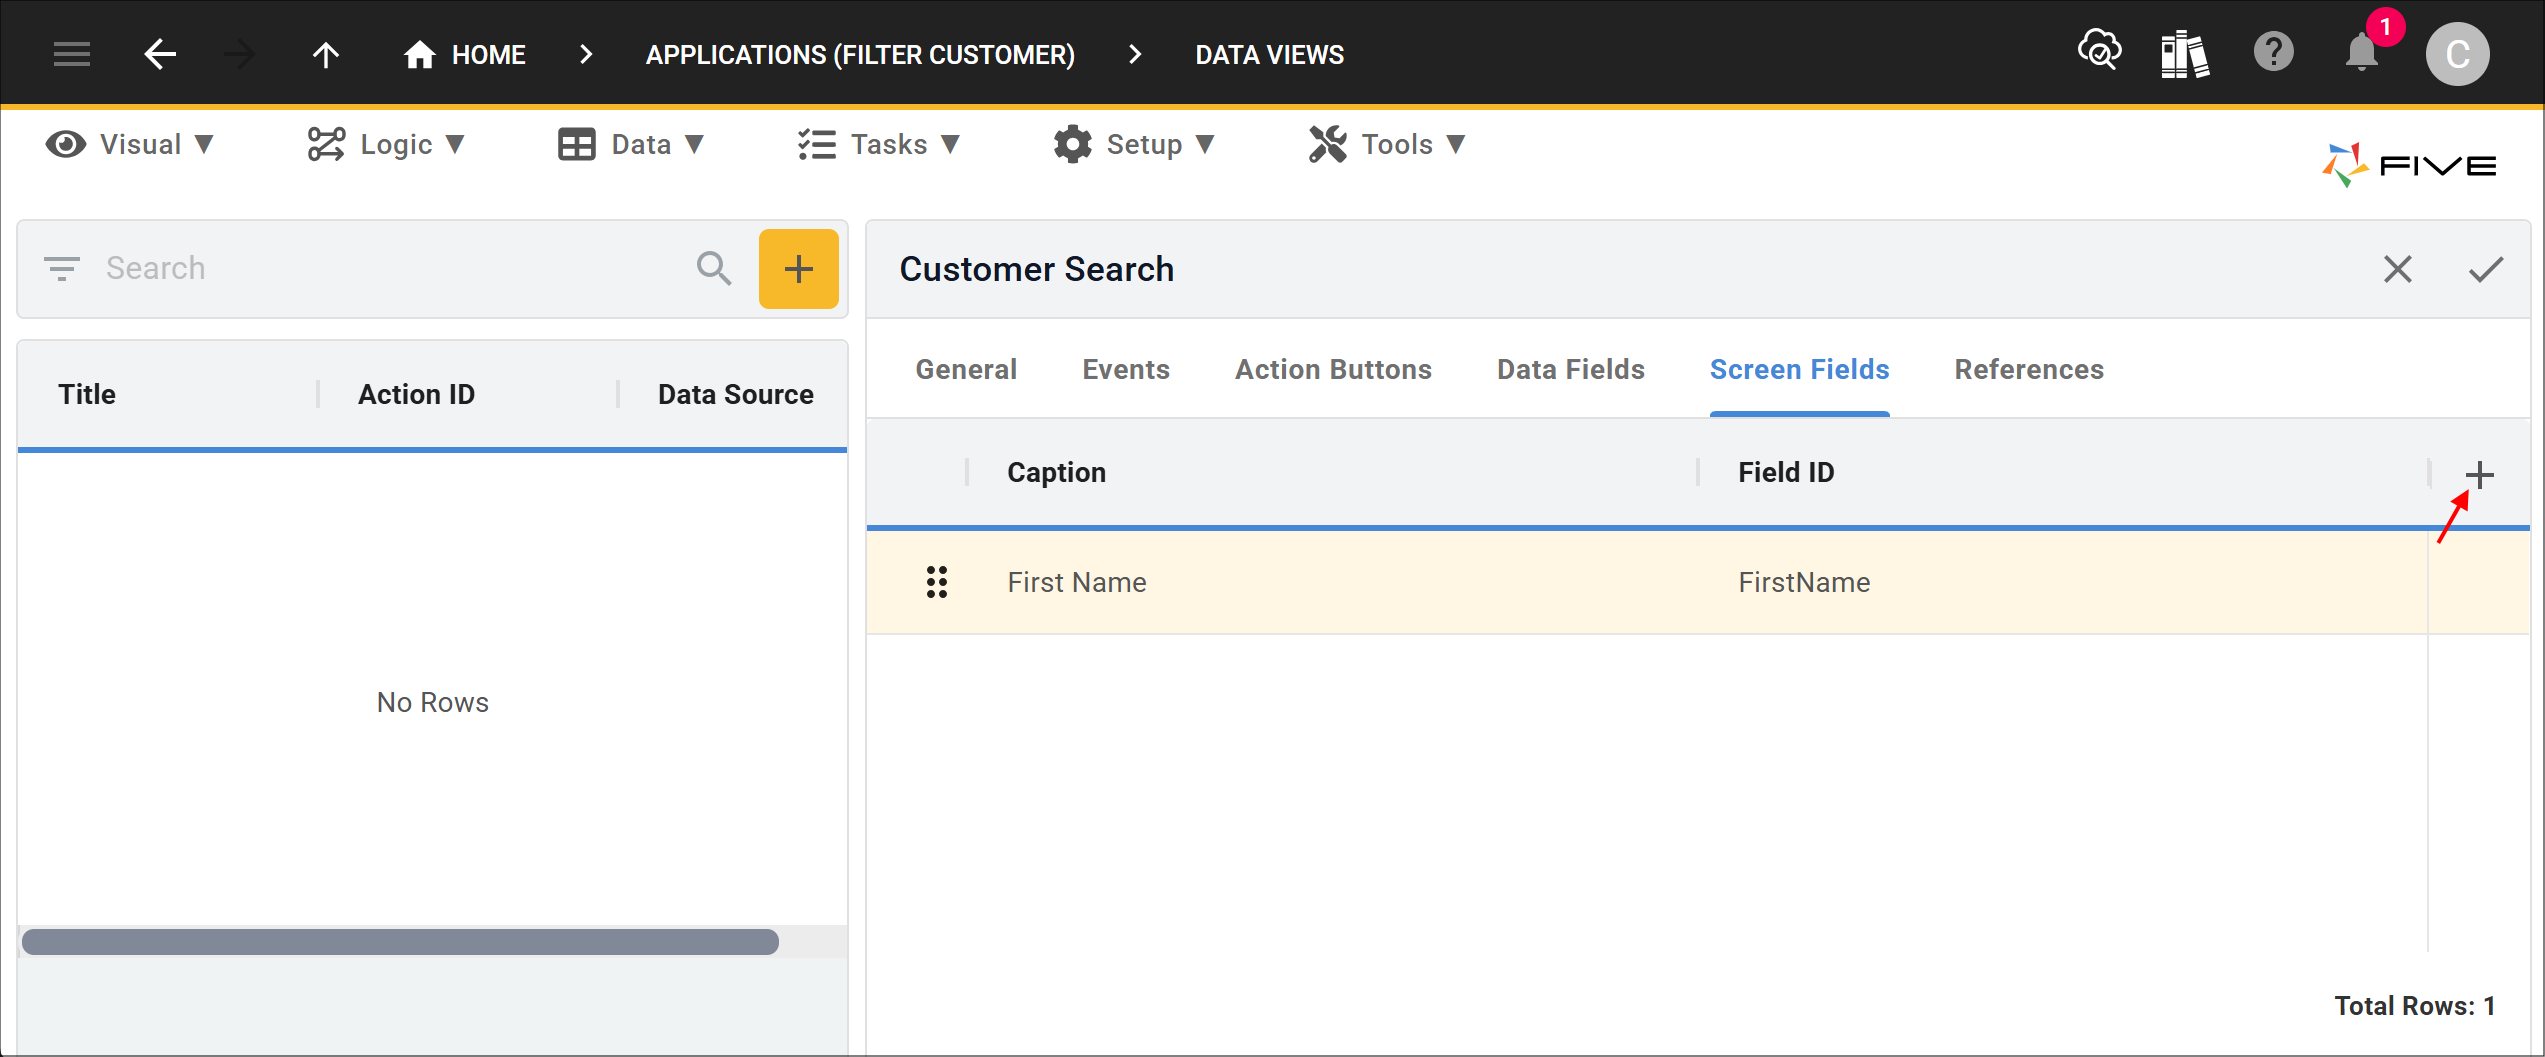
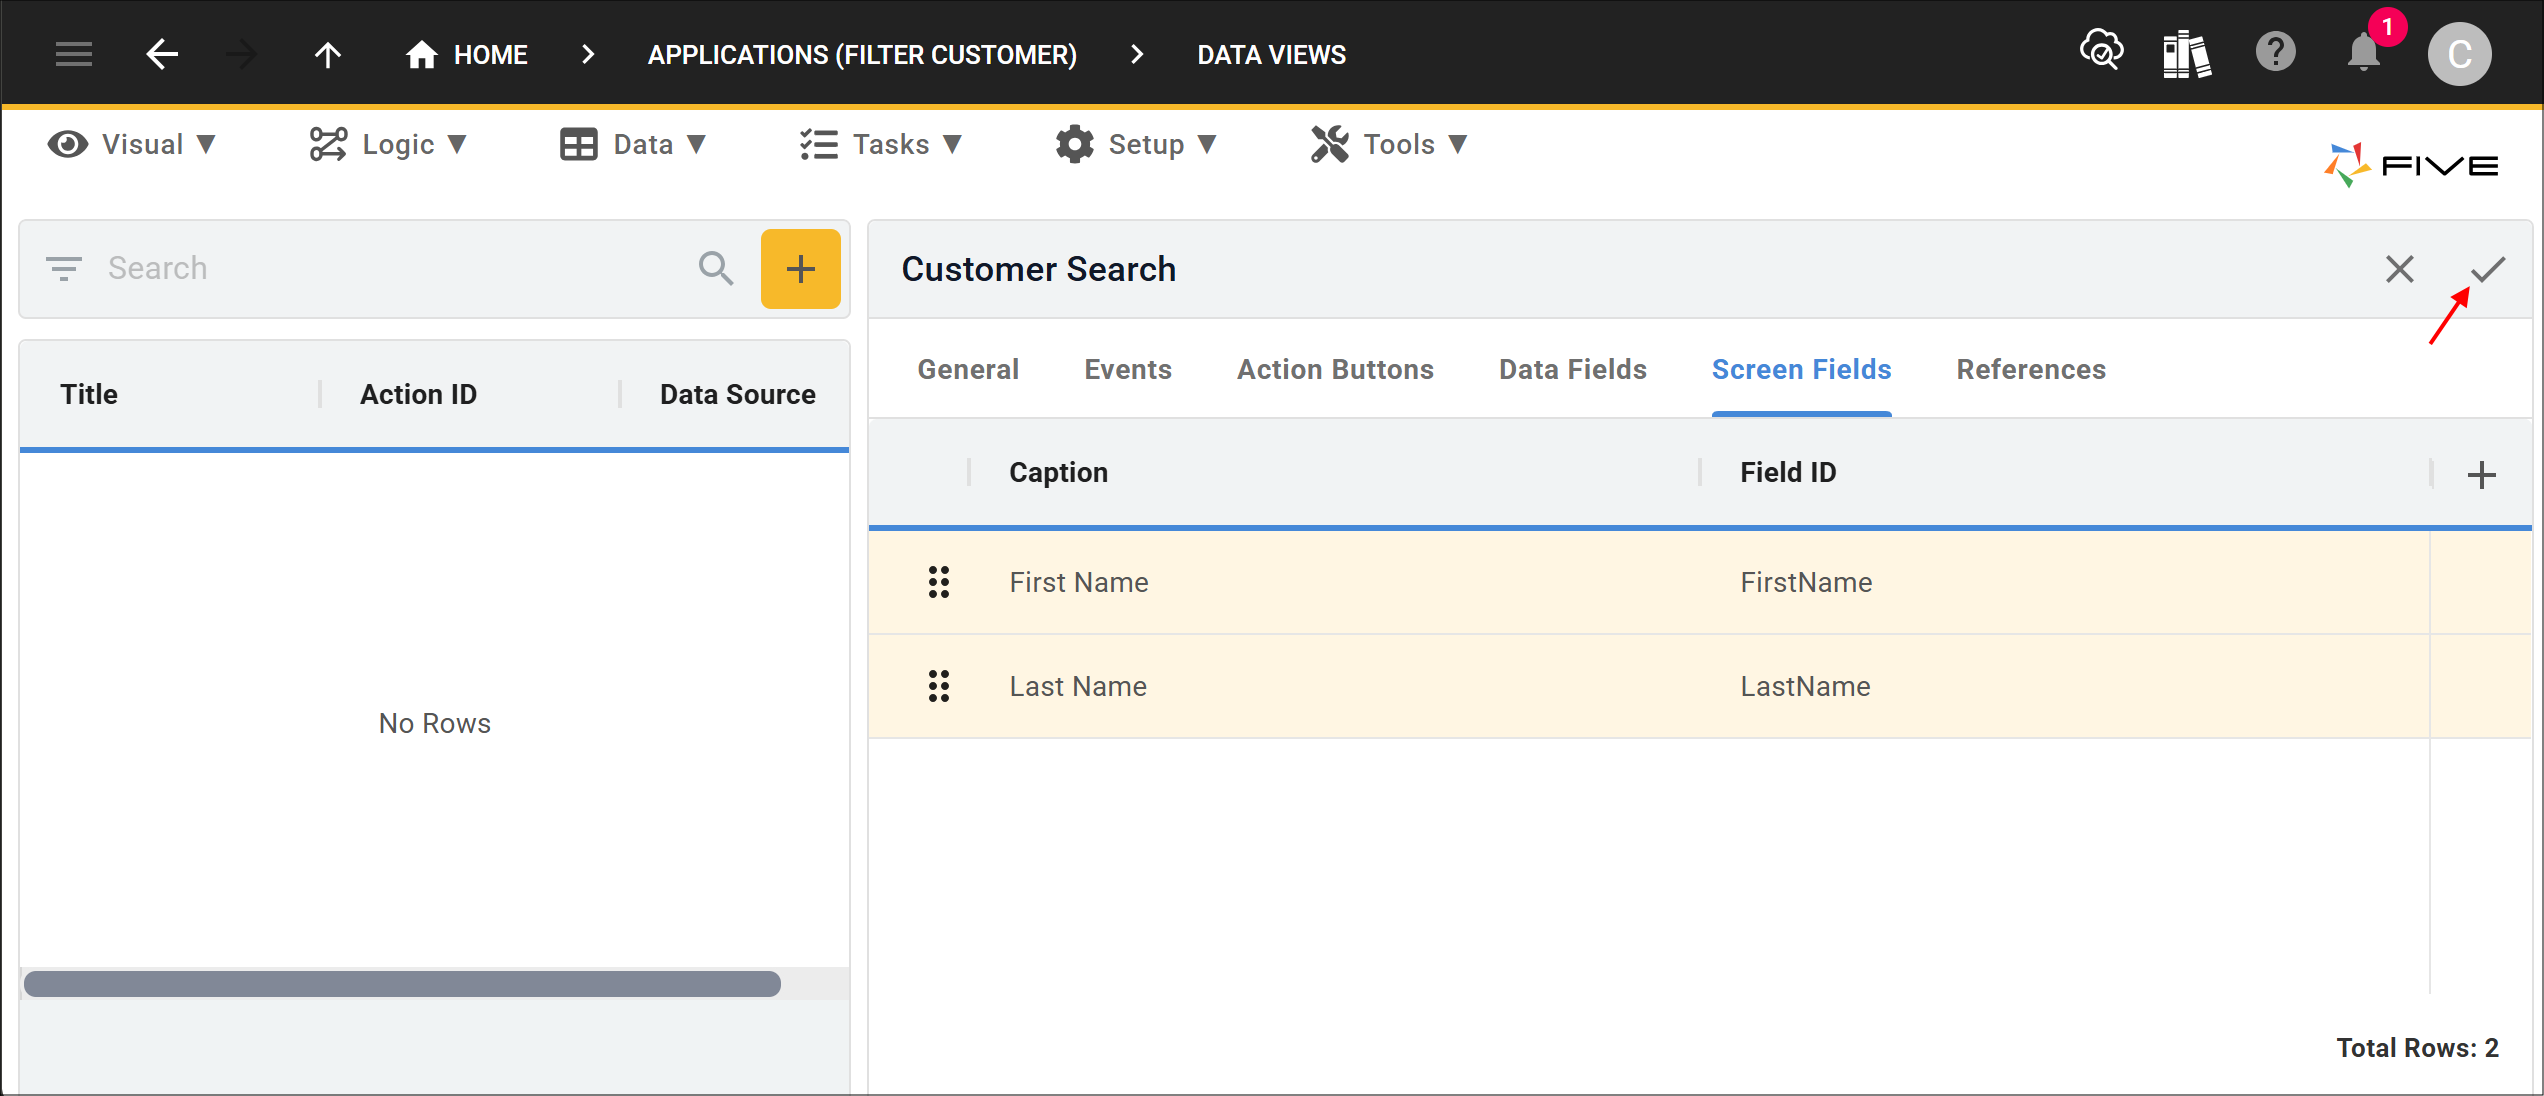
21. Click the Screen Fields tab.
22. Click the Add Screen Fields button.
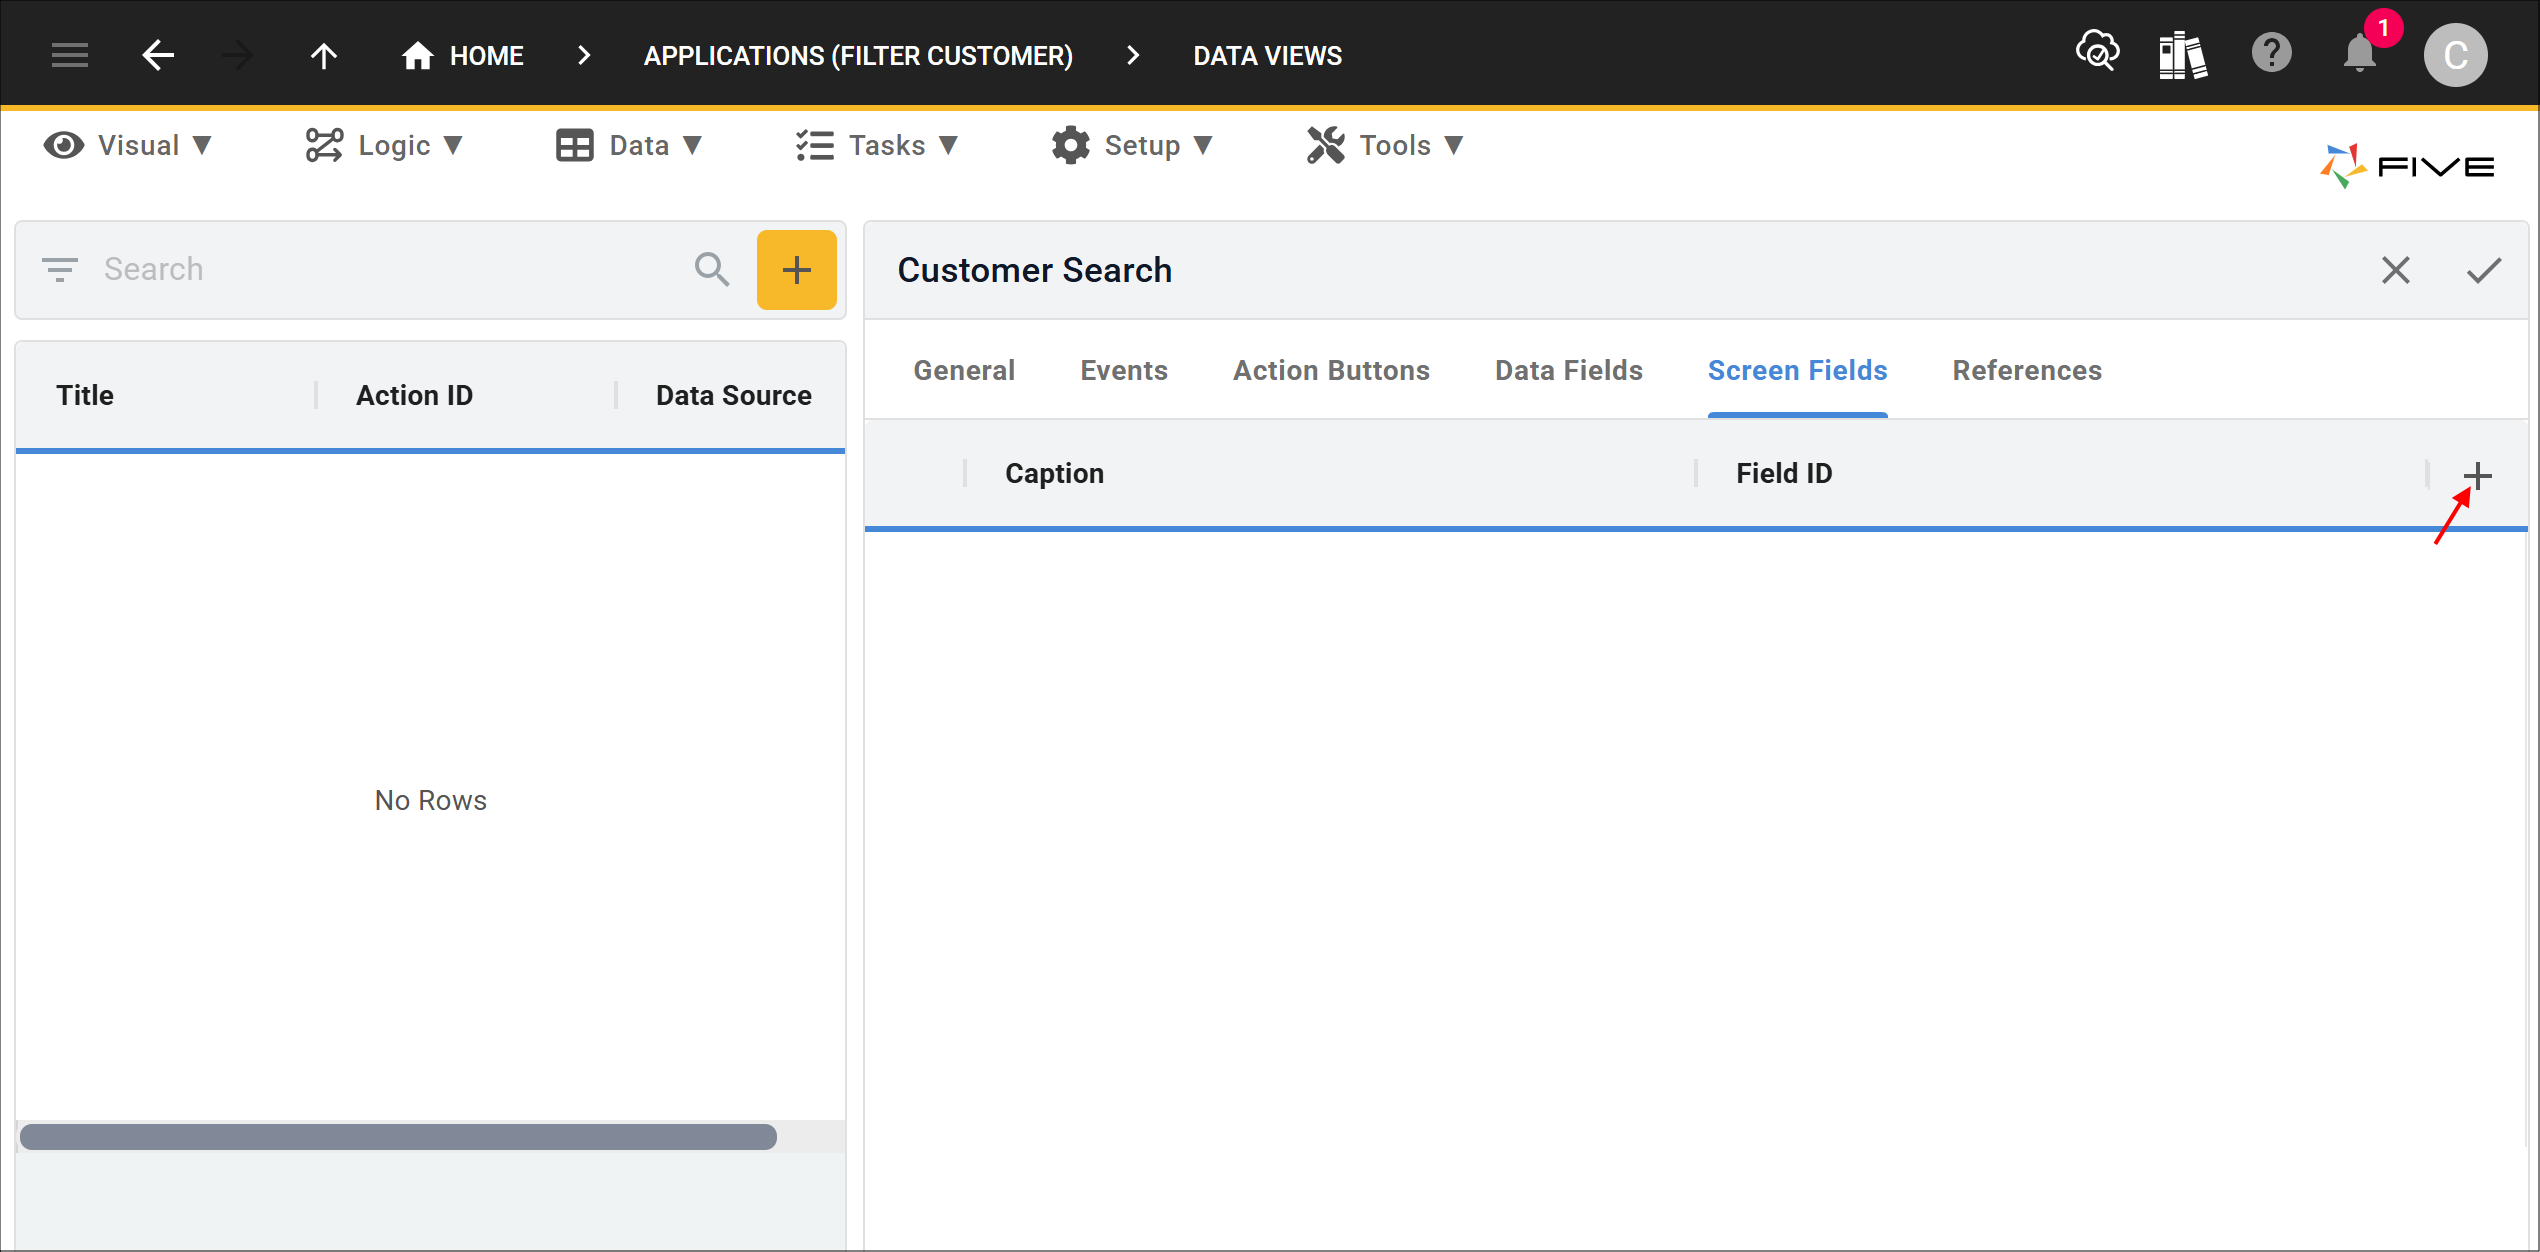
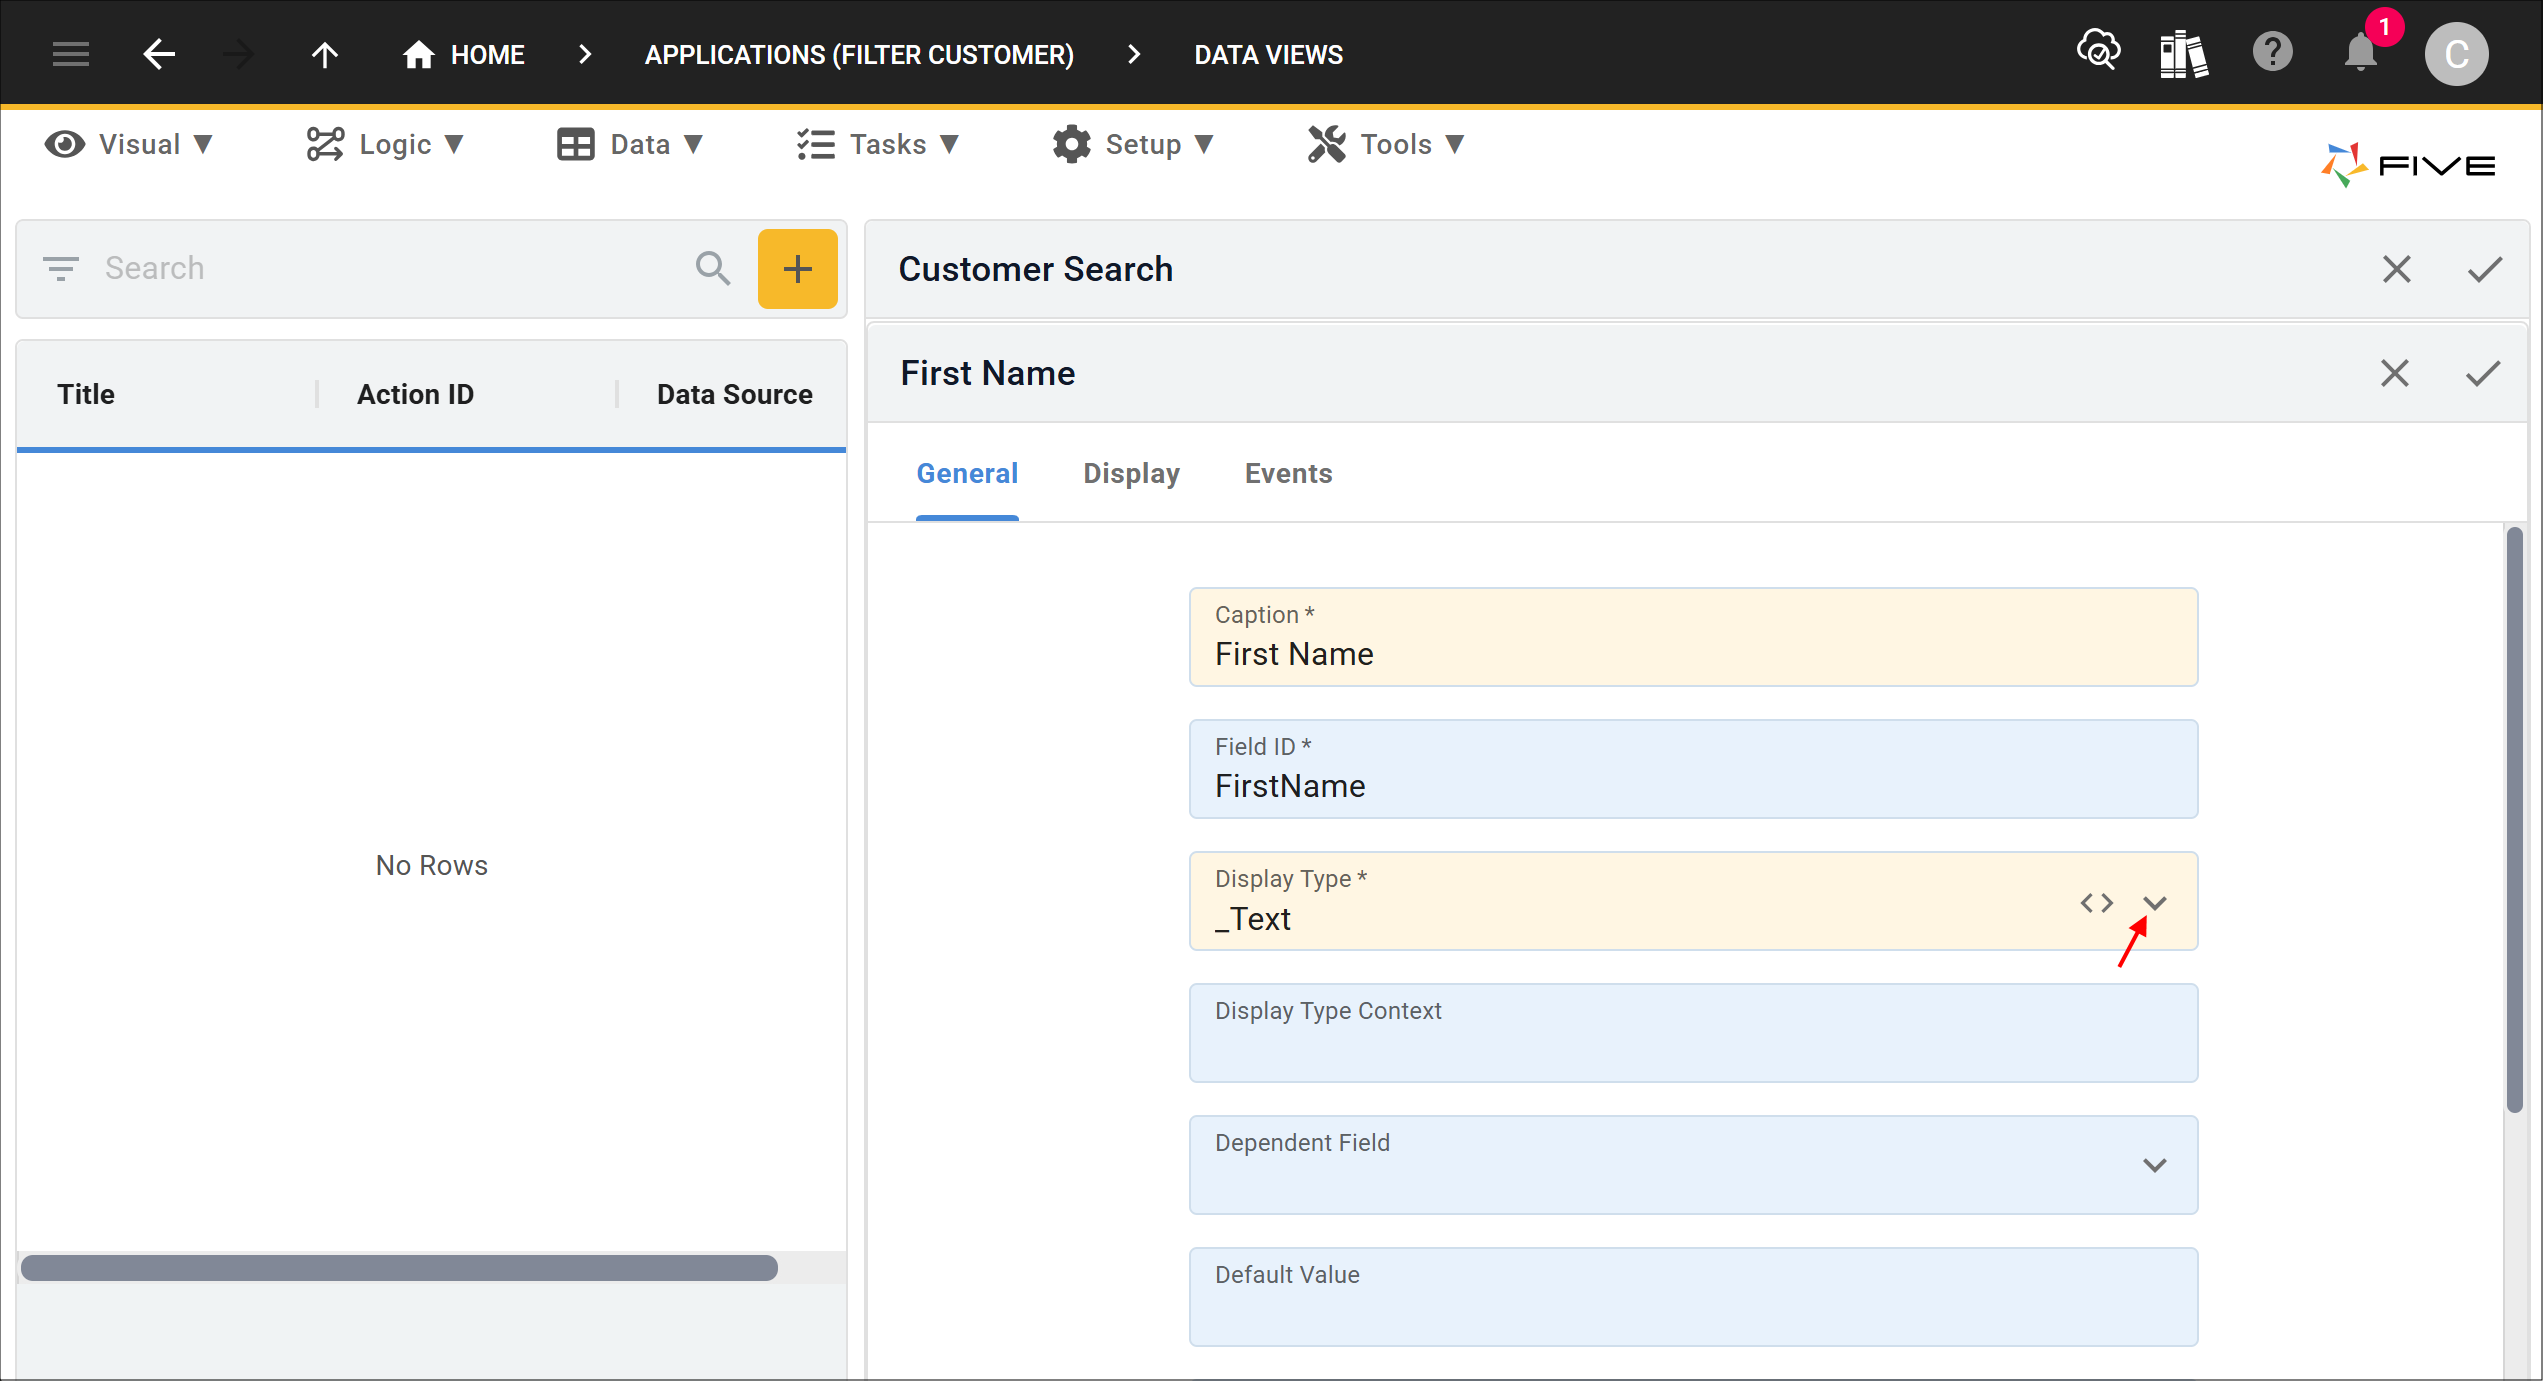
23. Type First Name in the Caption field.
24. Click the lookup icon in the Display Type field and select _Text.
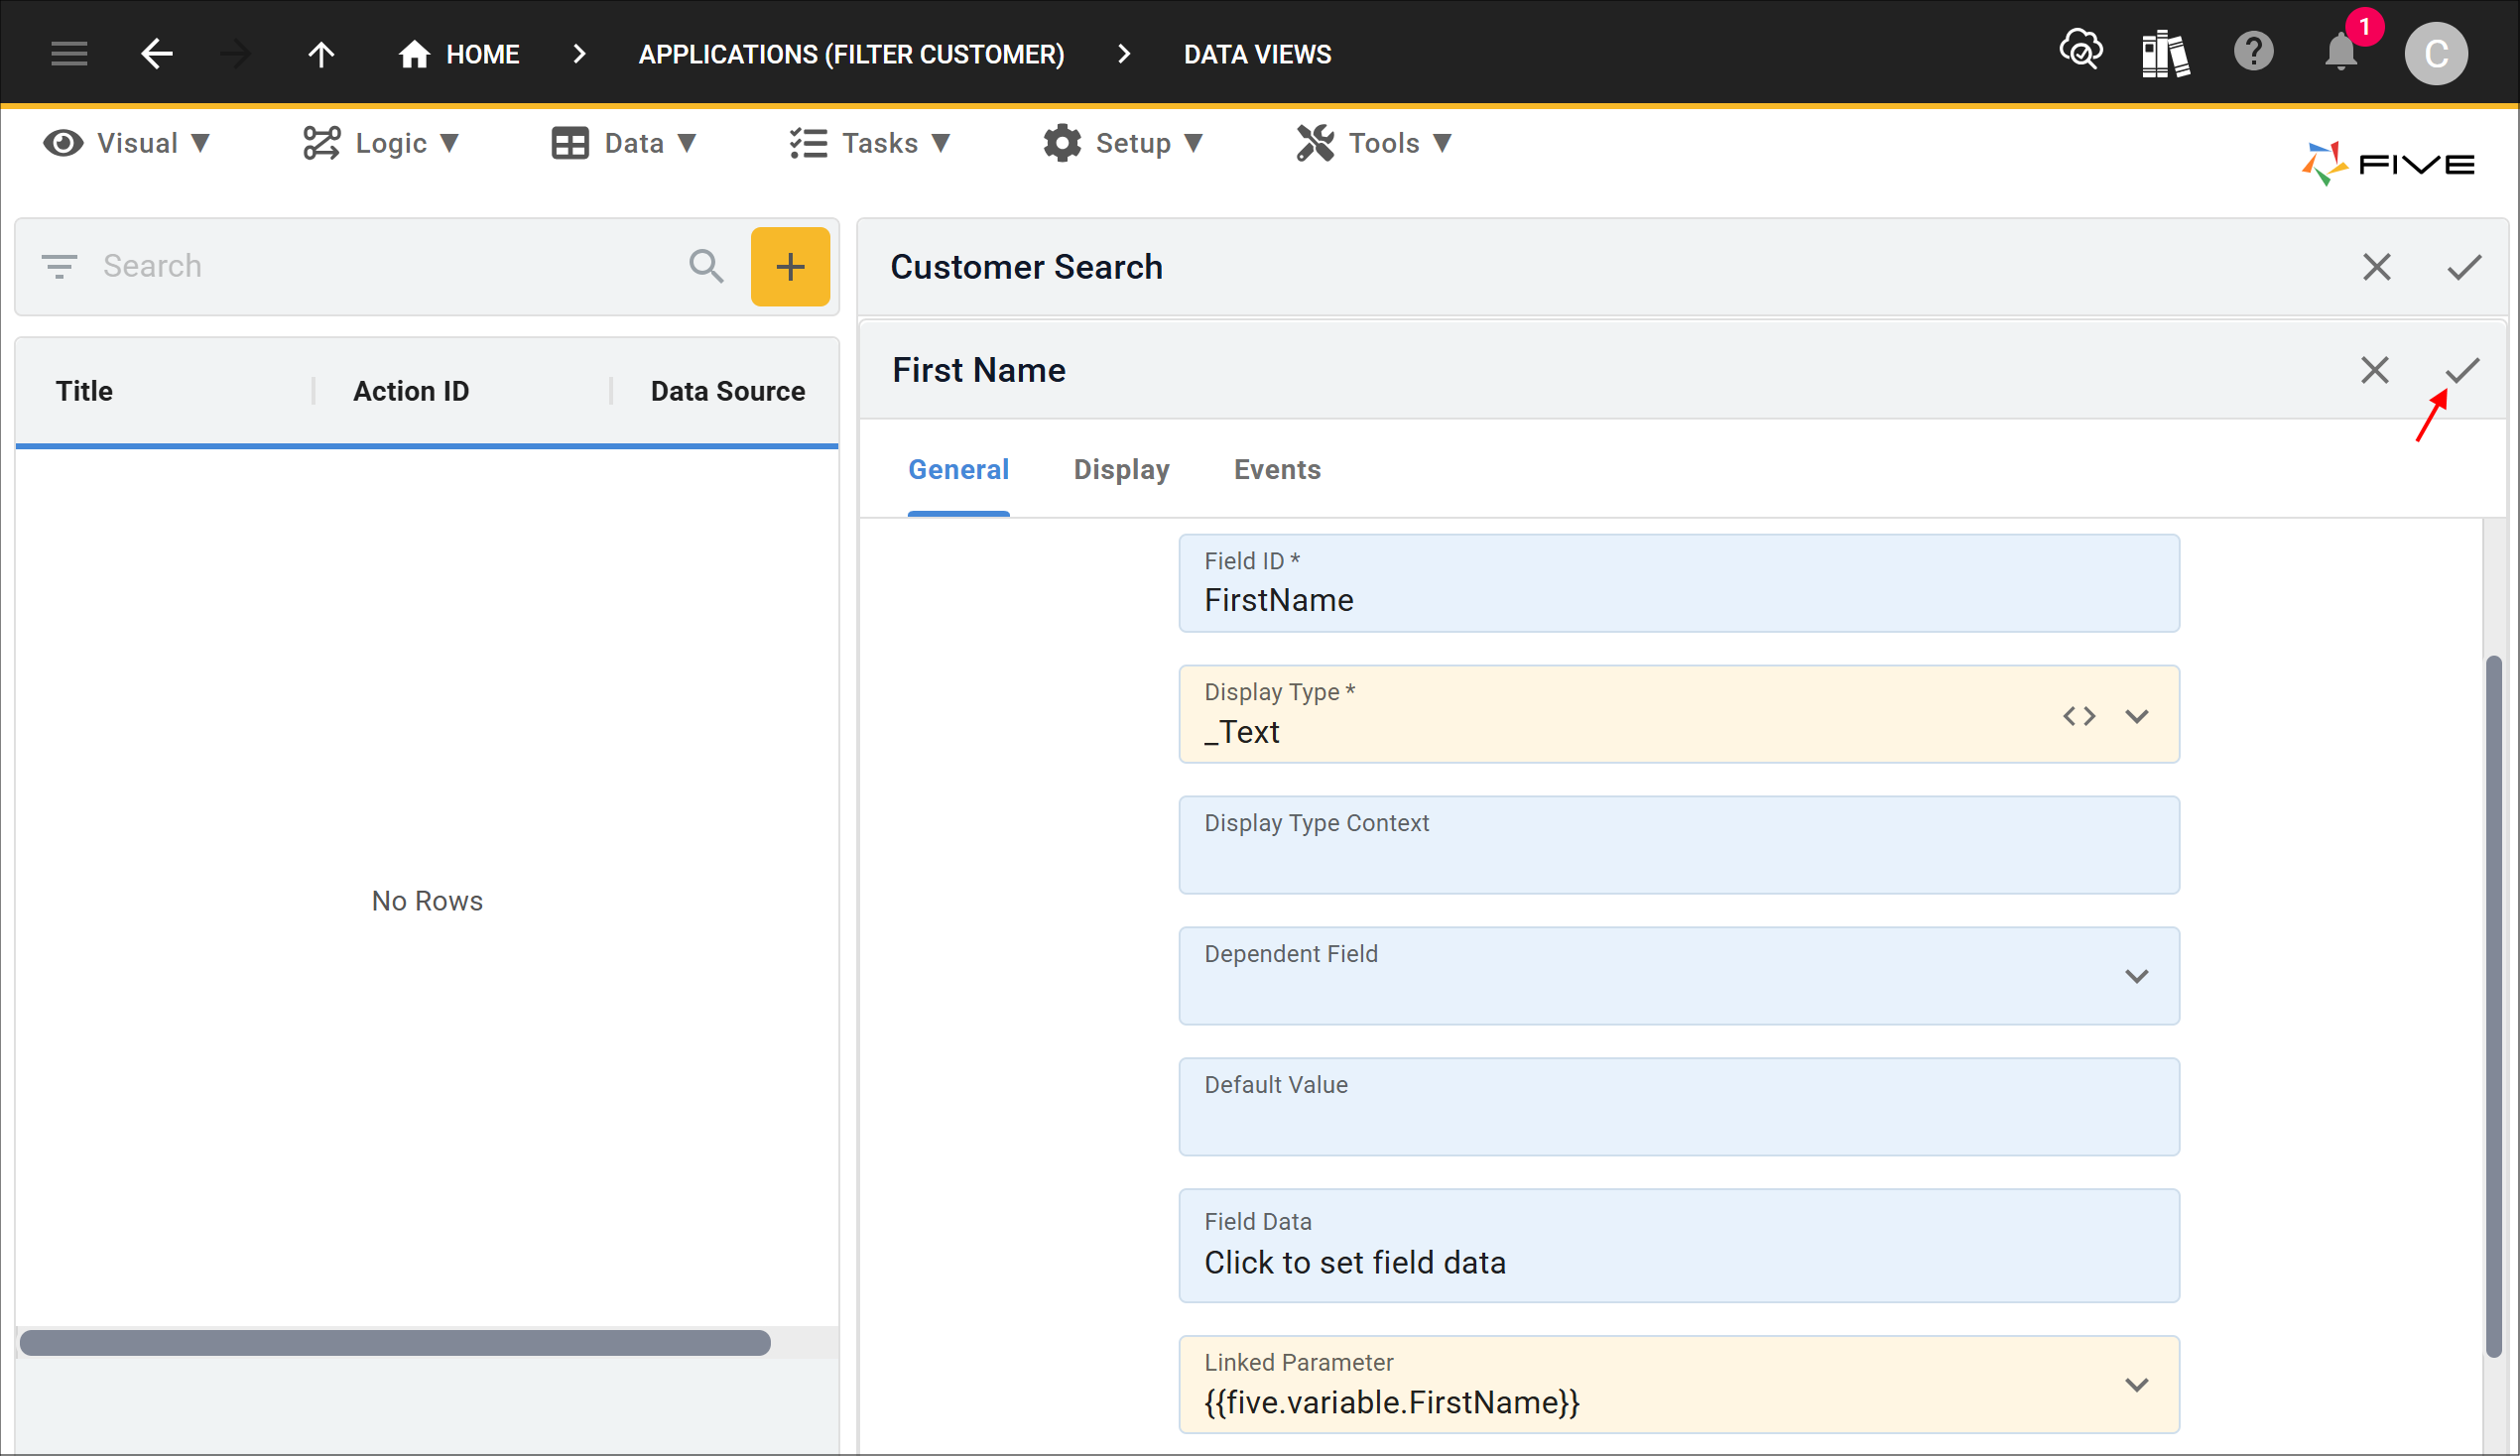
25. Click the lookup icon in the Linked Parameter field and select

26. Click the Save button in the form app bar.
27. Click the Add Screen Fields button.
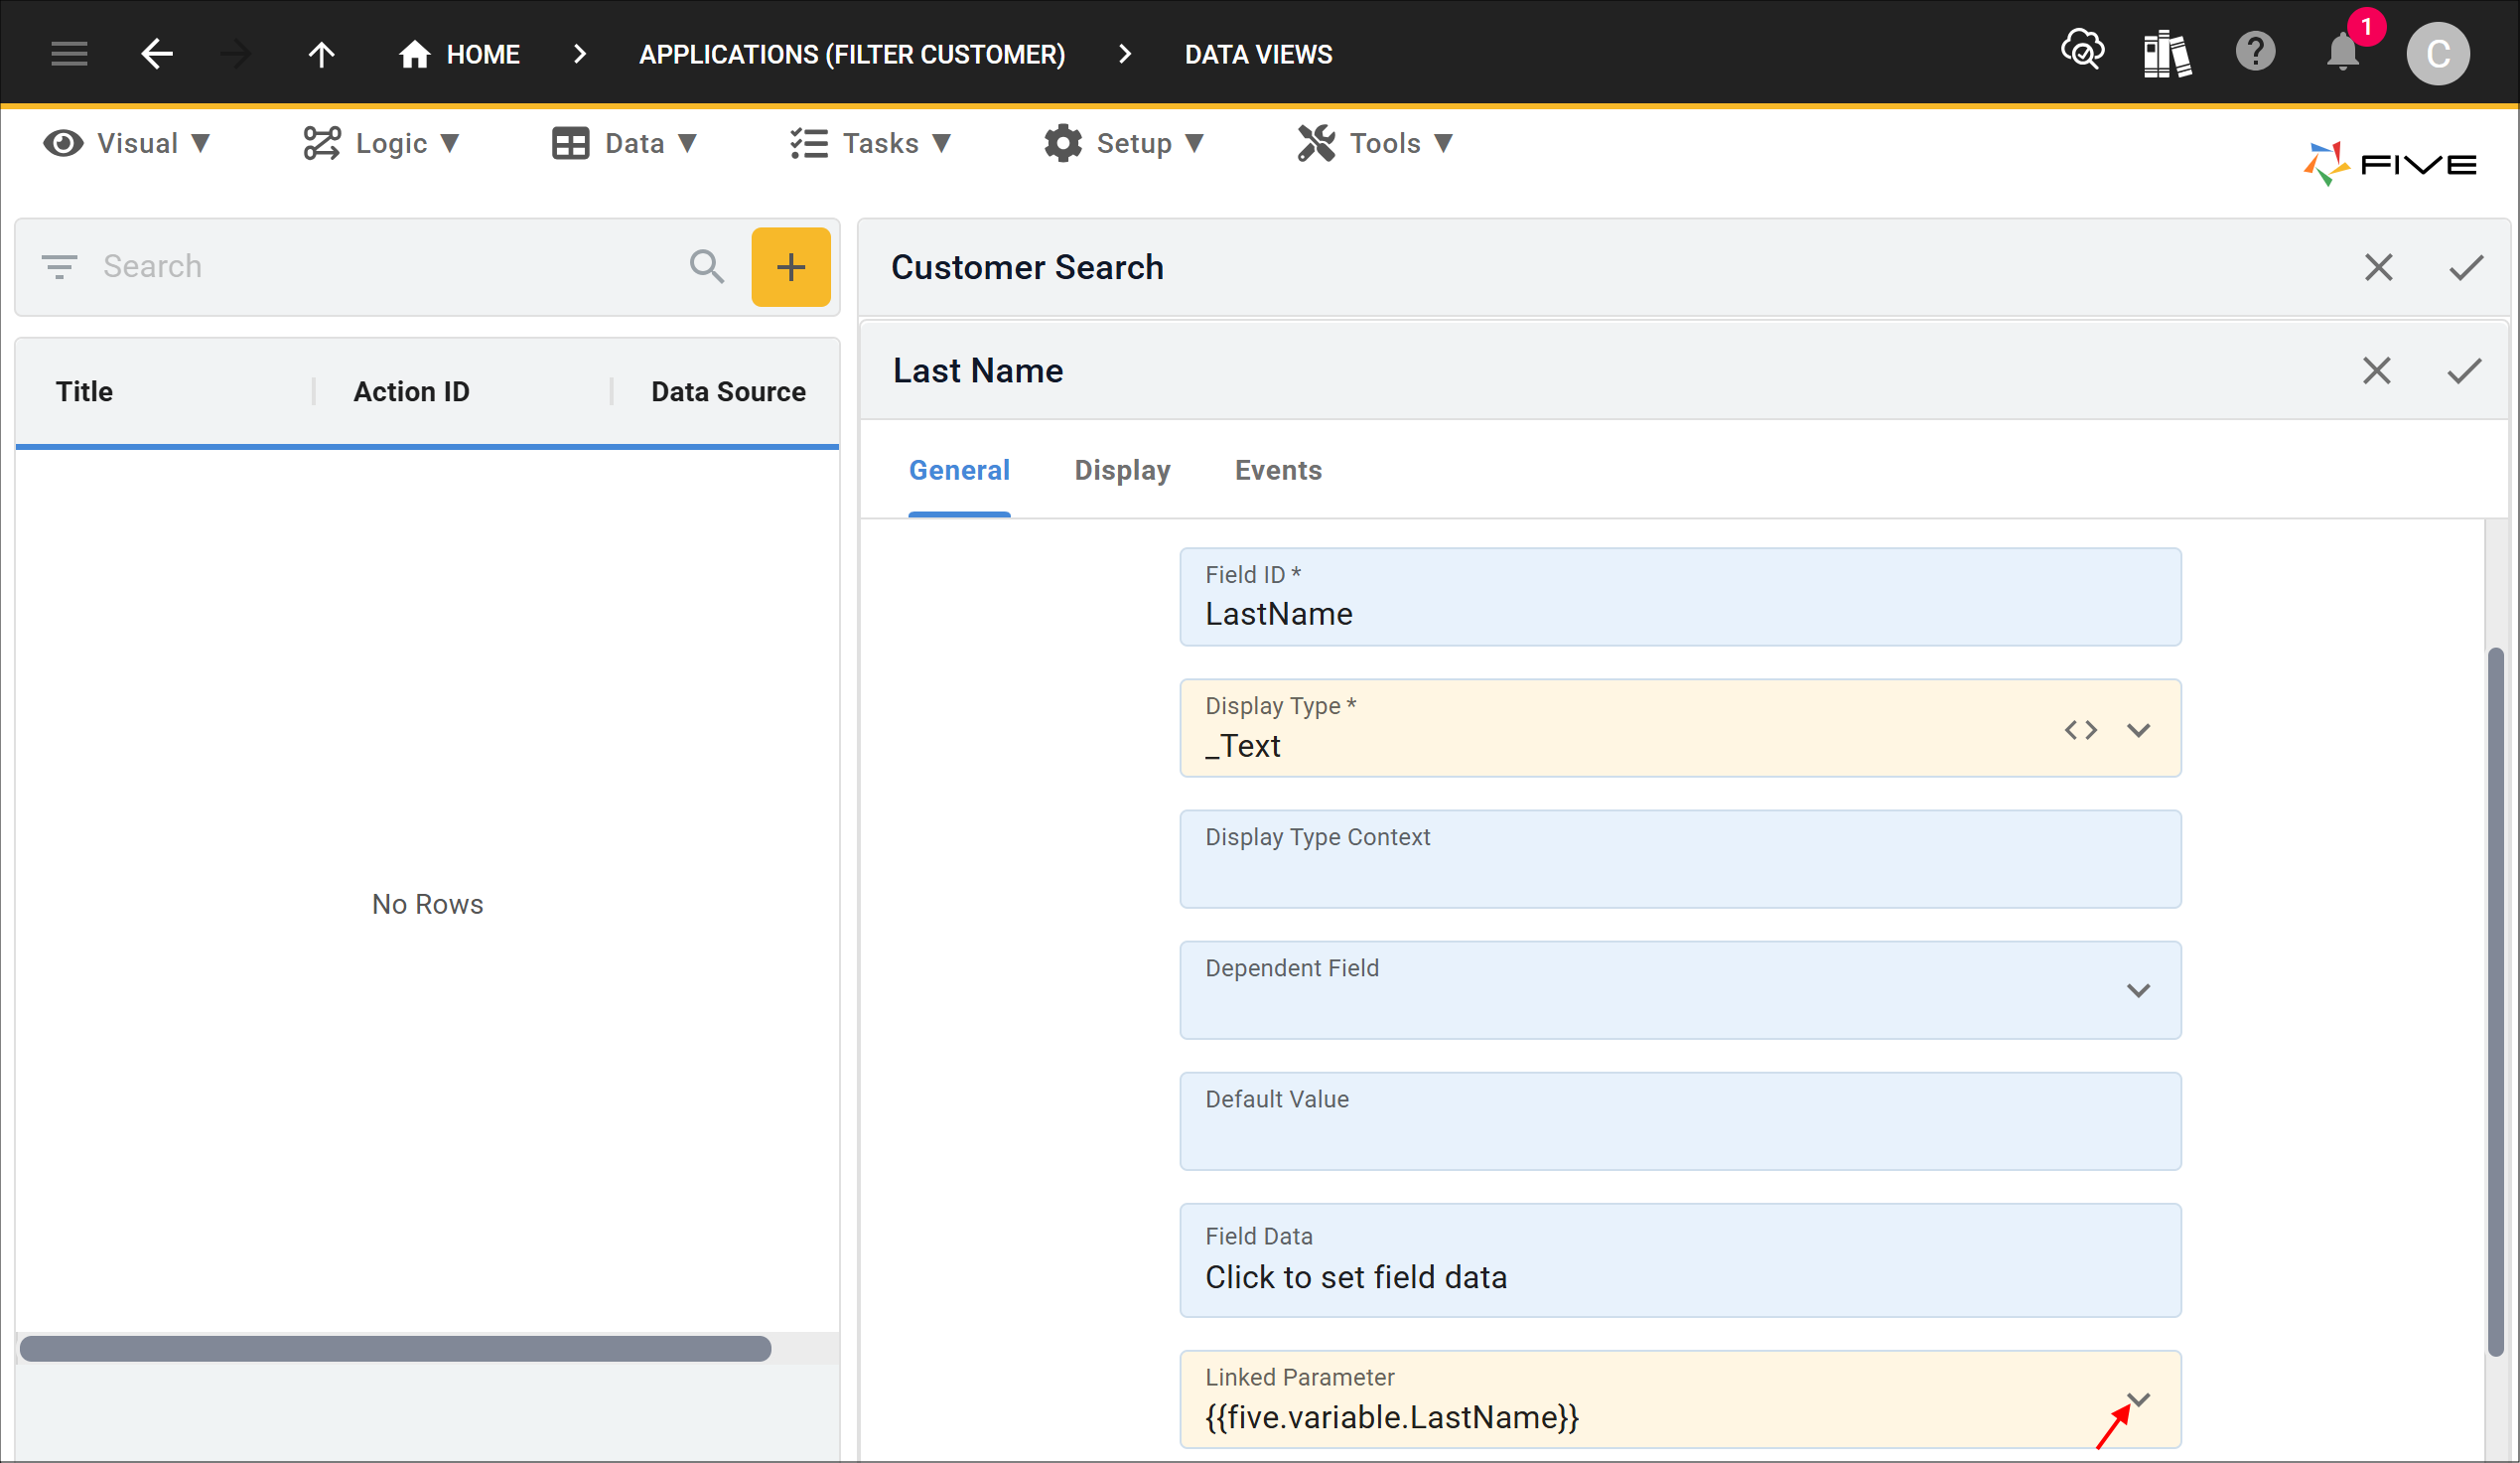
28. Type Last Name in the Caption field.
29. Click the lookup icon in the Display Type field and select _Text.

30. Click the lookup icon in the Linked Parameter field and select
31. Click the Save button in the form app bar.

32. Click the Save button in the form app bar above the list.
Add the BackToSearchCustomer Function
In the application, once you click the First Name data field on the data view, it will navigate you to the selected customer form record. To make it that you can return
to the data view without selecting a menu item, you can add an action button to your form. The button needs a function attached, and the function can use
Five's
2. Select Functions in the sub-menu.
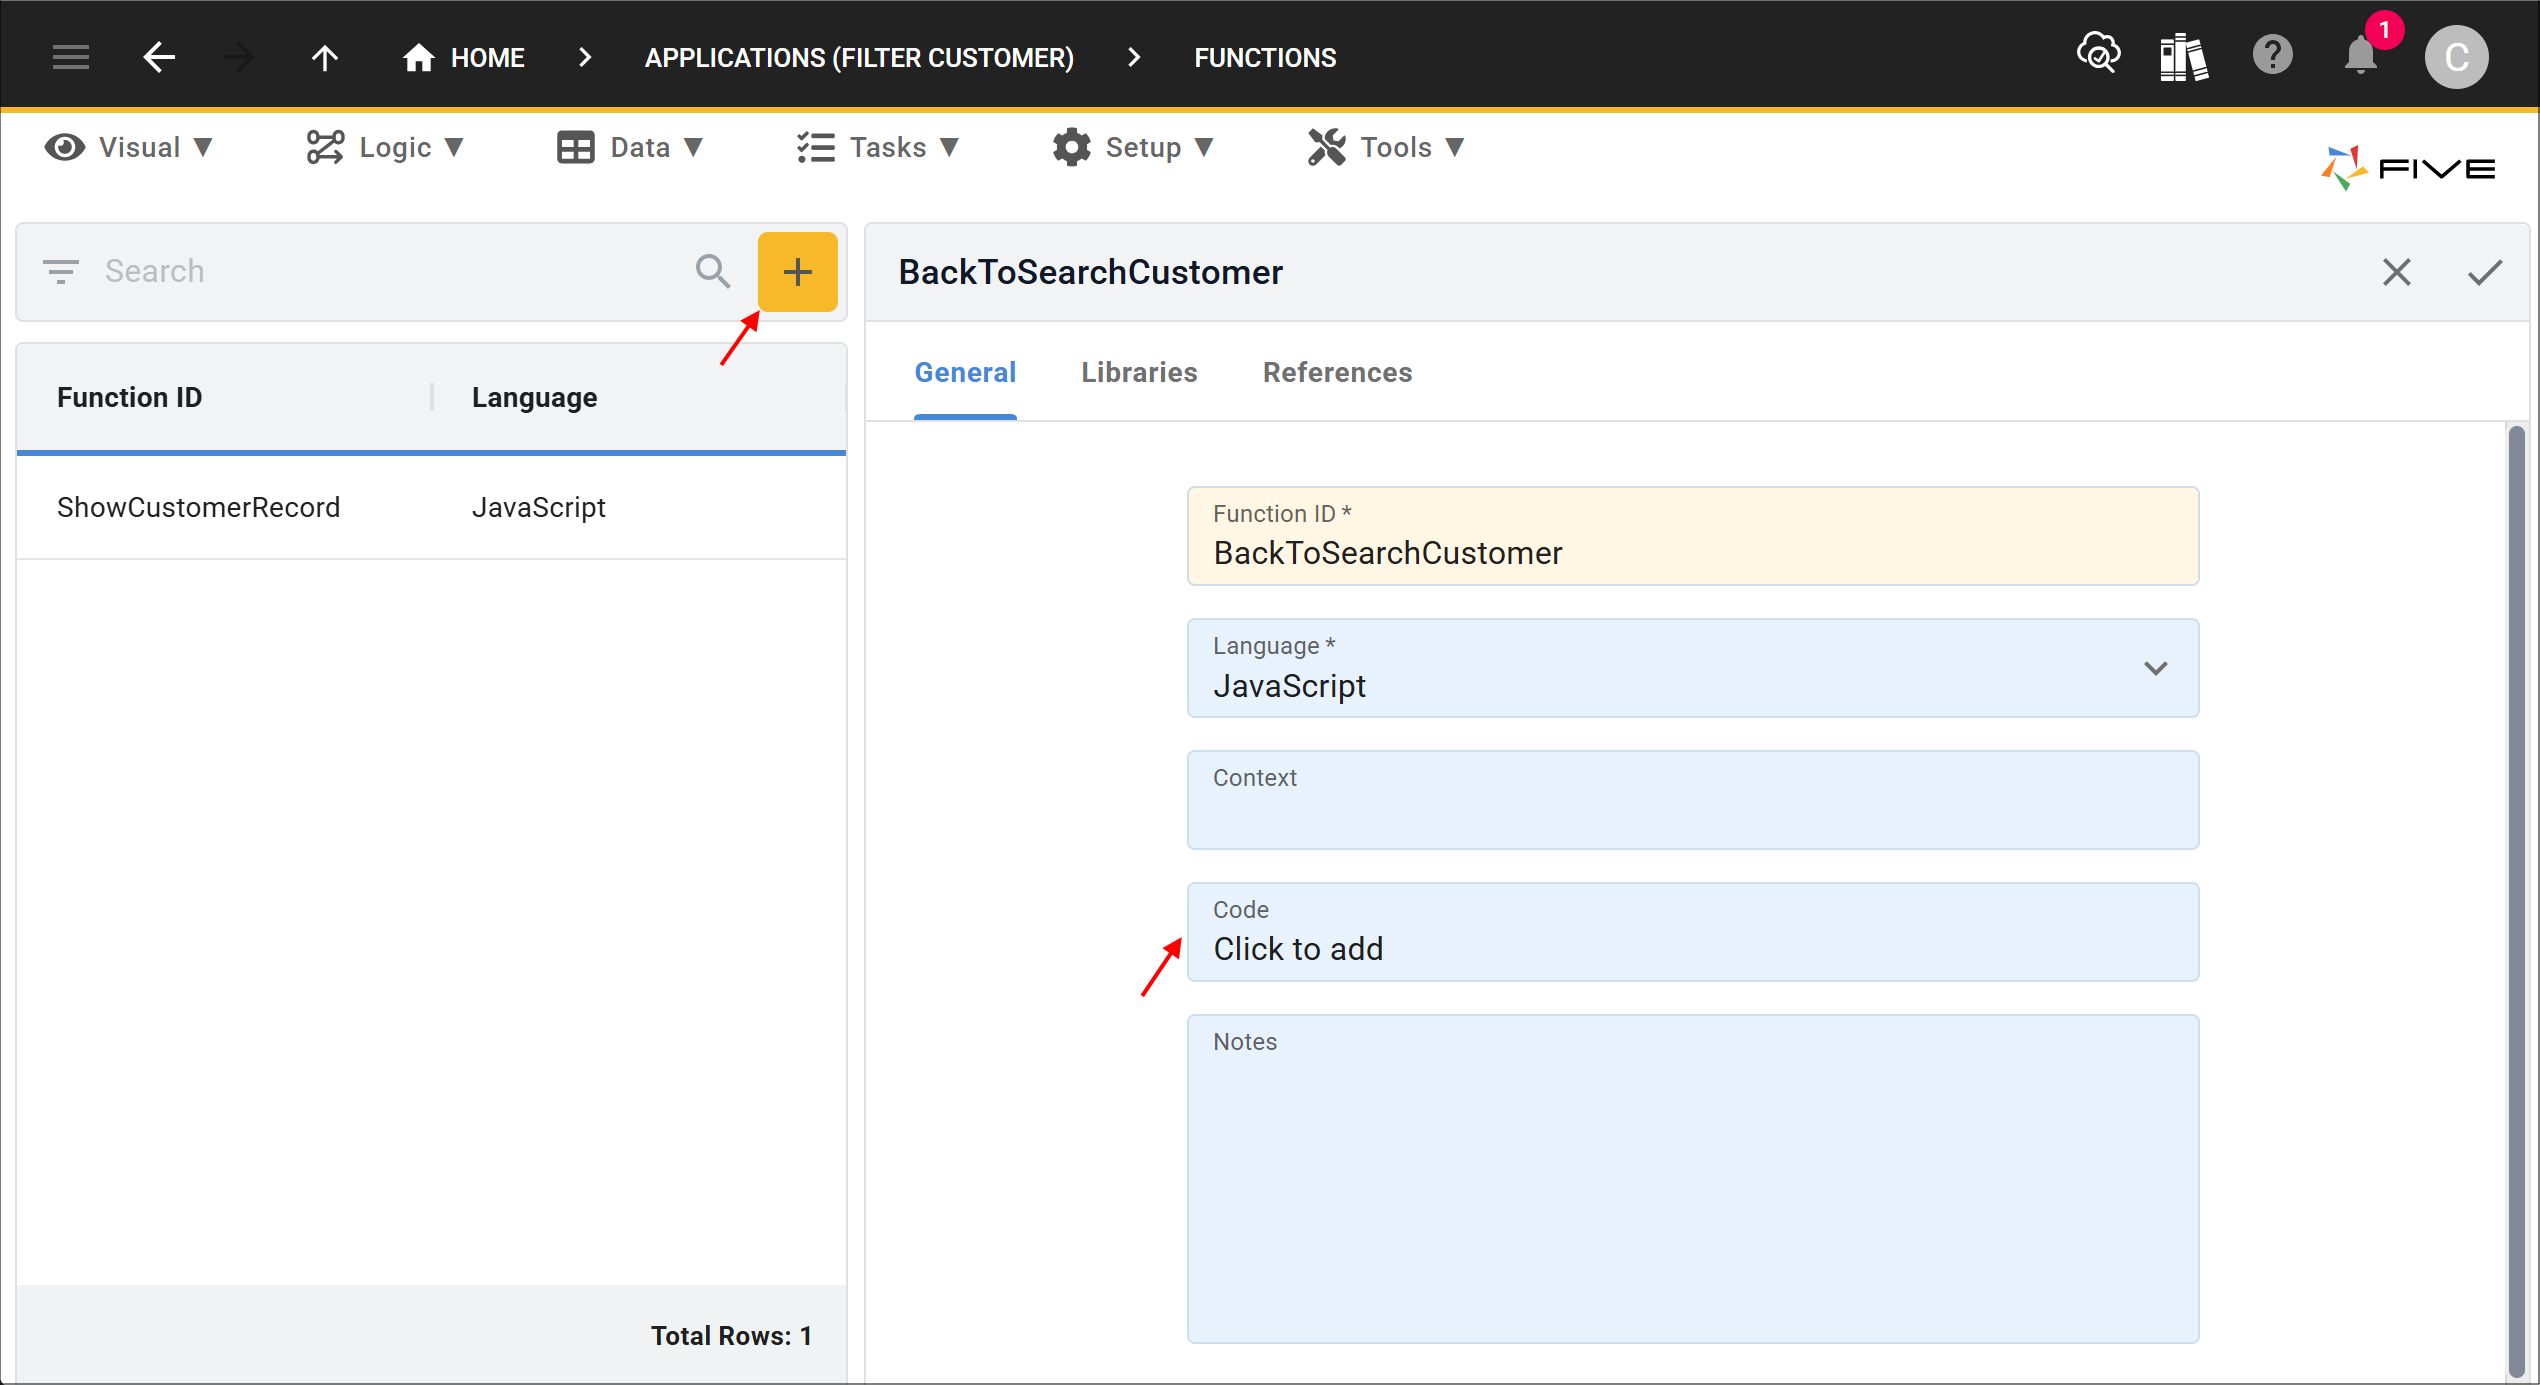
3. Click the Add Item button.
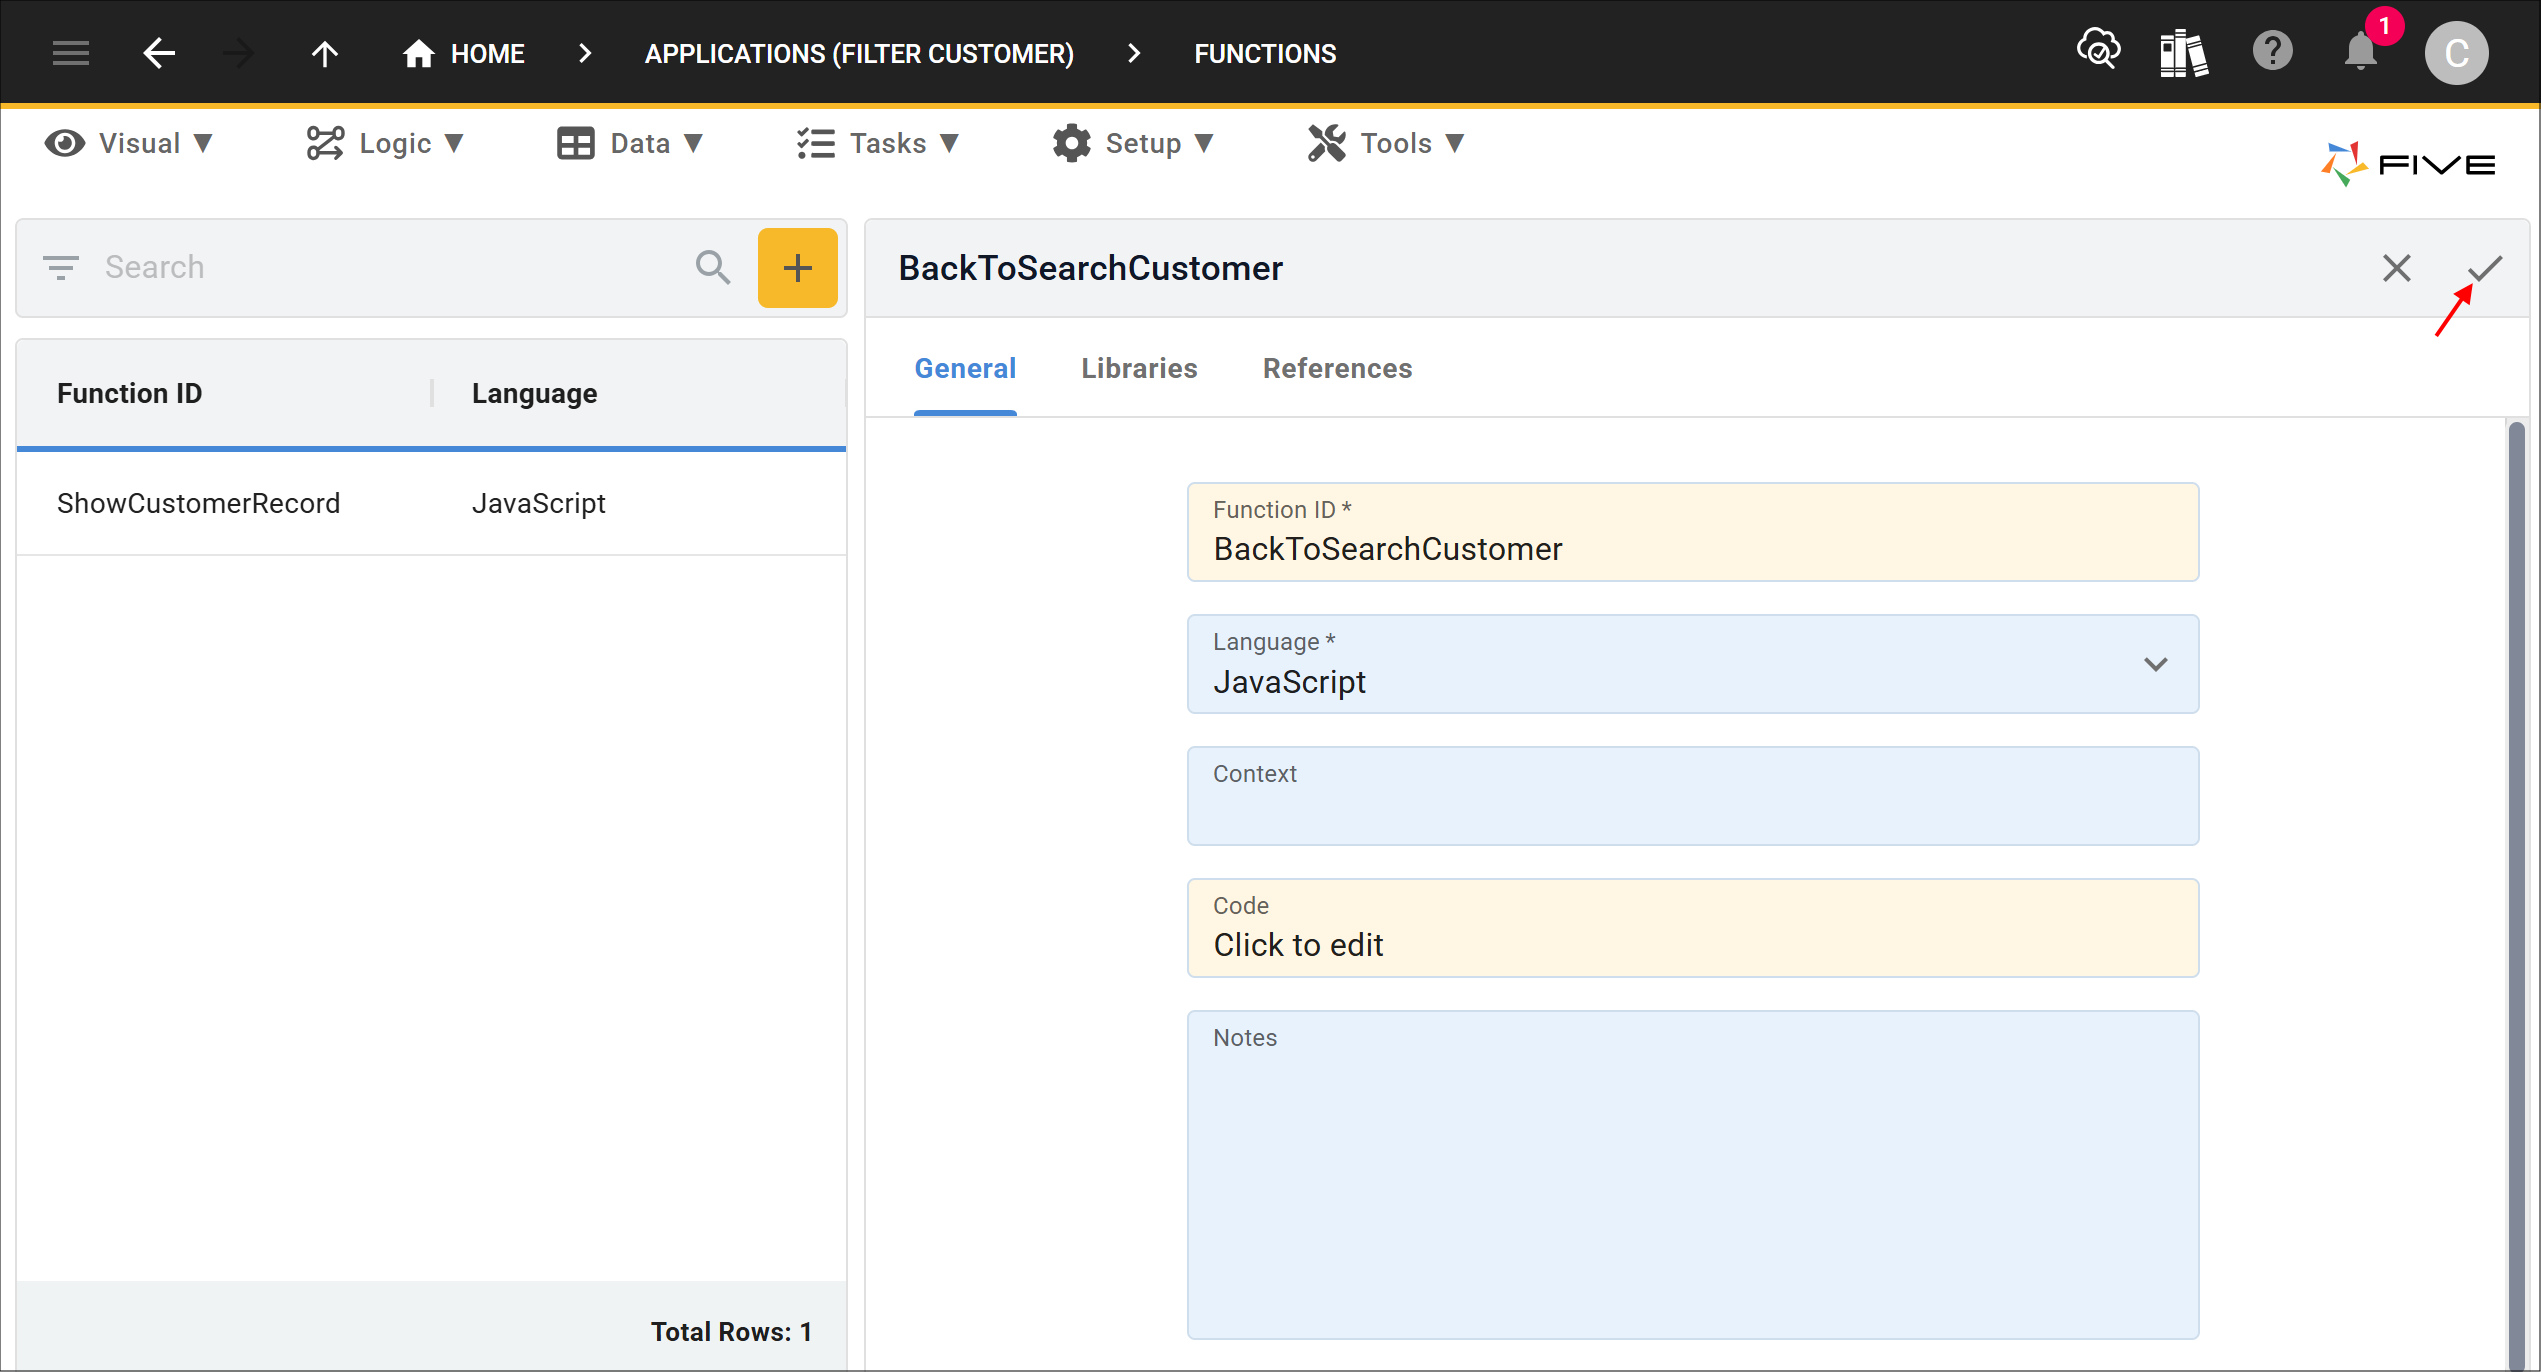
4. Type BackToSearchCustomer in the Function ID field.
5. Click in the Code field to open the Code Editor.
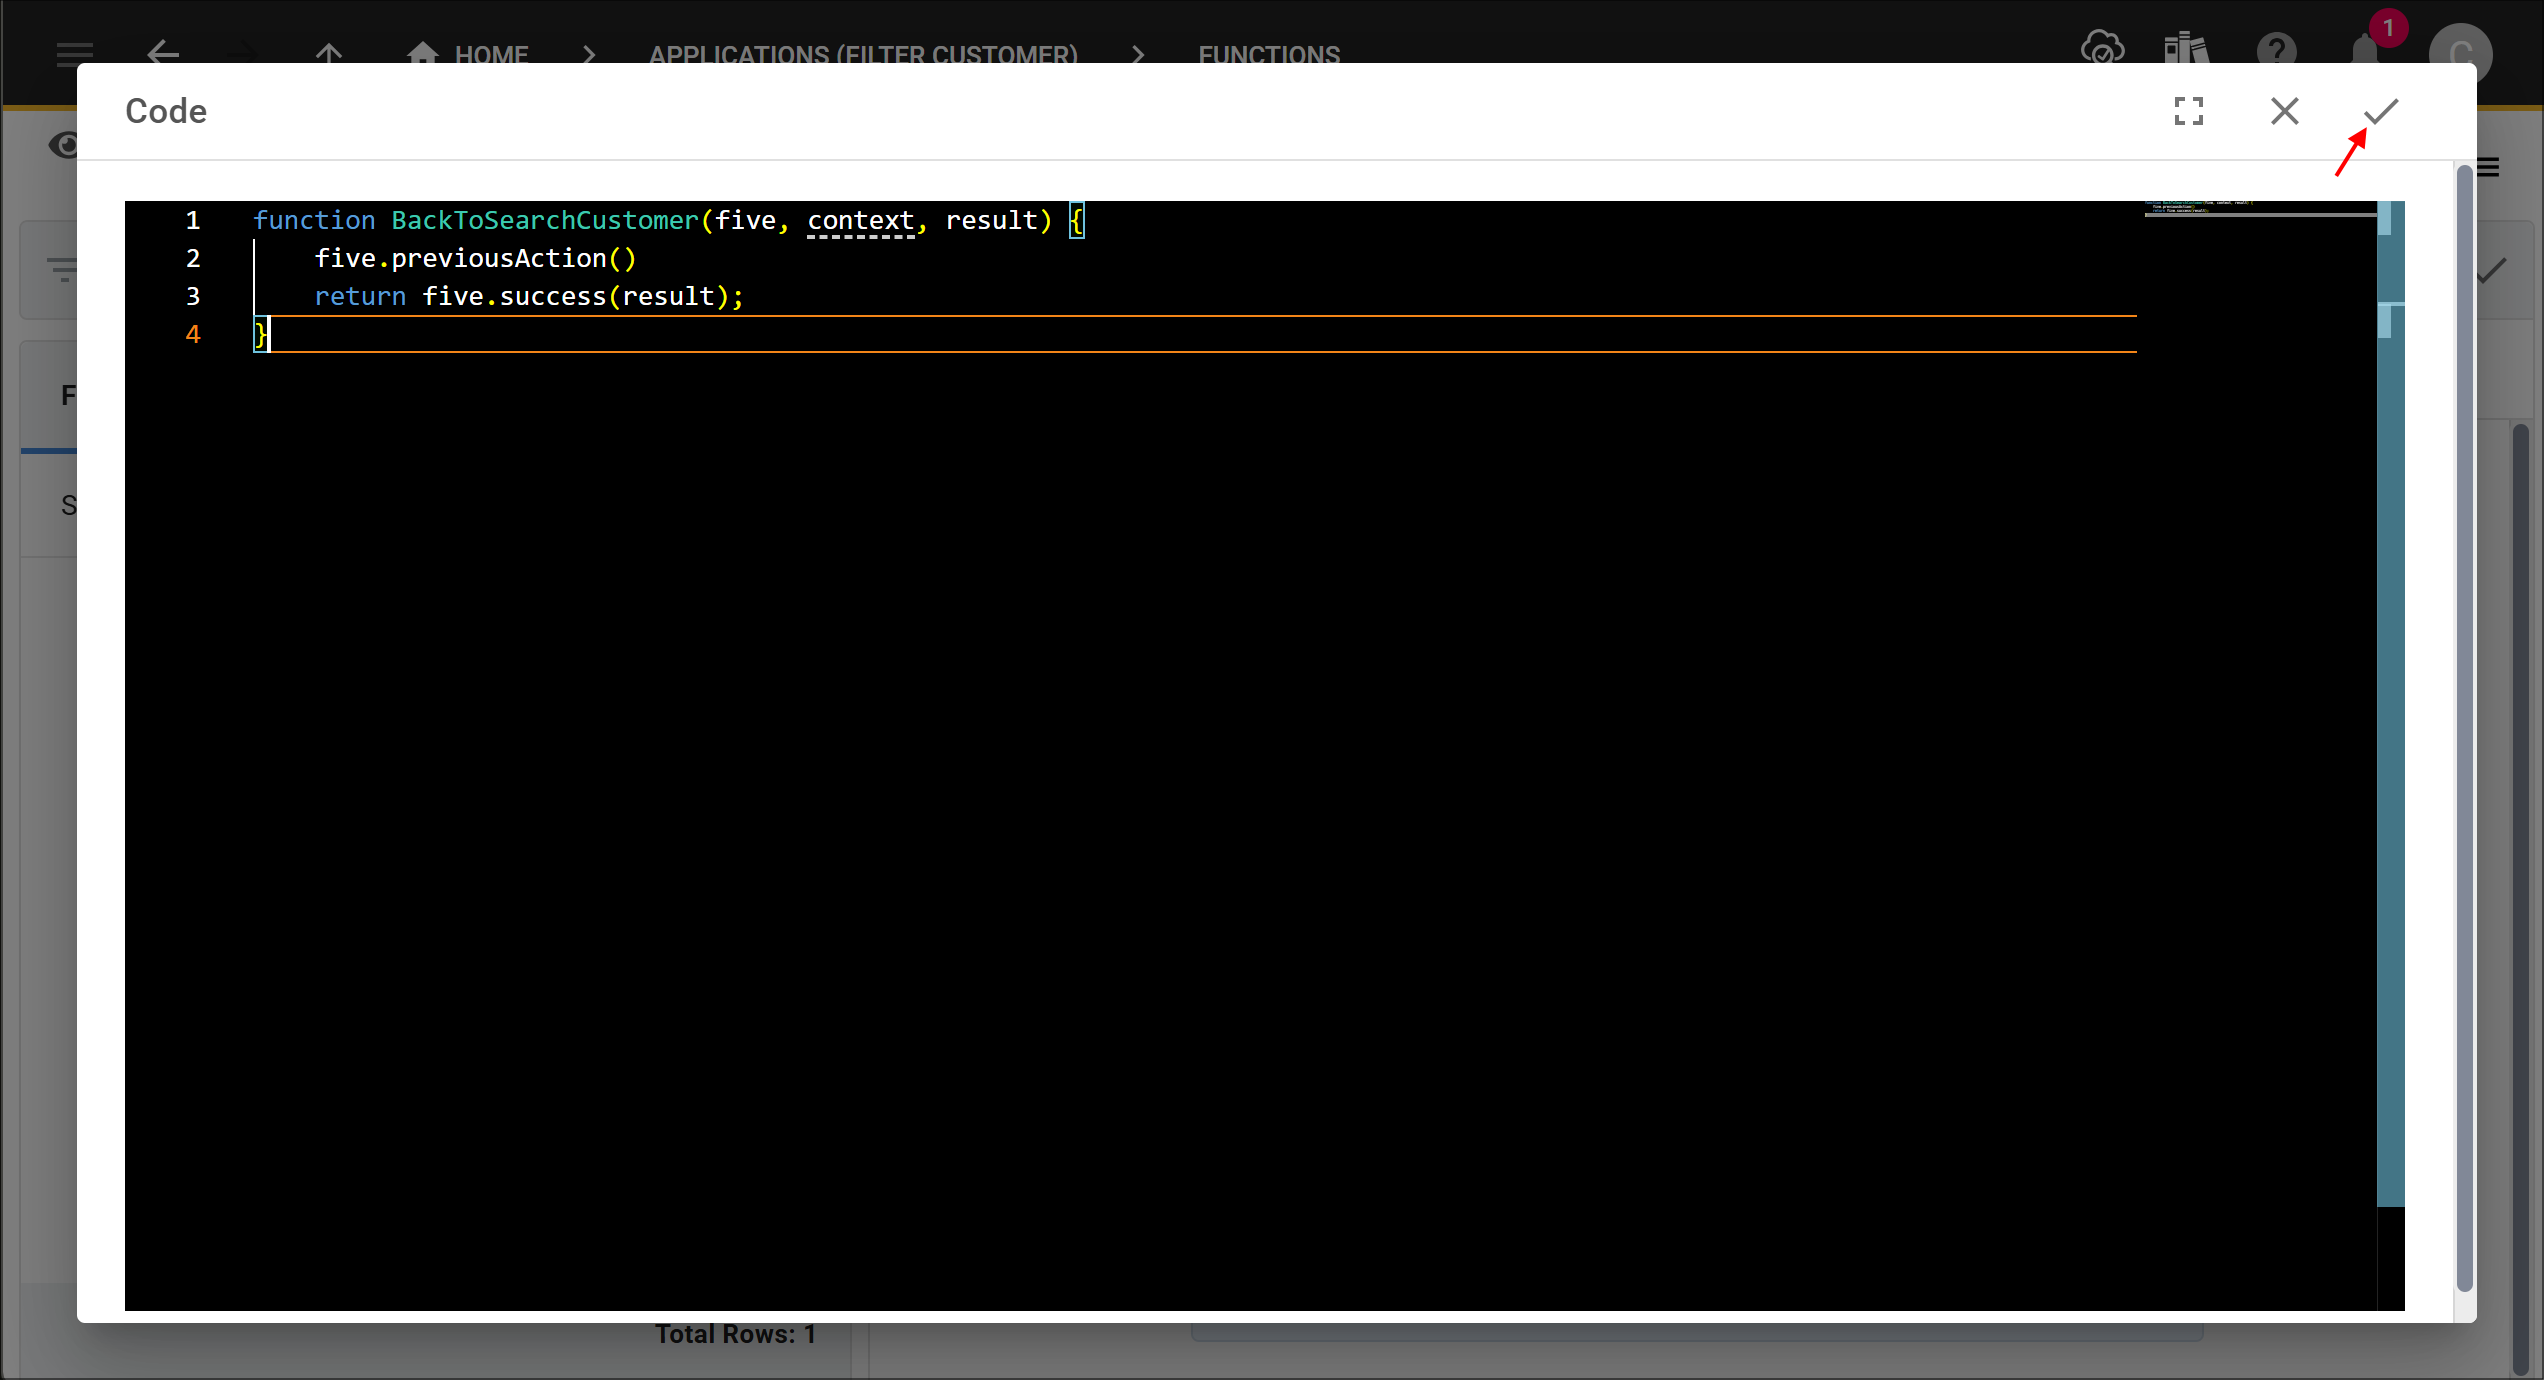
6. Copy and paste the code block below into the editor.
function BackToSearchCustomer(five, context, result) {
    five.previousAction()
    return five.success(result);
}
7. Click the Save button in the Code Editor app bar.
8. Click the Save button in the form app bar.
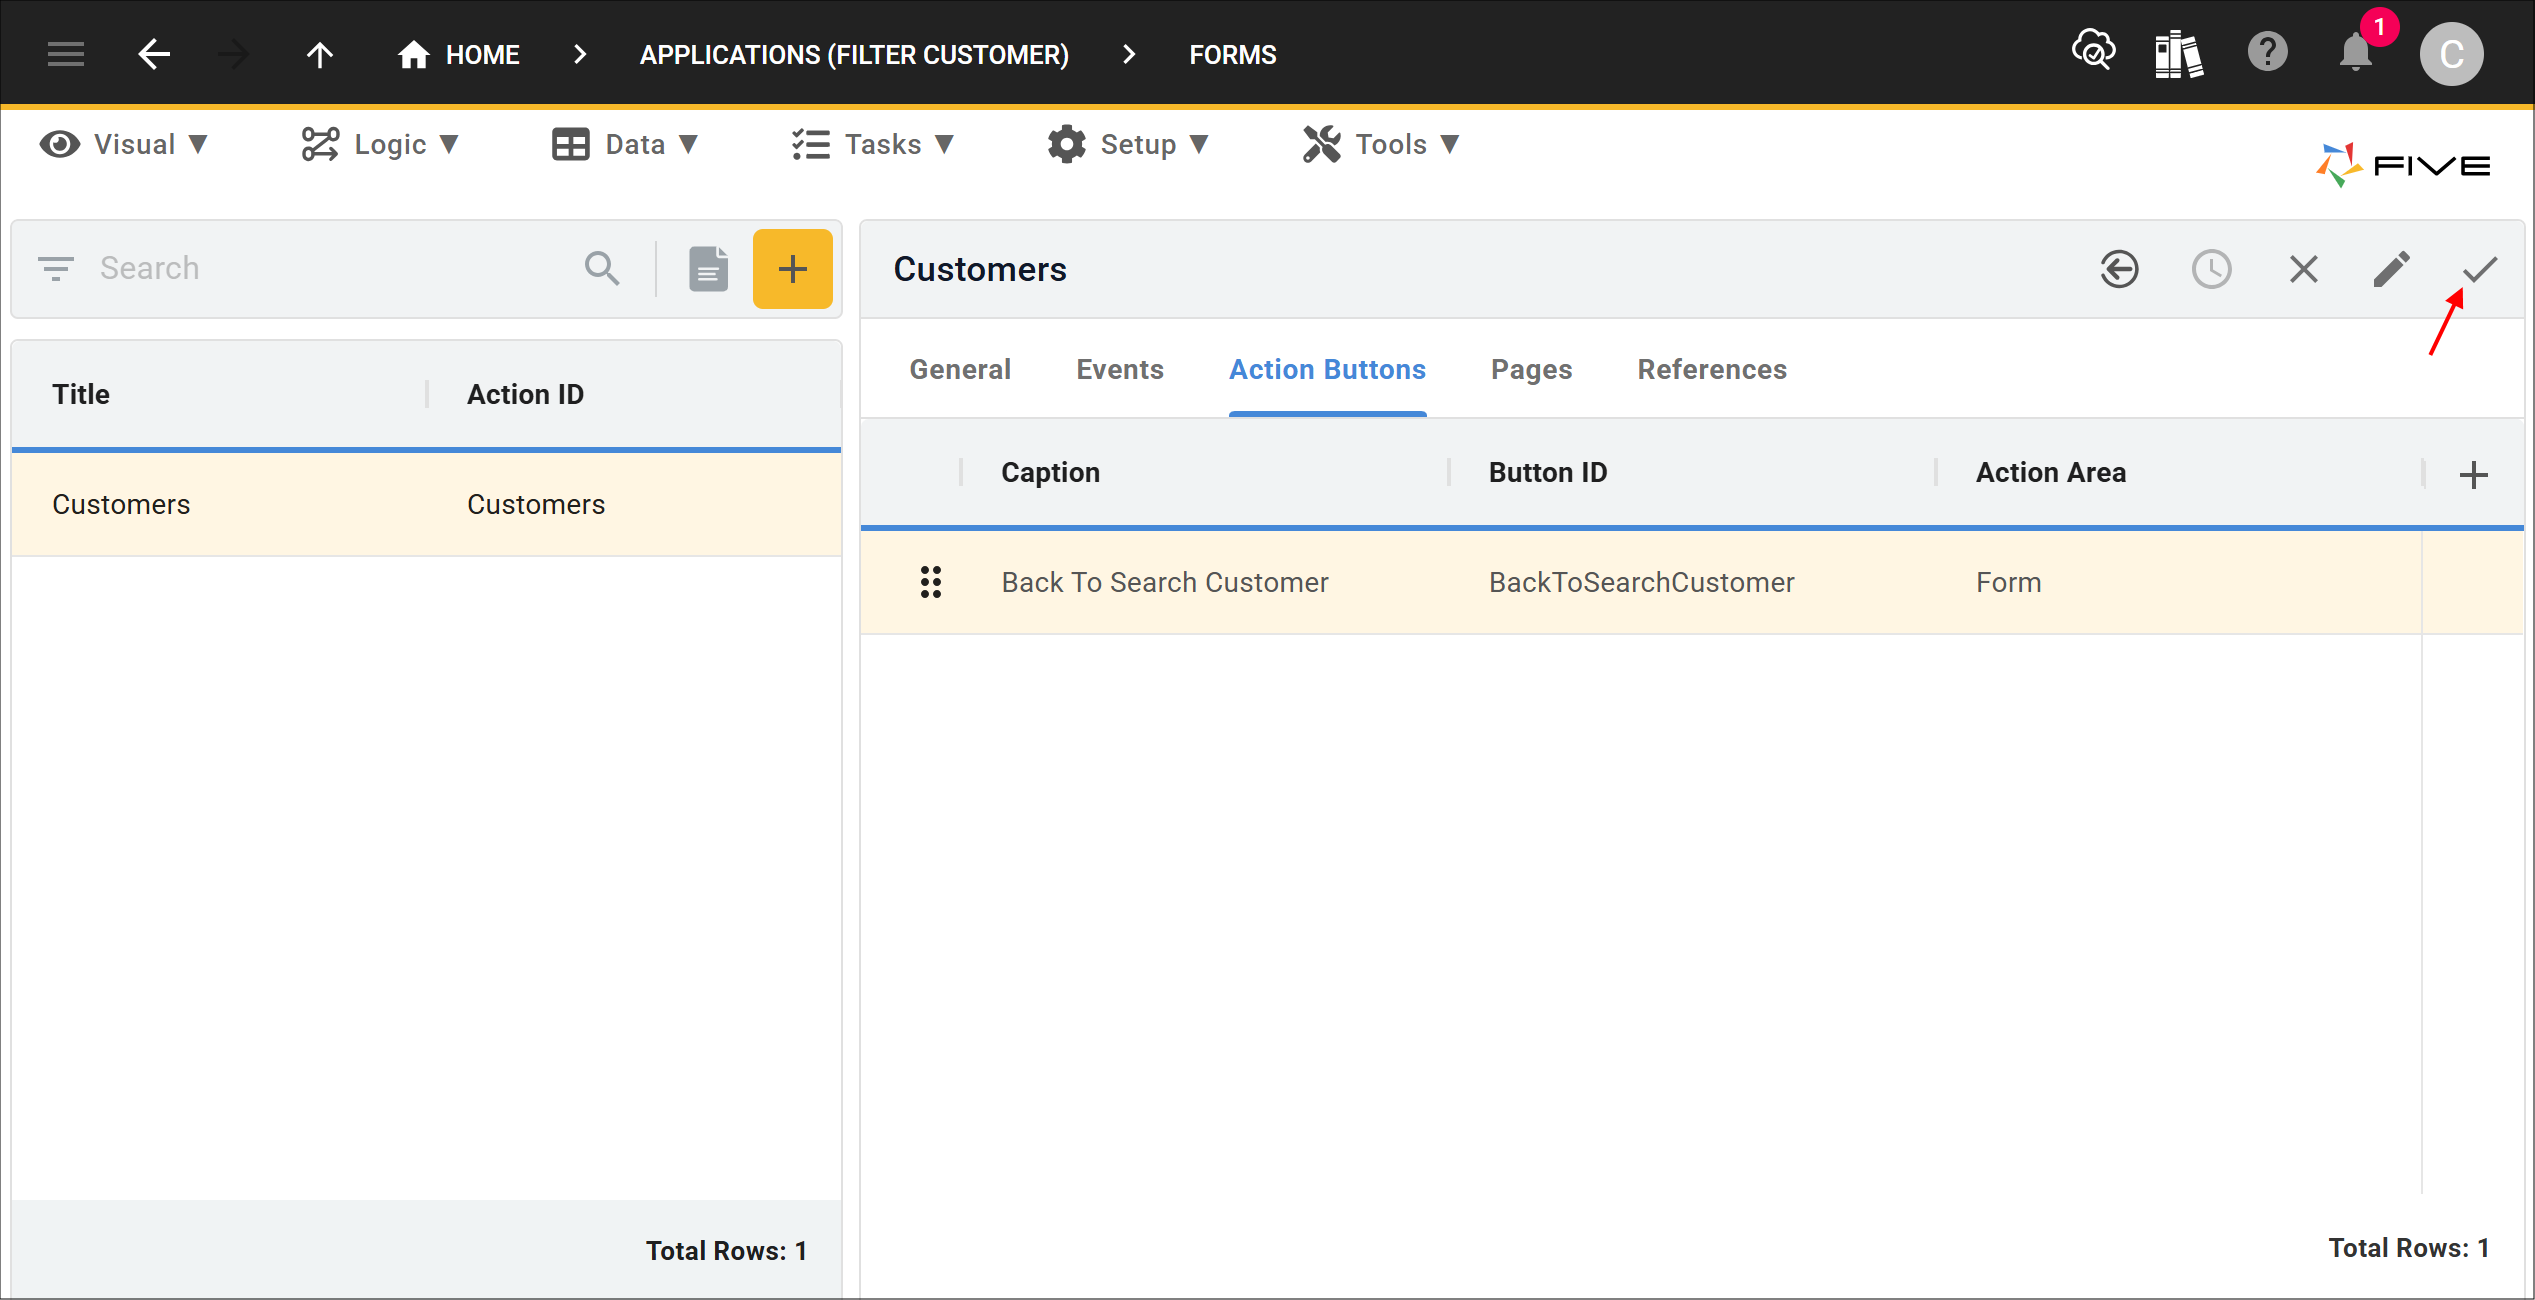
Add an Action Button
Tha action button will be attached to the Customers form and when clicked will return you back to the data view as this was the previously selected action.
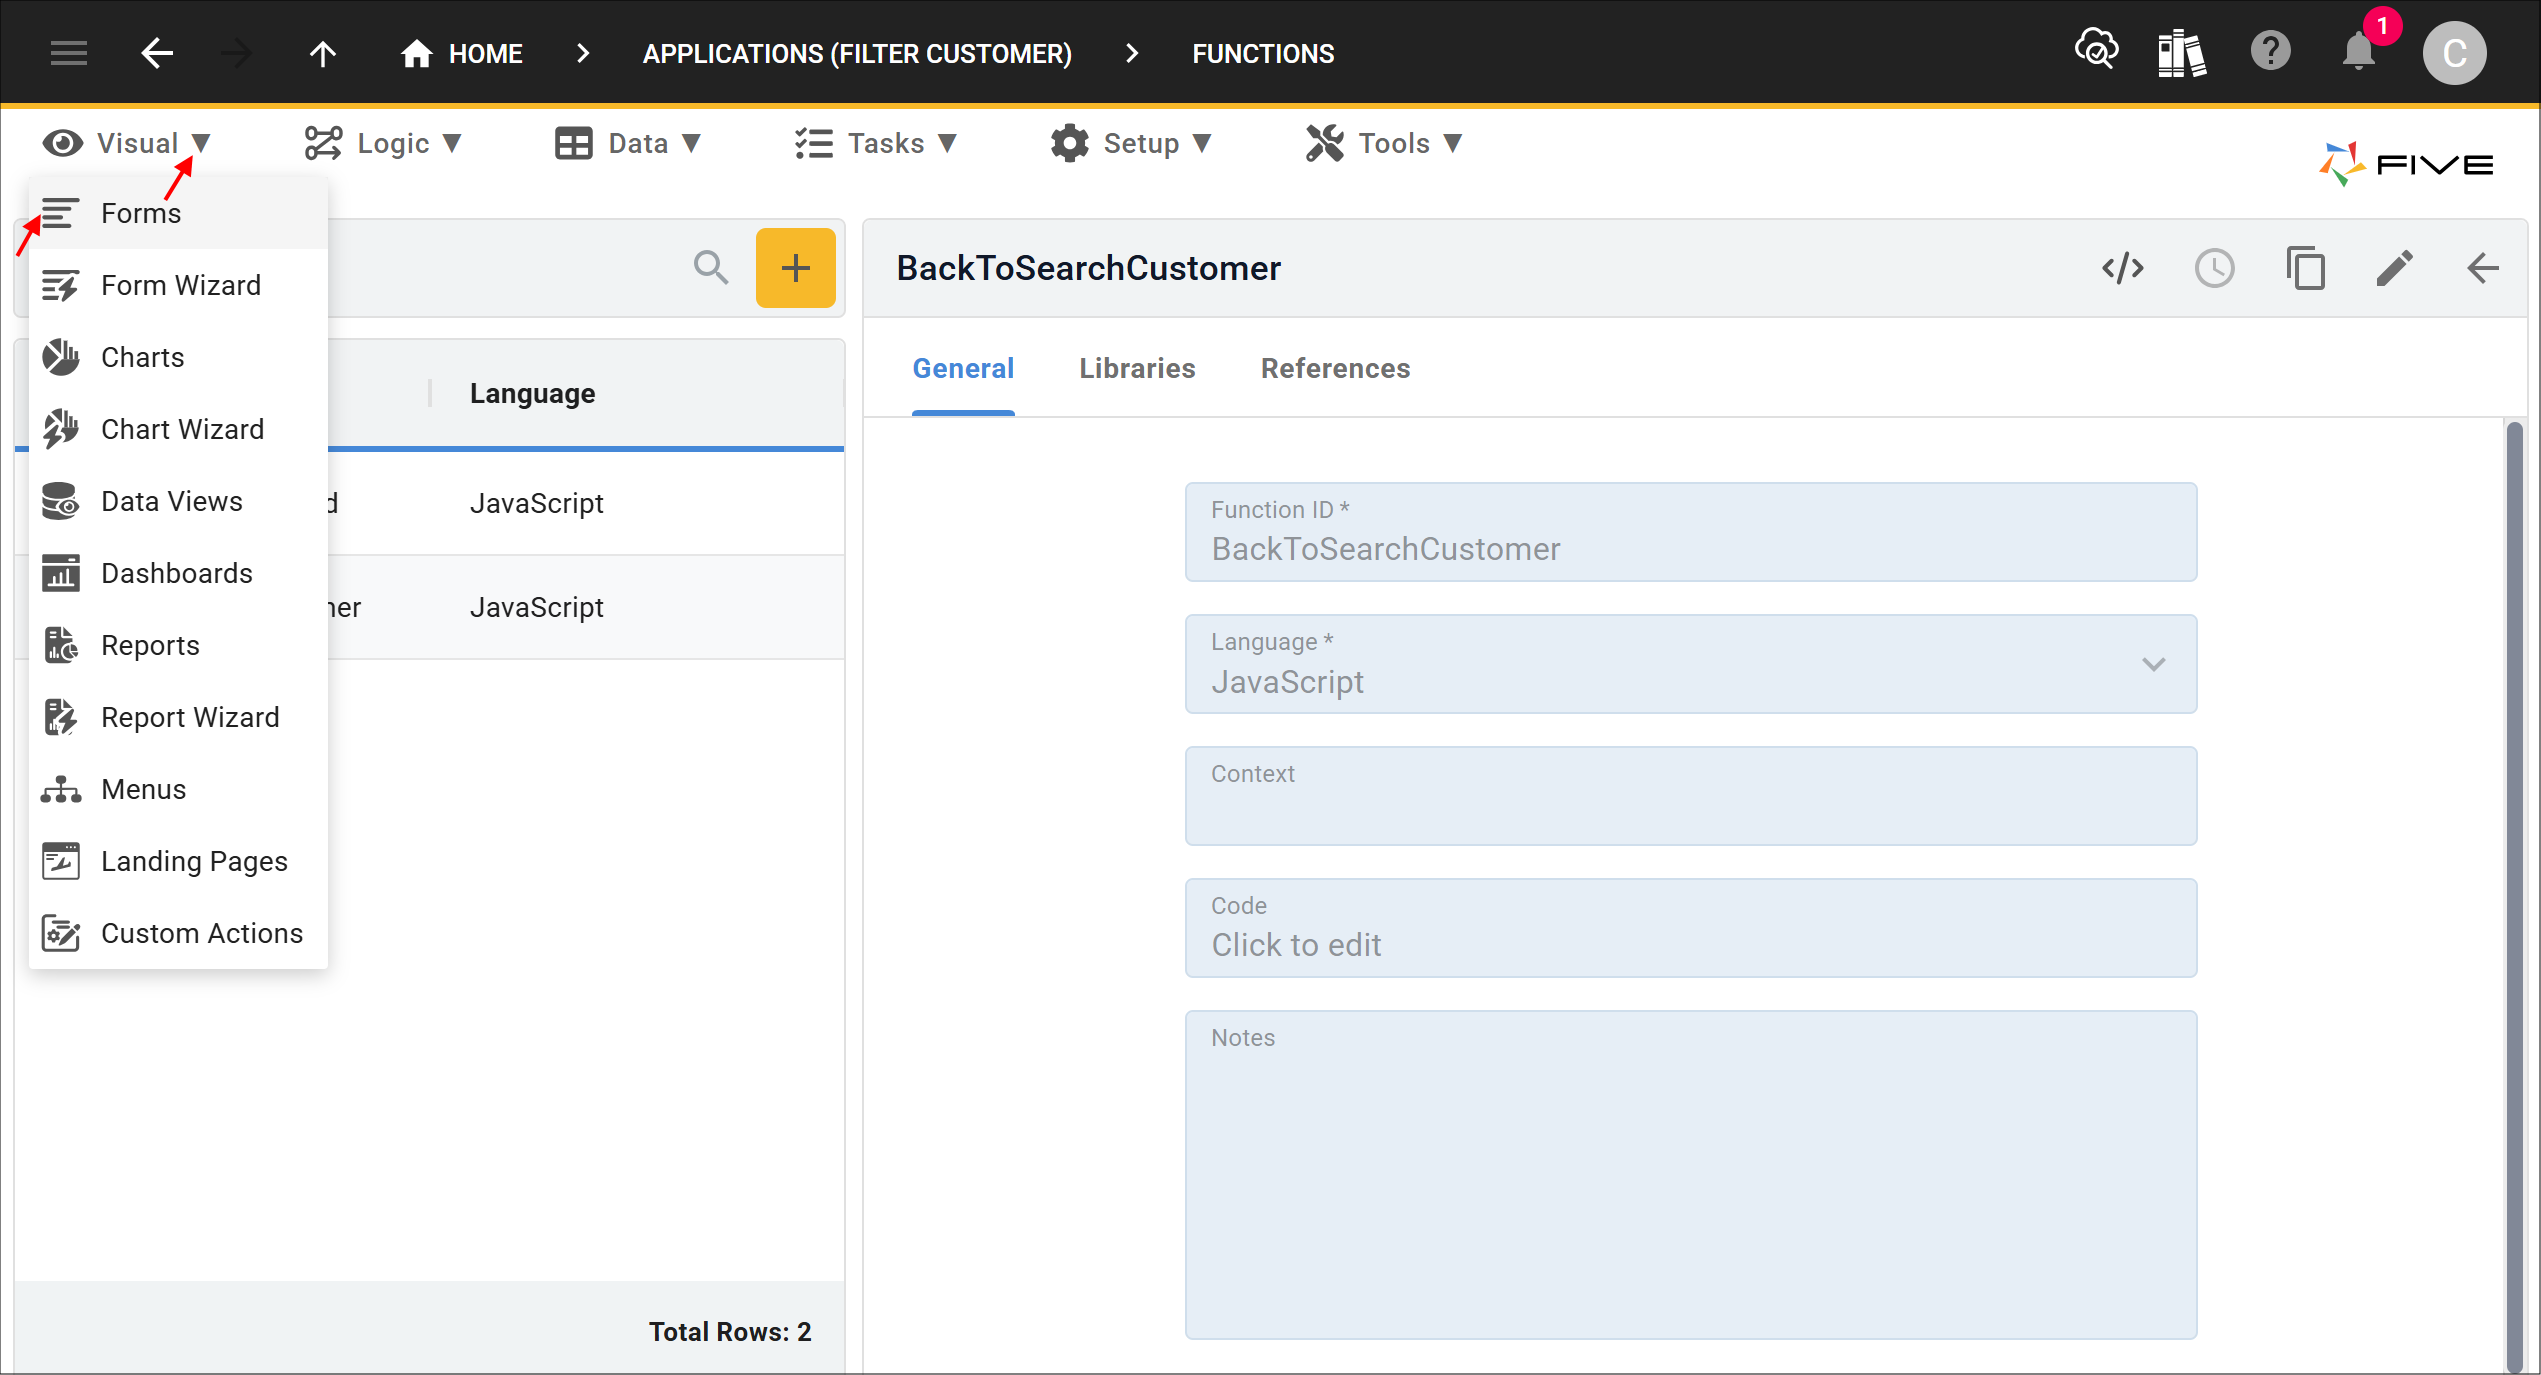
1. Select Visual in the menu.2. Select Forms in the sub-menu.
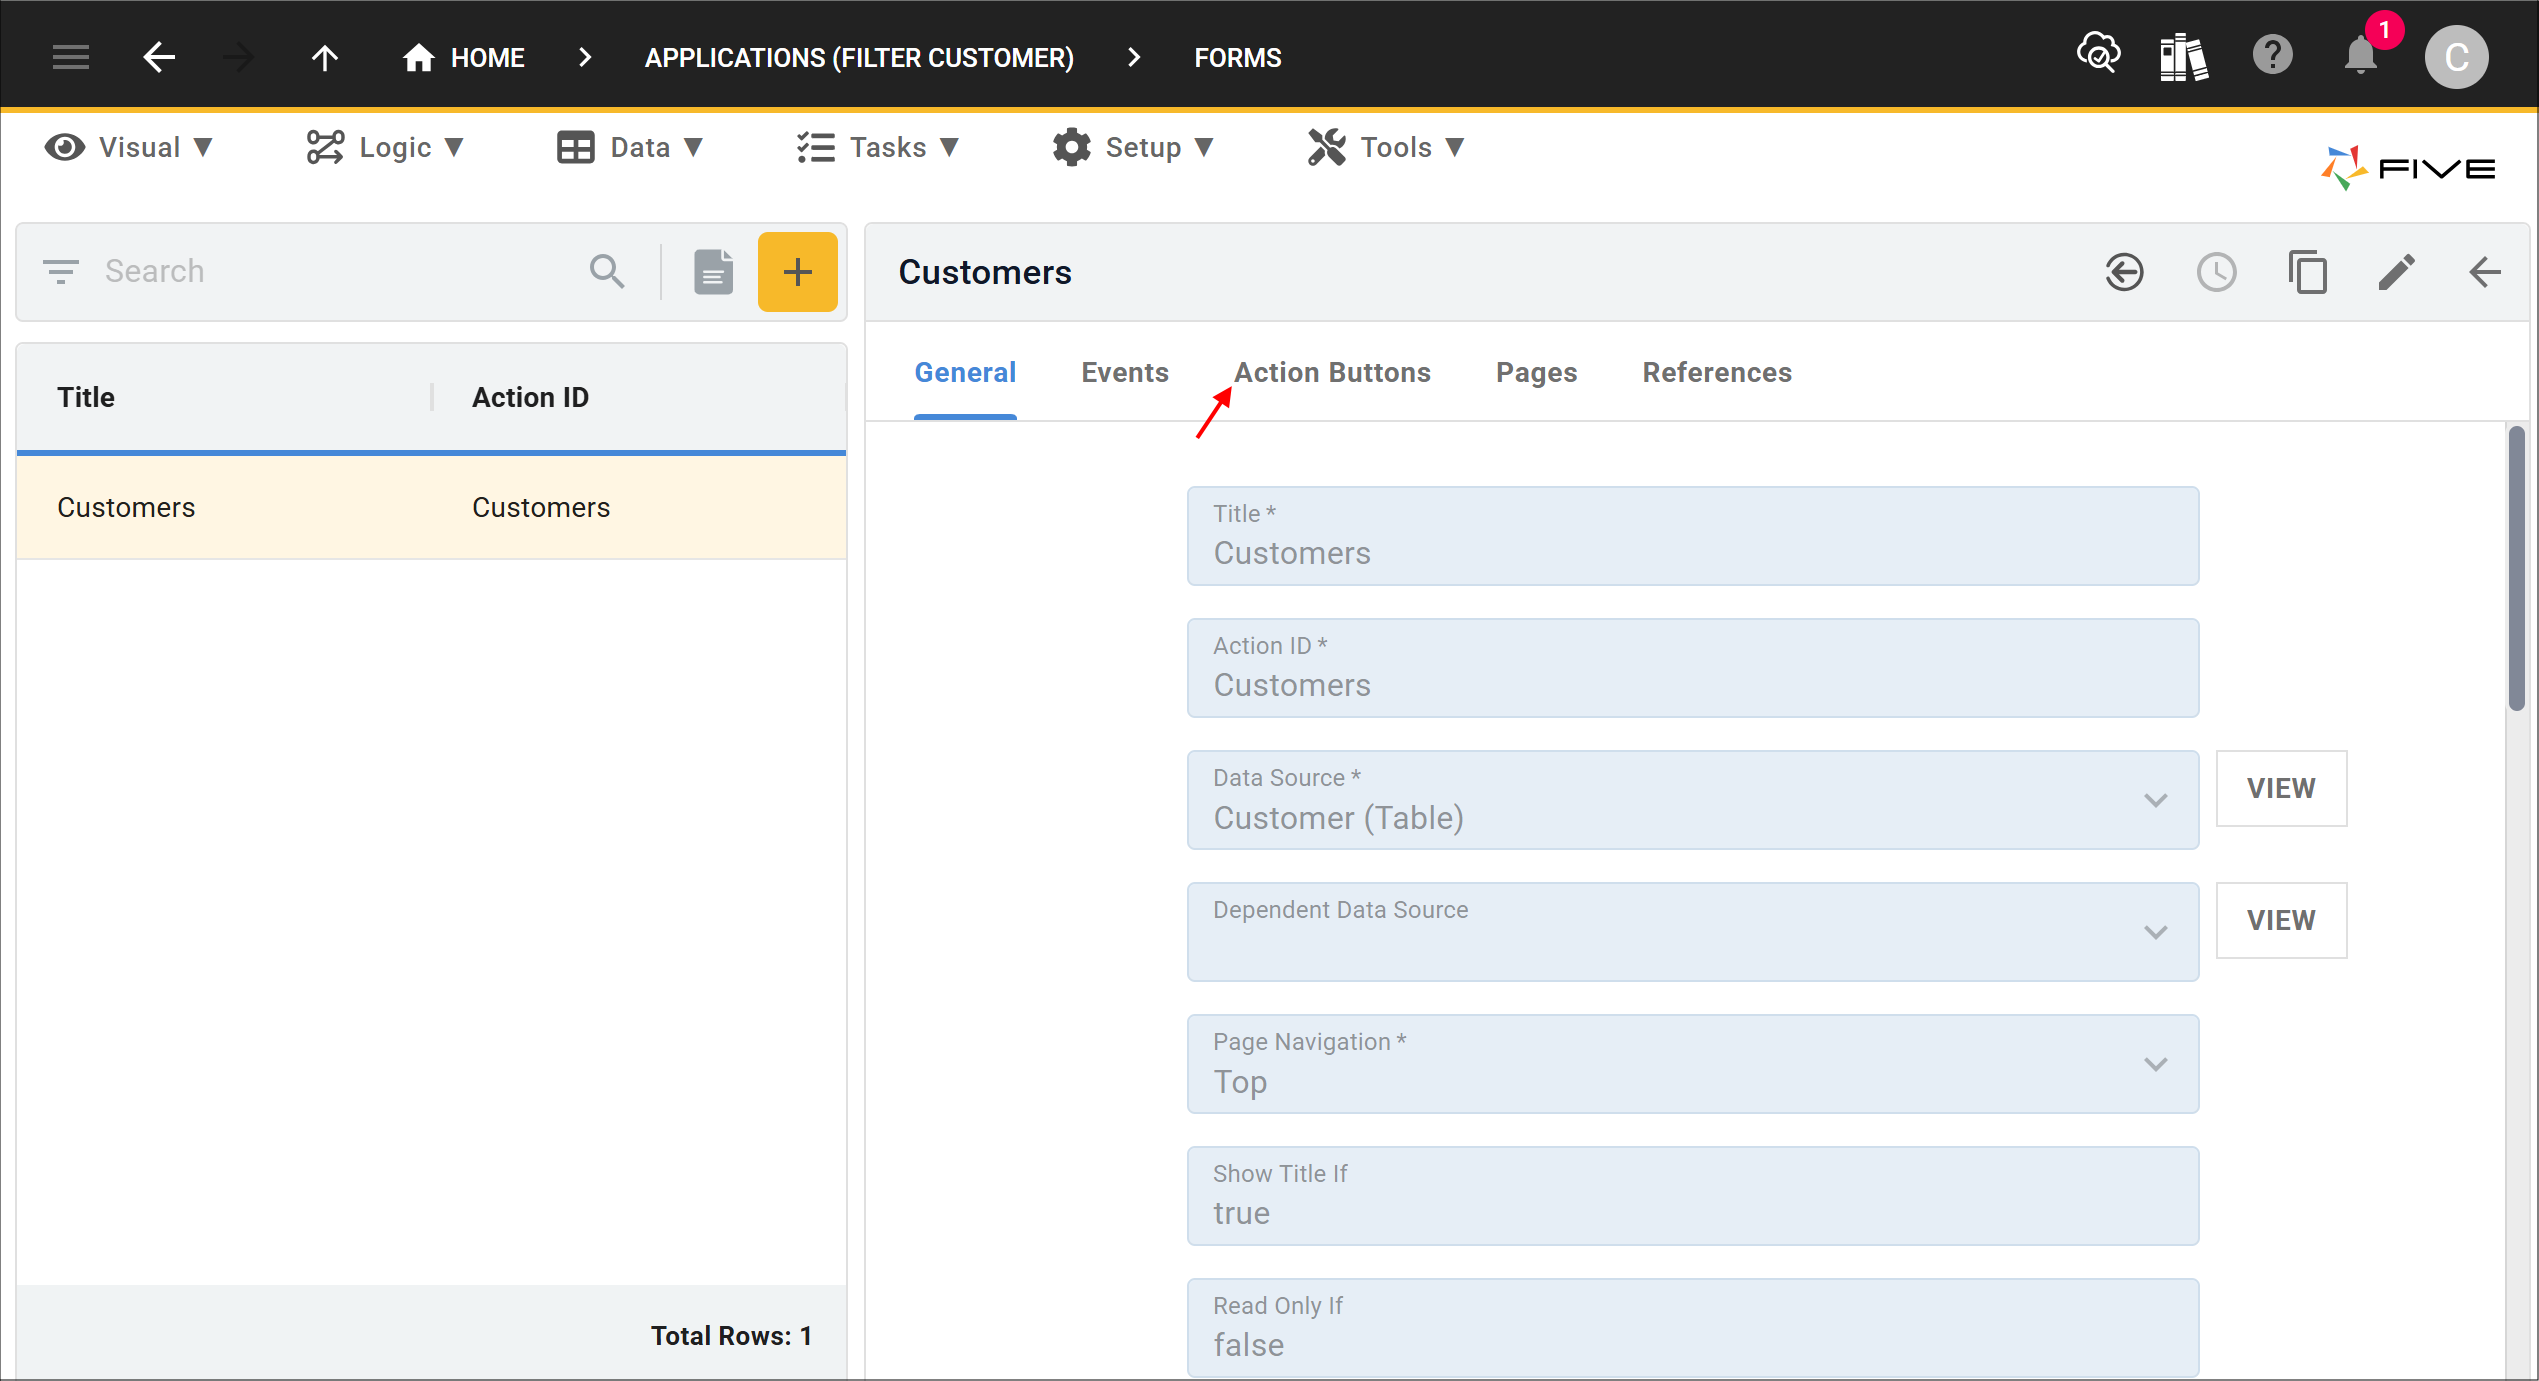
3. Select the Customers record in the list.
4. Click the Action Buttons tab.
5. Click the Add Action Buttons button.

6. Type Back To Search Customer in the Caption field.
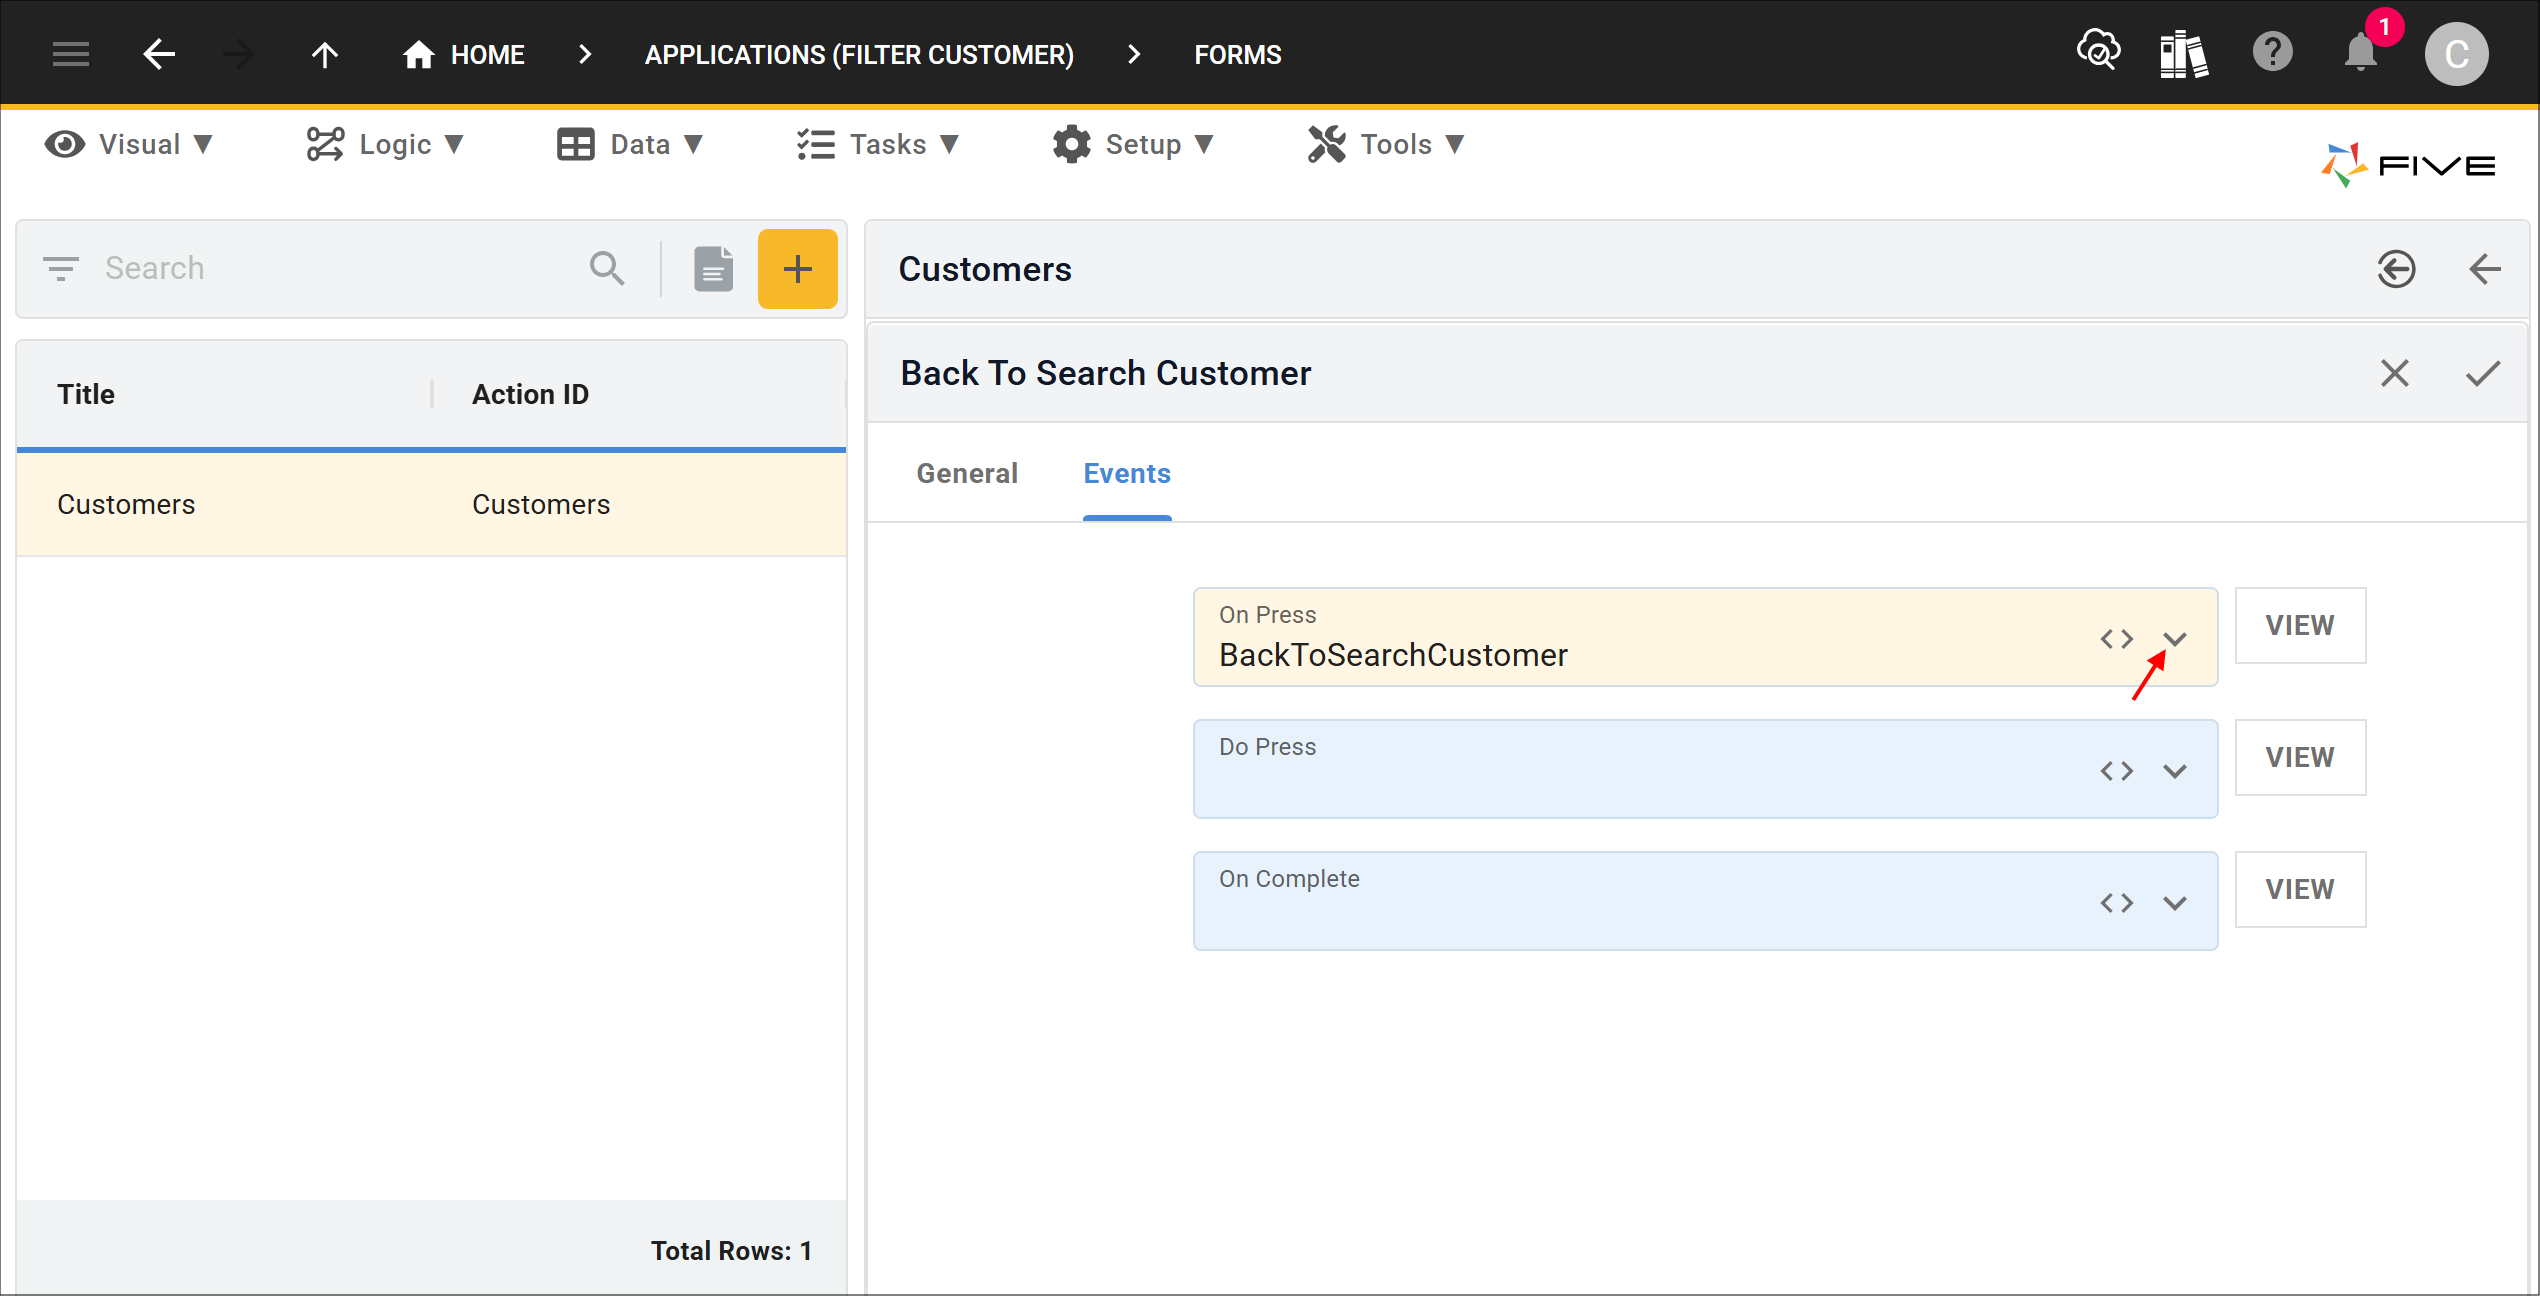
7. Click the Events tab.
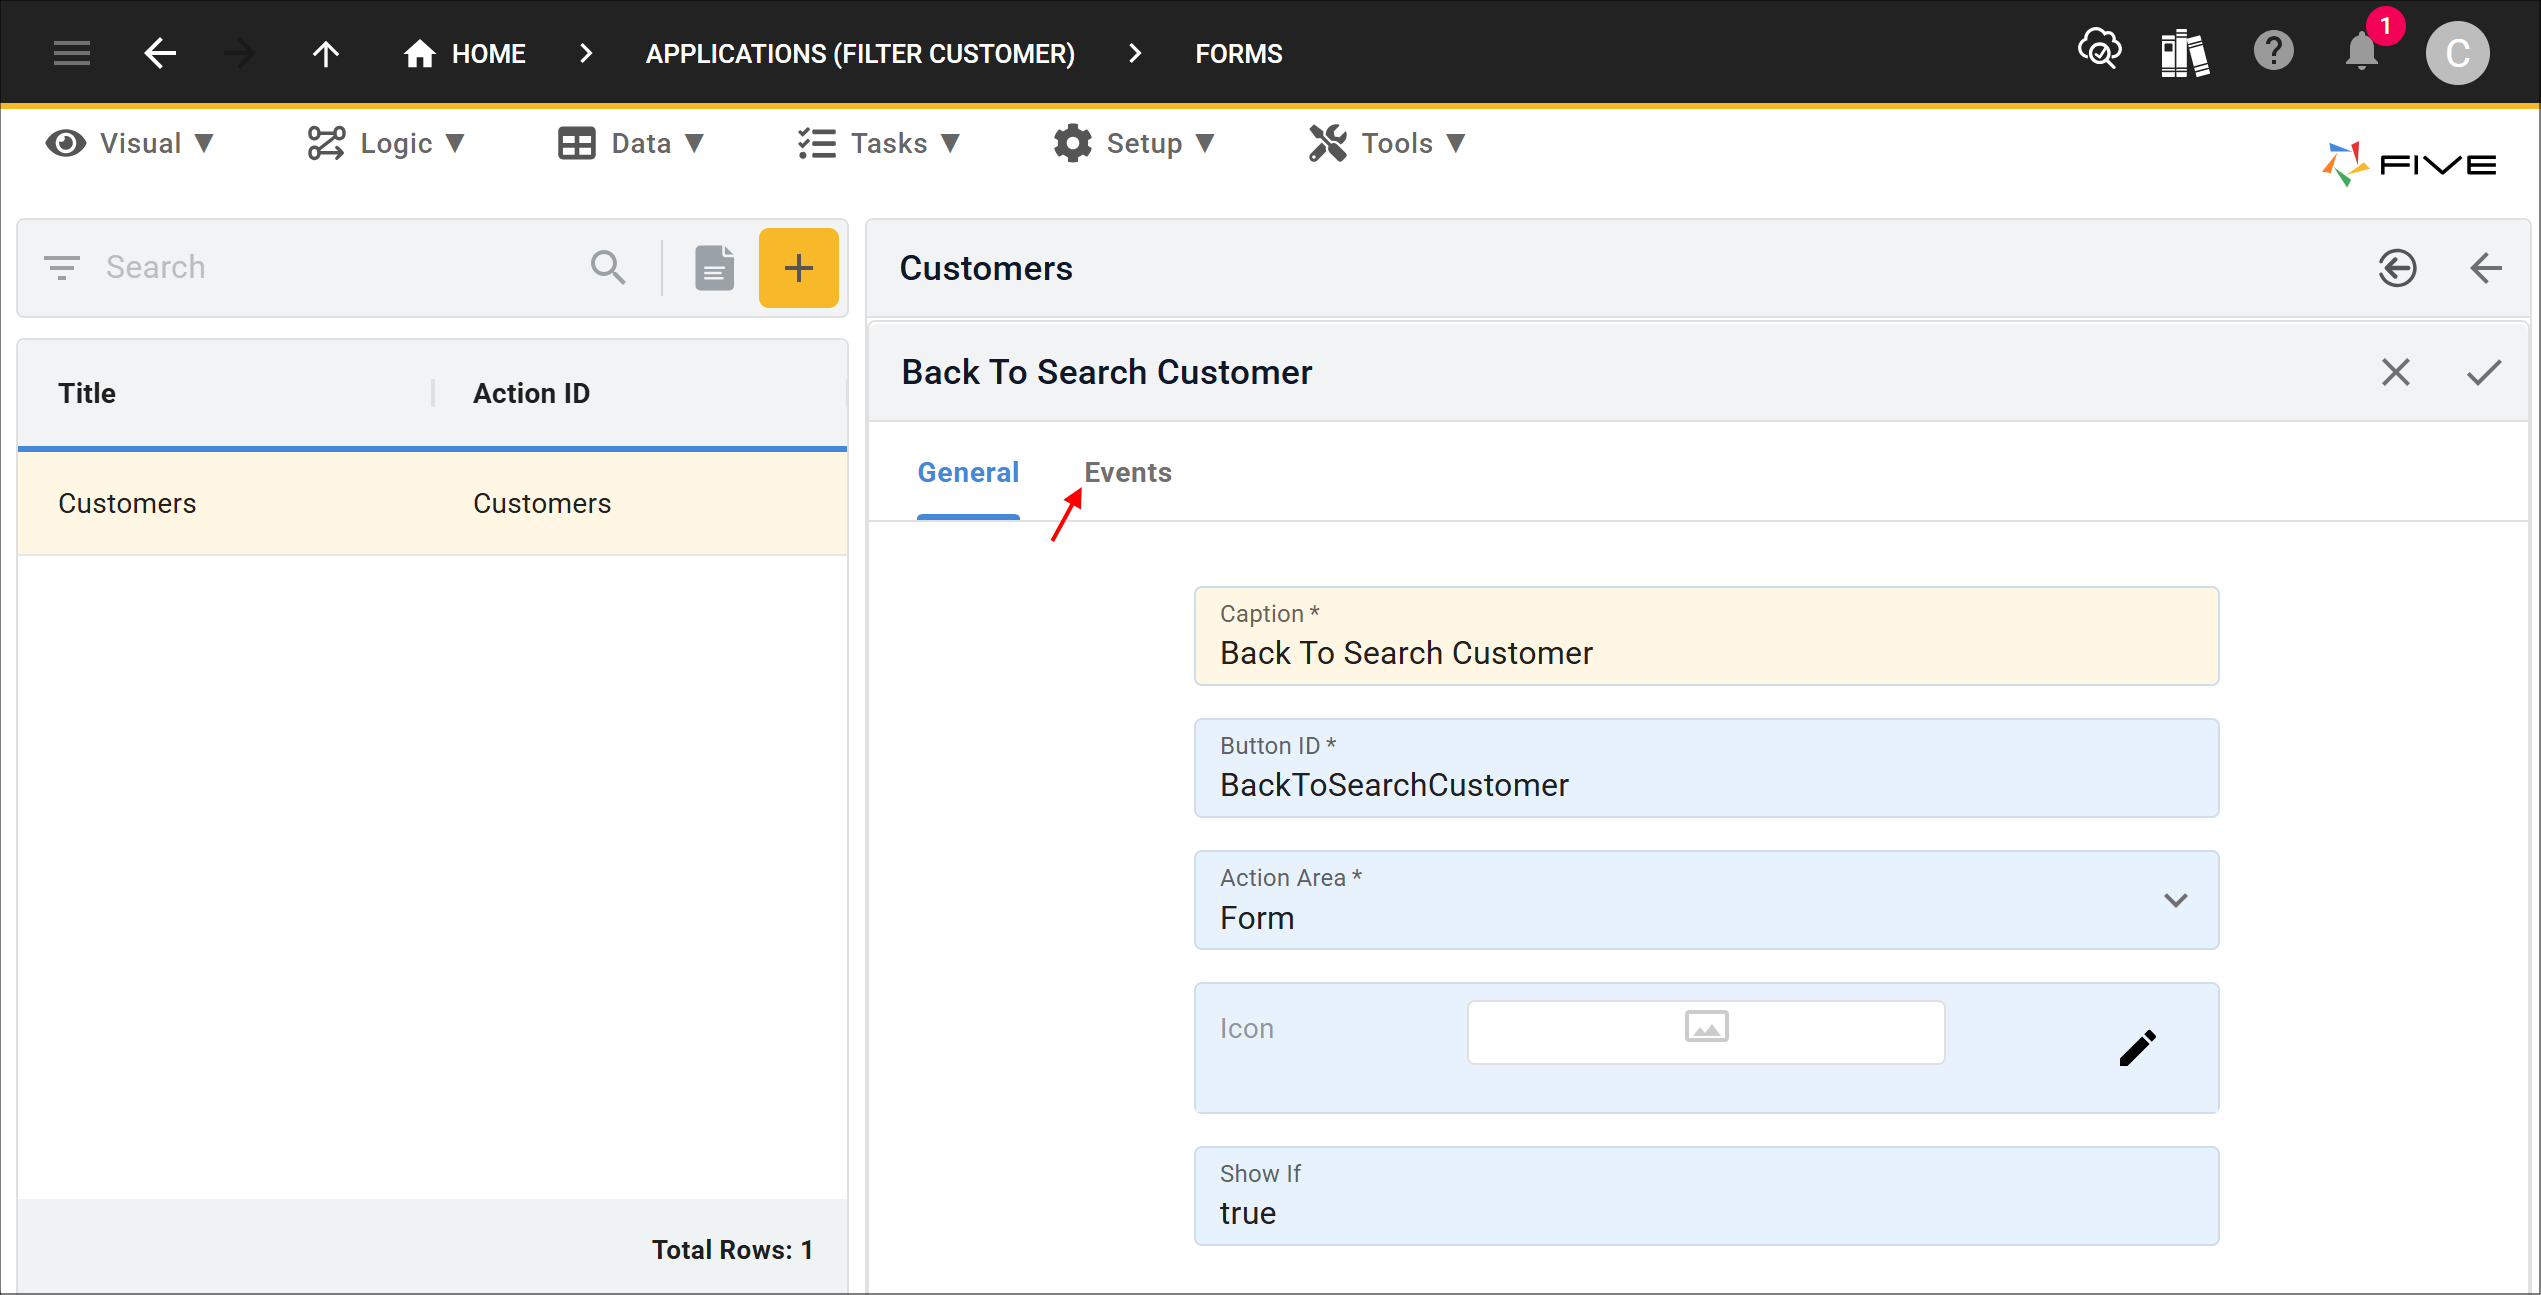
8. Click the lookup icon in the On Press field and select BackToSearchCustomer.
9. Click the Save button in the form app bar.
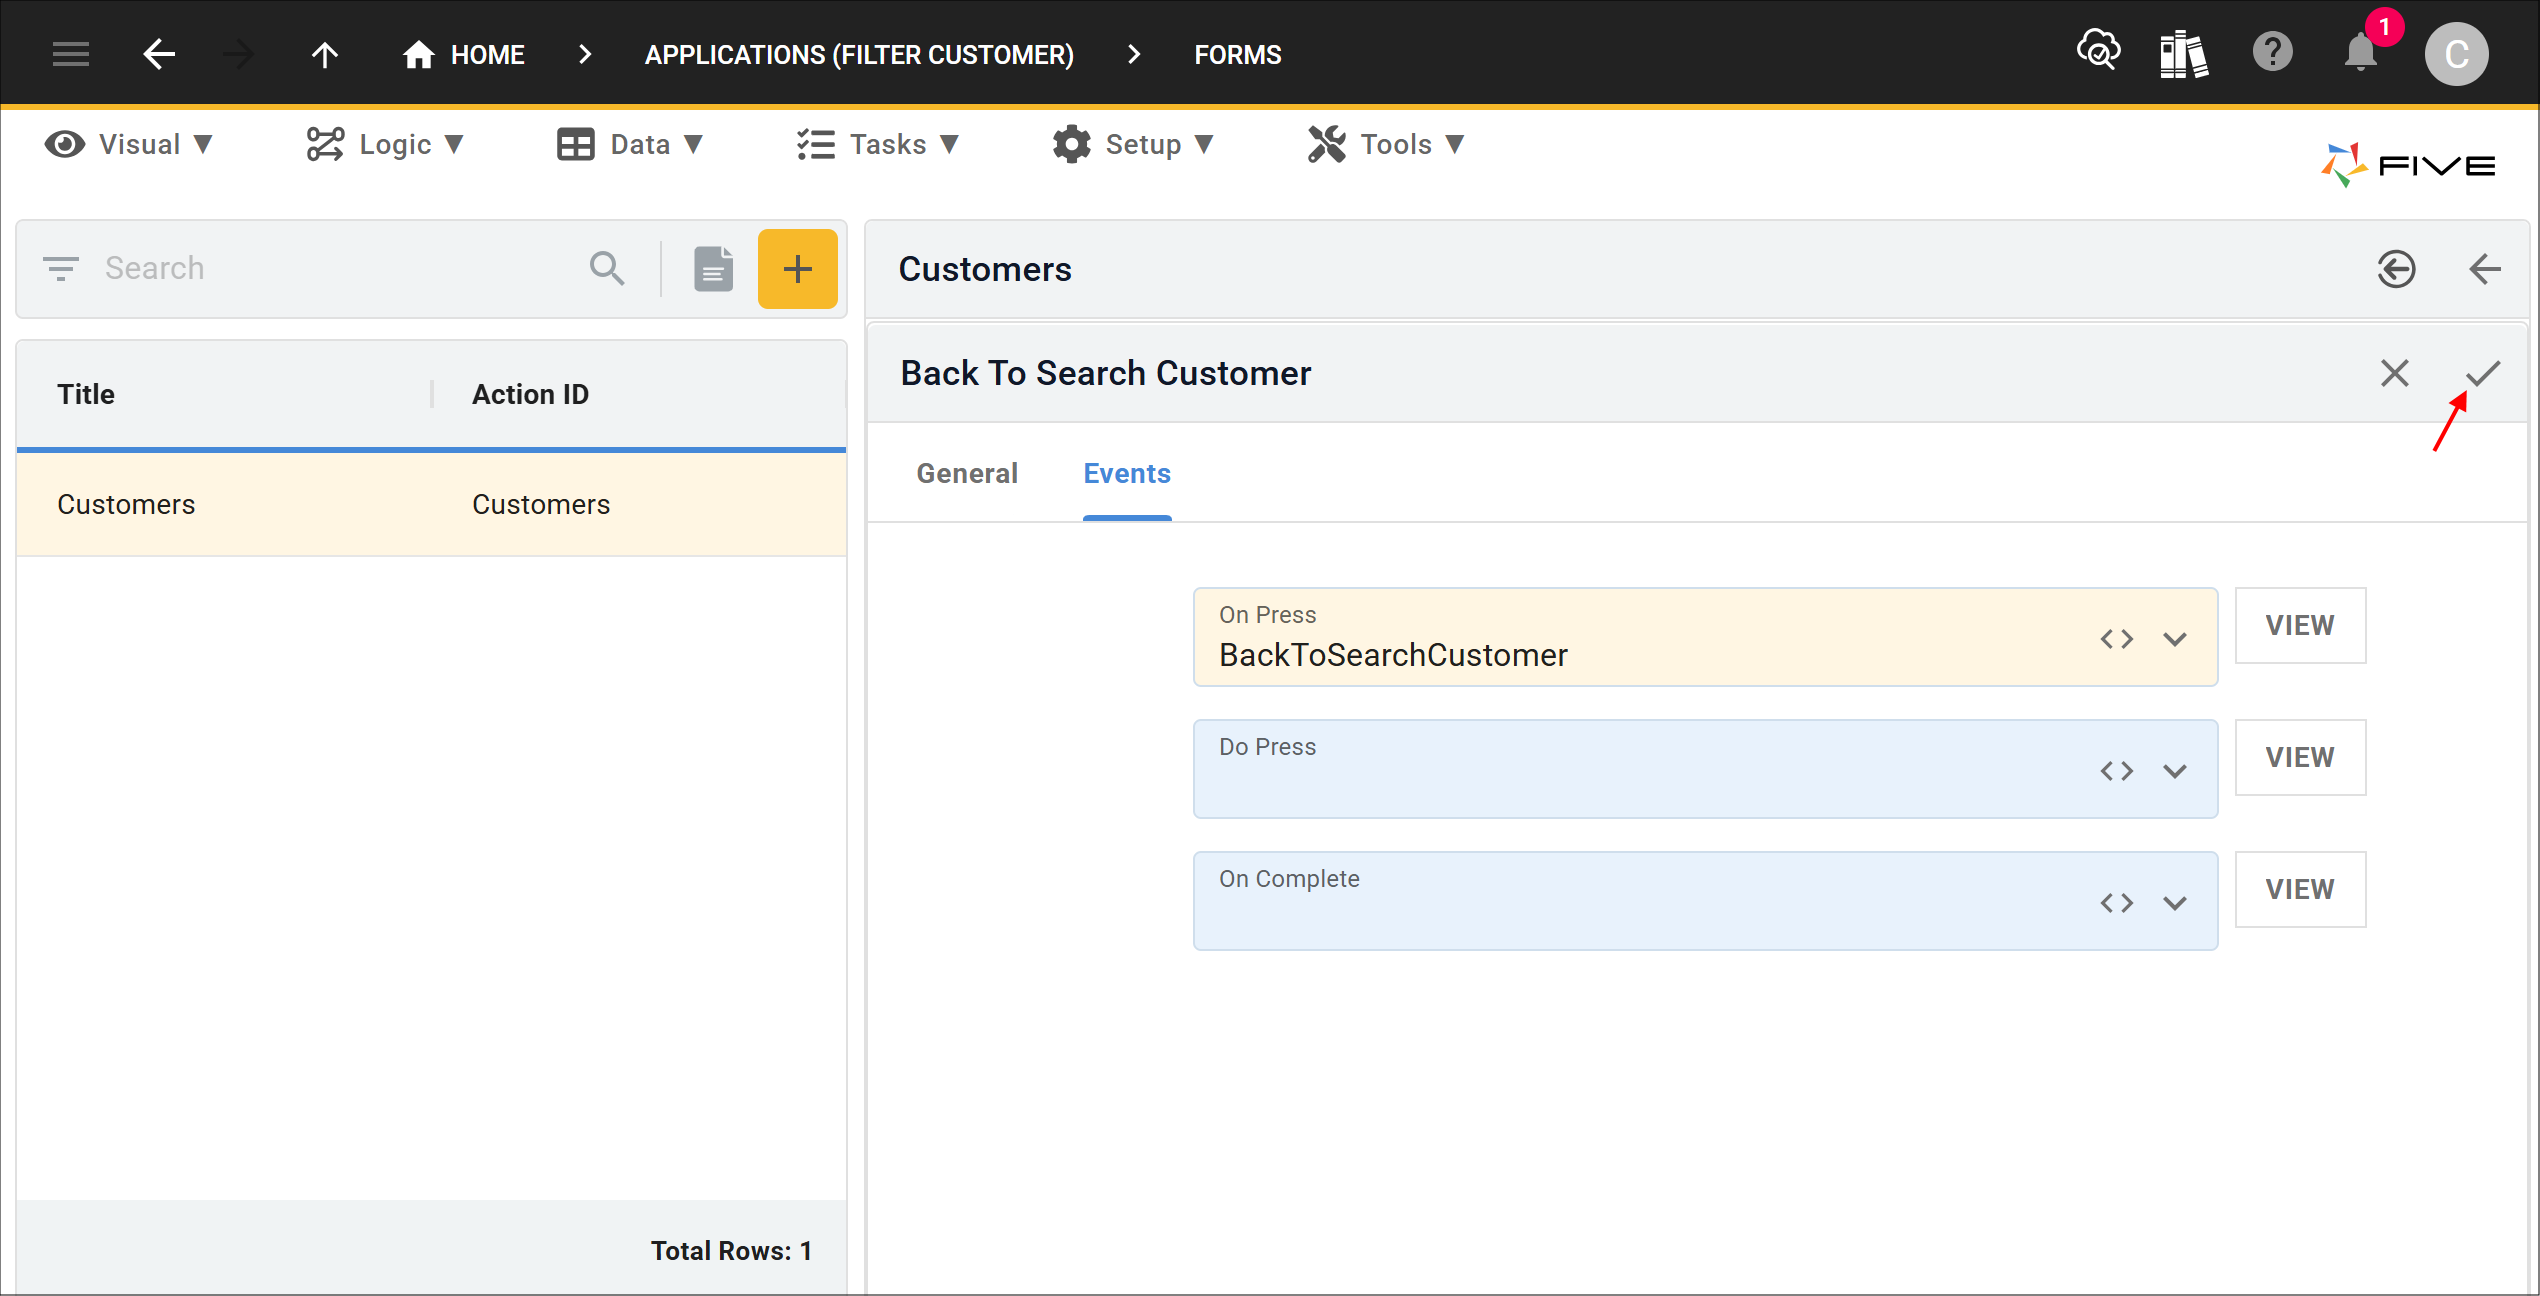
10. Click the Save button in the form app bar above the list.