Data Fields
Last updated 11/03/2025
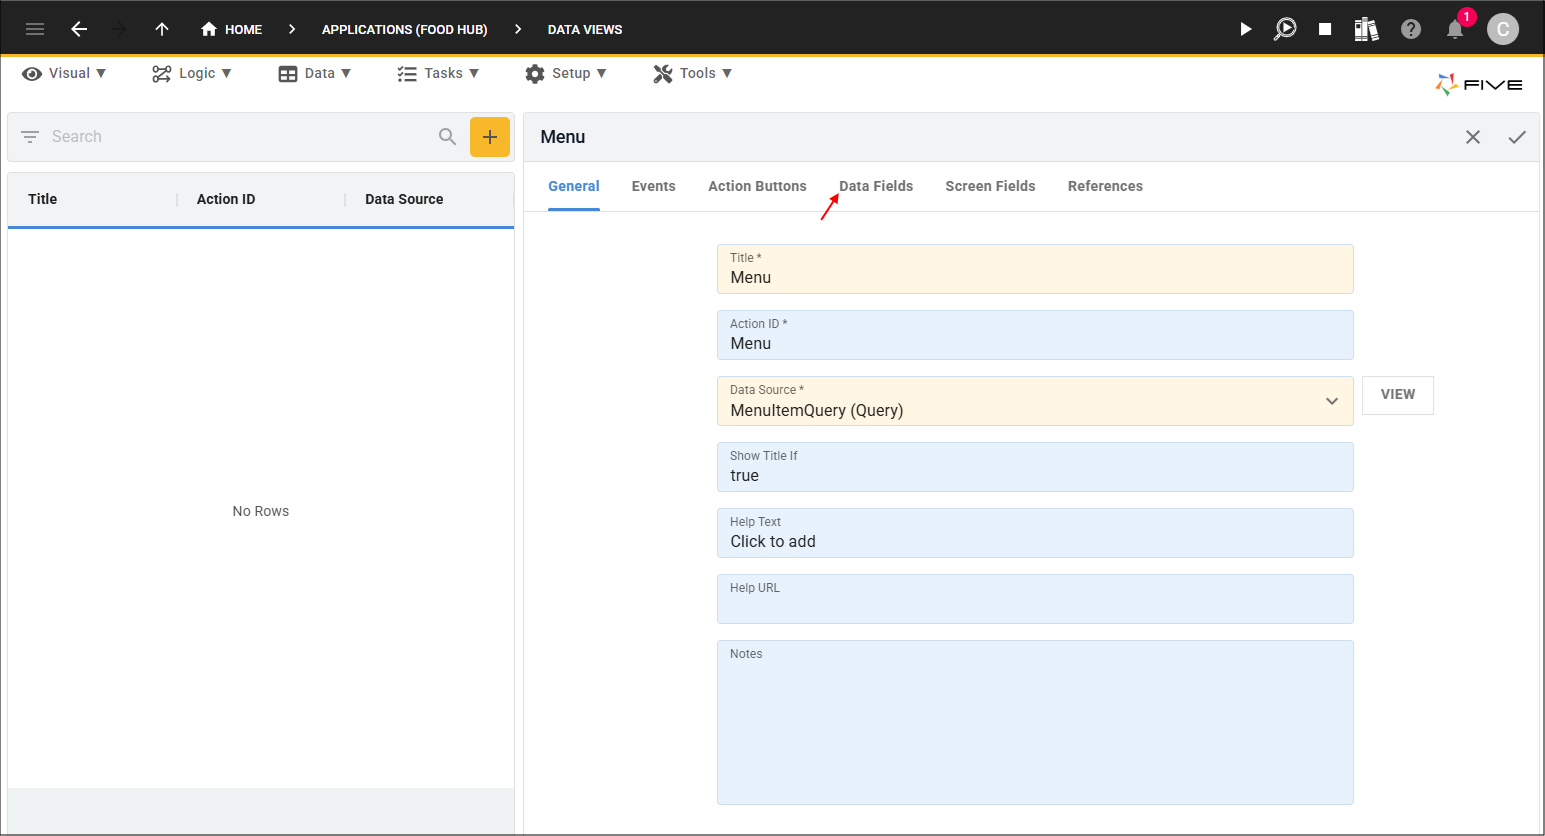
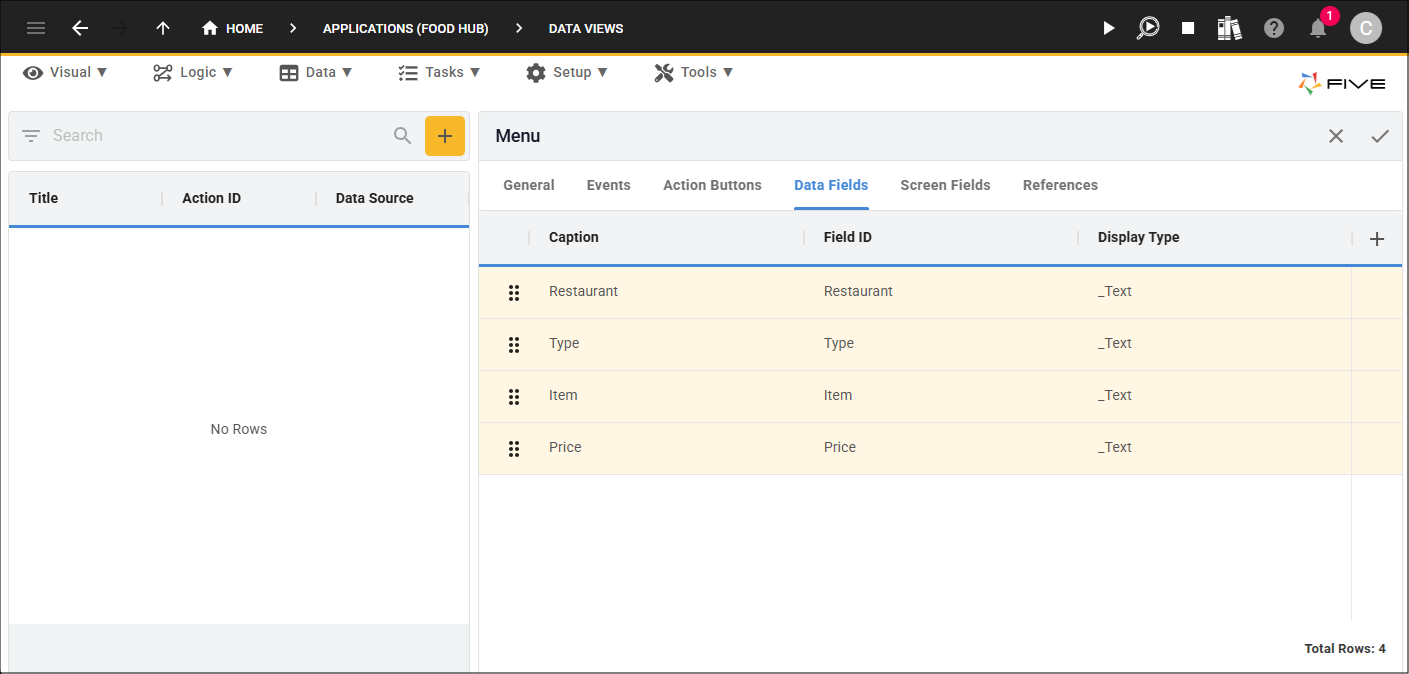
All the data fields in your data source will populate on the Data Fields page when you select your data source. To access these records, click the Data Fields tab on the Data View form.
Each field has a display type and this is how the data will be represented on your data view. When you select a record in the list the form will be available.
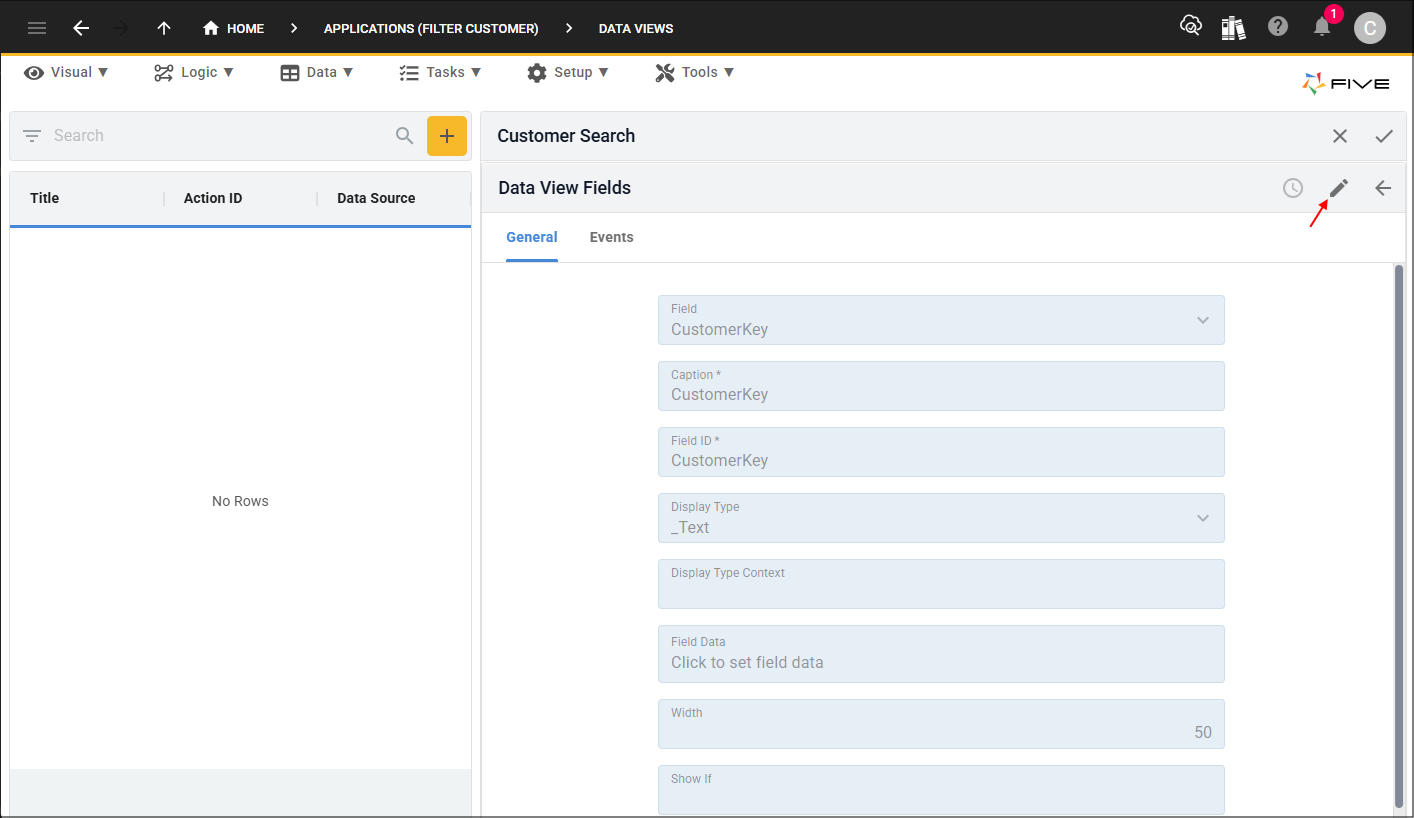
Understanding the Data Fields Form
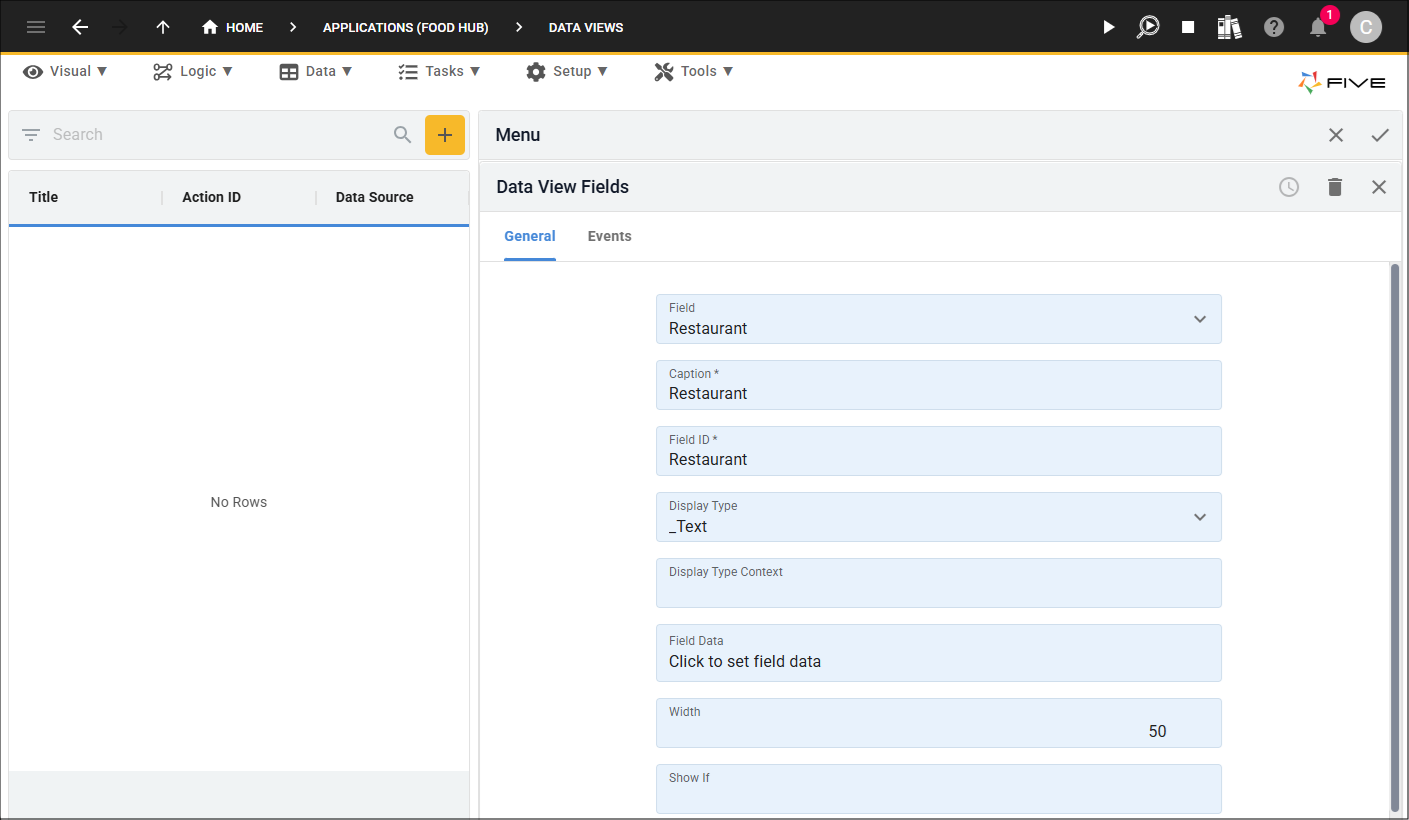
The Field field holds the field from your data source. Once this field is populated, Five will populate the Caption and Field ID fields with the same value as the Field field. You may need to edit the Caption field here as this value will be seen on your data view. When using a query field that has an alias, Five will use the alias as the value for these fields.
The Display Type field is how your data will be represented in the data field on your data view. Five will initially populate _Text into this field unless you are using a table as your data source. The display type from a table will be populated with a display type based on your data type defined in the table.
The Field Data field is to add Key: Value pairs. This is only relevant for certain display types.
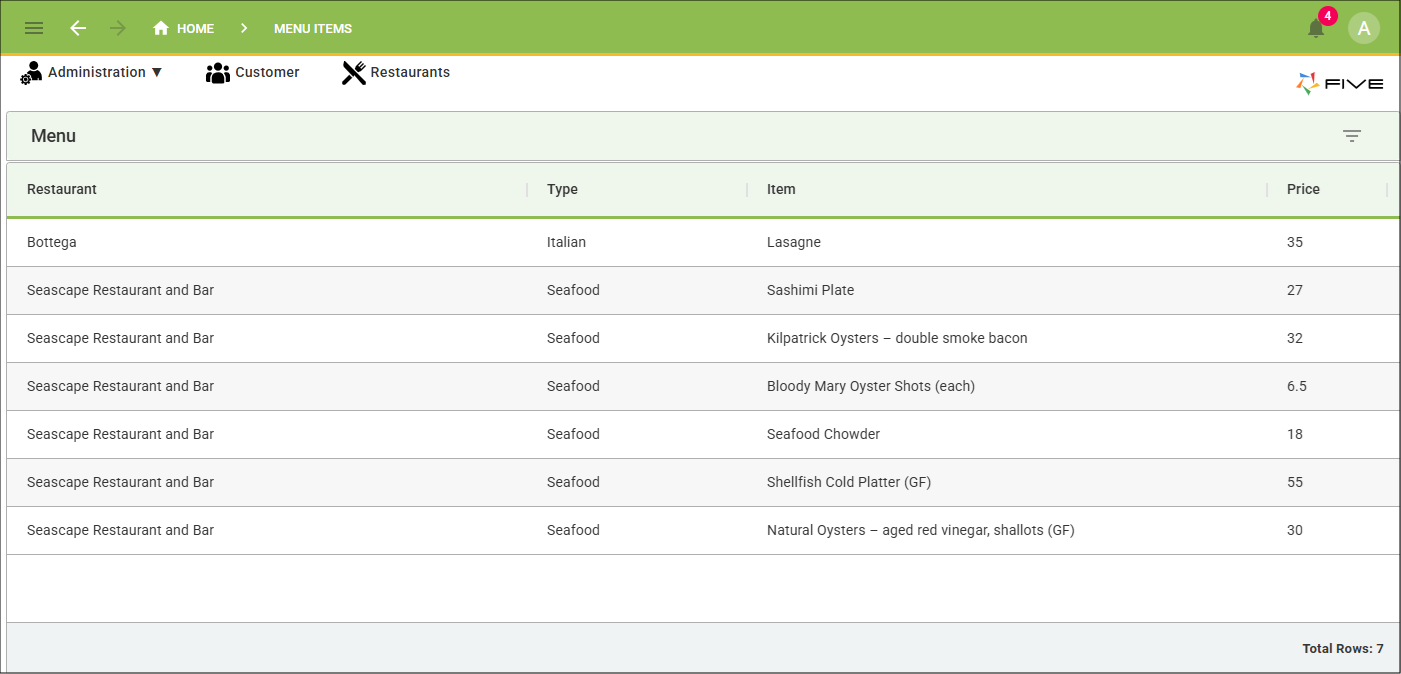
The Width field defaults every field to 50 except the last field, this will default to what is still available on your screen, this is based on an approximate number of characters. You can edit this field so each field only takes the required space you want on the data view. The image below shows how the data view looks with the default widths.
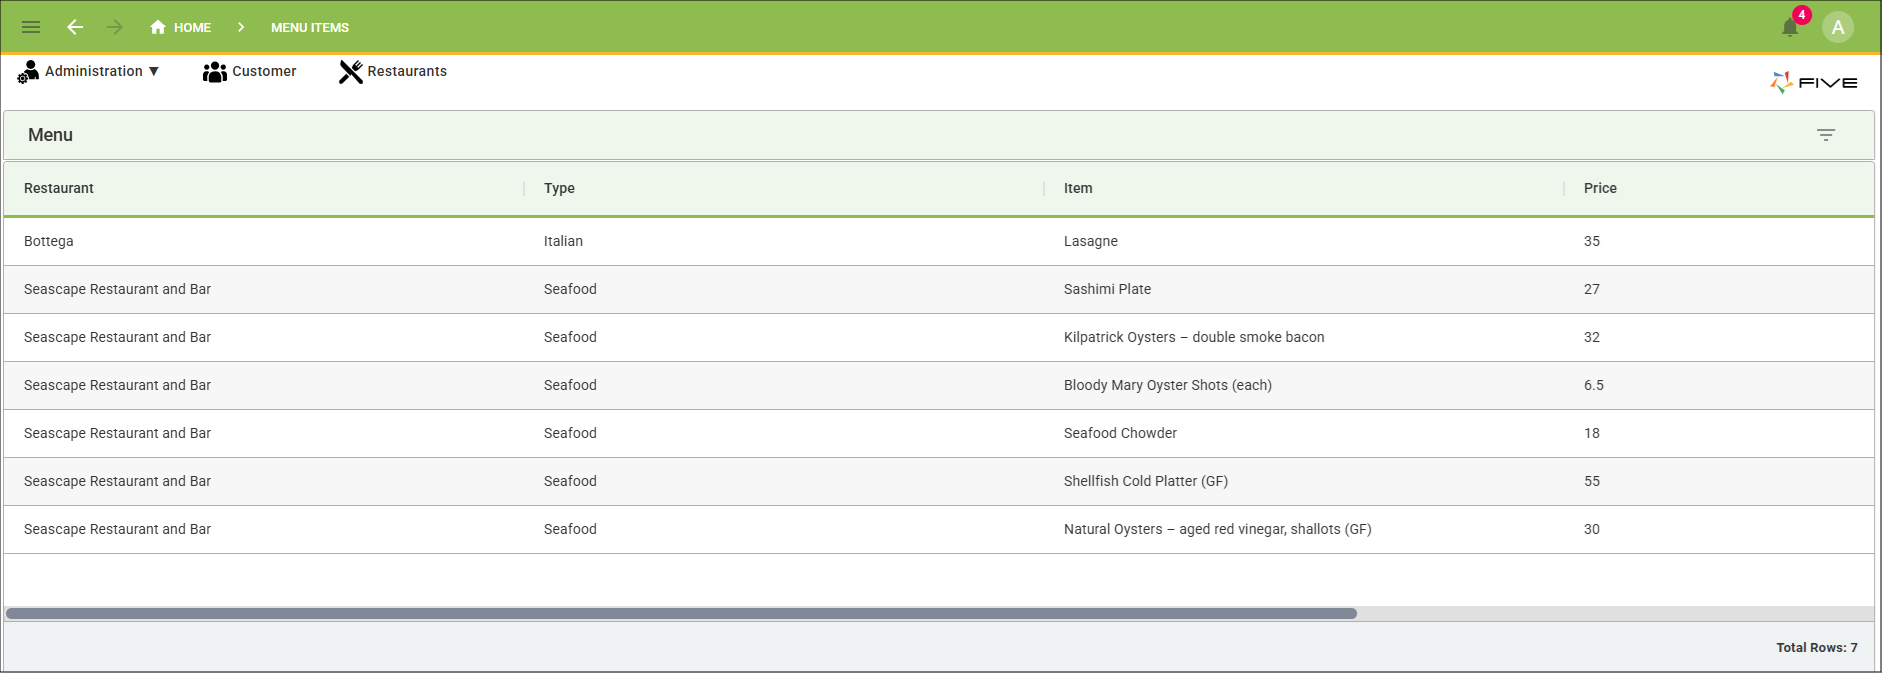
The image below shows how the data looks when reducing the Type and Price fields. To change the values in these fields, click the Cancel button and add a new number.
Edit a Data Field
1. Click the Data Fields tab.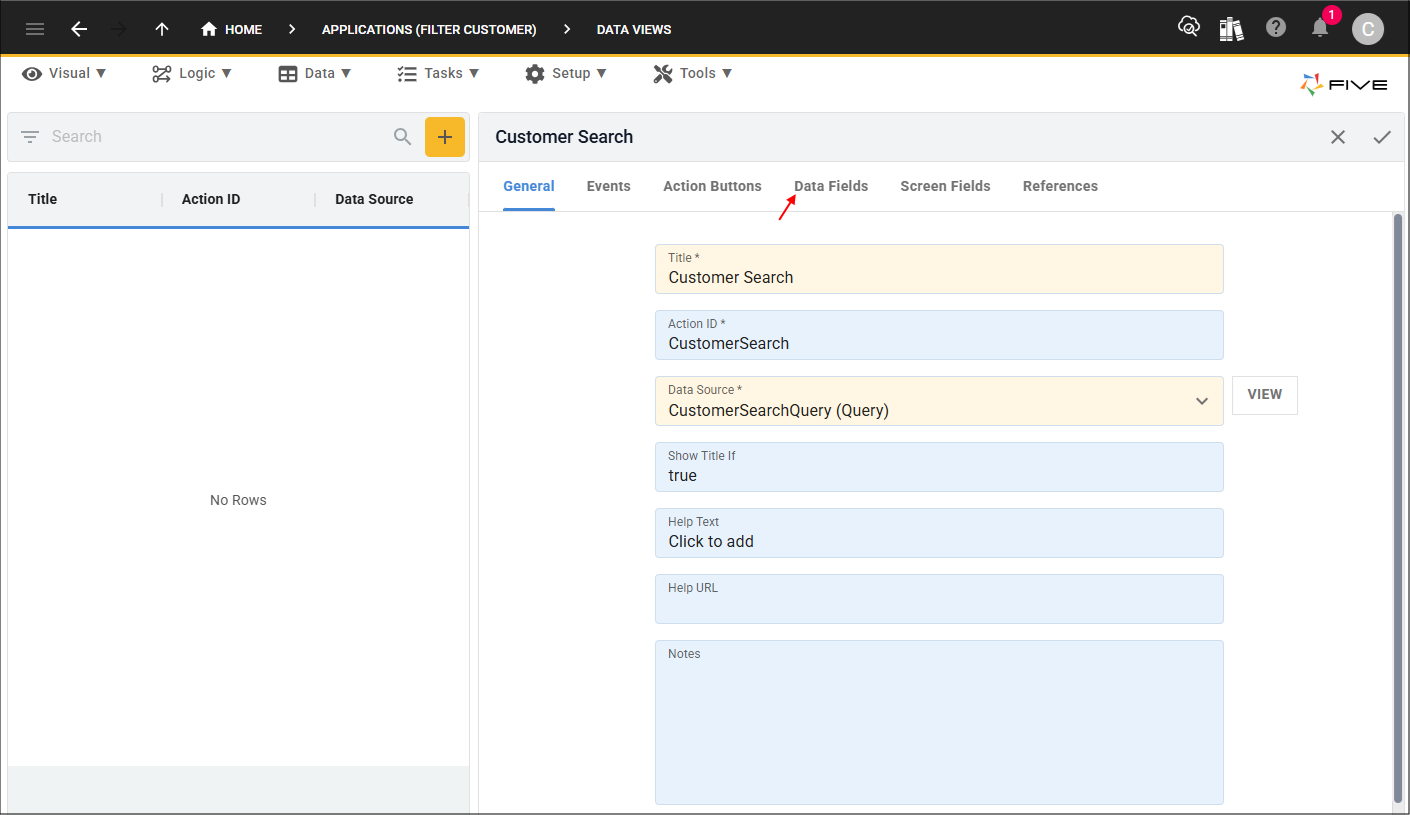
2. Select a record in the list.

3. Either click the Edit button in the form app bar or click directly in a field.
4. Make your changes.
5. Click both Save buttons in the stacked form app bars.
