replaceAction()
Last updated 6/02/2025
The
When using with
In the previous chapters,
Multiple actions and functions are used to demonstrate replacing actions on a dashboard.
In this tutorial, the following will be performed to demonstrate how
- Add the Replace Demo dashboard - To demonstrate how the functions replaceAction()andpreviousAction()work together.
- Add the ReplaceProcessA()function - When on Process A on the Replace Demo dashboard, will replace Process A with Process C.
- Add the PreviousActionWithRevertFalse()function - When on Process C on the Replace Demo dashboard, will return you to Process A.
- Edit the Process A record - To add an action button and attach the ReplaceProcessA()function.
- Edit the Process C record - To add an action button and attach the PreviousActionWithRevertFalse()function.
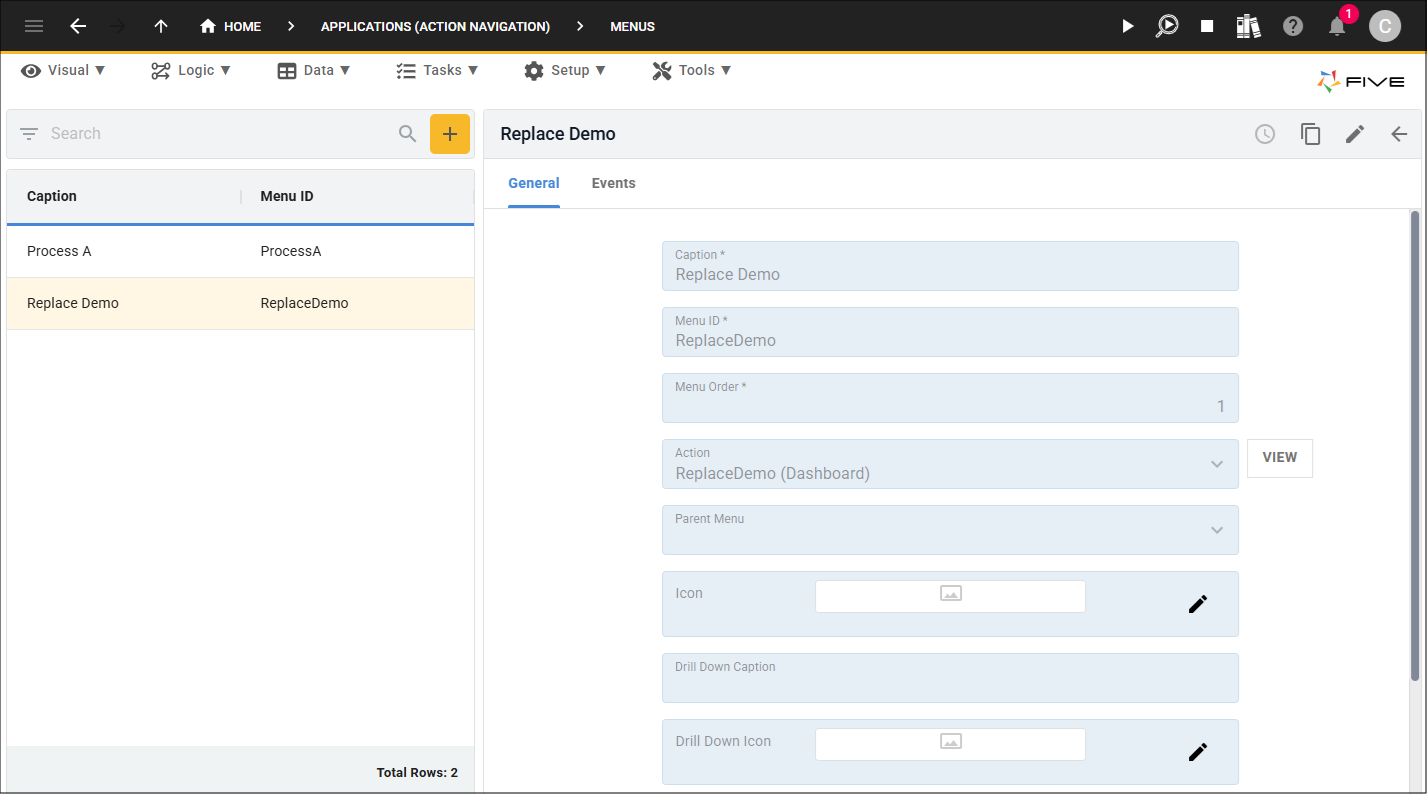
Add the Replace Demo Dashboard
The Replace Demo dashboard is added so we can add multiple dashboard areas to demonstrate how the
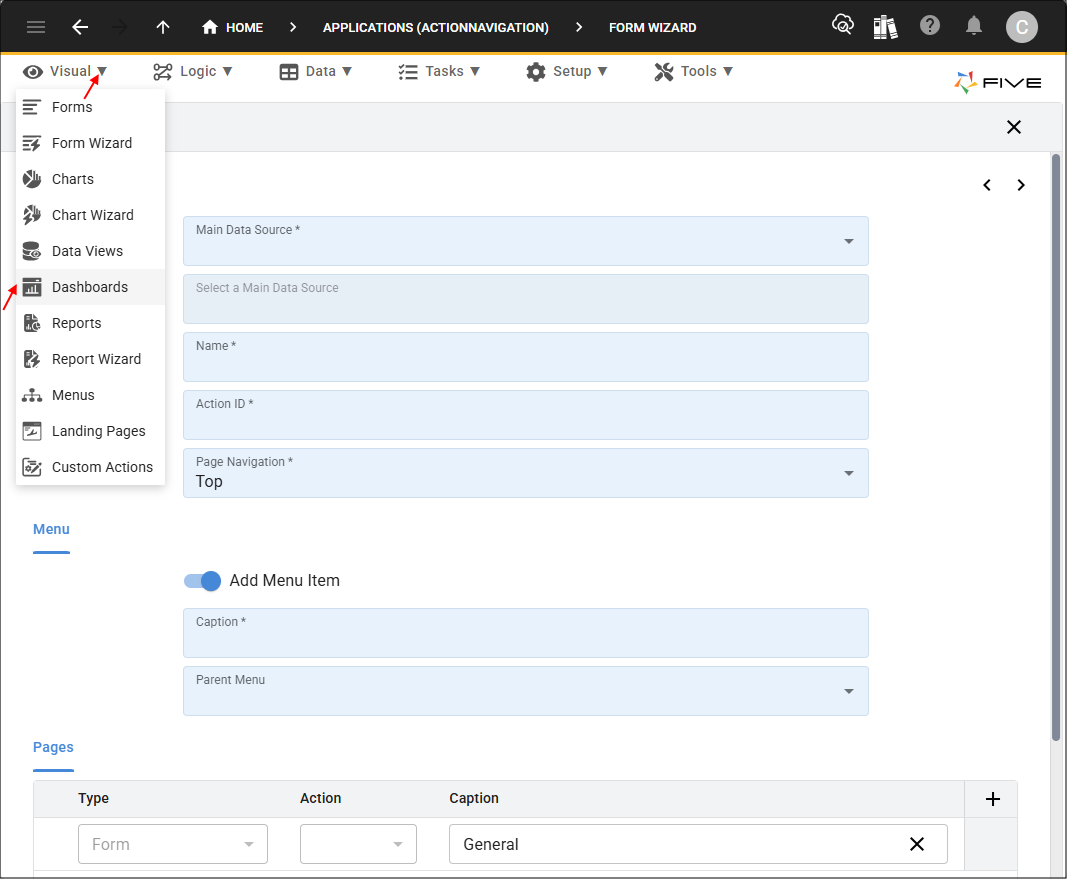
2. Select Dashboards in the sub-menu.
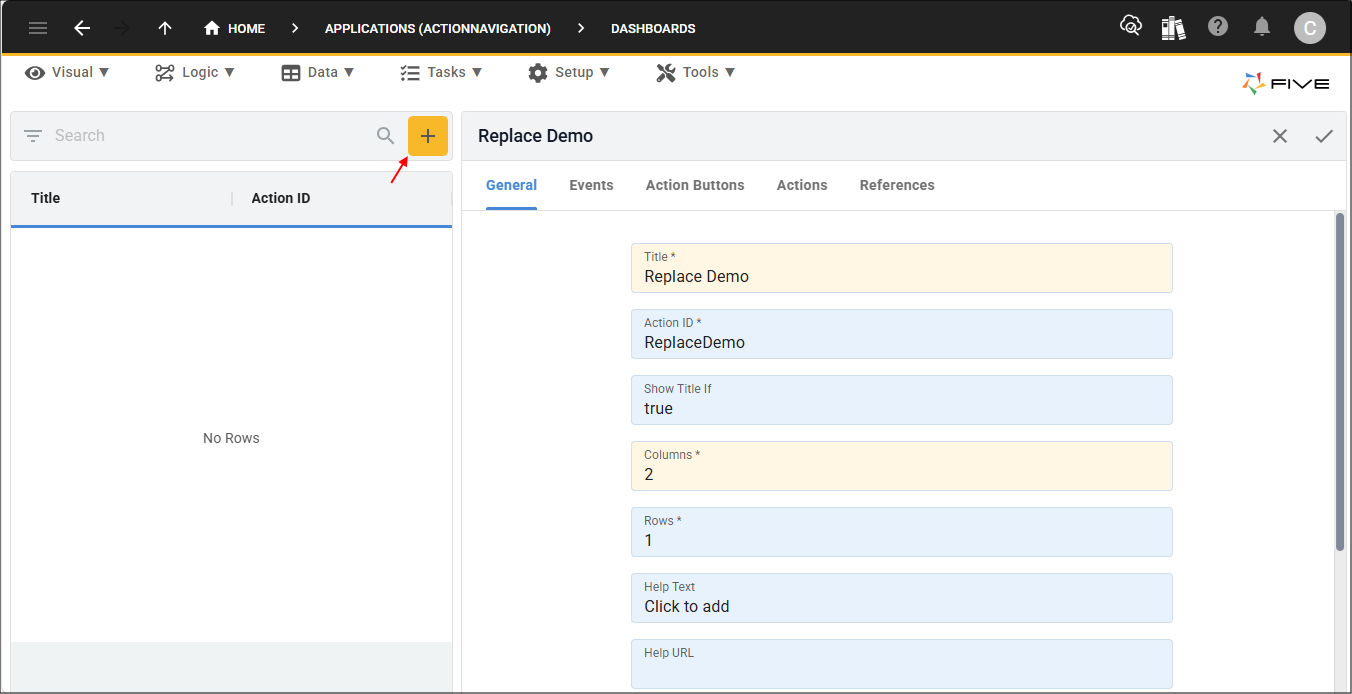
3. Click the Add Item button.
4. Type Replace Demo in the Title field.
5. Type 2 in the Columns field.
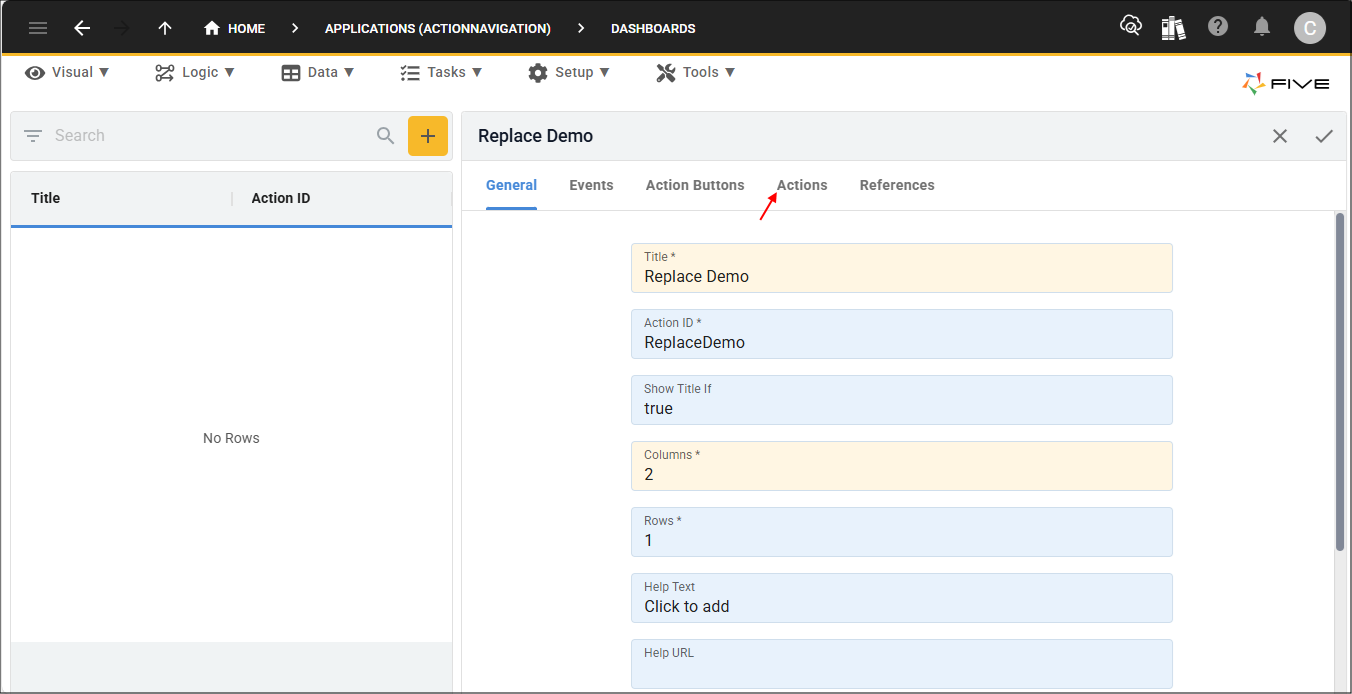
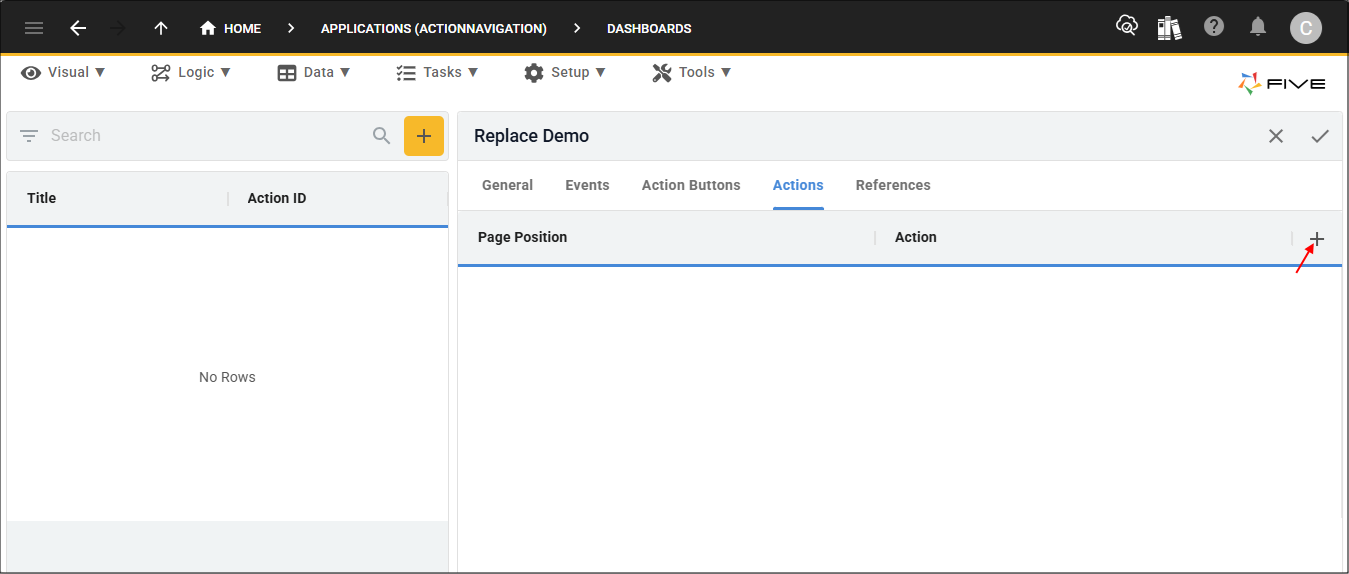
6. Click the Actions tab.
7. Click the Add Actions button.
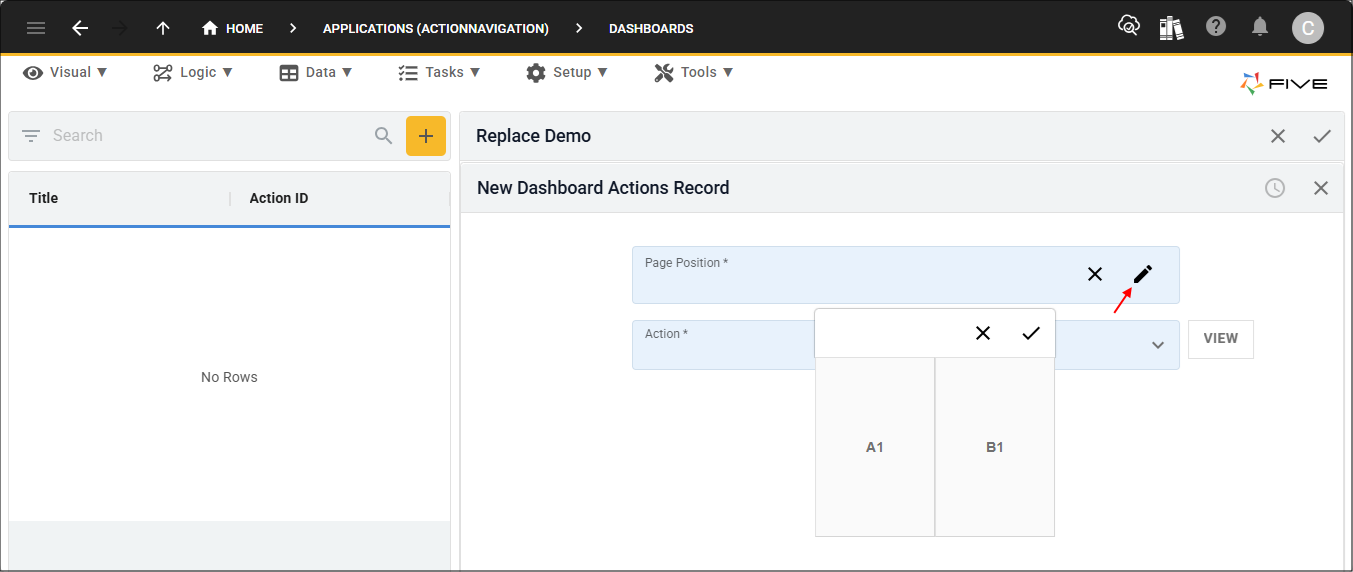
8. Click the Edit button in the Page Position field.
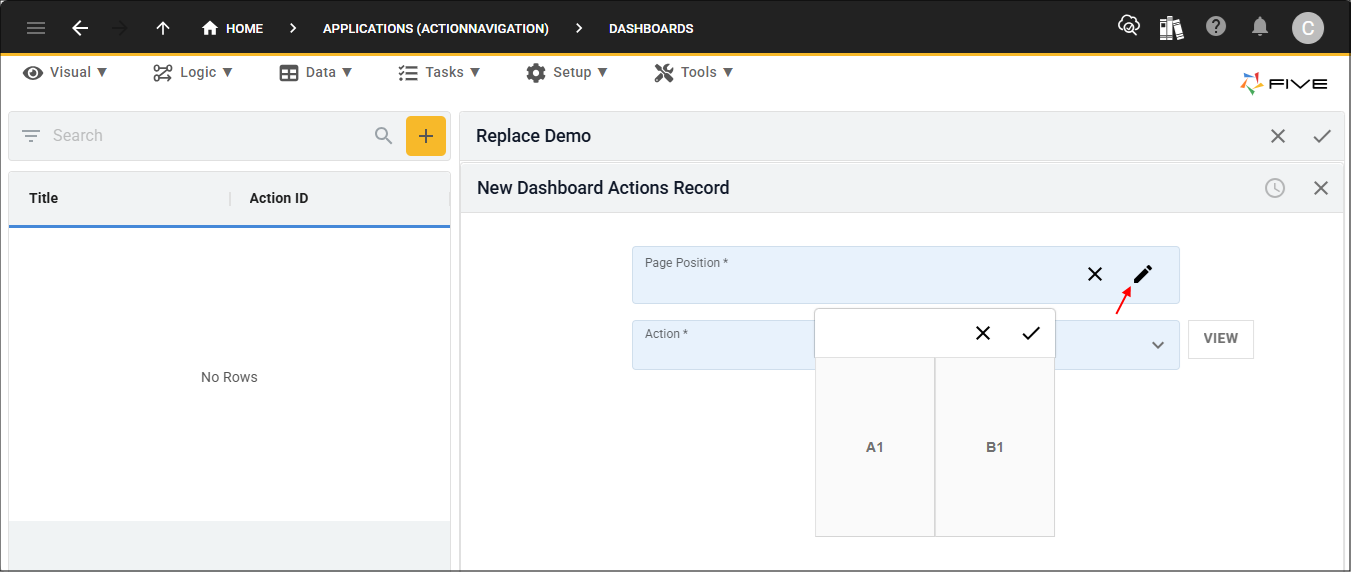
9. Select A1 and click the Save button in the grid picker.
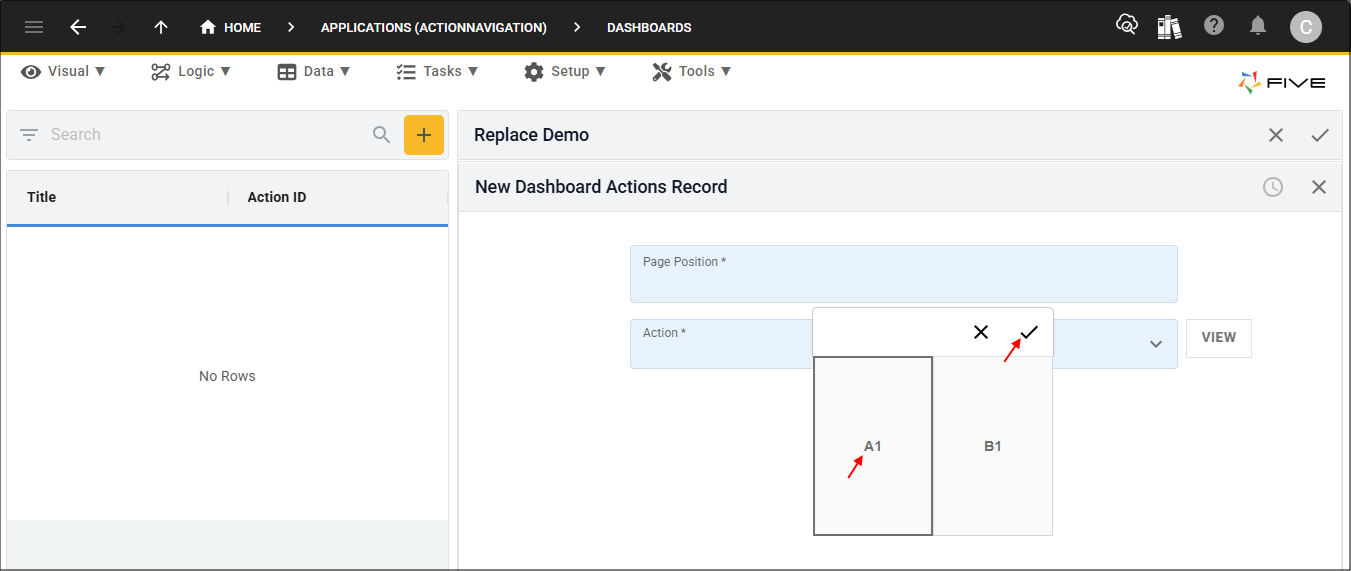
10. Click the lookup icon in the Action field and select ProcessA (Process).
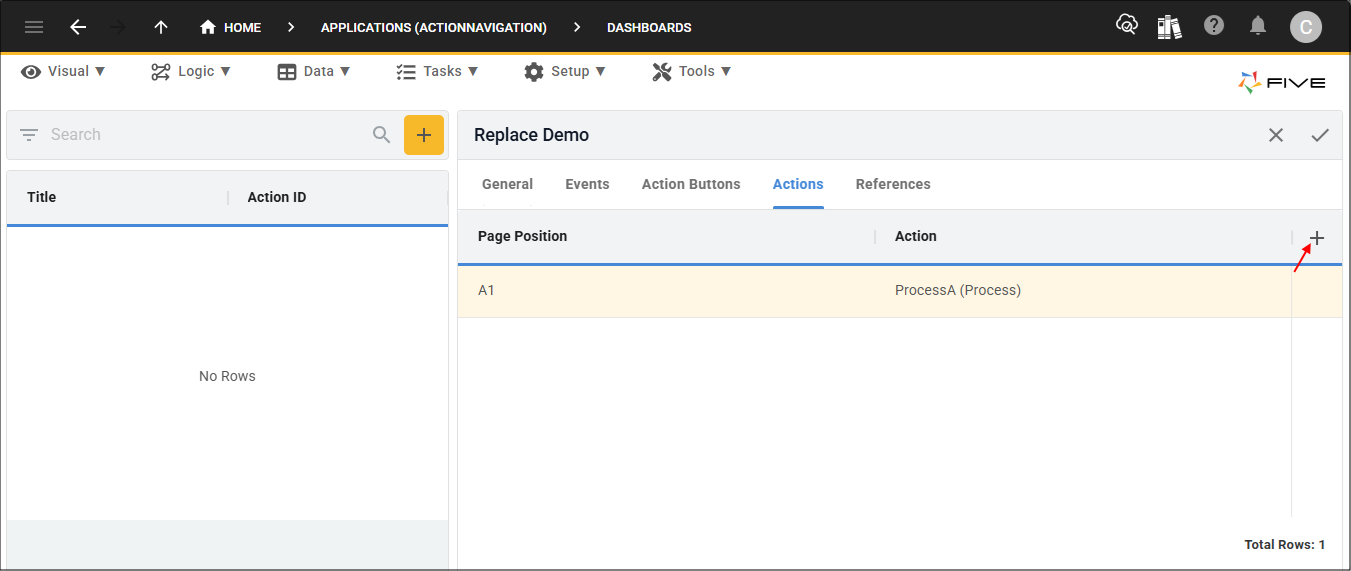
11. Click the Save button in the form app bar.

12. Click the Add Actions button.
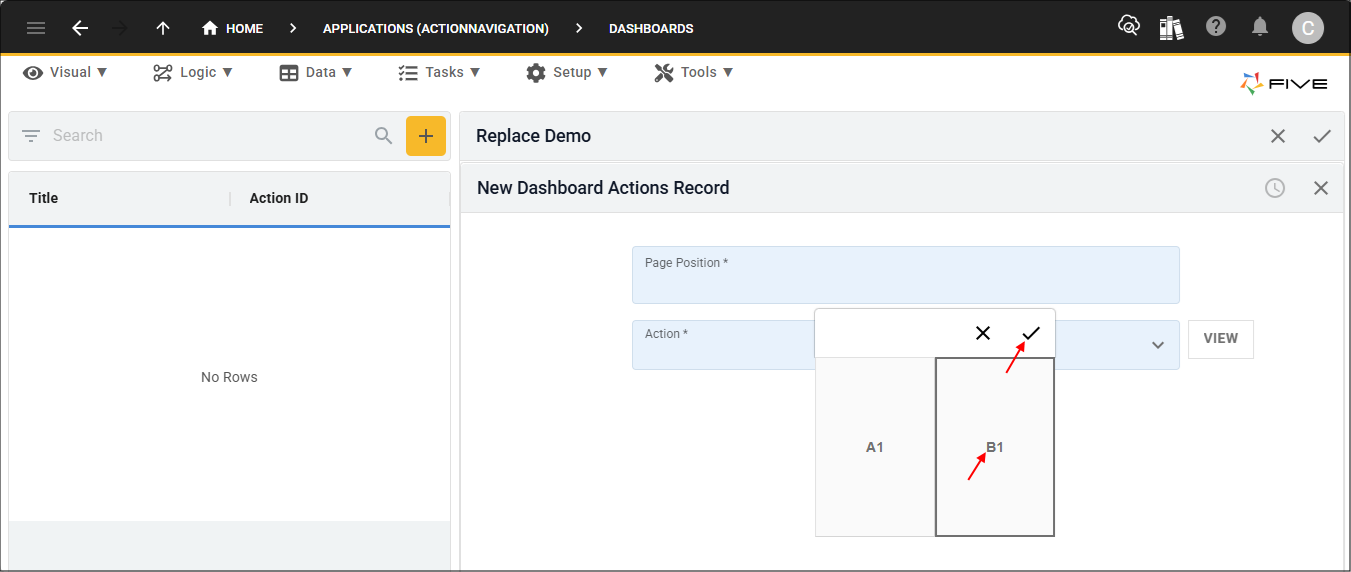
13. Click the Edit button in the Page Position field.
14. Select B1 and click the Save button in the grid picker.
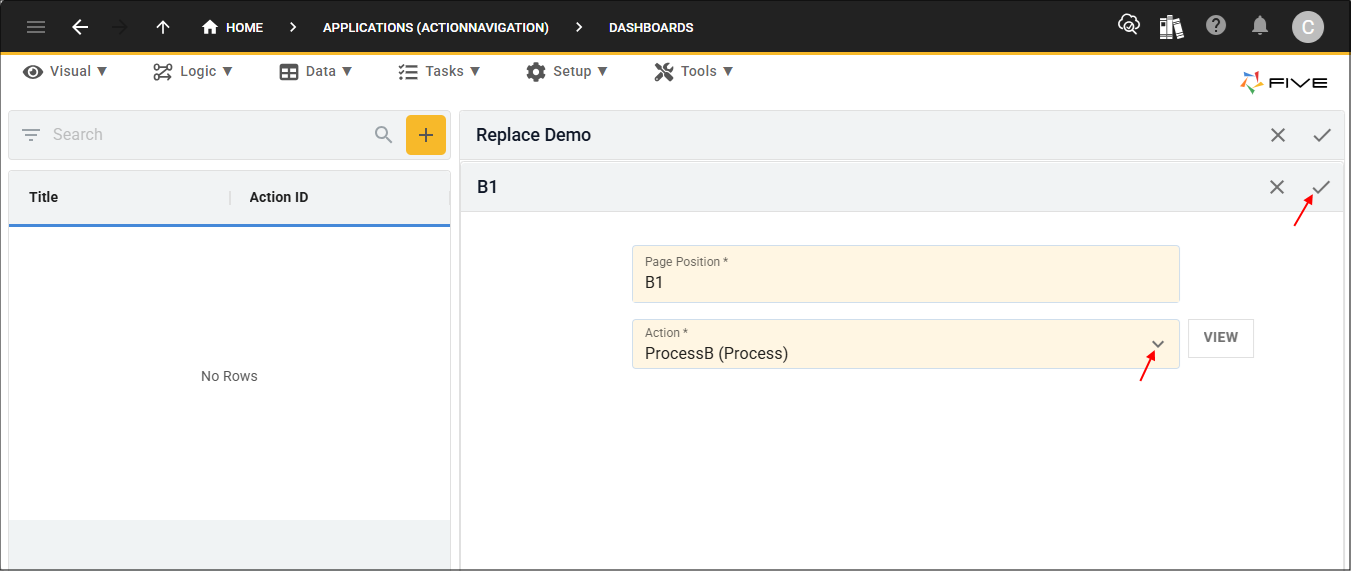
15. Click the lookup icon in the Action field and select ProcessB (Process).
16. Click the Save button in the form app bar.
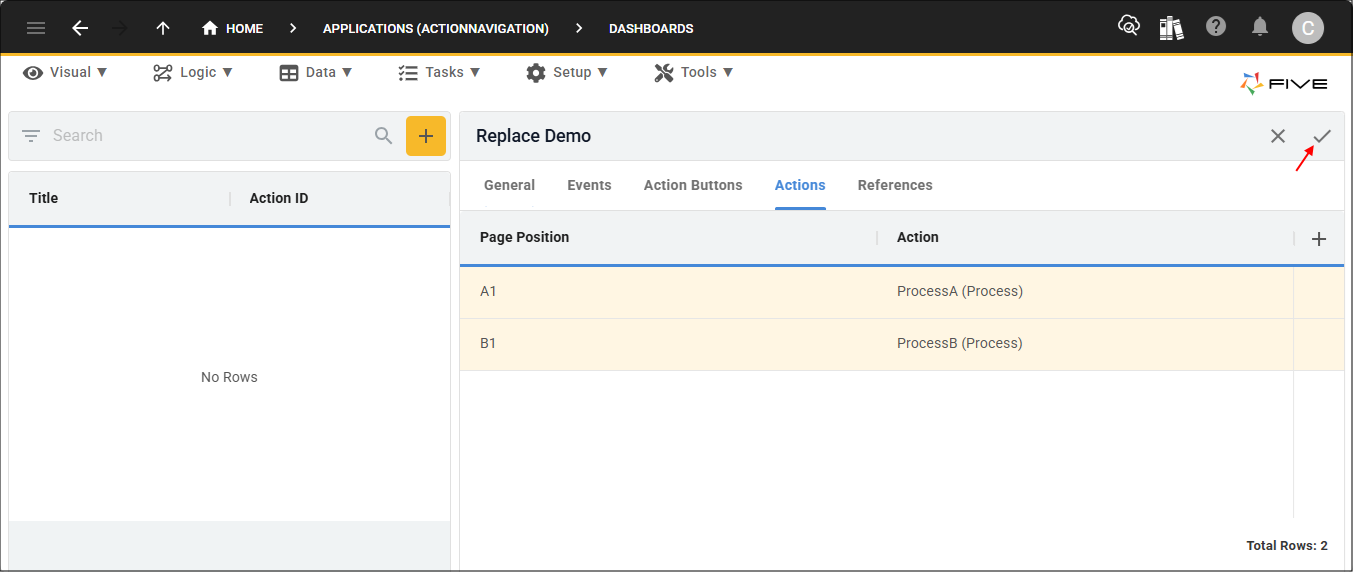
17. Click the Save button in the form app bar above the list.
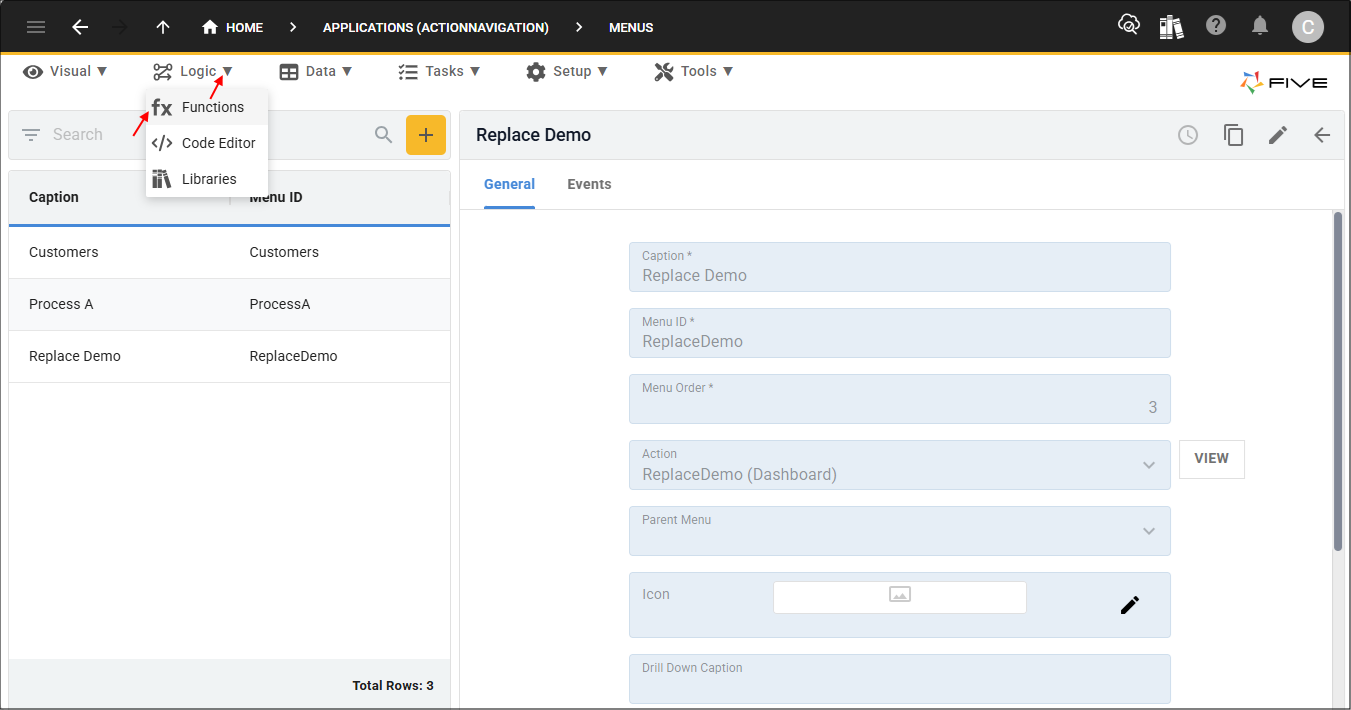
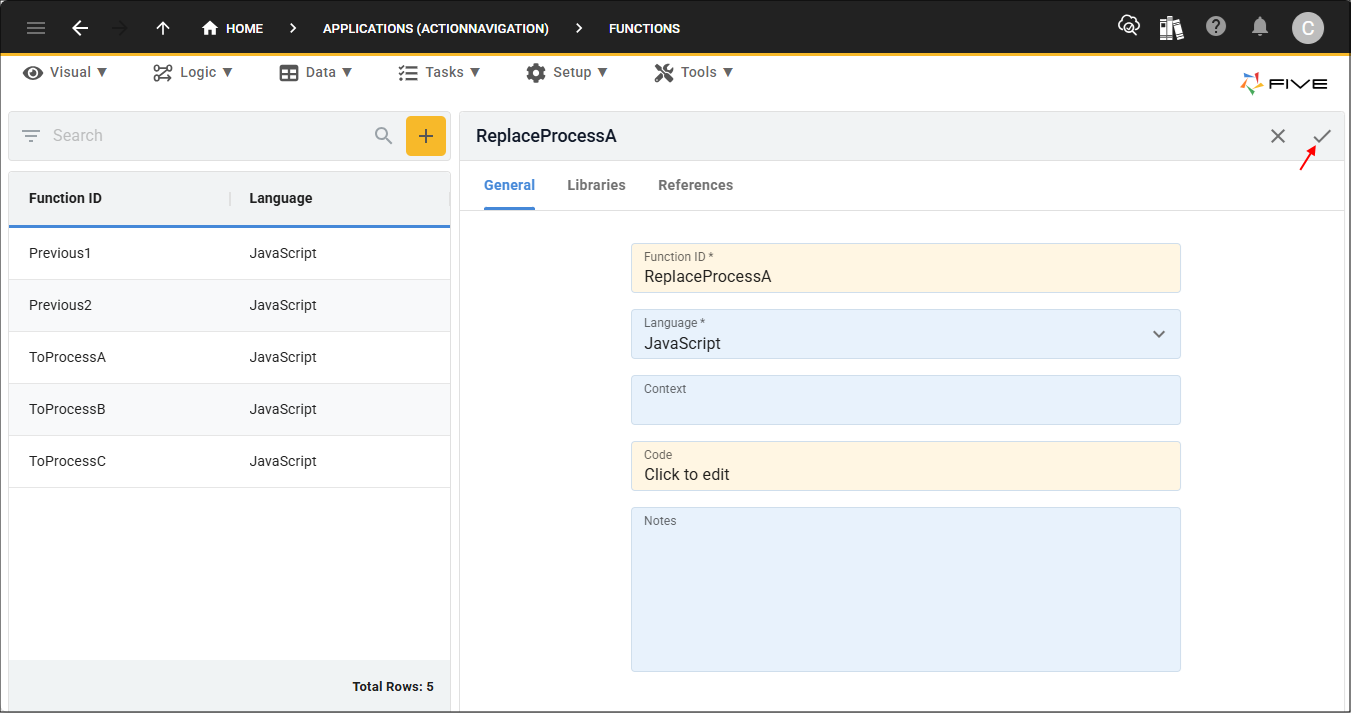
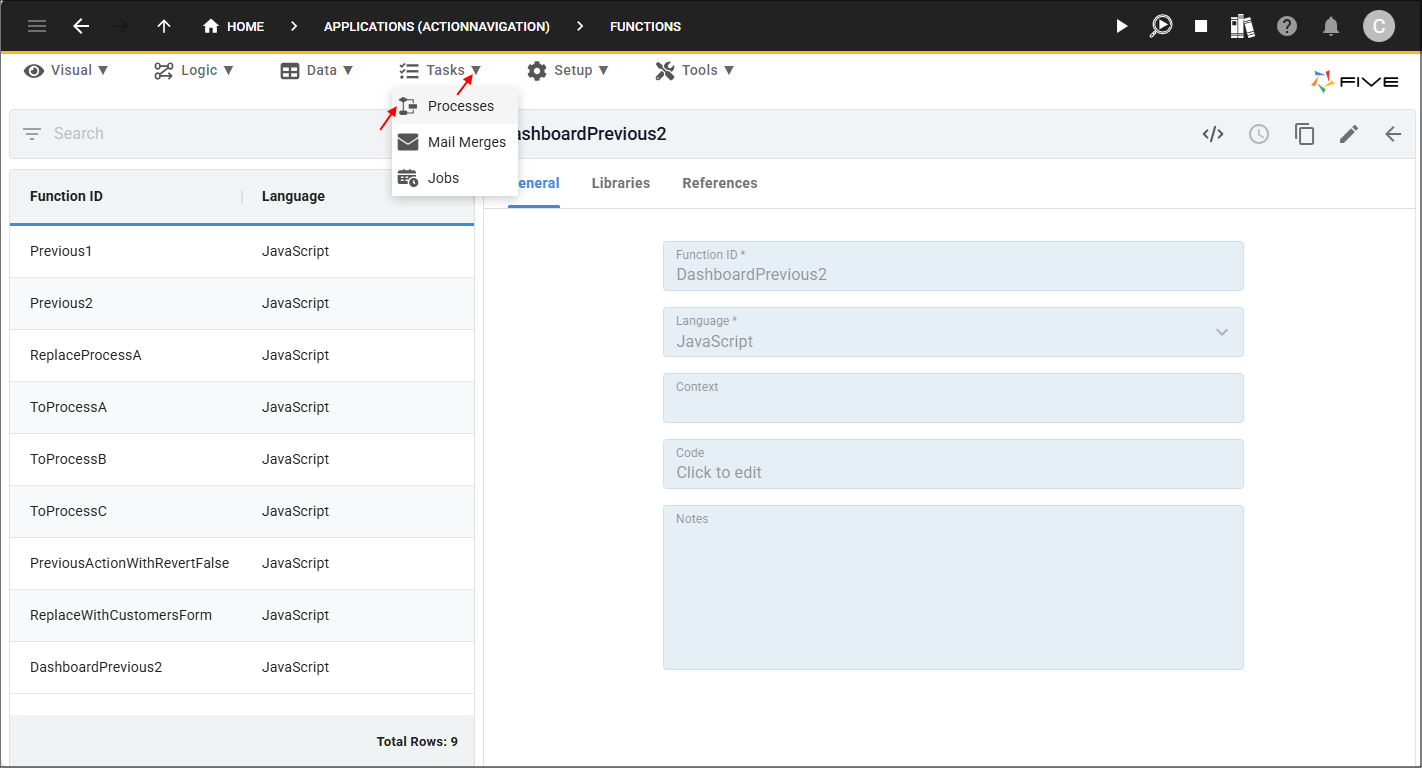
Add the ReplaceProcessA Function
The
2. Select Functions in the sub-menu.
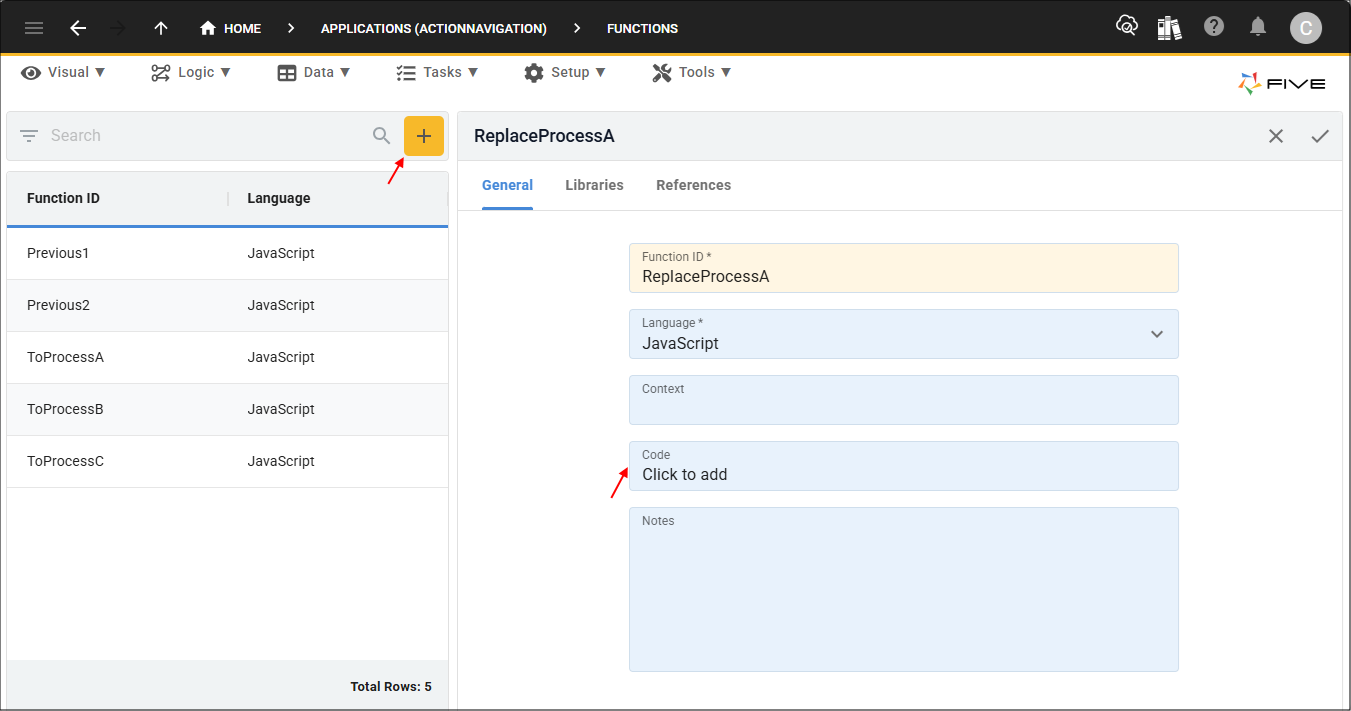
3. Click the Add Item button.
4. Type ReplaceProcessA in the Function ID field.
5. Click in the Code field to open the Code Editor.
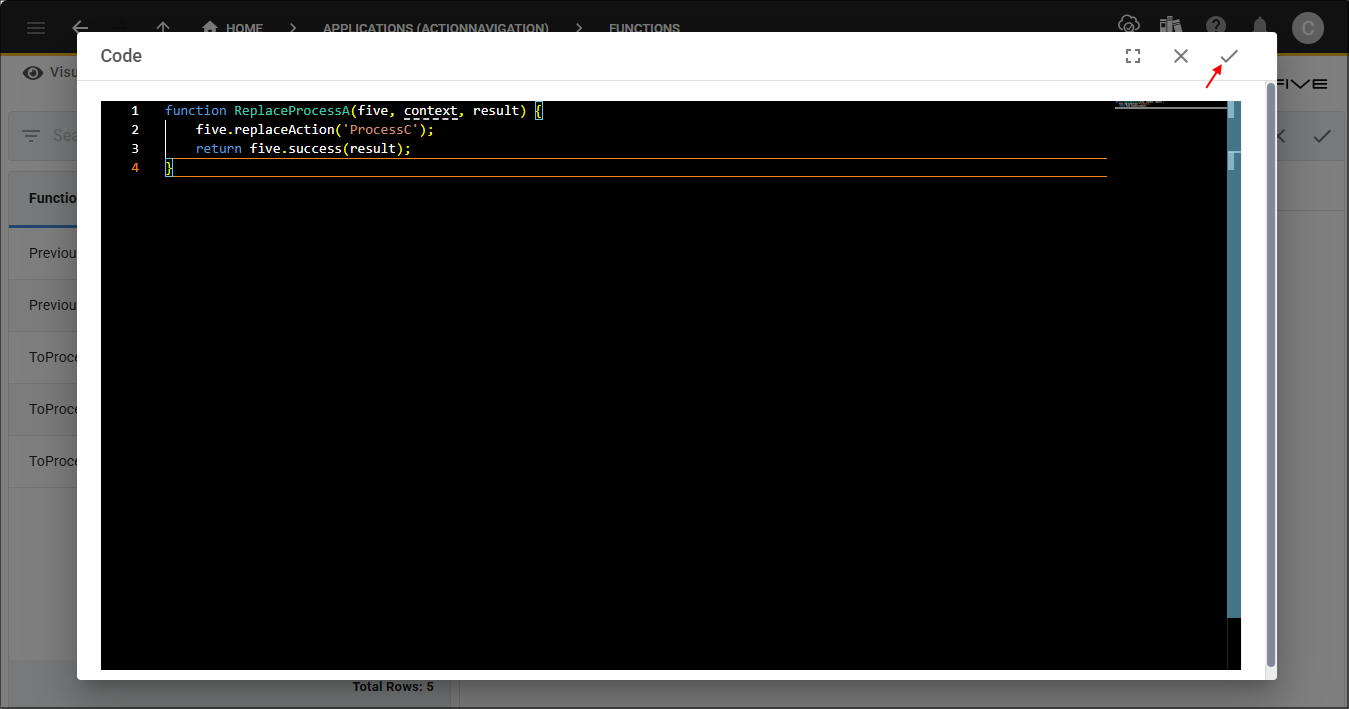
6. Copy and paste the code block below.

function ReplaceProcessA(five, context, result) {
    five.replaceAction('ProcessC');
    return five.success(result);
}
7. Click the Save button in the Code Editor app bar.
8. Click the Save button in the form app bar.
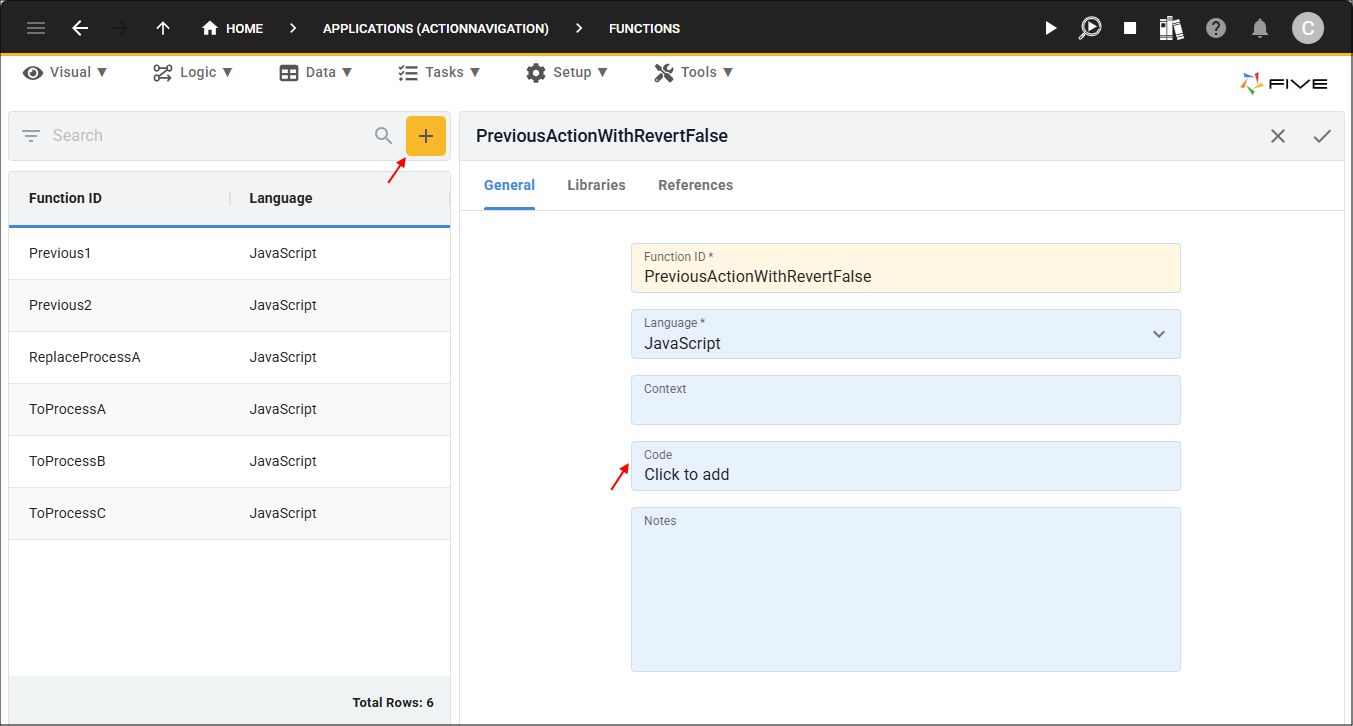
Add the PreviousActionWithRevertFalse Function
The
2. Type PreviousActionWithRevertFalse in the Function ID field.
3. Click in the Code field to open the Code Editor.
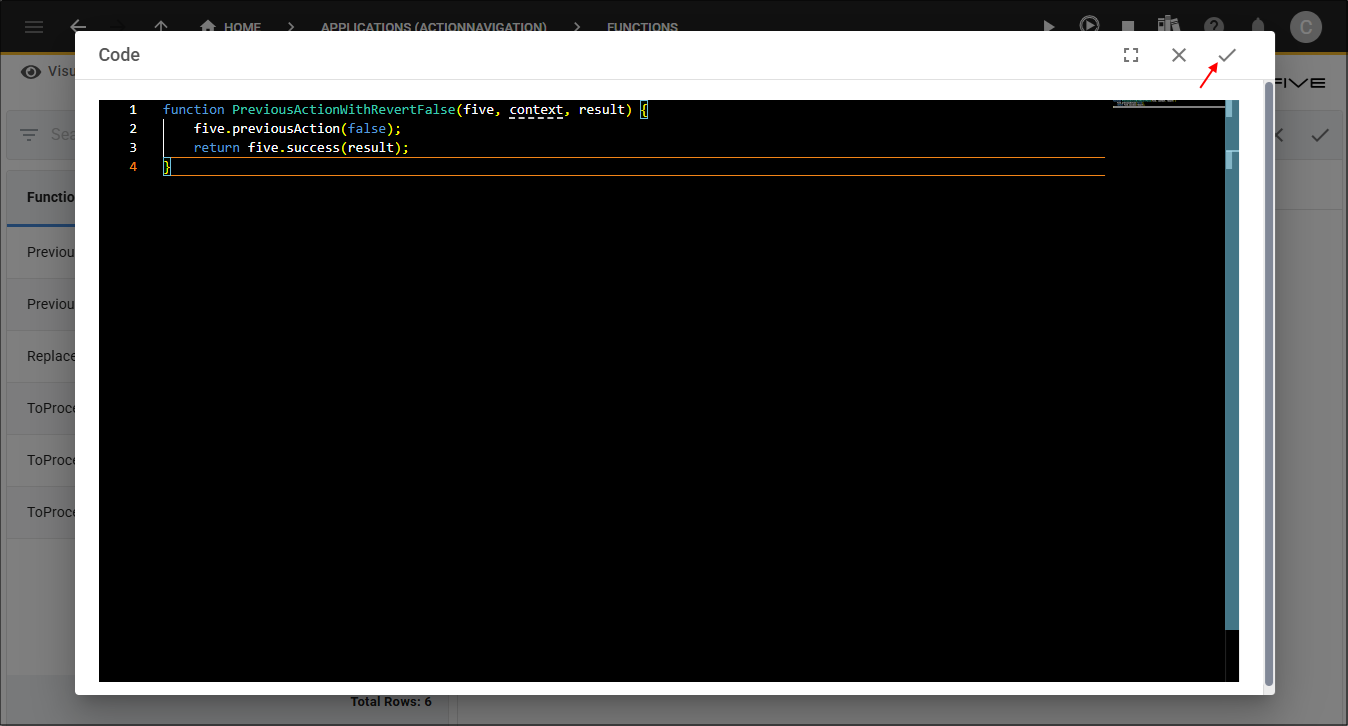
4. Copy and paste the code block below.
function PreviousActionWithRevertFalse(five, context, result) {
    five.previousAction(false);
    return five.success(result);
}
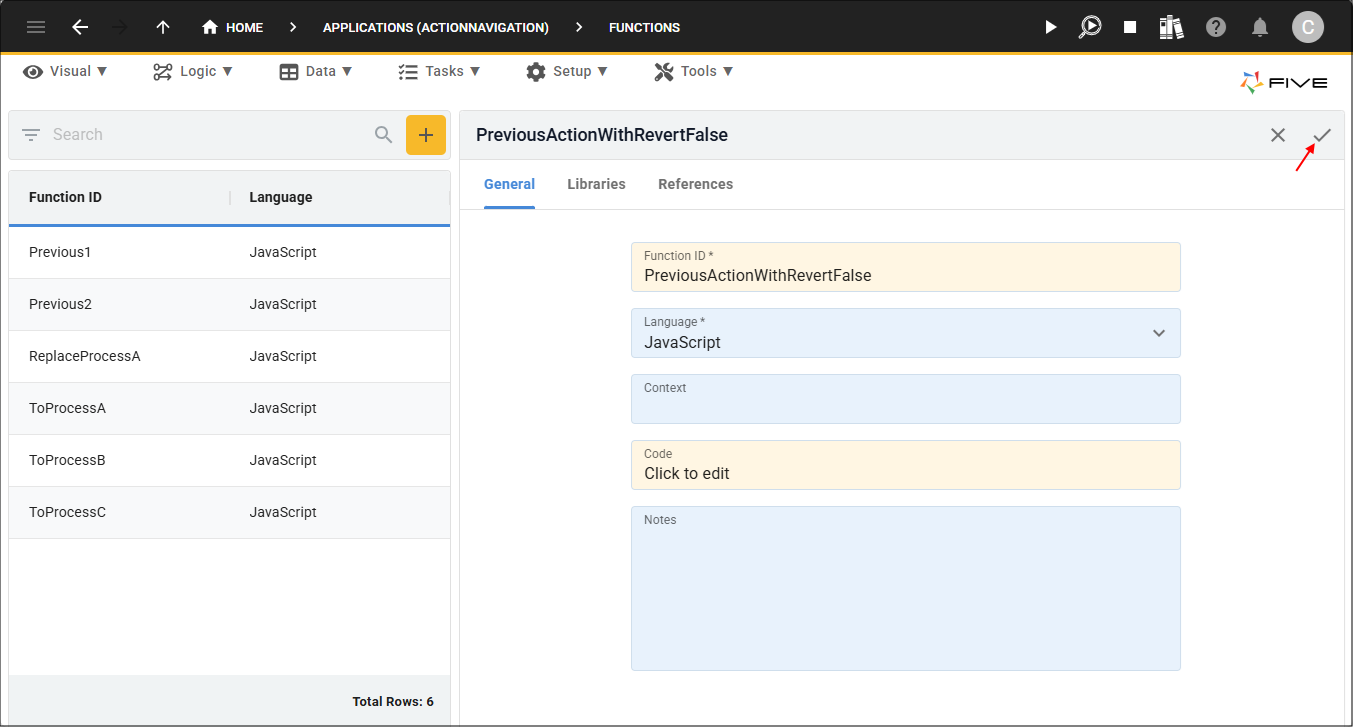
5. Click the Save button in the Code Editor app bar.
6. Click the Save button in the form app bar.
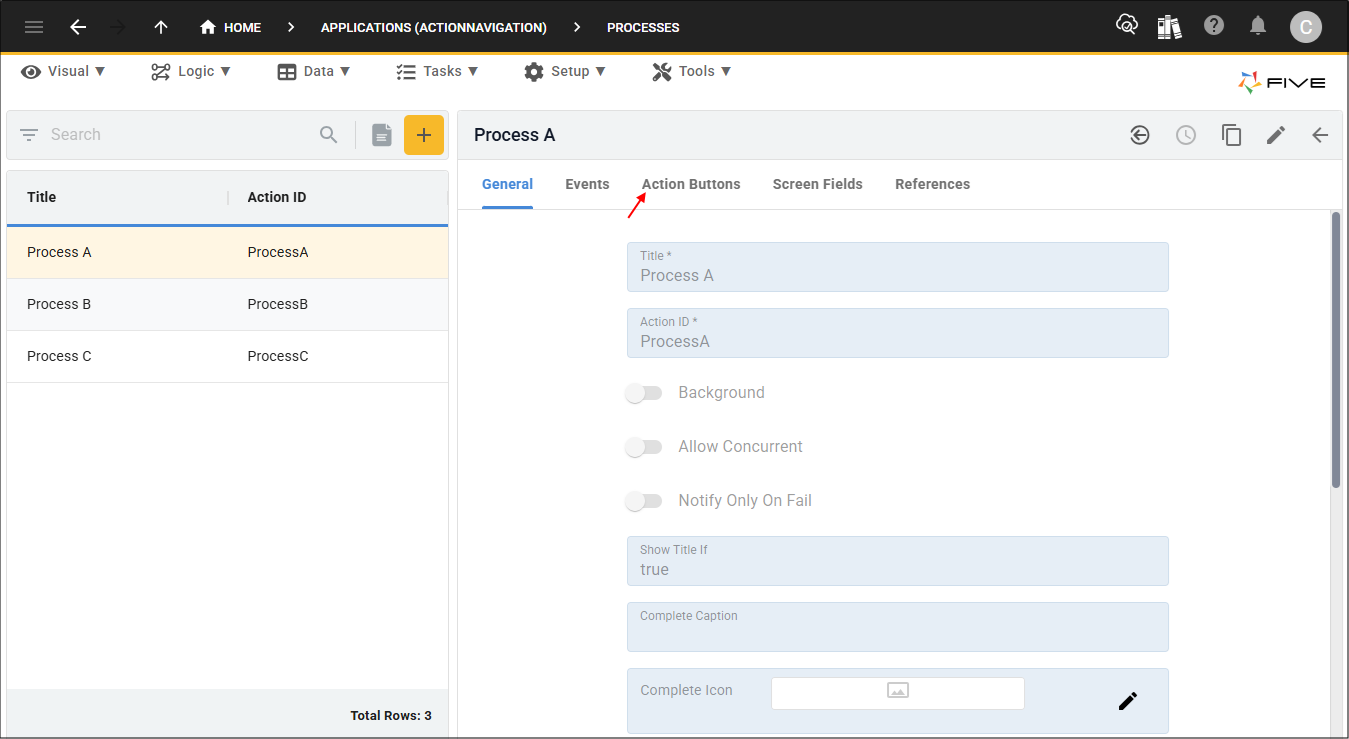
Edit Process A
The Process A record that was added in the previous chapters, needs to be edited to add an action button. The button will have an On Press event and when clicked, the
2. Select Processes in the sub-menu.
3. Select the Process A record in the list.
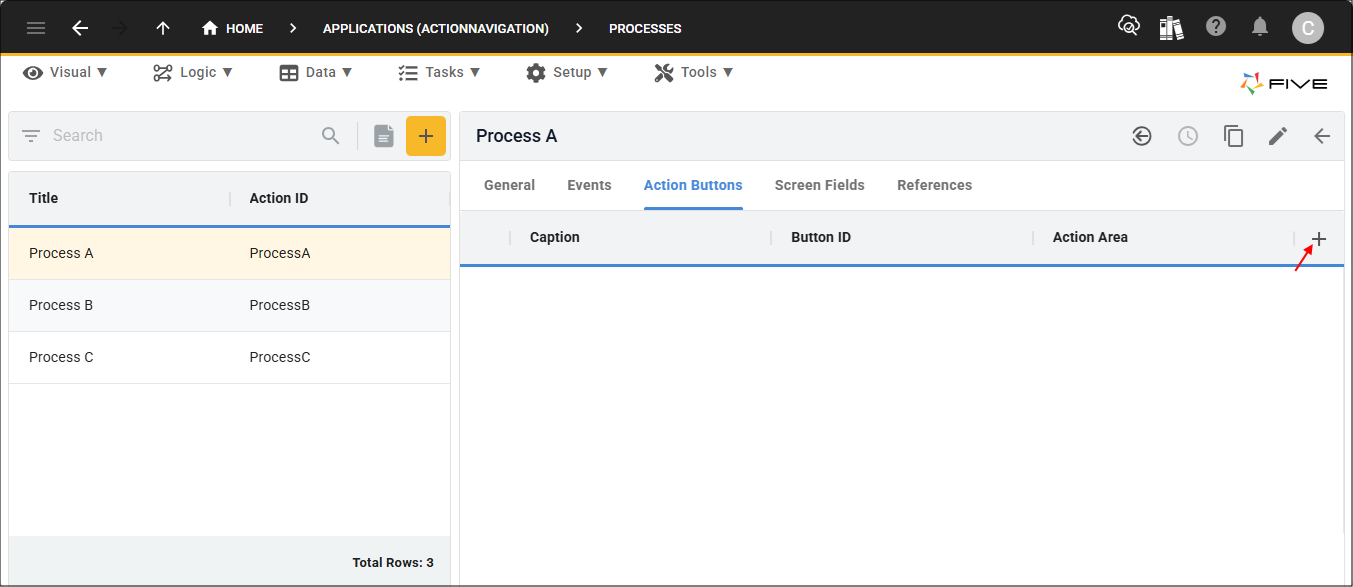
4. Click the Action Buttons tab.
5. Click the Add Action Buttons button.
6. Type Replace Process A in the Caption field.
7. Click the Events tab.
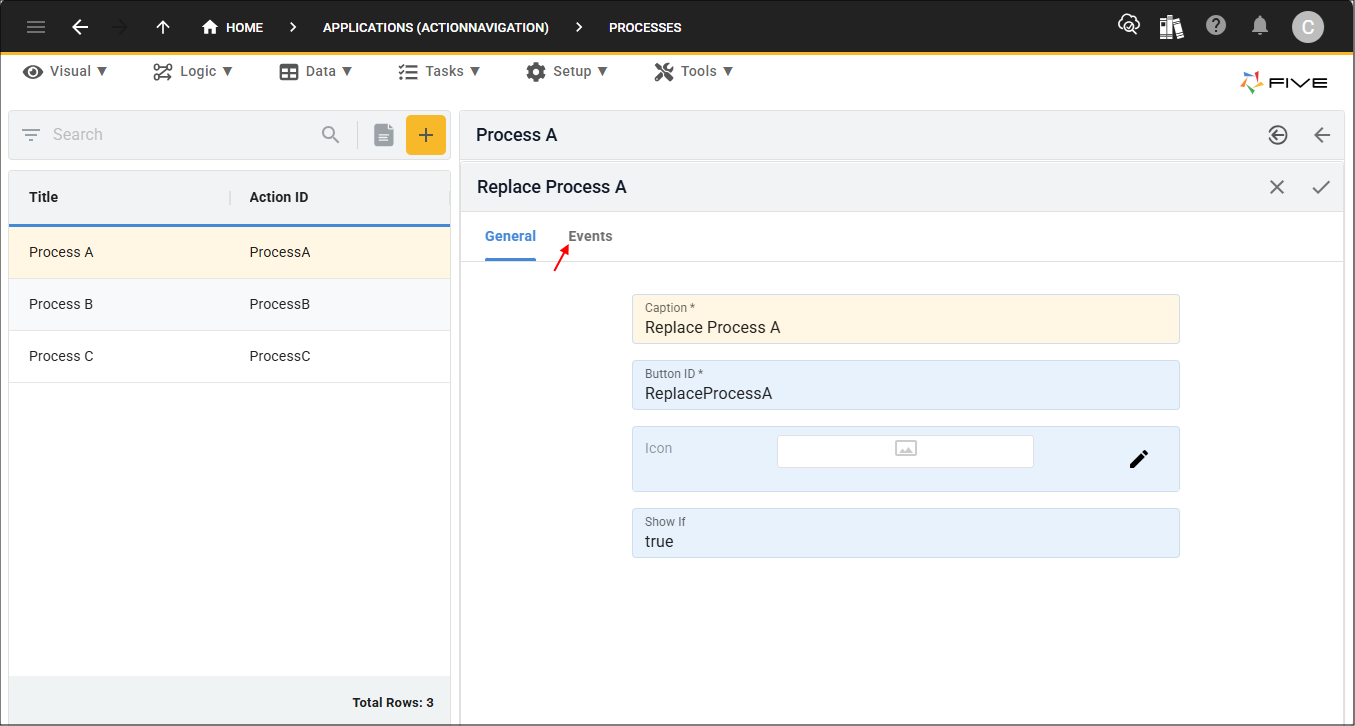
8. Click the lookup icon in the On Press field and select ReplaceProcessA
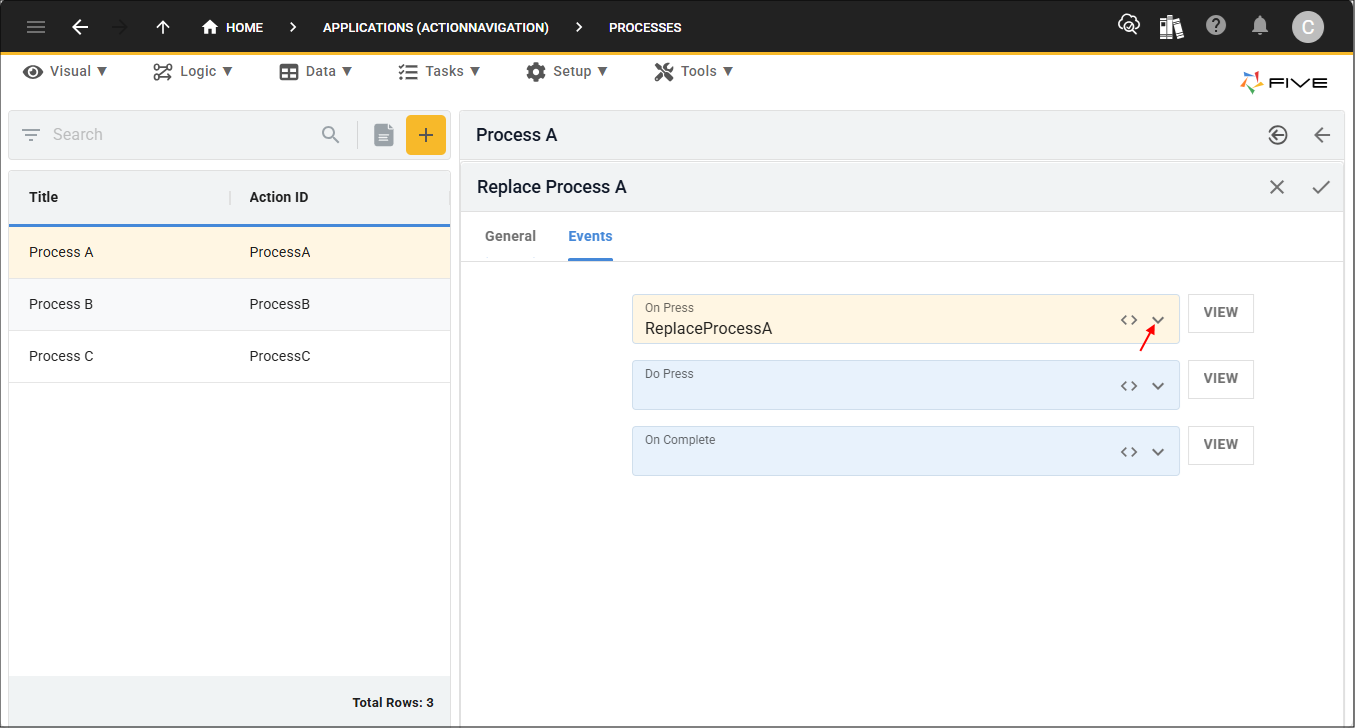
9. Click the Save button in the form app bar.
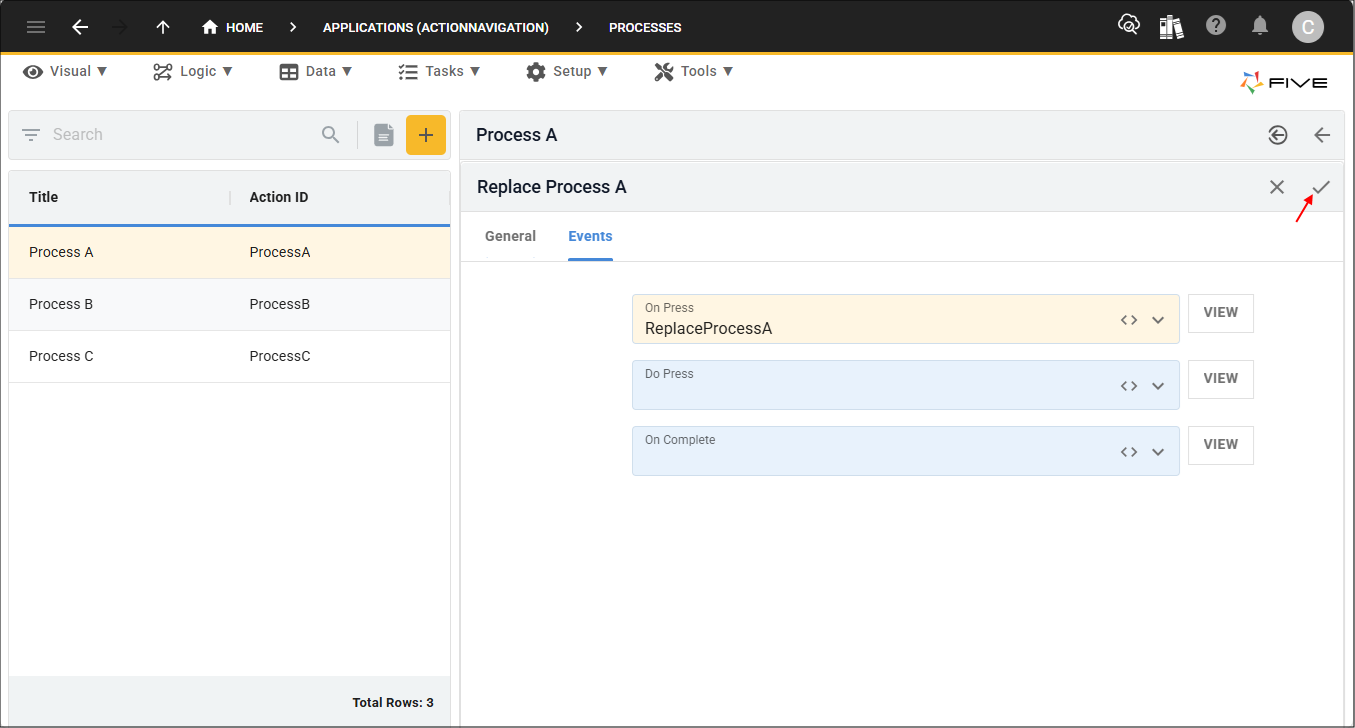
10. Click the Save button in the form app bar above the list.

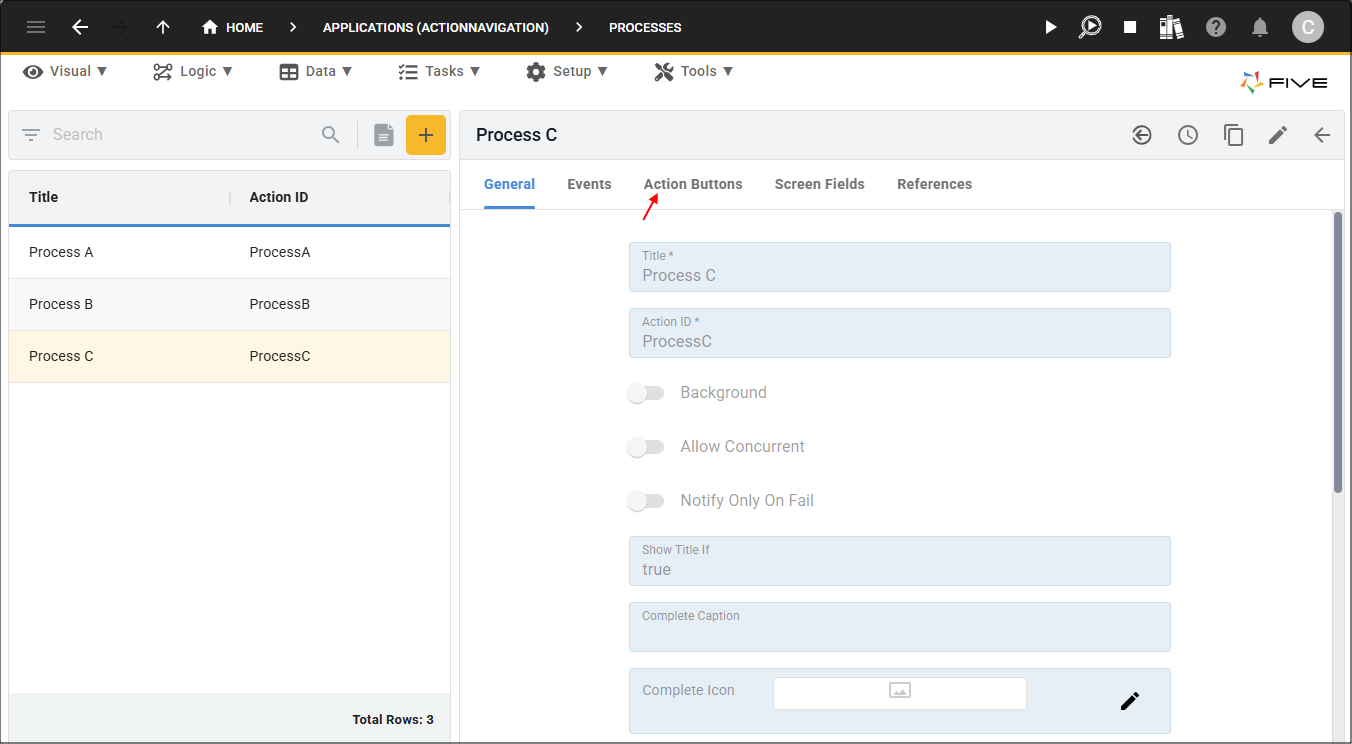
Edit Process C
The Process C record that was added in the previous chapters, needs to be edited to add an action button that will return us to Process A from Process C while on the dashboard. The button will have an On Press event and when clicked, the
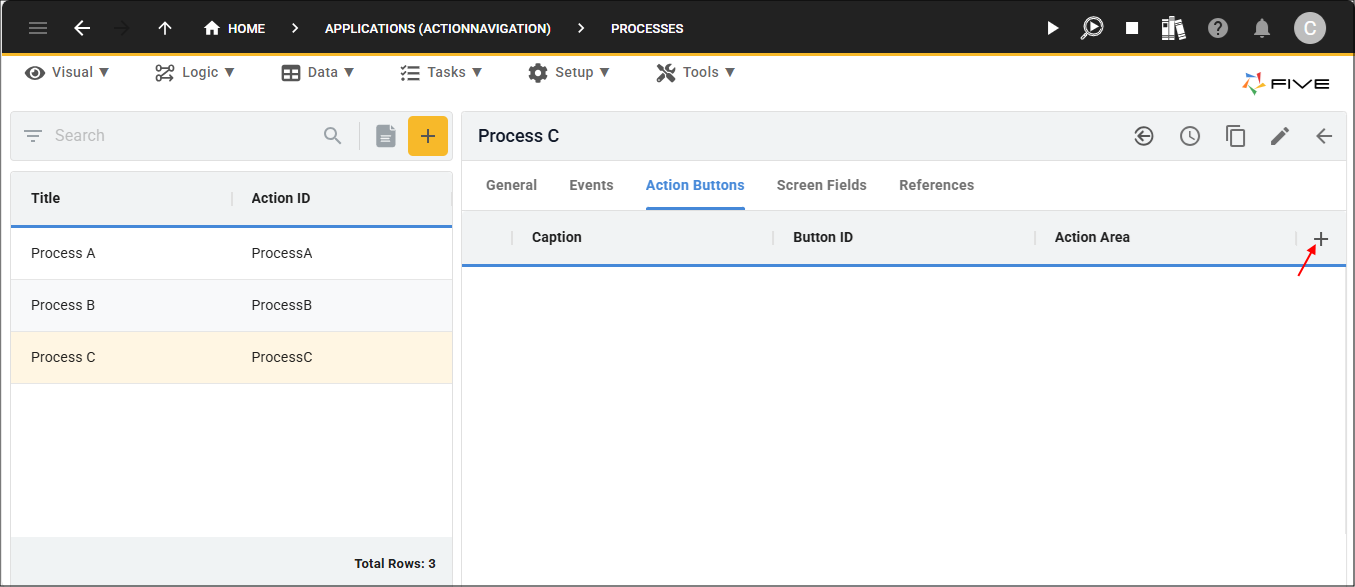
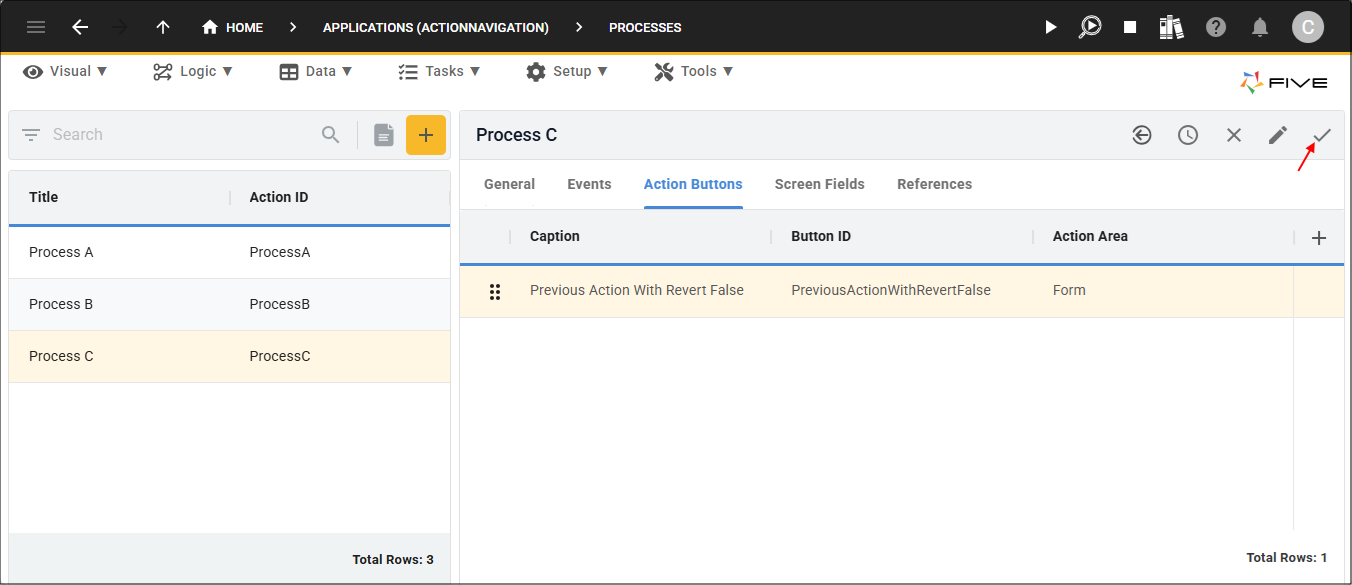
2. Click the Action Buttons tab.
3. Click the Add Action Buttons button.
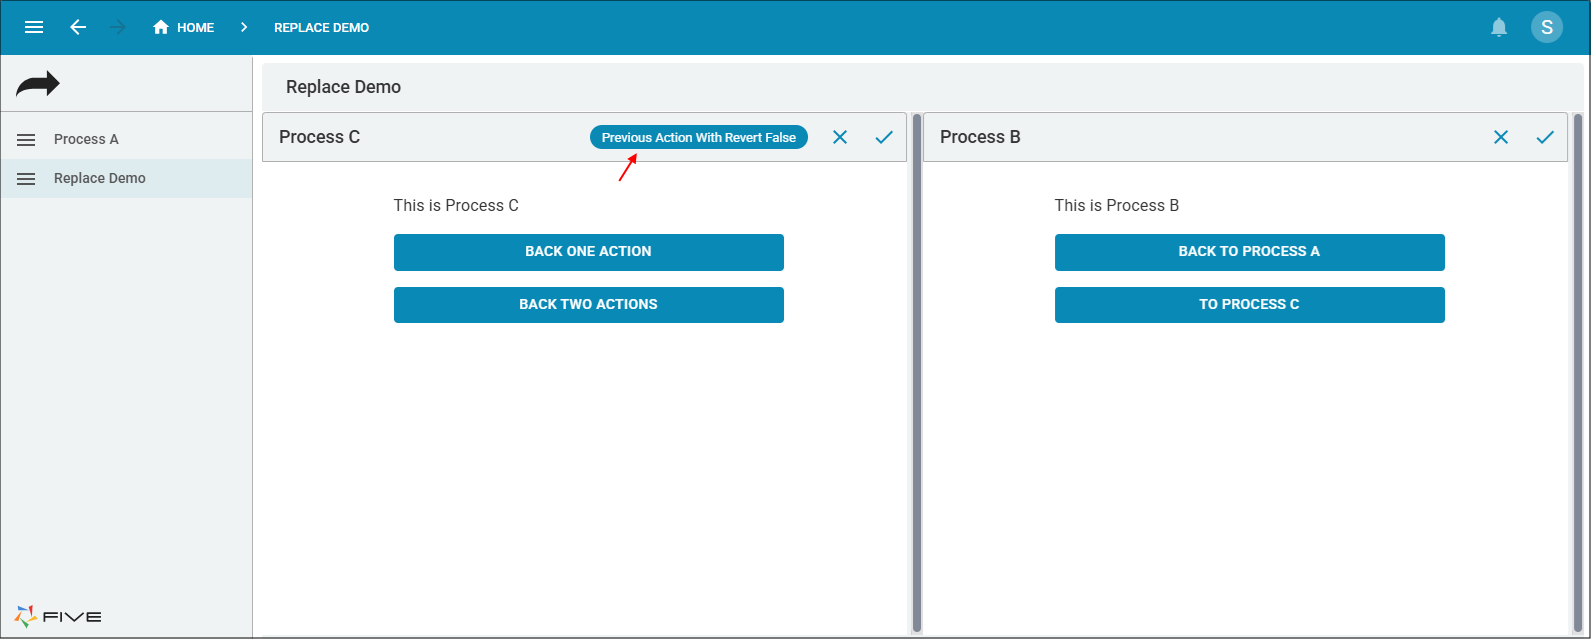
4. Type Previous Action With Revert False in the Caption field.
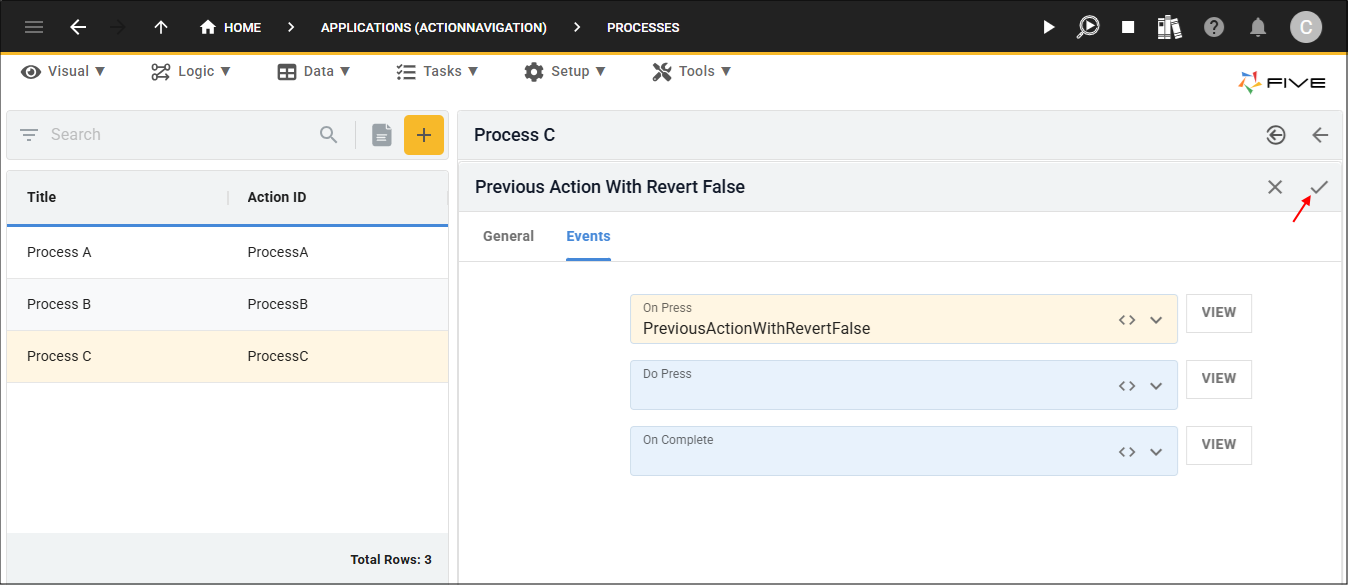
5. Click the Events tab.
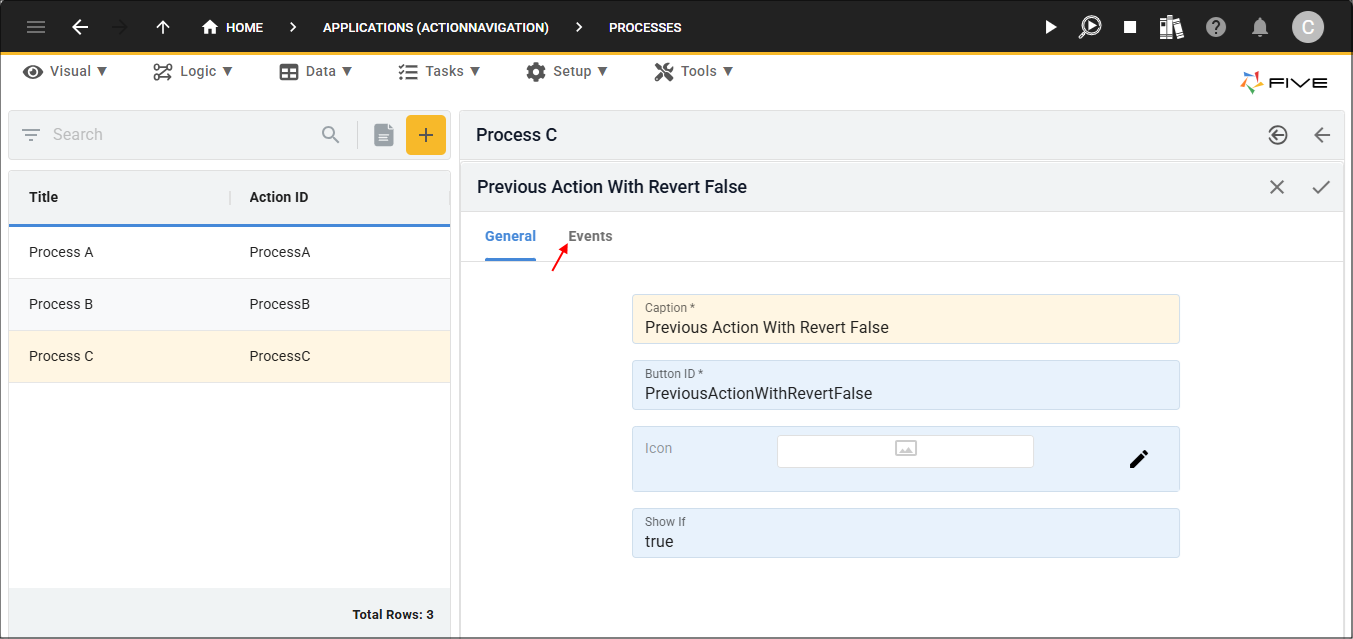
6. Click the lookup icon in the On Press field and select PreviousActionWithRevertFalse.

7. Click the Save button in the form app bar.
8. Click the Save button in the form app bar above the list.
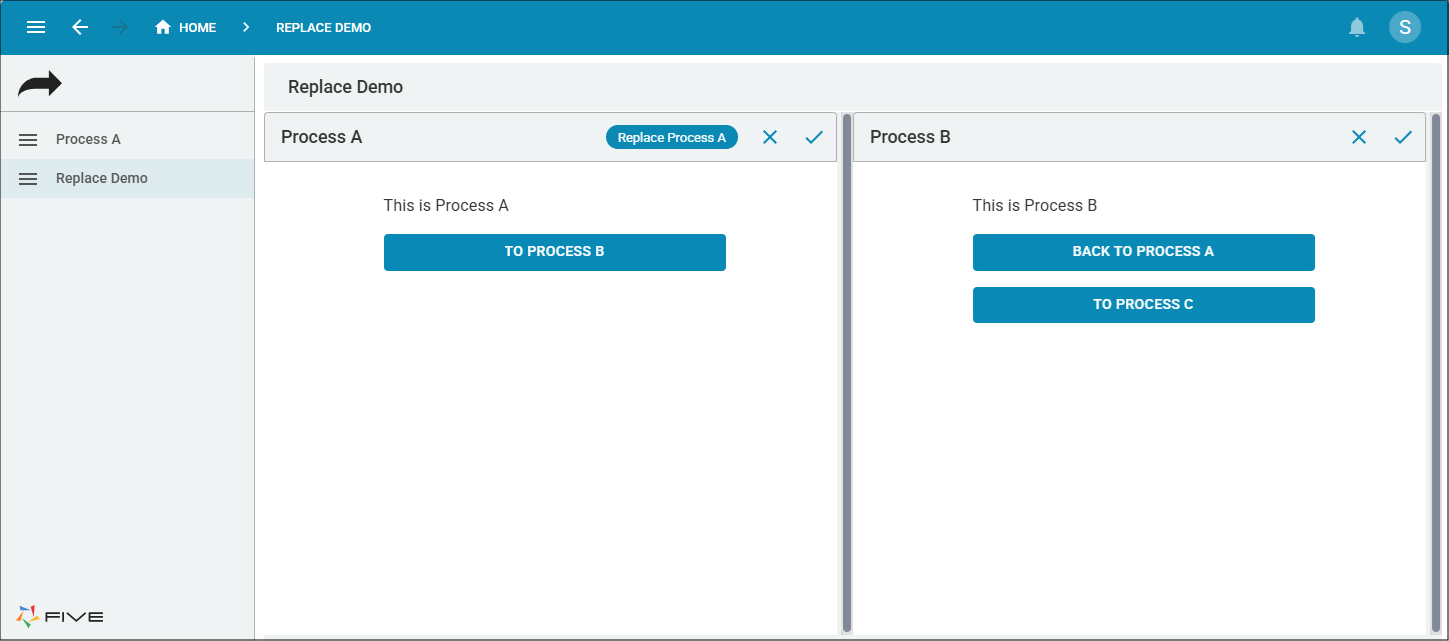
How This Works in an Application
Deploy/run your application and select Replace Demo in the menu, you will be positioned on the Replace Demo dashboard. On the dashboard are Process A and Process B. In Process A's app bar is the Replace Process A button. Click this button.
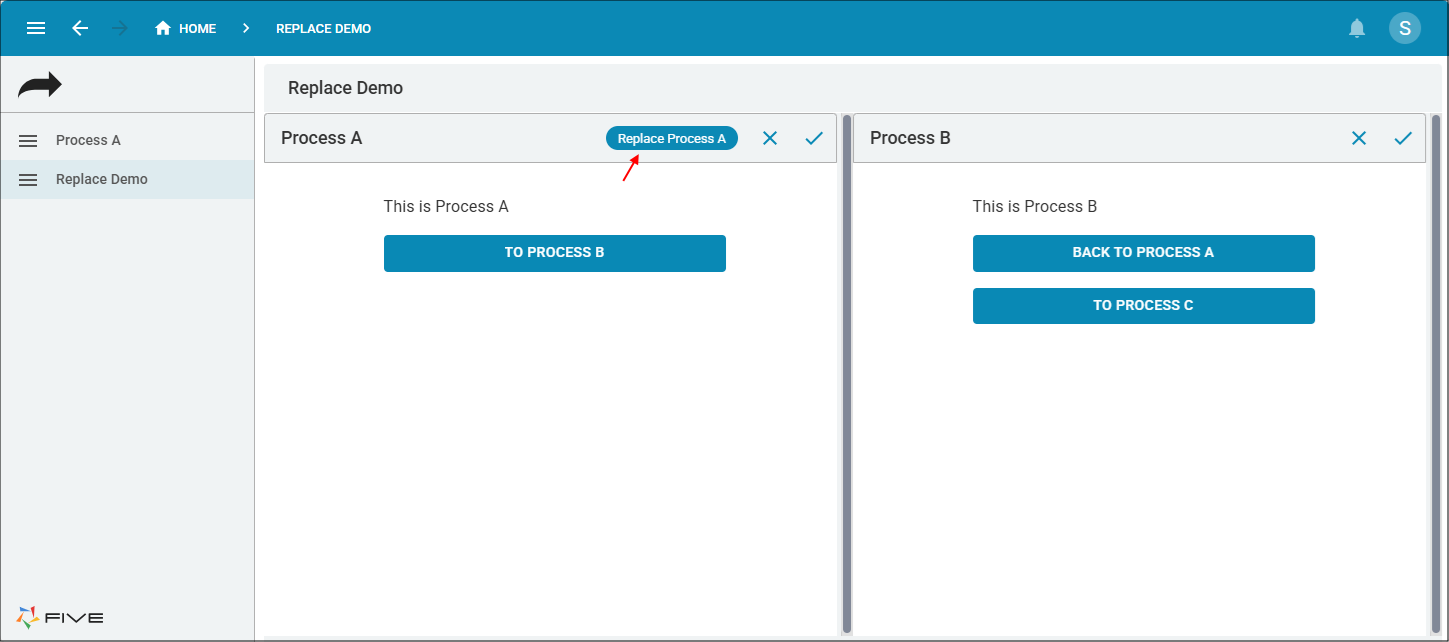
The event will execute the
The event will execute the