function returns to
the previously selected or replaced action. It will return selected actions by default, however, by setting the
revertSelect
parameter
to
false
you can return replaced actions as well. Optionally, you can pass in a number of actions you want to go back, in the case
of more than one action being selected or replaced.
, two
processes were created, we are going to build on from that and add another process called Process C to demonstrate the
previousAction()
function.
Two buttons will be added to Process C. One button will return to the previously selected action, while the second button will return back the number of actions
passed into the
previousAction()
function.
info
The Action Navigation application is created to demonstrate the
previousAction()
function, the creation of this application is documented in the Introduction chapter so you can perform the tutorial. The
previousAction()
tutorial follows on from the
selectAction()
tutorial.
Multiple actions and functions are used to demonstrate returning previously selected actions. All the functions will be added first.
In this tutorial, the following will be performed to demonstrate how
selectAction()
and
previousAction()
work together:
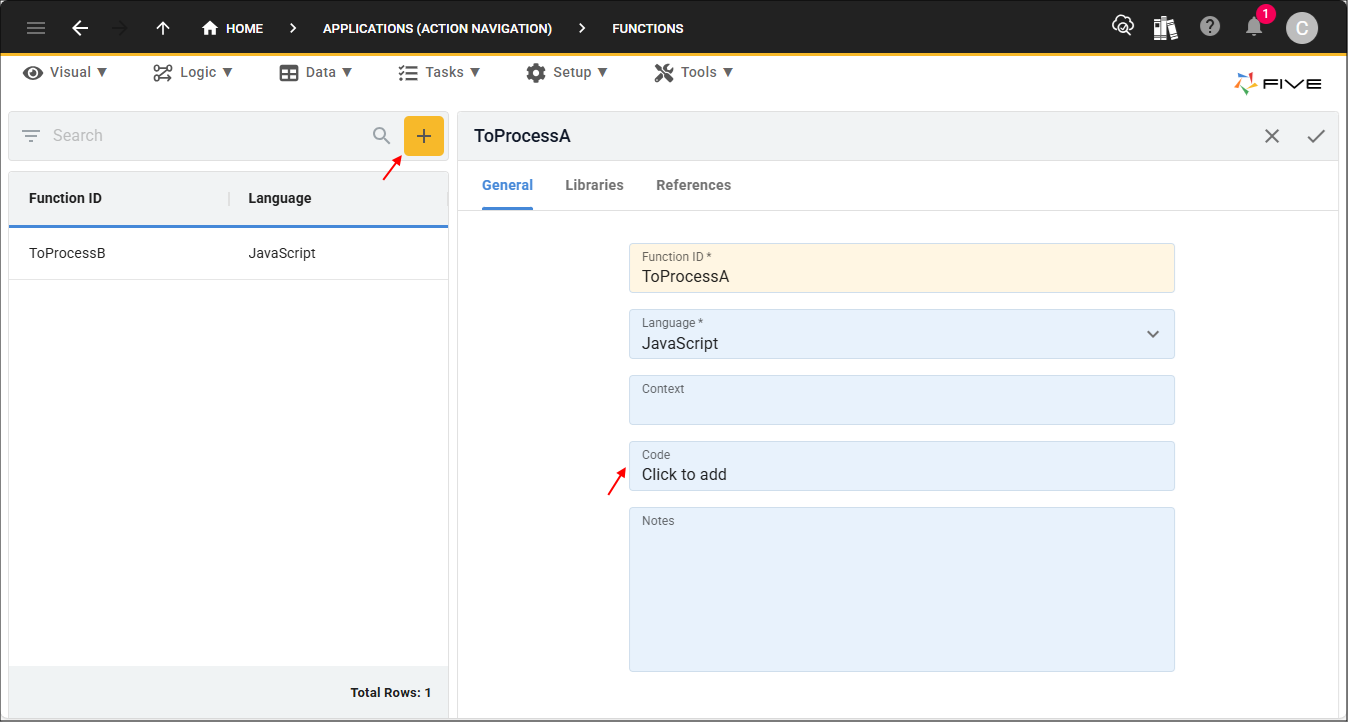
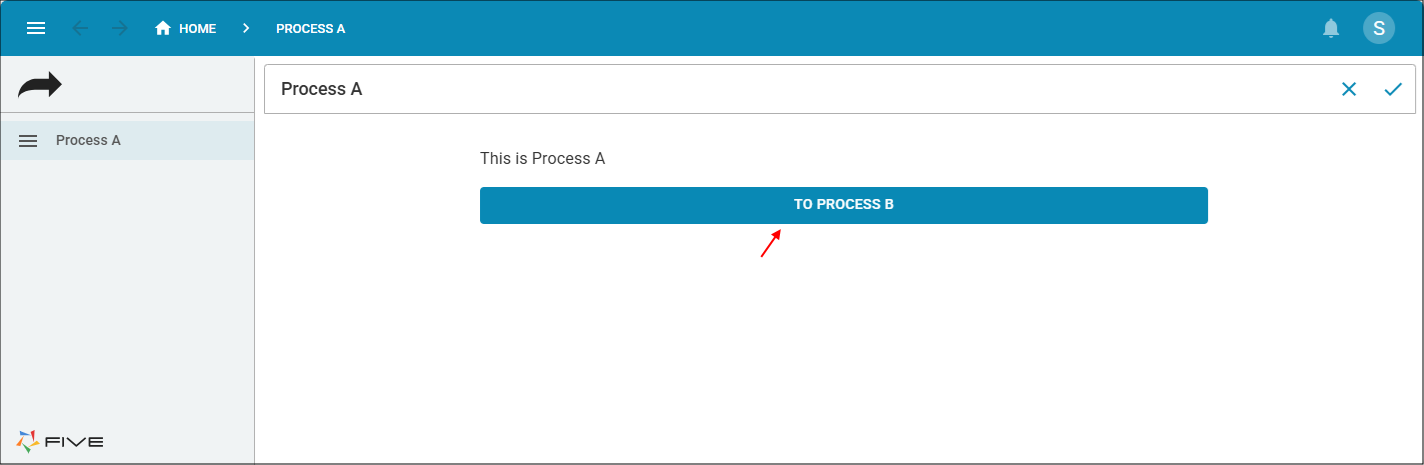
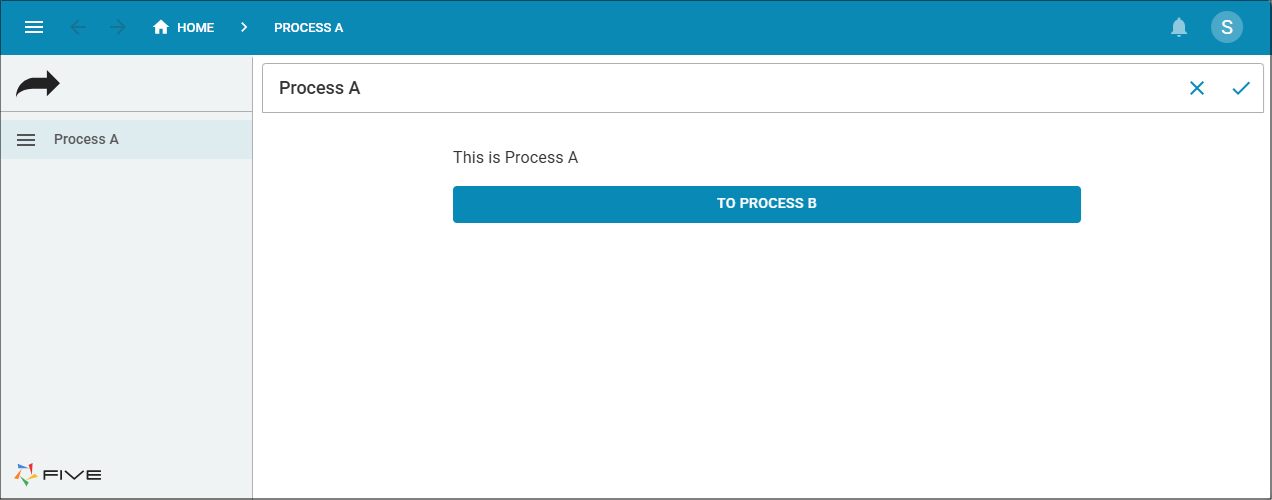
Add the
ToProcessA()
function - When on Process B, will select Process A using
selectAction()
.
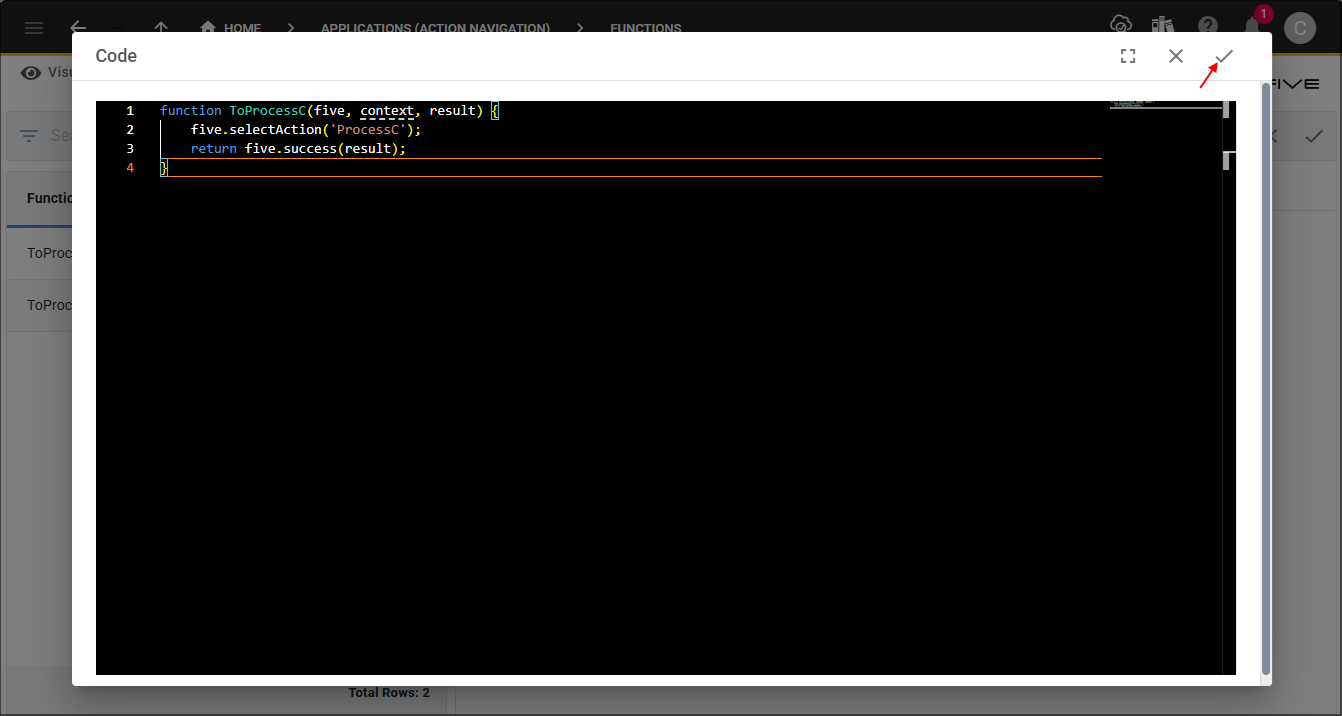
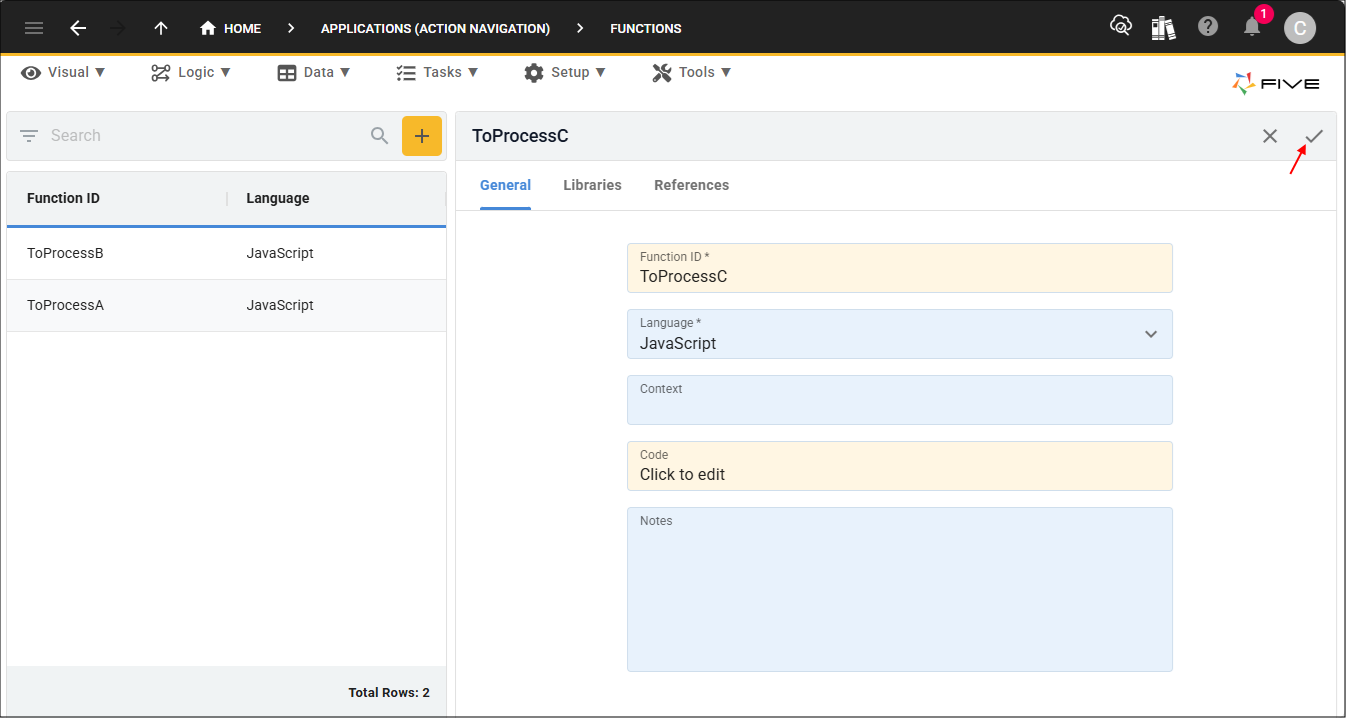
Add the
ToProcessC()
function - When on Process B, will select Process C using
selectAction()
.
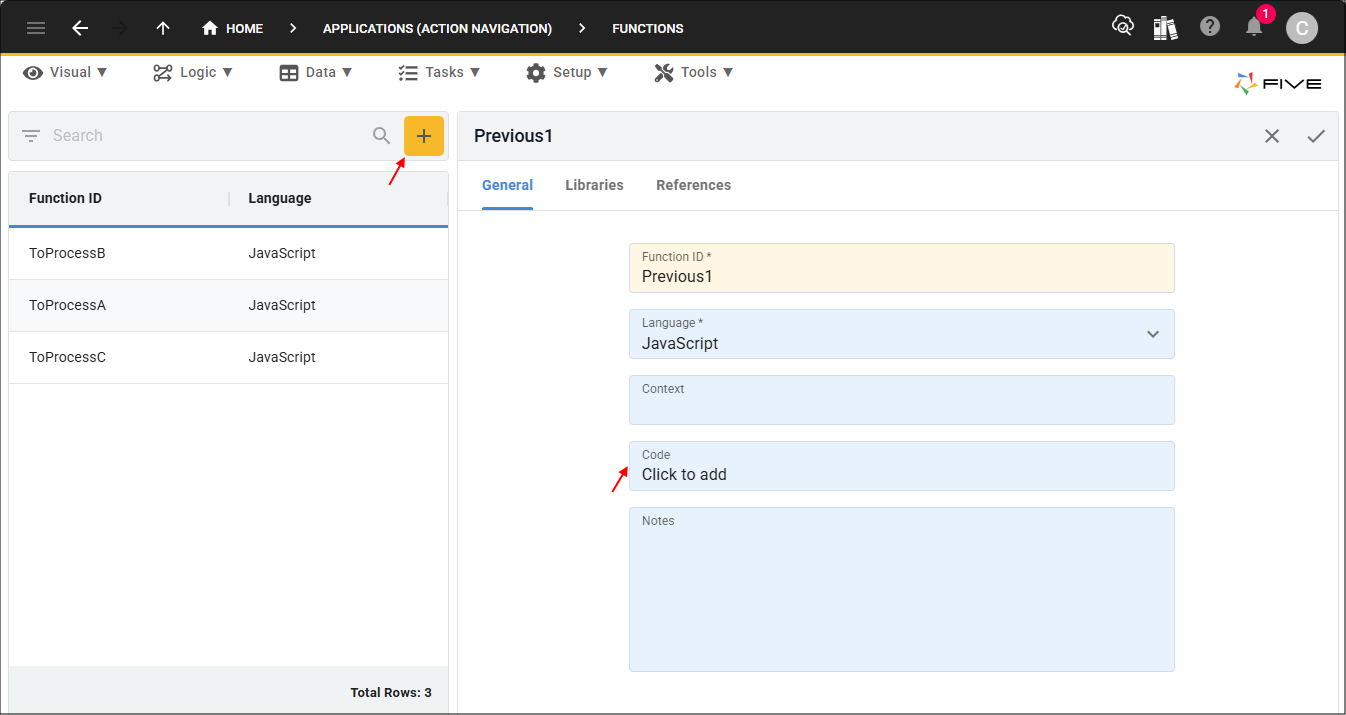
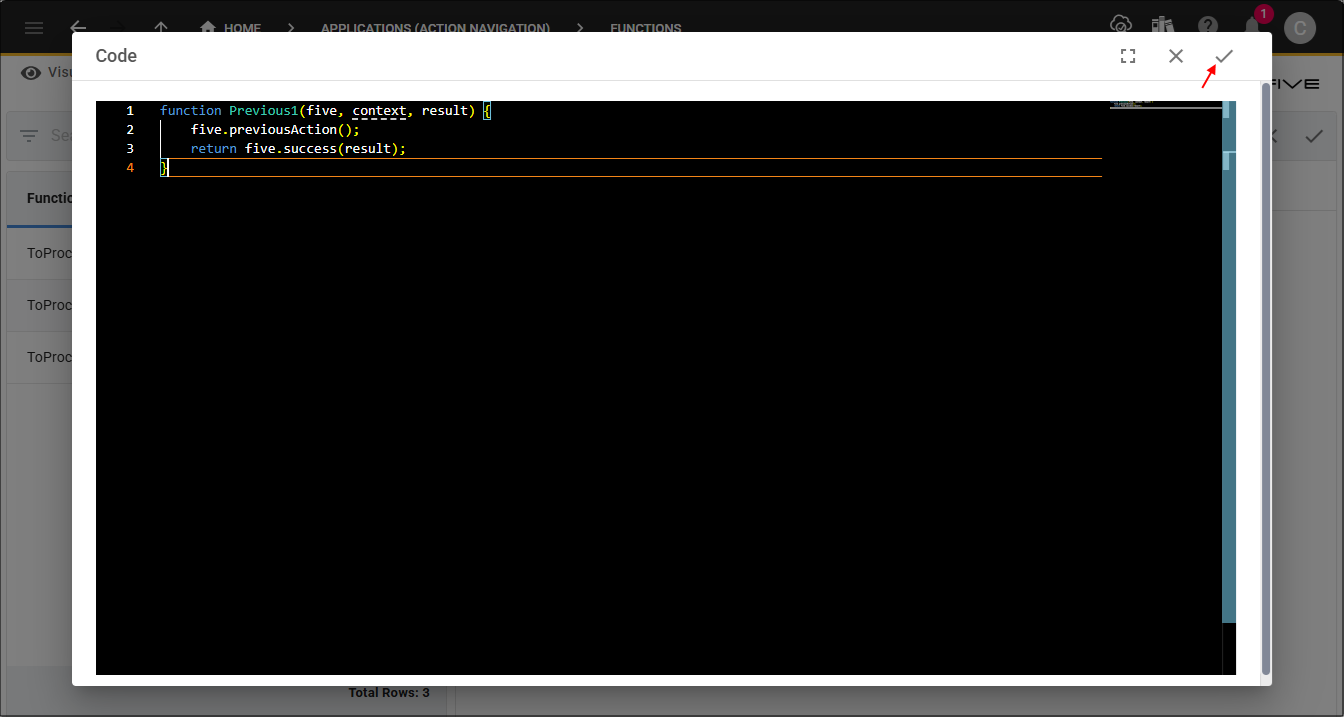
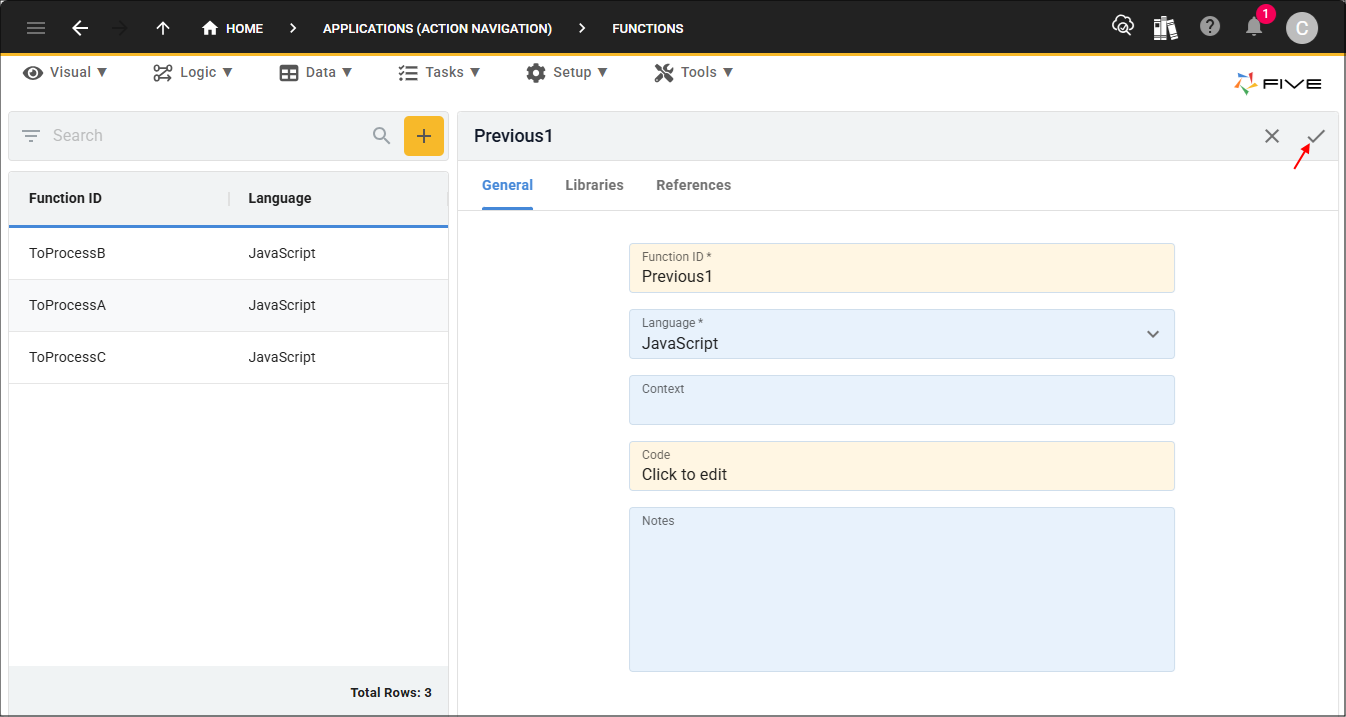
Add the
Previous1()
function - When on Process C, will return you to Process B using
previousAction()
.
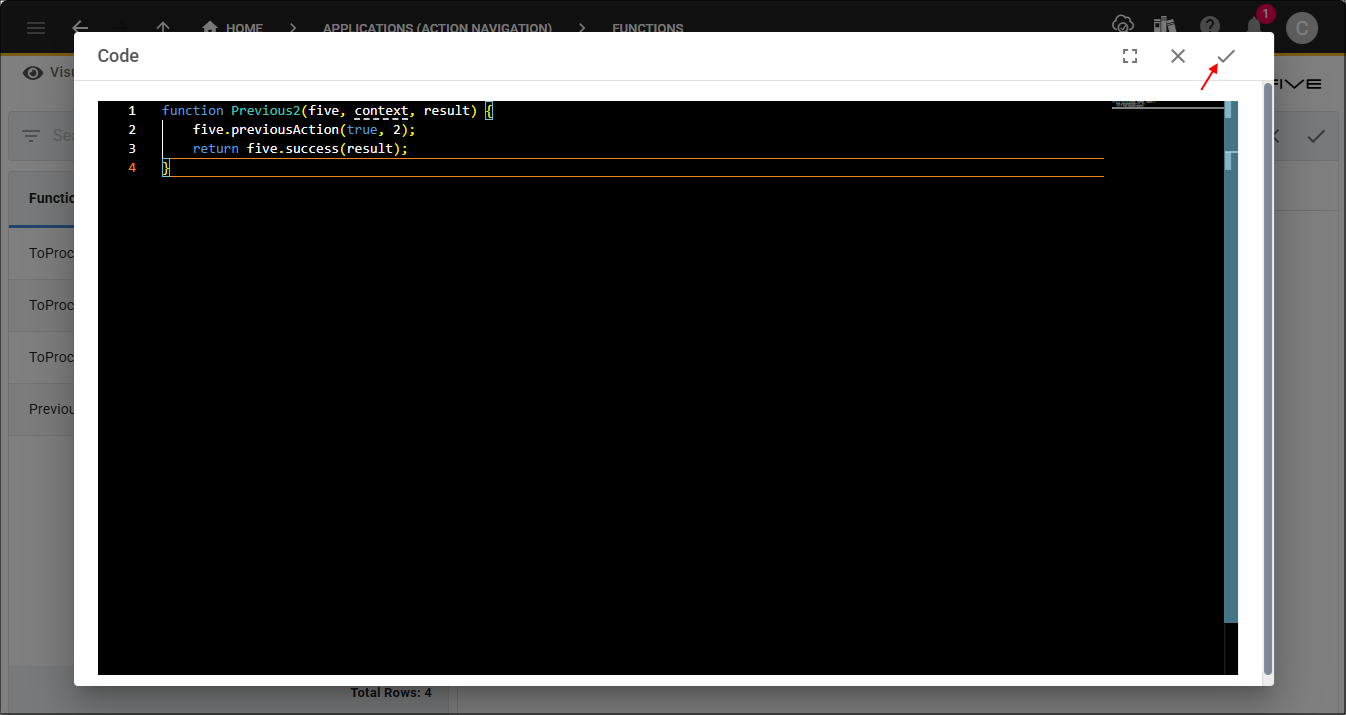
Add the
Previous2()
function - When on Process C, will return you to Process A using
previousAction()
and passing in the optional
number
parameter.
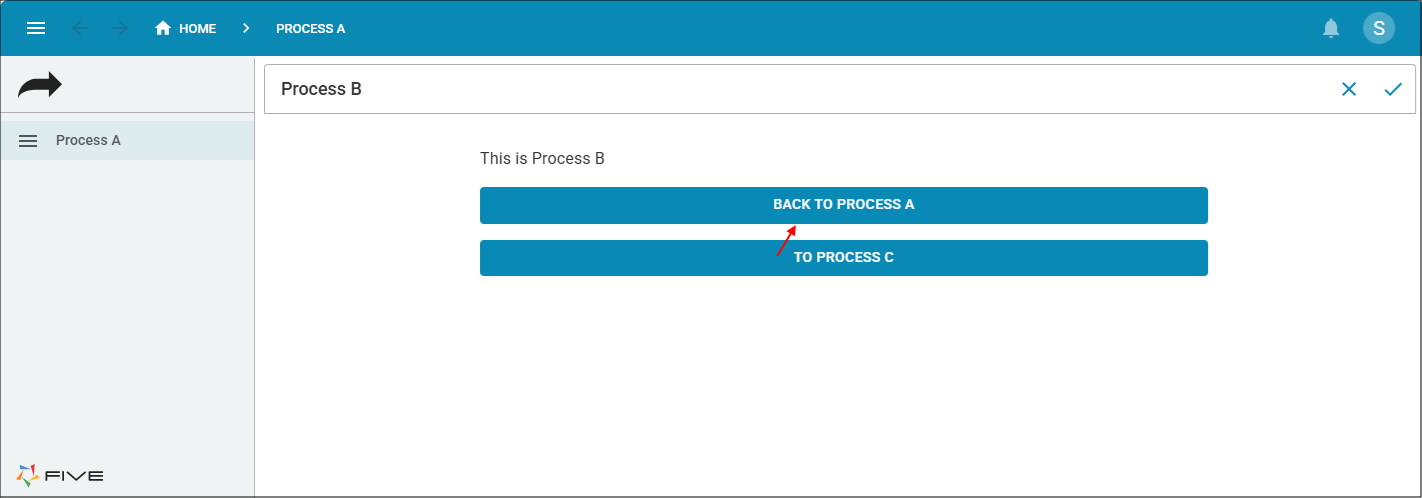
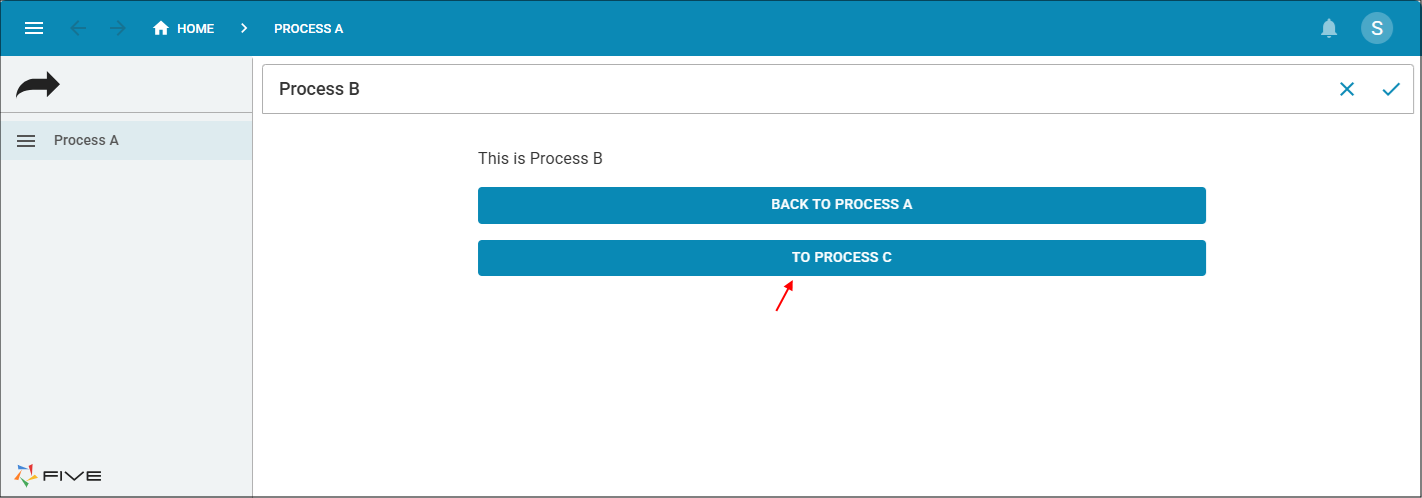
Edit the Process B record - To add the screen fields Back to Process A and To Process C, these fields will have a _Button display type and respectively will have the
ToProcessA()
and
ToProcessC()
functions attached.
Add the Process C record - With the screen fields Back One Action and Back Two Actions, these fields with have a _Button display type and respectively have the
parameter to return back the number of previously selected
actions passed into the function.
true
needs to be passed into the
previousAction()
function as the first parameter and the number of
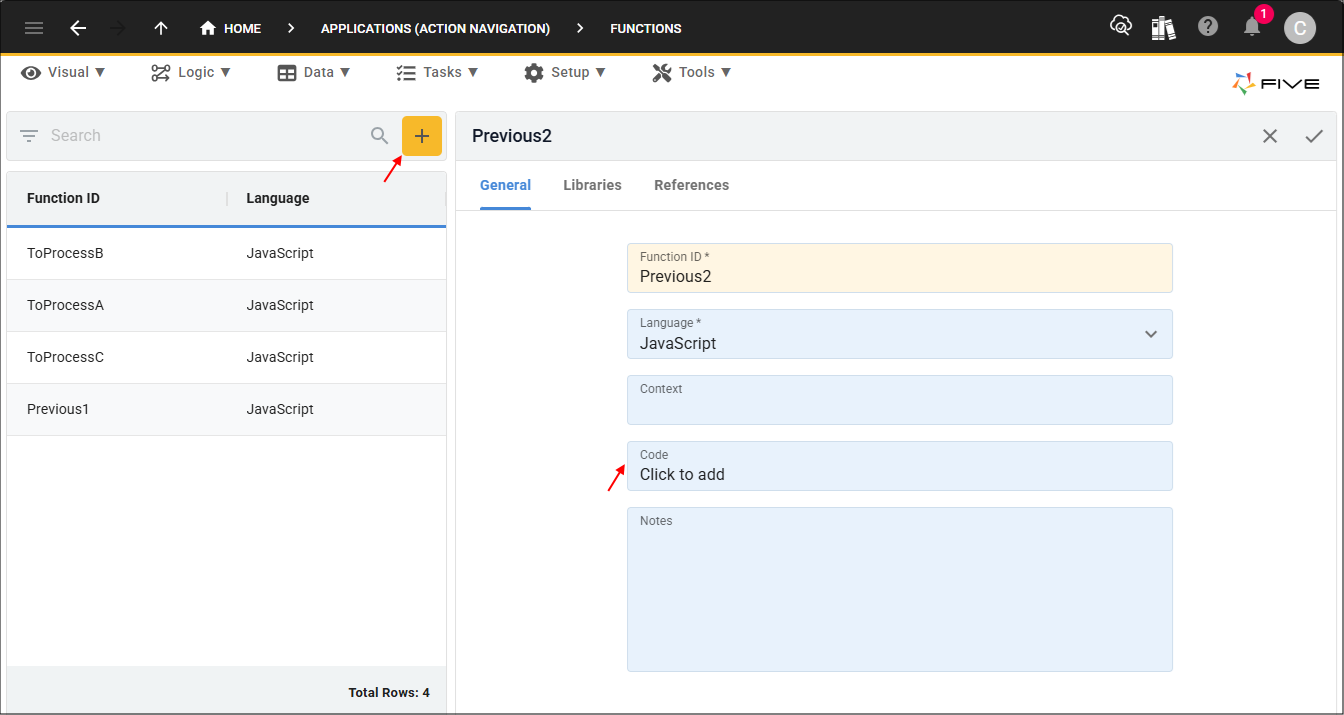
actions you wish to return needs to be supplied as the second parameter.1. Click the Add Item button.
2. Type Previous2 in the Function ID field.
3. Click in the Code field to open the Code Editor.
Figure 11 - Add Previous2 function
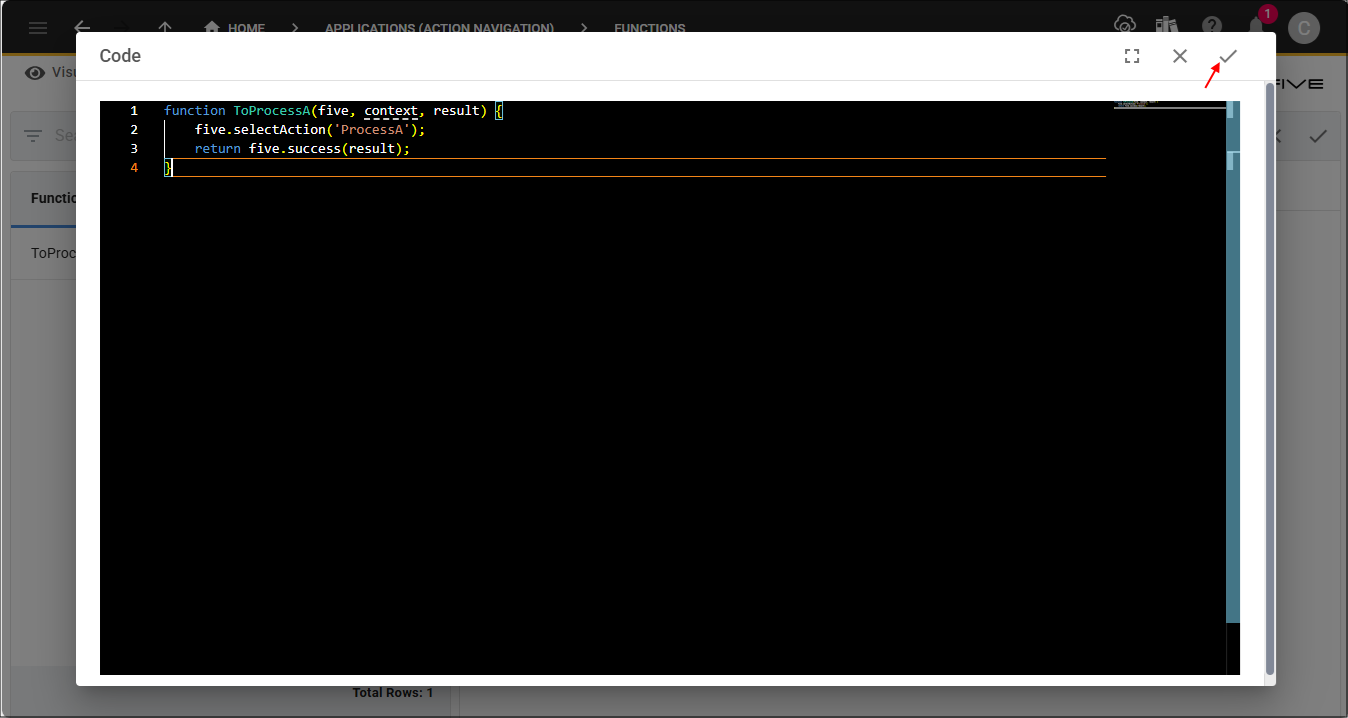
4. Copy and paste the code block below into the editor.
note
The code block needs to be pasted over the template that Five creates in the editor.
, needs
to be edited to add the buttons that will navigate you to Process A and Process C. Each button will have an On Click event and when clicked, the functions will execute and select the respective processes.
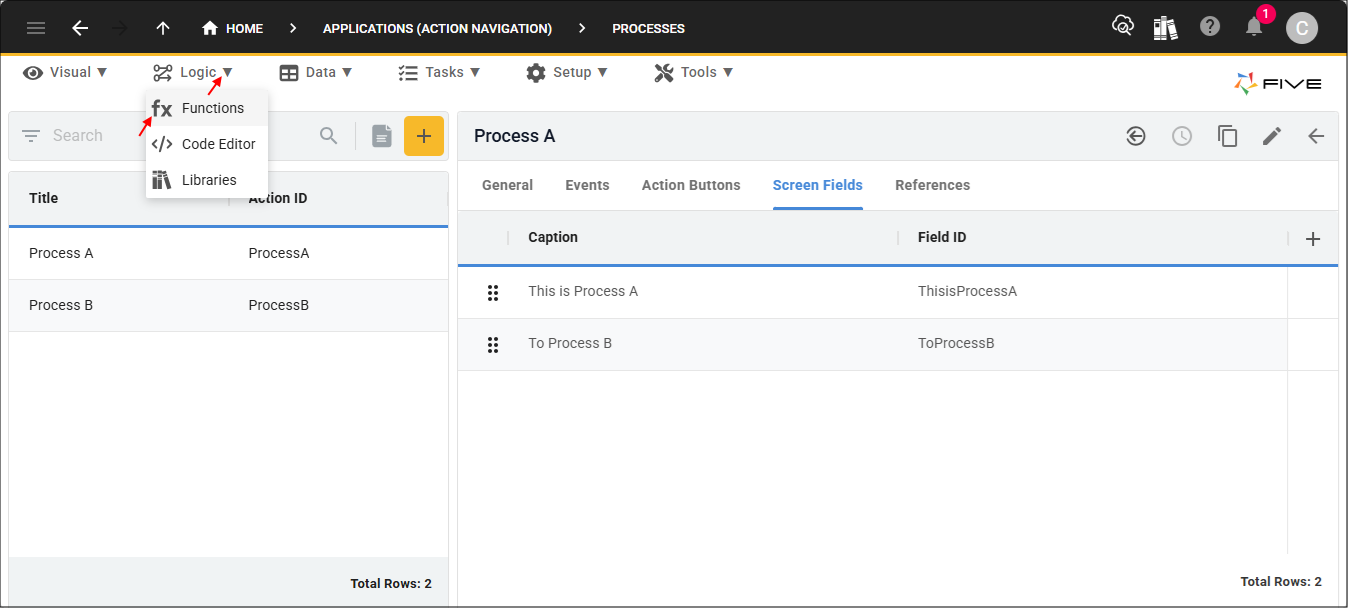
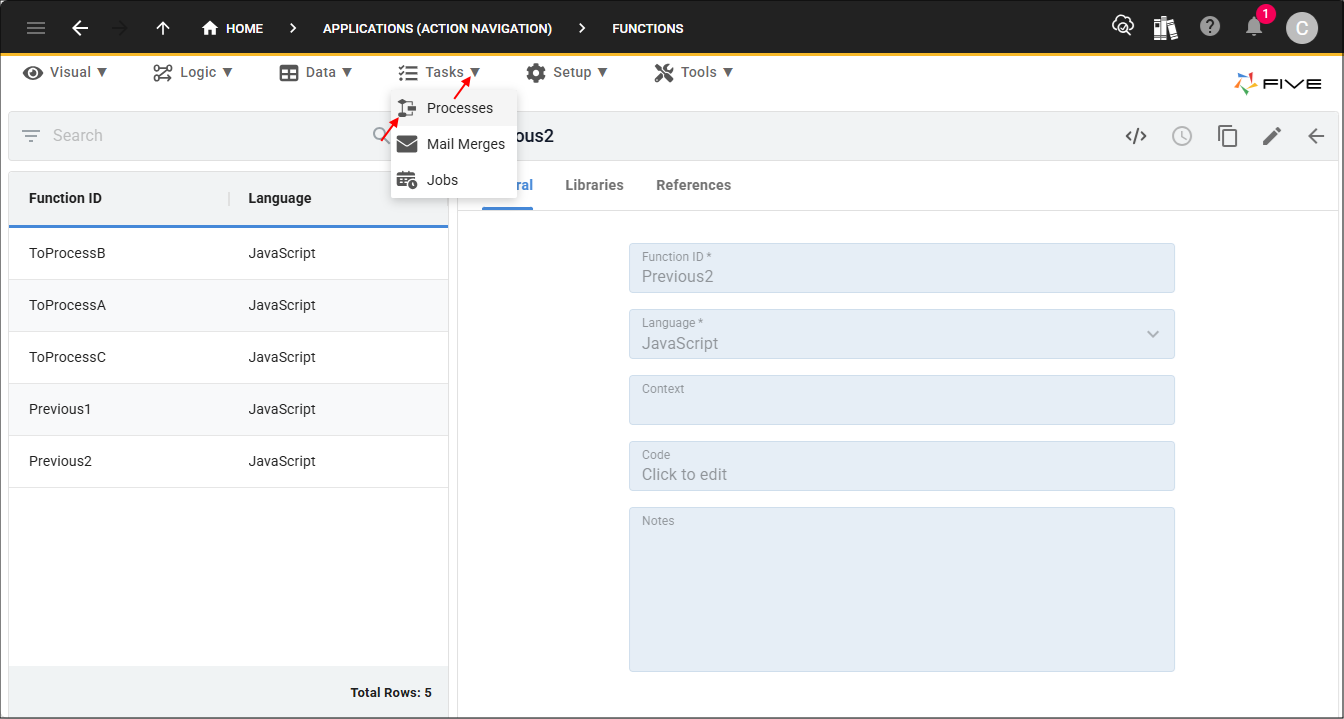
1. Select Tasks in the menu.
2. Select Processes in the sub-menu.
Figure 14 - Processes menu item
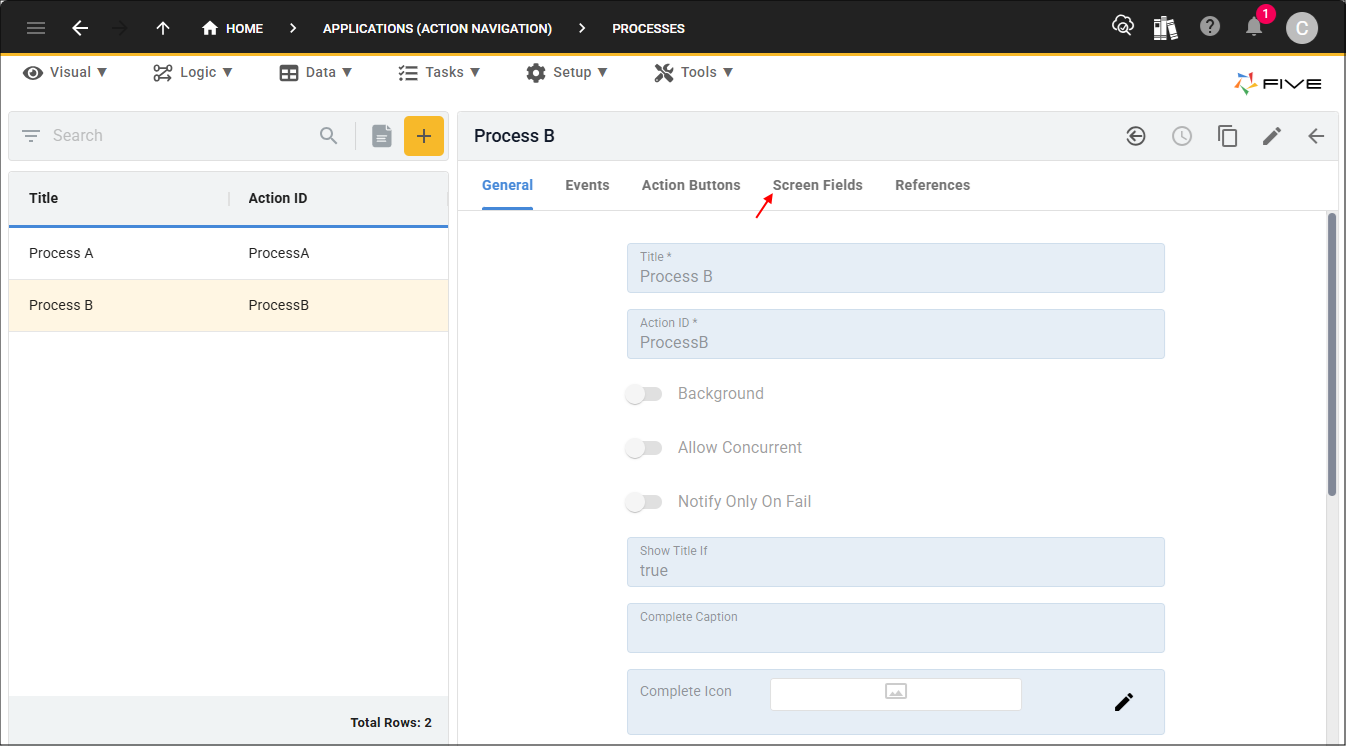
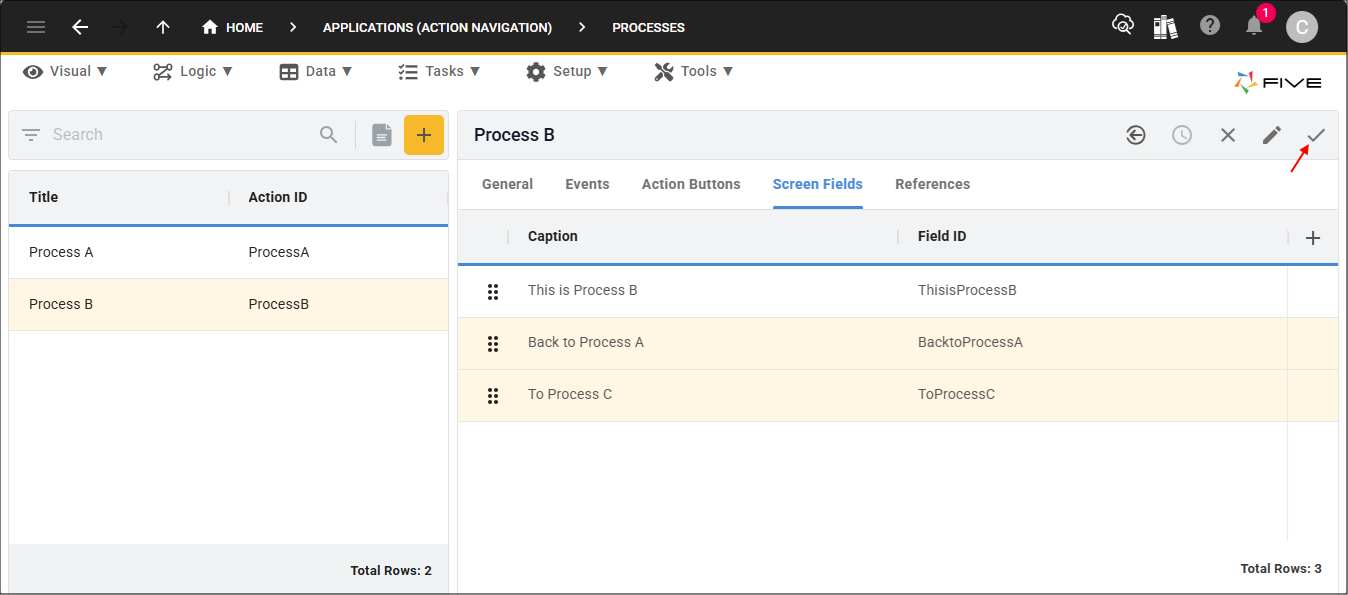
3. Select the Process B record in the list.
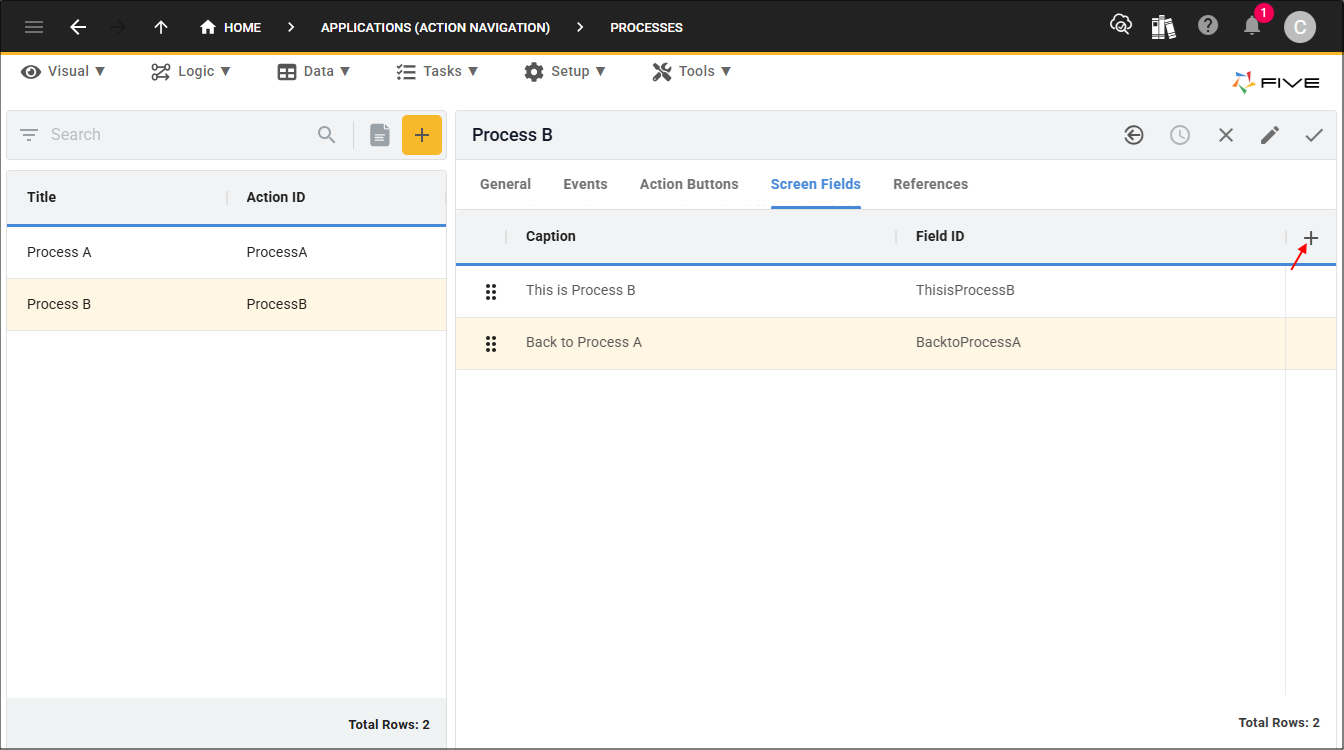
4. Click the Screen Fields tab.
Figure 15 - Screen Fields tab
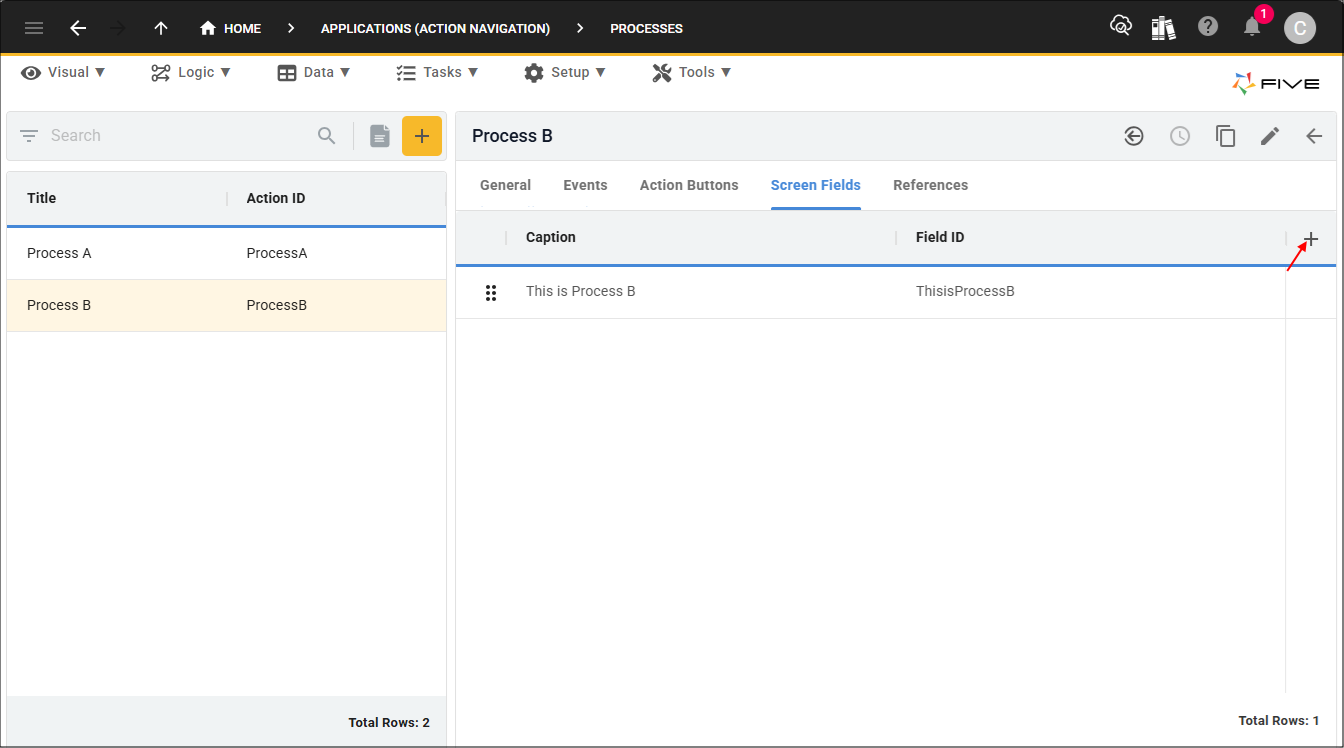
5. Click the Add Screen Fields button.
Figure 16 - Add Screen Fields button
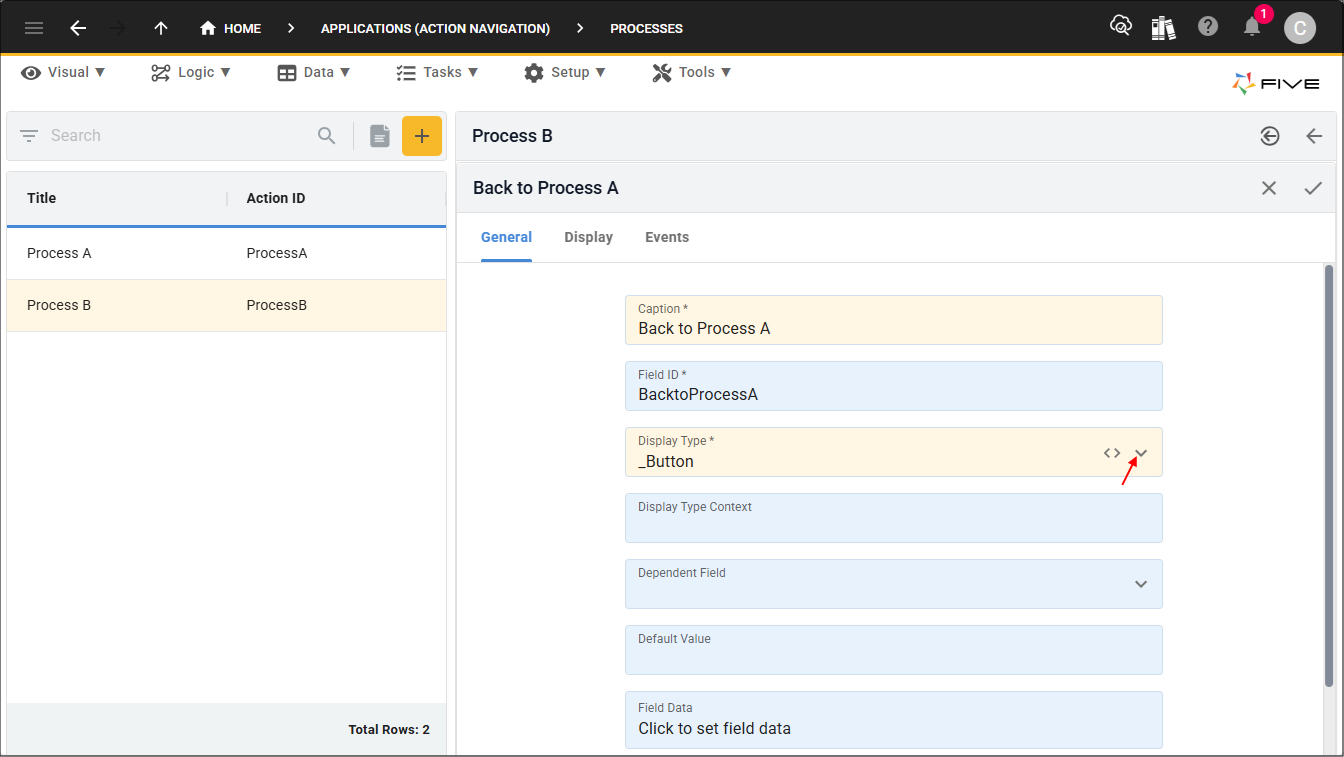
6. Type Back to Process A in the Caption field.
7. Click the lookup icon in the Display Type field and select _Button.
Figure 17 - Add Back to Process A screen field
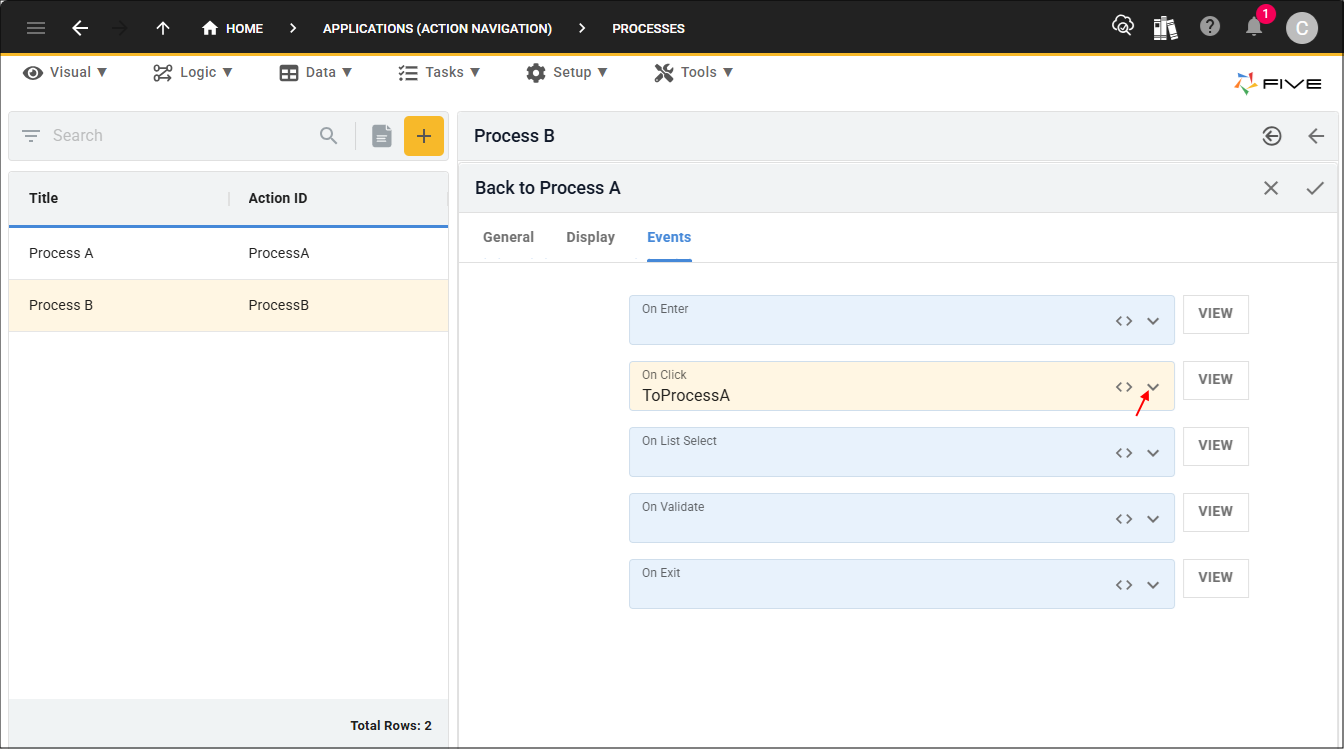
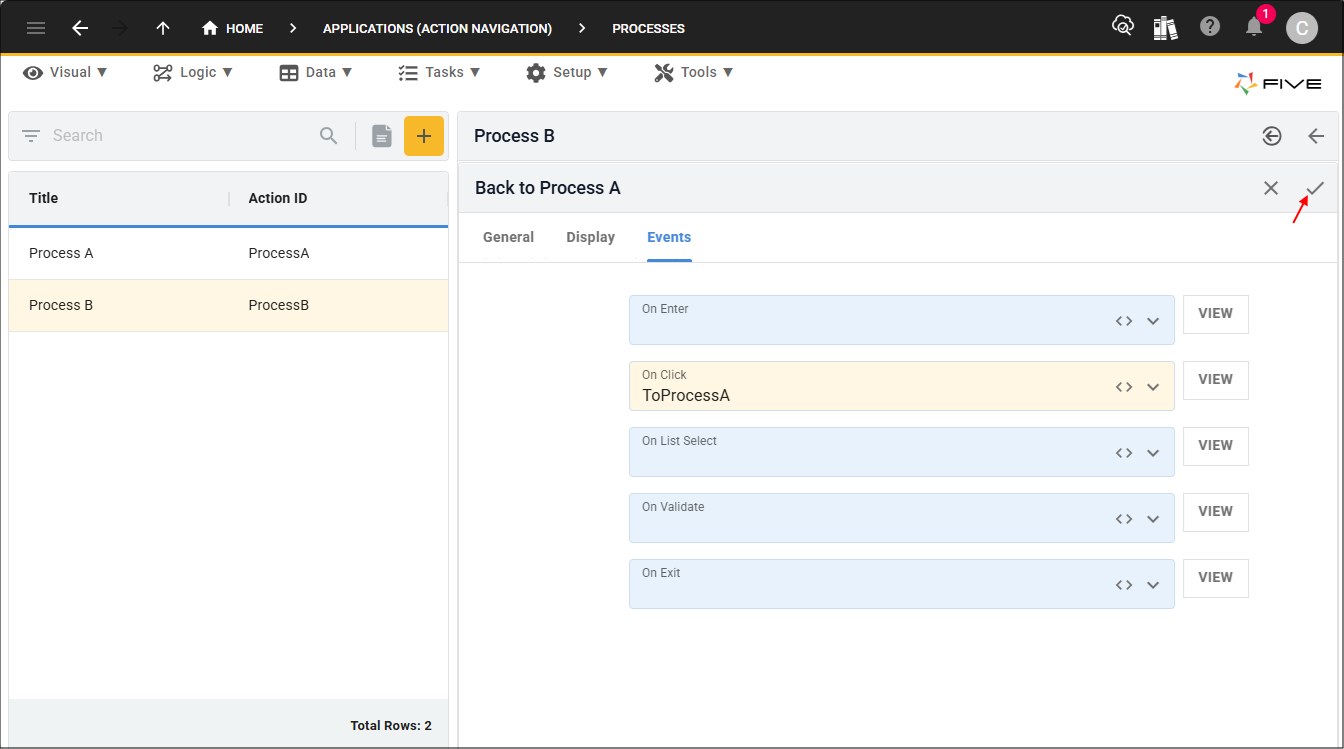
8. Click the Events tab.
Figure 18 - Events tab
9. Click the lookup icon in the On Click field and select ToProcessA.
Figure 19 - On Click field
10. Click the Save button in the form app bar.
Figure 20 - Save button
11. Click the Add Screen fields button.
Figure 21 - Add Screen Fields button
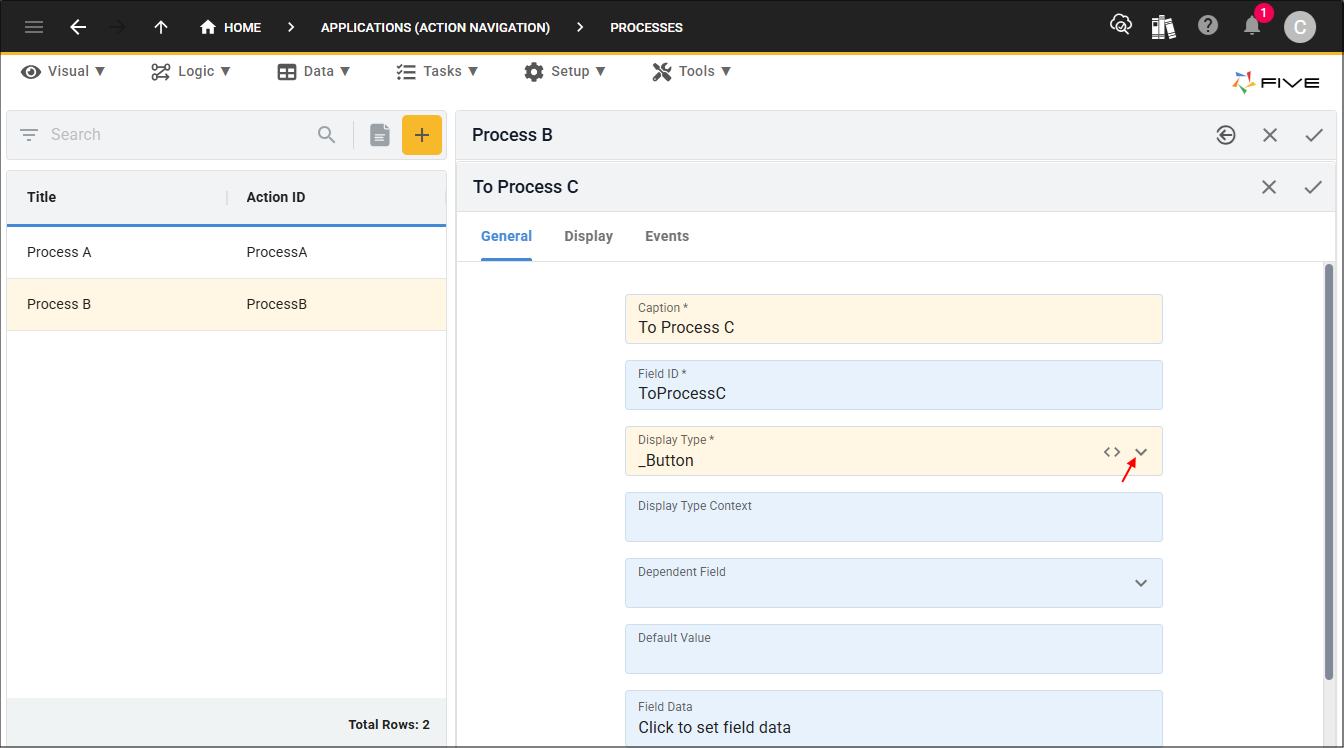
12. Type To Process C in the Caption field.
13. Click the lookup icon in the Display Type field and select _Button.
Figure 22 - Add To Process C screen field
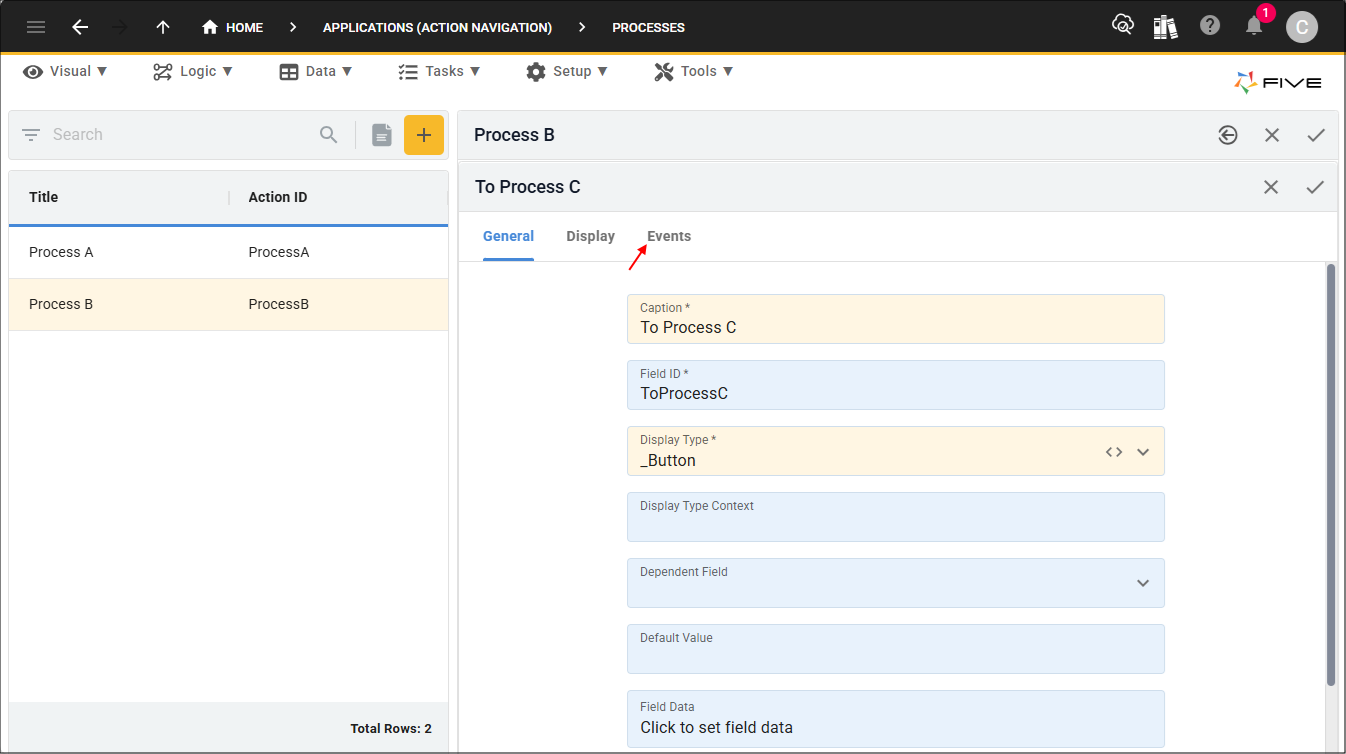
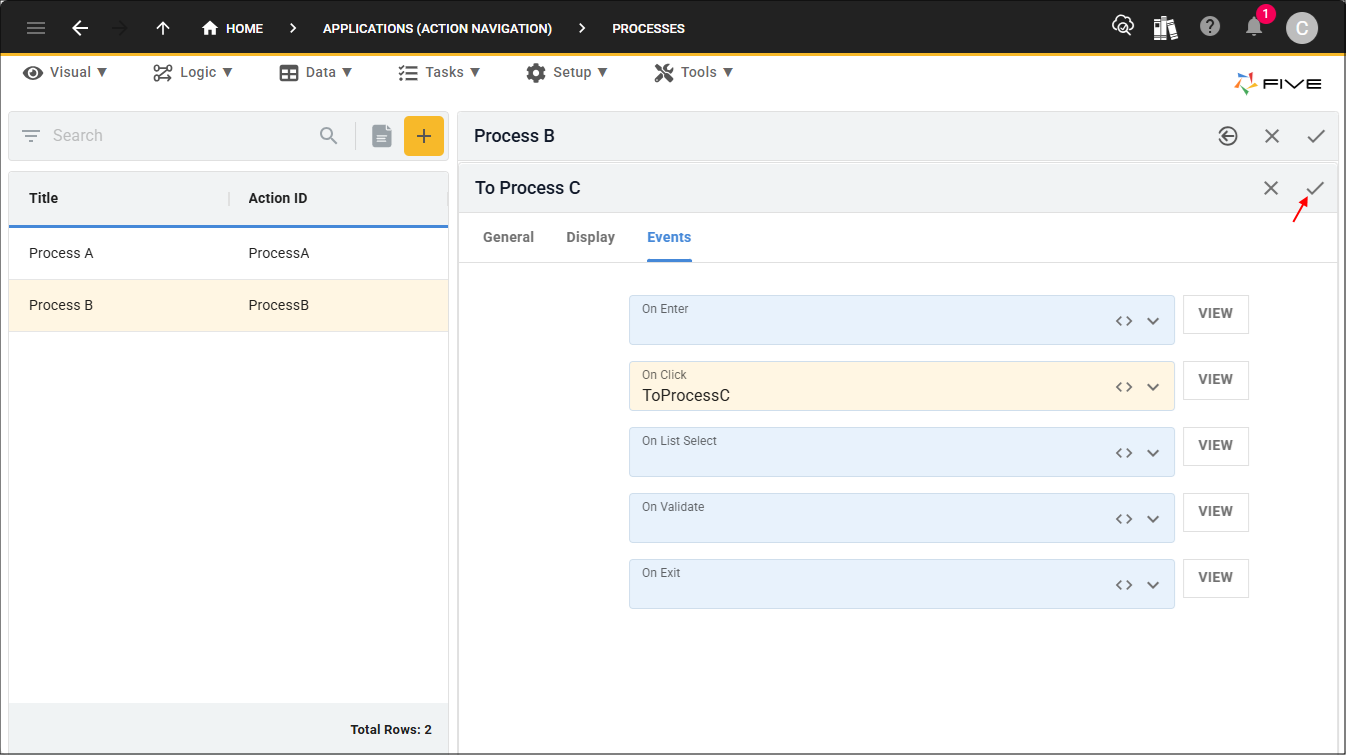
14. Click the Events tab.
Figure 23 - Events tab
15. Click the lookup icon in the On Click field and select ToProcessC.
Figure 24 - On Click field
16. Click the Save button in the form app bar.
Figure 25 - Save button
17. Click the Save button in the form app bar above the list.
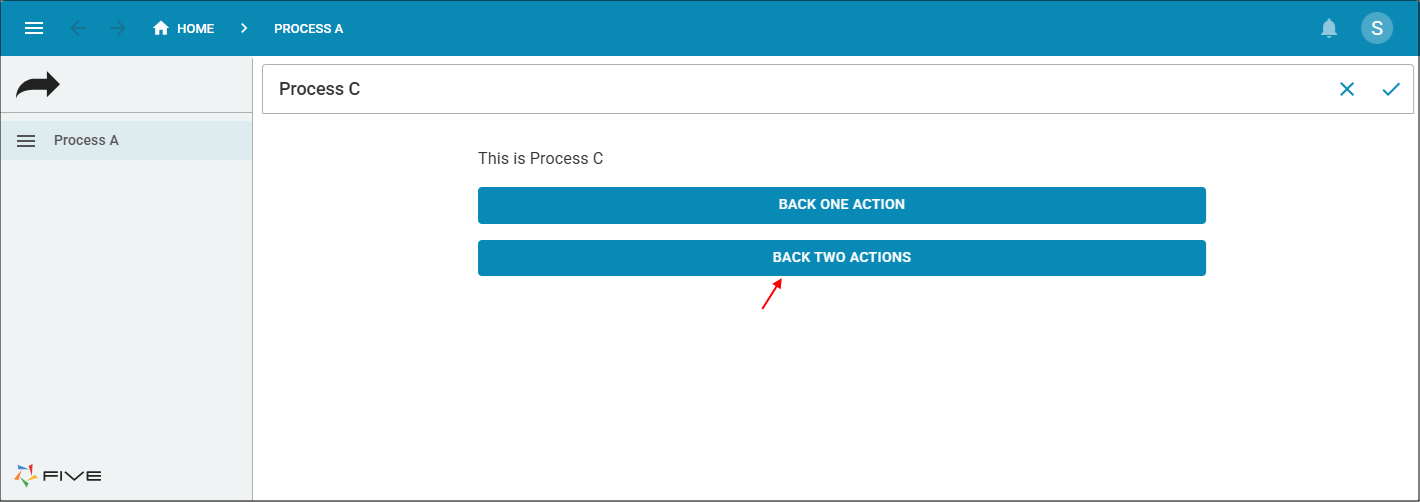
Process C needs two screen fields with the display type of _Button. The Back One Action button will have the
Previous1()
function attached to the On Click event. When the button
is clicked, the function will execute and return you to the previously selected action. The Back Two Actions button will have the
Previous2()
function attached to the On Click event.
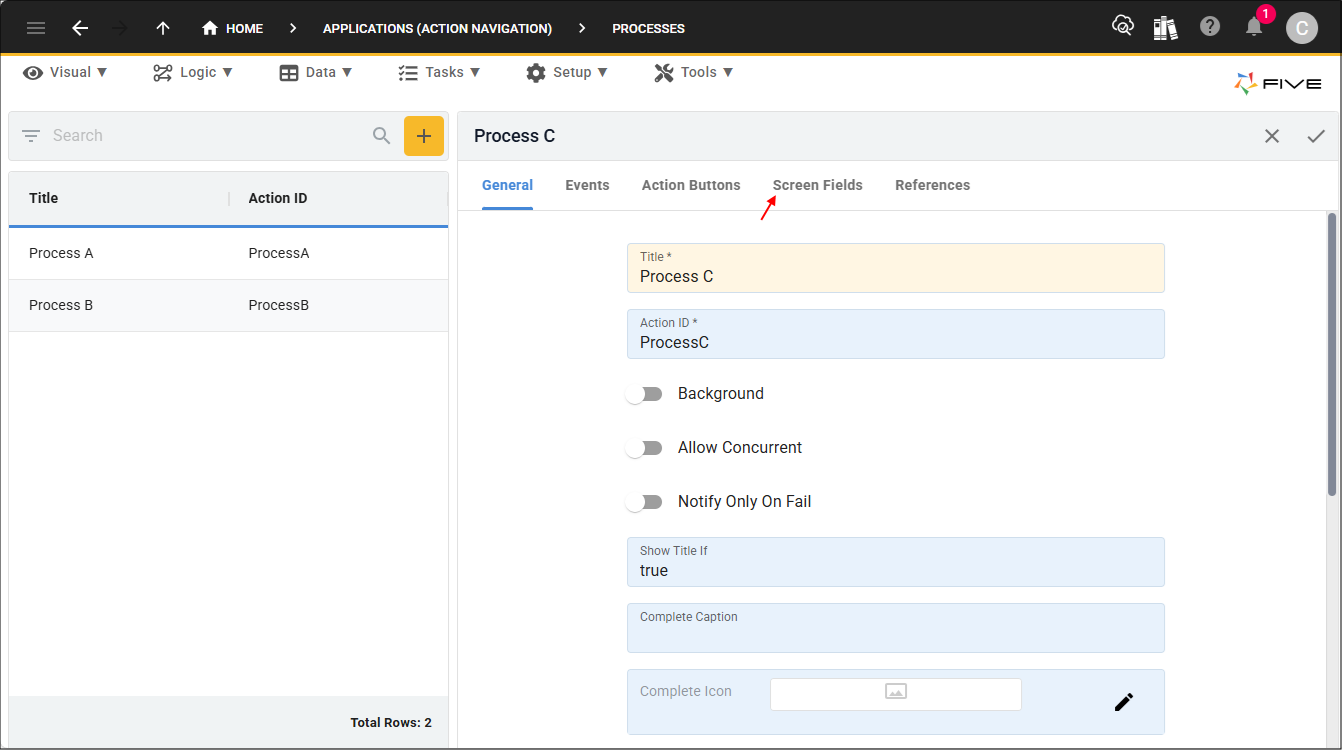
When the button is clicked, the function will execute and return back two previously selected actions.1. Click the Add Item button.
2. Type Process C in the Title field.
Figure 27 - Add Process C
3. Click the Screen Fields tab.
Figure 28 - Screen Fields tab
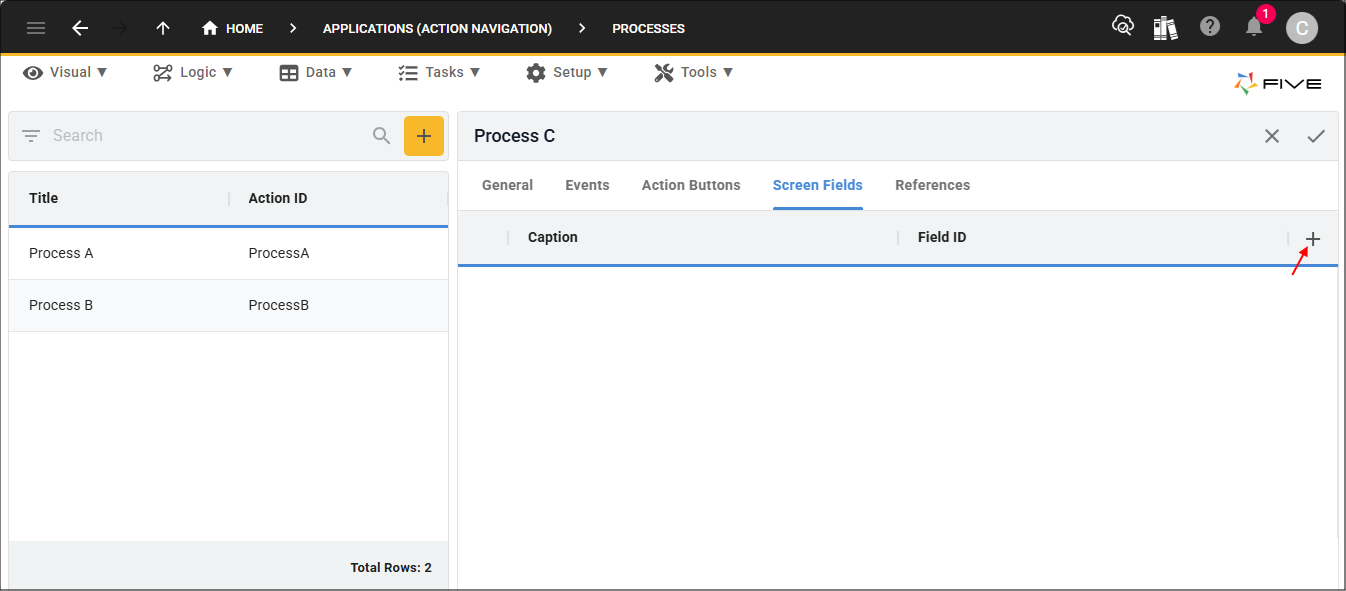
4. Click the Add Screen fields button.
Figure 29 - Add Screen Fields button
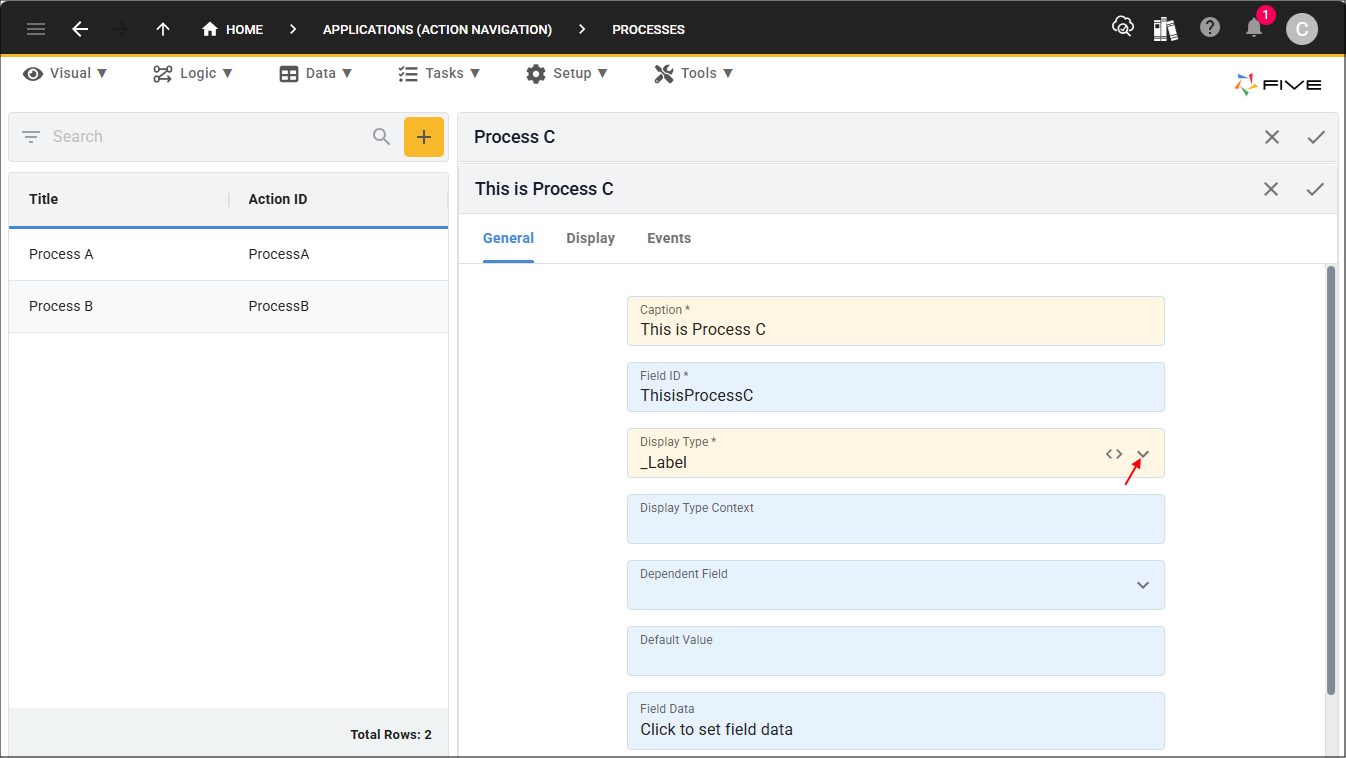
5. Type This is Process C in the Caption field.
6. Click the lookup icon in the Display Type field and select _Label.
Figure 30 - Add This is Process C screen field
7. Click the Save button in the form app bar.
Figure 31 - Save button
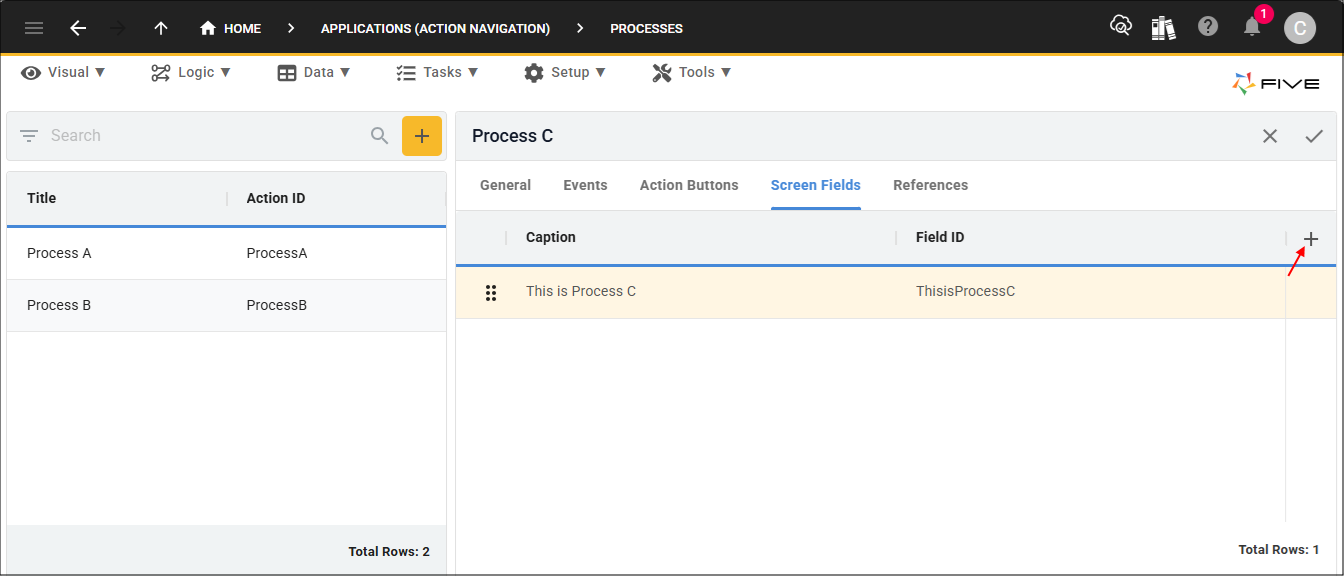
8. Click the Add Screen Fields button.
Figure 32 - Add Screen Fields button
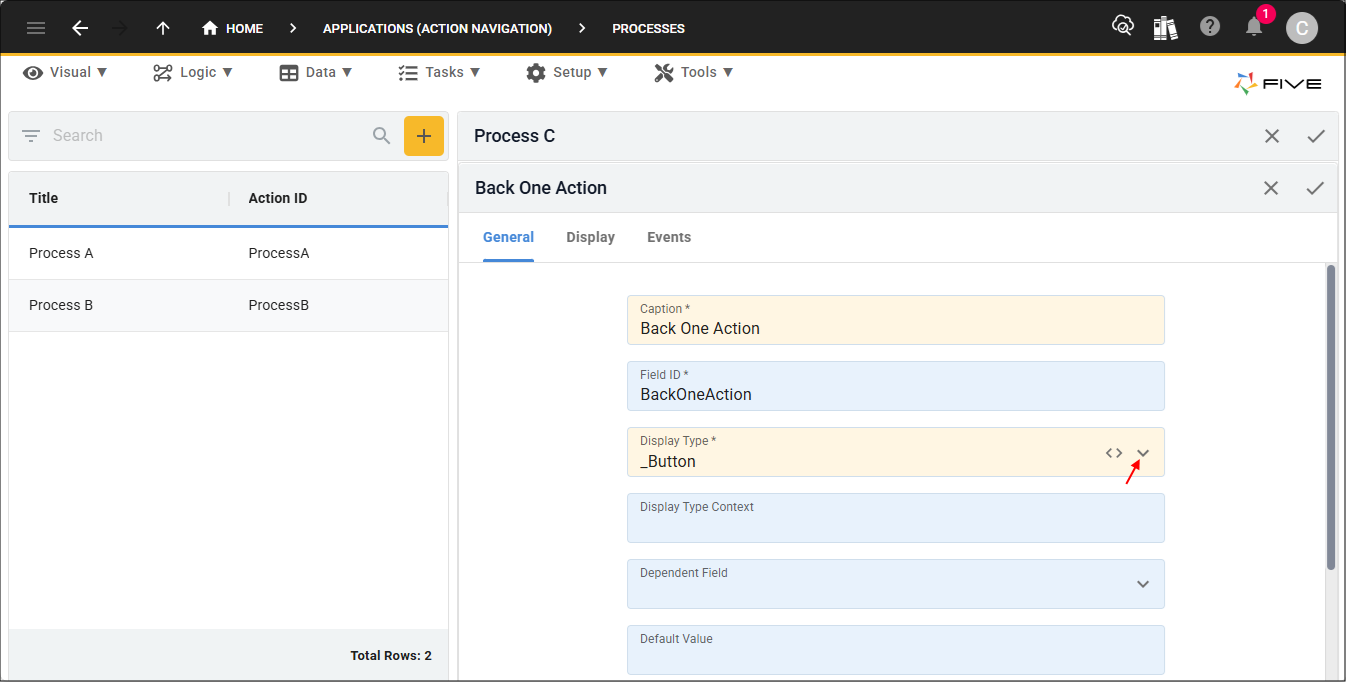
9. Type Back One Action in the Caption field.
10. Click the lookup icon in the Display Type field and select _Button.
Figure 33 - Add Back One Action screen field
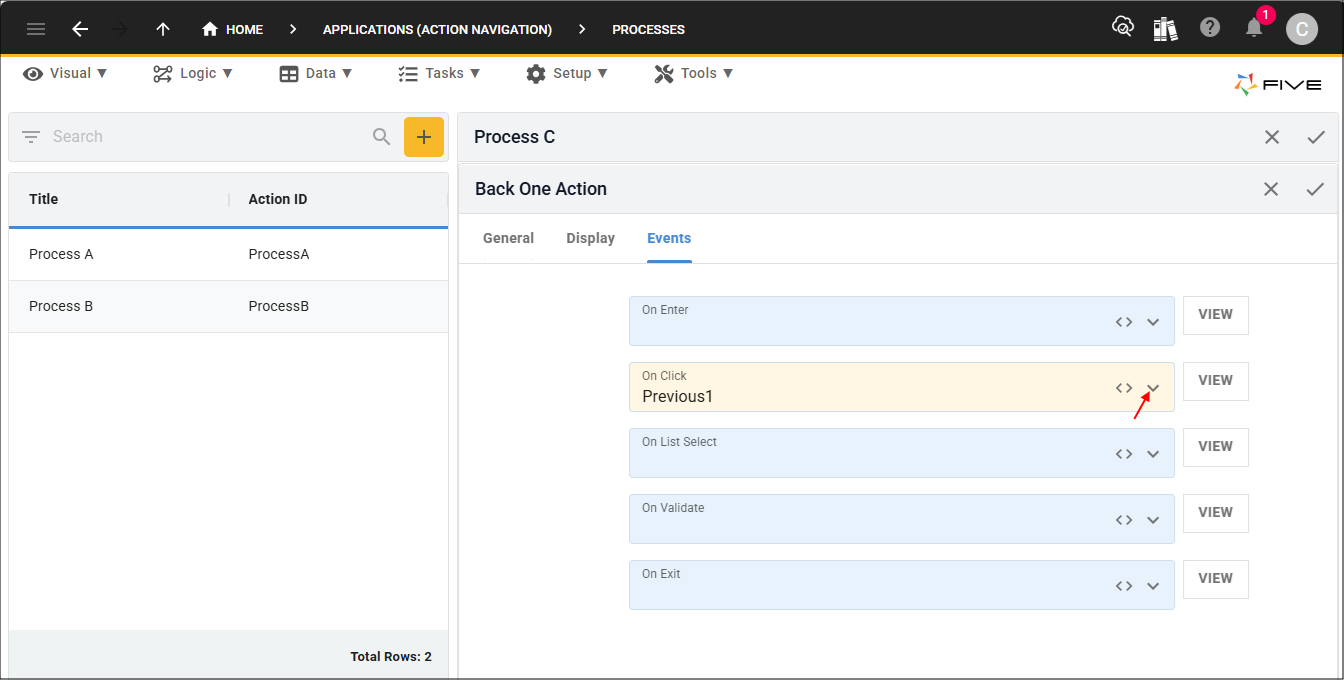
11. Click the events tab.
Figure 34 - Events tab
12. Click the lookup icon in the On Click field and select Previous1.
Figure 35 - On Click field
13. Click the Save button in the form app bar.
Figure 36 - Save button
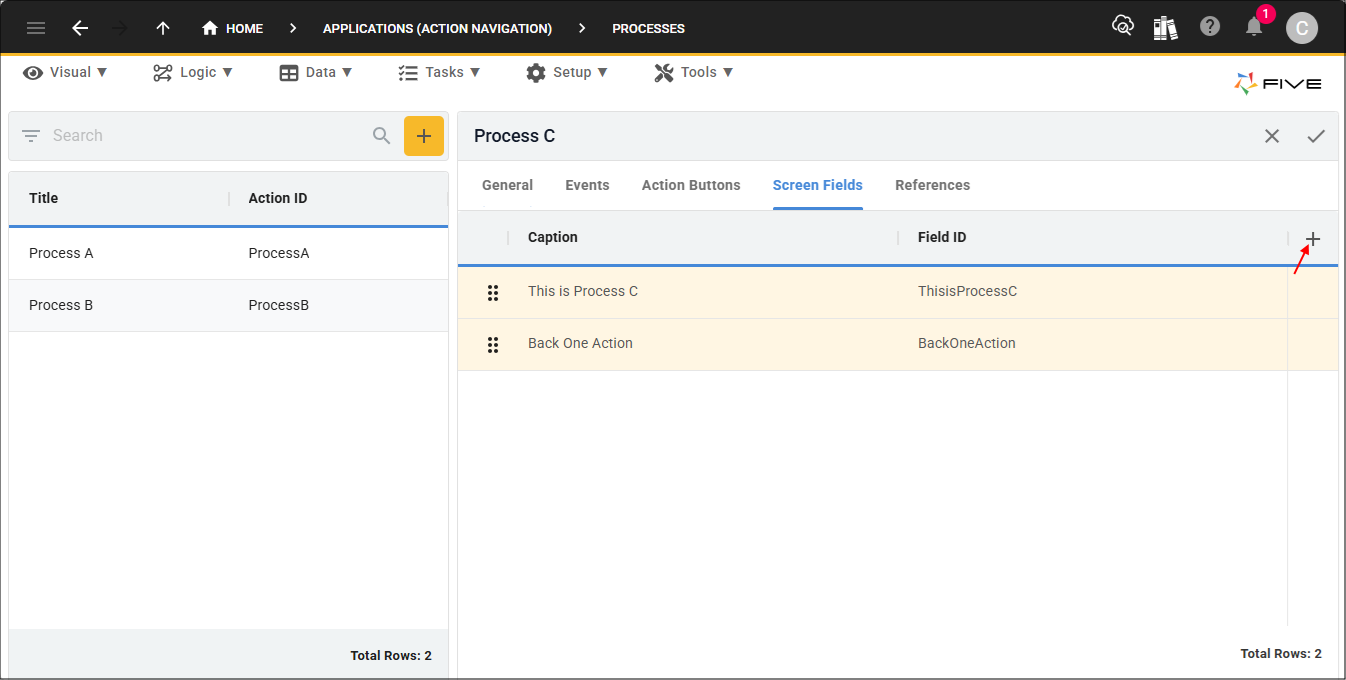
14. Click the Add Screen Fields button.
Figure 37 - Add Screen Fields button
15. Type Back Two Actions in the Caption field.
16. Click the lookup icon in the Display Type field and select _Button.
Figure 38 - Add Back Two Actions screen field
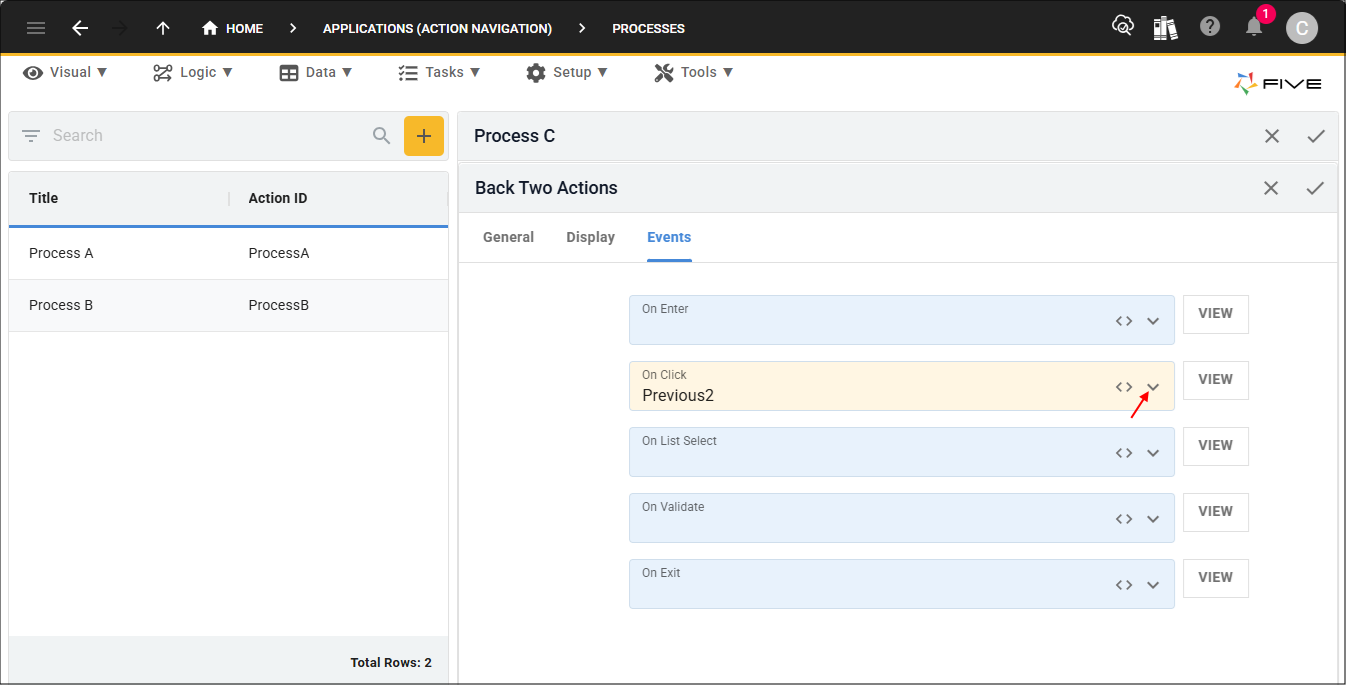
17. Click the Events tab.
Figure 39 - Events tab
18. Click the lookup icon in the On Click field and select Previous2.
Figure 40 - On Click field
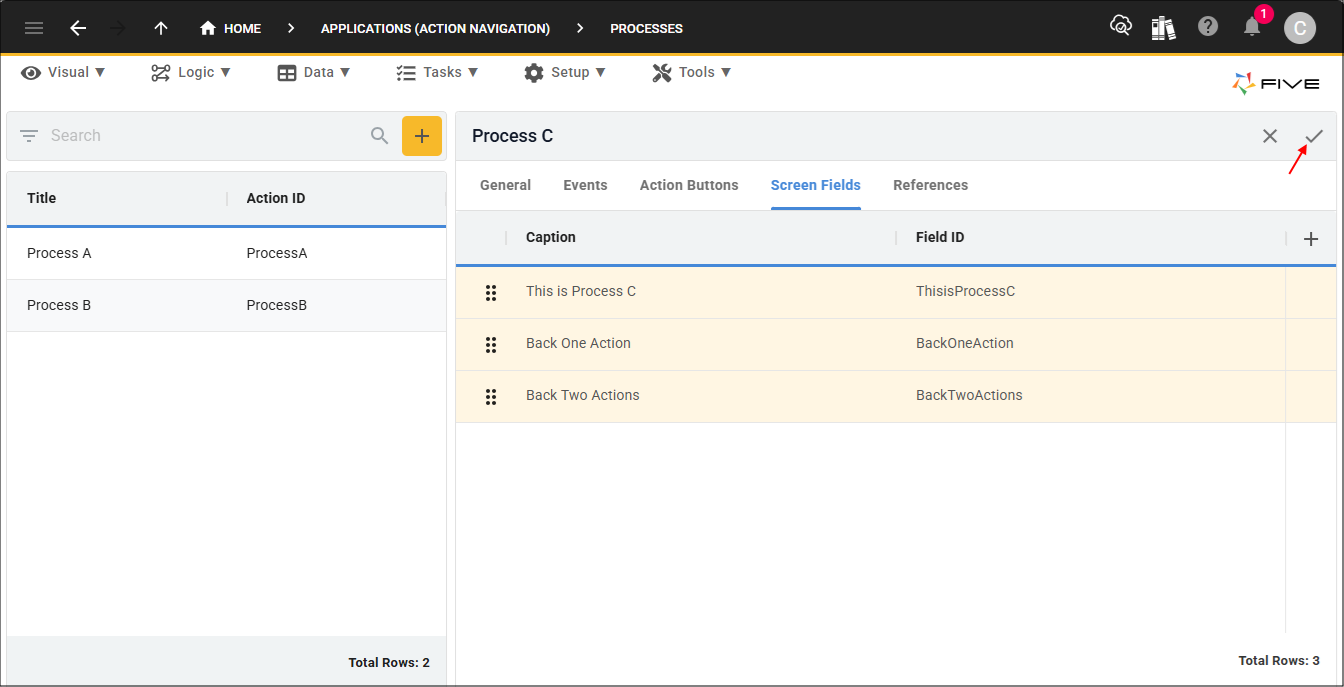
19. Click the Save button in the form app bar.
Figure 41 - Save button
20. Click the Save button in the form app bar above the list.