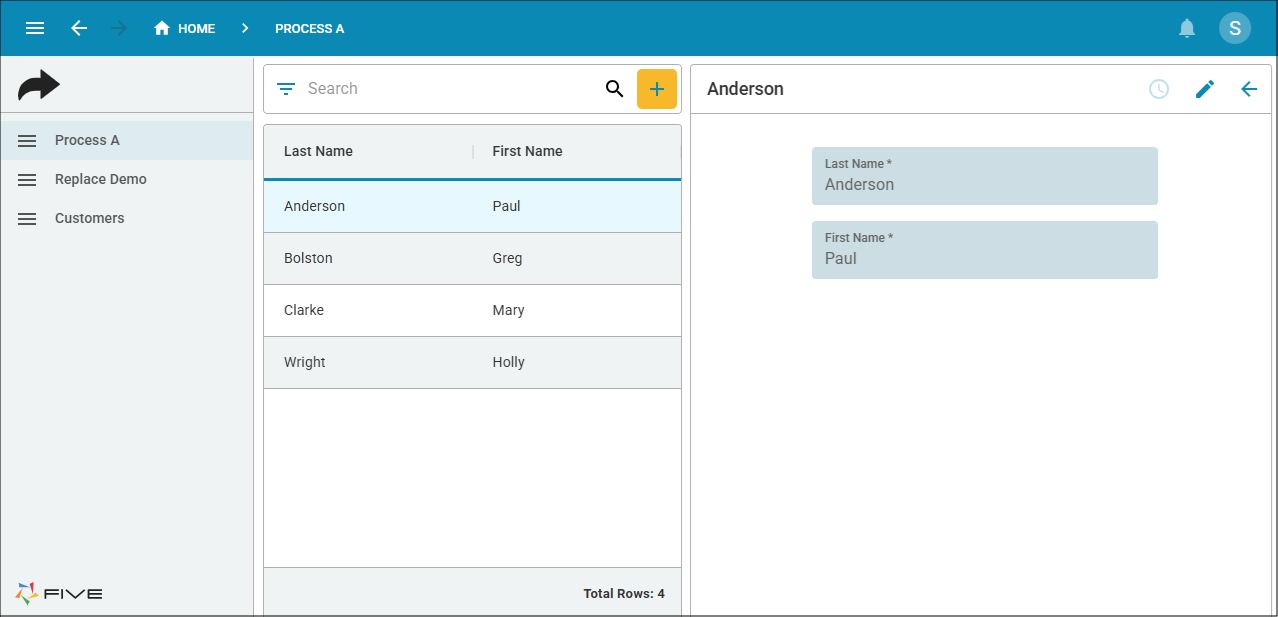
selectRecord() and selectAction() with recordKey
Last updated 12/02/2025
This documentation is to demonstrate the difference between using the
When using the

When using the

To demonstrate how to use these functions the following has been added into the Action Navigation application:
- Customer table - The Customer table has two fields LastName and FirstName.
- Customers form - The Customers form uses the Customer table as its main data source.
- Customers menu item - The Customers menu item references the Customers form in the Action field. This menu item was created by default in the Form Wizard.
Multiple actions and functions are used to demonstrate selecting a form record.
In this tutorial, the following will be performed to demonstrate the differences between the
- Add the SelectCustomerRecord()function - To demonstrate usingselectRecord()to select and display a form record.
- Add the SelectCustomerRecordKey()function - To demonstrate usingselectAction()to select a form record.
- Edit the Process A record - To add three screen fields, one to select a customer, and the other two will select a record using two different methods based on the primary key of the selected customer.
Add the SelectCustomerRecord Function
The
2. Select Functions in the sub-menu.
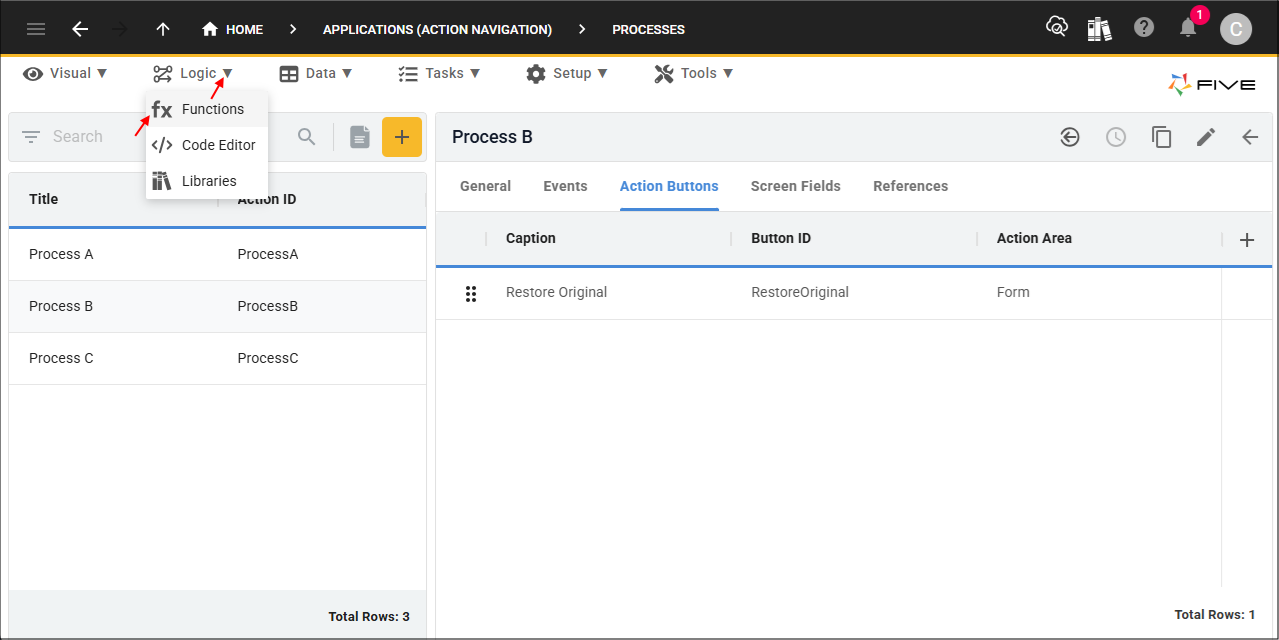
3. Click the Add Item button.
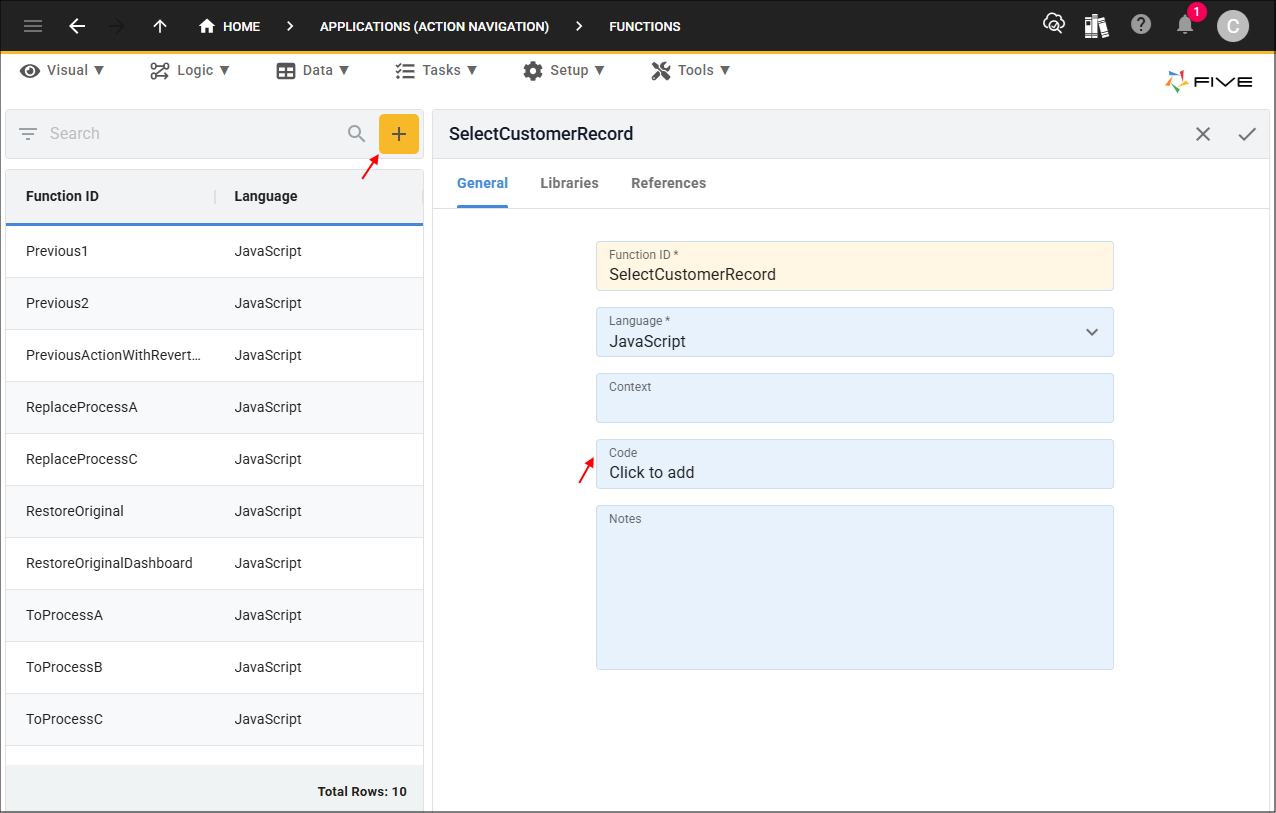
4. Type SelectCustomerRecord in the Function ID field.
5. Click in the Code Field to open the Code Editor.
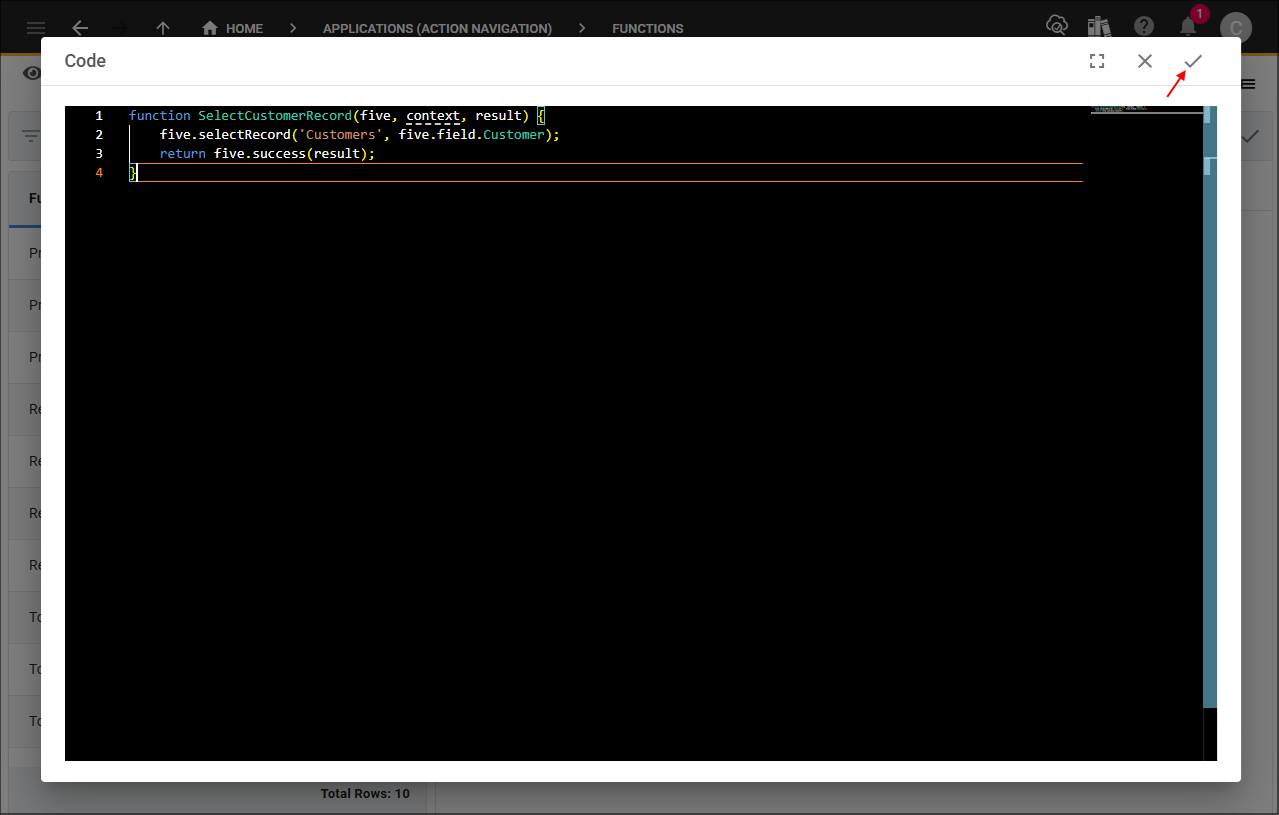
6. Copy and paste the code block below.

function SelectCustomerRecord(five, context, result) {
    five.selectRecord('Customers', five.field.Customer);
    return five.success(result);
}
7. Click the Save button in the Code Editor app bar.
8. Click the Save button in the form app bar.

Add the SelectCustomerRecordKey Function
The
2. Type SelectCustomerRecordKey in the Function ID field.
3. Click in the Code field to open the Code Editor.
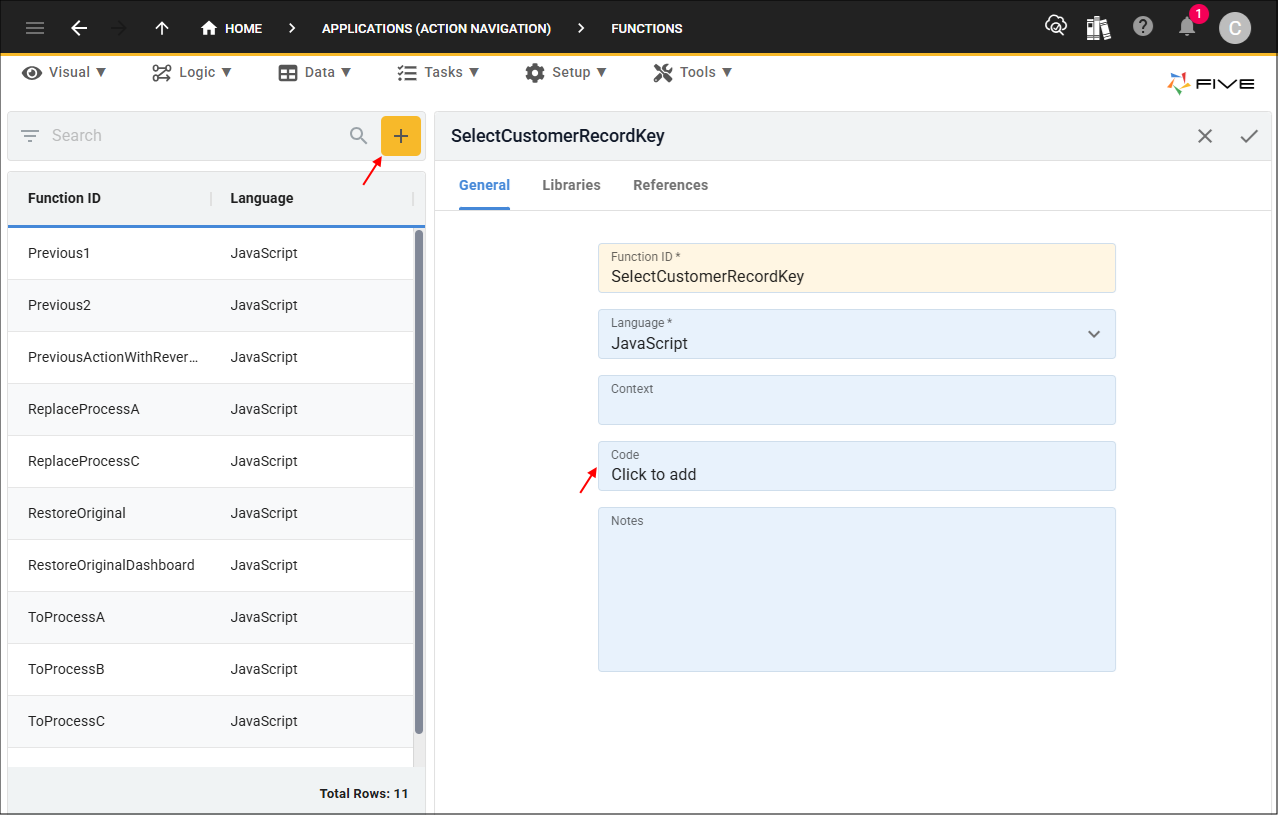
4. Copy and paste the code block below.

function SelectCustomerRecordKey(five, context, result) {
    five.selectAction('Customers', five.field.Customer);
    return five.success(result);
}
5. Click the Save button in the Code Editor app bar.

6. Click the Save button in the form app bar.

Edit Process A
The Process A record that was added in the previous chapters, needs to be edited to add the following three screen fields:
- Customer field - To select a customer, the primary key for the selected customer is used to know which customer record to select and display the record.
- Select Customer Record field - This will have a display type of _Button and have the SelectCustomerRecord()function attached to the On Click event.
- Select Customer Record Key field - This will have a display type of _Button and have the SelectCustomerRecordKey()function attached to the On Click event.
2. Select Processes in the sub-menu.
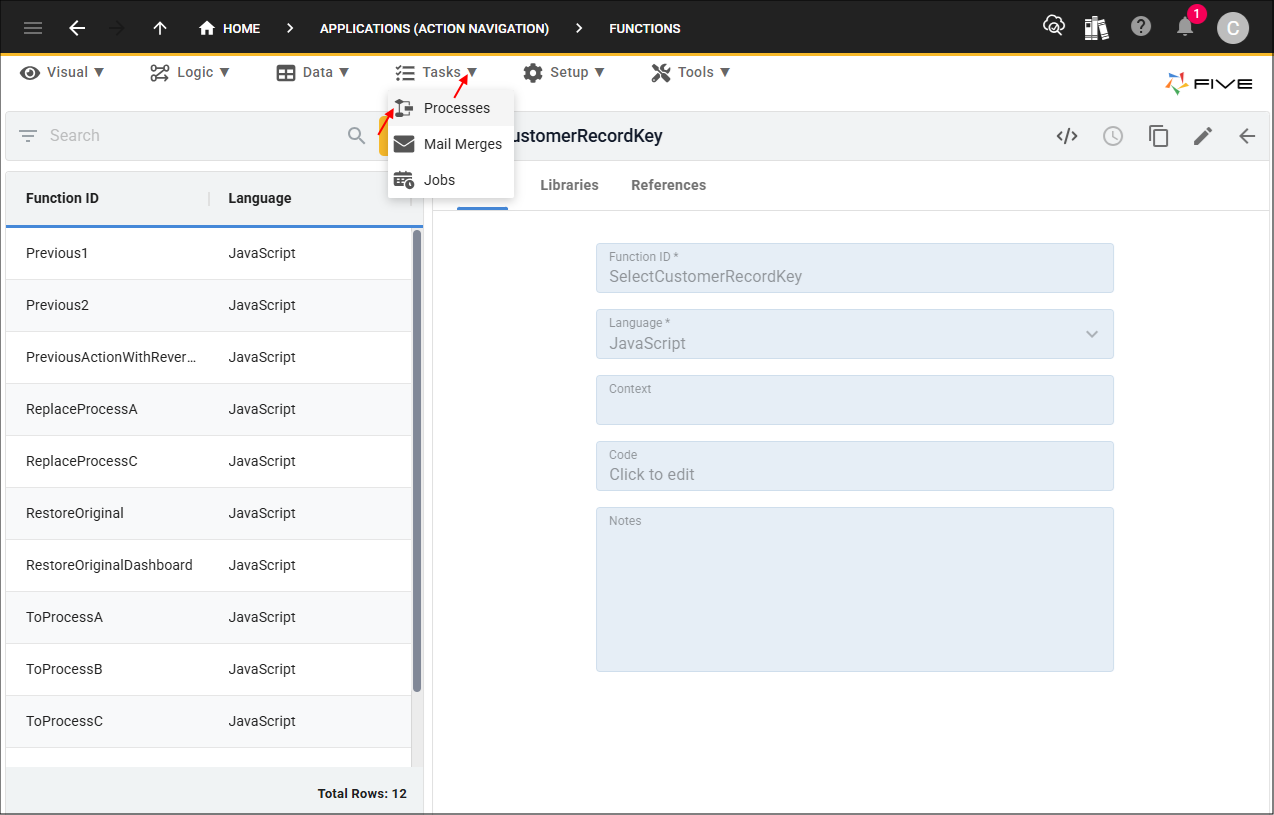
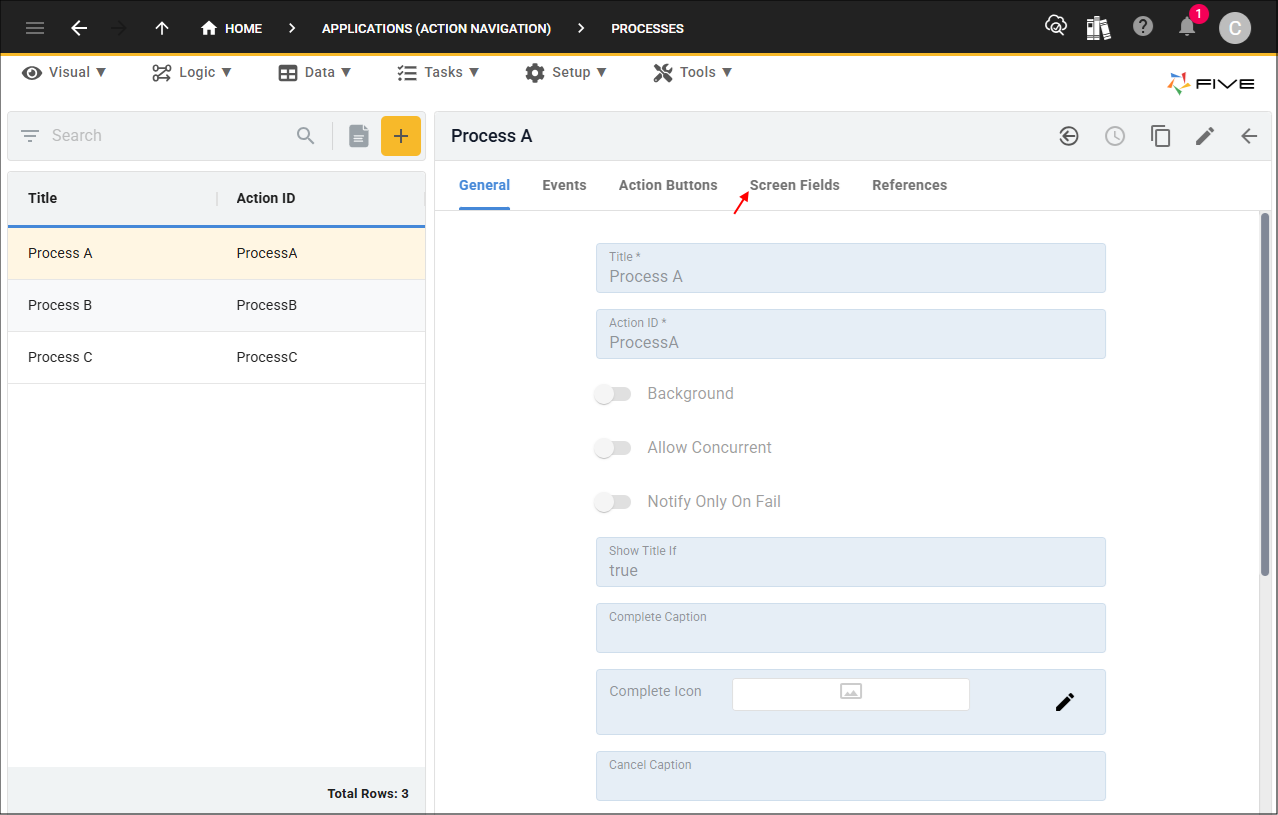
3. Select the Process A record in the list.
4. Click the Screen Fields tab.
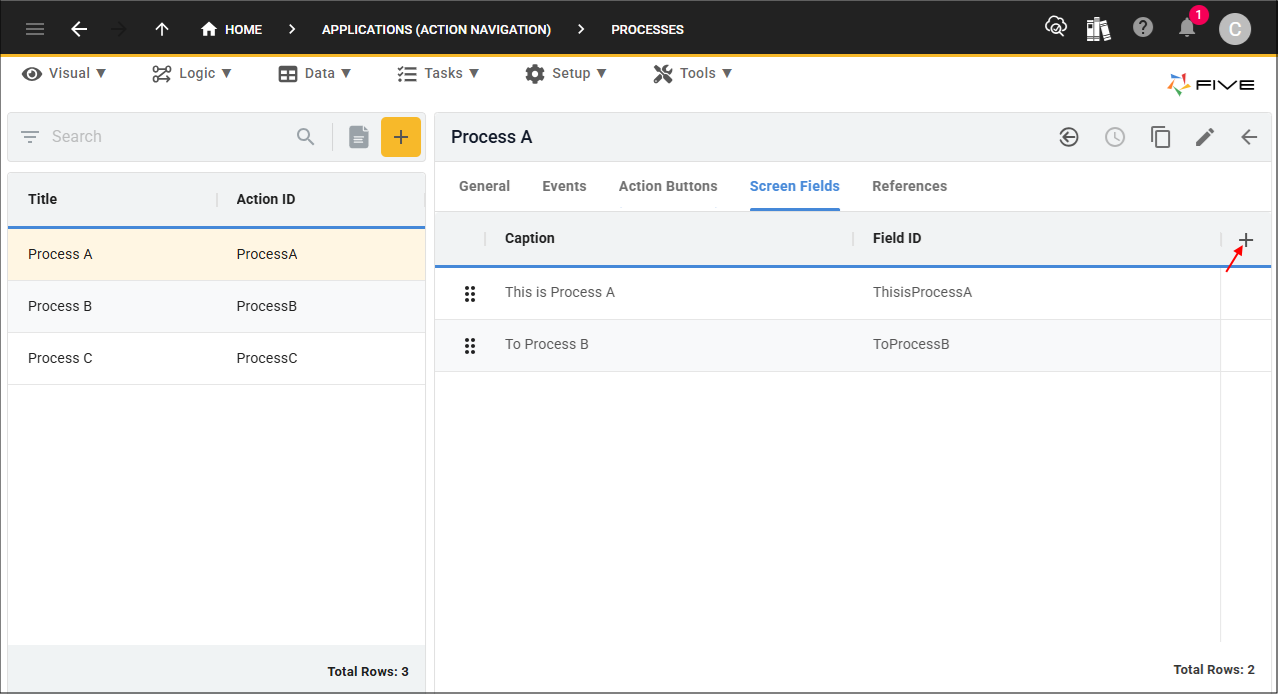
5. Click the Add Screen Fields button.
6. Type Customer in the Caption field.
7. Click the lookup icon in the Display Type field and select _Lookup.
8. Click the lookup icon in the Dependent Field and select Customers.
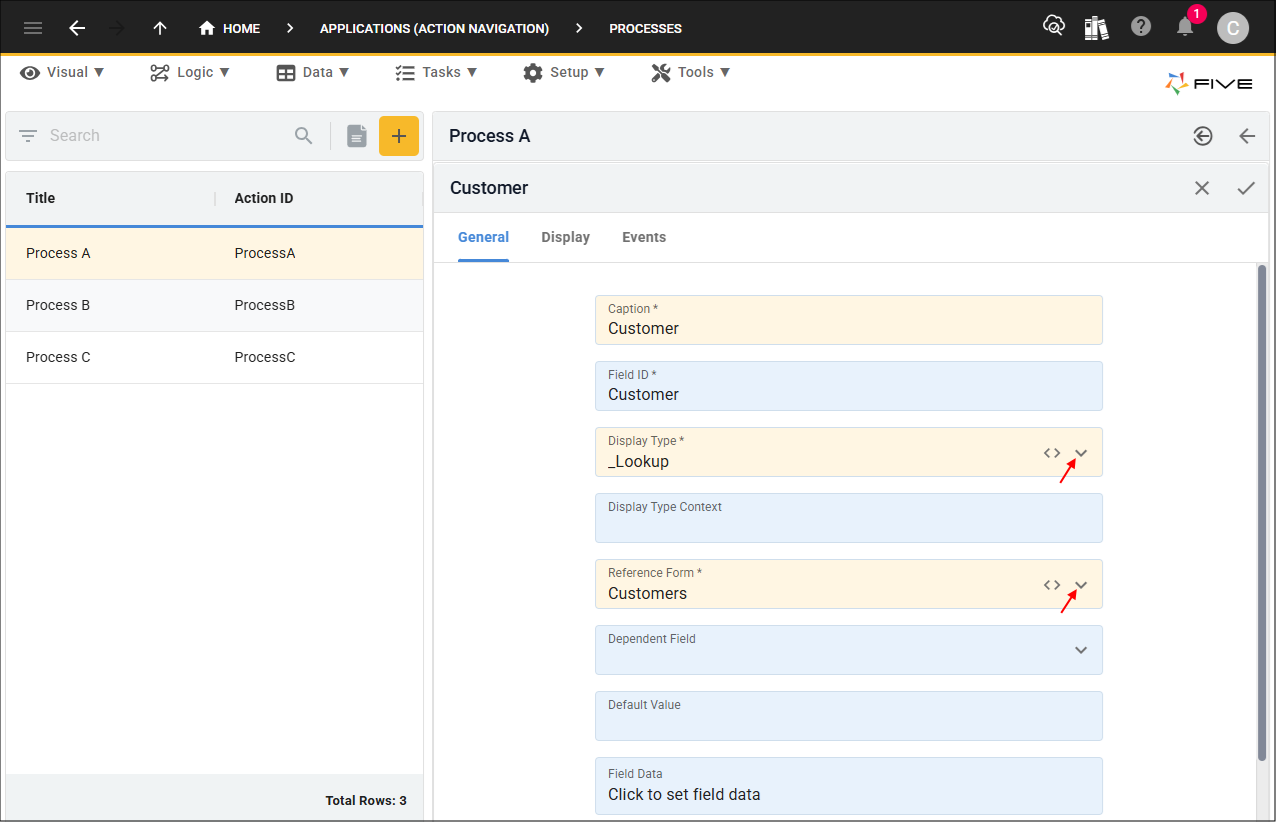
9. Click the Save button in the form app bar.
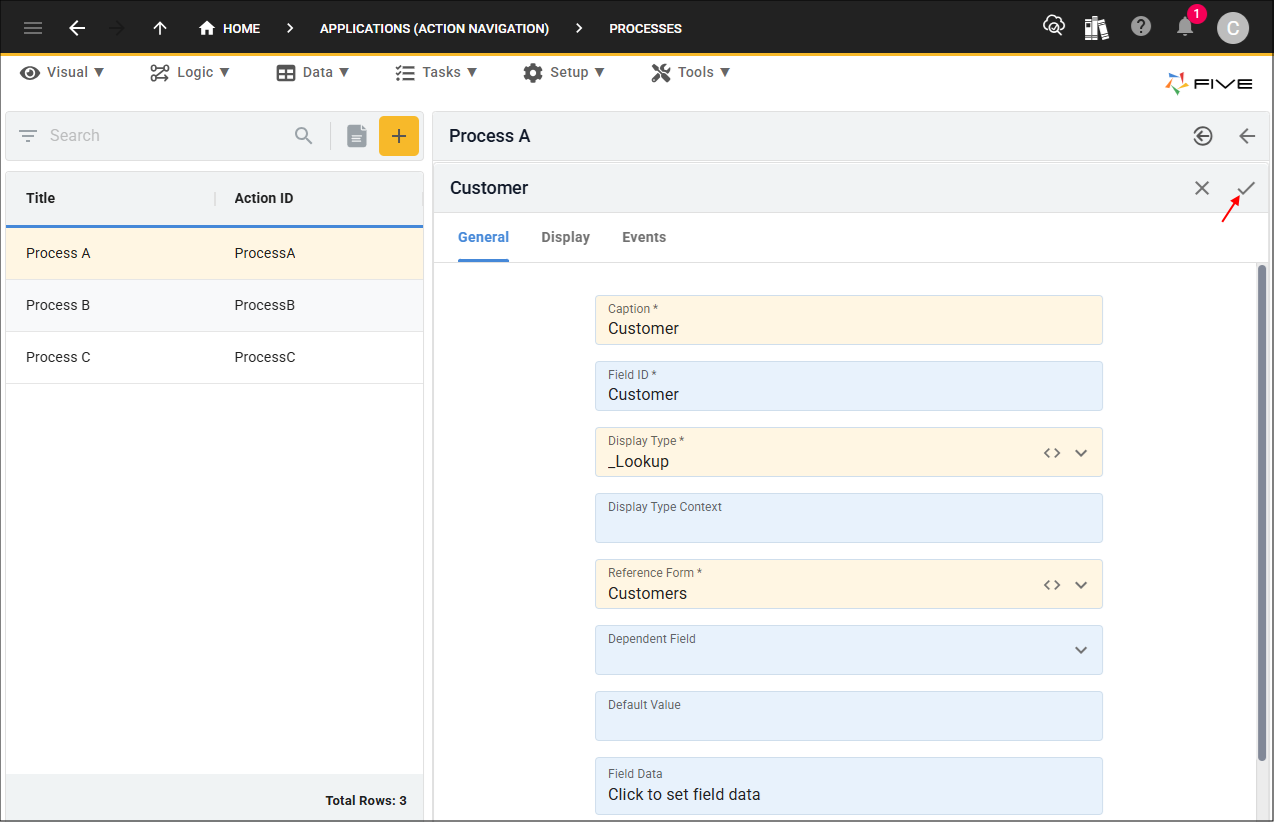
10. Click the Add Screen Fields button.
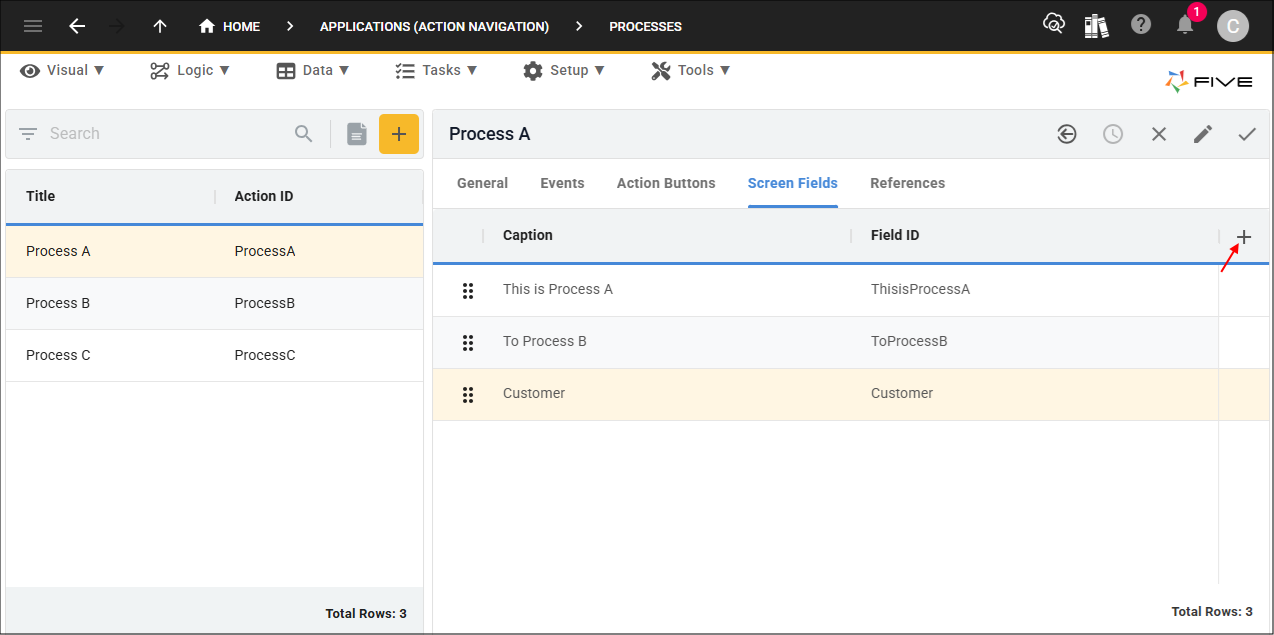
11. Type Select Customer Record in the Caption field.
12. Click the lookup icon in the Display Type field and select _Button.

13. Click the Events tab.
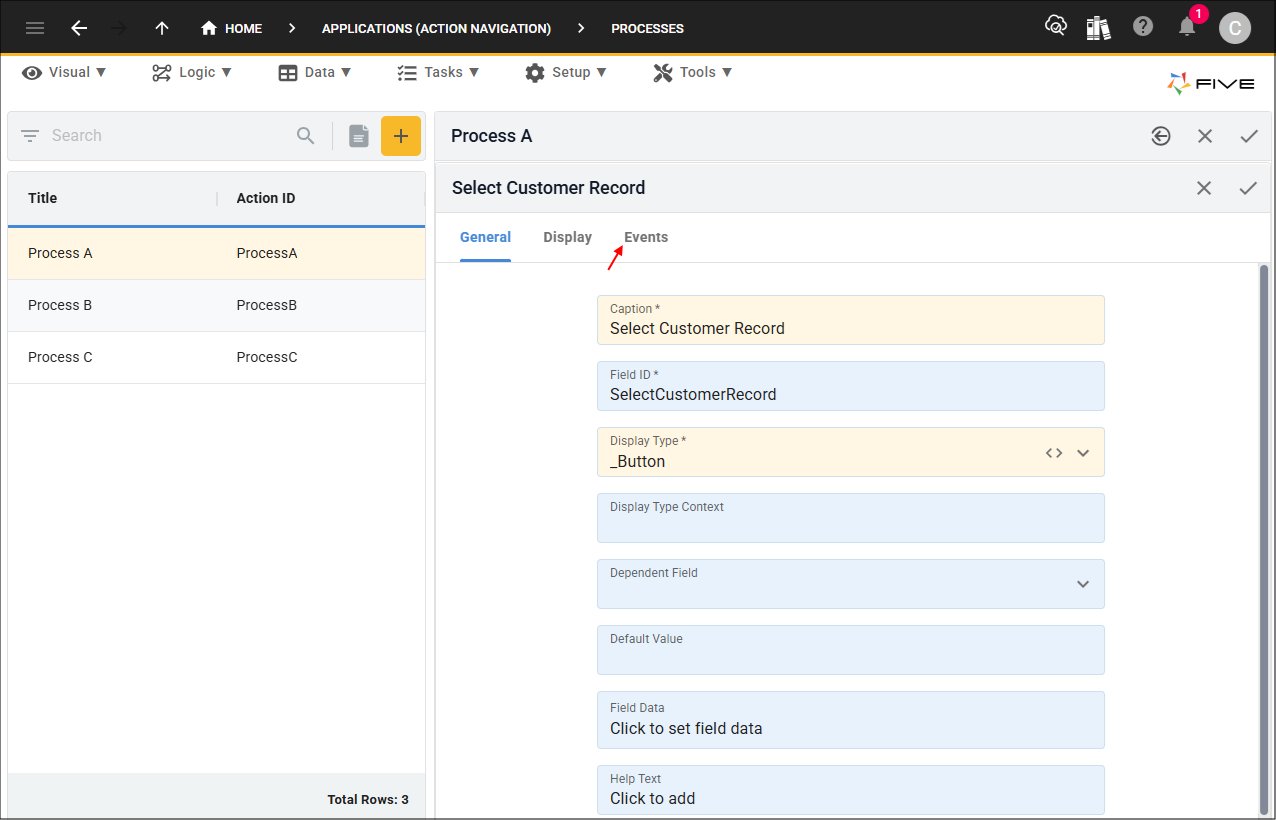
14. Click the lookup icon in the On Click field and select SelectCustomerRecord.
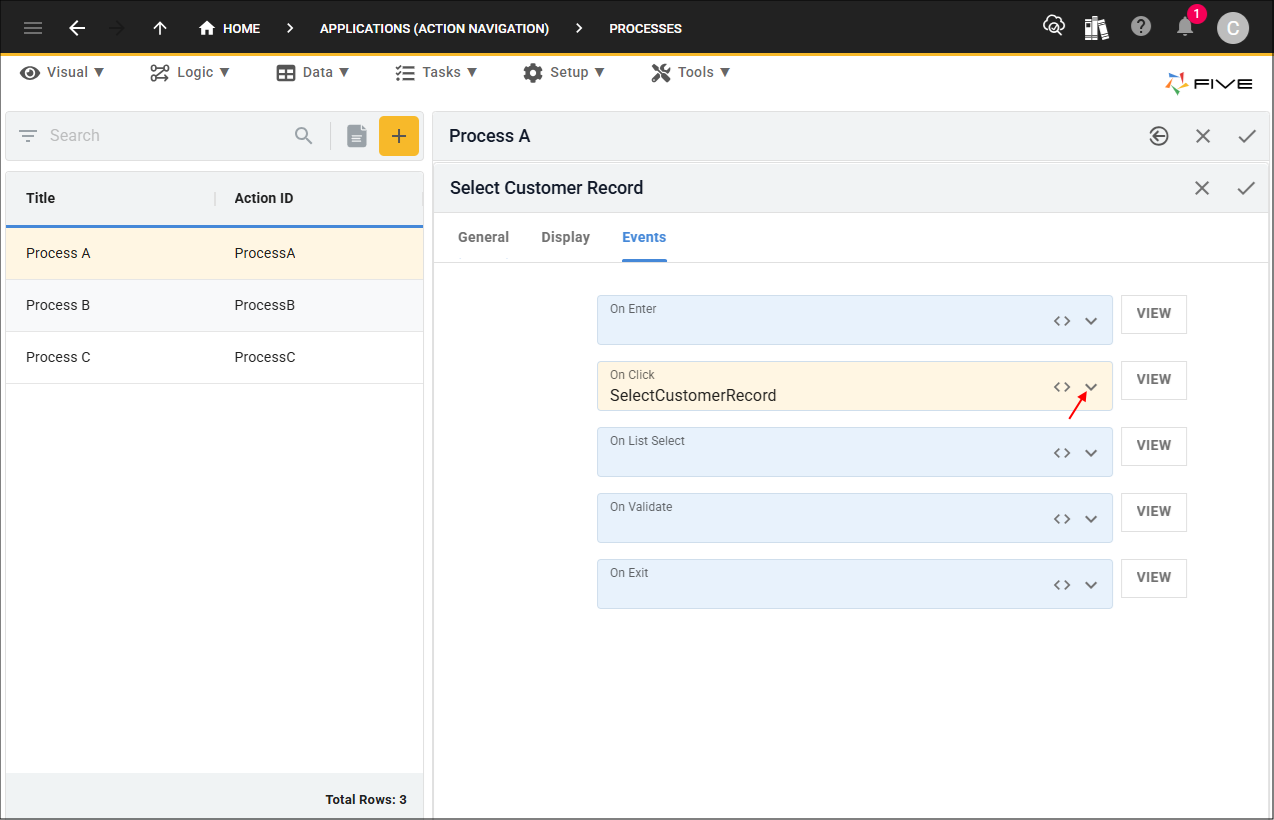
15. Click the Save button in the form app bar.
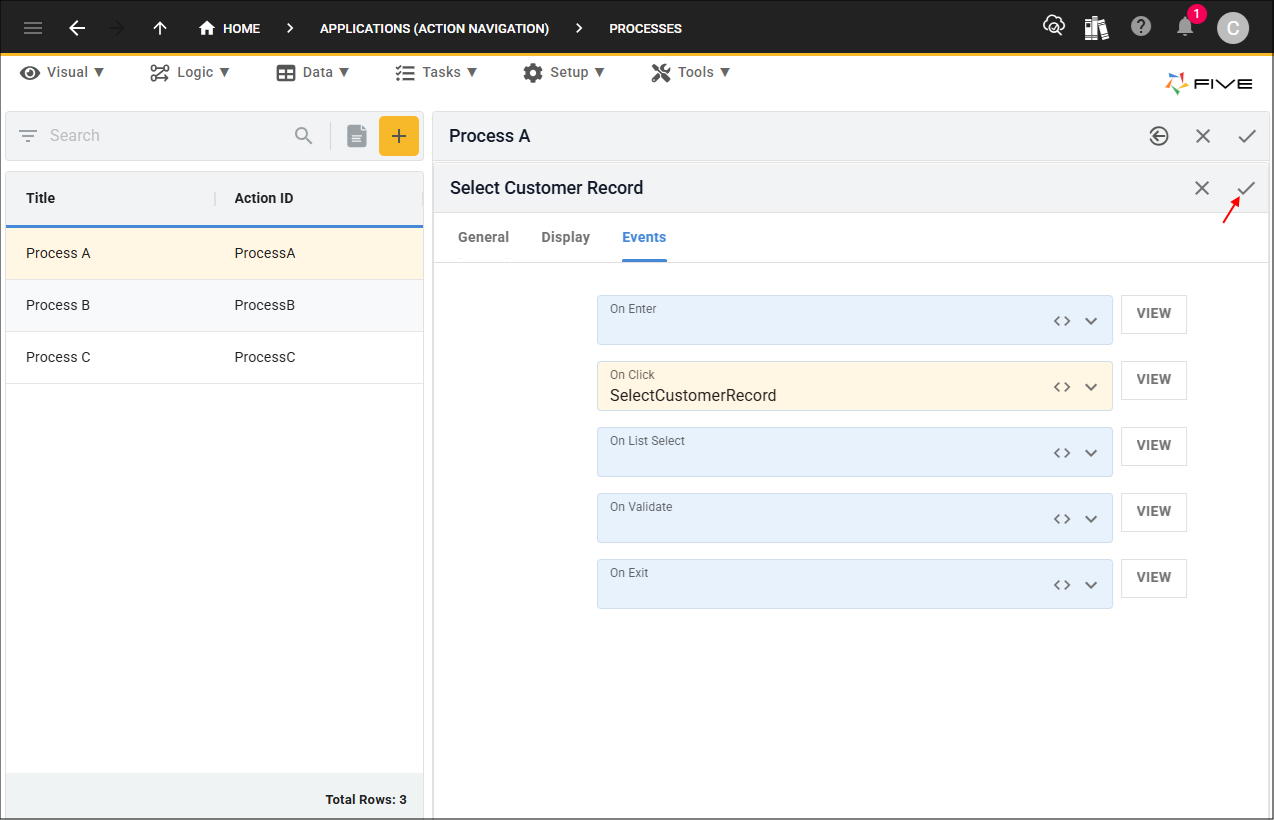
16. Click the Add Screen Fields button.
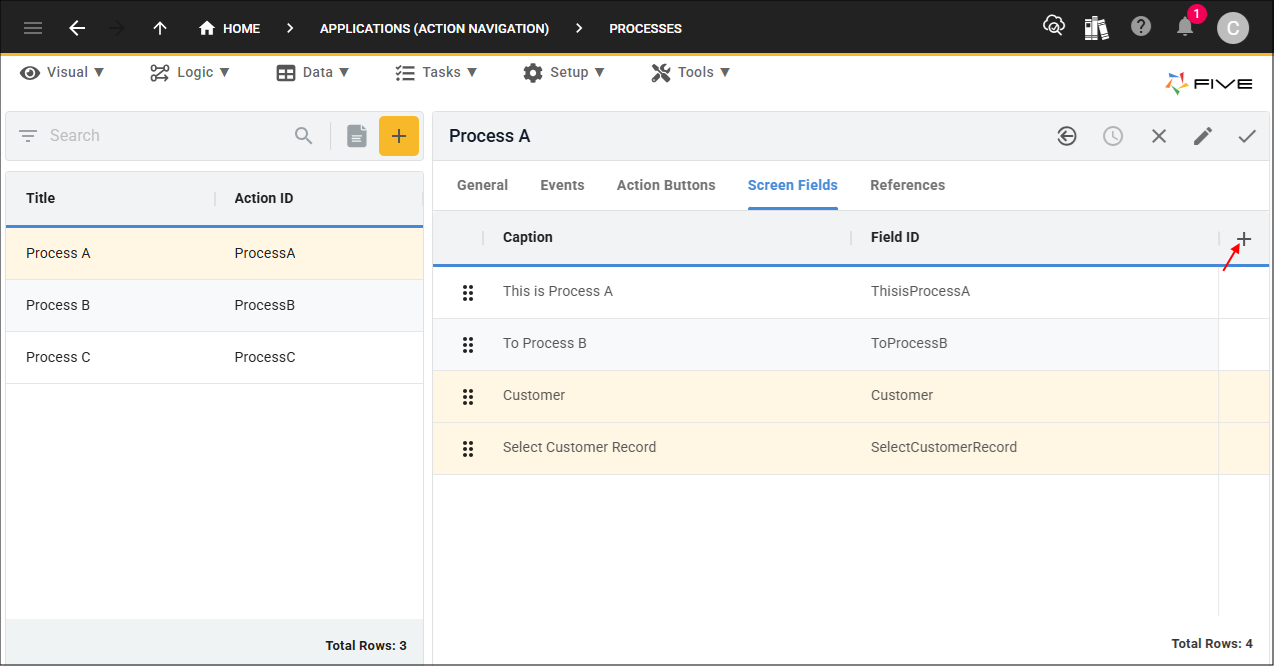
17. Type Select Customer Record Key in the Caption field.
18. Click the lookup icon in the Display Type field and select _Button.
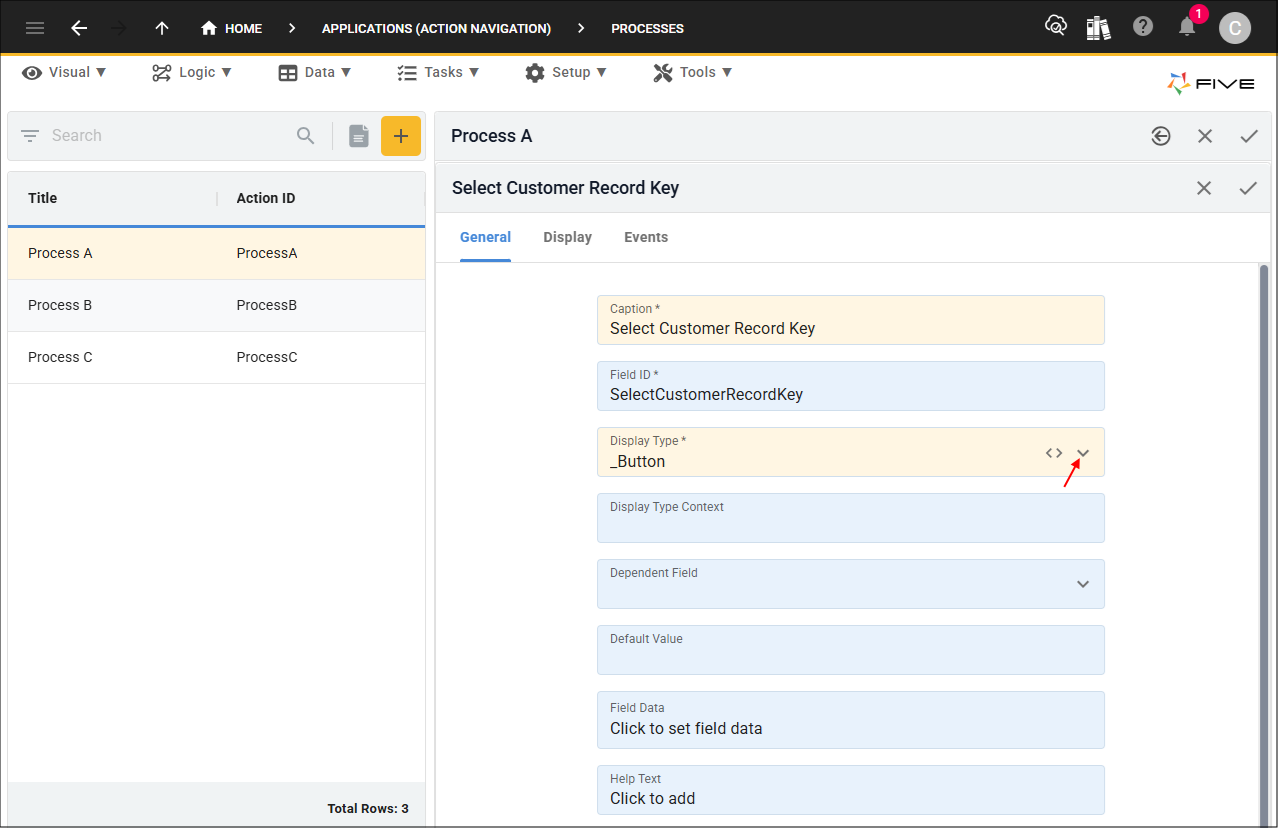
19. Click the Events tab.
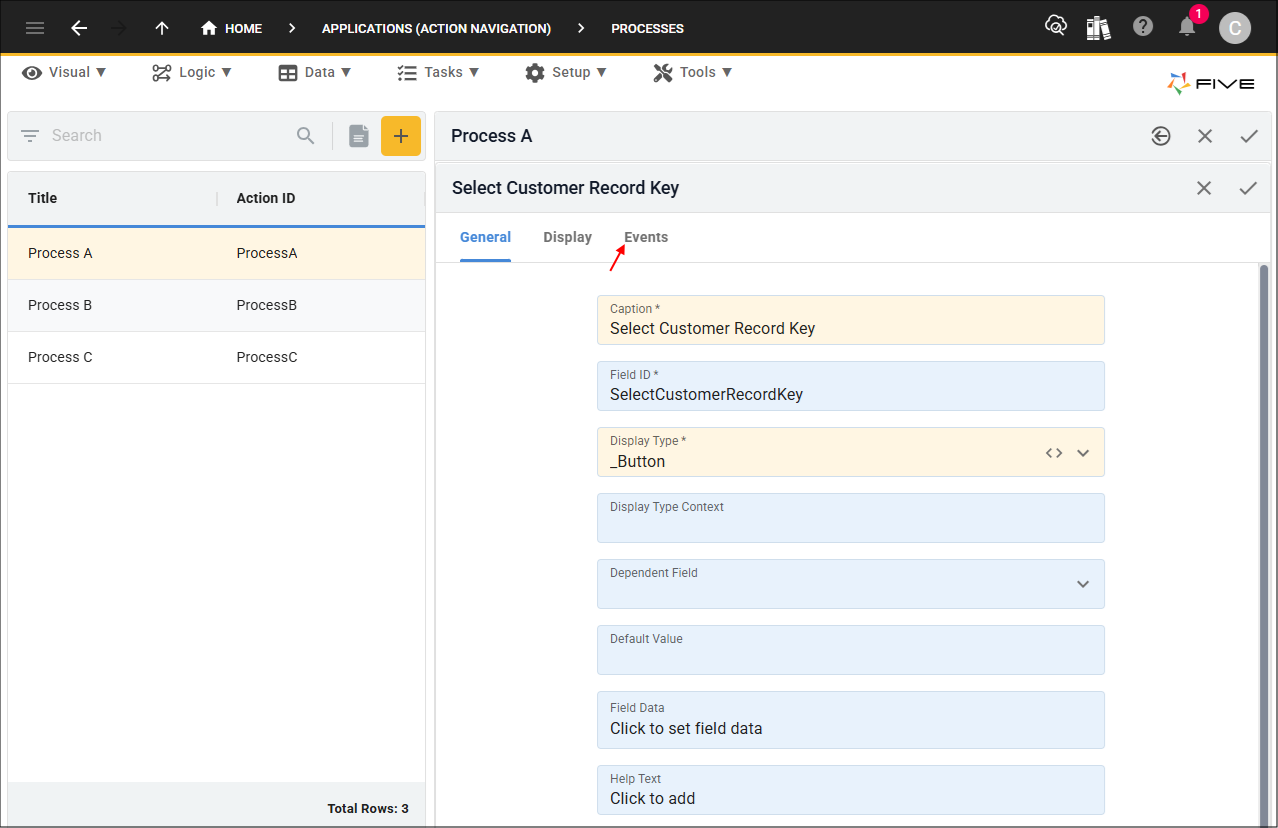
20. Click the lookup icon in the On Click field and select SelectCustomerRecordKey.
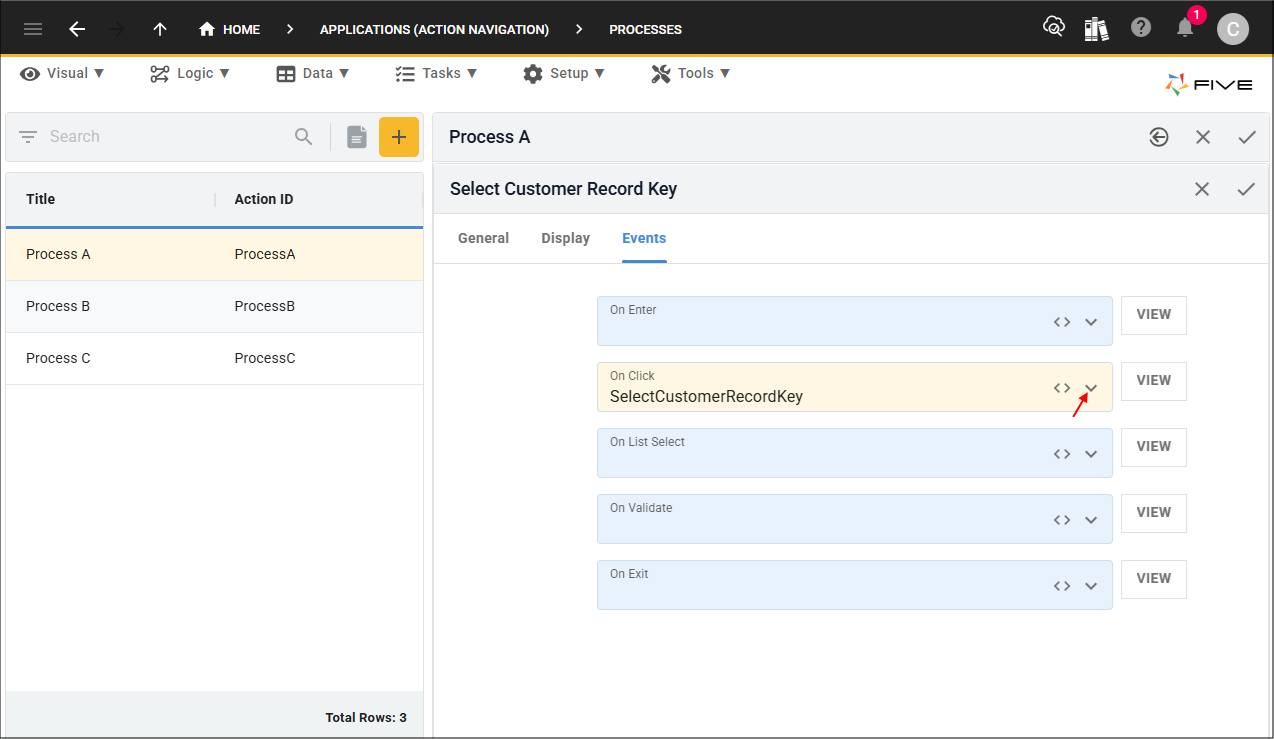
21. Click the Save button in the form app bar.
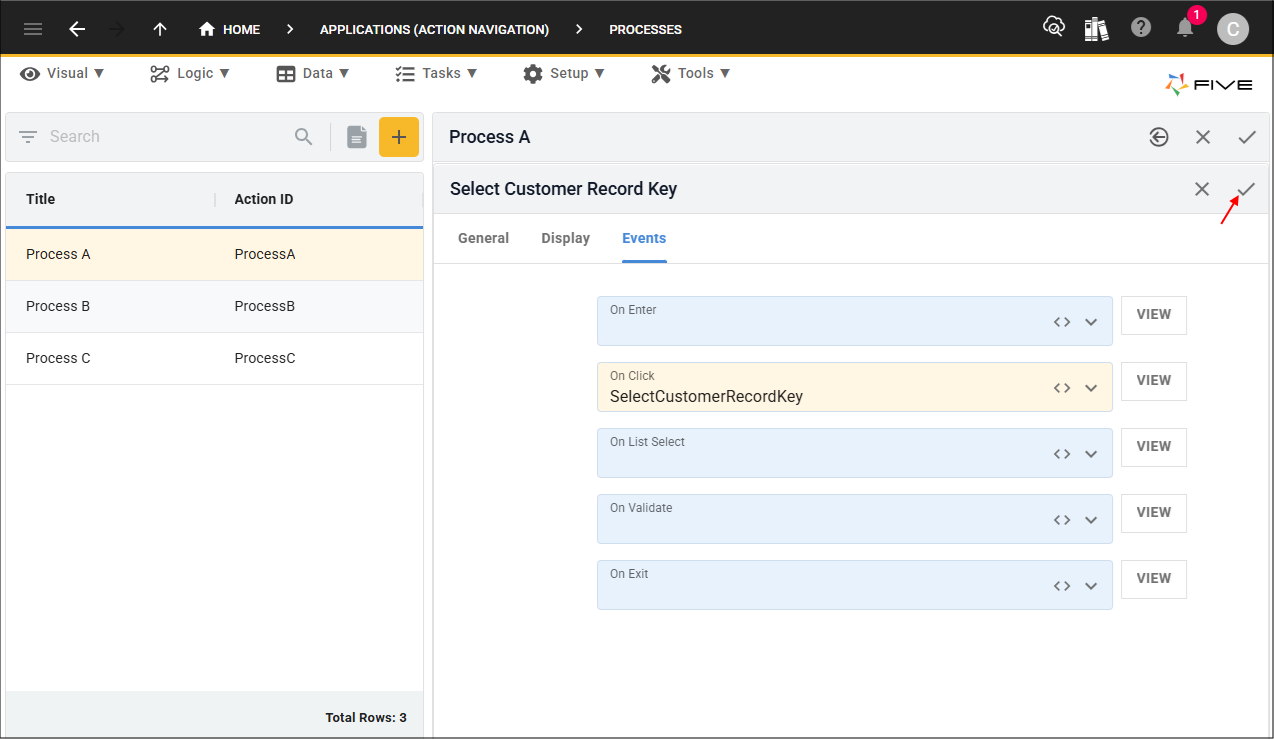
22. Click the Save button in the form bar above the list.

How This Works in An Application
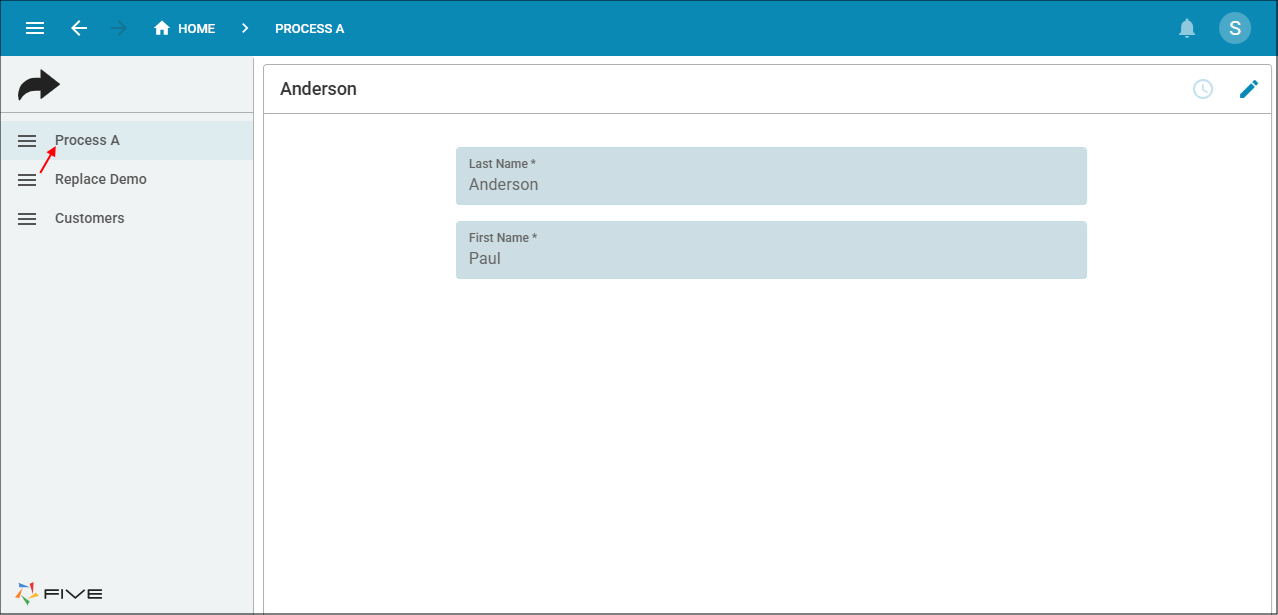
Deploy/run your application, you will be positioned on Process A. Select a Customer in the Customer field and click the Select Customer Record button.
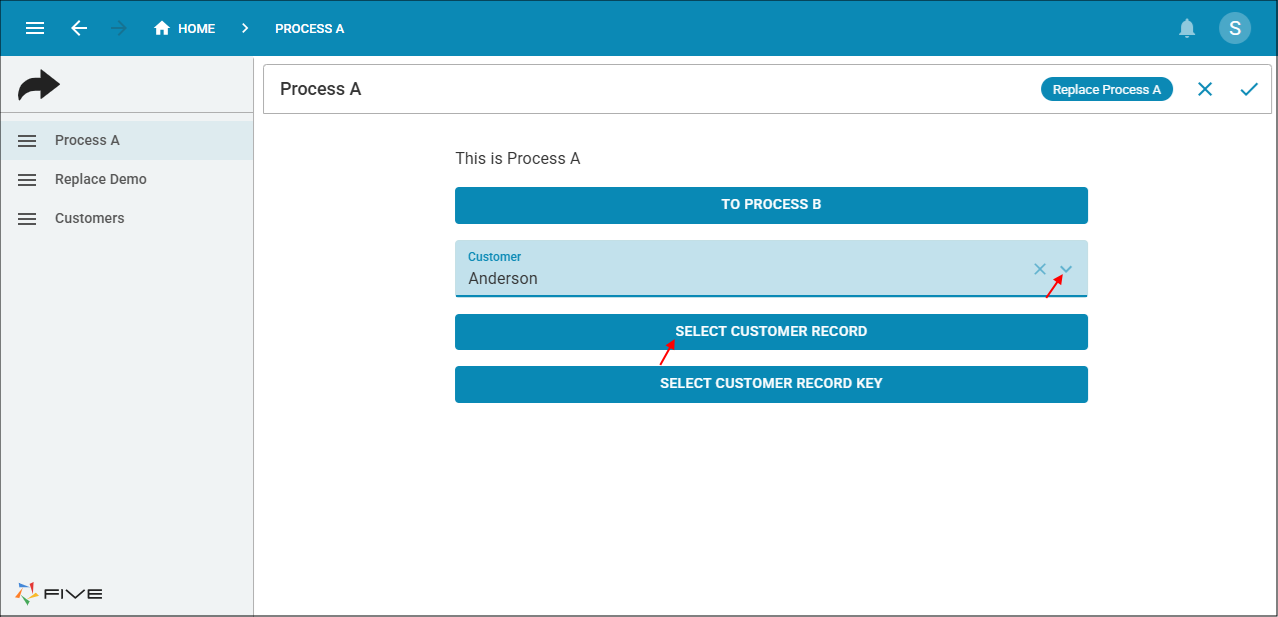
The event will execute the
On Process A, select a Customer in the Customer field and click the Select Customer Record Key button.
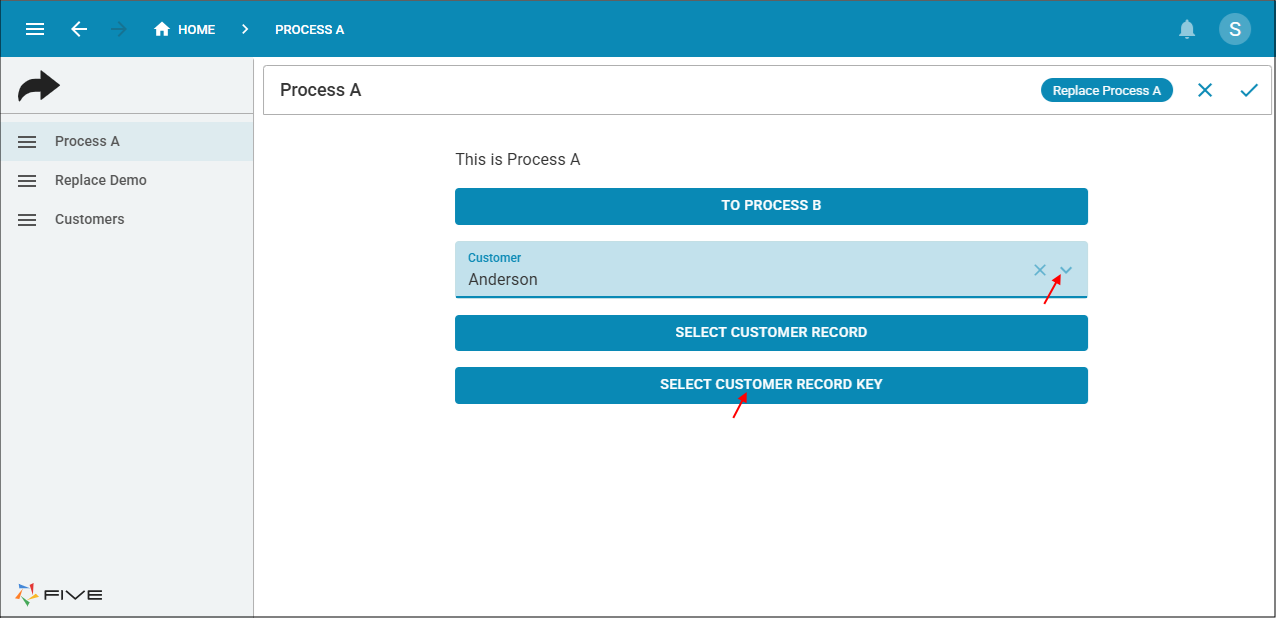
The event will execute the
