selectAction()
Last updated 6/02/2025
The selectAction() function will
select an action to take place of the current action without leaving the current menu item. Optionally, you can pass in a
recordKey
parameter to be on the selected record when selecting a form action.
To demonstrate
selectAction()
two processes will be created called Process A and Process B. A screen field with a _Button display type will be added to Process A which will reference a
function that will select Process B. This is done by passing in the action ID ProcessB
into the selectAction()
function.
info
The Action Navigation application is created to demonstrate the
selectAction()
function, the creation of this application is documented in the Introduction chapter so you can perform the tutorial.Create Process A
1. Select Tasks in the menu.2. Select Processes in the sub-menu.
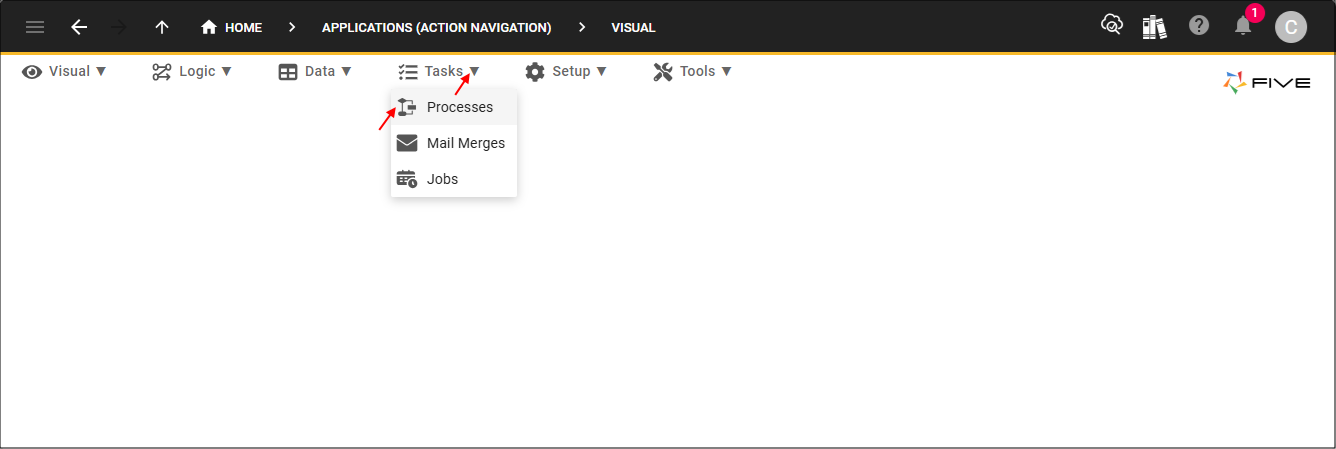
Figure 1 - Processes menu item
3. Click the Add Item button.
4. Type Process A in the Title field.
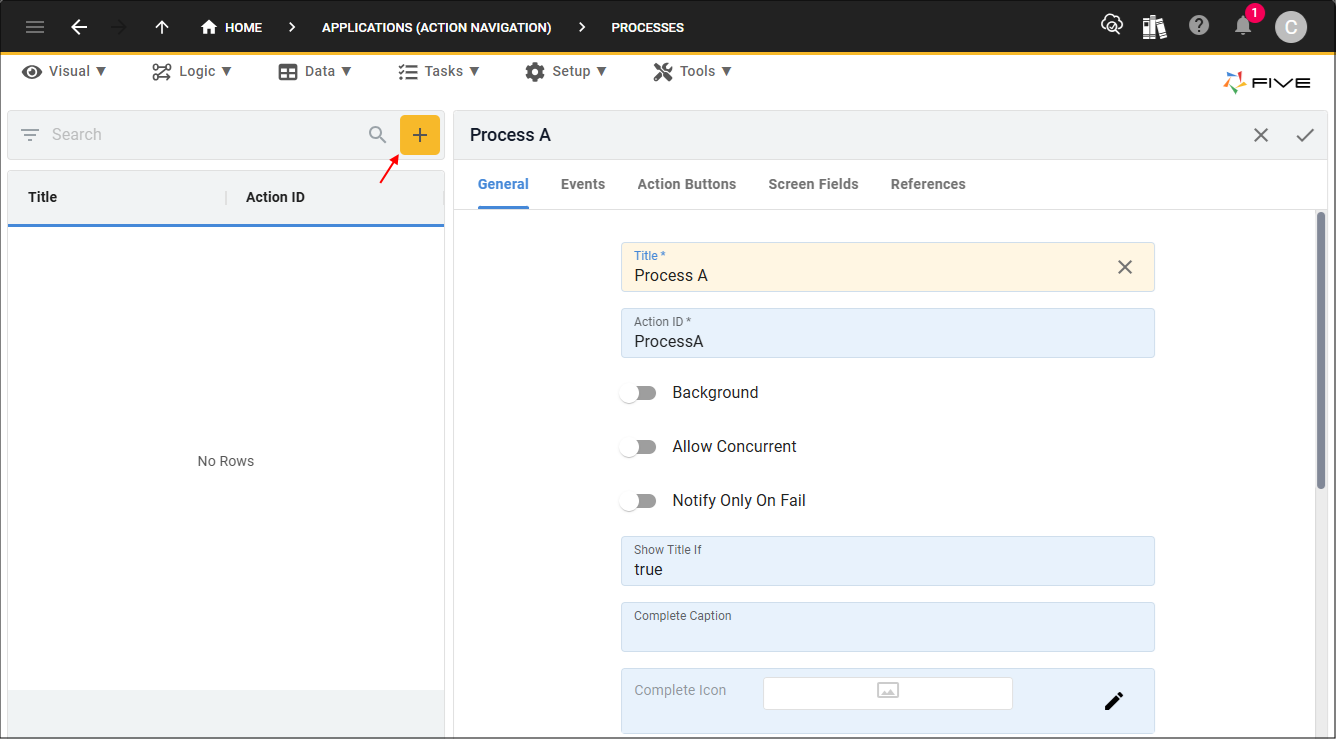
Figure 2 - Add Process A
5. Click the Screen Fields tab.

Figure 3 - Screen Fields tab
6. Click the Add Screen Fields button.
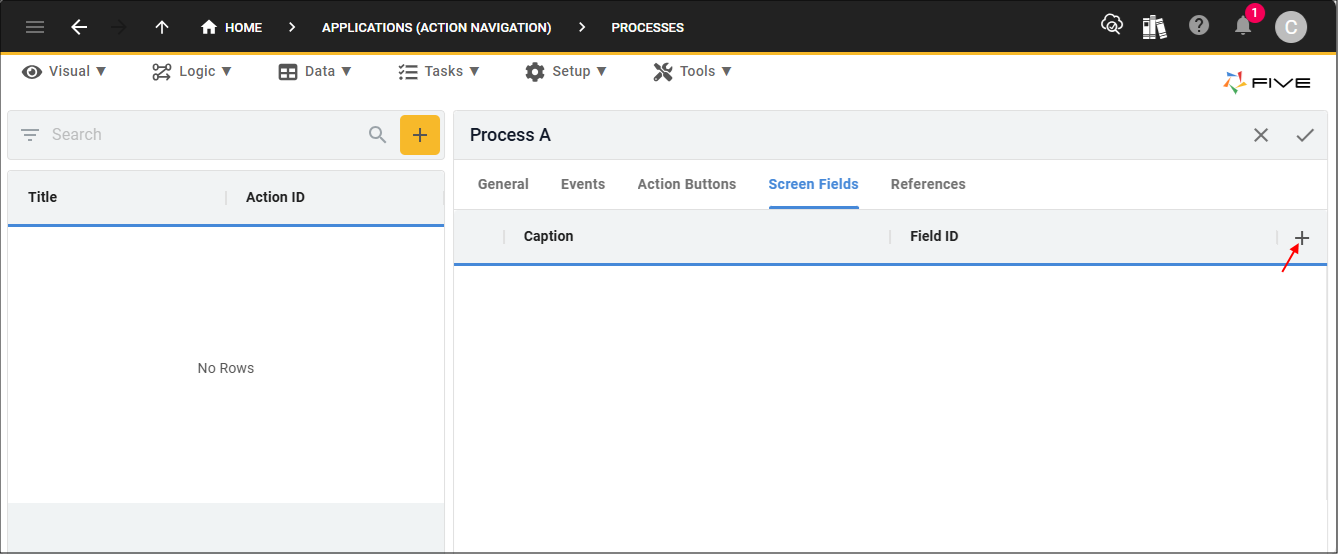
Figure 4 - Add Screen Fields button
7. Type This is Process A in the Caption field.
8. Click the lookup icon in the Display Type field and select _Label.

Figure 5 - Add This is Process A screen field
9. Click the Save button in the form app bar.
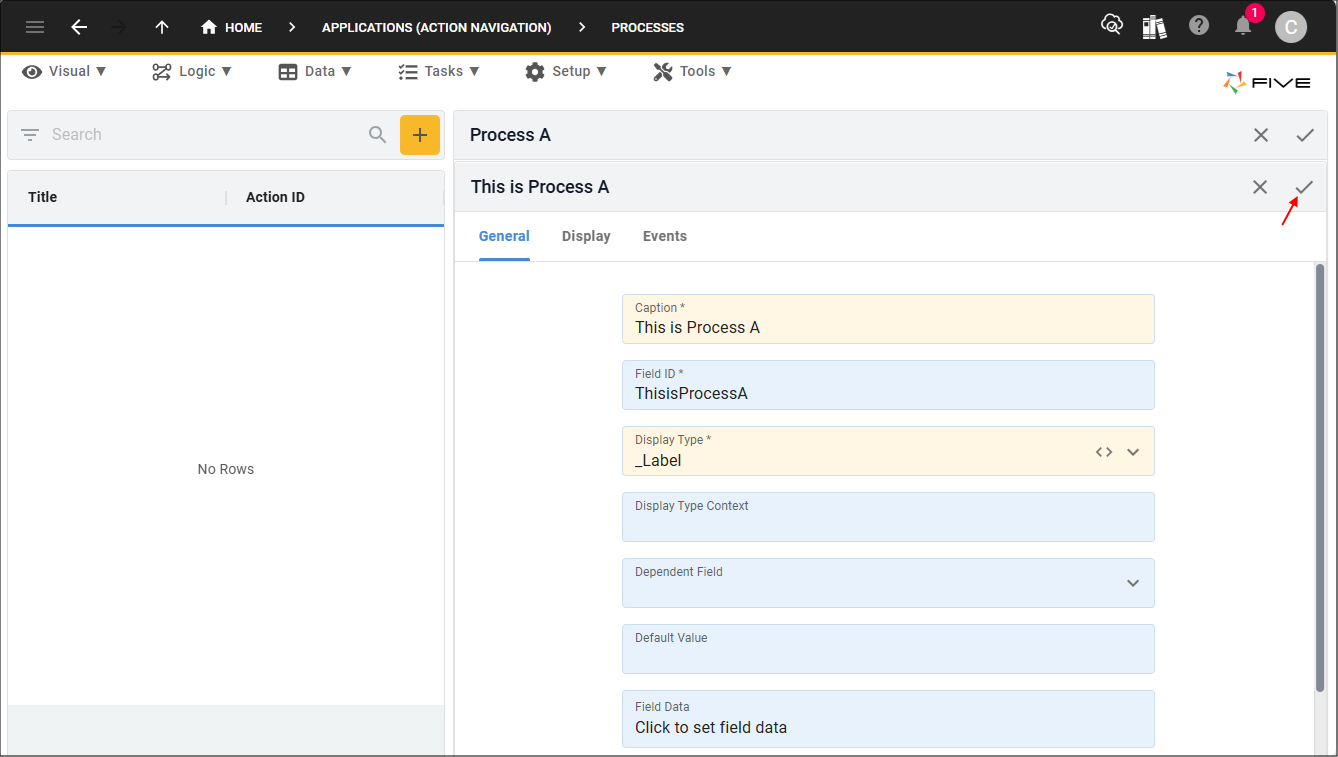
Figure 6 - Save button
10. Click the Save button in the form app bar above the list.
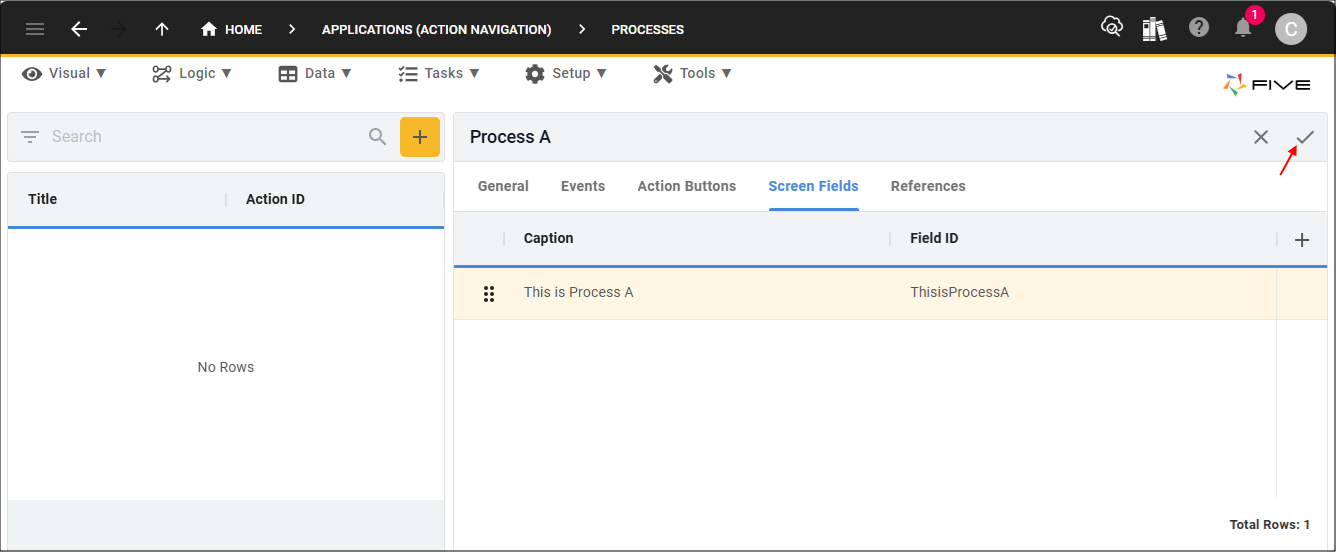
Figure 7 - Save button
Create Process B
1. Click the Add Item button.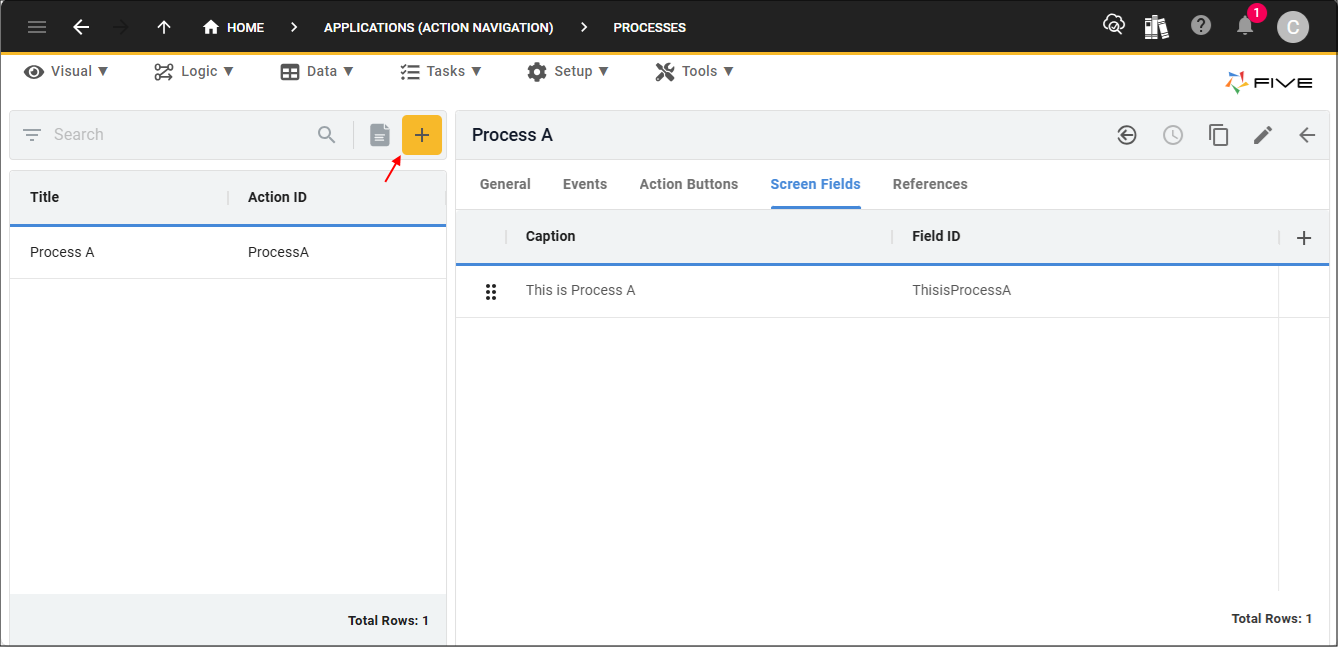
Figure 8 - Add Item button
2. Type Process B in the Title field.

Figure 9 - Add Process B
3. Click the Screen Fields tab.

Figure 10 - Screen Fields tab
4. Click the Add Screen Fields button.
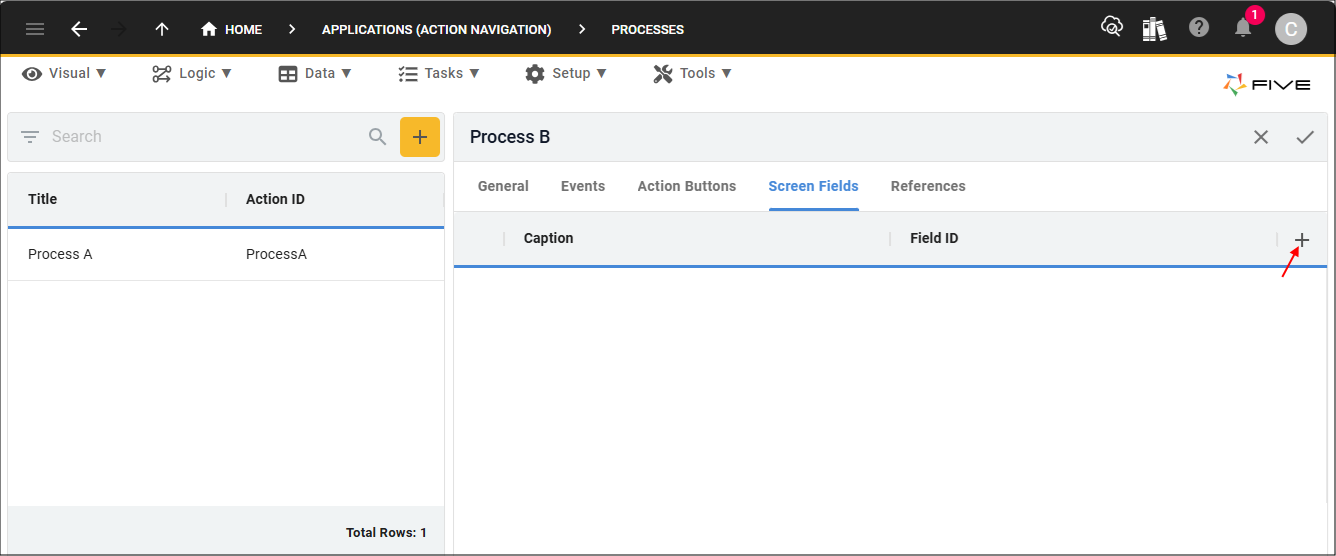
Figure 11 - Add Screen Fields button
5. Type This is Process B in the Caption field.
6. Click the lookup icon in the Display Type field and select _Label.
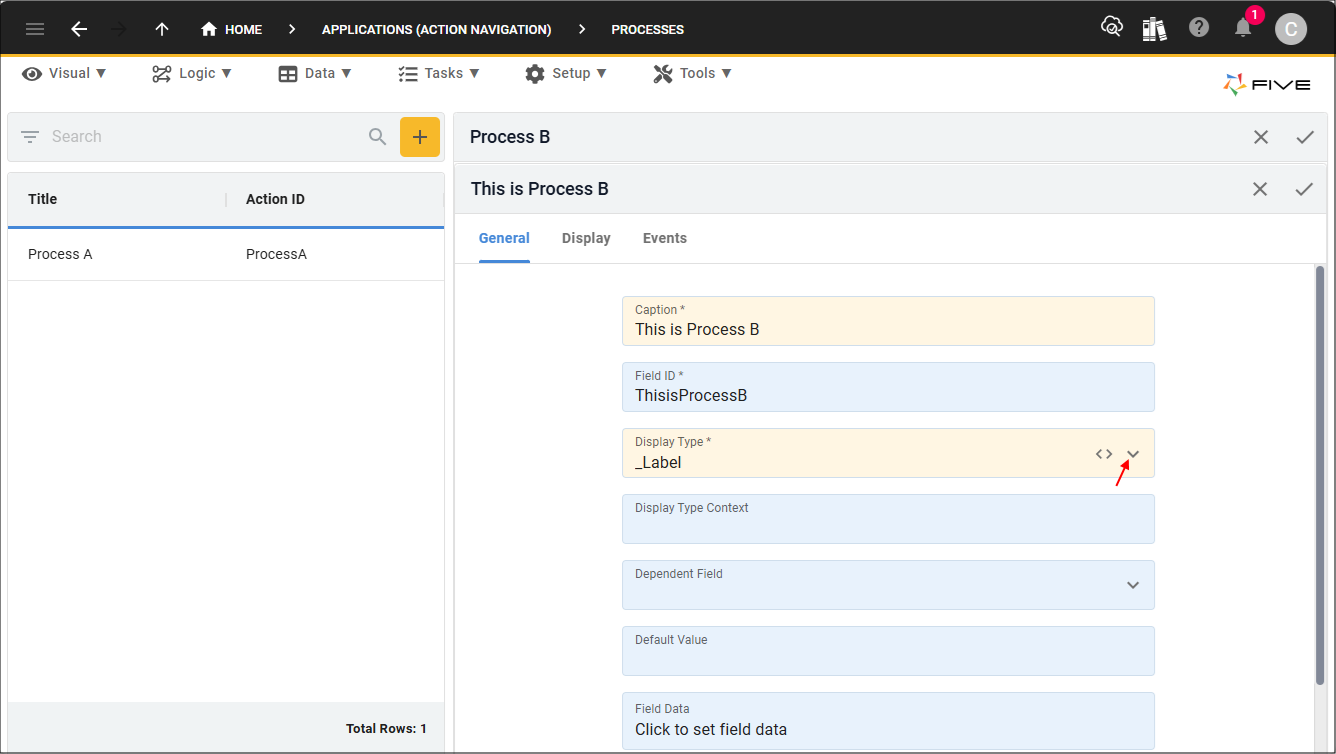
Figure 12 - Add This is Process B screen field
7. Click the Save button in the form app bar.
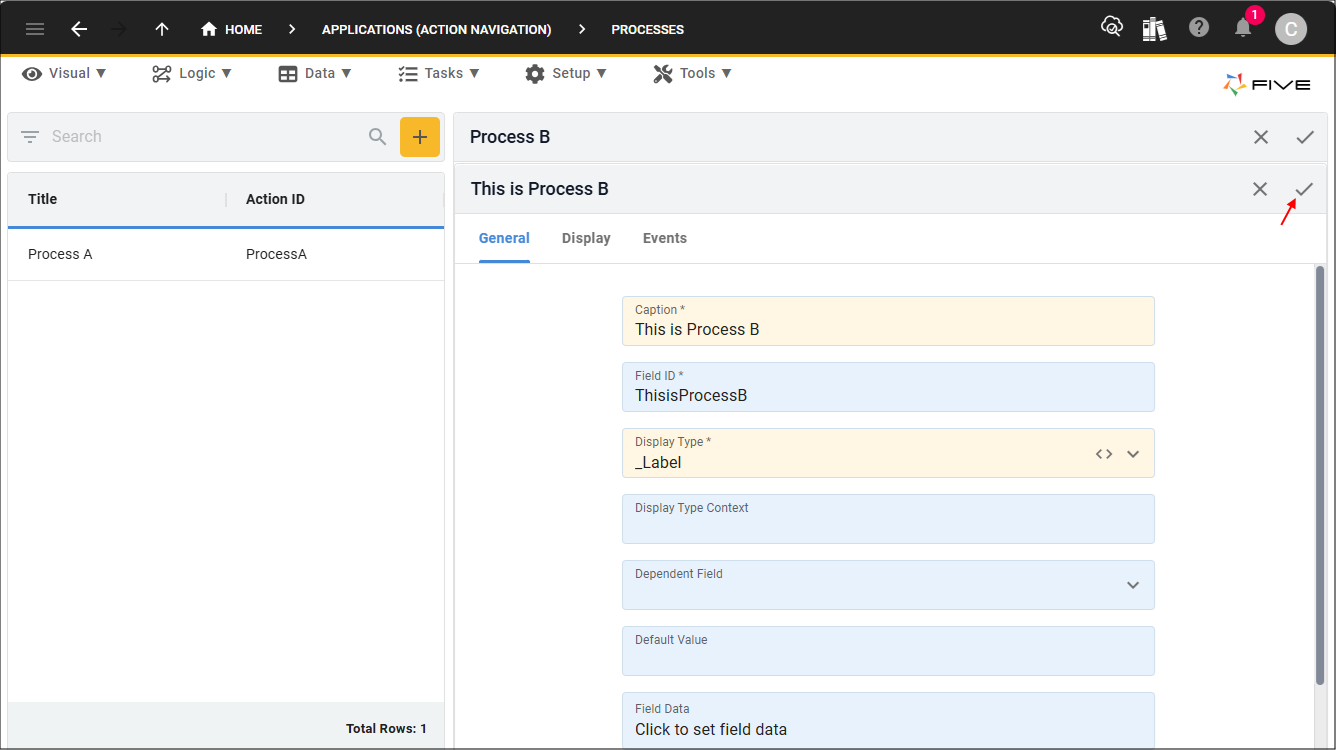
Figure 13 - Save button
8. Click the Save button in the form app bar above the list.
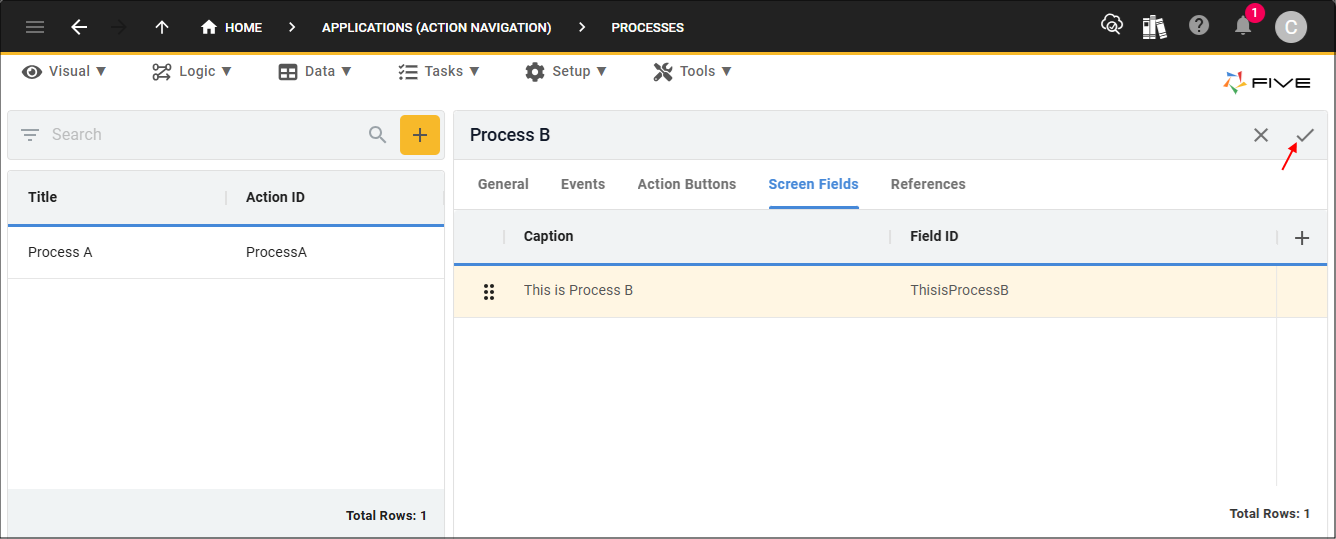
Figure 14 - Save button
Create a Menu Item for Process A
A menu item needs to be created that references Process A.
1. Select Visual in the Menu.2. Select Menus in the sub-menu.

Figure 15 - Menus menu item
3. Click the Add Item button.
4. Type Process A in the Caption field.
5. Click the lookup icon in the Action field and select ProcessA (Process).
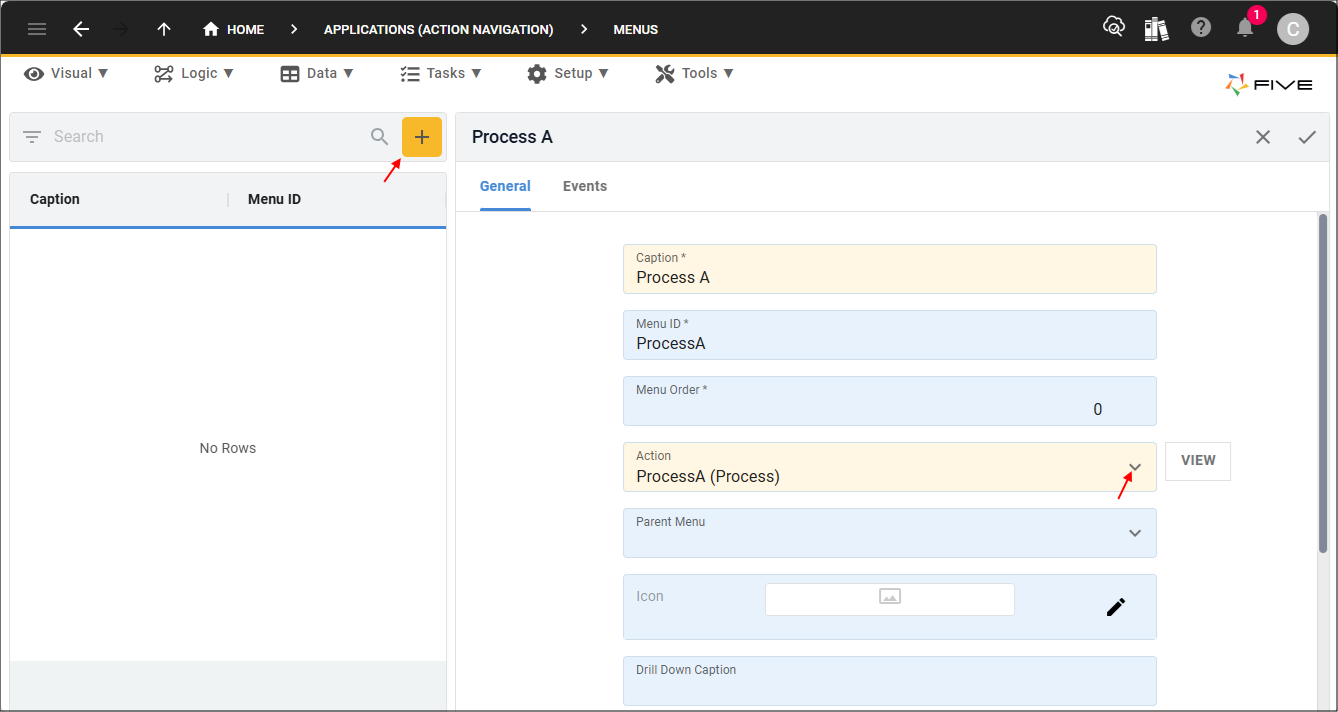
Figure 16 - Add Process A menu item
6. Click the Save button in the form app bar.
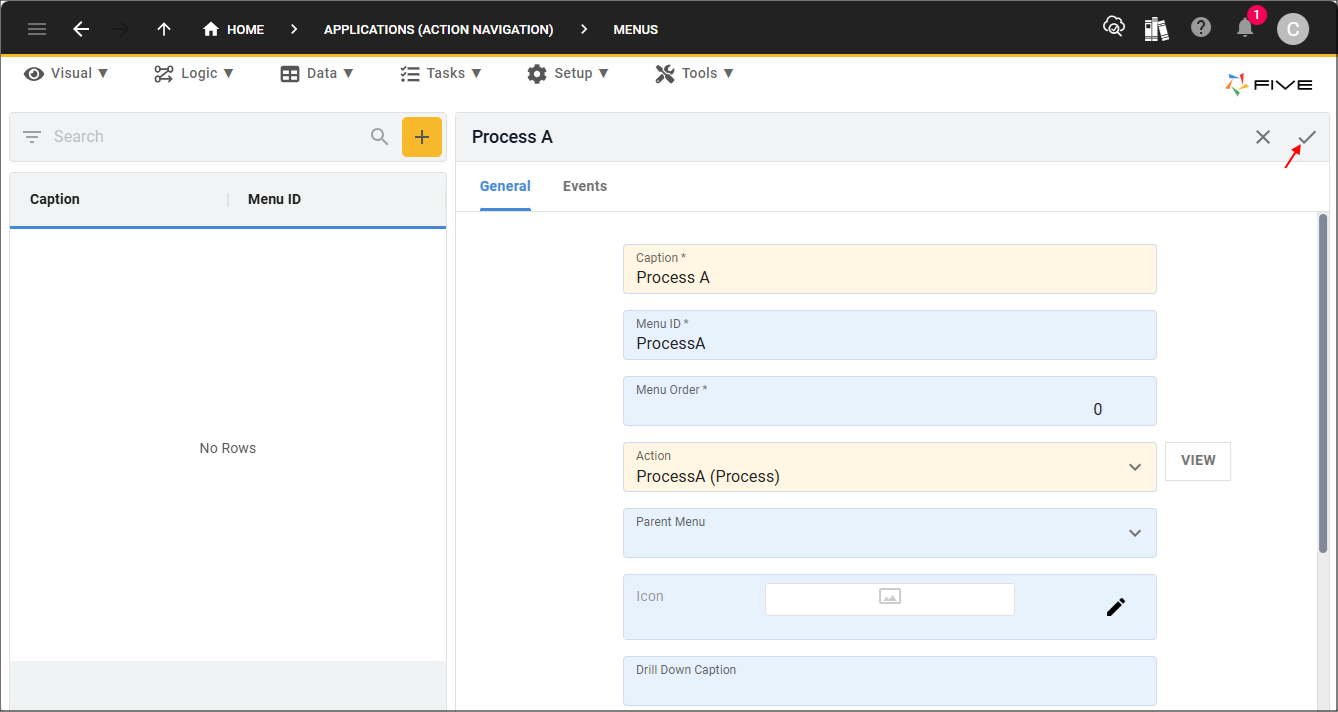
Figure 17 - Save button
Add the ToProcessB Function
The
ToProcessB()
function will use Five's selectAction()
function on the Five
object and pass in the action ID ProcessB
. This will select Process B without leaving the Process A menu.
1. Select Logic in the menu.
2. Select Functions in the sub-menu.
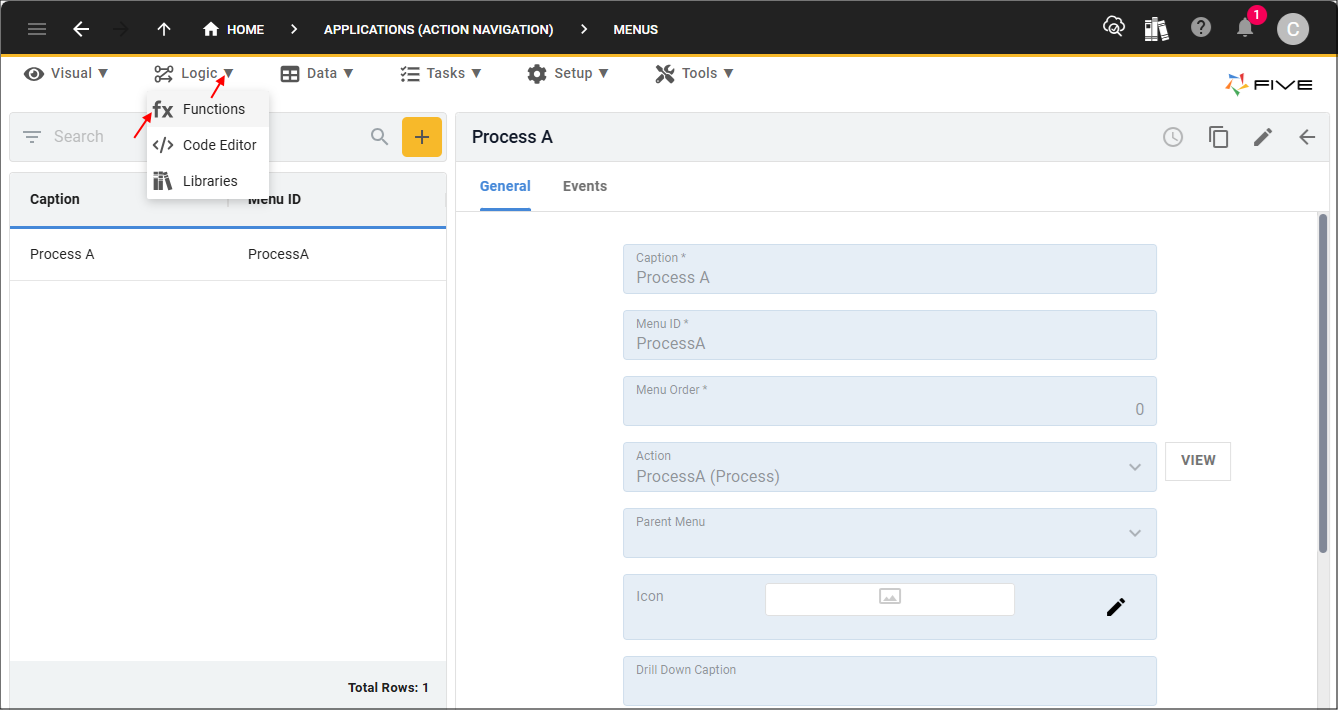
Figure 18 - Functions menu item
3. Click the Add Item button.
4. Type ToProcessB in the Function ID field.
5. Click in the Code field to open the Code Editor.
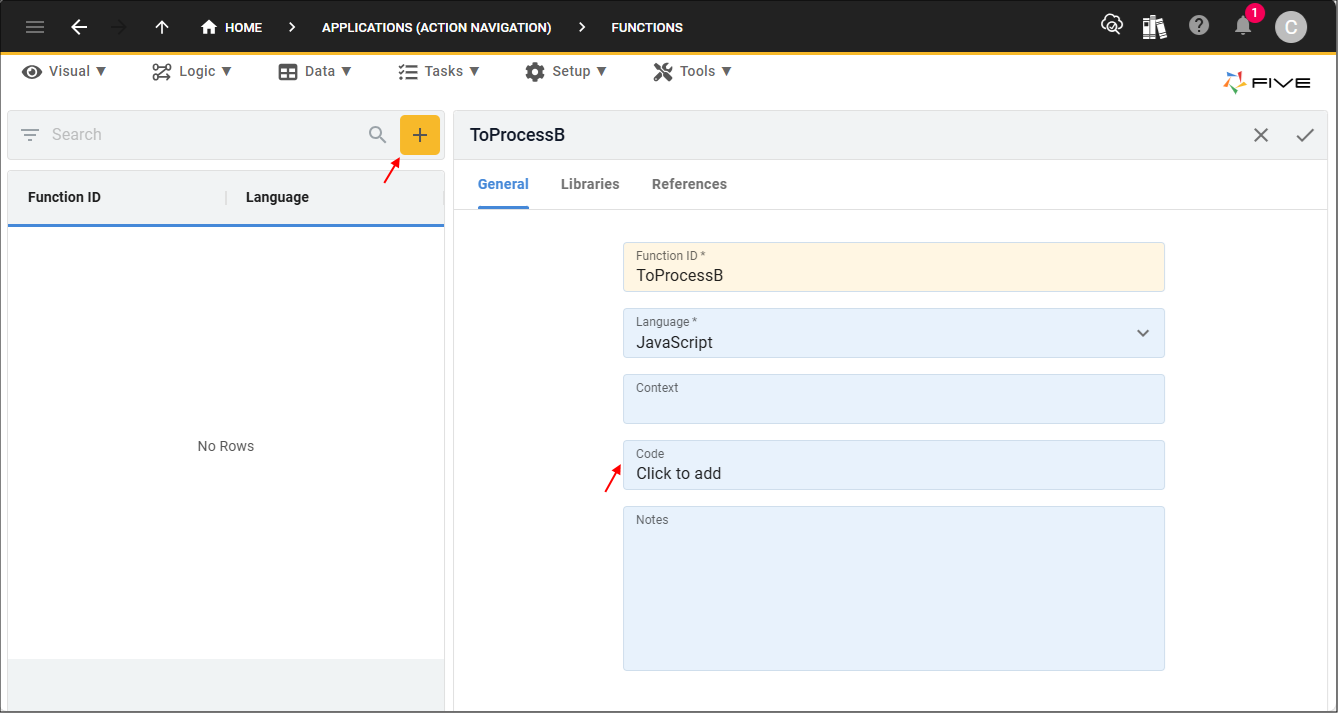
Figure 19 - Add ToProcessB function
6. Copy and paste the code block below into the editor.
note
The code block needs to be pasted over the template that Five creates in the editor.

Selects the Action ID ProcessB
function ToProcessB(five, context, result) {
    five.selectAction('ProcessB');
    return five.success(result);
}
7. Click the Save button in the Code Editor app bar.
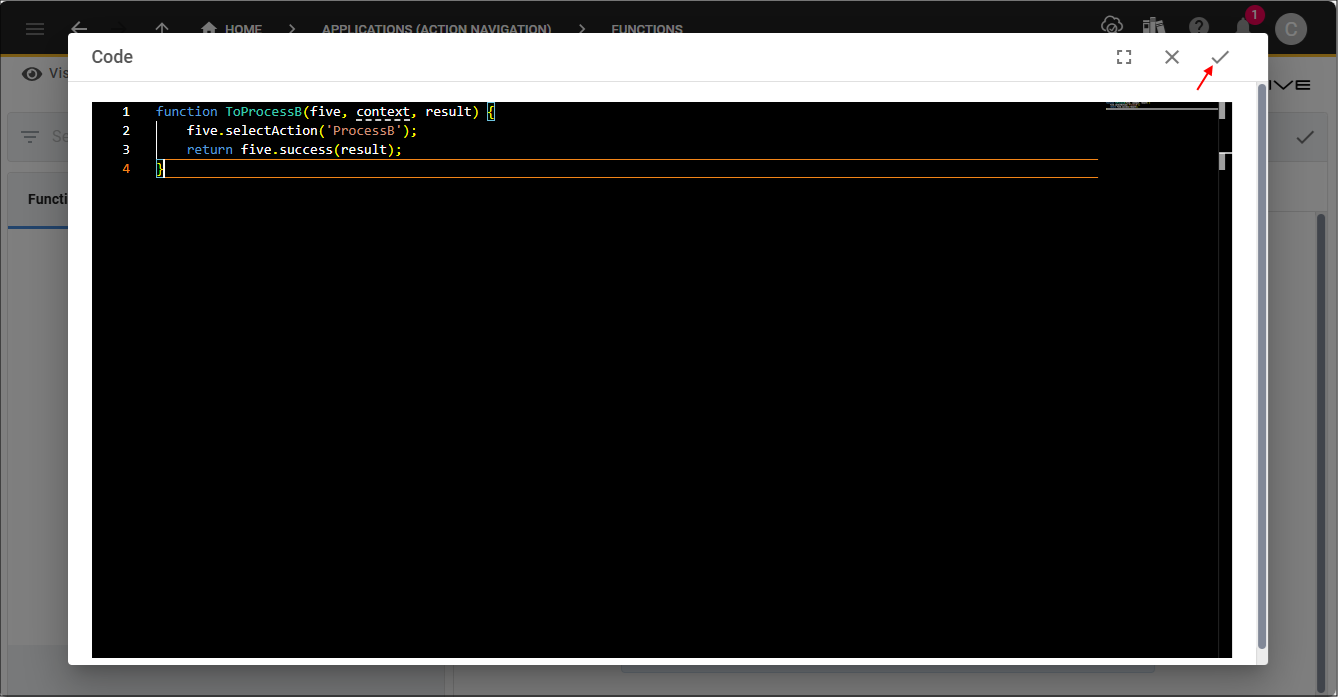
Figure 20 - Save button
8. Click the Save button in the form app bar
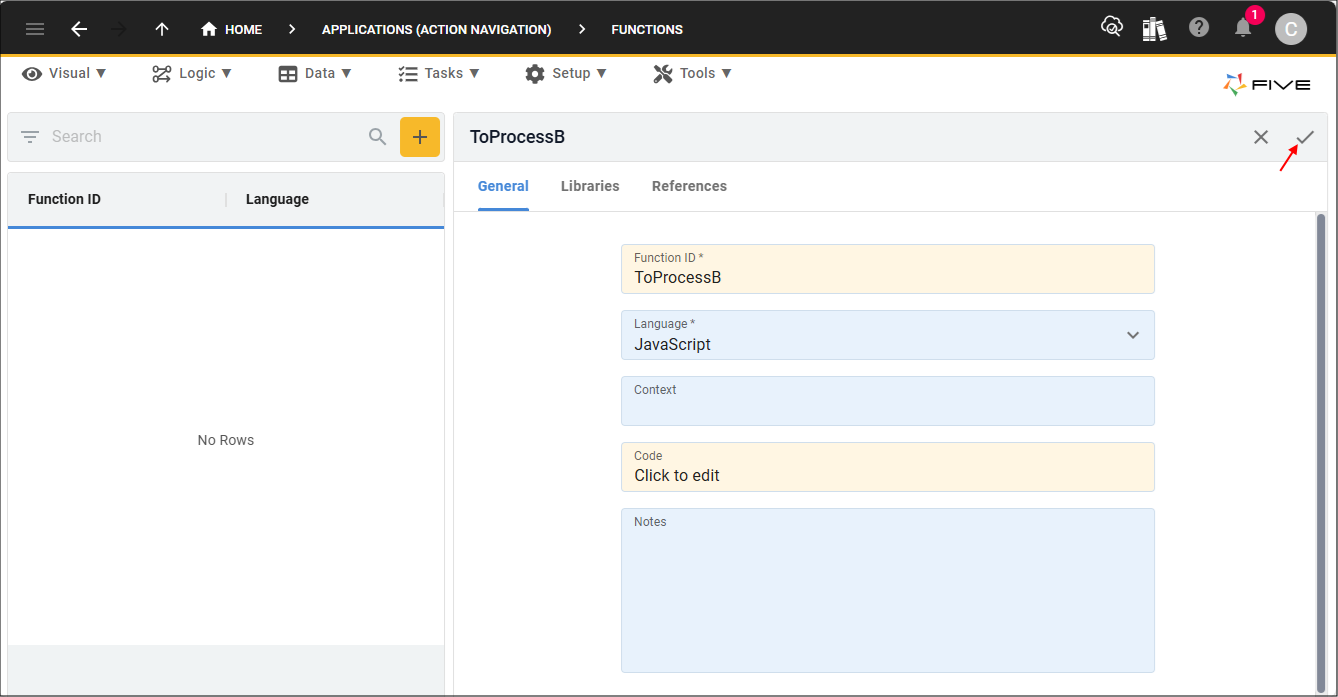
Figure 21 - Save button
Edit Process A
Process A needs to be edited to add a button, this button will have an On Click event that will reference the
ToProcessB()
function.
When the button is clicked, the function will execute and select Process B.
1. Select Tasks in the menu.
2. Select Processes in the sub-menu.
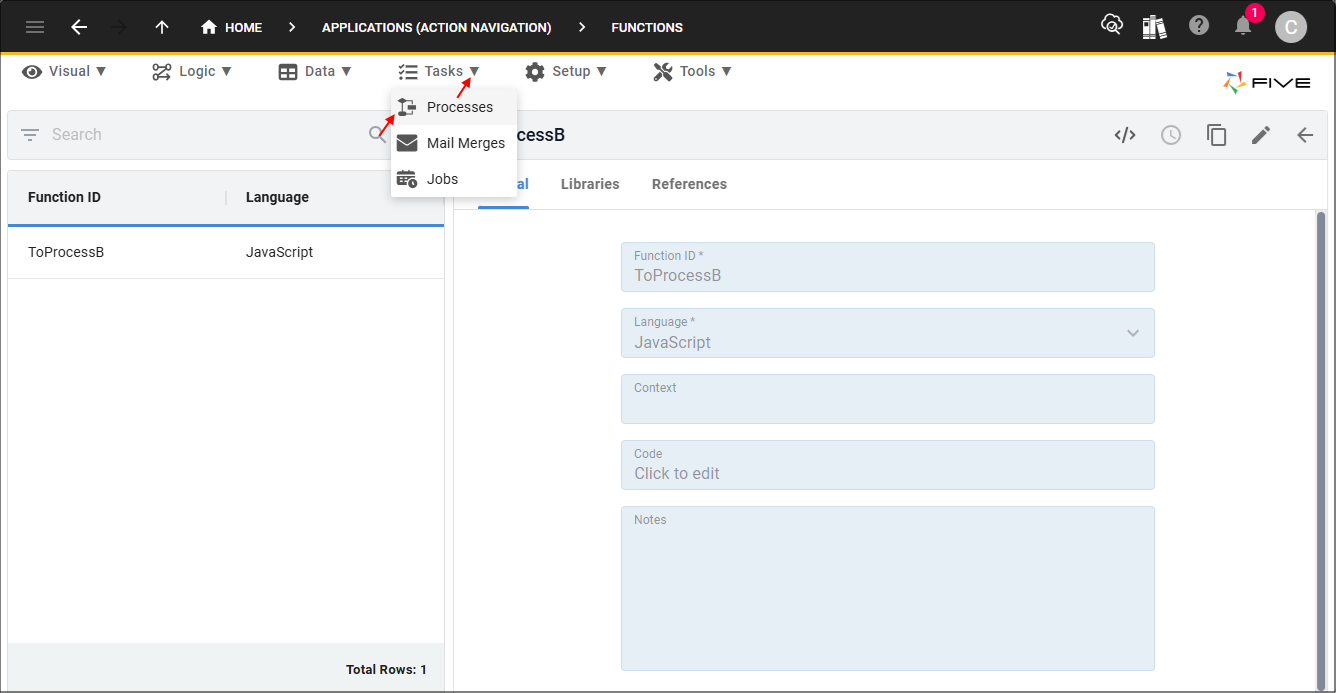
Figure 22 - Processes menu item
3. Select the Process A record in the list.
4. Click the Screen Fields tab.
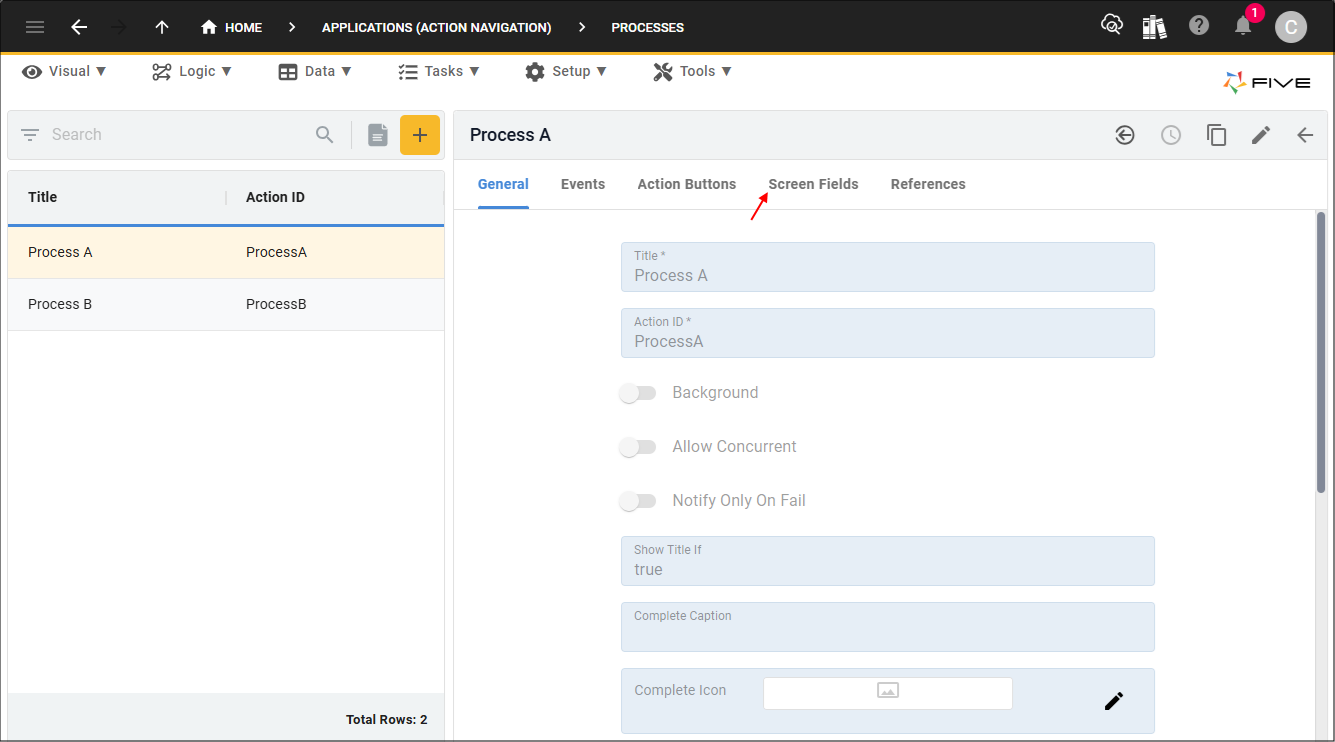
Figure 23 - Screen Fields tab
5. Click the Add Screen Fields button.
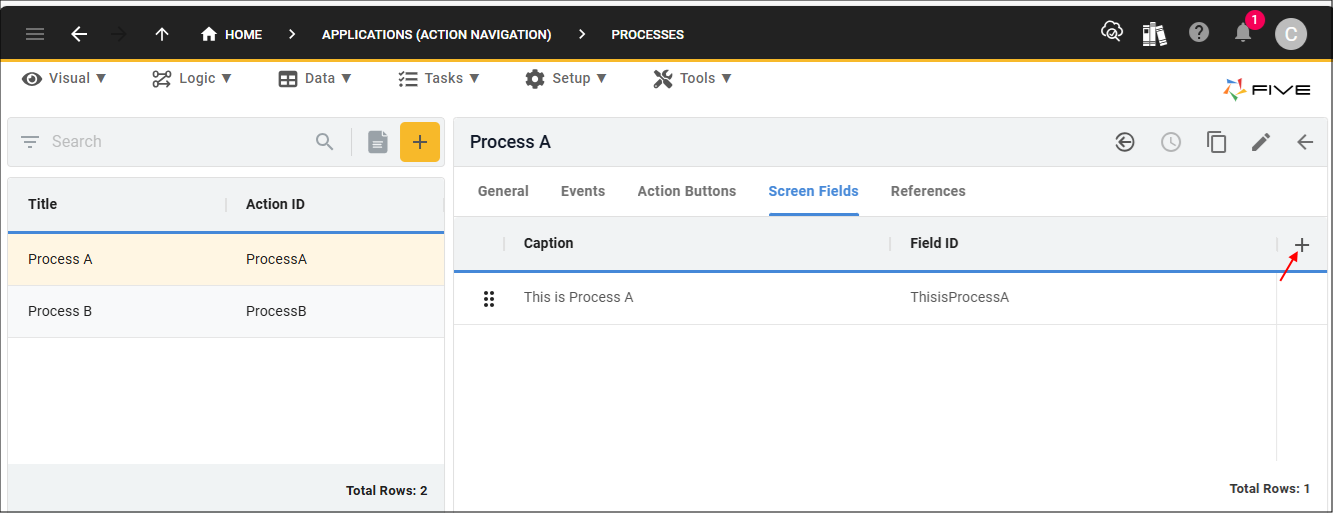
Figure 24 - Add Screen Fields button
6. Type To Process B in the Caption field.
7. Click the lookup icon in the Display Type field and select _Button.
tip
The _Button display type requires a function attached to the On Click event for the button to be functional!

Figure 25 - Add To Process B screen field
8. Click the Events tab.
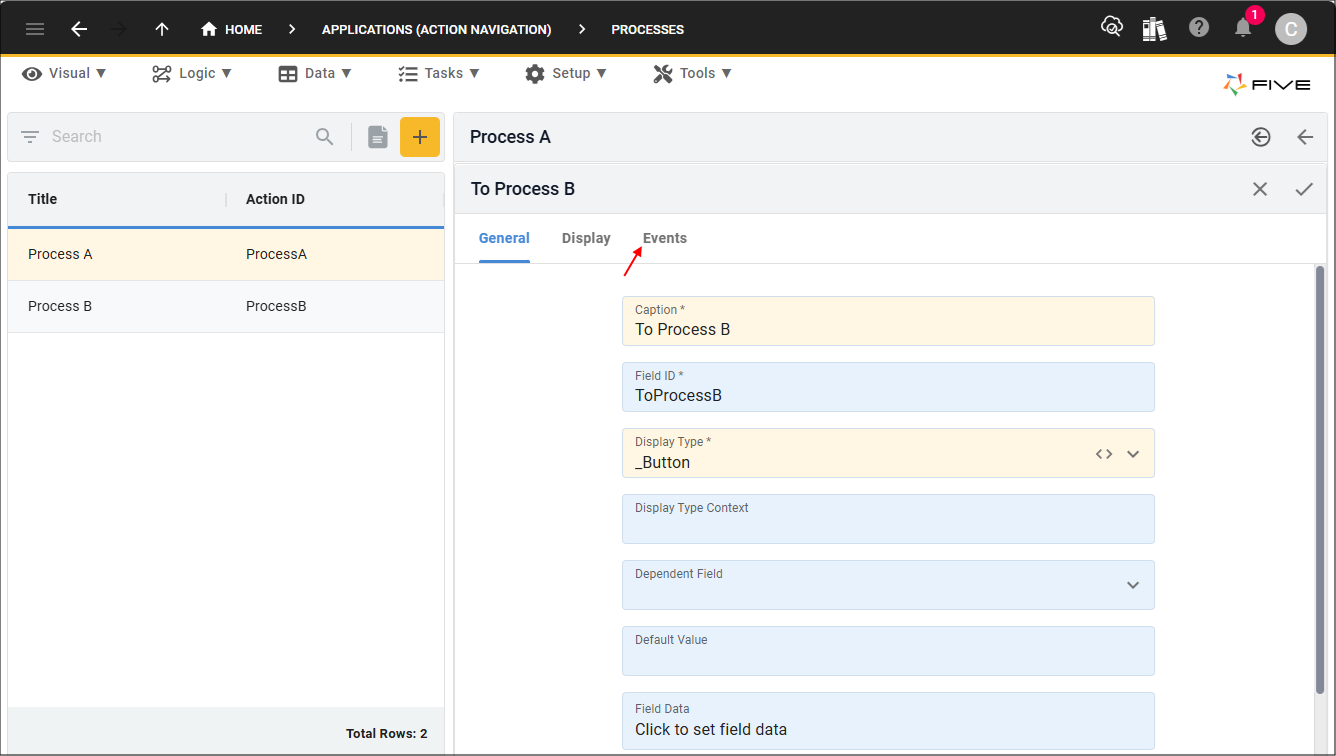
Figure 26 - Events tab
9. Click the lookup icon in the On Click field and select ToProcessB.
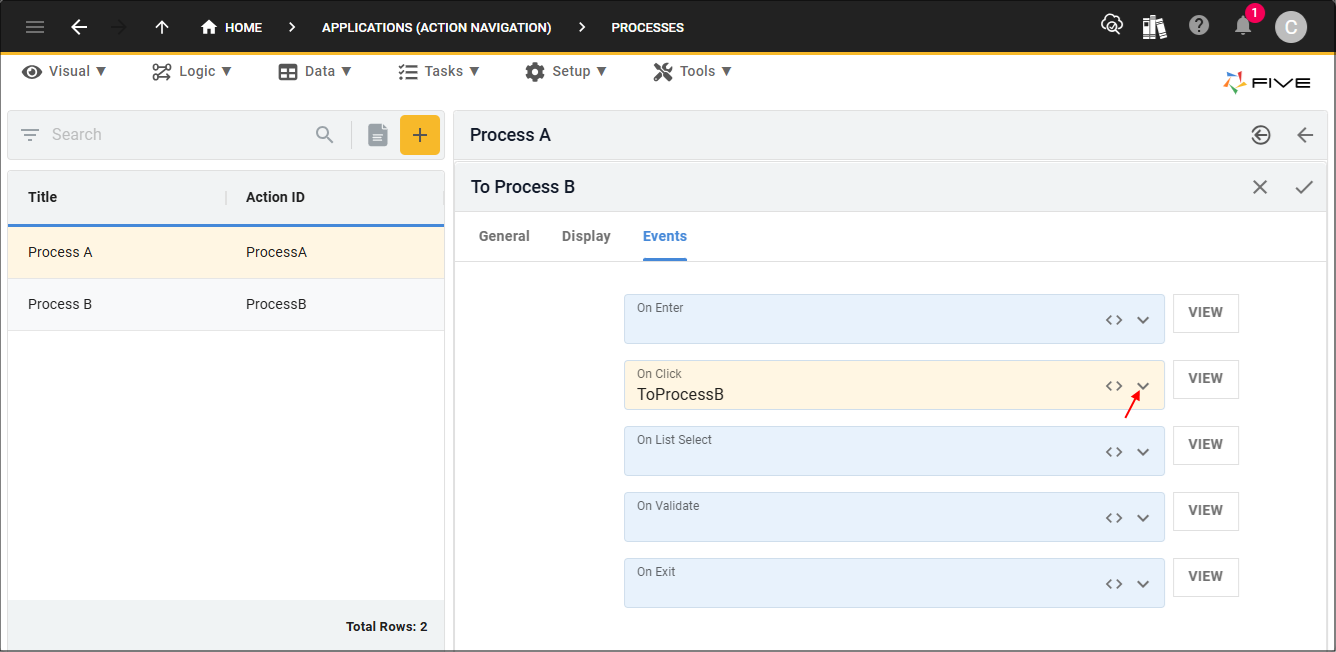
Figure 27 - On Click field
10. Click the Save button in the form app bar.
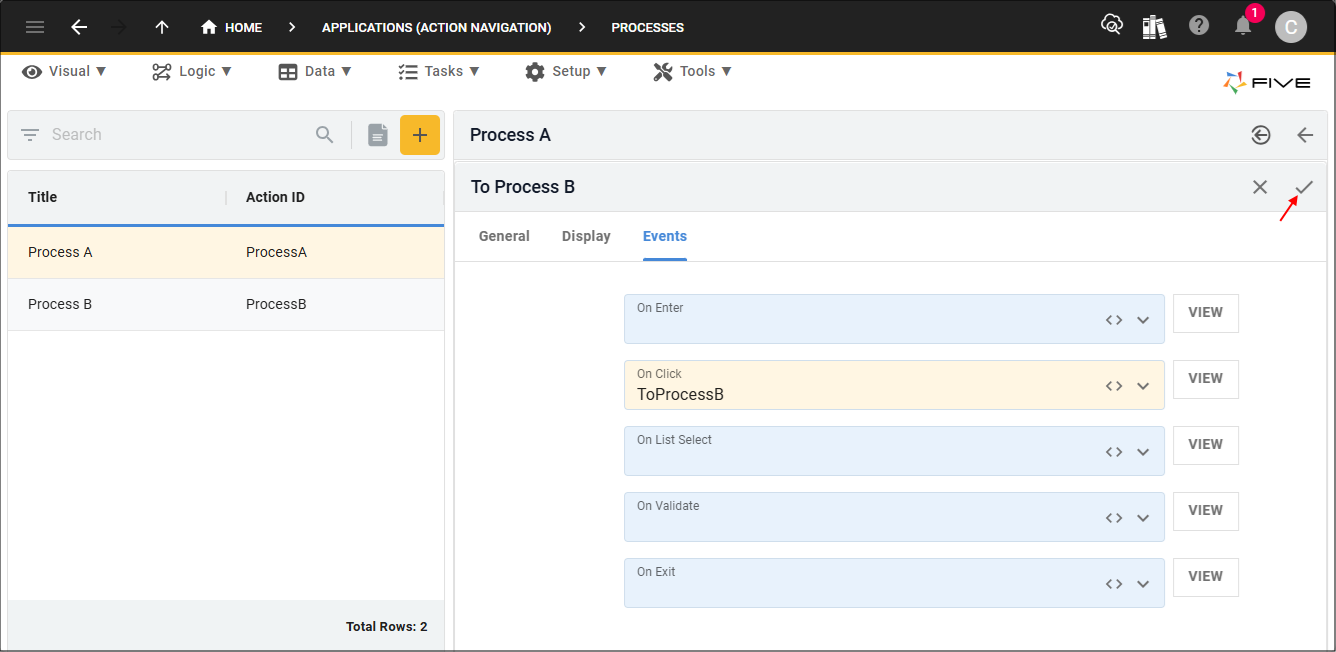
Figure 28 - Save button
11. Click the Save button in the form app bar above the list.
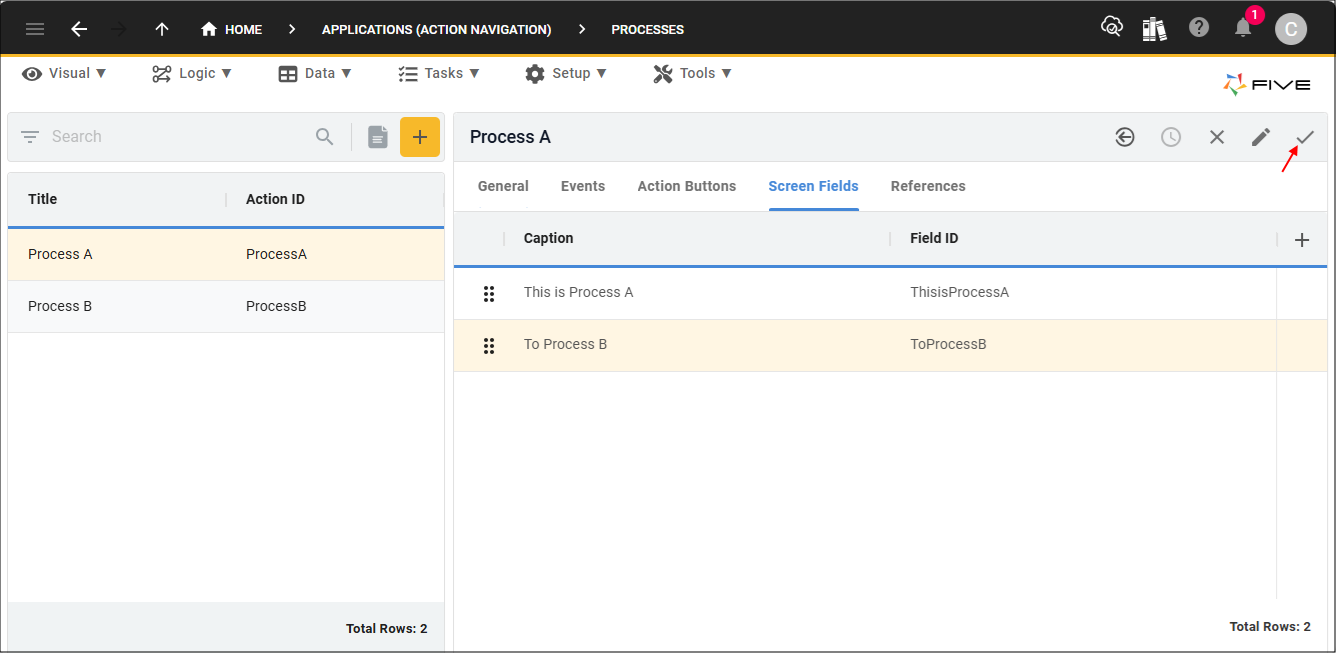
Figure 29 - Save button
How This Works in an Application
Deploy/run your application, you will be positioned on Process A. The To Process B button is on Process A, click this button.
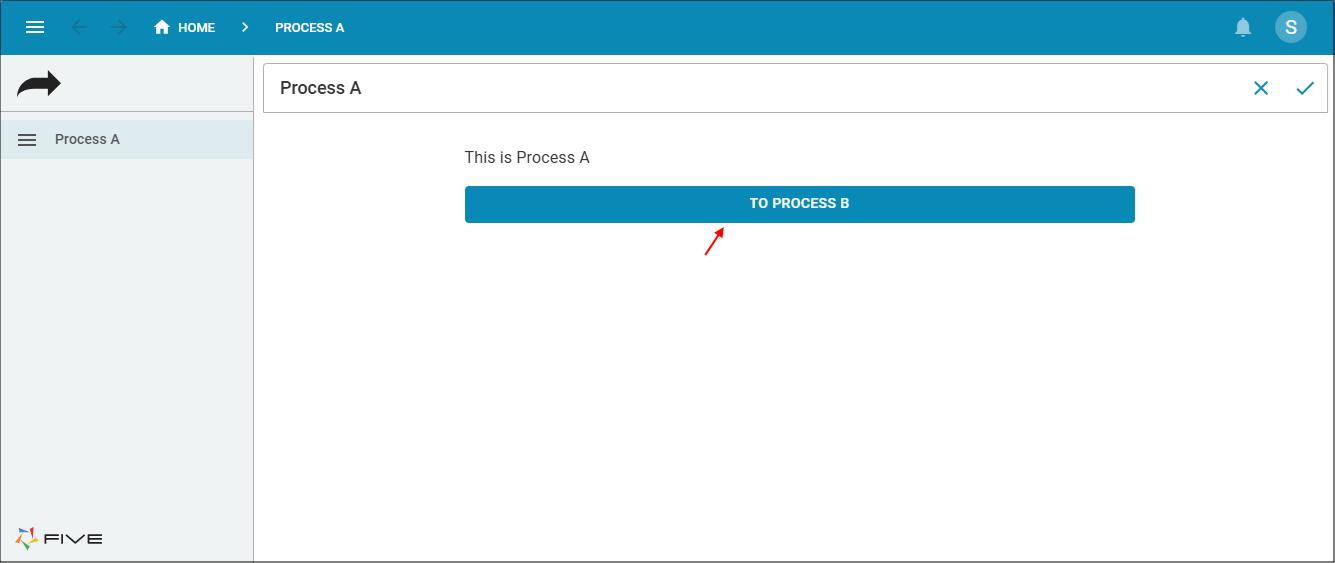
Figure 30 - To Process B button
The event will execute the
ToProcessB()
function and selects Process B. This is because ProcessB
is passed into selectAction()
.
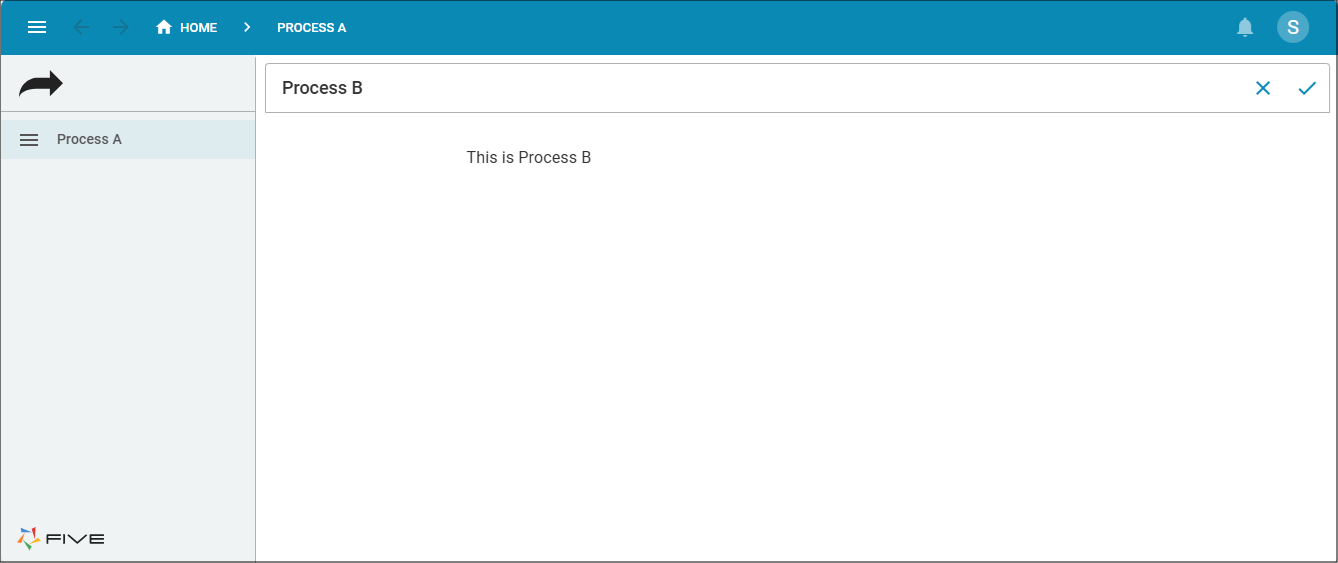
Figure 31 - Process B