2 - Build Database Tables
Last updated 13/03/2024
When an application record is saved in Five, a MySQL database is created and Five automatically establishes the connection with the external database management system (DBMS).With your Five account running in the Cloud, you can have multiple databases connected to different database management systems.
note
In Five's Desktop version, you cannot have multiple databases for an application.
This documentation will explain how to create and add tables to the MySQL database for the Portfolio application via Five's Table Wizard. In total, five tables will be added. The Portfolio database model below shows the relationships between the tables.
The Sector and StockExchange tables have a one-to-many relationship with the Stock table and the Stock table has a one-to-many relationship with the StockPrice table. At this stage no relationship has been established with the Portfolio table.
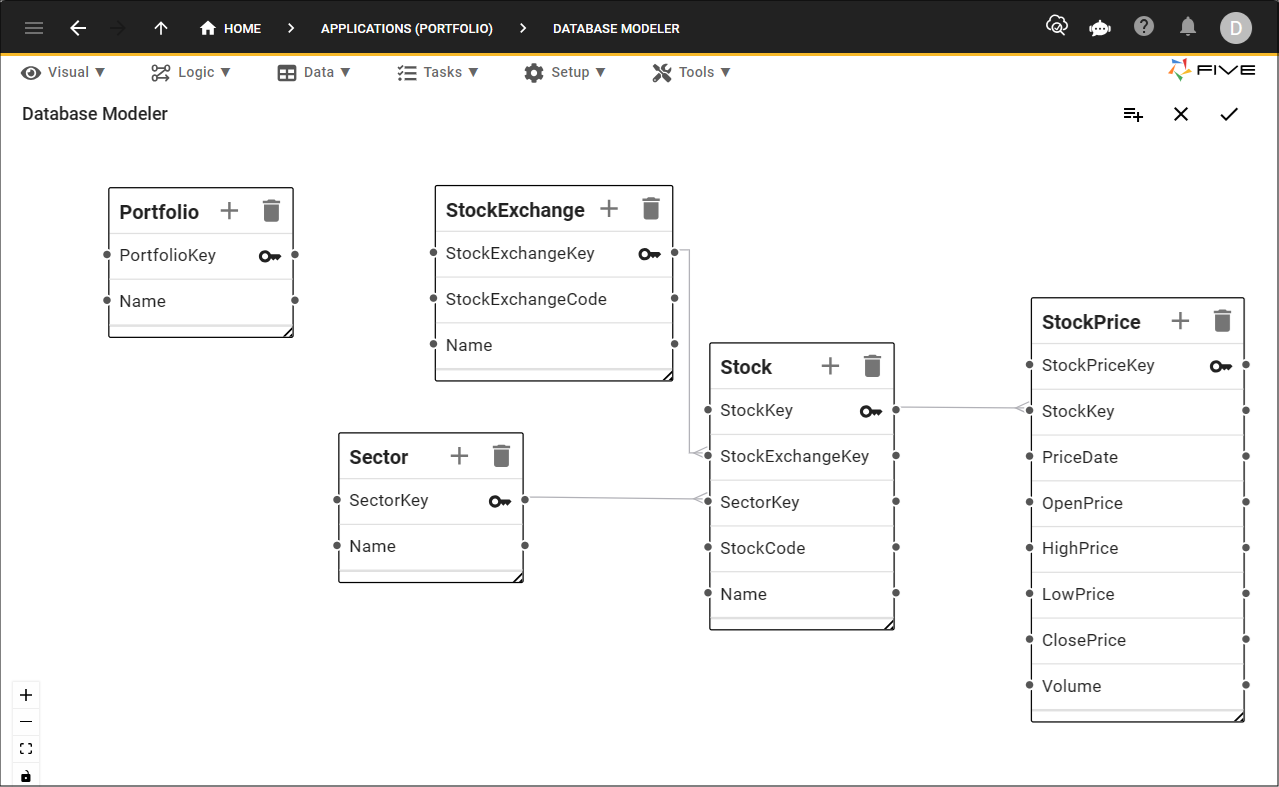
Figure 1 - Portfolio model stage one
Navigate to the Table Wizard
1. Click the Manage button in the form app bar.info
If you are working in the Cloud and you have other saved application records in Five, you will need to select the Portfolio record in the list first to you have access
to the Manage button.
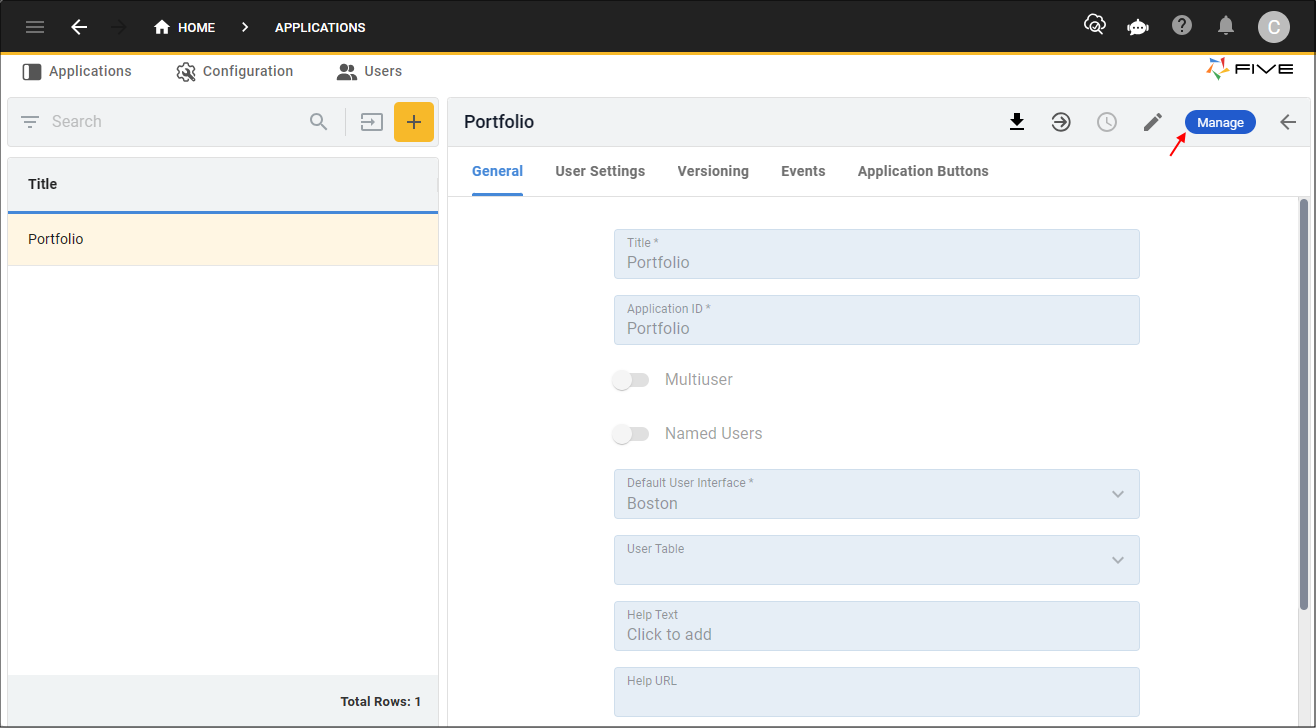
Figure 2 - Manage button
2. Click Data in the menu.
3. Click Table Wizard in the sub-menu.
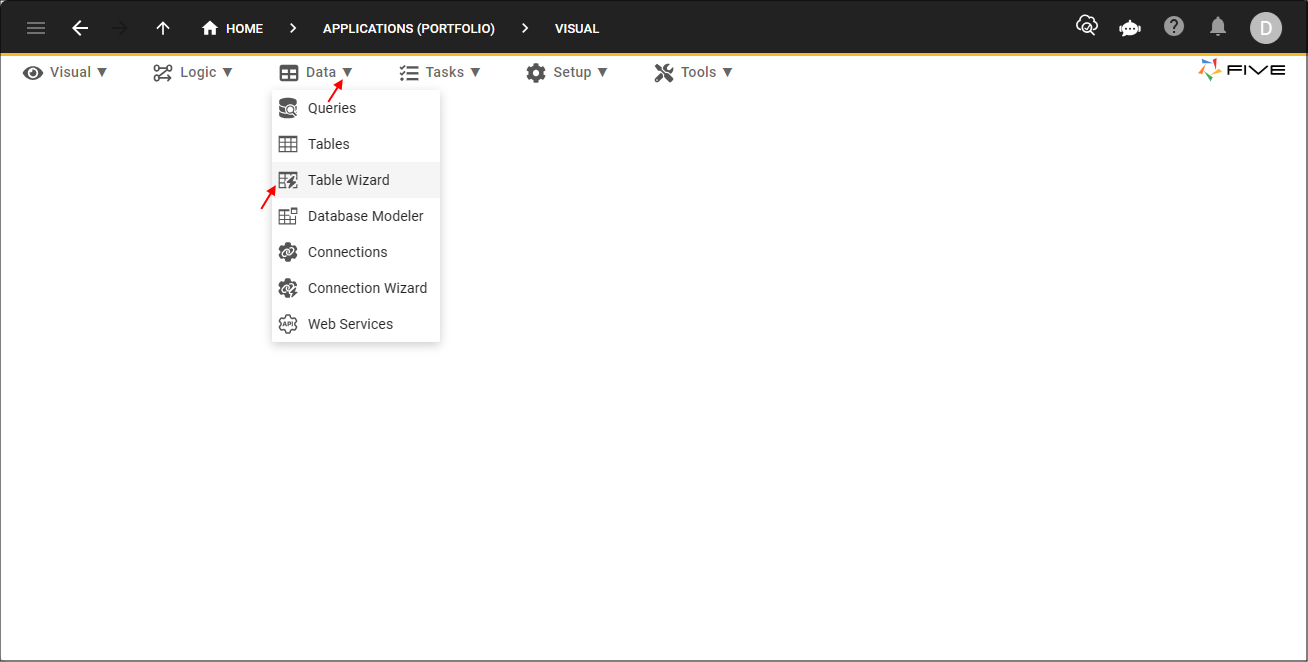
Figure 3 - Table Wizard menu item
Add the Portfolio Table
1. Type Portfolio in the Name field.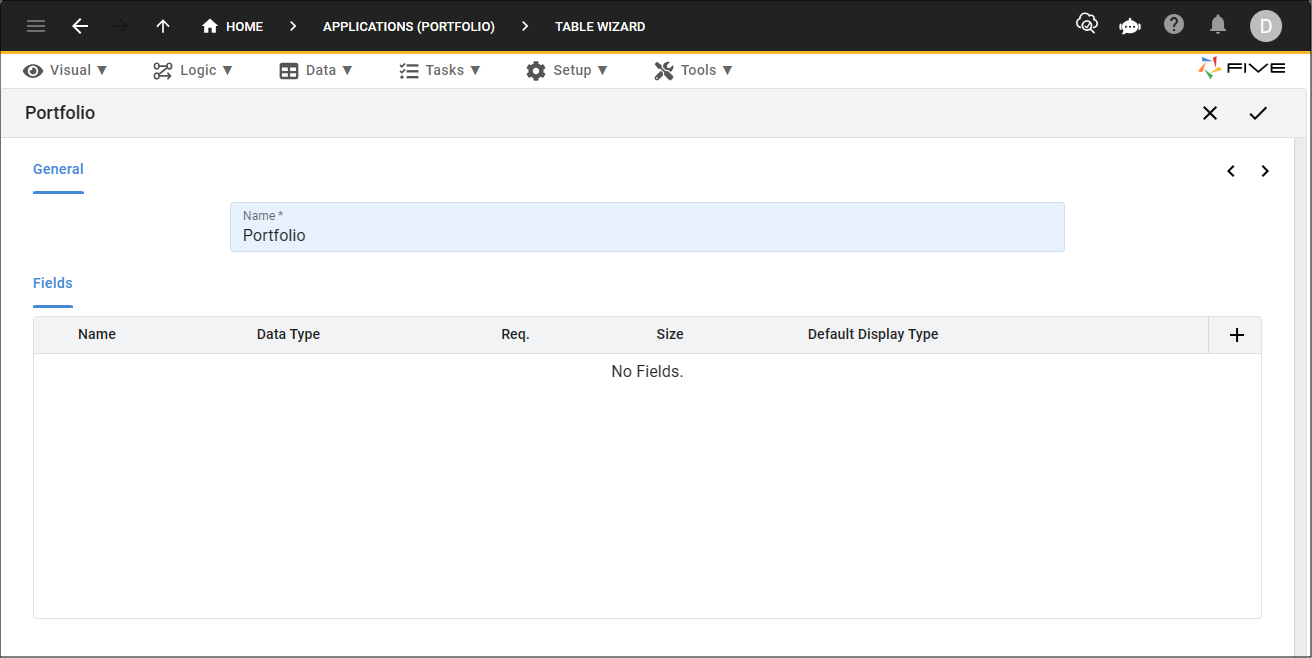
Figure 4 - Add the Portfolio table
tip
Five automatically creates a Primary Key field and index for your table when you create a table via the Table Wizard!
2. Click the Add Fields button.
3. Type Name in the Name field.
4. Type 255 in the Size field.
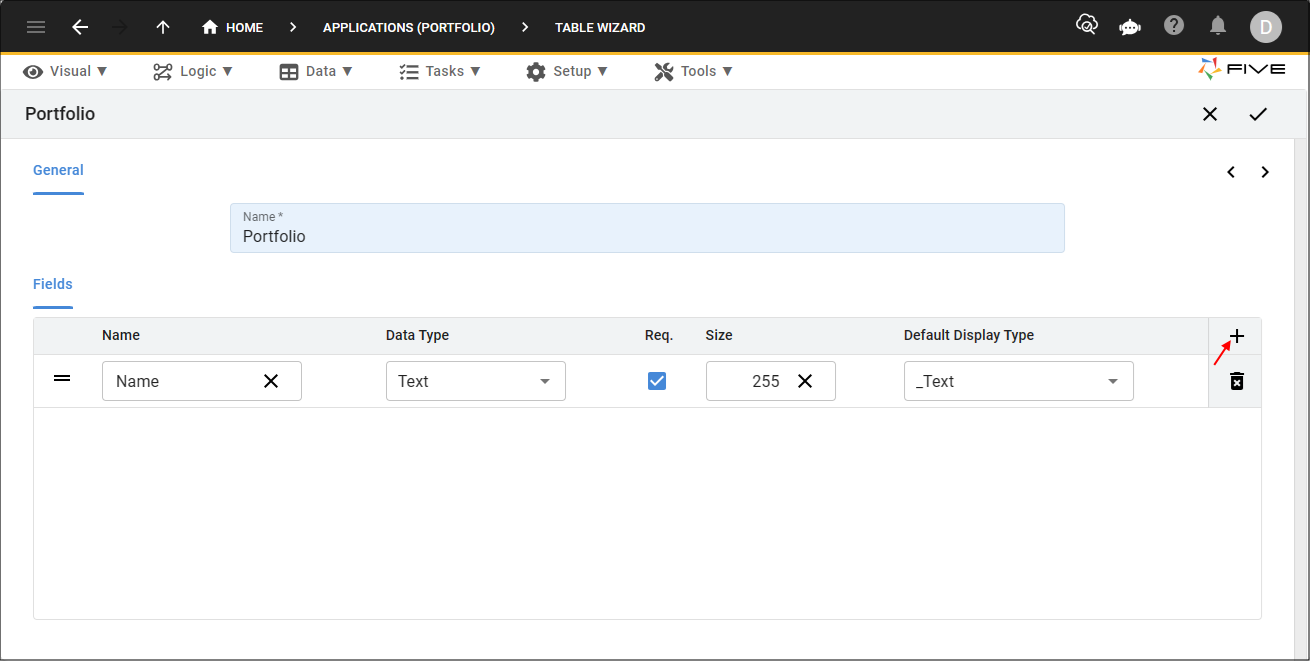
Figure 5 - Add the Name field
5. Click the Save button in the Table Wizard app bar.
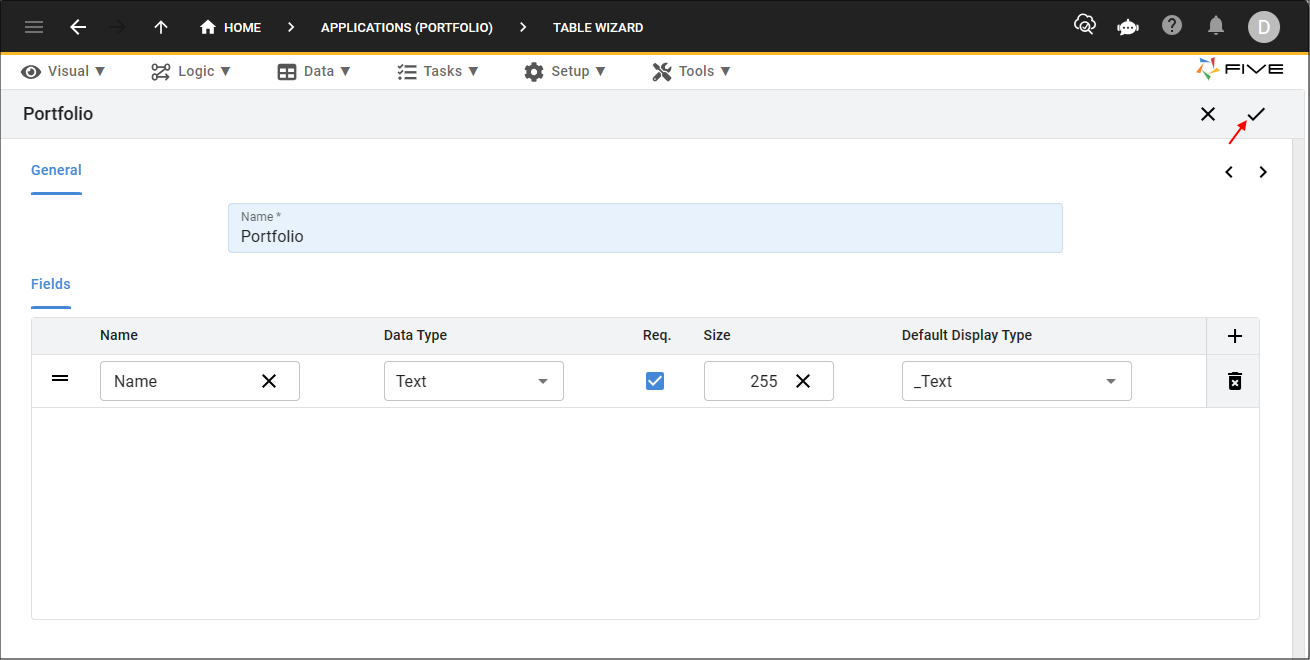
Figure 6 - Save button
6. Click the Save button in the Table Upgrade window.

Figure 7 - Save button
info
The Table Wizard may take a few seconds to reload.
tip
Once you have saved a table via our Table Wizard, you will find the table record in the Tables view. To navigate to the Tables view, click Data in the menu followed by clicking Tables in the sub-menu.
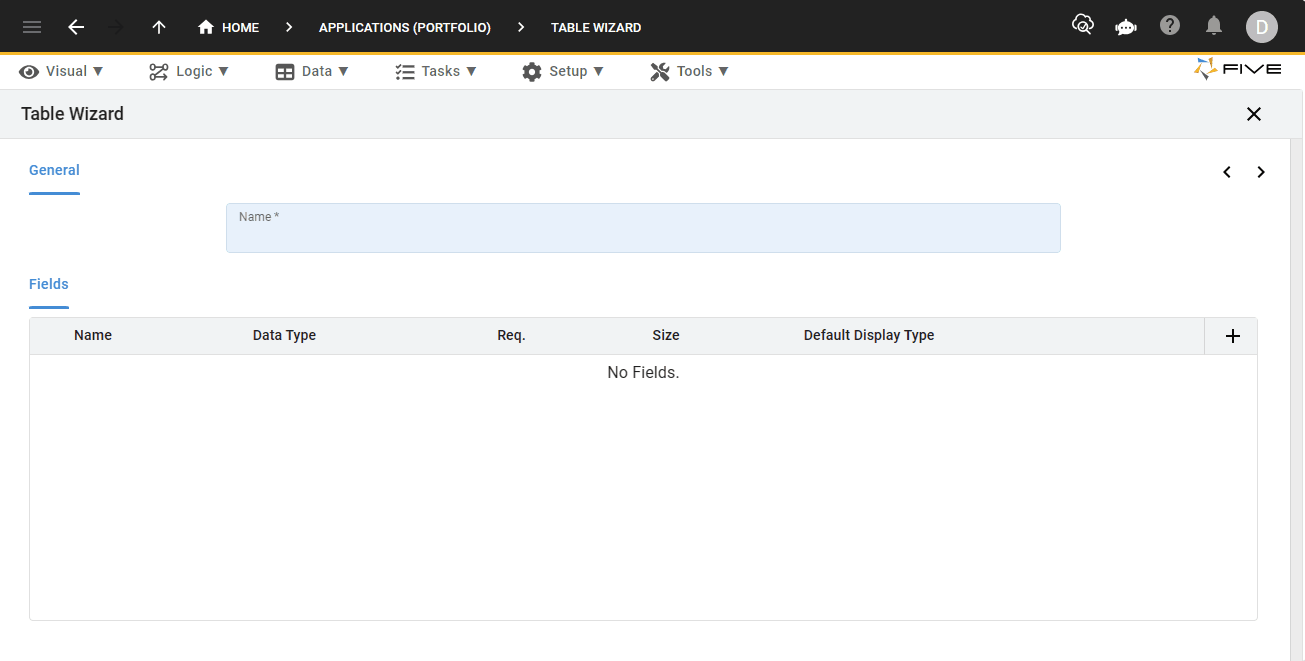
Figure 8 - Navigate to the Portfolio table record
Add the StockExchange Table
info
If you navigated to the Tables view to see the Portfolio record, you will need to navigate back to the Table Wizard.
1. Click Data in the menu.
2. Click Table Wizard in the sub-menu.
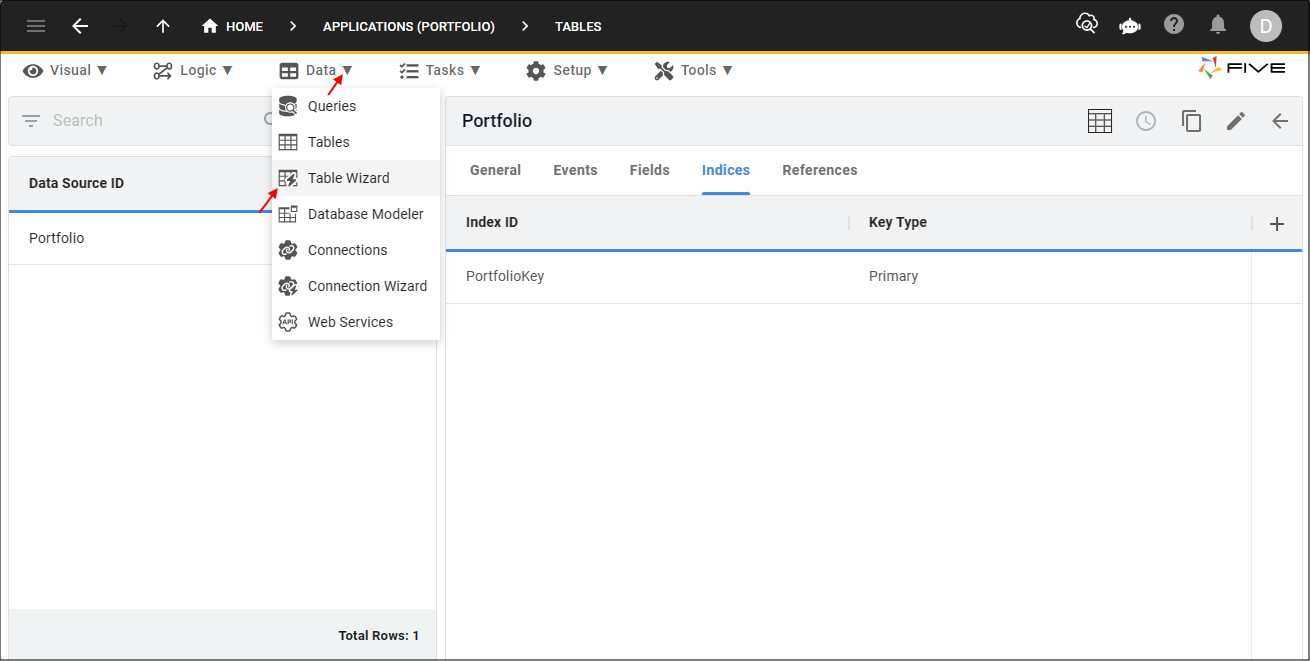
Figure 9 - Table Wizard menu item
3. Type StockExchange in the Name field.
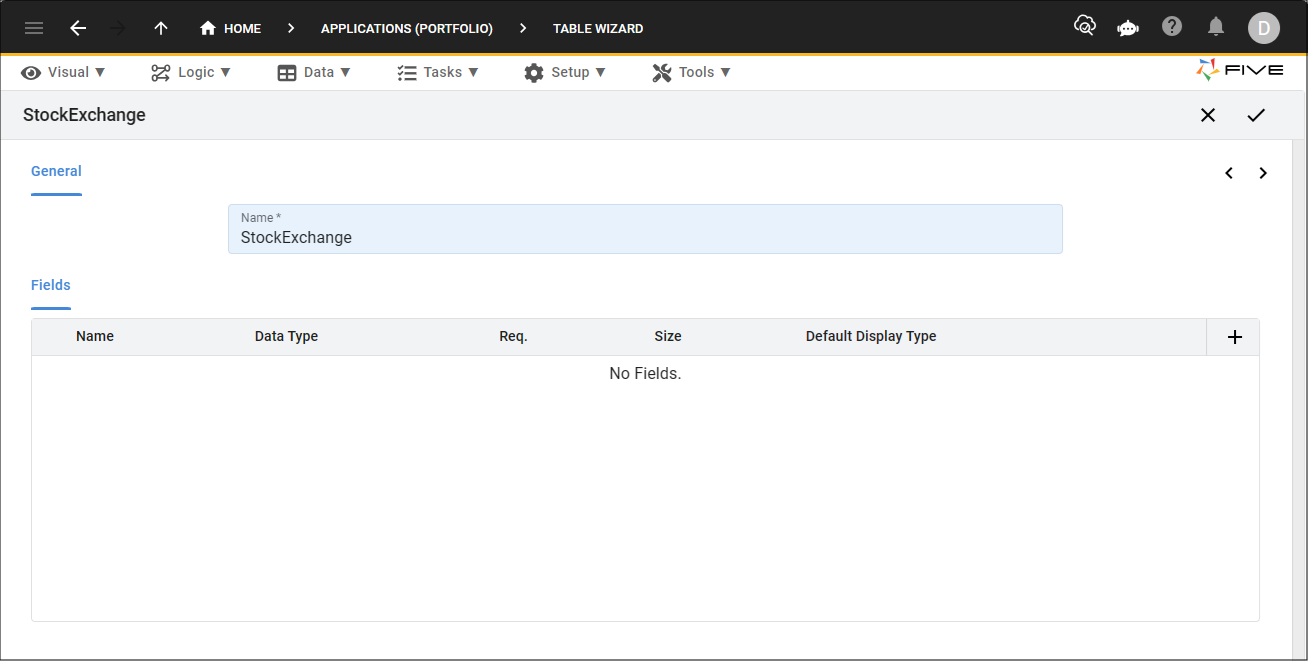
Figure 10 - Add the StockExchange table
4. Click the Add Fields button.
5. Type StockExchangeCode in the Name field.
6. Type 20 in the Size field.
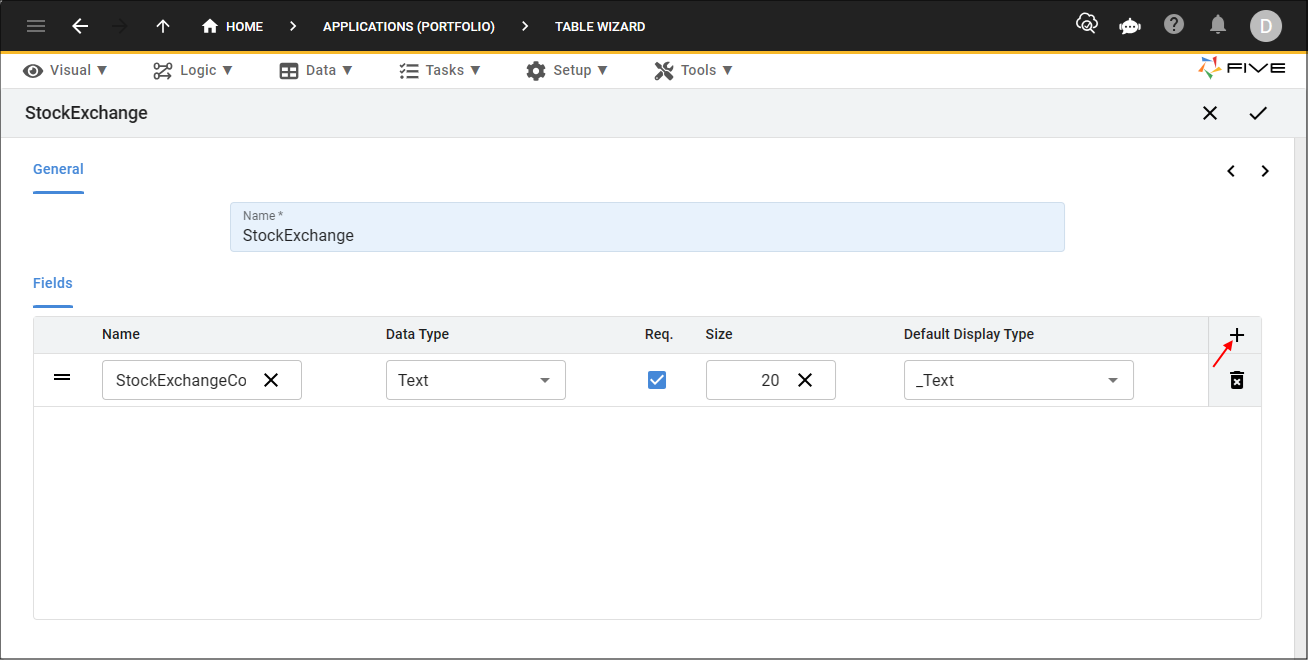
Figure 11 - Add the StockExchangeCode field
7. Click the Add Fields button.
8. Type Name in the Name field.
9. Click the Req. checkbox.
10. Type 255 in the Size field.
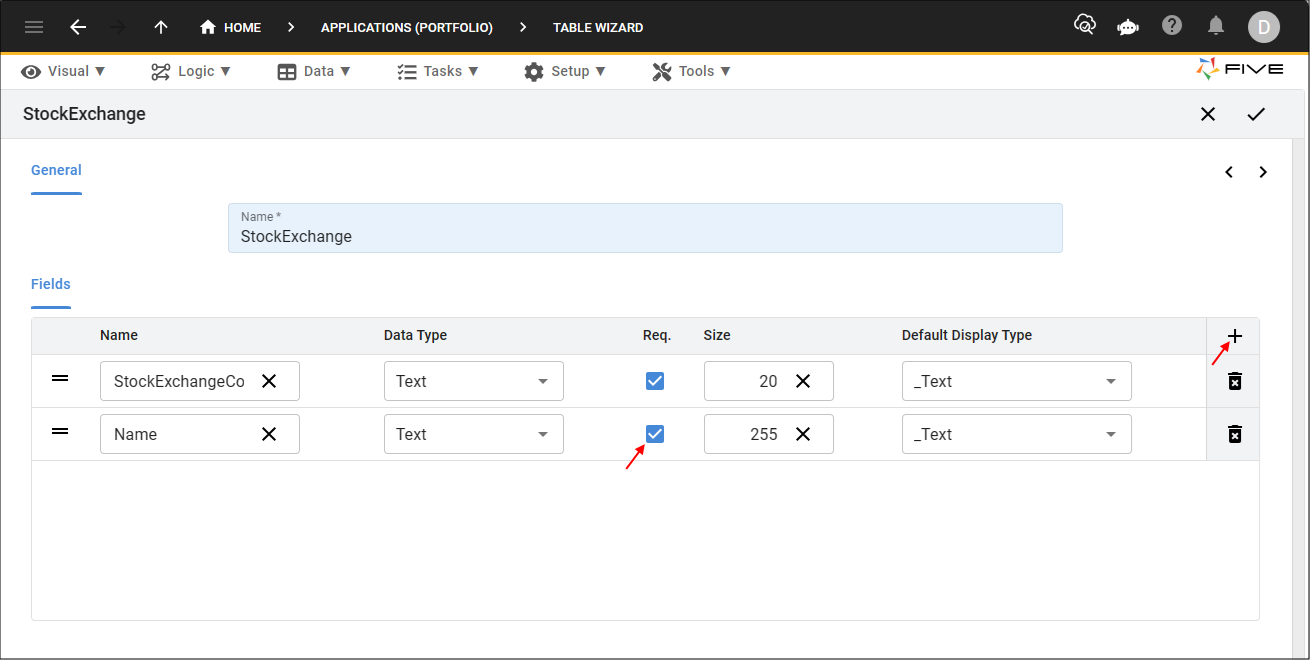
Figure 12 - Add the Name field
11. Click the Save button in the Table Wizard app bar.
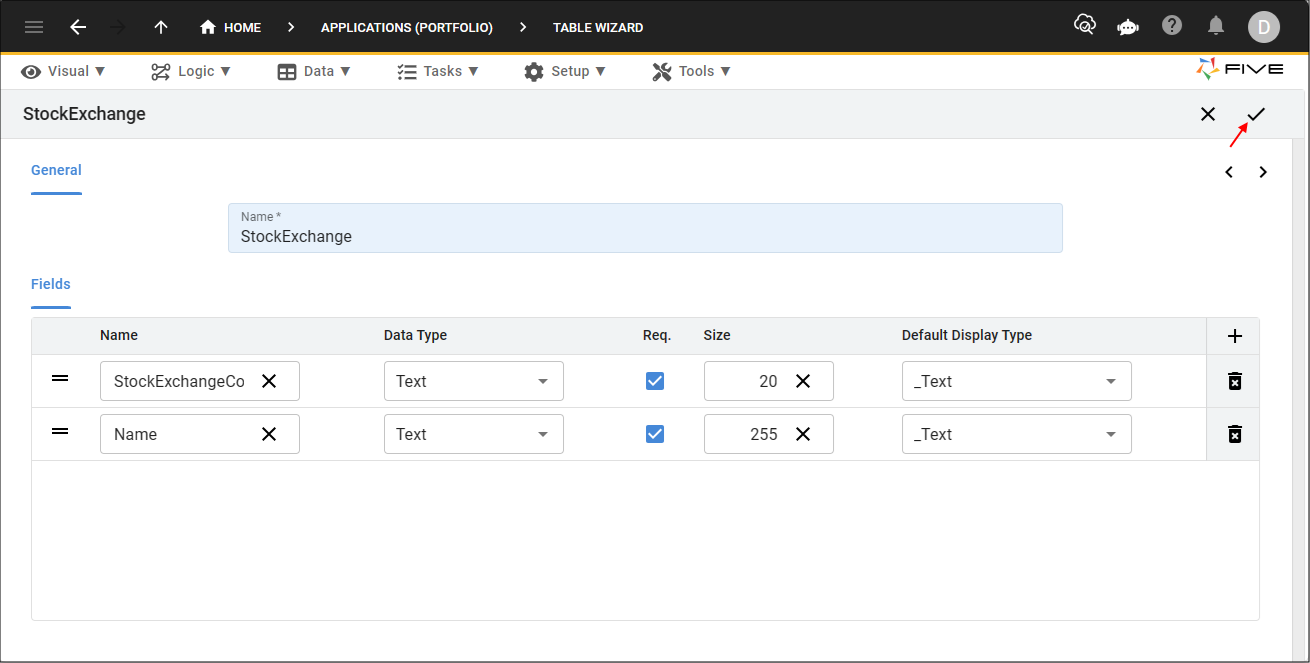
Figure 13 - Save button
12. Click the Save button in the Table Upgrade window.
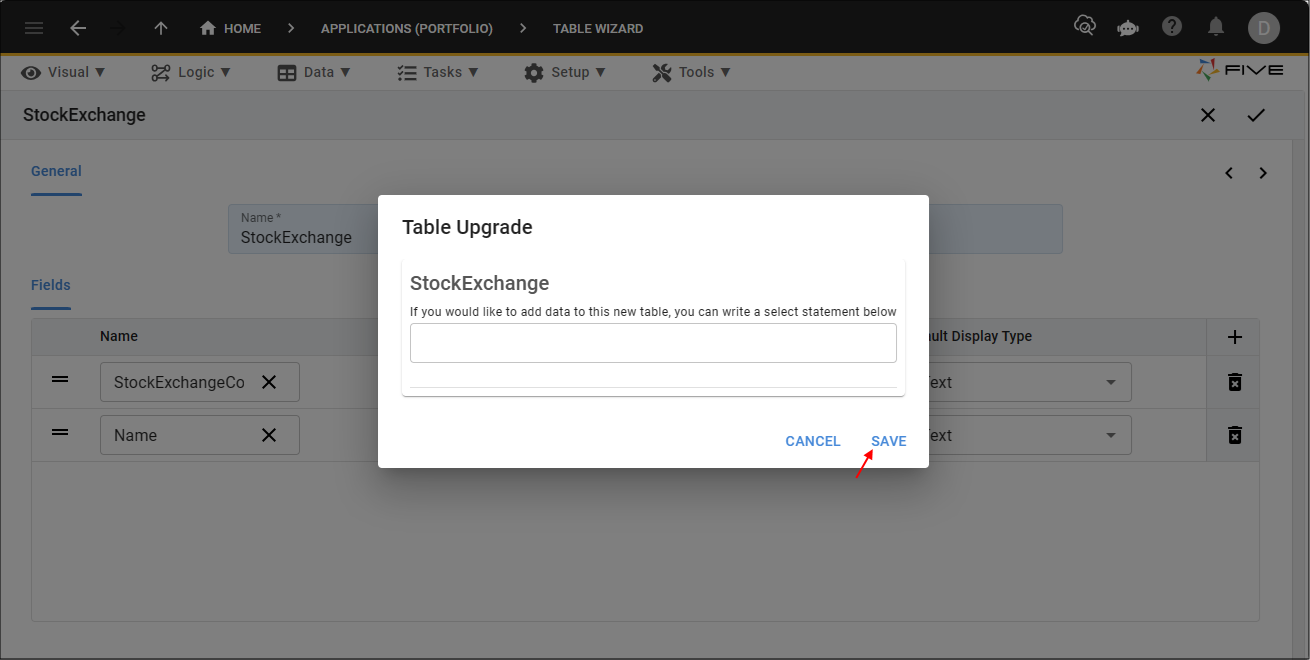
Figure 14 - Save button
Add the Sector Table
1. Type Sector in the Name field.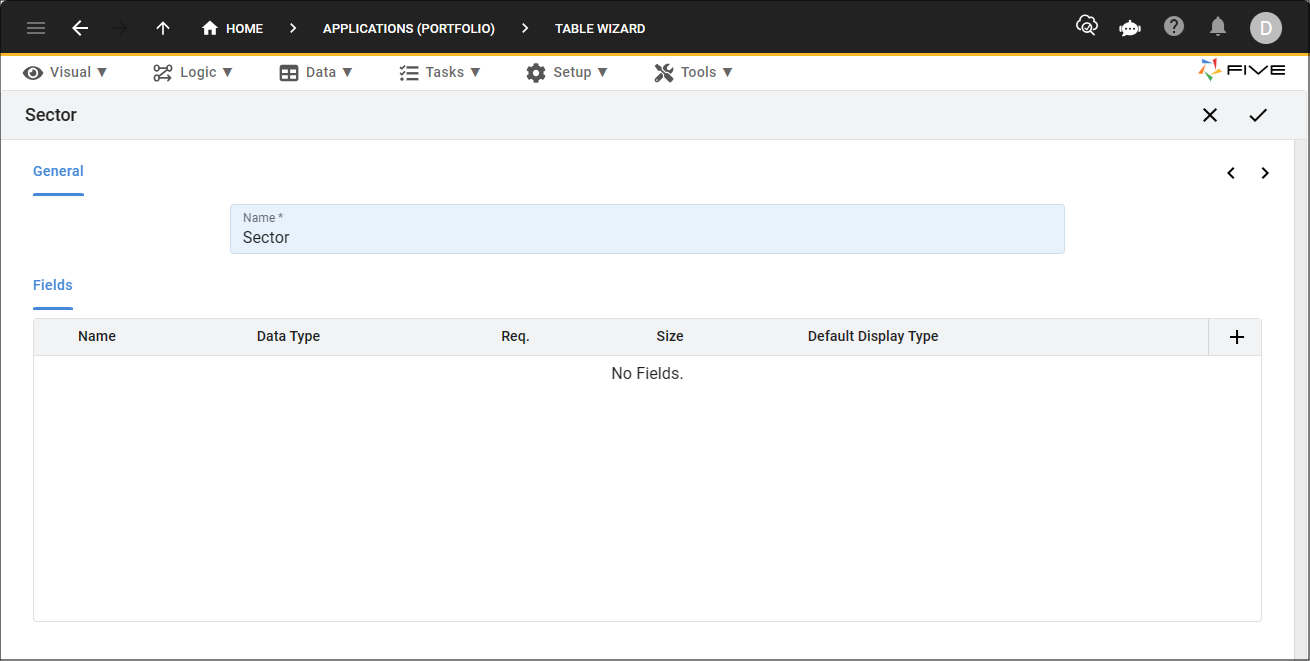
Figure 15 - Add the Sector table
2. Click the Add Fields button.
3. Type Name in the Name field.
4. Type 255 in the Size field.
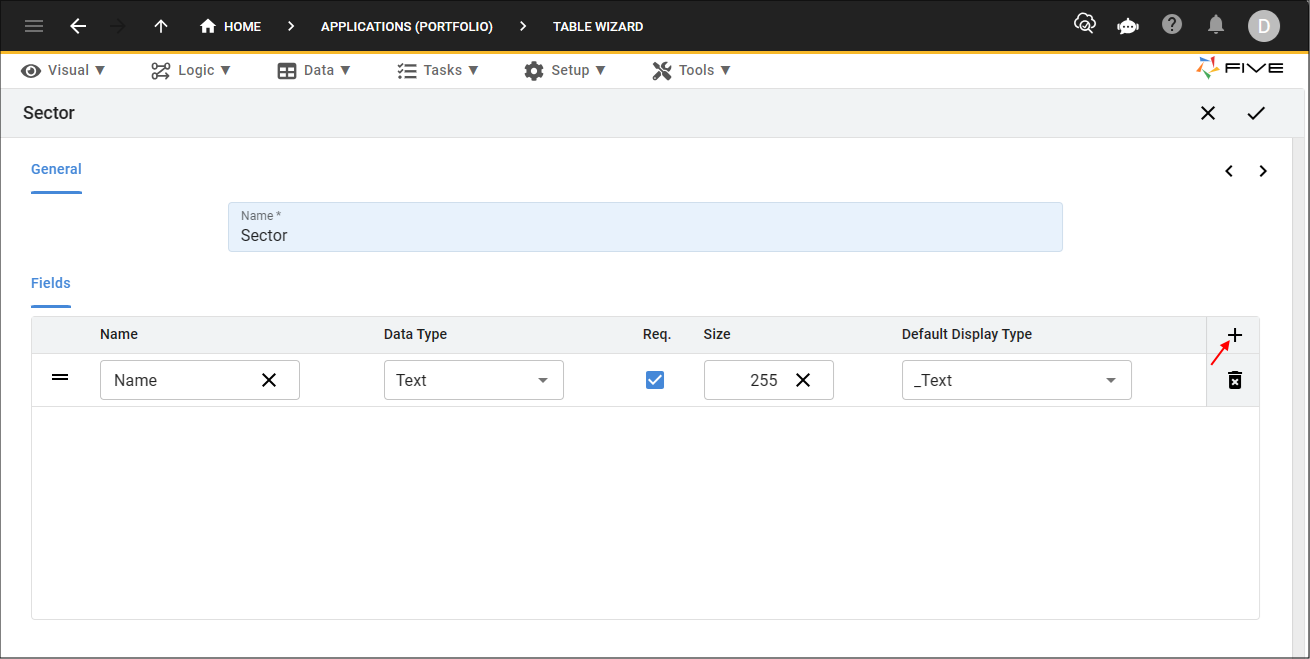
Figure 16 - Add the Name field
5. Click the Save button in the Table Wizard app bar.
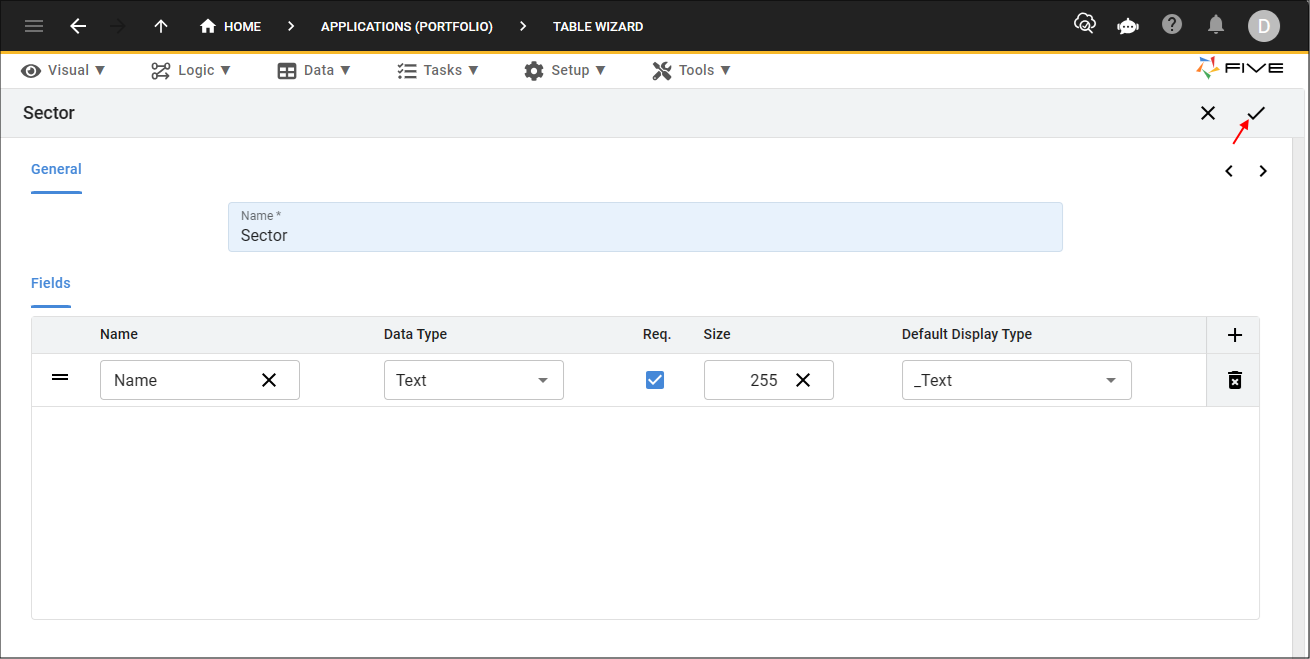
Figure 17 - Save button
6. Click the Save button in the Table Upgrade window.
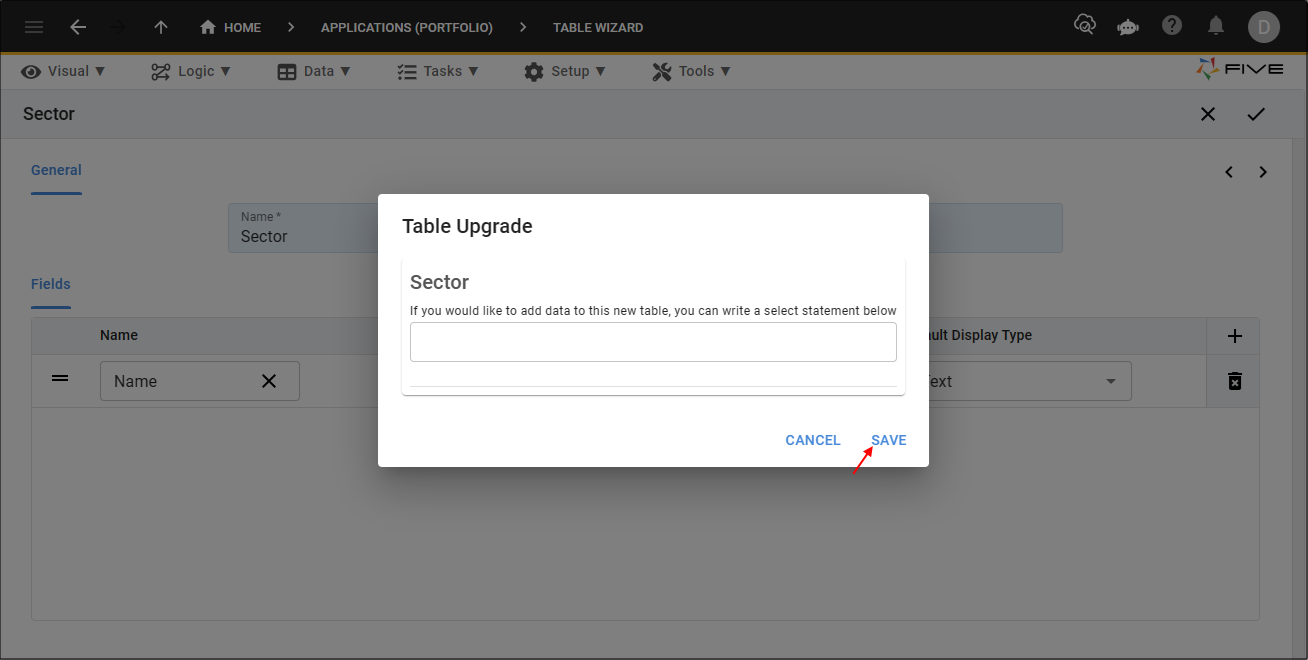
Figure 18 - Save button
Add the Stock Table
1. Type Stock in the Name field.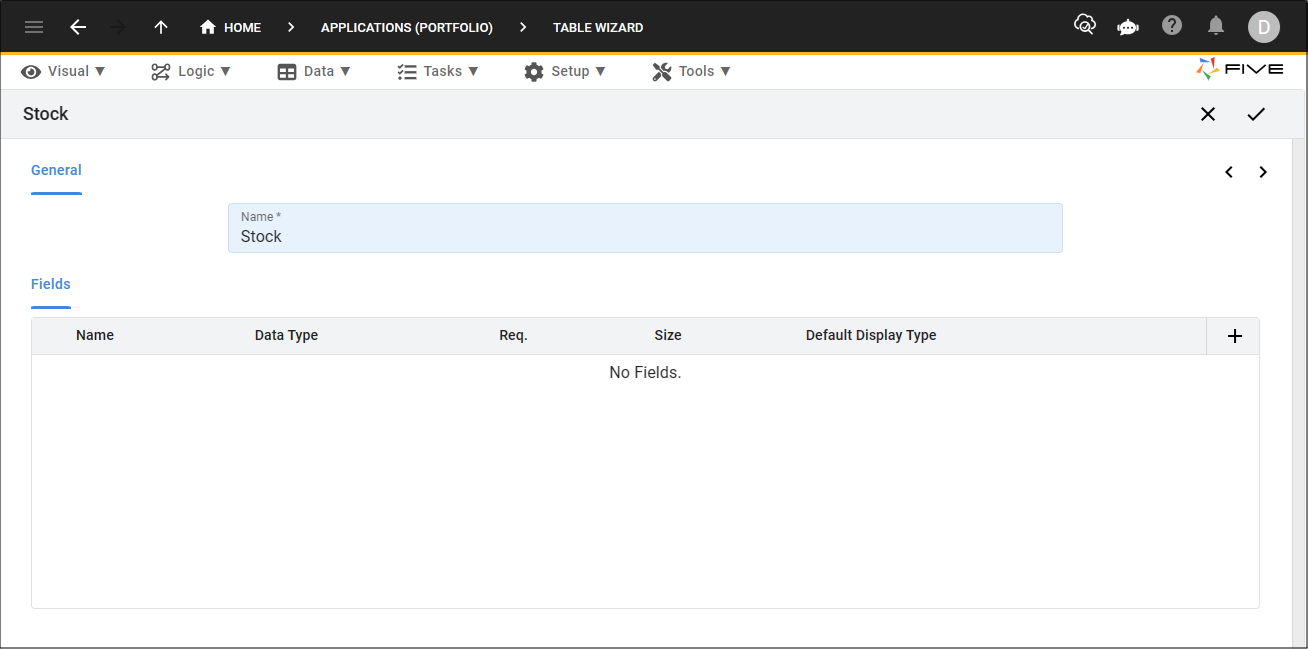
Figure 19 - Add the Stock table
2. Click the Add Fields button.
3. Type StockCode in the Name field.
4. Type 20 in the Size field.
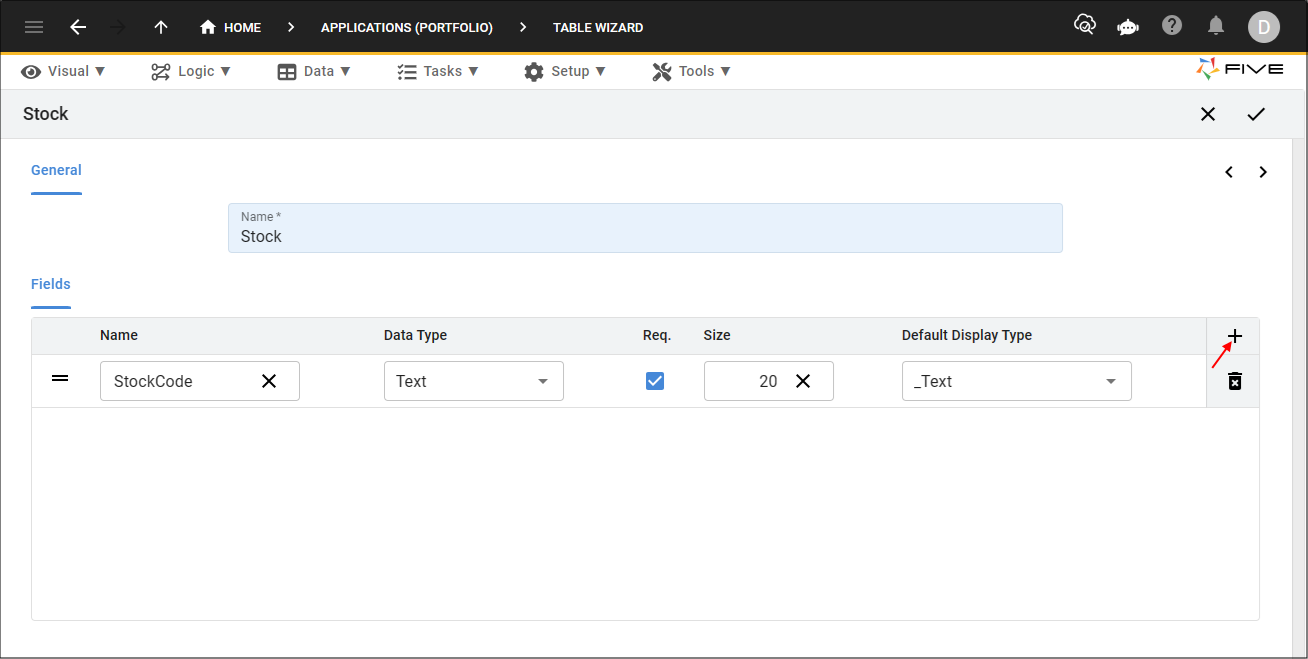
Figure 20 - Add the StockCode field
5. Click the Add Fields button.
6. Type Name in the Name field.
7. Click the Req. checkbox.
8. Type 255 in the Size field.
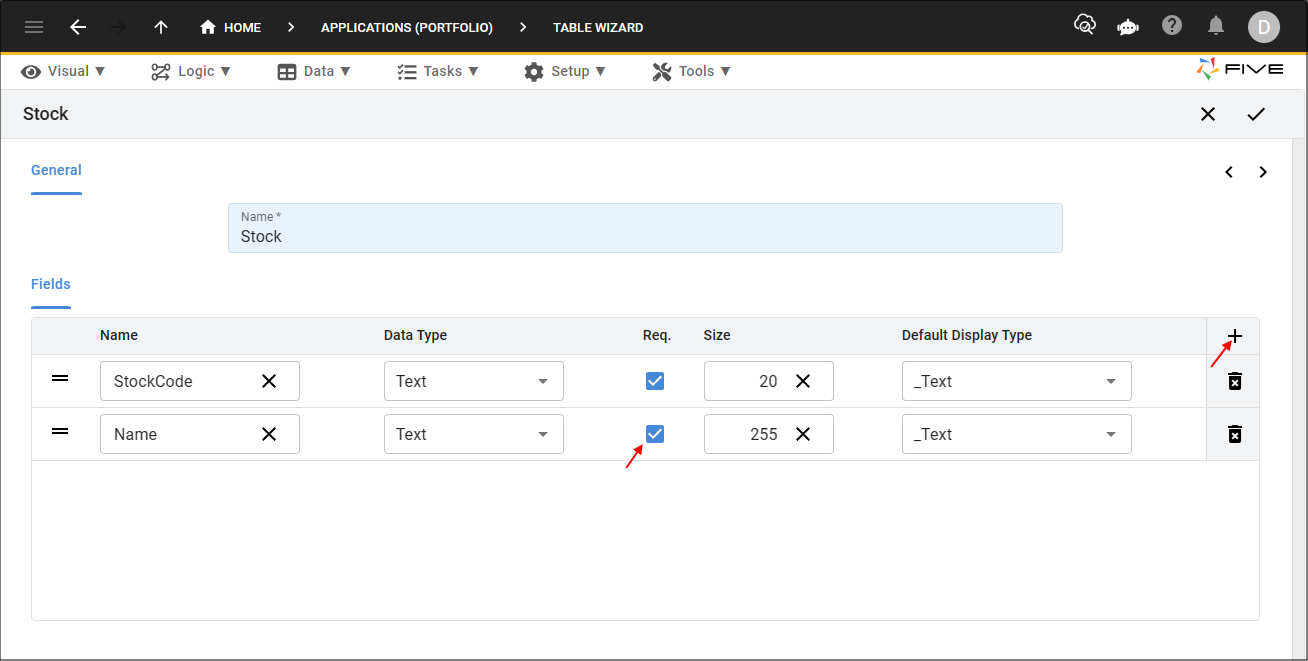
Figure 21 - Add the Name field
9. Click the Next button.
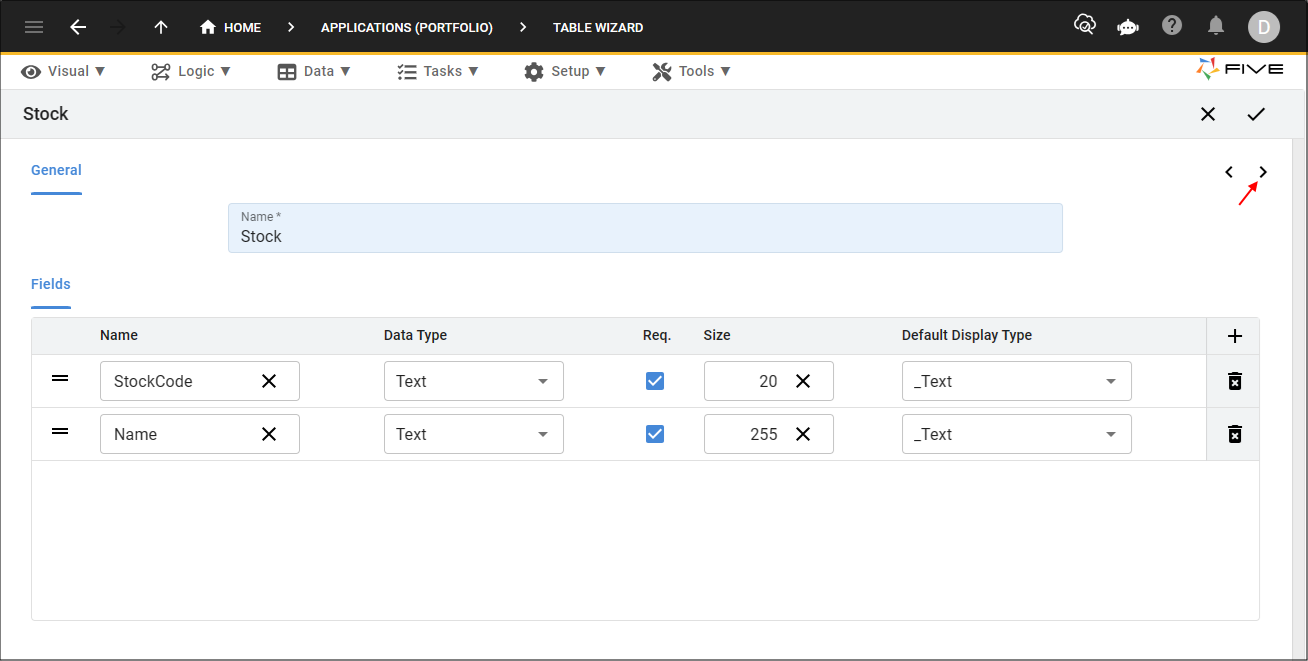
Figure 22 - Next button
10. Click the Add Relationships button.
11. Click the lookup icon in the Table field and select StockExchange.
12. Click the Required checkbox.
tip
Five automatically creates a Foreign Key field and index when you establish a relationship with another table!

Figure 23 - Add the StockExchange relationship
13. Click the Add Relationships button.
14. Click the lookup icon in the Table field and select Sector.
15. Click the Required checkbox.
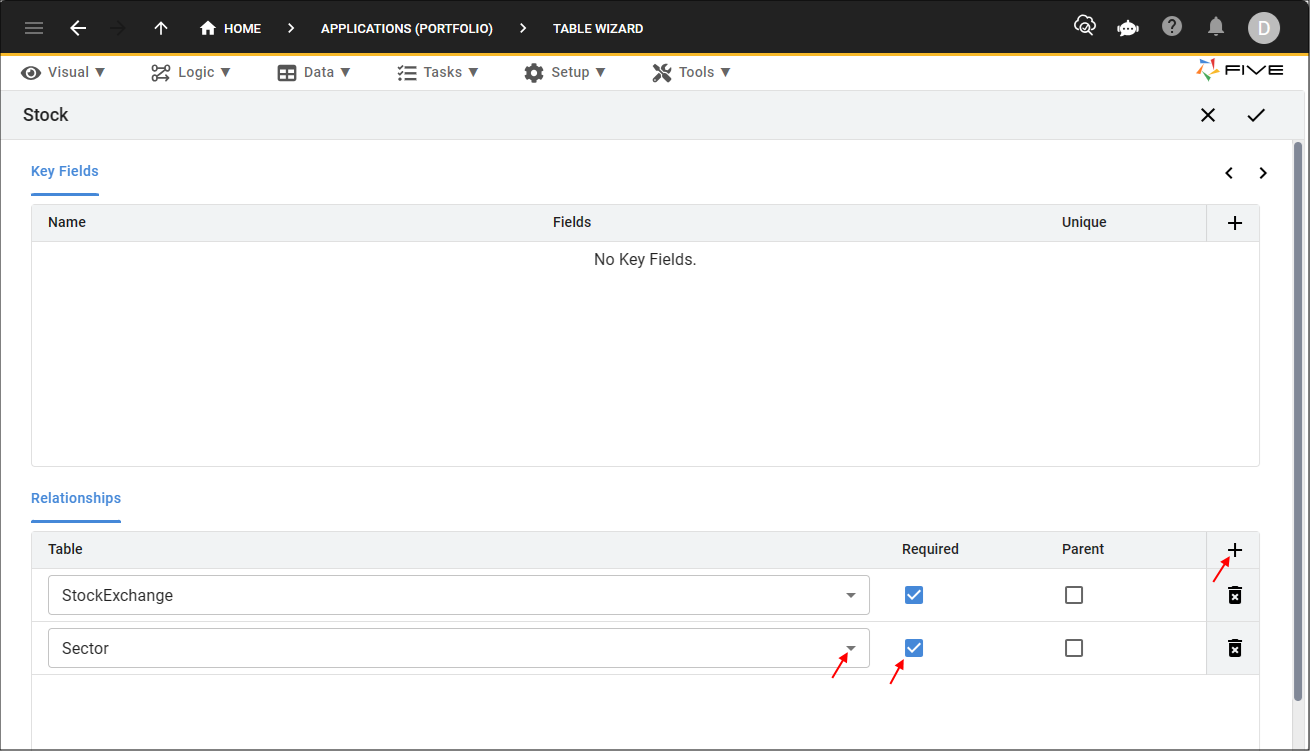
Figure 24 - Add the Sector relationship
16. Click the Save button in the Table Wizard app bar.
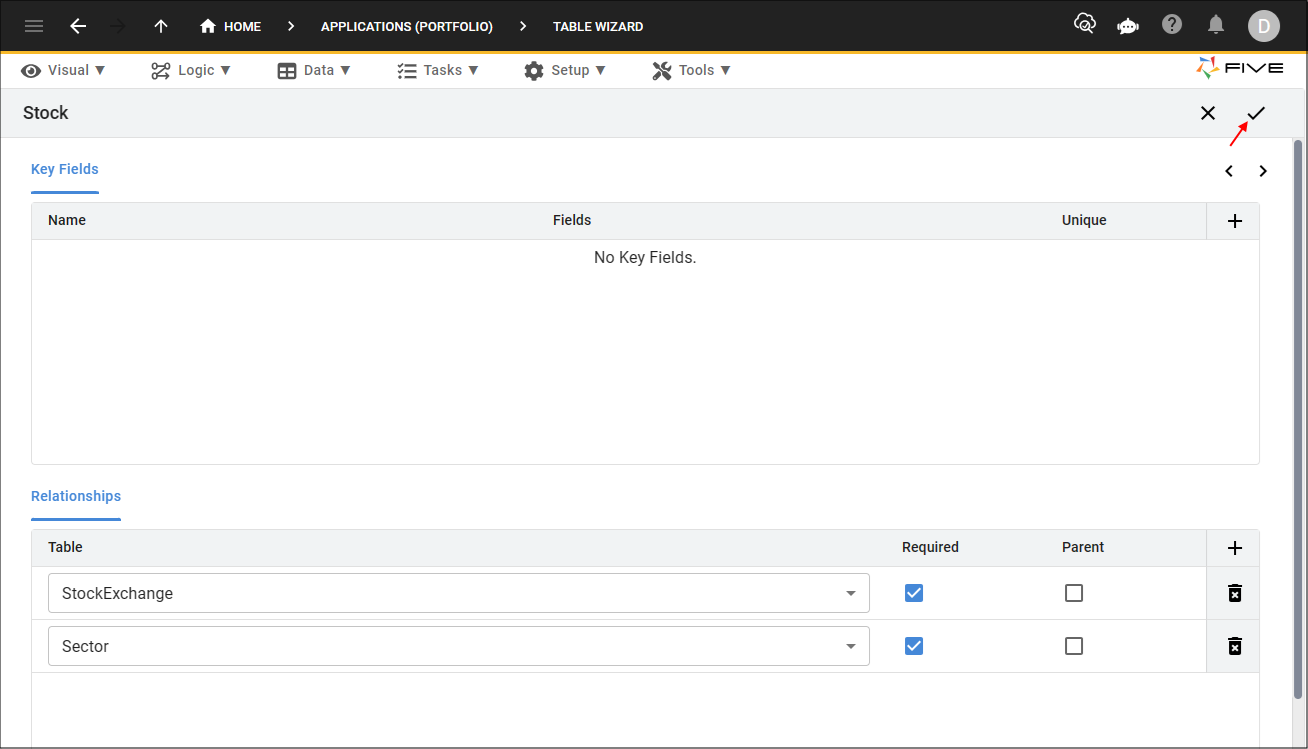
Figure 25 - Save button
17. Click the Save button in the Table Upgrade window.
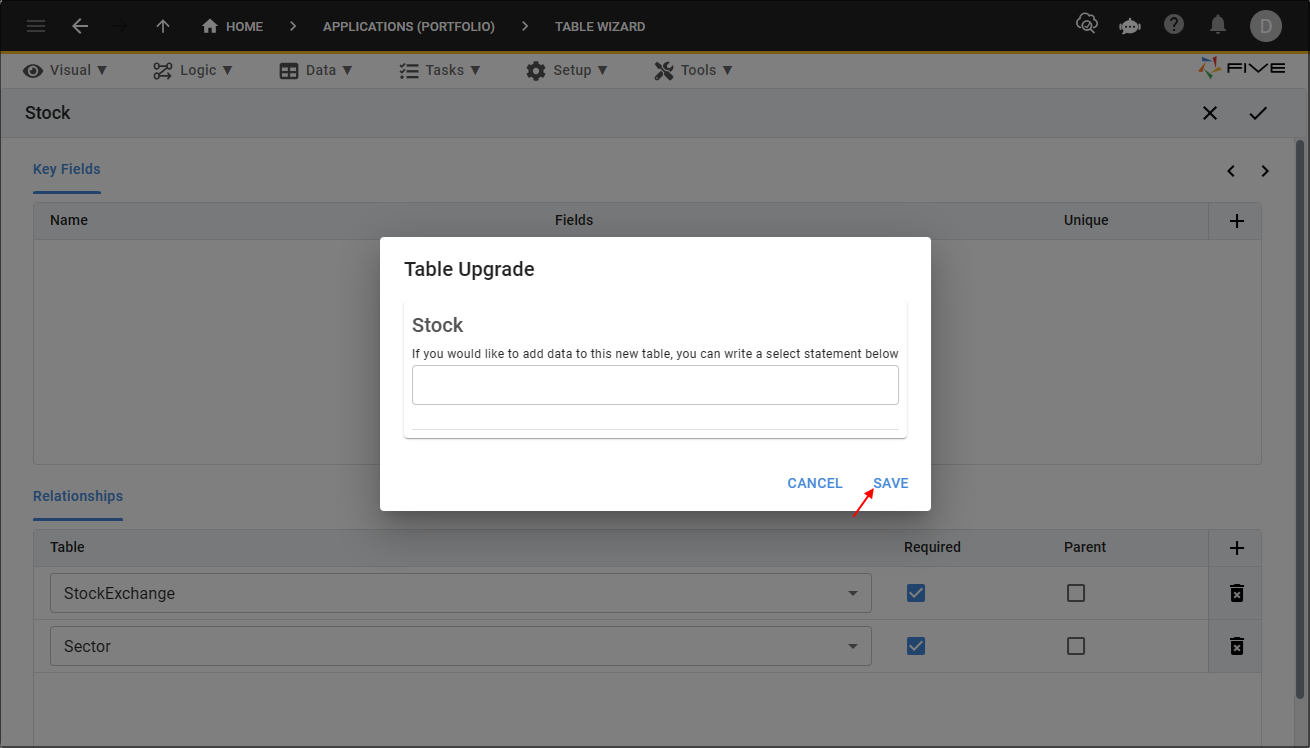
Figure 26 - Save button
Add the StockPrice Table
1. Type StockPrice in the Name field.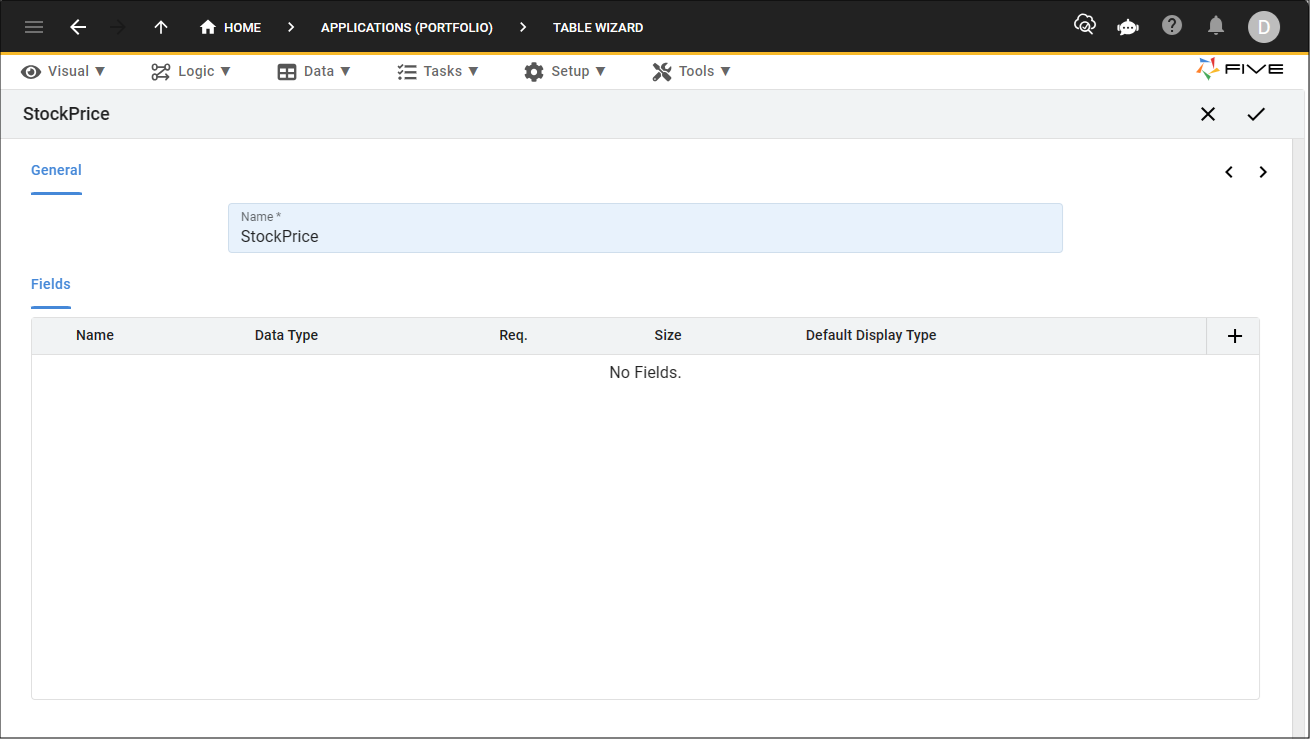
Figure 27 - Add the StockPrice table
2. Click the Add Fields button.
3. Type PriceDate in the Name field.
tip
Five sets some field definitions for you dependent on the name or data type of the field!
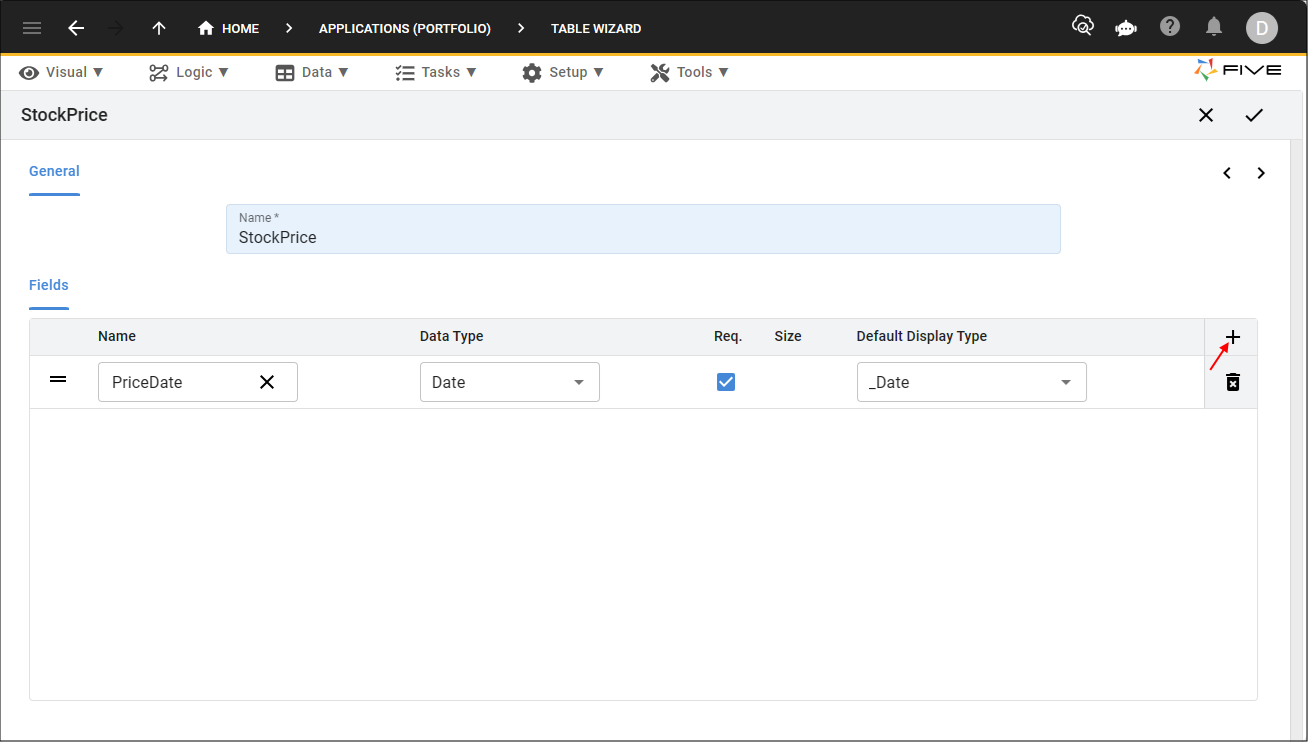
Figure 28 - Add the PriceDate field
4. Click the Add Fields button.
5. Type OpenPrice in the Name field.
6. Click the lookup icon in the Data Type field and select Float.
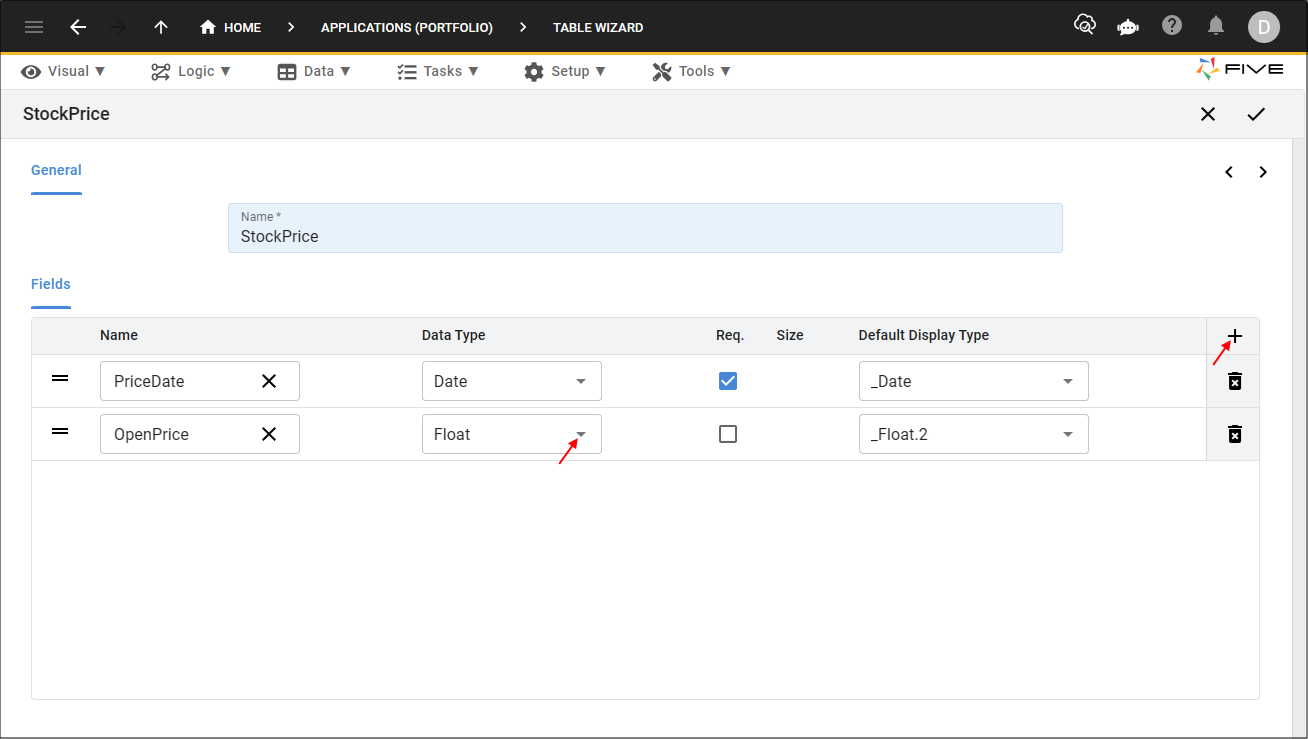
Figure 29 - Add the OpenPrice field
7. Click the Add Fields button.
8. Type HighPrice in the Name field.
9. Click the lookup icon in the Data Type field and select Float.
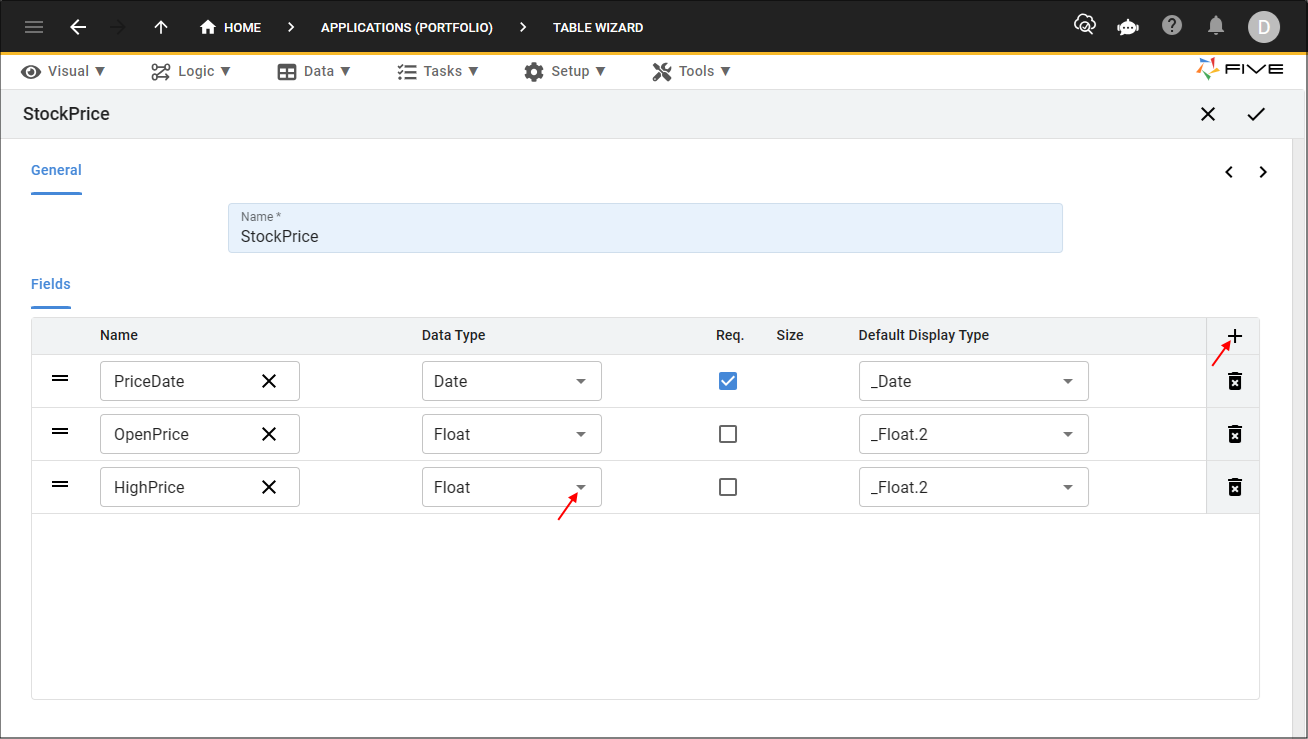
Figure 30 - Add the HighPrice field
10. Click the Add Fields button.
11. Type LowPrice in the Name field.
12. Click the lookup icon in the Data Type field and select Float.
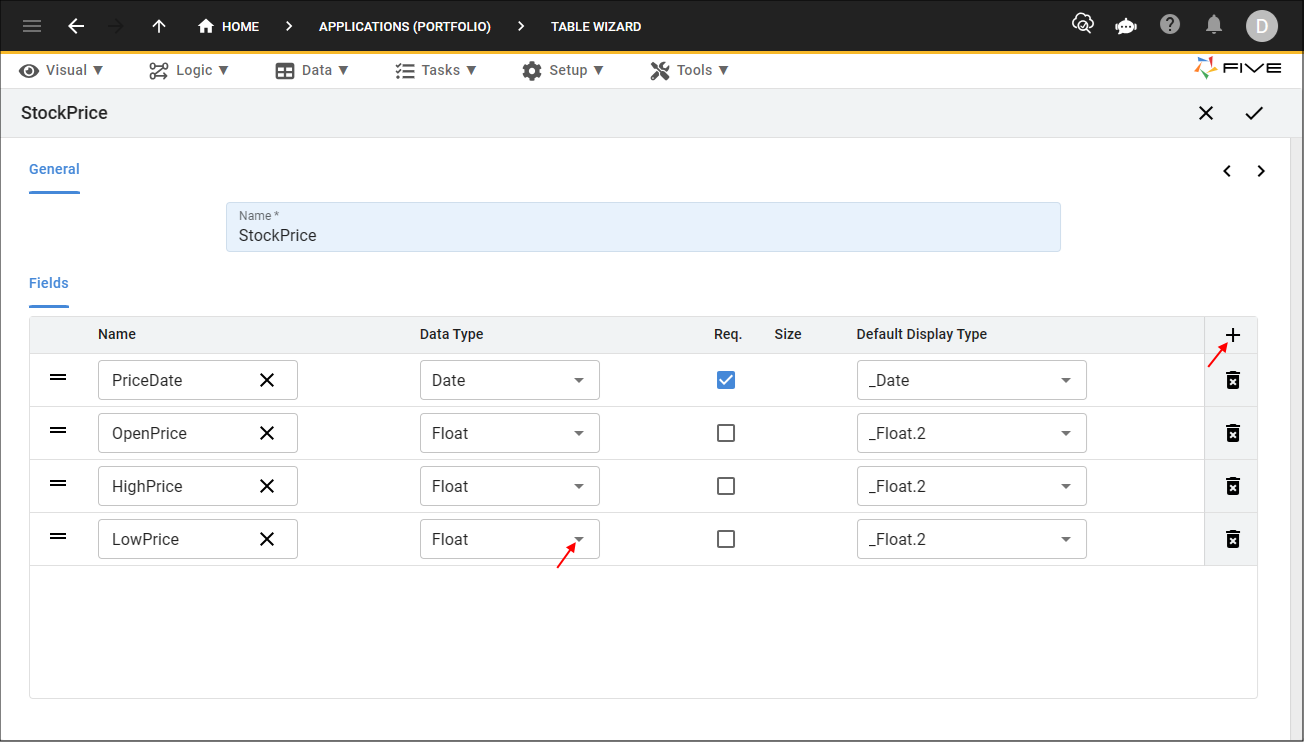
Figure 31 - Add the LowPrice field
13. Click the Add Fields button.
14. Type ClosePrice in the Name field.
15. Click the lookup icon in the Data Type field and select Float.
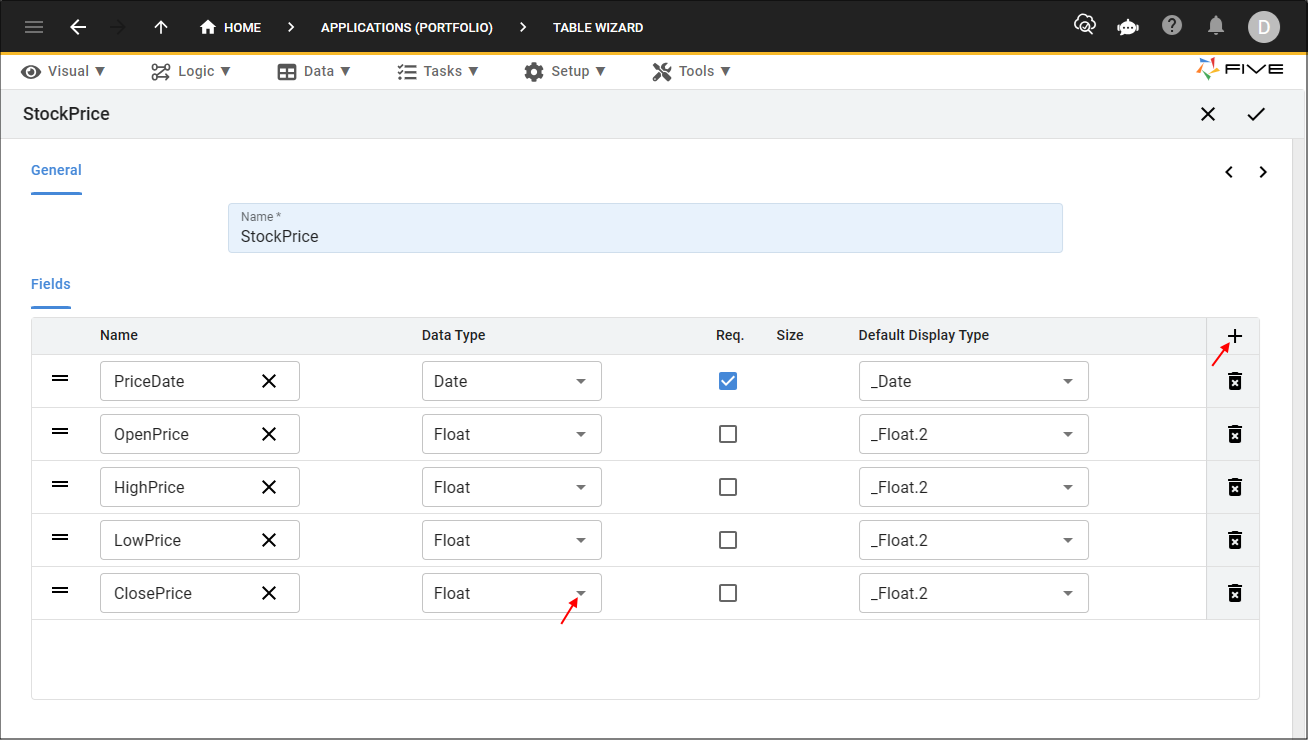
Figure 32 - Add the ClosePrice field
16. Click the Add Fields button.
17. Type Volume in the Name field.
18. Click the lookup icon in the Data Type field and select Integer.
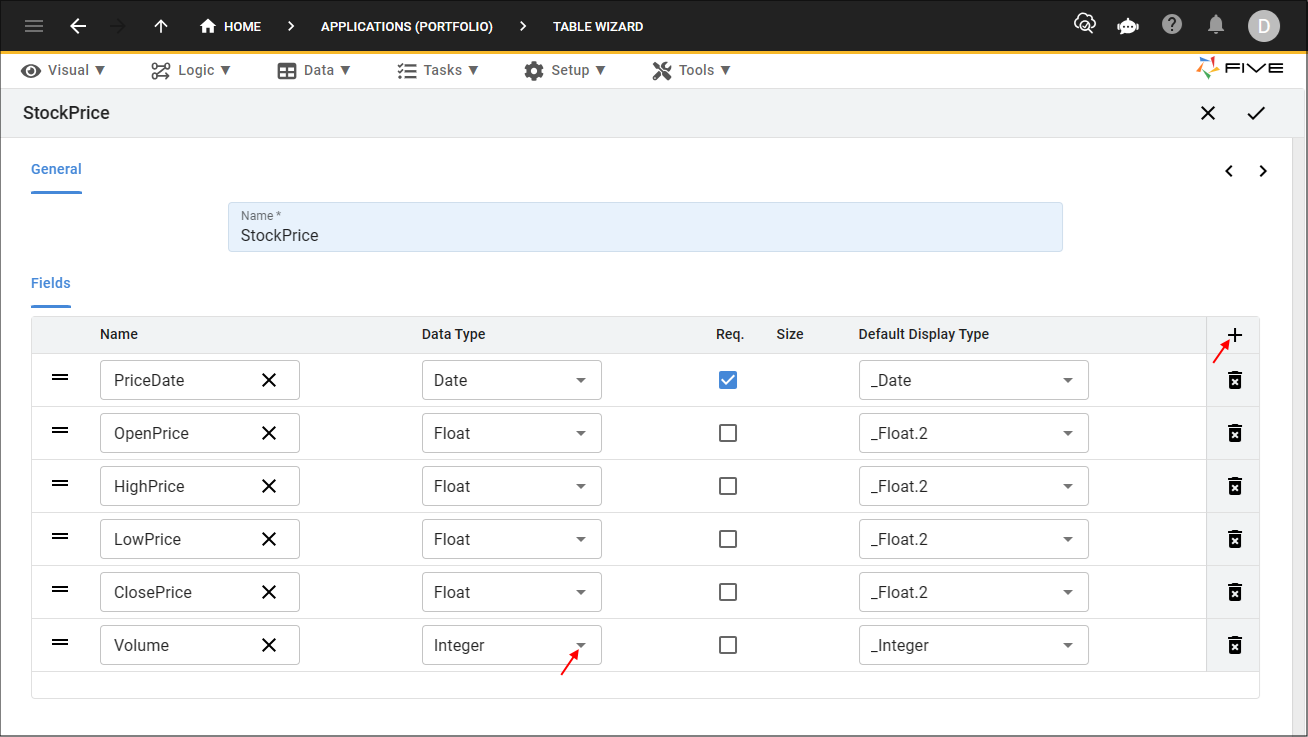
Figure 33 - Add the Volume field
19. Click the Next button.
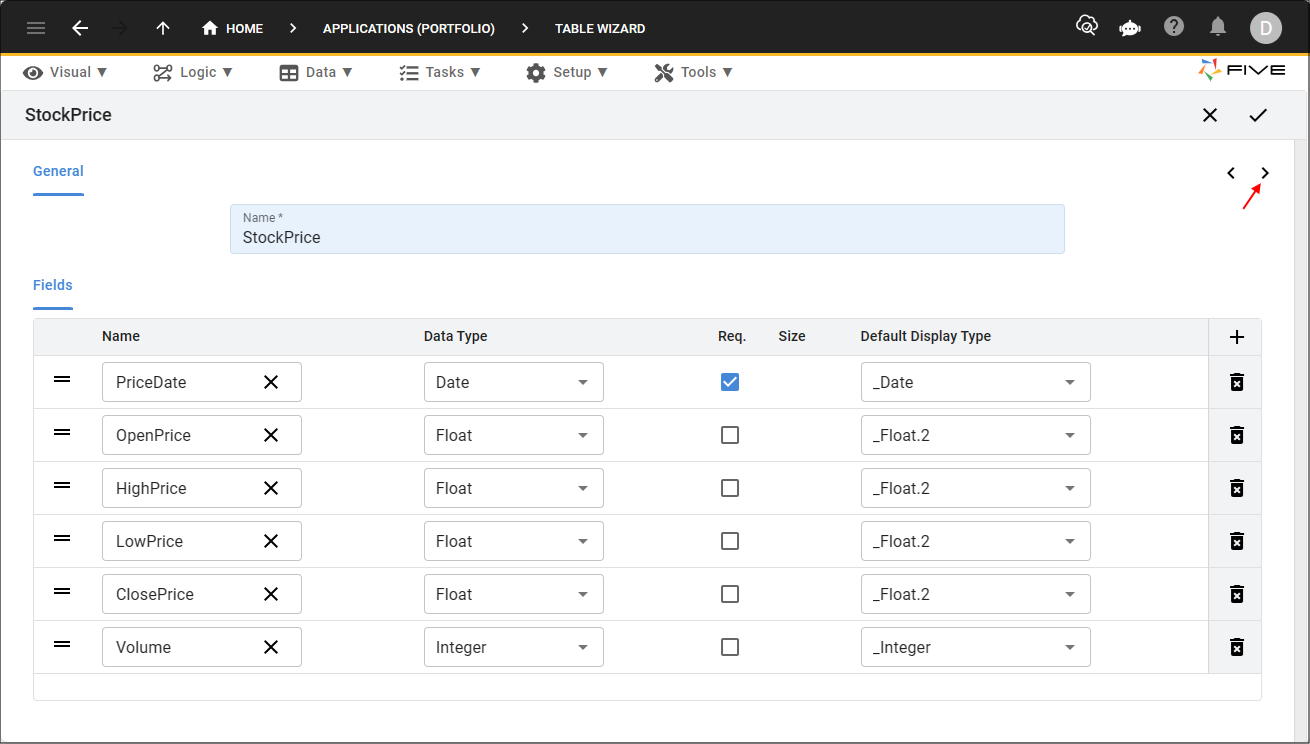
Figure 34 - Next button
20. Click the Add Relationships button.
21. Click the lookup icon in the Table field and select Stock.
22. Click the Required checkbox.
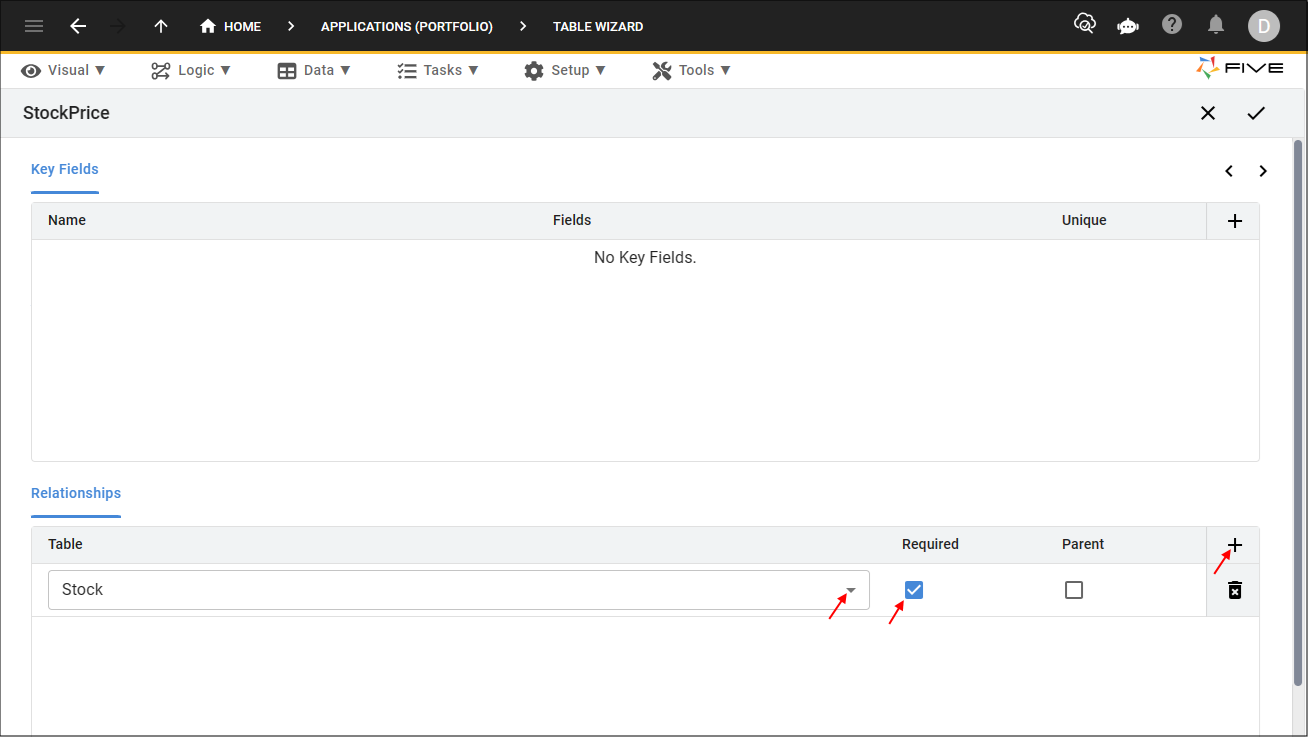
Figure 35 - Add the Stock relationship
23. Click the Save button in the Table Wizard app bar.
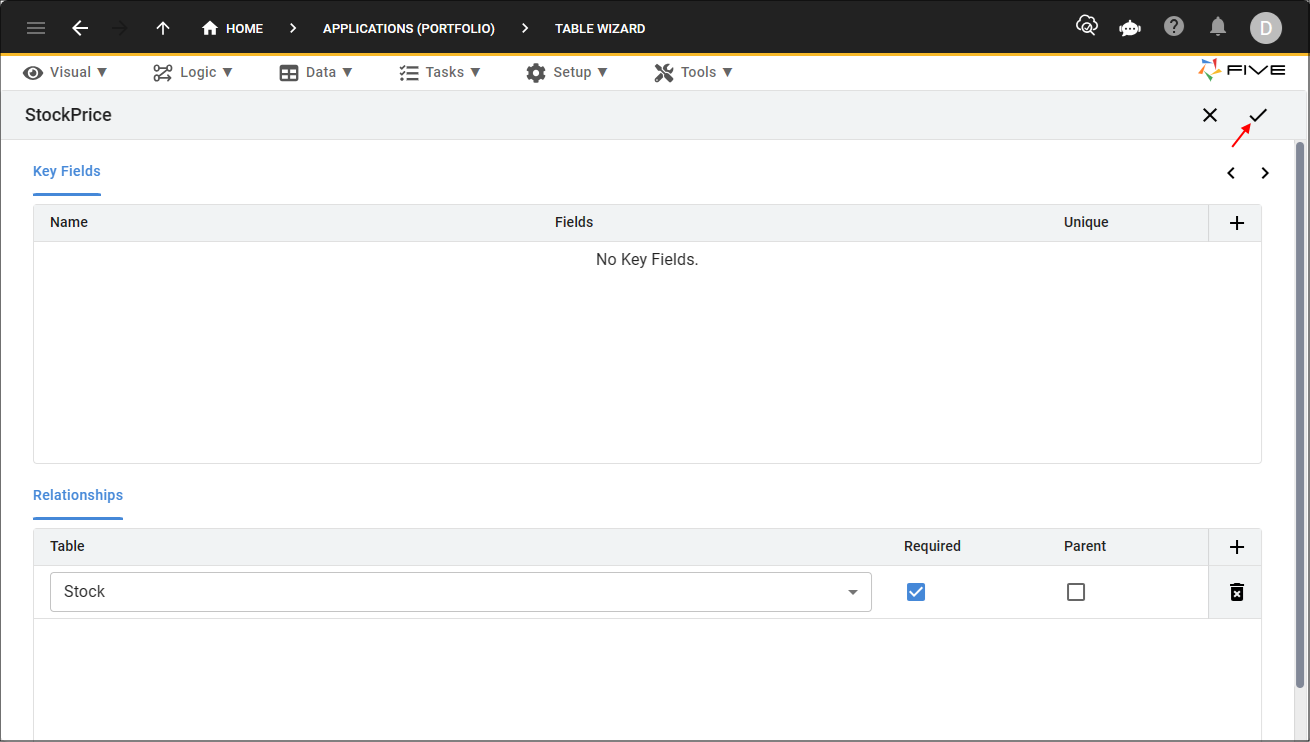
Figure 36 - Save button
24. Click the Save button in the Table Upgrade window.
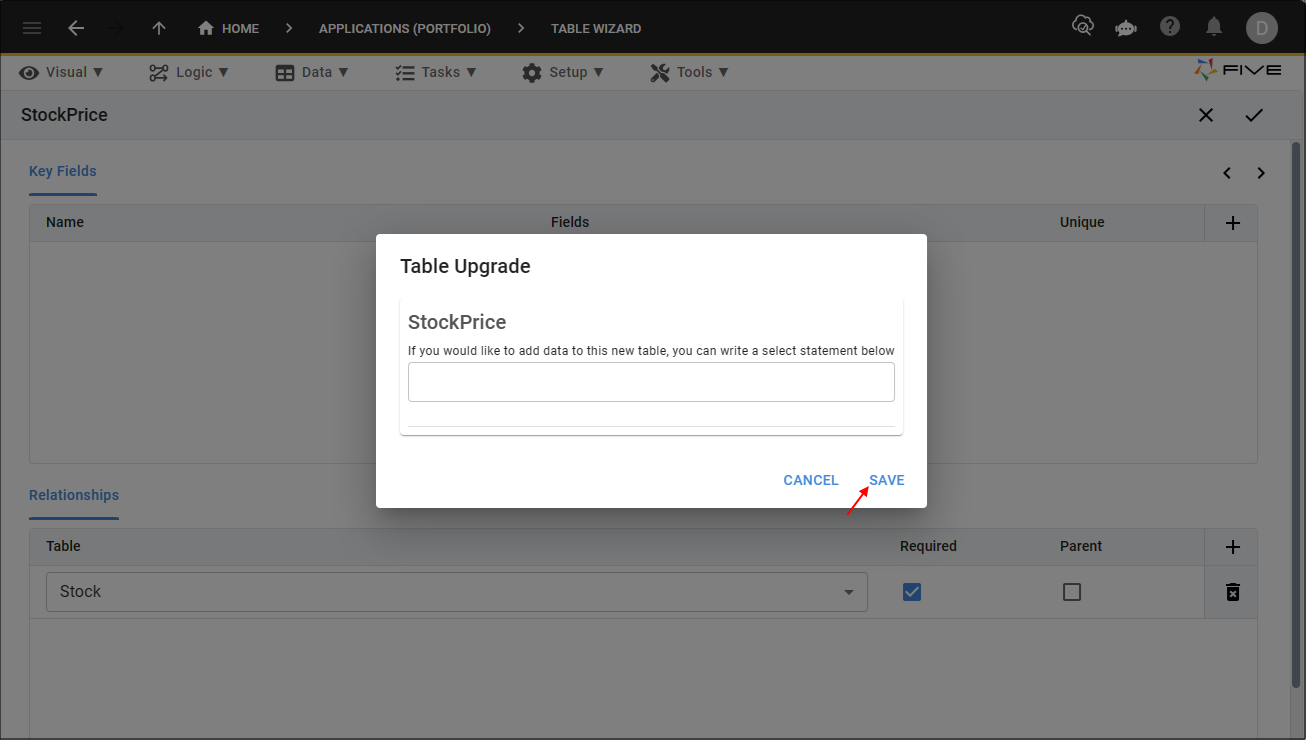
Figure 37 - Save button