Adding and Managing Applications
Last updated 18/03/2024
This documentation will cover how to create and maintain your applications. A number of configurations are defaulted by Five enabling you to start building your application as soon as you have given your application a title.All applications built in Five are built on a MySQL database and Five establishes the connection with MySQL's database management system (DBMS).
Who can Add and Manage Applications?
Please refer to the chapter Five's Users and Roles.info
When you first open Five and agree to our Terms of Service, you will find yourself on our landing page. To remove the landing page, click Applications in the menu.
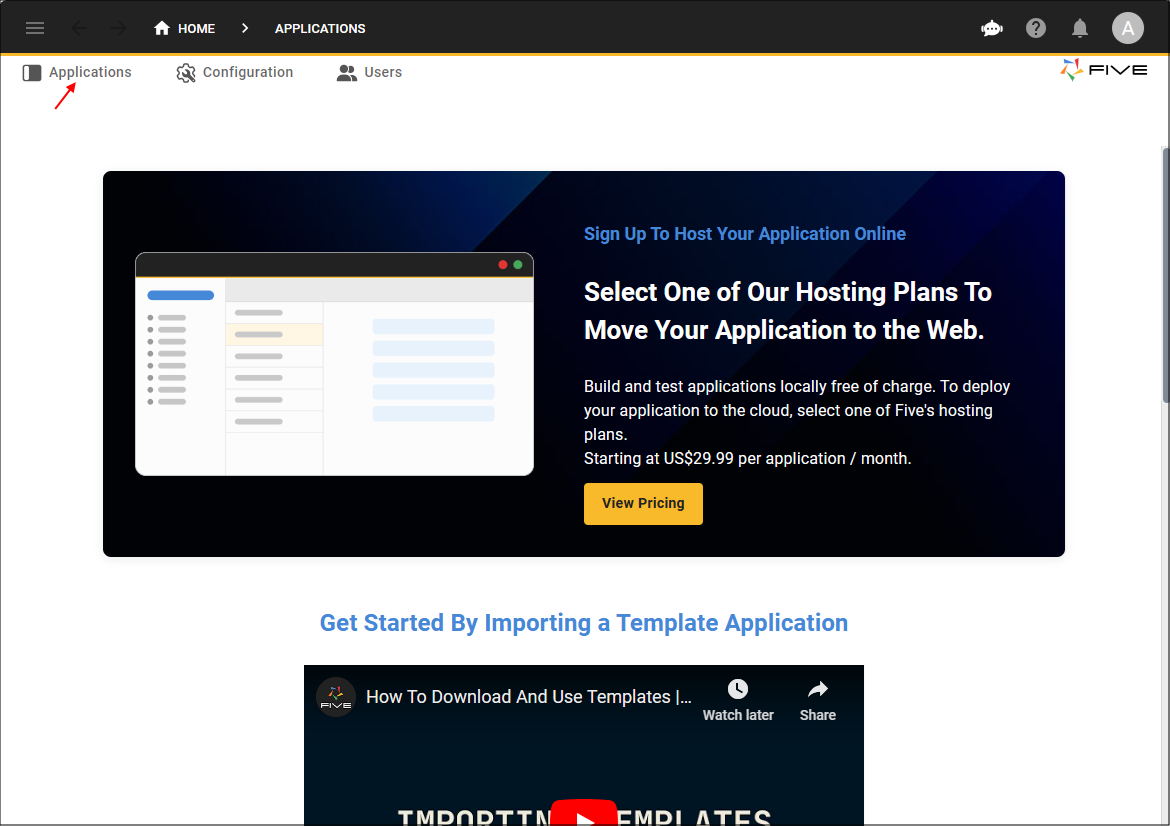
Figure 1 - Applications menu item
Add an Application
1. Click the Add Item button.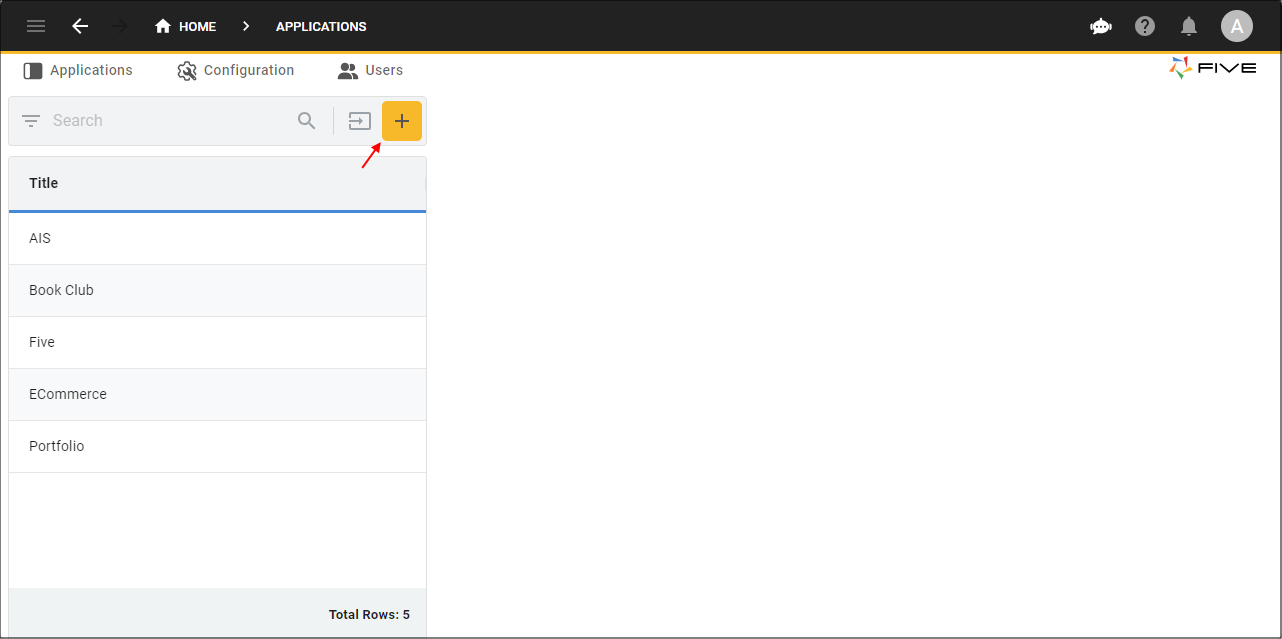
Figure 2 - Add Item button
2. Type a title for your application in the Title field.
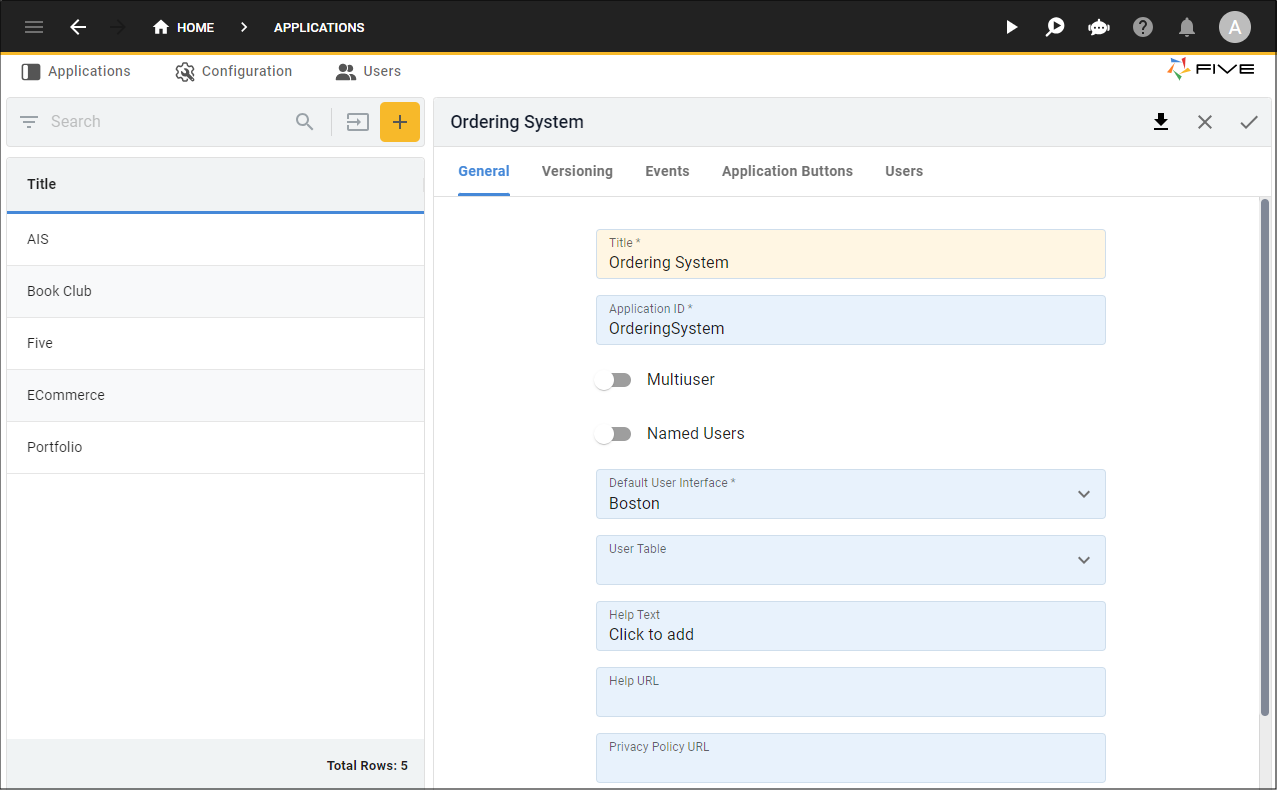
Figure 3 - Add an application
3. Click the Save button in the form app bar.

Figure 4 - Save an application
info
When you click the Save button for a new application, Five creates and establishes the connection to your MySQL database.
Add a Multi-user Application
info
You must save your application before you can turn it into a multi-user application as Five needs the database established to add the iUser
table into your database.
1. Either click the Edit button in the form app bar, or click directly on the Multiuser switch.
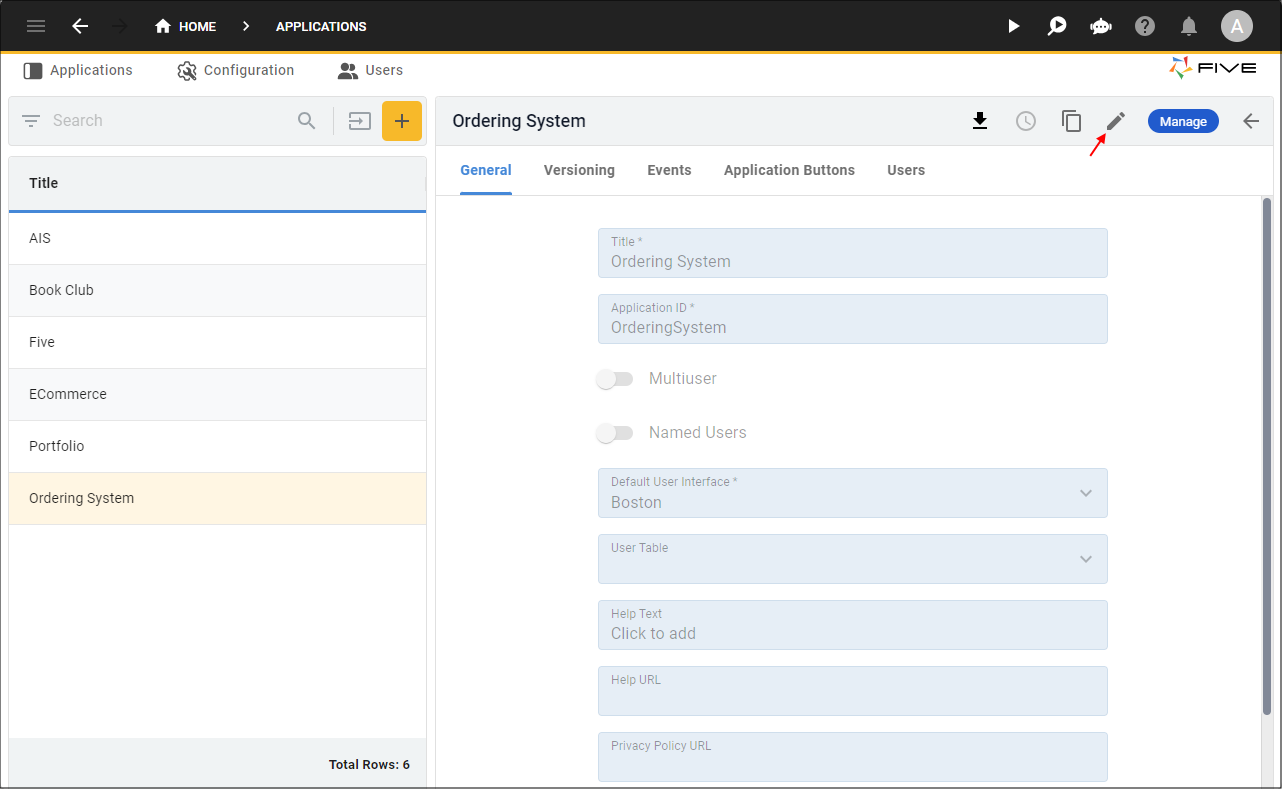
Figure 5 - Edit button
2. Click the Multiuser switch.
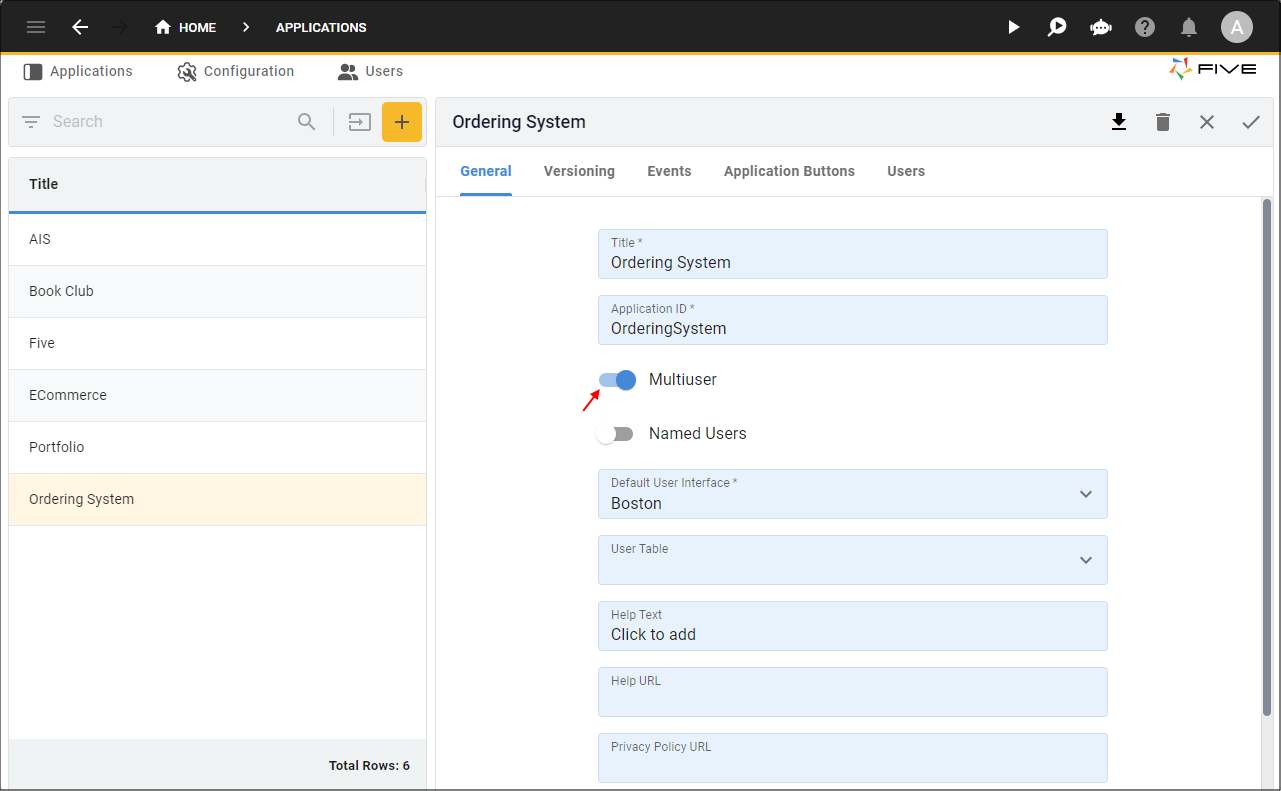
Figure 6 - Multiuser switch
3. Click the Save button in the form app bar.
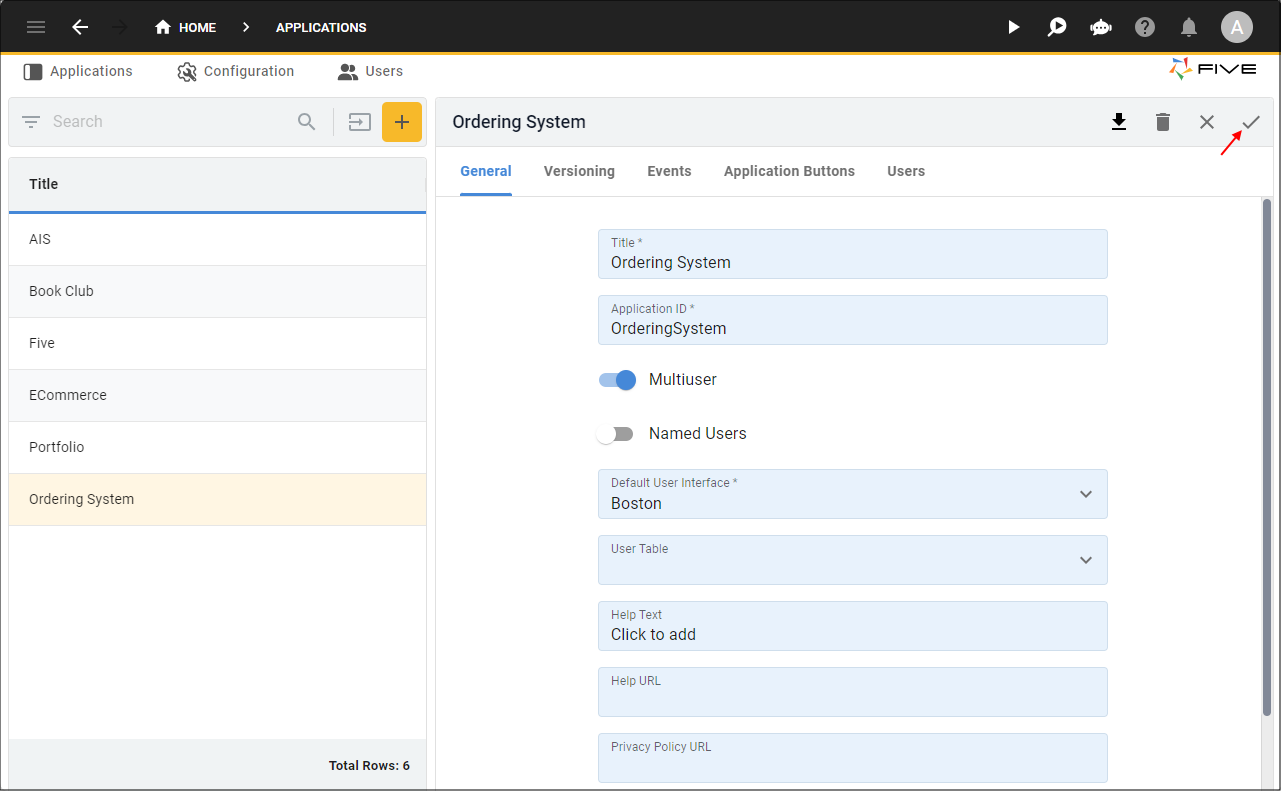
Figure 7 - Save a multi-user application
Logging into Your Multi-user Application
The following documentation will guide you through the initial steps to log into your multi-user application.1. Click the Deploy to Development or Run button in the toolbar.

Figure 8 - Run button
2. Type admin in the Username field.
3. Type admin in the Password field.
4. Click the Sign In button.
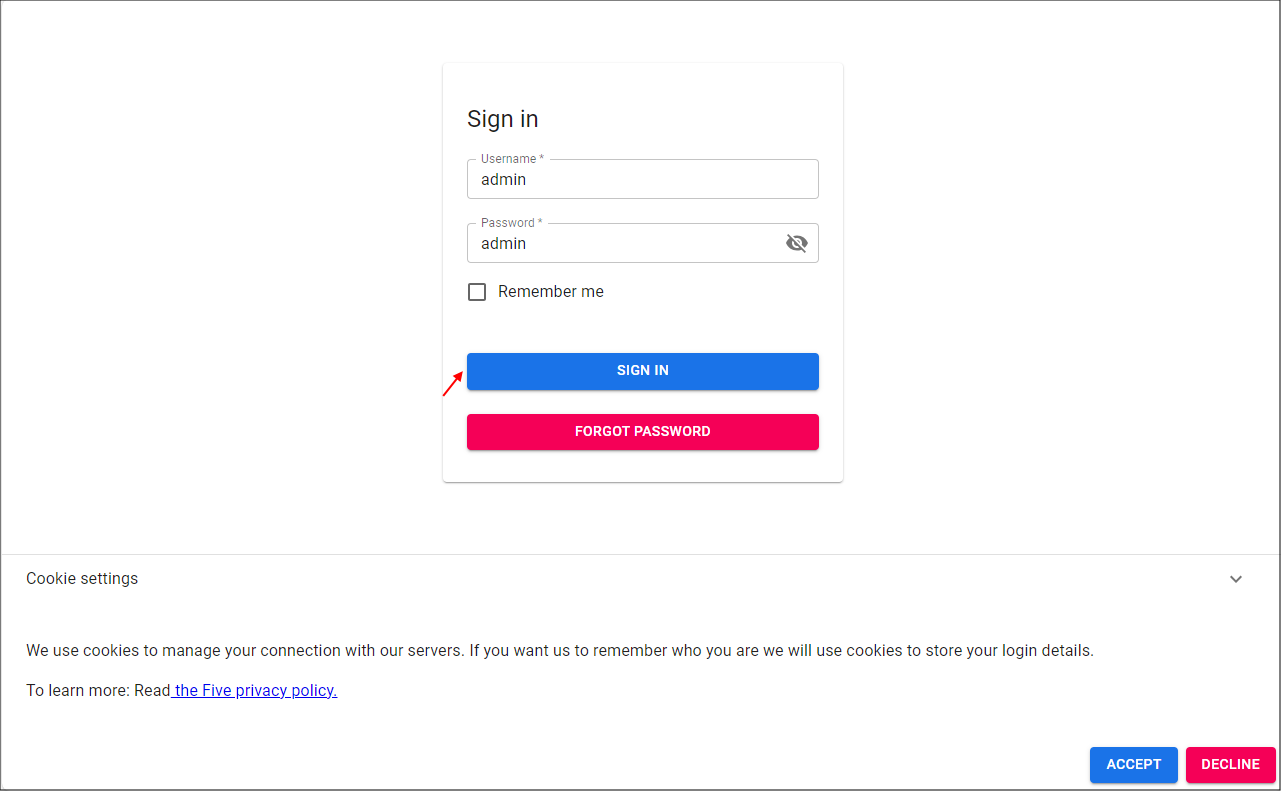
Figure 9 - Sign In window
info
Five will enforce you to change your password. Your password must contain:
- A letter
- A number
- A symbol
- 8 to 32 characters
5. Type your new password in the Password field.
6. Confirm your password in the Confirm Password field.
7. Click the Update Password button.

Figure 10 - Update Password window
info
Five automatically creates the Users form in a multi-user application, as shown below. This enables you to add users to your application immediately. It is highly recommended that you create a menu structure and permissions to only have the Users form available to the right people.
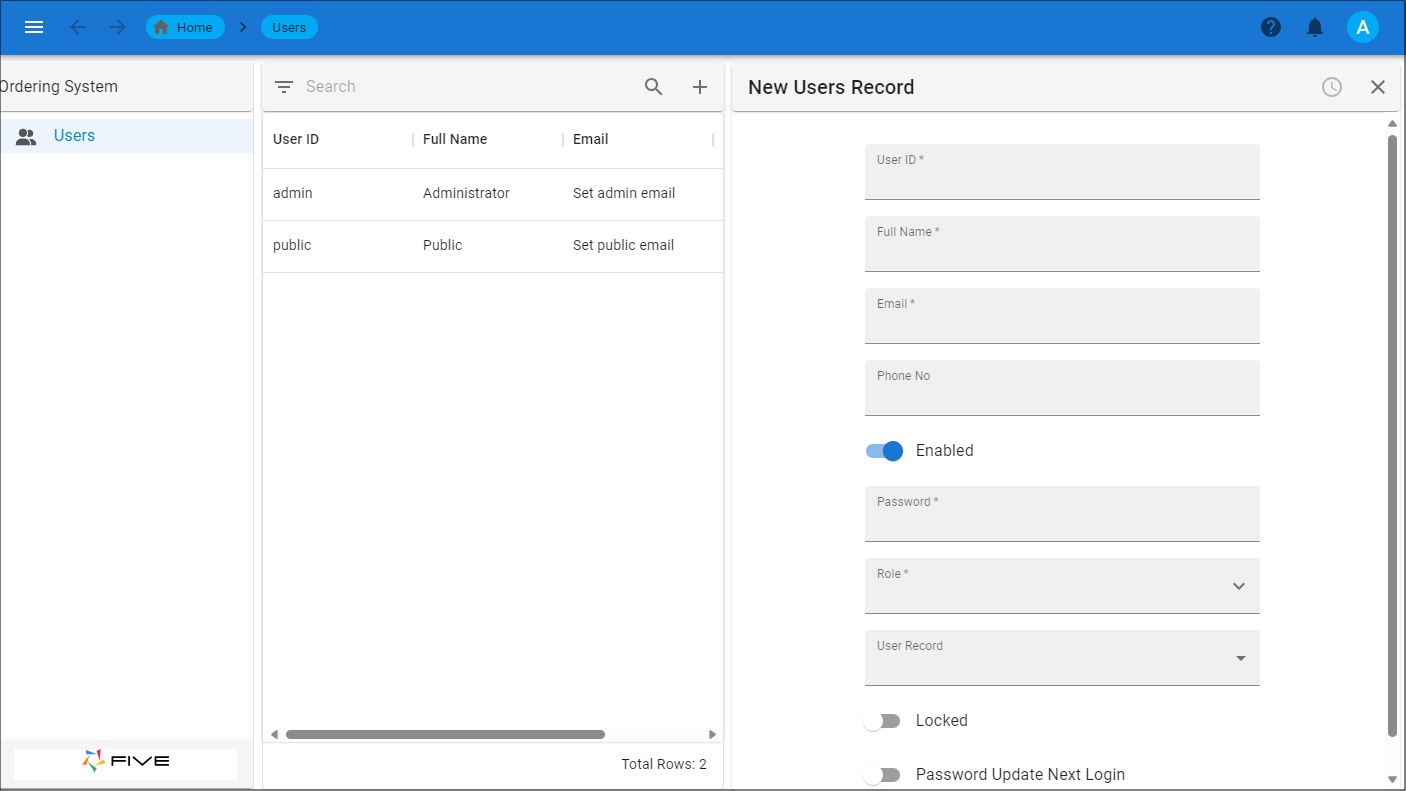
Figure 11 - Users form
What Five Creates
Five handles creating all your initial setup so you can begin to create your application. Five creates the following:- A unique URL based on the title.
- A database and the connection to the external DBMS.
- A default instance.
- Versioning setup to provide a full set of history tables.
- A multi-user application will have the iUser table, Users form, and Users menu item.
Managing Applications
The following documentation will explain how to maintain your applications.Edit an Application
1. Select the application record in the list.2. Either click the Edit button in the form app bar, or click in any field.
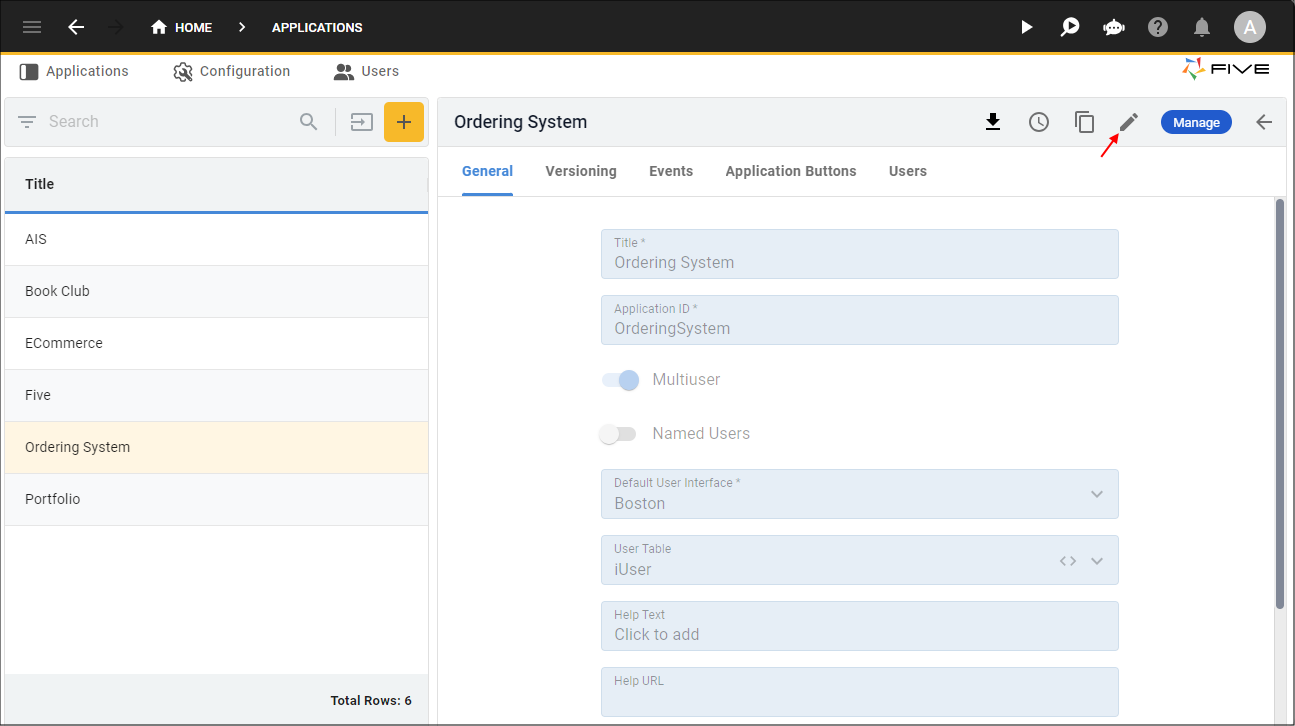
Figure 12 - Edit button
3. Make your changes.
4. Click the Save button in the form app bar.
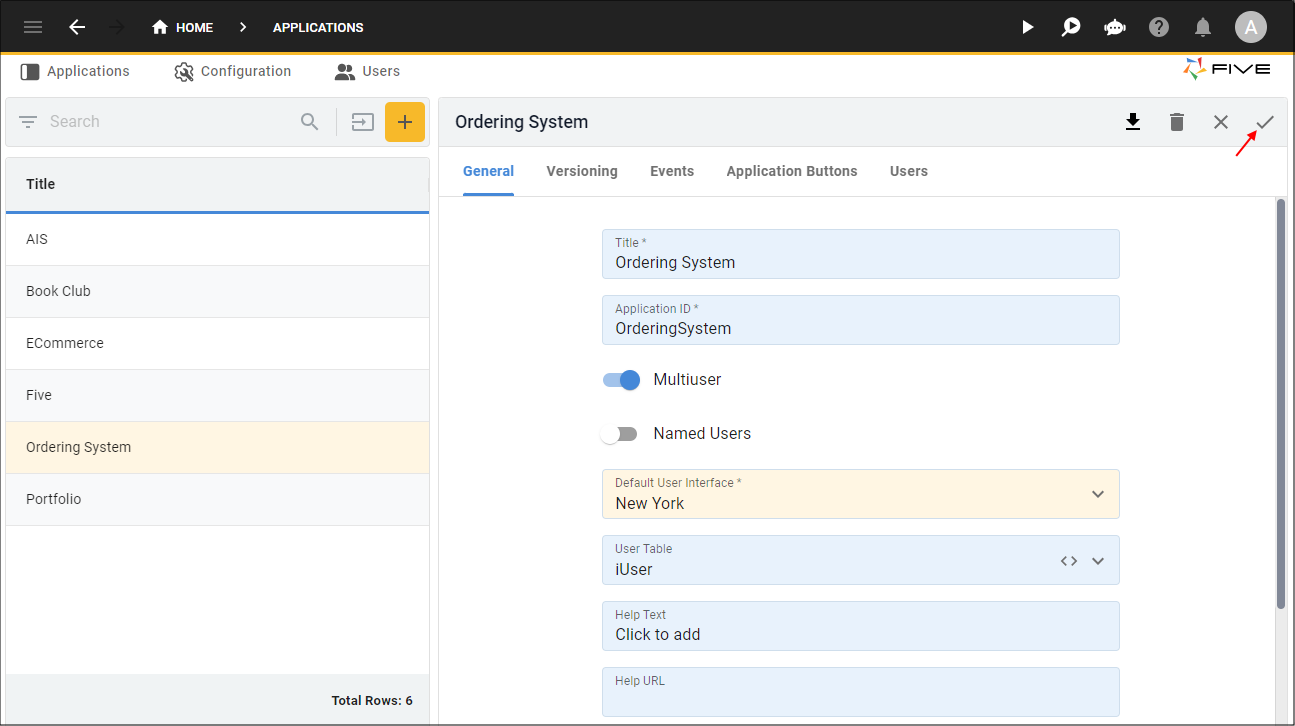
Figure 13 - Save button
Delete an Application
1. Select the application record in the list.2. Click the Edit button in the form app bar.
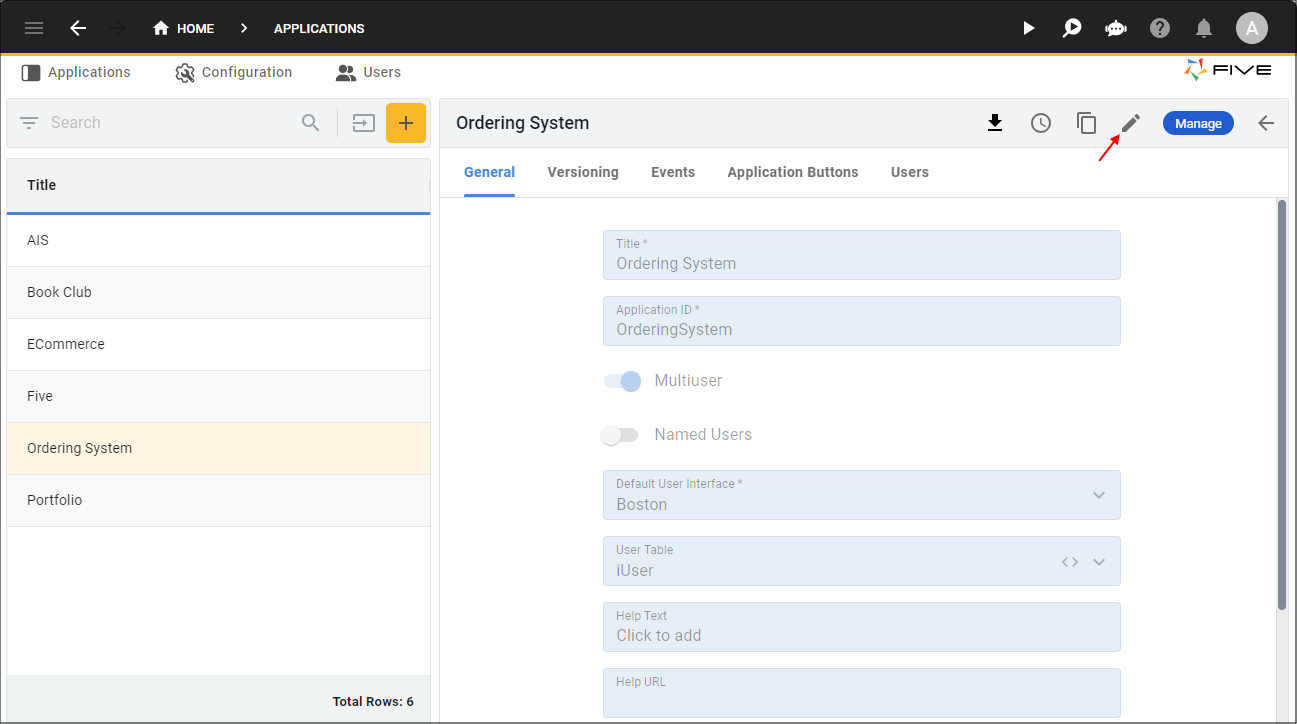
Figure 14 - Edit button
3. Click the Delete button in the form app bar.
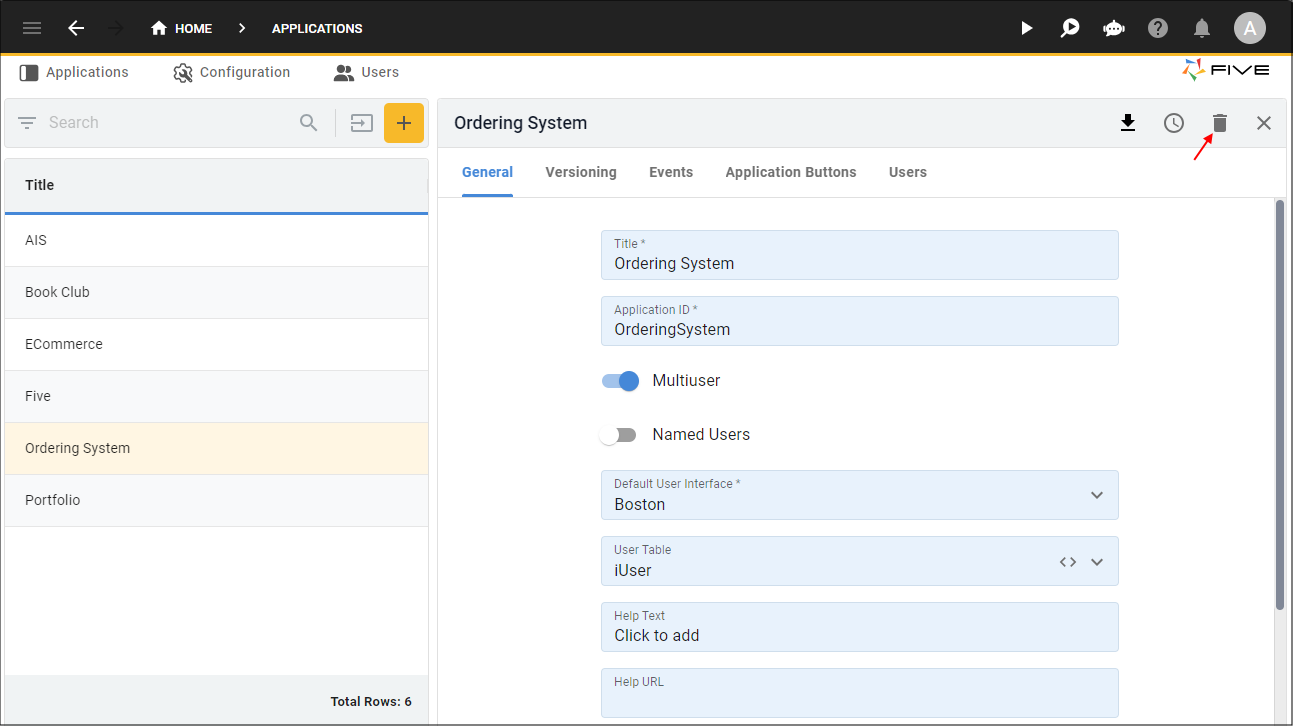
Figure 15 - Delete button
caution
Five will ask you 'Do you want to delete this record?' because once an application has been deleted, the schema and all data will be deleted and
cannot be recovered. At this stage, you can opt not to delete your application by clicking the No button.
4. Click the Yes button.
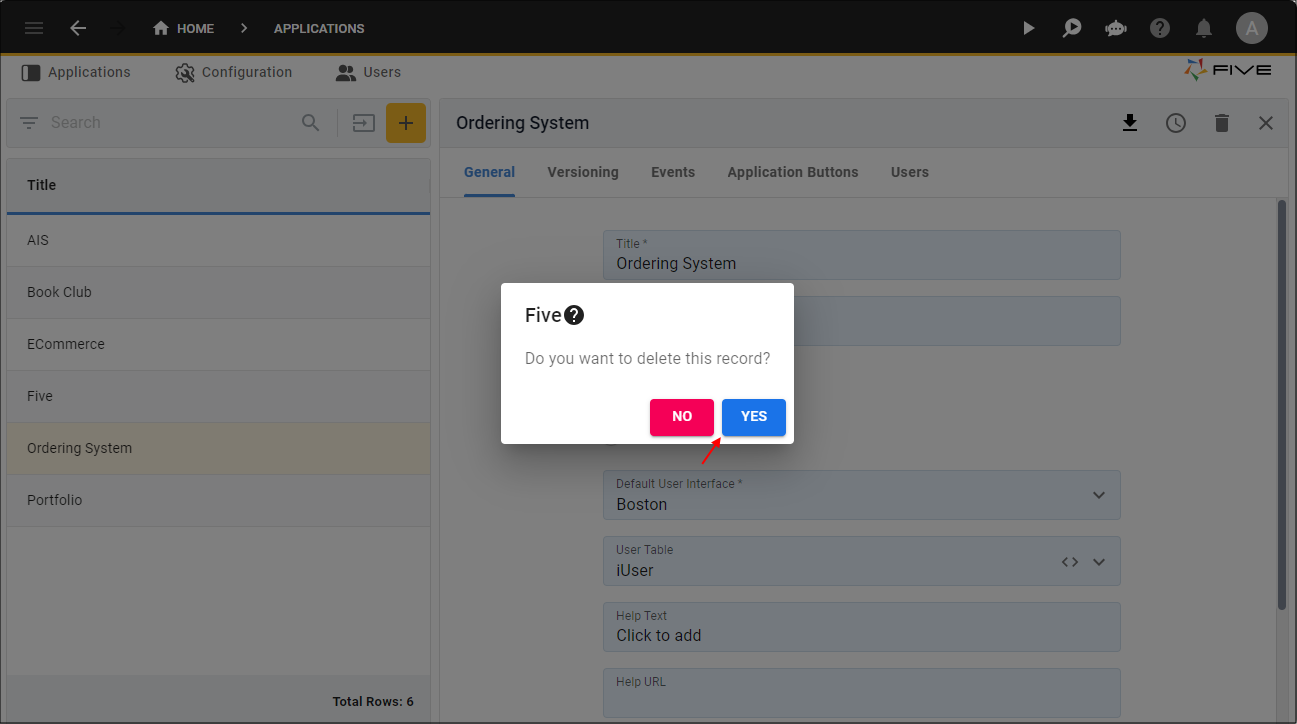
Figure 16 - Yes button