9 - Create a Data View
Last updated 12/12/2023
Creating a data view enables you to select a data source that will return results you want to display. This documentation will explain how to create a data view using the DailyVolumeQuery as the data source. We will use the data view and the chart we just created on a dashboard to see the results.tip
You can create a menu item for a dataview!
Navigate to Data Views
1. Click Visual in the menu.2. Click Data Views in the sub-menu.
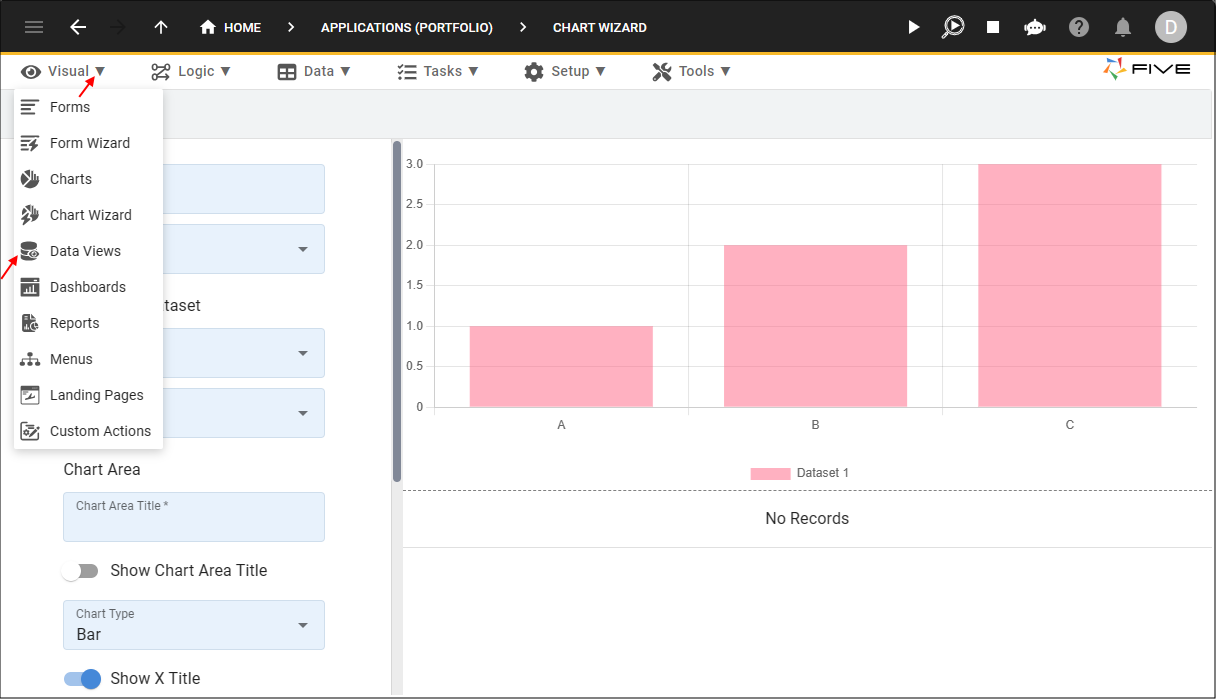
Figure 1 - Data Views menu item
Add the Daily Volume Data View
1. Click the Add Item button.2. Type Daily Volume in the Title field.
3. Type DataView after DailyVolume in the Action ID field.
4. Click the lookup icon in the Data Source field and select DailyVolumeQuery (Query).
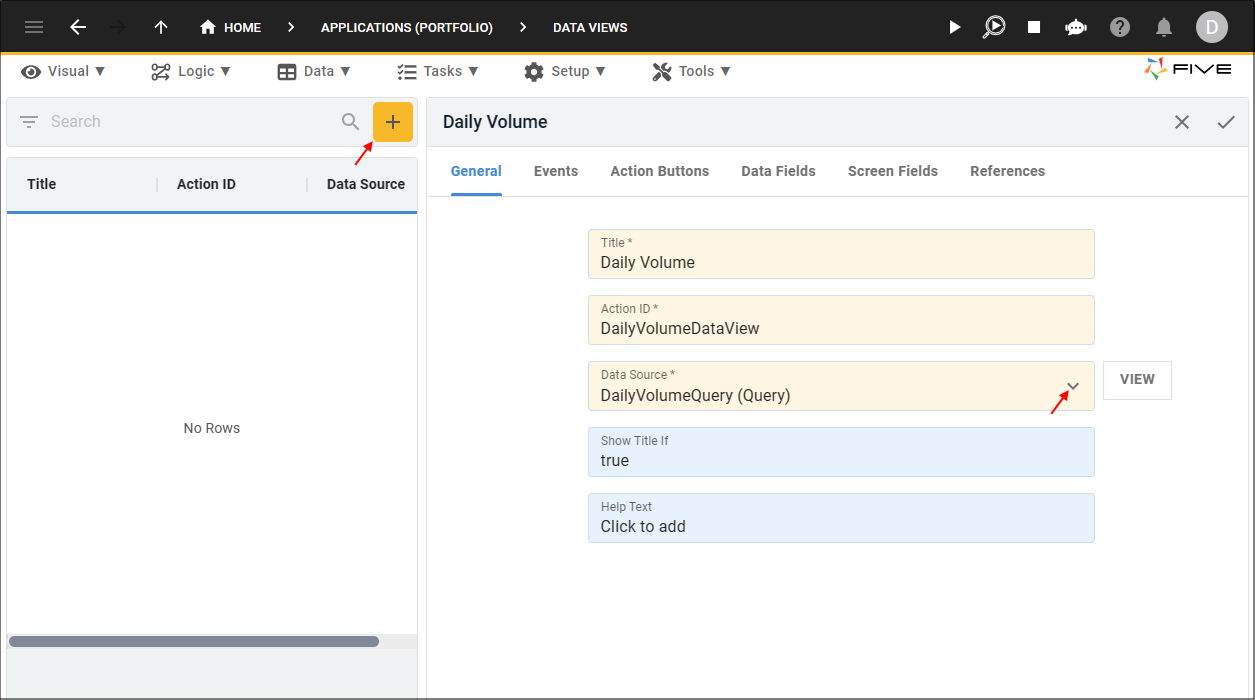
Figure 2 - Add the Daily Volume data view
5. Click the Data Fields tab.
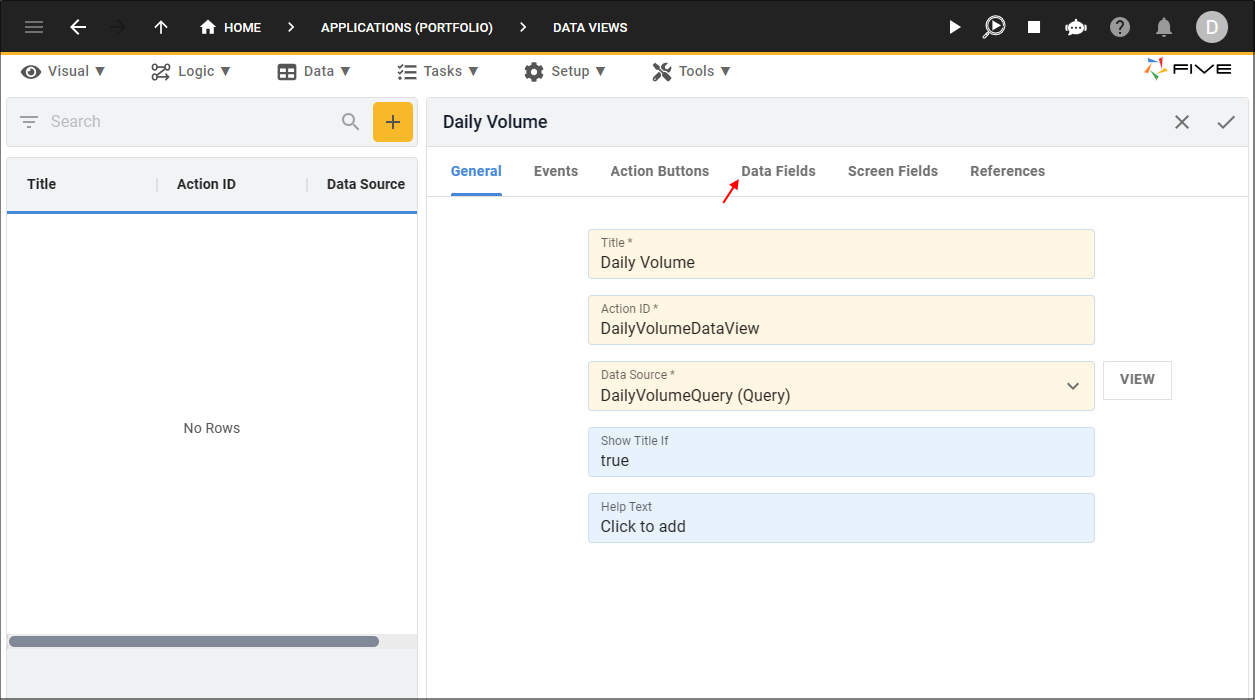
Figure 3 - Data Fields tab
info
The query fields and the definitions that we set in the Queries view for the DailyVolumeQuery are carried through to the data fields. These fields can also
be edited here.
6. Click the Save button in the form app bar above the list.

Figure 4 - Save button