Add and Manage Databases
Last updated 25/03/2024
Who Can Add and Manage Databases?
Please refer to the chapter Five's Users and Roles.
Supported External Databases
You can select to create a connection to the following external Database Management Systems (DBMS).- MSSQL
- MySQL
- SQLite
Connection String Details
To use an external database, you will need to have an account created with the database provider.The connection string configures Five's database connection to connect to the external DBMS. You need to provide the connection string to establish the database connection. The connection string represents a set of parameters in the form of key=value pairs separated by semicolons.
| Key | Value | Example |
|---|---|---|
| Driver | The database driver allows you to interact with your chosen DBMS through Five's interface. | driver=MSSQL |
| URL | A database connection URL provides a way of identifying a database so that the selected driver recognizes it and connects to it, this can be a host name or an IP address including the port number. | url=serverdb.host.com:1433 |
| Username | Your username in your DBMS. | username=user |
| Password | Your password in your DBMS. | password=password |
| Name | The name of your database in your DBMS. | name=exampleDB |
Example
driver=MSSQL;url=serverdb.host.com:1433;username=user;password=password;name=exampleDBnote
The value in the Database ID field must exactly match the name value in your connection string as shown in the image below.
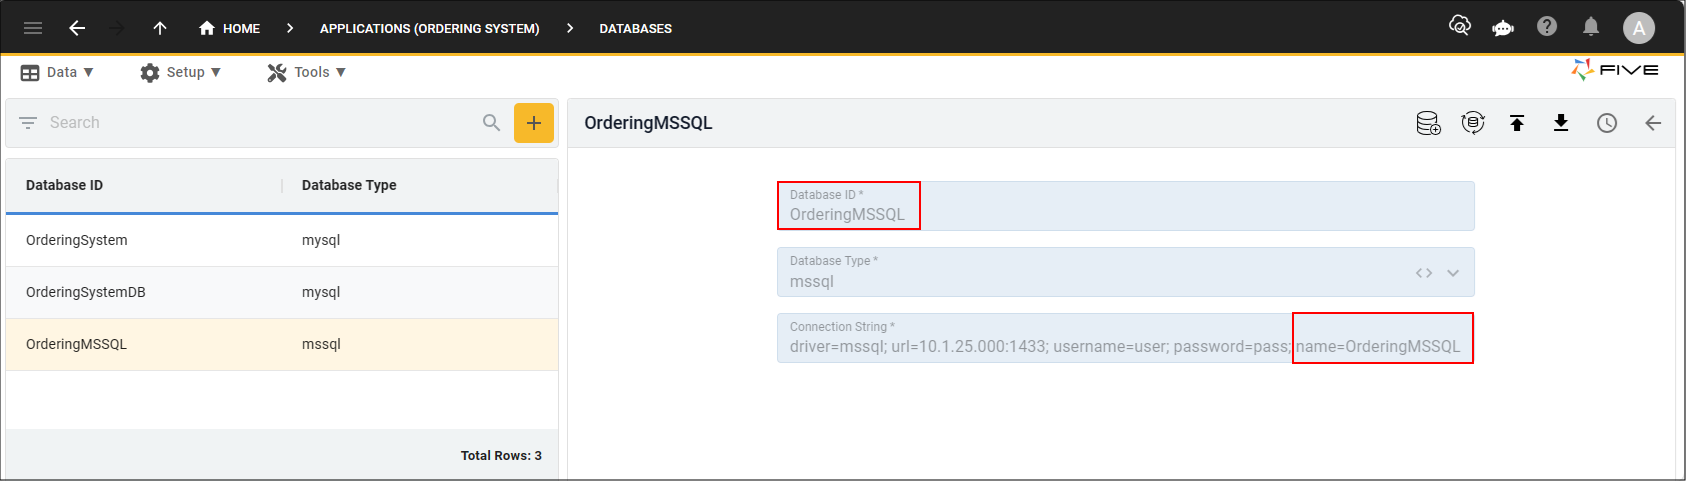
Figure 1 - Database ID and name match
Add a Database
1. Navigate to the Databases view.2. Click the Add Item button.

Figure 2 - Add Item button
3. Click the lookup icon in the Database Type field and select the type.
4. Type your connection string in the Connection String field following the above guidelines.
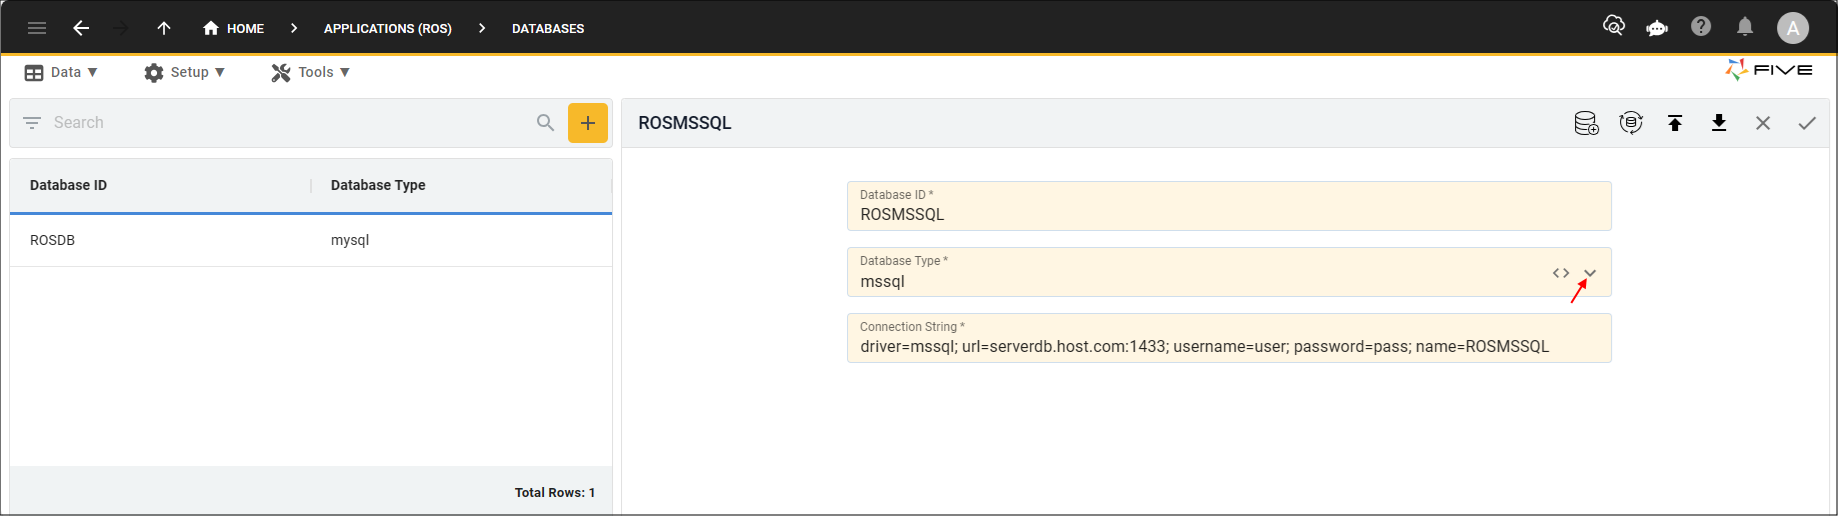
Figure 3 - Add a database
5. Click the Save button in the form app bar.
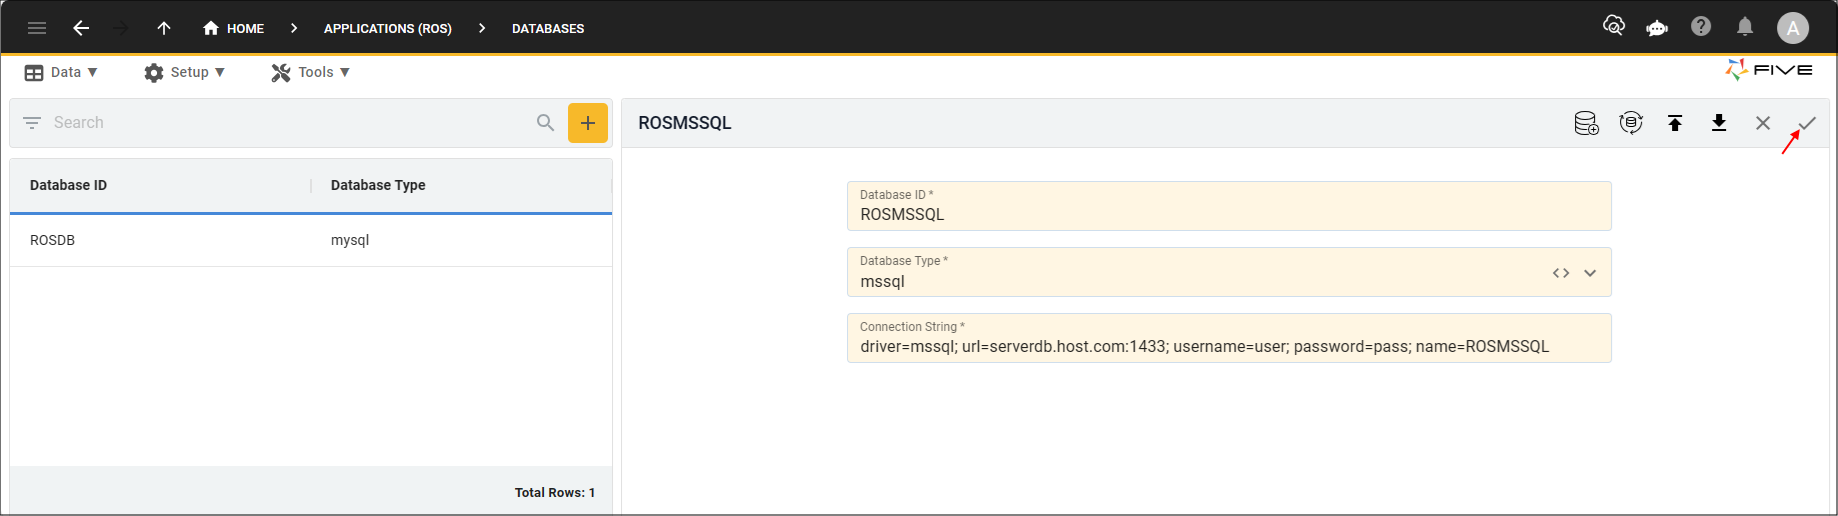
Figure 4 - Save button
Edit a Database
1. Select the database record in the list.2. Click directly in the field you want to edit.
3. Make your changes.
4. Click the Save button in the form app bar.

Figure 5 - Save button
Delete a Database
caution
Deleting a database will delete all the data in the database. It is recommended to backup your data first!
1. Select the database record in the list.
2. Click directly in a field to activate the form.
3. Click the Delete button in the form app bar.
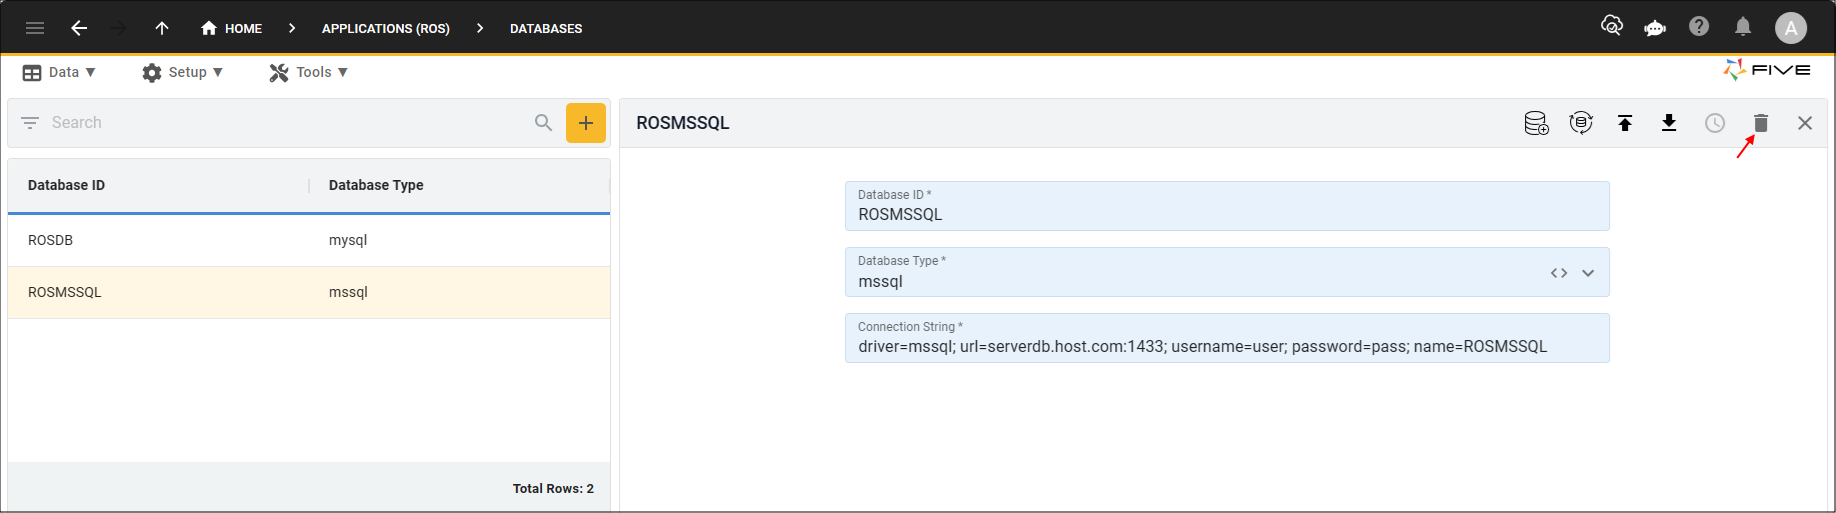
Figure 6 - Delete button
4. Click the Save button in the form app bar.
Figure 7 - Save button
5. Click the Yes button.
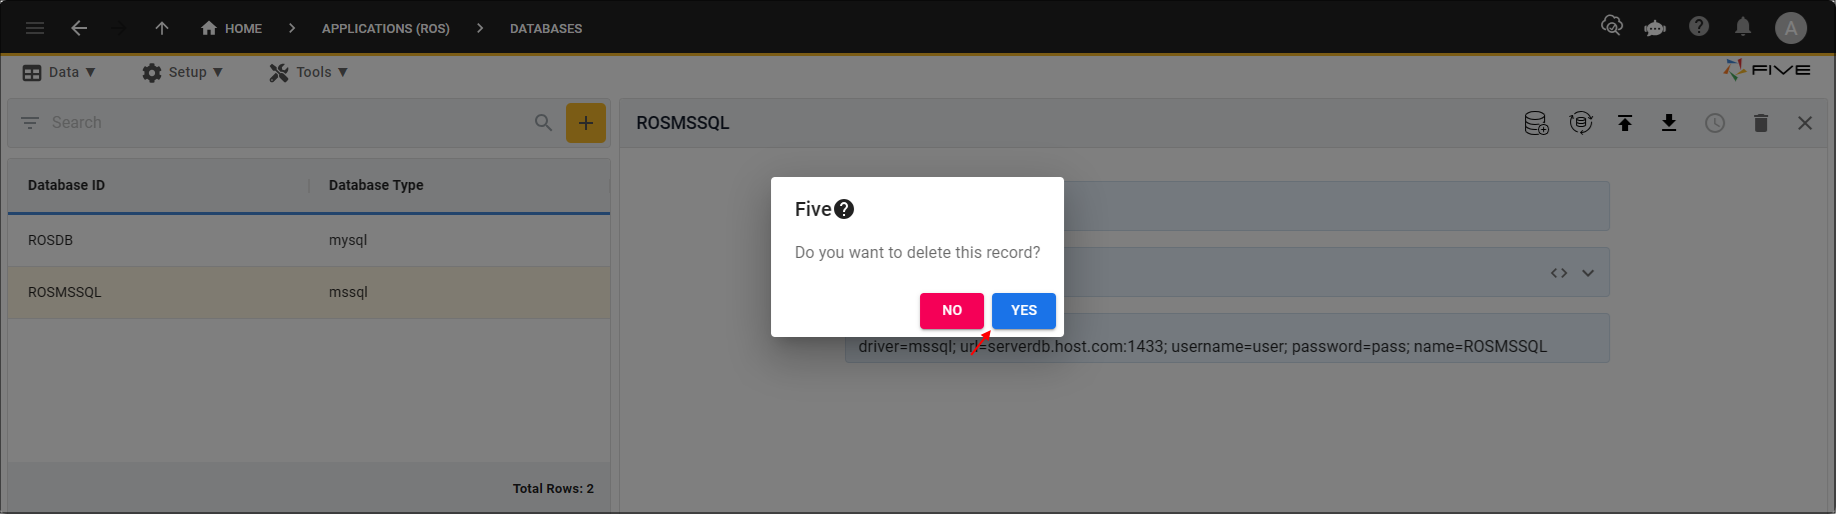
Figure 8 - Yes button