Assigning Menus
Last updated 12/06/2024
Menus can be assigned to a role. When a menu is assigned to a role, a user logging into your application with that role will be logged in under that menu and any children menus will also be available. Effectively, the top-level menu is removed. When a menu is assigned without any security table configured, no filtering will be applied. Permissions can still be applied to each of the data sources in the menu.
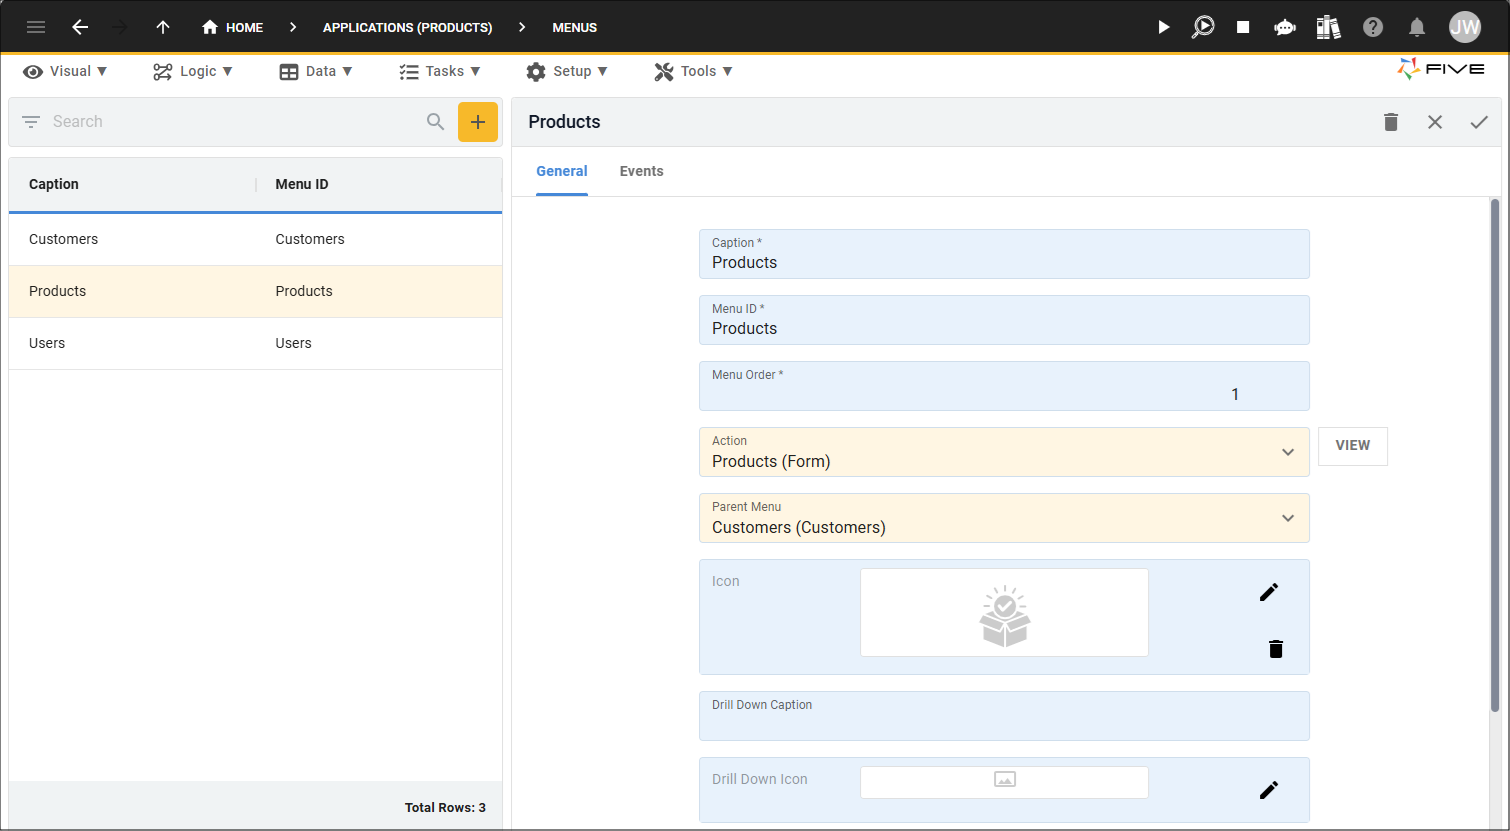
Lets take a look at an example. In the menu structure, Customers is the parent for Products.
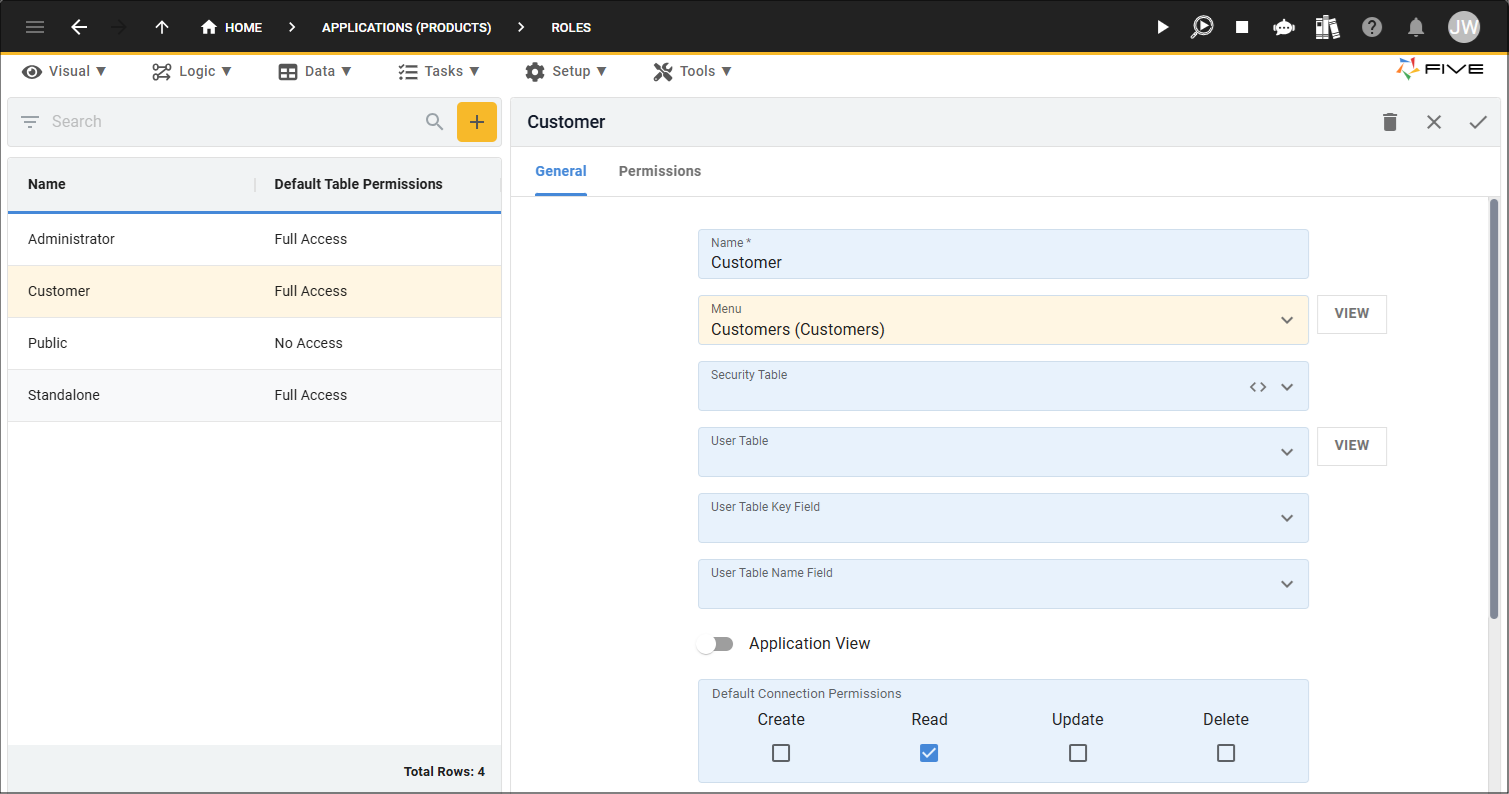
The Customer role has the Customers menu attached without any security table configuration.
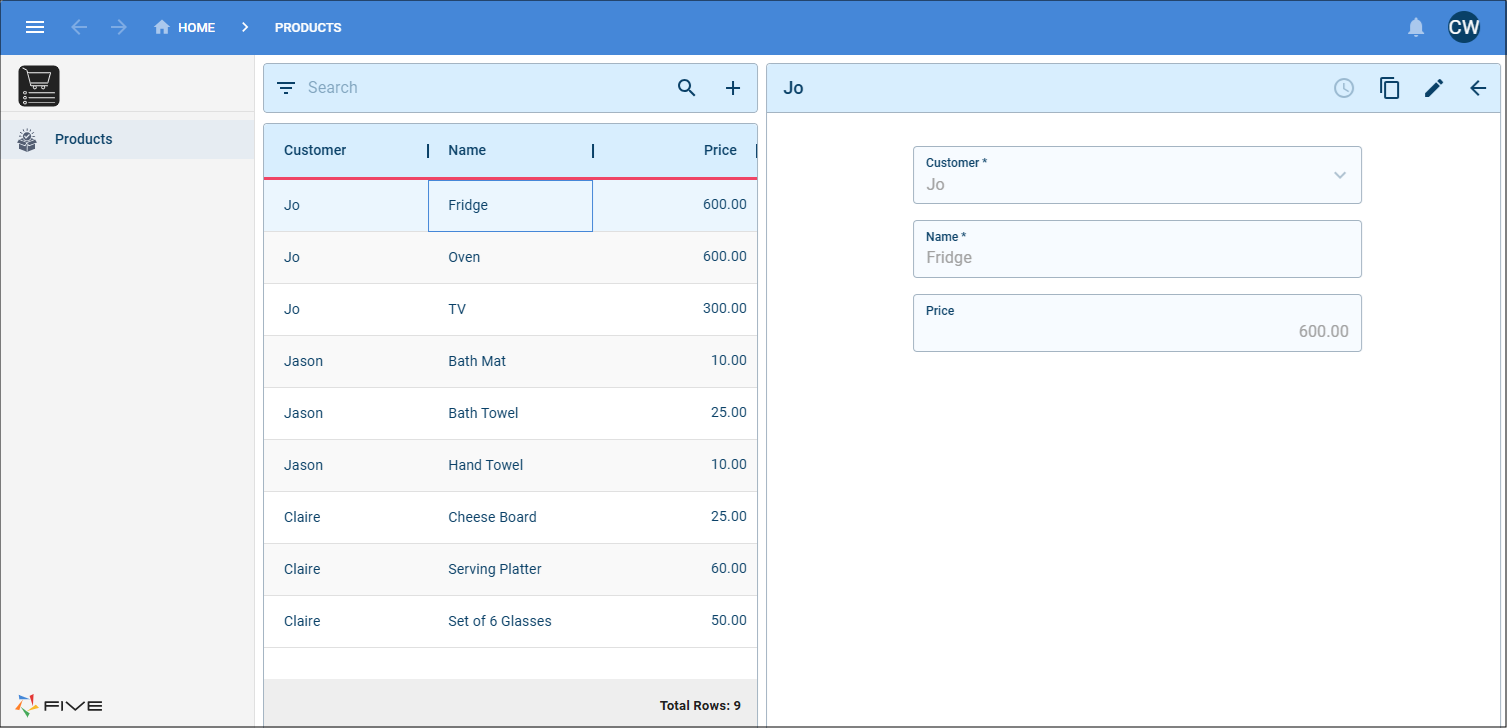
In the application, a user called Claire is assigned the Customer role. When she logs in with her credentials, she will log in at the Products level and will see all customers and their products. Effectively, the drill down from the parent menu has been removed.
Assign a Menu to a Role
1. Click the Add Item button and give your role a name.
2. Select the menu in the Menu field.
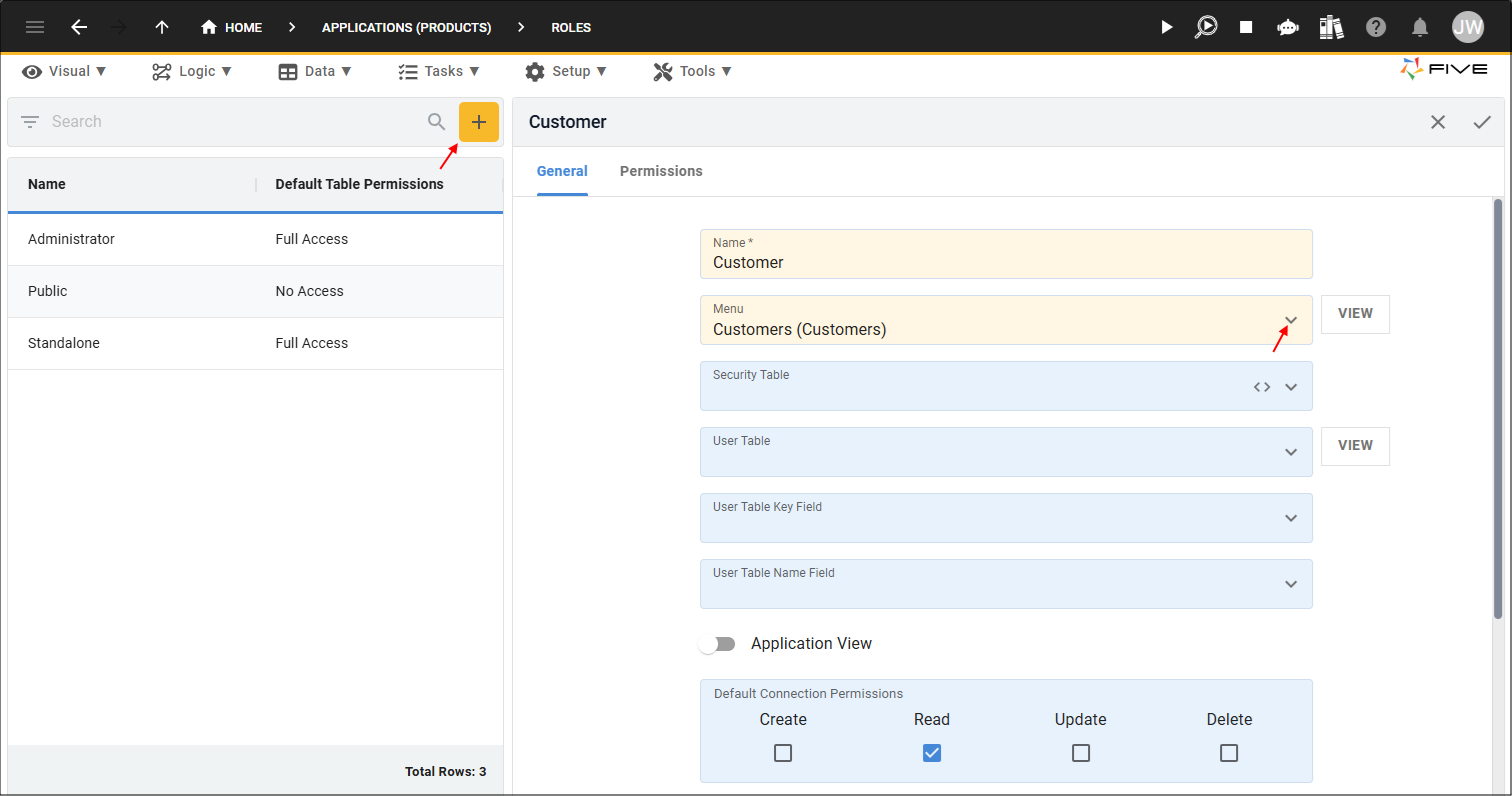
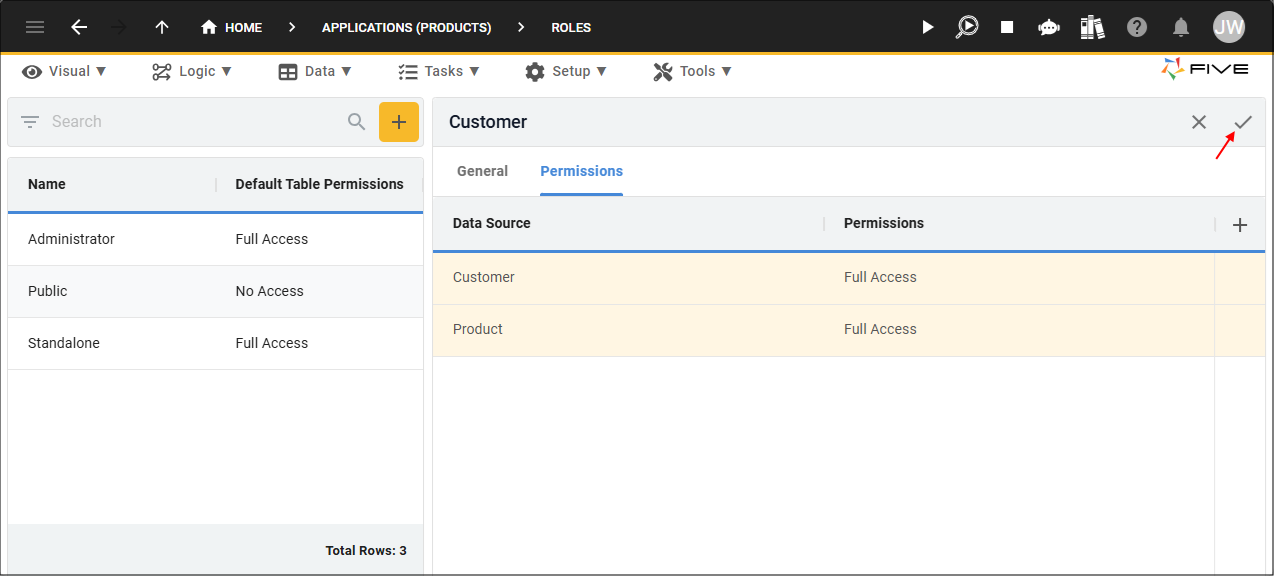
3. Add the permissions required to your data sources.
4. Click the Save button in the form app bar.