Add and Assign a Role
Last updated 7/06/2024
This documentation will demonstrate a basic method to adding a role in Five. No menu will be assigned or any security table applied to the role it is purely to show how to add a role with permissions and then assign this role to a user to secure your application.
Scenario
A small Products application where each customer can see their products has been setup to demonstrate the different methods you can use to add your roles.
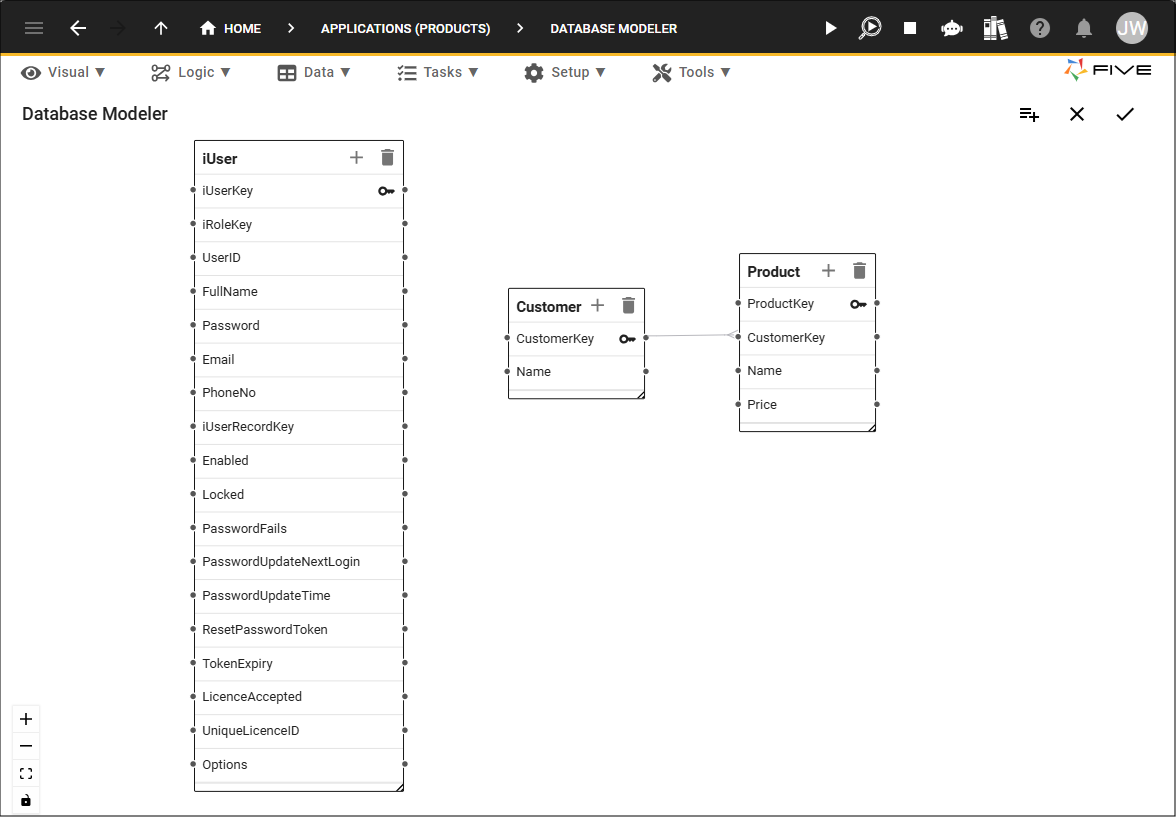
Tables
A three table database is established that holds the Customer, Product, and iUser tables. The iUser table is injected by Five into your database when you create a multiuser application. This enables you to add users into your application immediately. To create a multiuser application the Multiuser switch on the Application form needs to be turned on.
Effectively, Five enforces security of your application through the permissions assigned to the role that is attached to the user.
Form and Menu Setup
In the application, a Customer form sits at the top-level and from here you can drill down to purchase a product. To have the drill down functionality, the Customers menu is the parent for the Products menu.
The image below shows when signed in as admin, all the customers are visible in the list, selecting one and clicking the Down button will show their products.
Add a Role
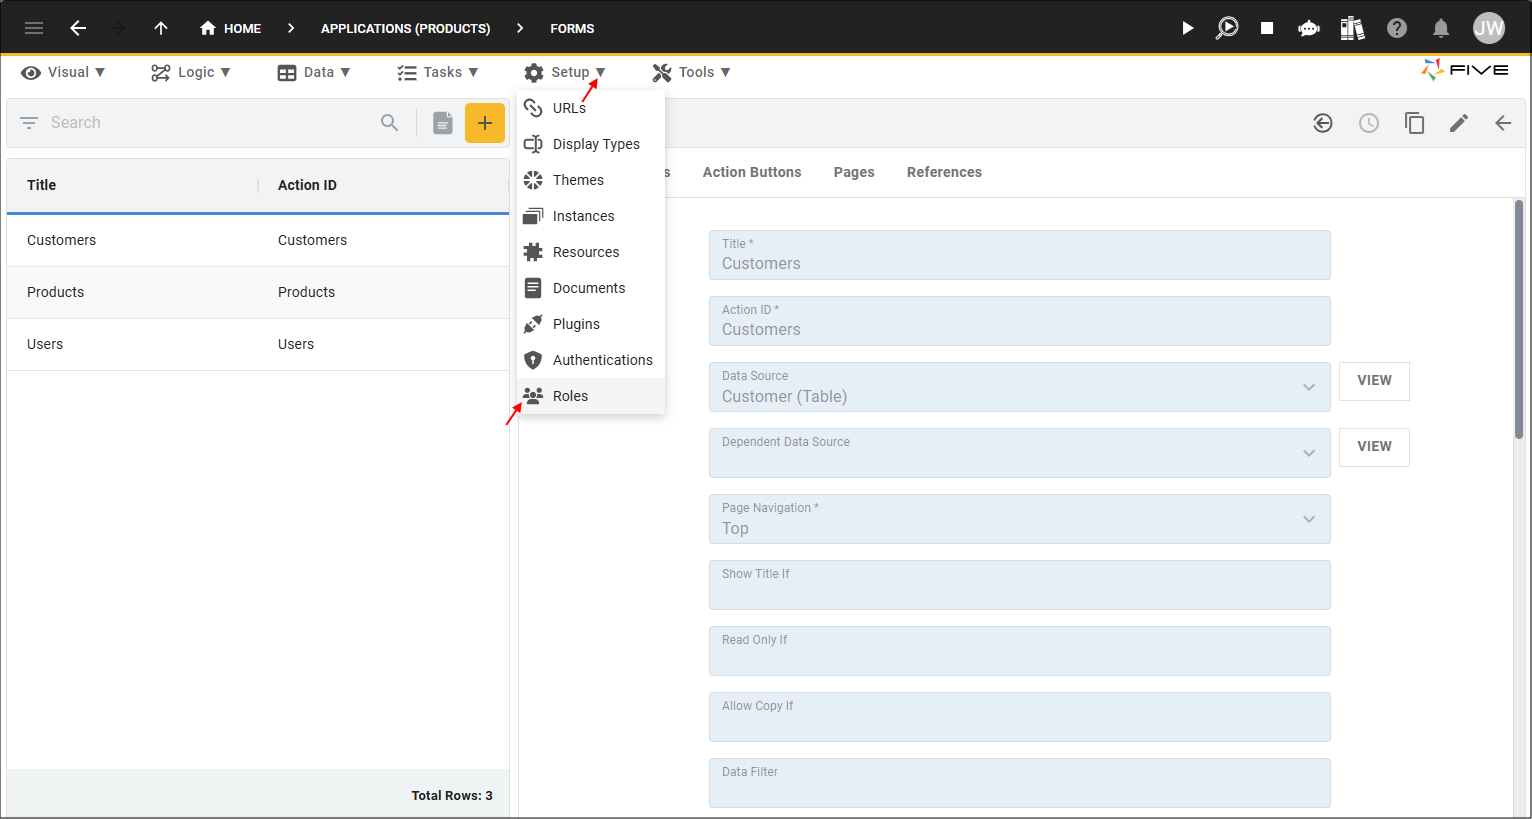
1. Navigate to the Roles view by selecting Setup in the Menu and Roles in the sub-menu.
2. Click the Add Item button and give your role a name.

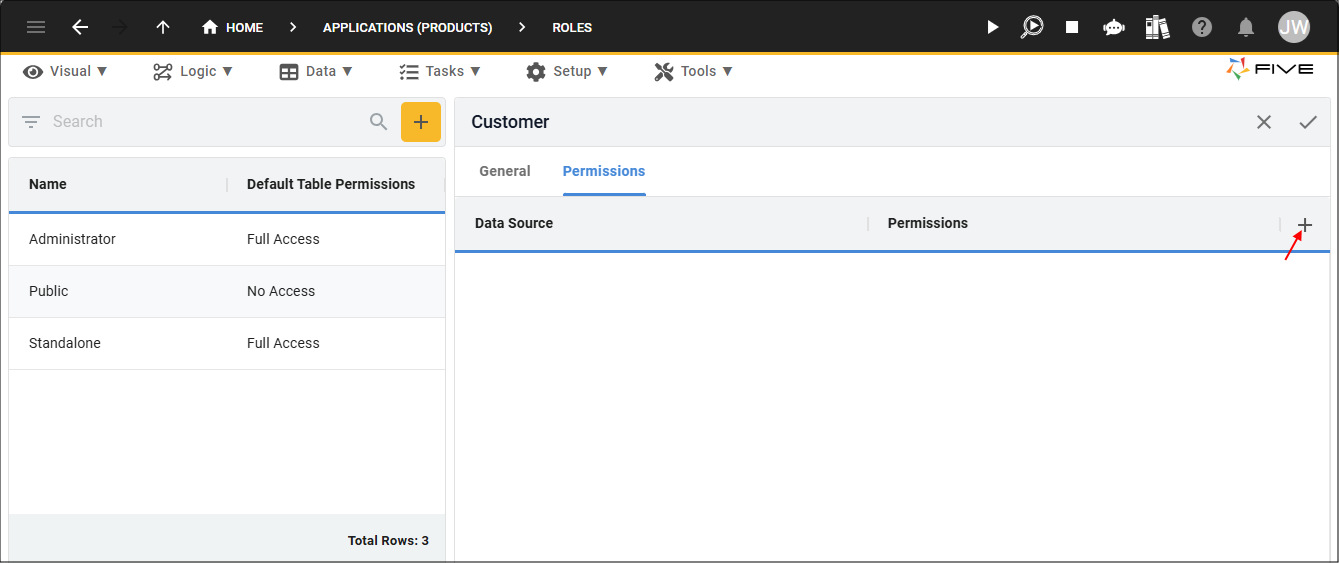
3. Click the Permissions tab.
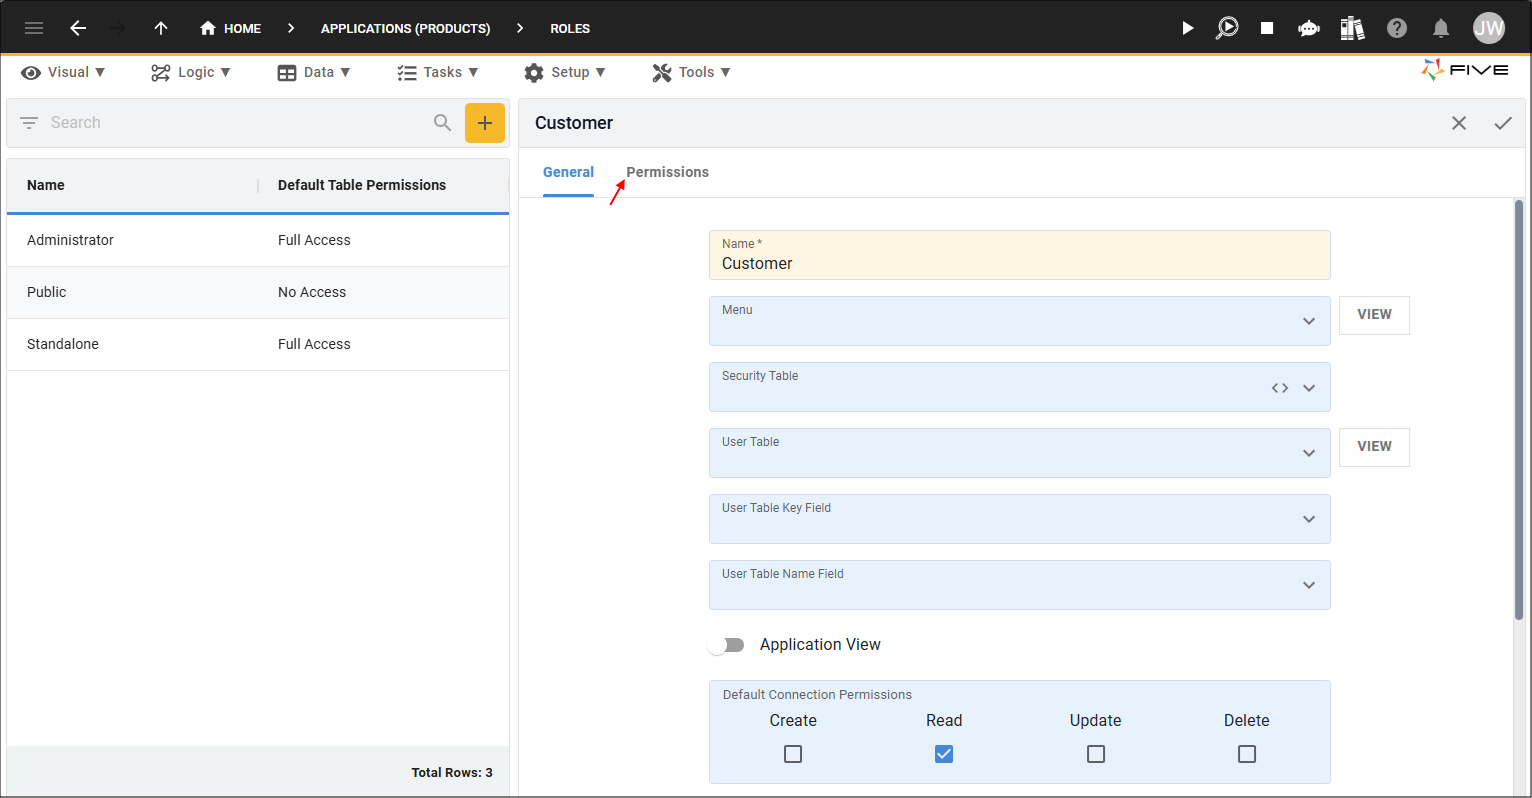
4. Click the Add Permissions button.
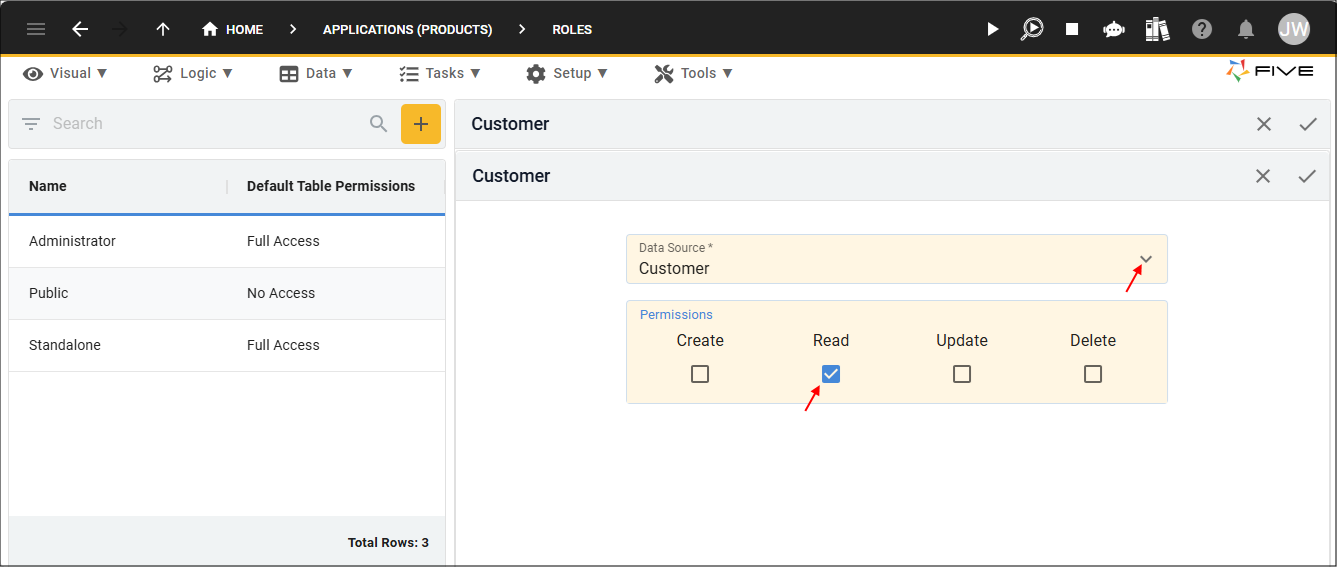
5. Select a data source in the Data Source Field.
6. Grant the permissions to this data source by clicking the appropriate checkboxes.
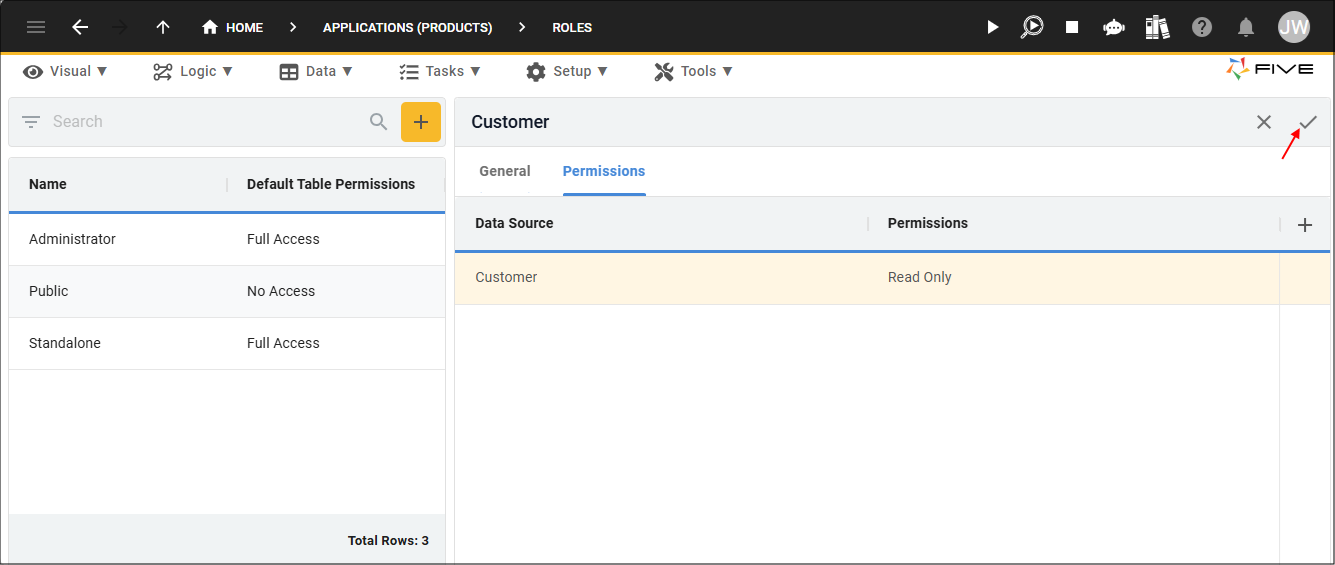
7. Click the Save button in the form app bar.

8. Click the Save button in the form app bar above the list.
Assign a Role
- Assigning a role to a user of your application must be done in your application!
- Five's default admin user enables you to add users to your application!
1. Sign into your application.
2. Select the Users menu item.
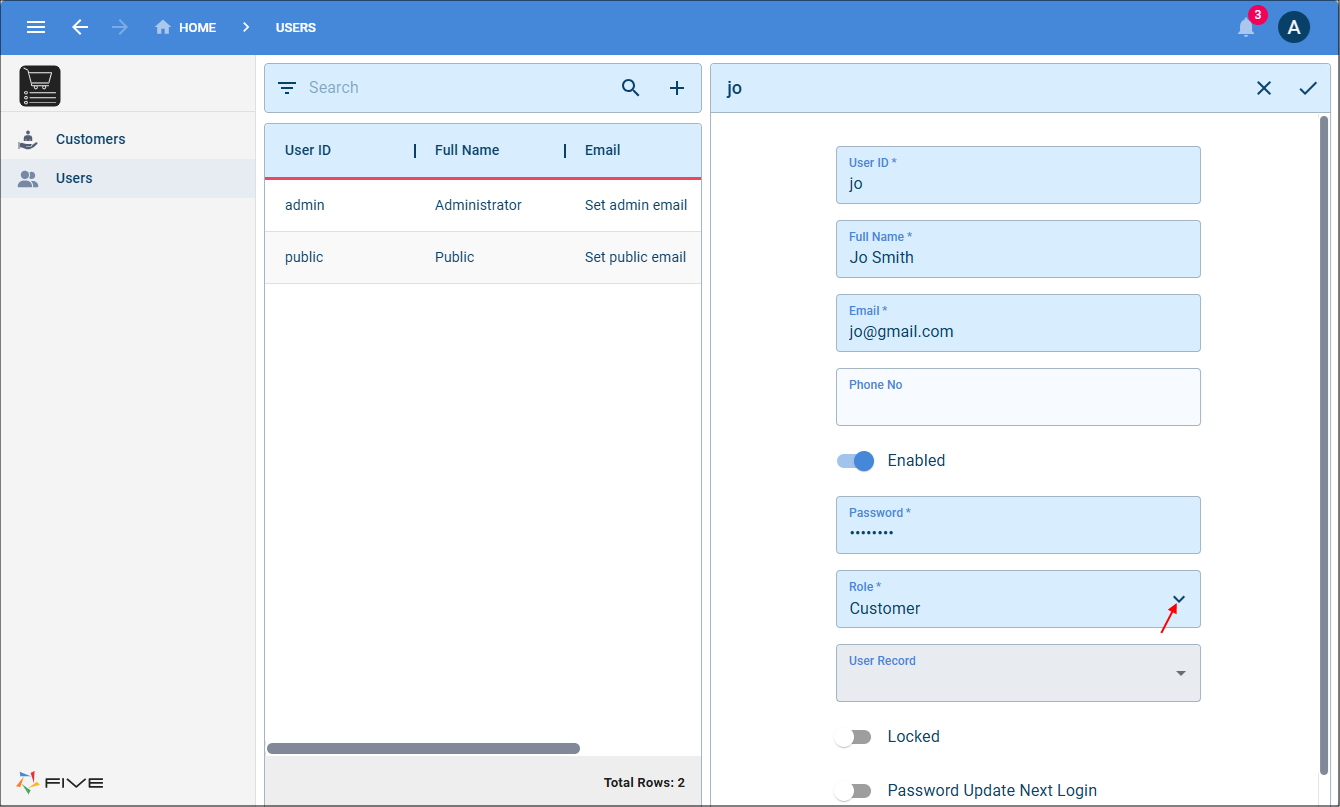
3. Click the Add Item button and add a User ID for your user.
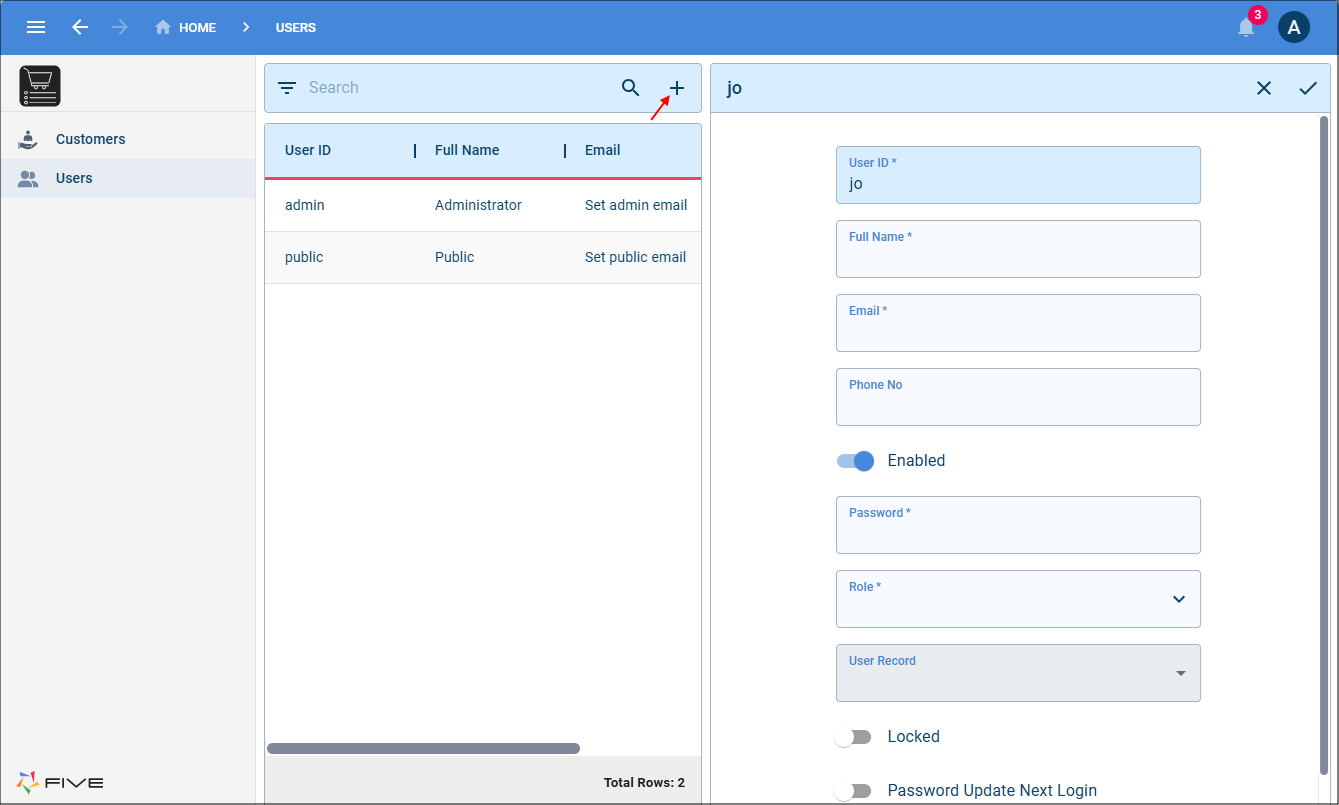
4. Add your user's full name, email and their password. Optionally, you can add their phone number.
5. Select the role you want to assign them in the Role field.
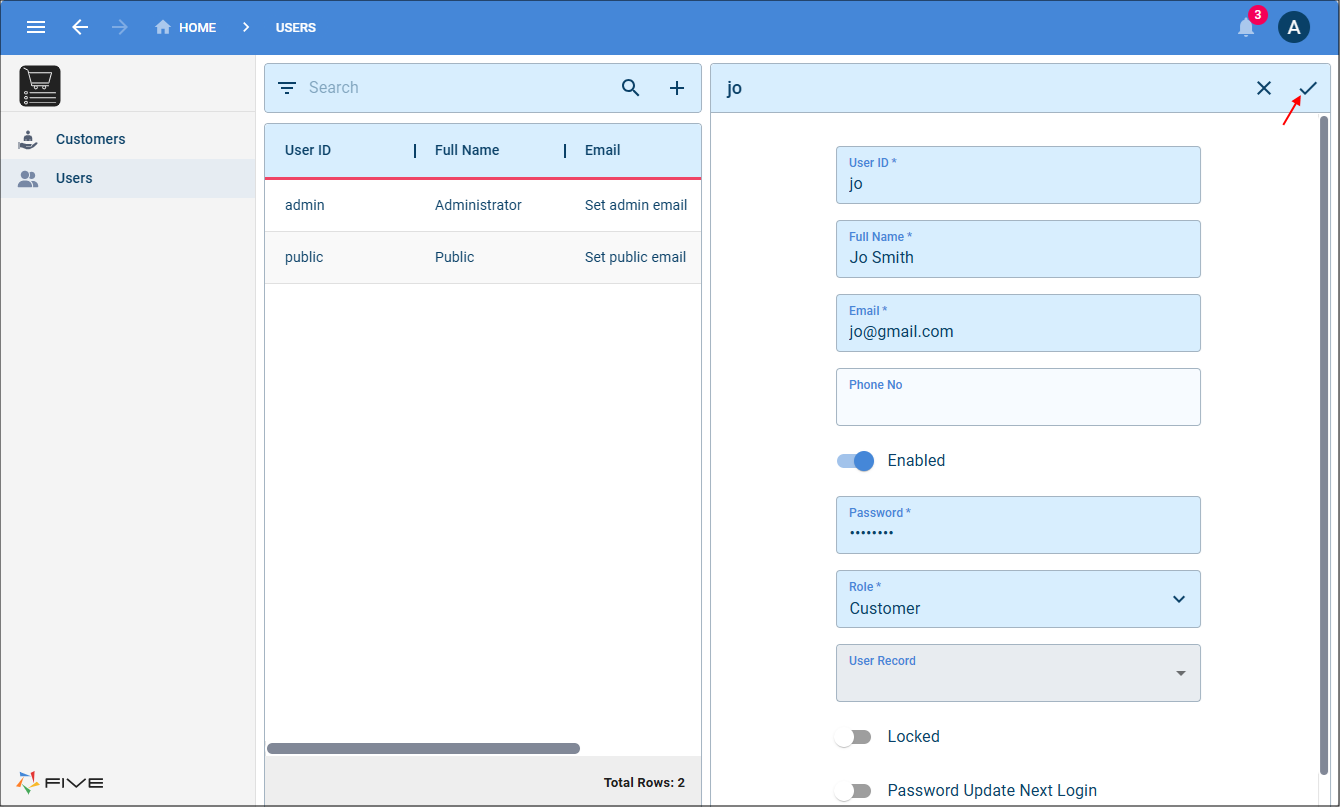
6. Click the Save button in the form app bar.
User Login
Your user will log into your application using the user ID and password that you added on their user record. When this user logs in, they will only have the permissions to the data sources that you allowed.
