Submission Received Mail Merge
Last updated 29/01/2024
The Submission Received mail merge is the mail merge sent to the Finance department when the Save button is clicked on the Submissions form.The
DoAddSubmissionAttachments()
needs to be attached to the Do Merge Record event on the Submission Received mail merge and will merge the attached documents on the Submissions form with the mail merge when the Submissions form is submitted.Two links are available in the Submission Received mail merge, either to approve or reject the submission. These links are created manually using the
variable
property on the Five
object, and they will access an external URL called approval which will take the SubmissionKey and Status fields as parameters to know the updated status of the submission.Navigate to Mail Merges
1. Click Tasks in the menu.2. Click Mail Merges in the sub-menu.
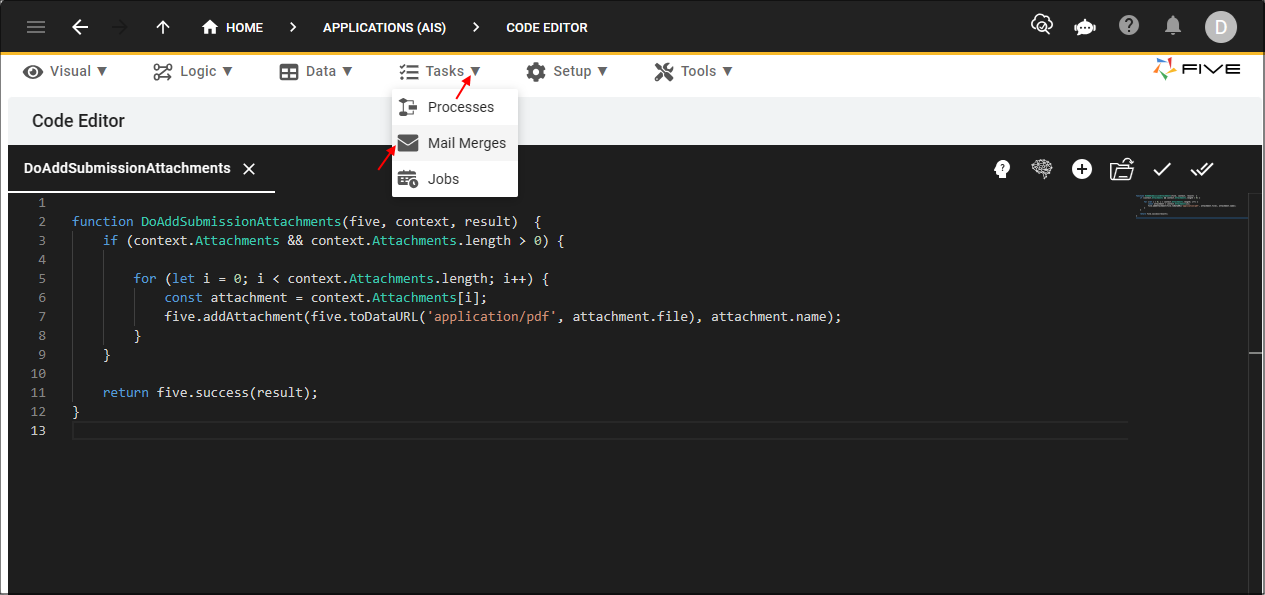
Figure 1 - Mail Merges
Add the Submission Received Mail Merge
1. Click the Add Item button.2. Type Submission Received in the Title field.
info
You do not need to select a data source because we are using code to call the mail merge.
3. Optional: Type Public in the SMTP From Name field.
4. Optional: Type the sender's email in the SMTP From Email field.
info
The SMTP From Name and SMTP From Email fields are optional. If you do not fill in these fields, the values in the SMTP From Name and SMTP From Email fields on the Instance form will be used.
5. Type Submission Received in the Subject Text field.
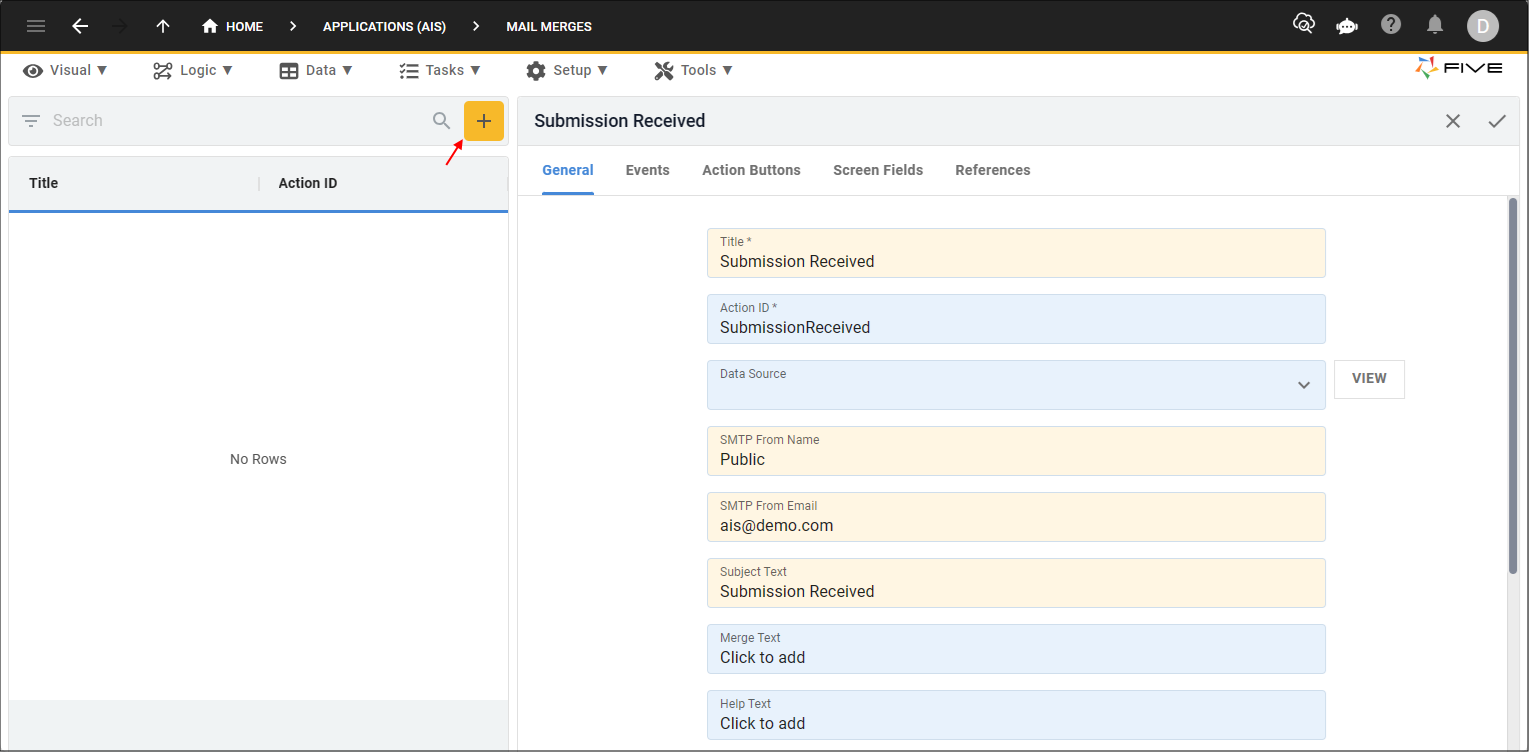
Figure 2 - Add the Submission Received mail merge
6. Click in the Merge Text field.
info
The editor to create your mail merge template will open when you click in the Merge Text field.

Figure 3 - Merge Text field
7. In the editor type the following:
Hi Finance Department,
You have received a submission.
You can approve or reject the request by clicking the links below.
tip
You can design the Submission Received mail merge template however you would like!
8. Click the Change Mode button.
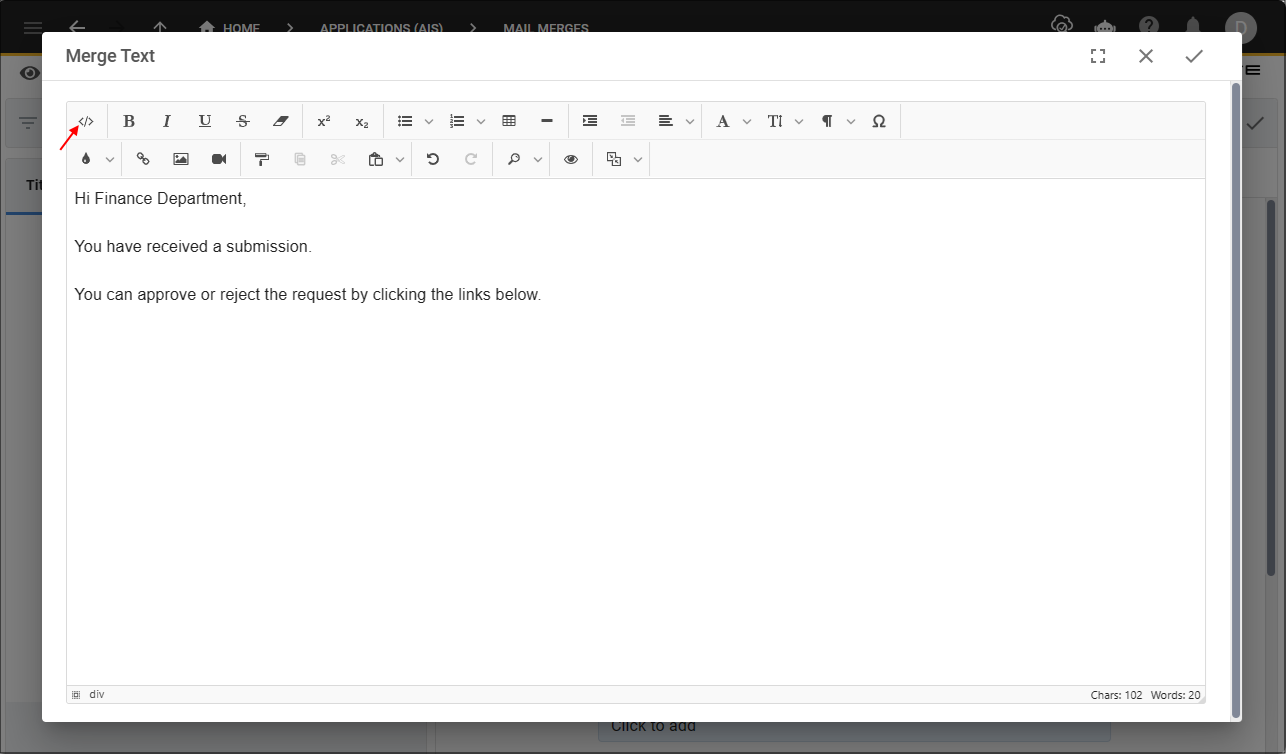
Figure 4 - Change Mode button
info
The HTML side of the editor enables you to add elements without restriction, we will use this side to add the approve and reject links using the
variable
property on the Five
object.9. Click the Copy button on the code block below.

Approve and Reject Links
<div>
<span style="font-size: 16px;">
<br>
<a href="{{five.variable.homepage}}url/approval?SubmissionKey={{five.variable.SubmissionKey}}&RequestStatus=A"><strong>Approve the request</strong></a>
/
<a href="{{five.variable.homepage}}url/approval?SubmissionKey={{five.variable.SubmissionKey}}&RequestStatus=R"><strong>Reject the request</strong></a>
</span>
</div>
10. Paste the code block below the current HTML in the editor.
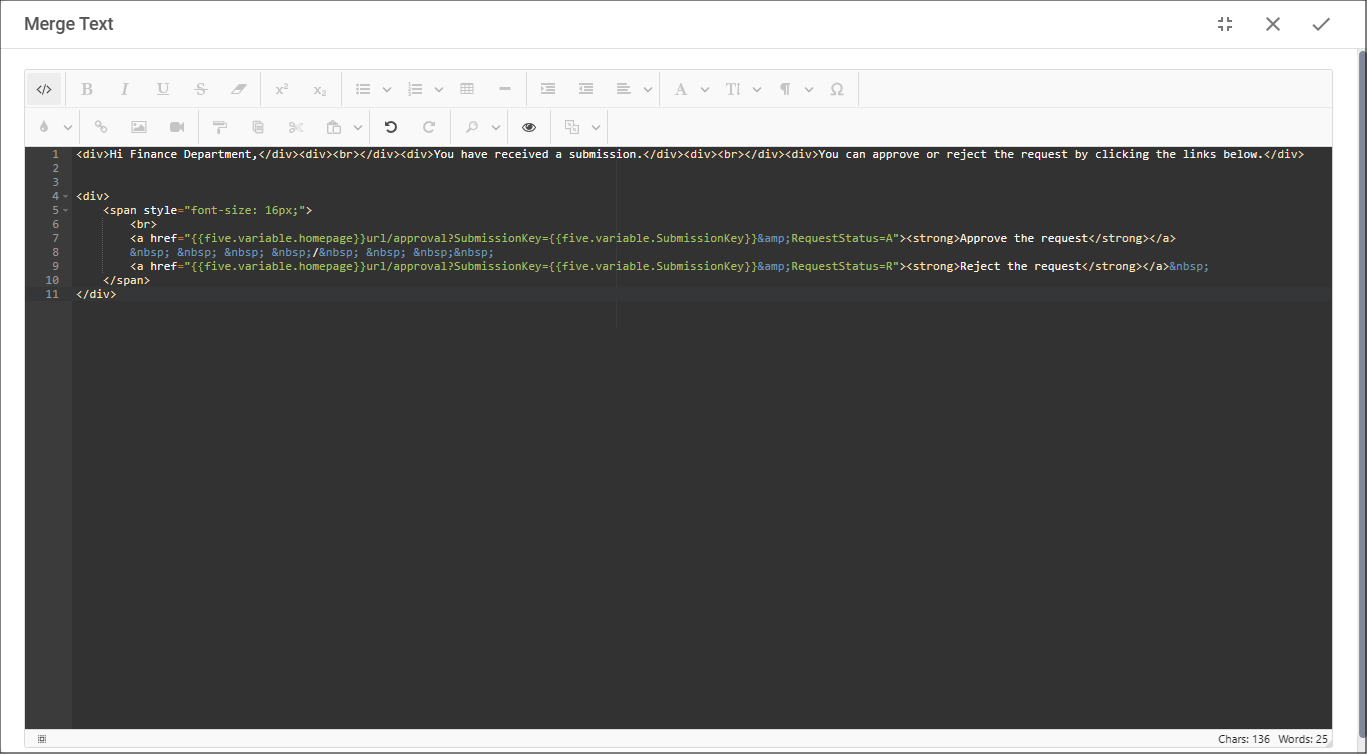
Figure 5 - Add the approve and reject links
11. Click the Change Mode button.

Figure 6 - Change Mode button
12. Click the Save button in the editor app bar.
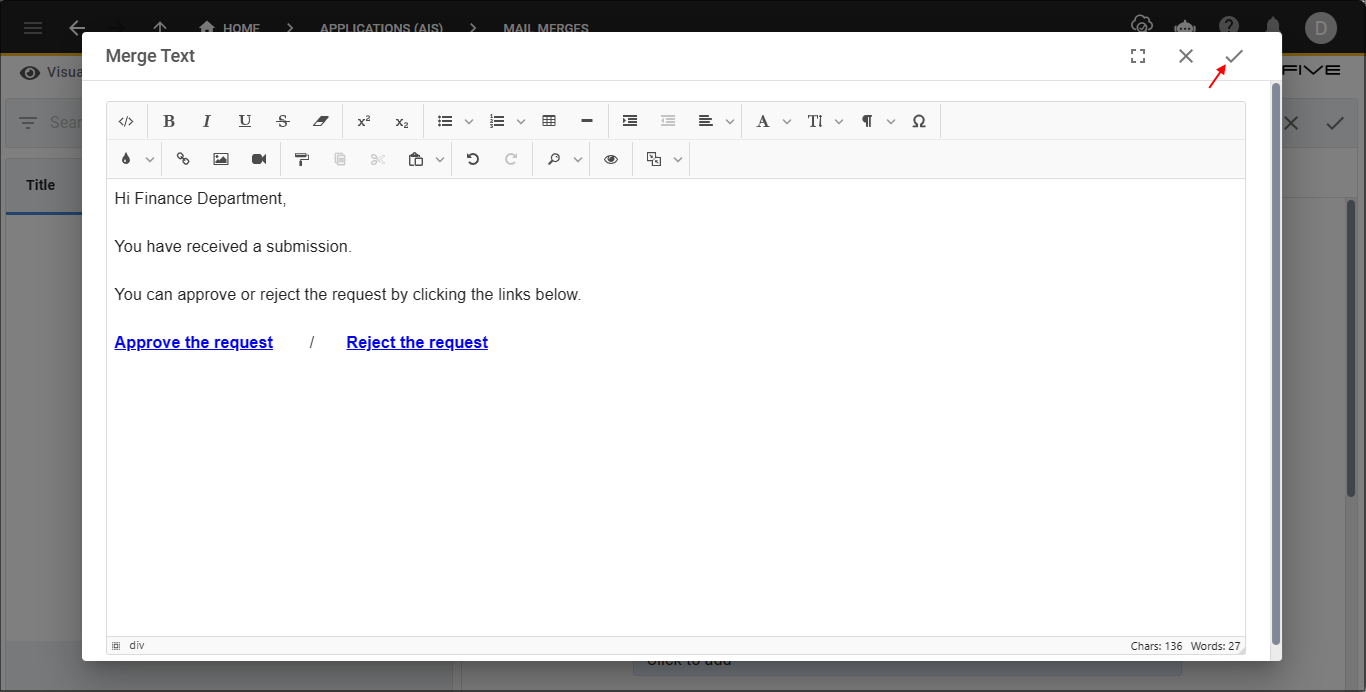
Figure 7 - Save button
Attach the DoAddSubmissionAttachments Function
13. Click the Events tab.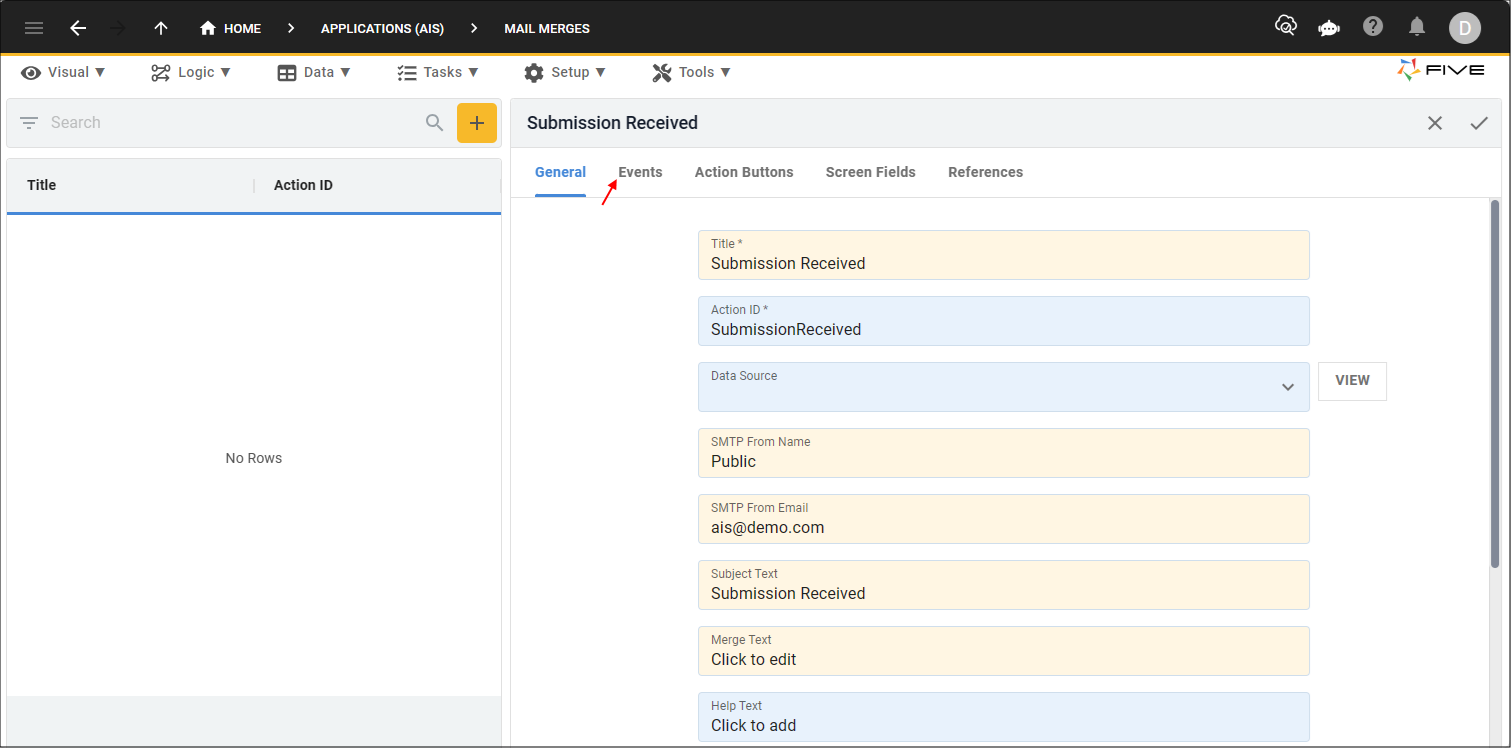
Figure 8 - Events tab
14. Click the lookup icon in the Do Merge Record field and select DoAddSubmissionAttachments.
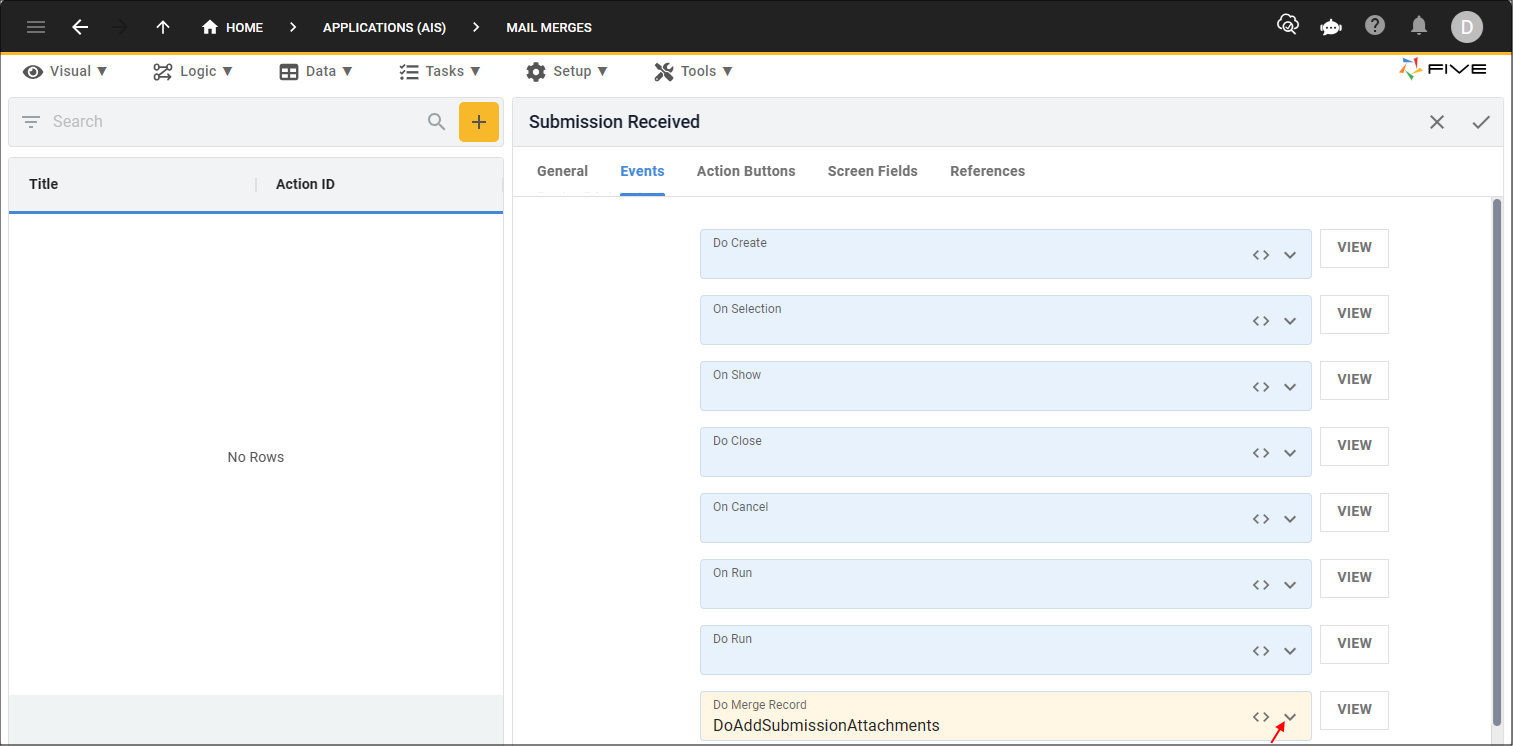
Figure 9 - Do Merge Record field
15. Click the Save button in the form app bar.
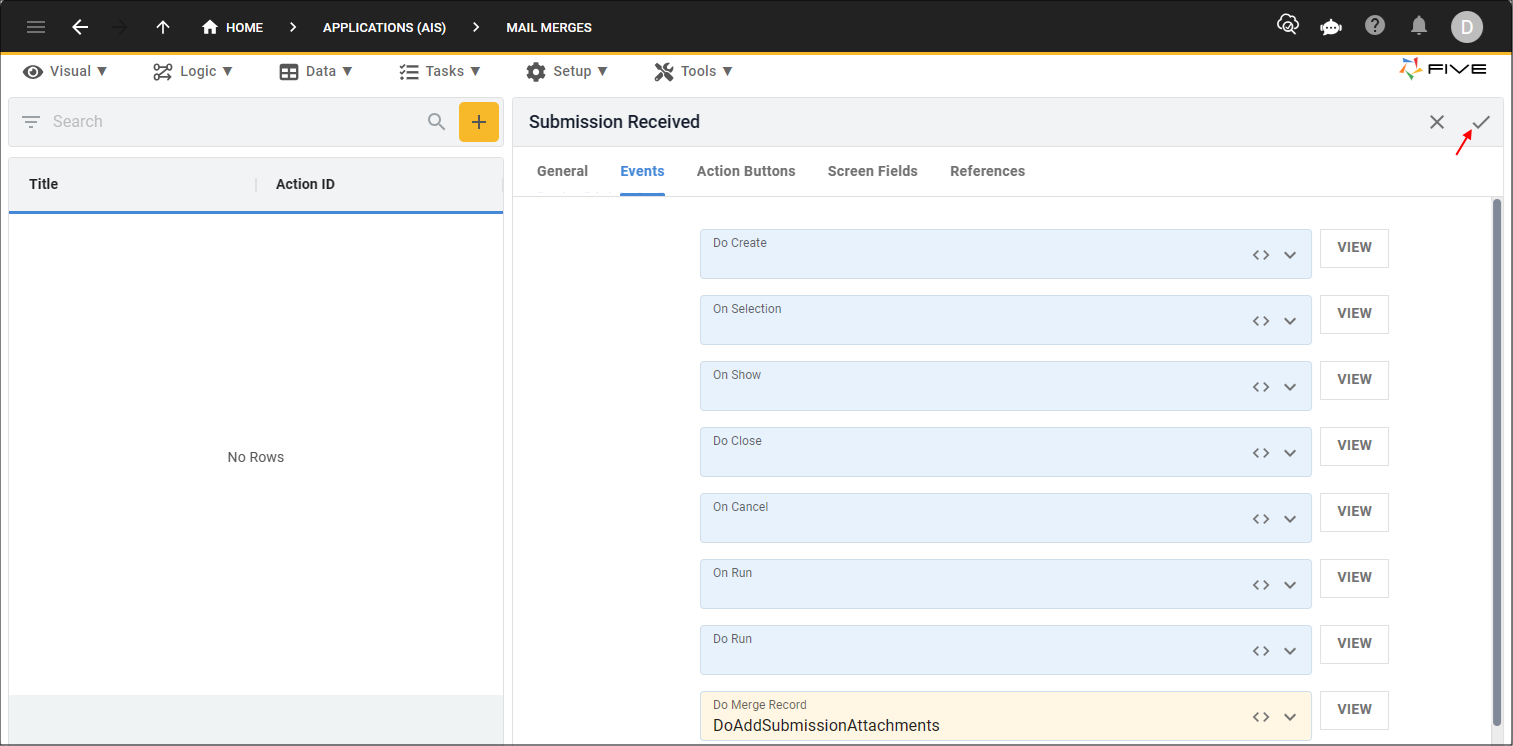
Figure 10 - Save button