DoNewSubmission Function
Last updated 29/01/2024
TheDoNewSubmission()
will call the Submission Received mail merge and send an email to the Finance department when a new submission has been submitted. It will go through the transactions from the Submissions form and create an array of attachments to be merged into the mail merge.The
DoNewSubmission()
needs to be attached to the Do Complete event on the Submissions form and will execute when the Save button is clicked on the Submissions form and sends the Submission Received mail merge to the Finance department.When in Five's Code Editor you will be interacting with Five's API. In the
DoNewSubmission()
you will be using the following functions and properties.Transactions
- is an array of transaction objects on the context
parameter.- is a function used on the
Five
object and executes an action on the Five server.- is a function used on the object that returns true or false based on the outcome of the returning function call.
- is a function used on the
Five
object that returns an error with an optional message and notification parameters.- is a function used on the
Five
object that returns a indicating success.Navigate to the Code Editor
1. Click Logic in the menu.2. Click Code Editor in the sub-menu.
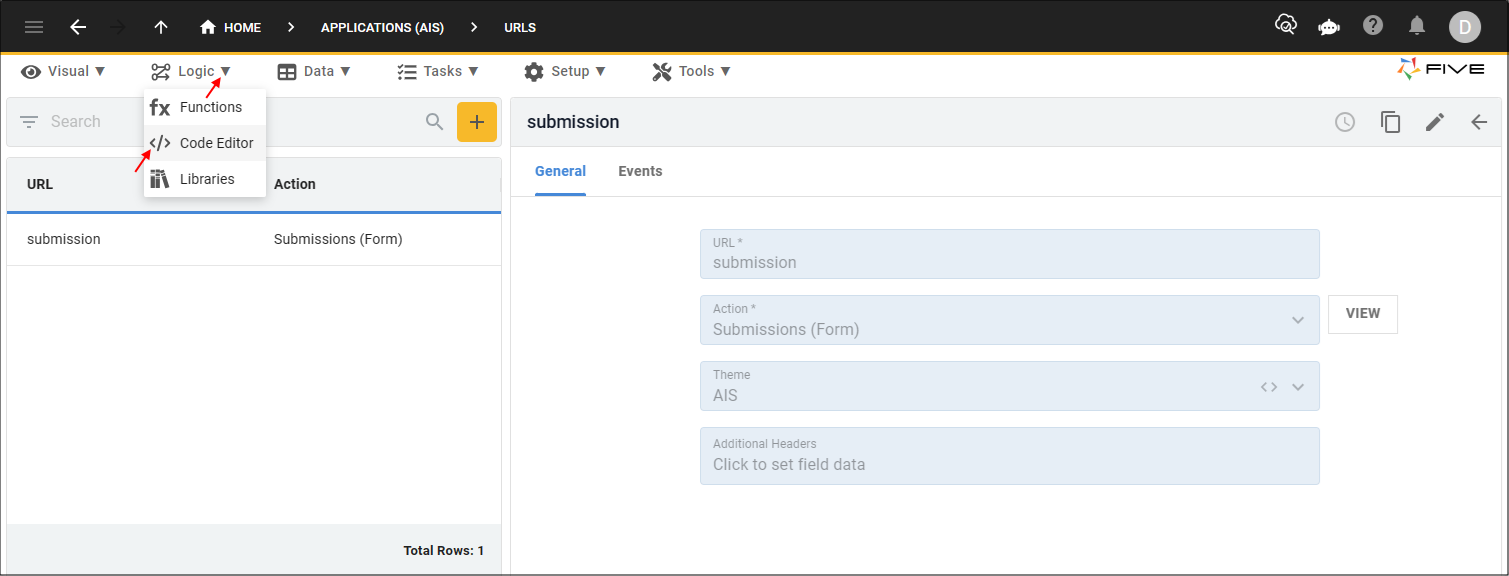
Figure 1 - Code Editor menu item
Add the DoNewSubmission Function
1. Click the Add New Code button.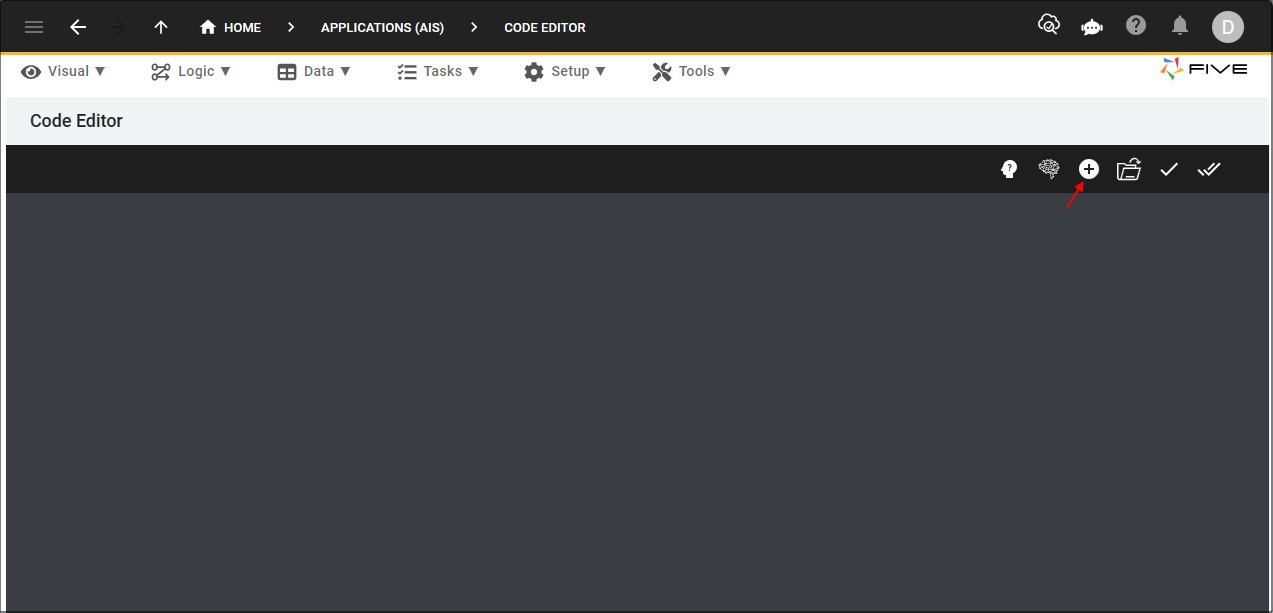
Figure 2 - Add New Code button
2. Type DoNewSubmission in the Function ID field.
3. Click the OKAY button.
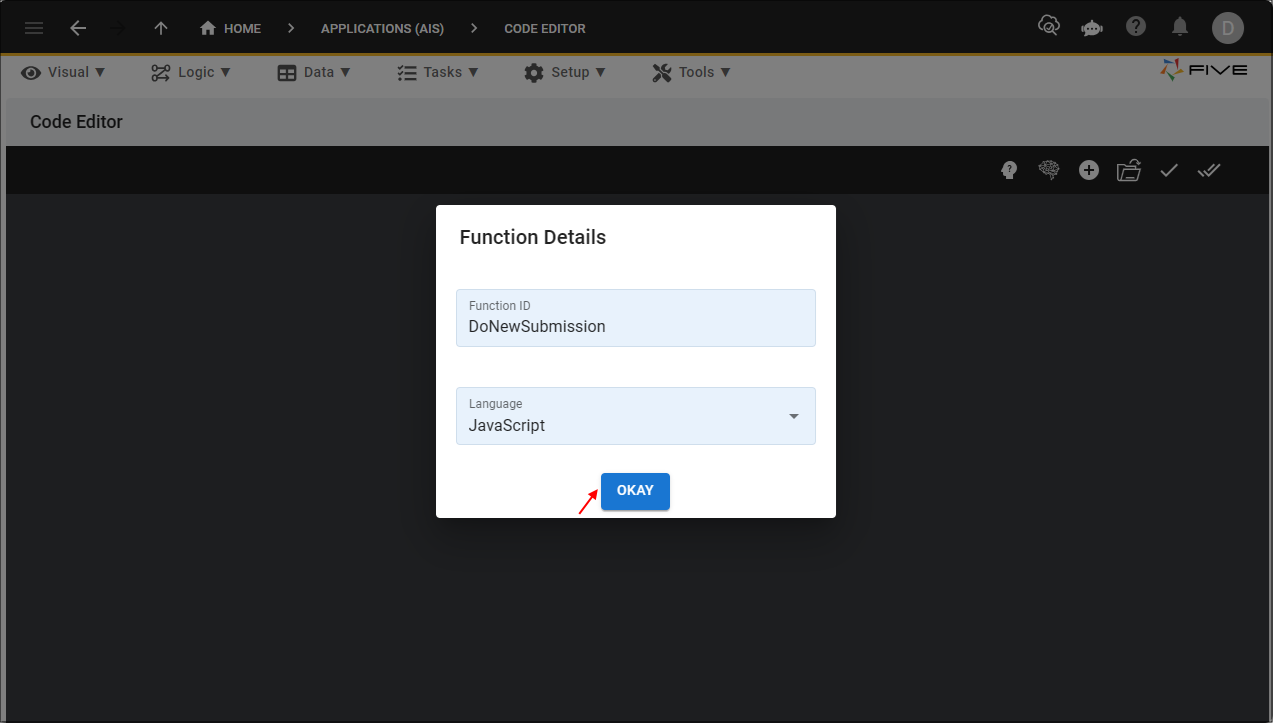
Figure 3 - OKAY button
4. Click the Copy button on the code block below.
caution
For the example to work, you need to replace the example email for the SMTPToEmail parameter being passed into the context to a valid email or populate the email address/es from one of your data sources in the code block below.

DoNewSubmission
function DoNewSubmission(five, context, result)  {
    const record = context.Transactions[0];
    if (record.Type === 'CREATE') {
        let submissionKey = '';
        const attachments = [];
        for (let i = 0; i < context.Transactions.length; i++) {
            const temp = context.Transactions[i];
            if (temp.ActionID == 'SubmissionAttachments') {
                attachments.push({name: temp.Values.Name, file: temp.Values.Attachment});
            } else if (temp.ActionID == 'Submissions') {
                submissionKey = temp.Key;
            }
        }

        const mailMergeContext = {SMTPToEmail: "john.citizen@company.com", SMTPToName: "Finance", SMTPAttachments: attachments, SubmissionKey: submissionKey};
        const mailResult = five.executeAction('SubmissionReceived', mailMergeContext);
        if (mailResult.isOk() === false) {
            return five.createError(mailResult);
        }
    }
    return five.success(result);
}
info
The values on the
mailMergeContext
will be merged into the variable
property on the Five
object which will then be available to use in the Submission Received mail merge template. These must be manually added in the template in the format of {{five.variable.<propertyName>}}
.5. Paste the code block over the template in Five's Code Editor.
info
The below image shows where you need to add a valid email address
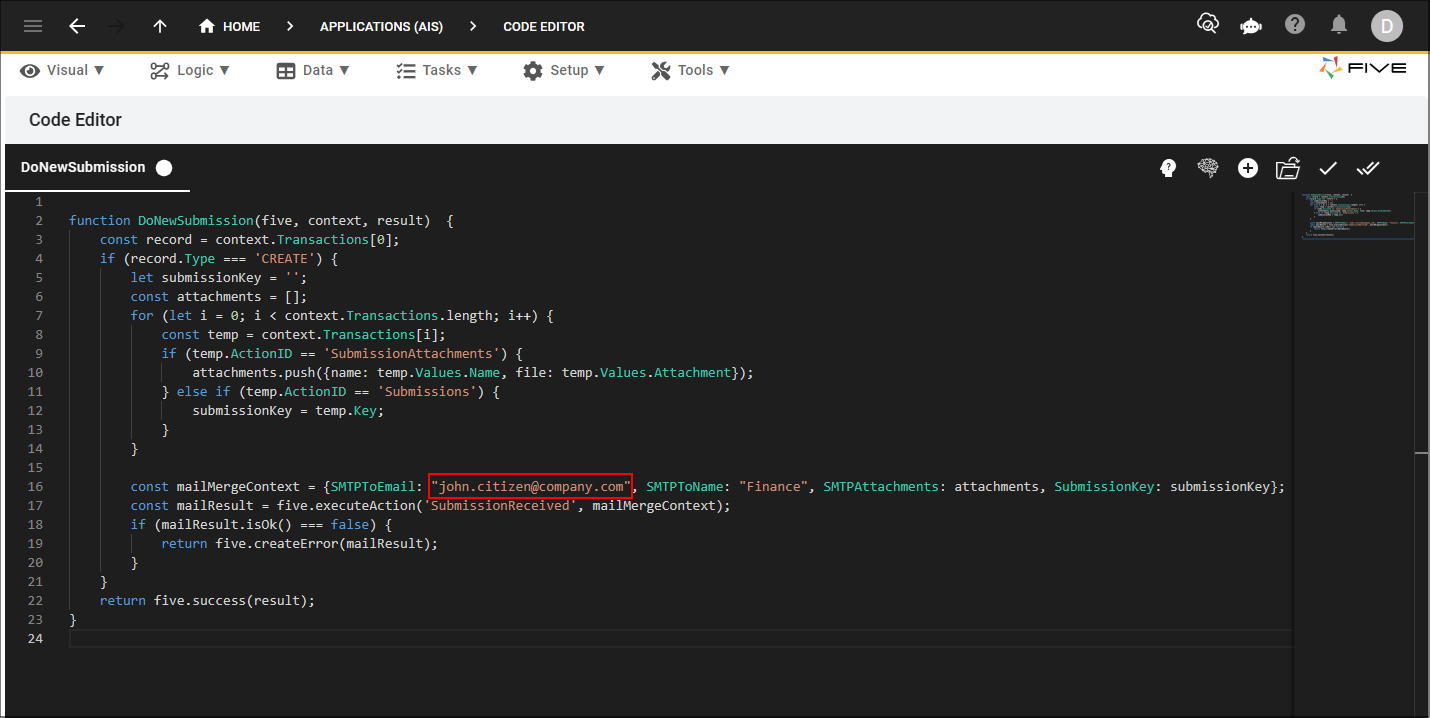
Figure 4 - DoNewSubmission function
tip
You will find the DoNewSubmission record in the Functions view or you can open the DoNewSubmission() again in the Code Editor by clicking the Open Existing Code button and selecting the function ID!
6. Click the Save Current Tab button.
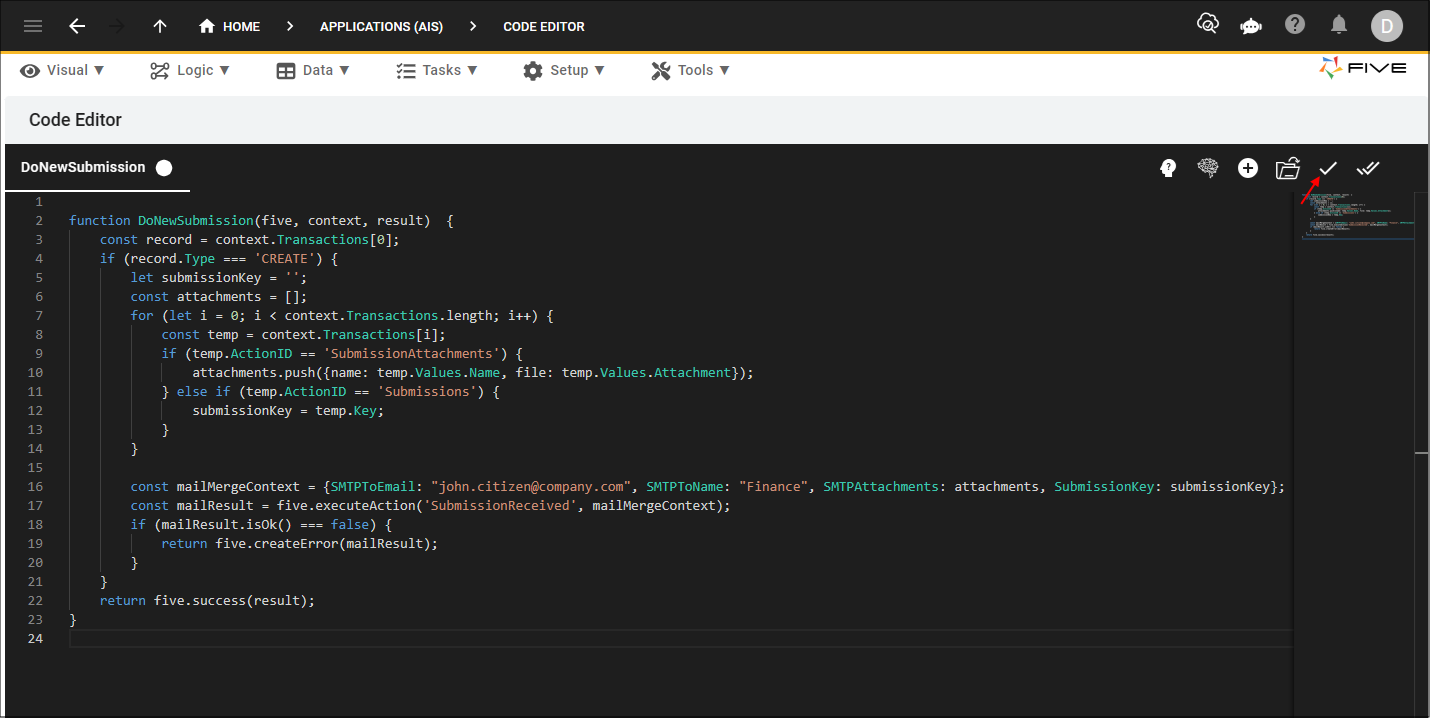
Figure 5 - Save Current Tab button
Navigate to Forms
info
The
DoNewSubmission()
needs to be attached to the Do Complete event on the Submissions form.1. Click Visual in the menu.
2. Click Forms in the sub-menu.
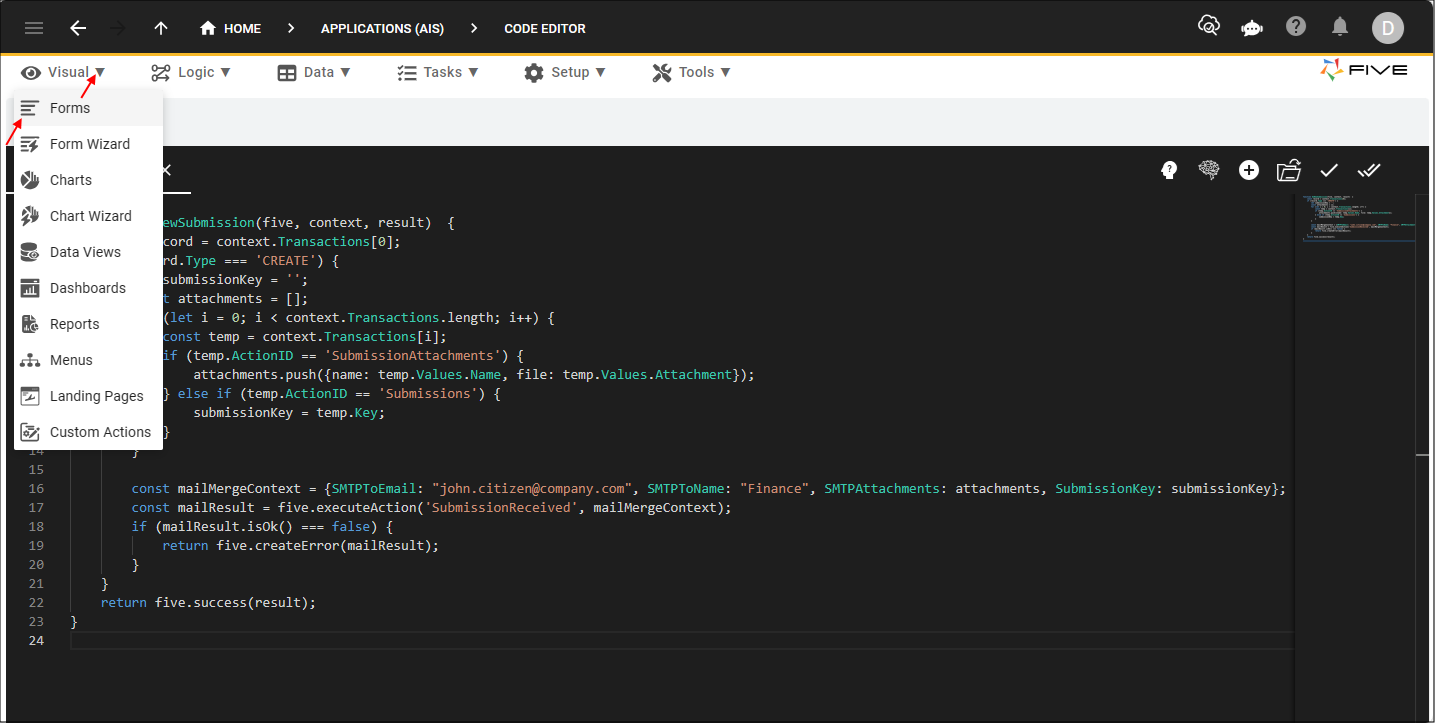
Figure 6 - Forms menu item
Attach the DoNewSubmission Function
1. Select the Submissions record in the list.2. Click the Events tab.
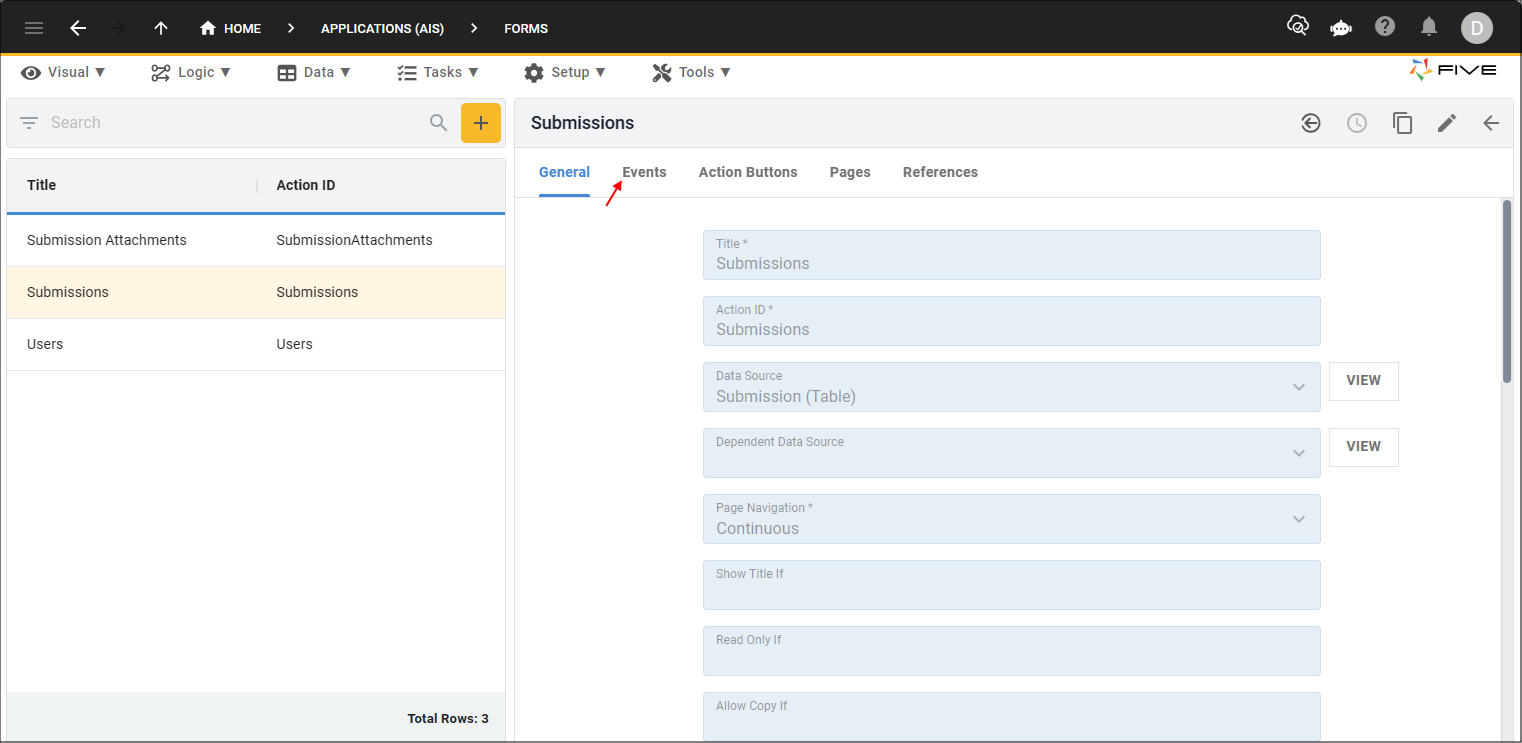
Figure 7 - Events tab
3. Either click the Edit button in the form app bar, or click directly in the Do Complete field.
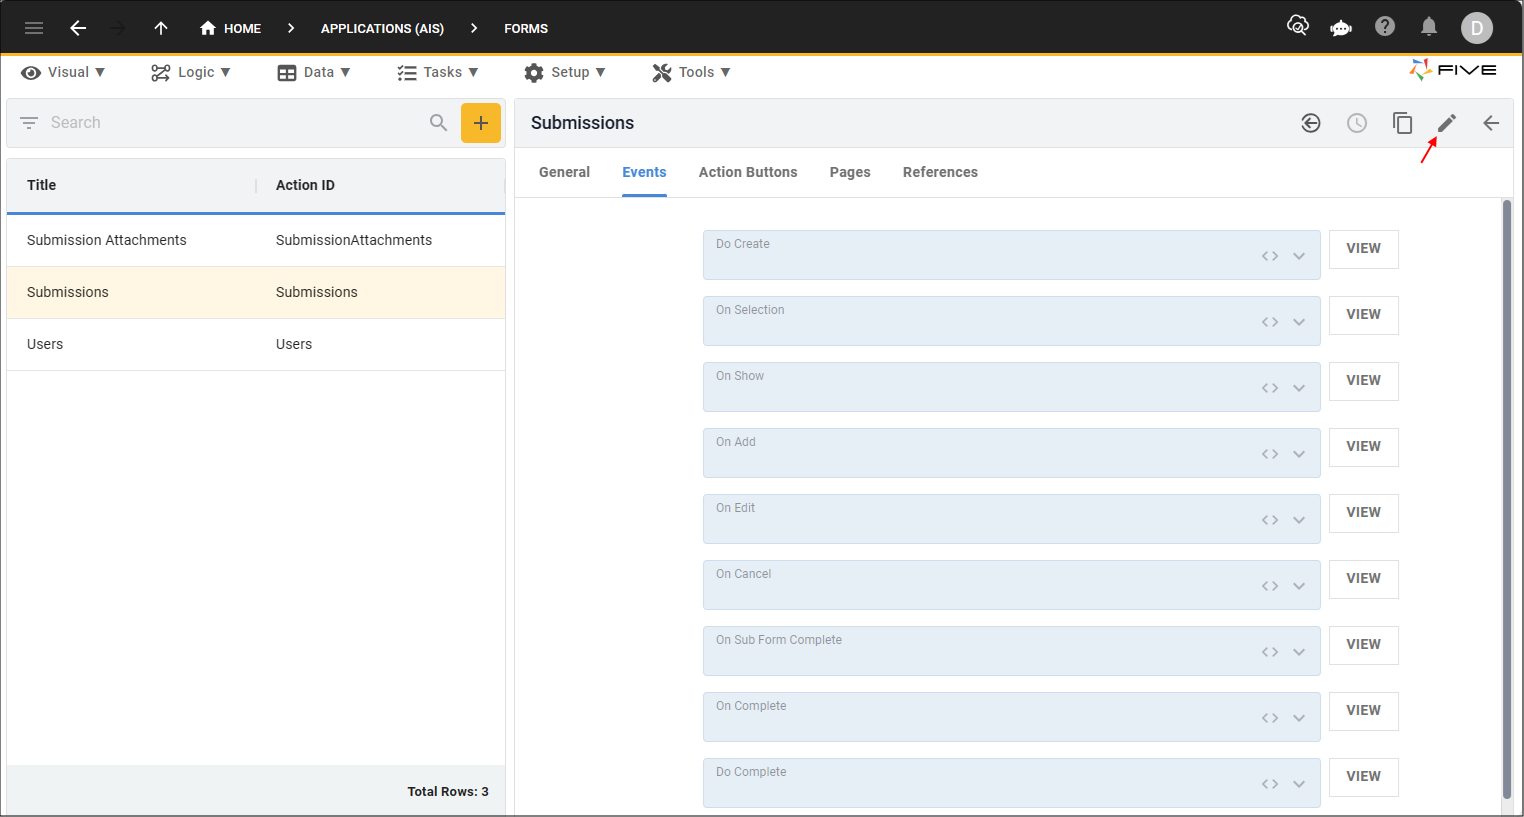
Figure 8 - Edit button
4. Click the lookup icon in the Do Complete field and select DoNewSubmission.
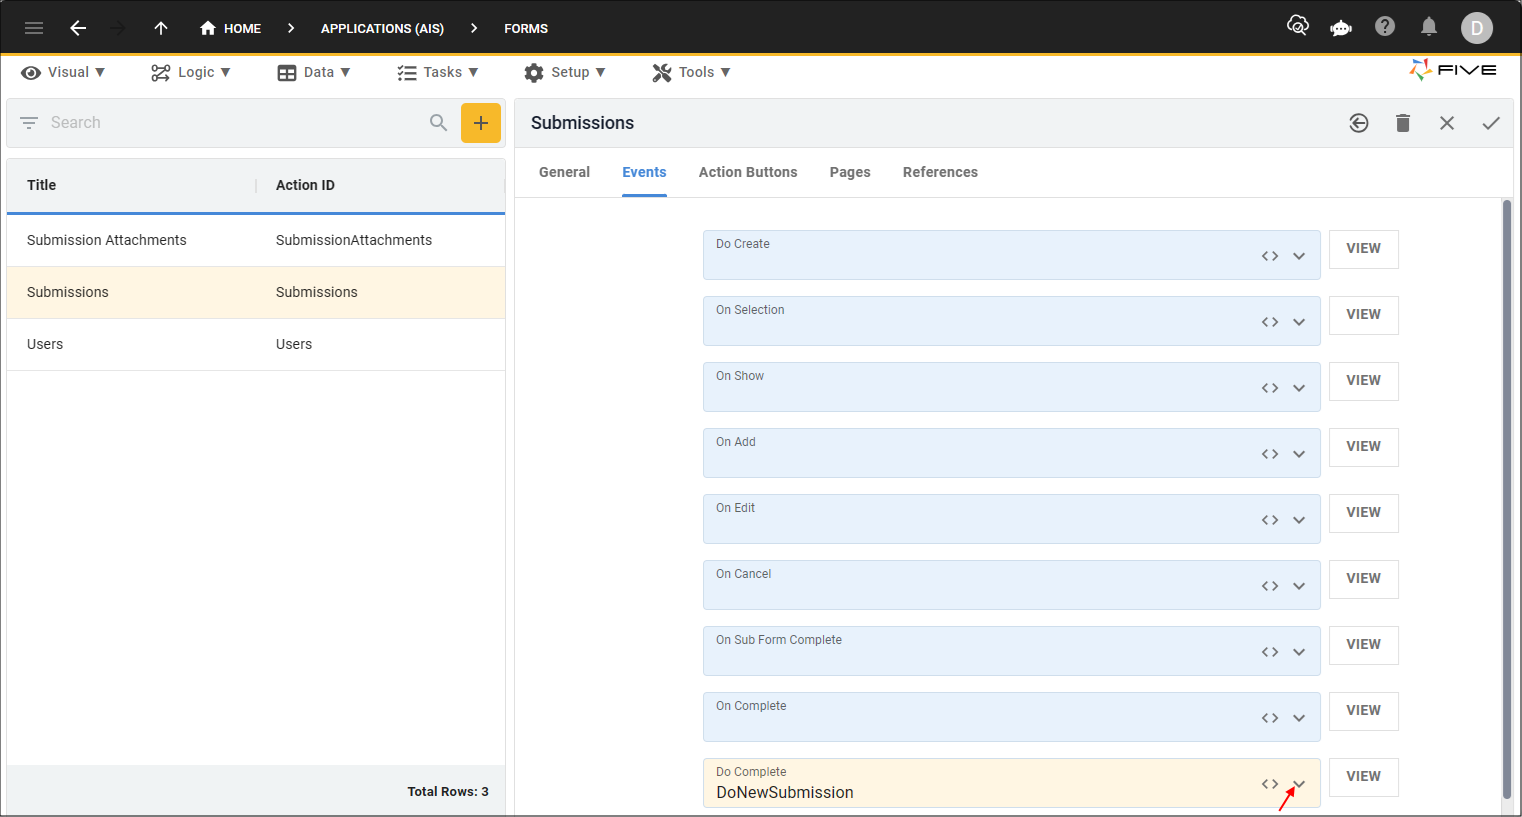
Figure 9 - Do Complete field
5. Click the Save button in the form app bar.
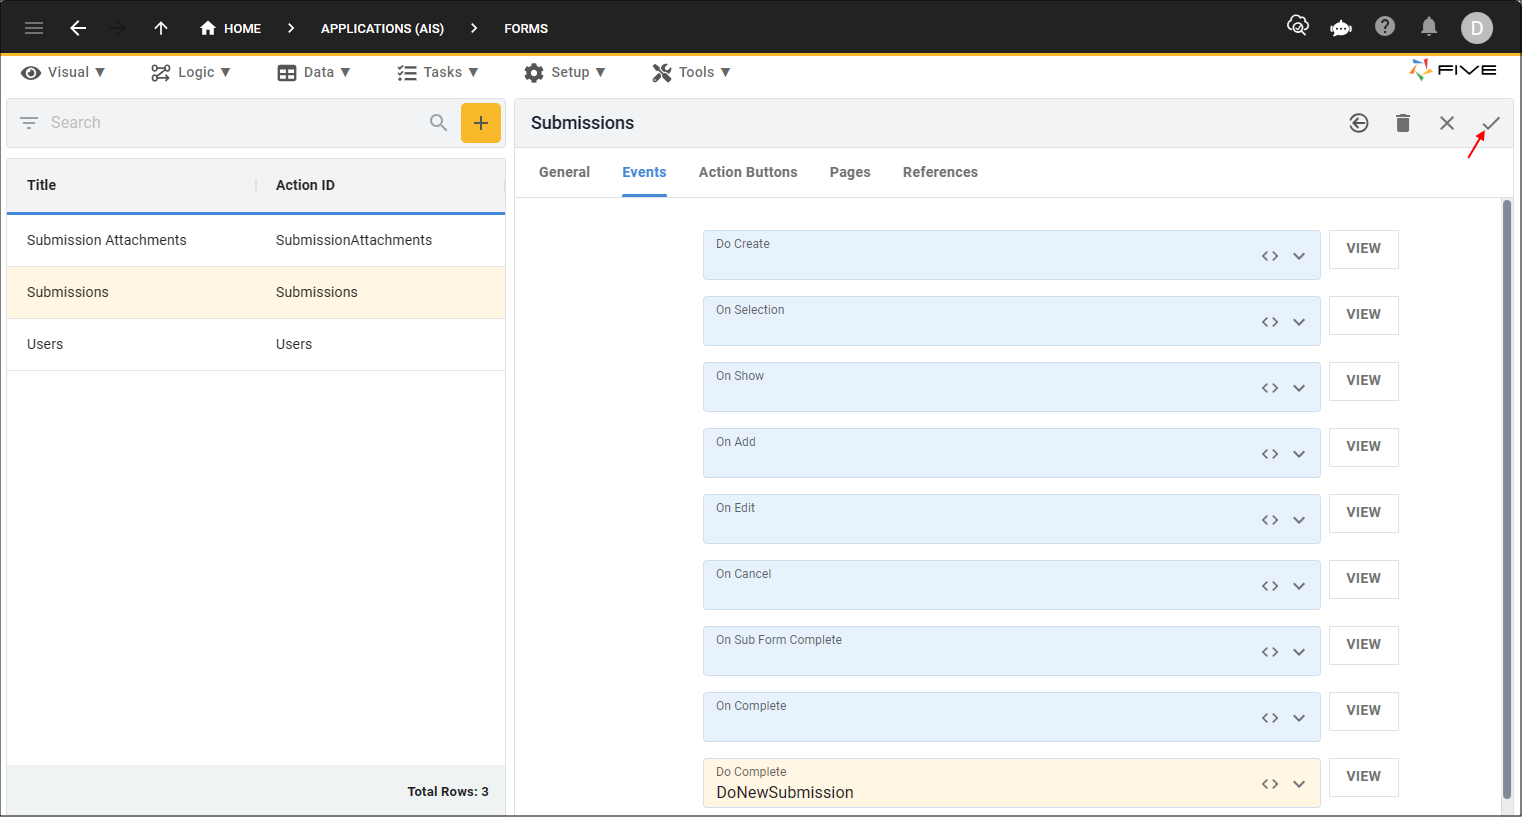
Figure 10 - Save button