Create Forms
Last updated 8/01/2024
The AIS application has three forms, the Users form is already created for you by Five, so there are only two forms that need to be added, the Submissions and the Submission Attachments forms. This documentation will explain how to create the forms for the AIS application.The Submissions form will be used in two scenarios:
- As the public e-form that is available via a URL link and uses Five's Public default user. This will require no user login.
- The Submissions form will also be available for a staff member in the Finance department. They can view the form and after reviewing the attachments can either approve or reject the submission. This will require a user login.
Navigate to the Form Wizard
1. Click Visual in the menu.2. Click Form Wizard in the sub-menu.
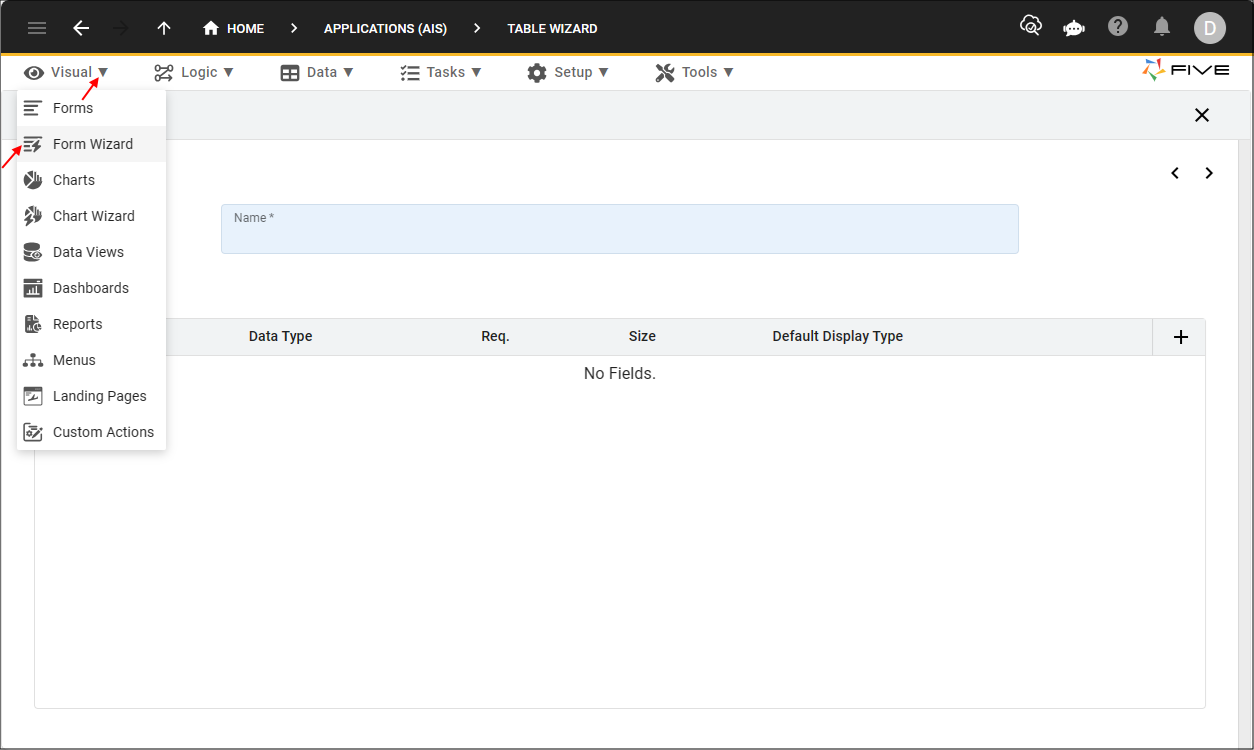
Figure 1 - Form Wizard menu item
Add the Submissions Form
1. Click the lookup icon in the Main Data Source field and select Submission.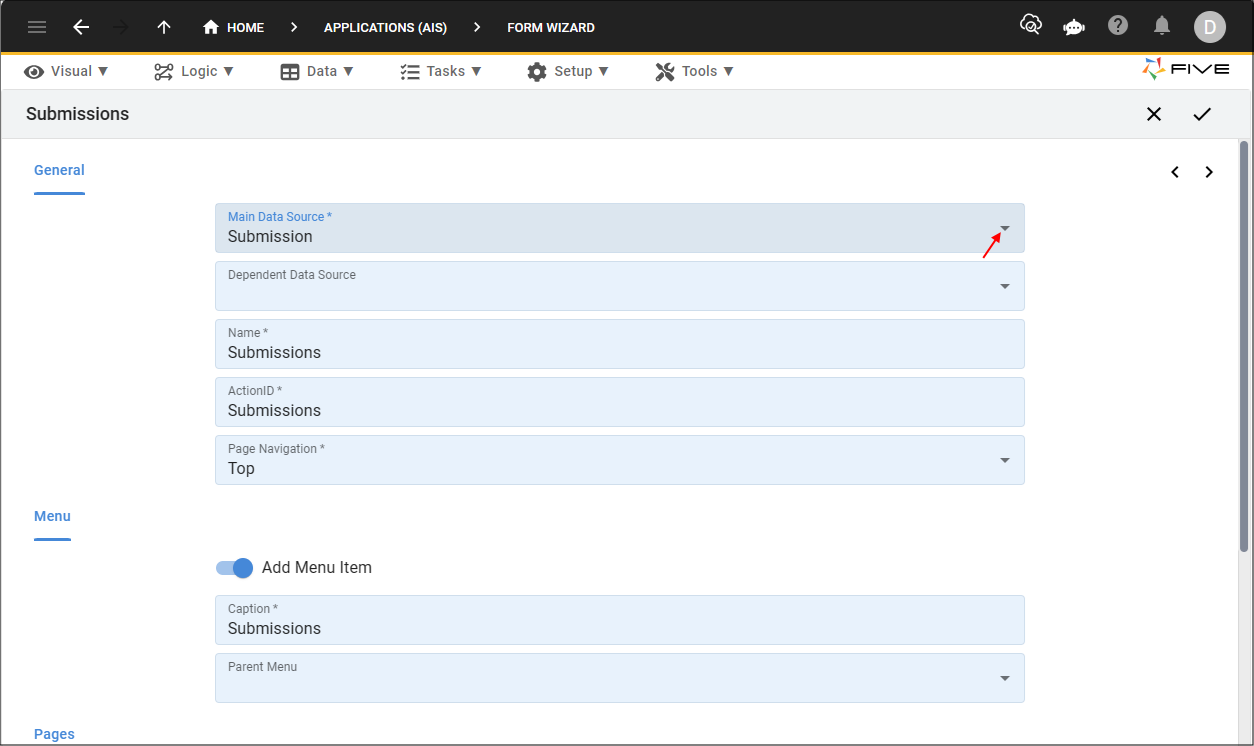
Figure 2 - Add the Submissions form
2. Click the Next button.
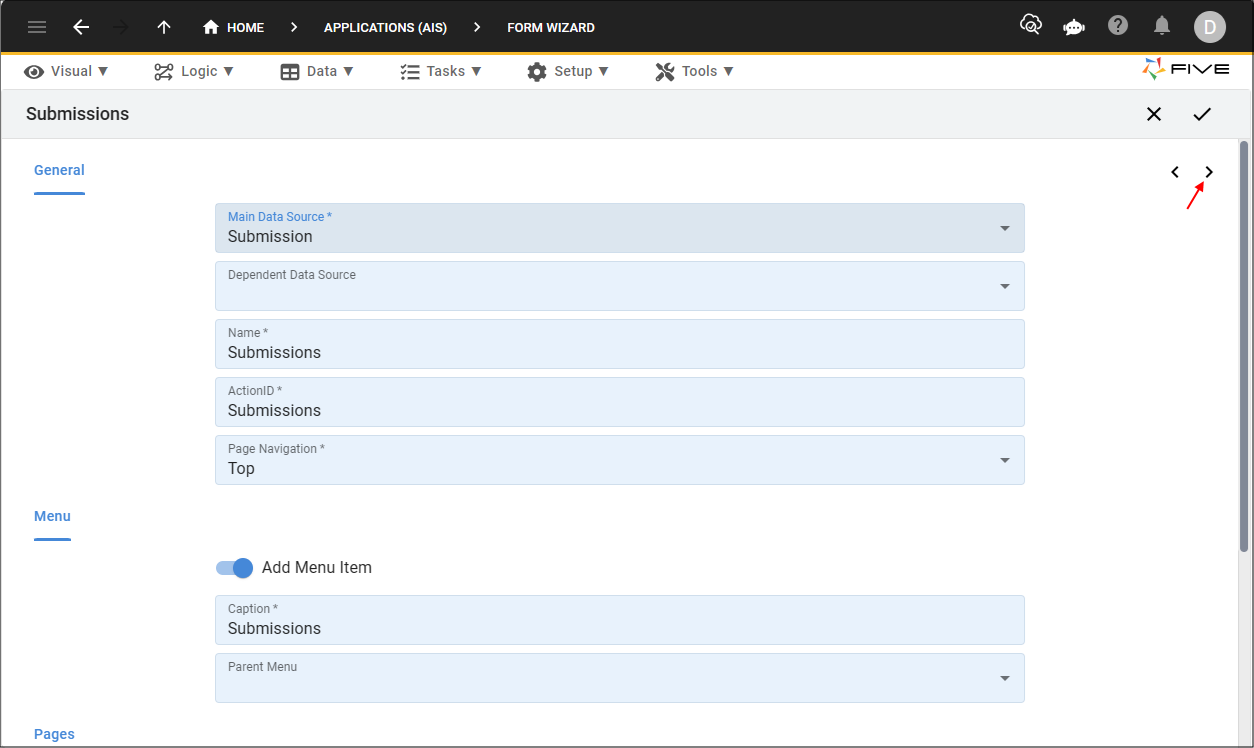
Figure 3 - Next button
3. Click the List checkbox for the CustomerNo, InvoiceStartDate, and InvoiceEndDate fields.
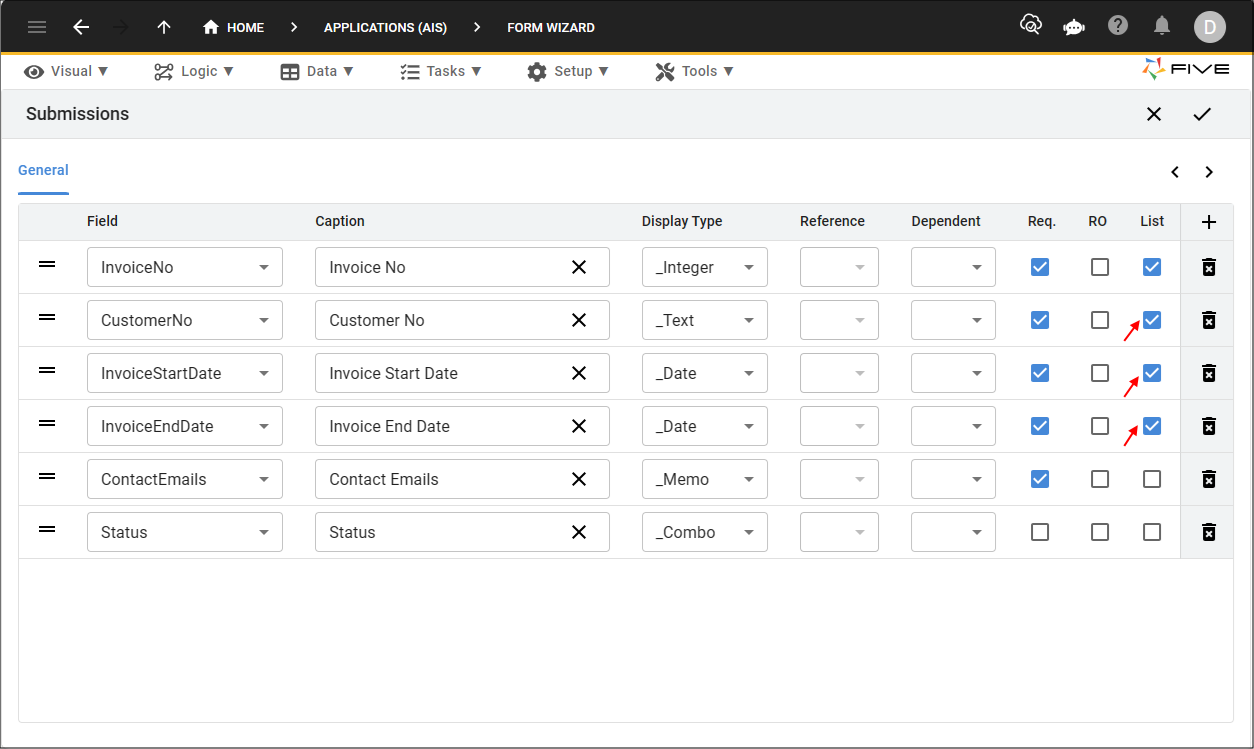
Figure 4 - Submissions form fields
4. Click the Save button in the Form Wizard app bar.
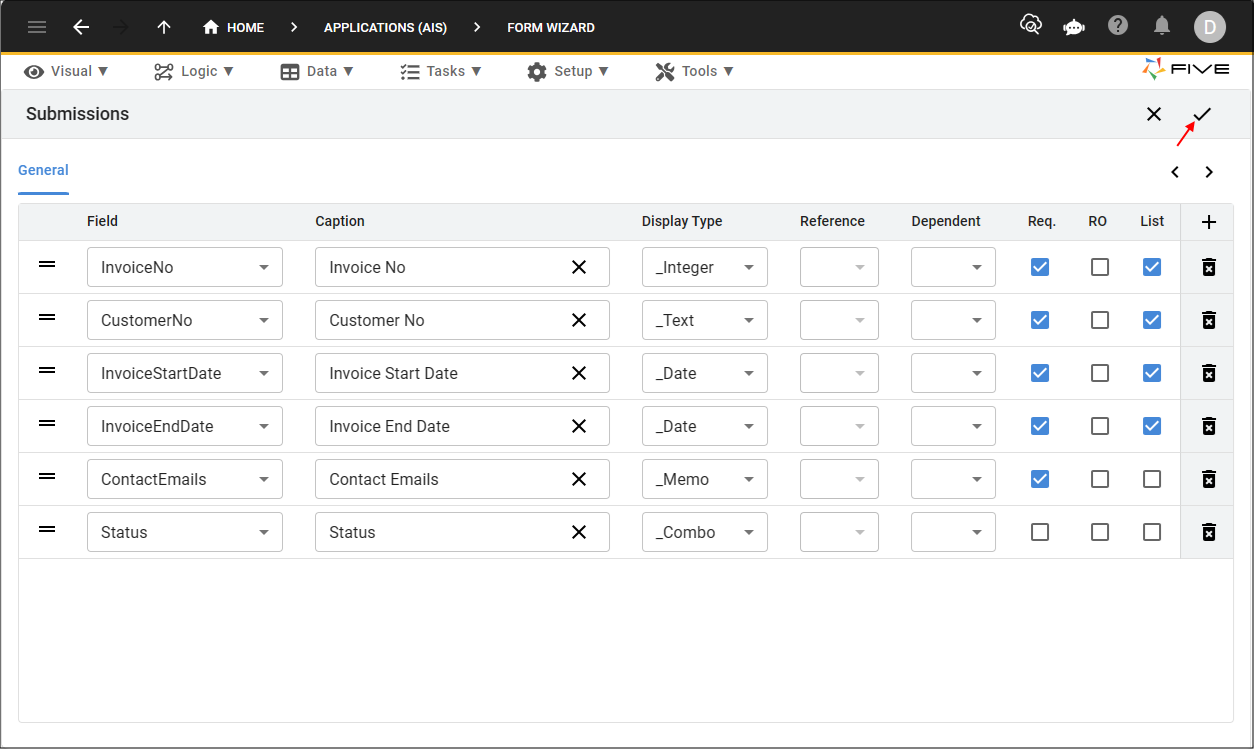
Figure 5 - Save button
Add the Submission Attachments Form
1. Click the lookup icon in the Main Data Source field and select SubmissionAttachment.2. Add a space in between Submission and Attachments in the Name field.
3. Click the Add Menu Item switch to turn off.
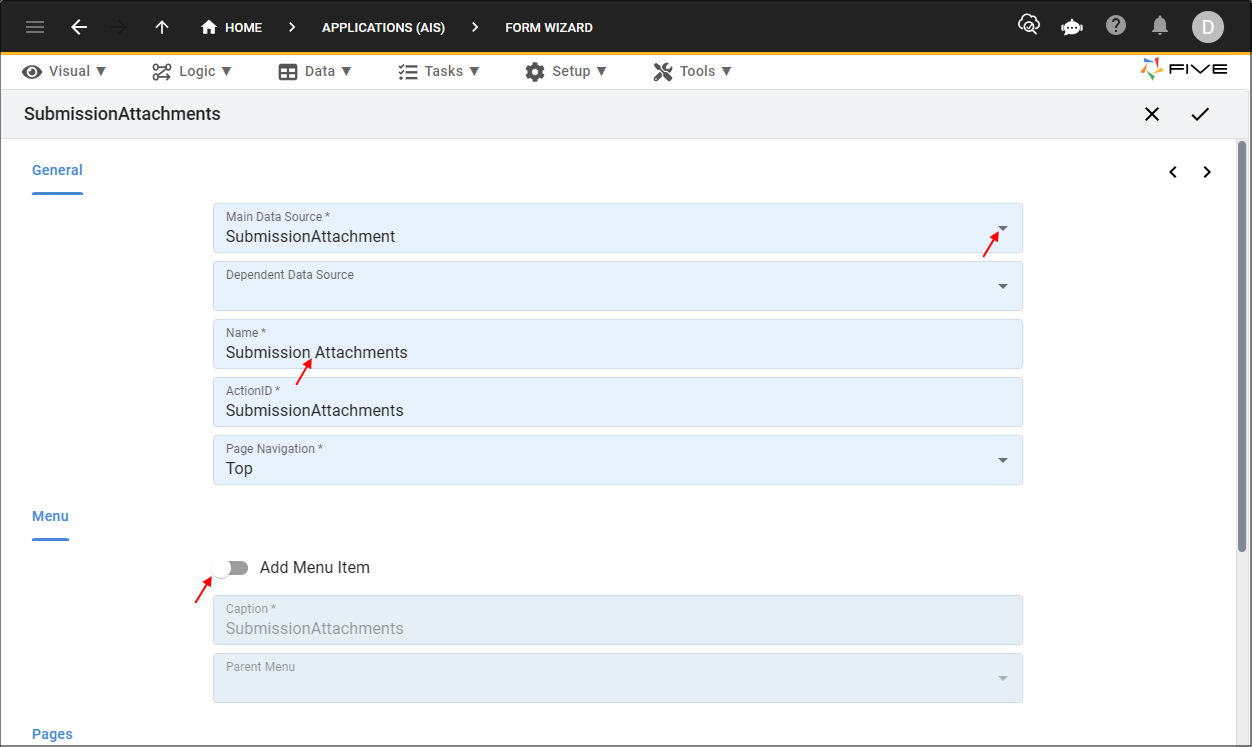
Figure 6 - Add the Submission Attachments form
4. Click the Next button.
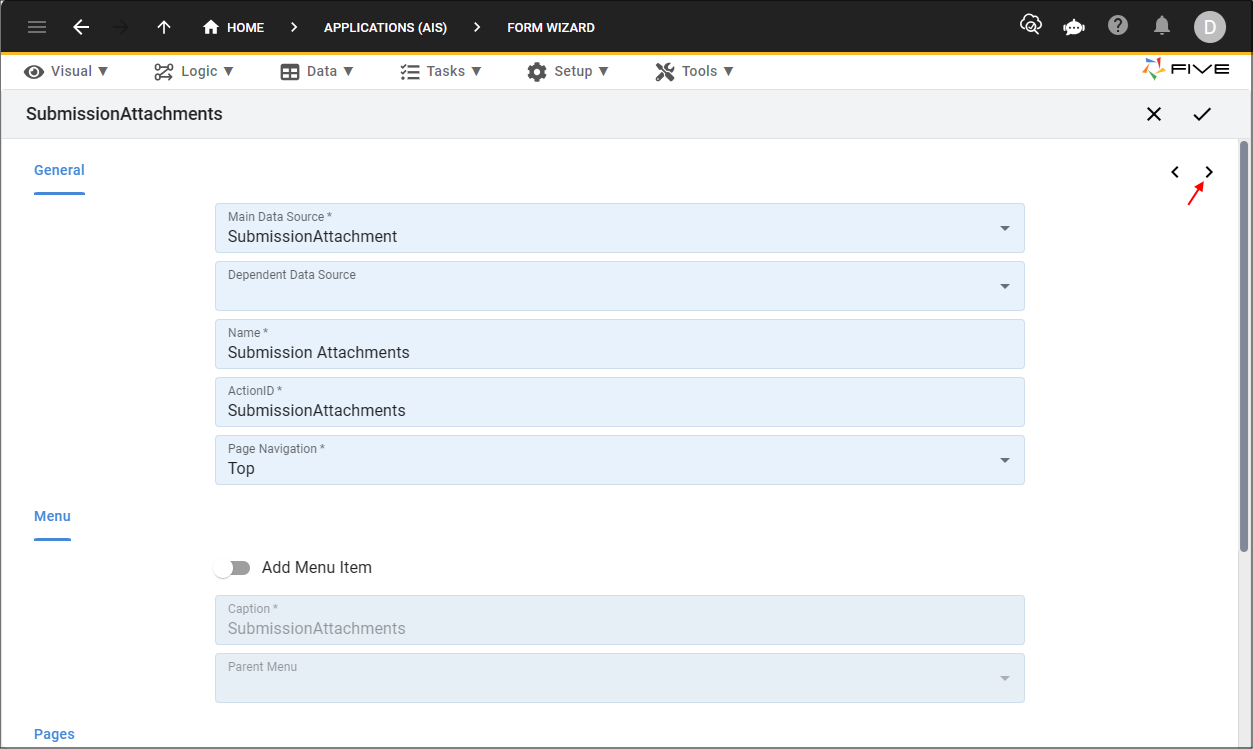
Figure 7 - Next button
5. Click the List checkbox for the Name and Attachment fields.
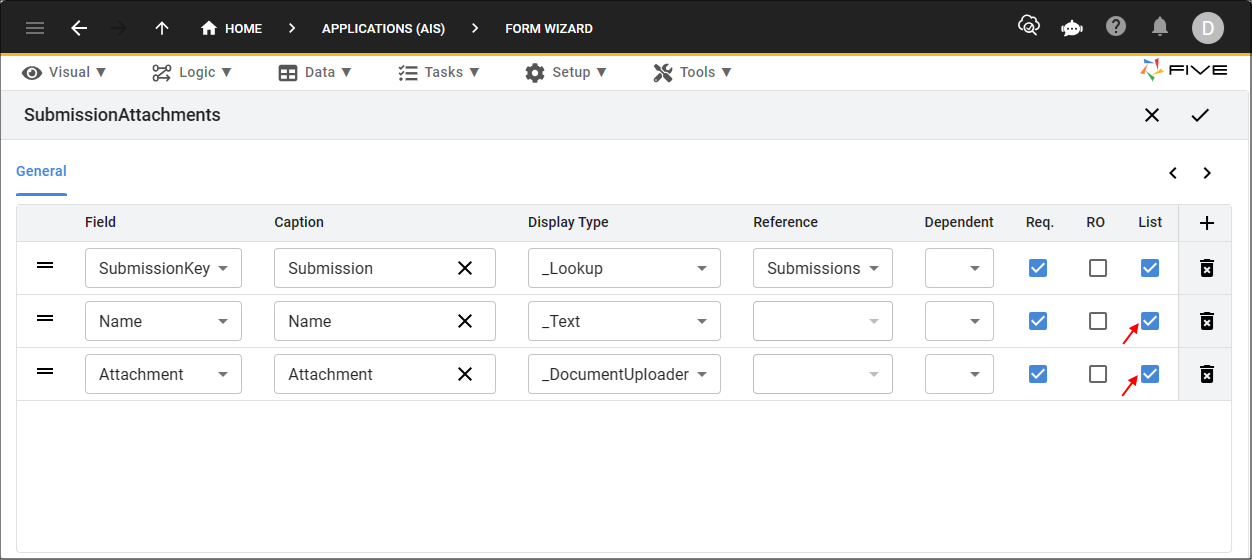
Figure 8 - Submission Attachments form fields
6. Click the Save button in the Form Wizard app bar.
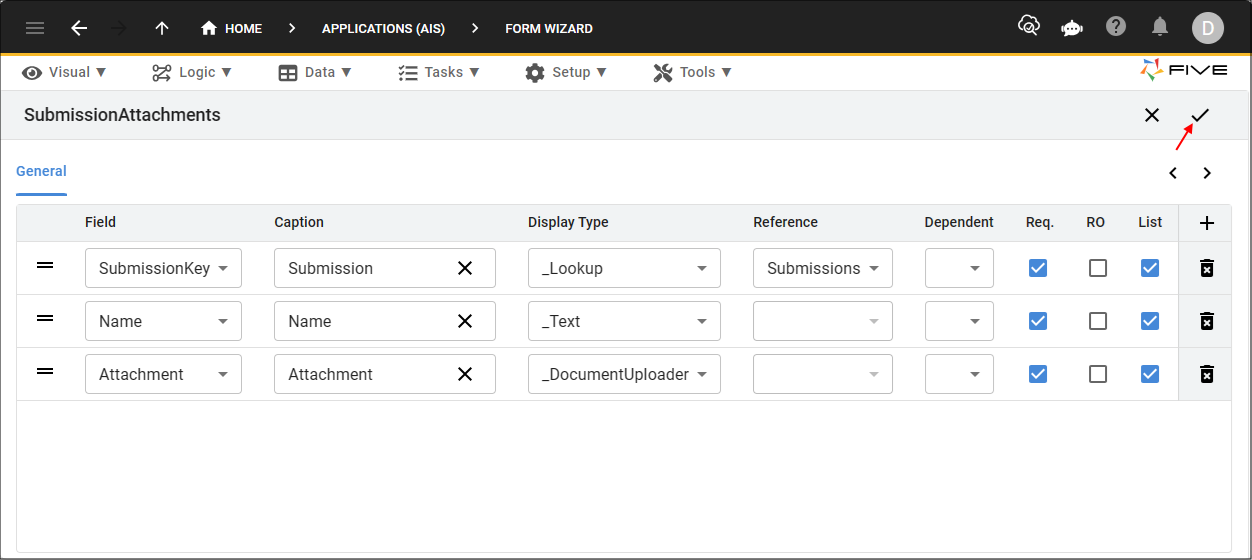
Figure 9 - Save button
Navigate to the Forms View
info
The Form Wizard enables you to quickly add the Submissions form, however, some extra configurations are required so we will need to edit the Submissions form. The Submissions record needs to be edited in the Forms view.
1. Click Visual in the Menu.
2. Click Forms in the sub-menu.
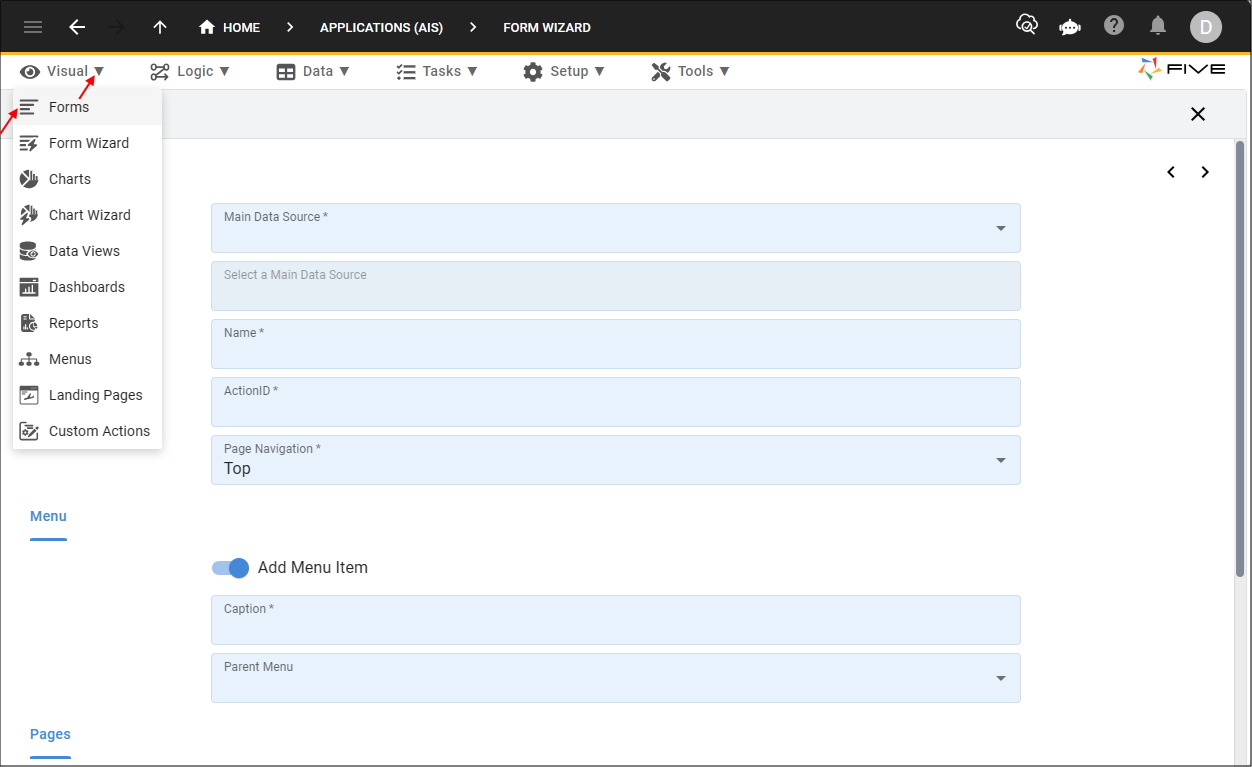
Figure 10 - Forms menu item
Edit the Submission Form
info
The Submissions form needs to be edited to perform the following changes:
- Make the Submissions form continuous.
- Add the Submission Attachments page.
- Add the values for the Status field combo.
- Add a default value to the Status field.
- Add a show if condition to the Status field.
- Add a read-only if condition to the Status field.
- Add a different field layout.
note
Firstly, the Submissions form will be edited to a have a continuous page navigation.
tip
You can change the page navigation to Continuous in the Form Wizard!
1. Select the Submissions record in the list.
2. Either click the Edit button in the form app bar, or click directly in the Page Navigation field.
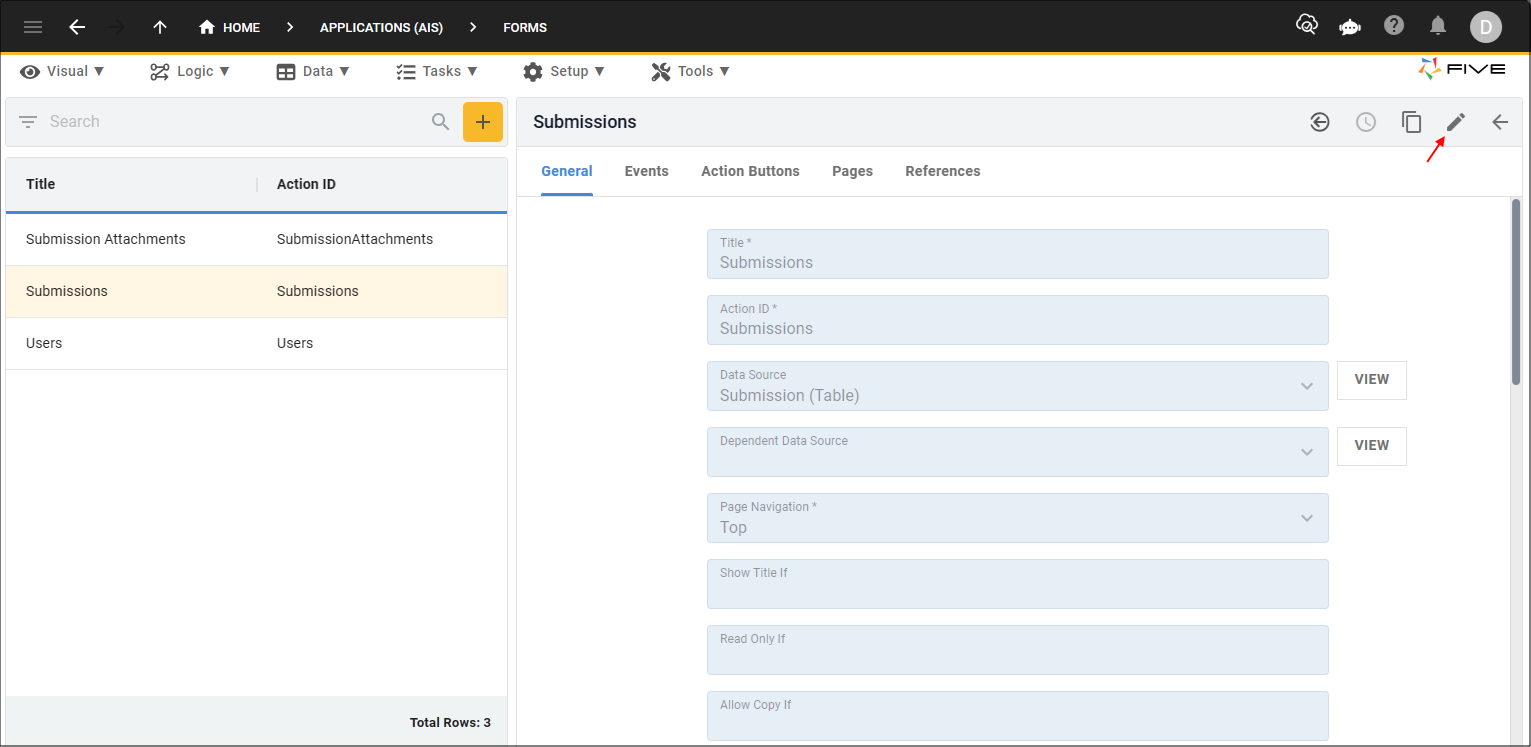
Figure 11 - Edit button
3. Click the lookup icon in the Page Navigation field and select Continuous.

Figure 12 - Page Navigation field
note
Next, the Submission Attachments page will be added to the Submissions form.
4. Click the Pages tab.
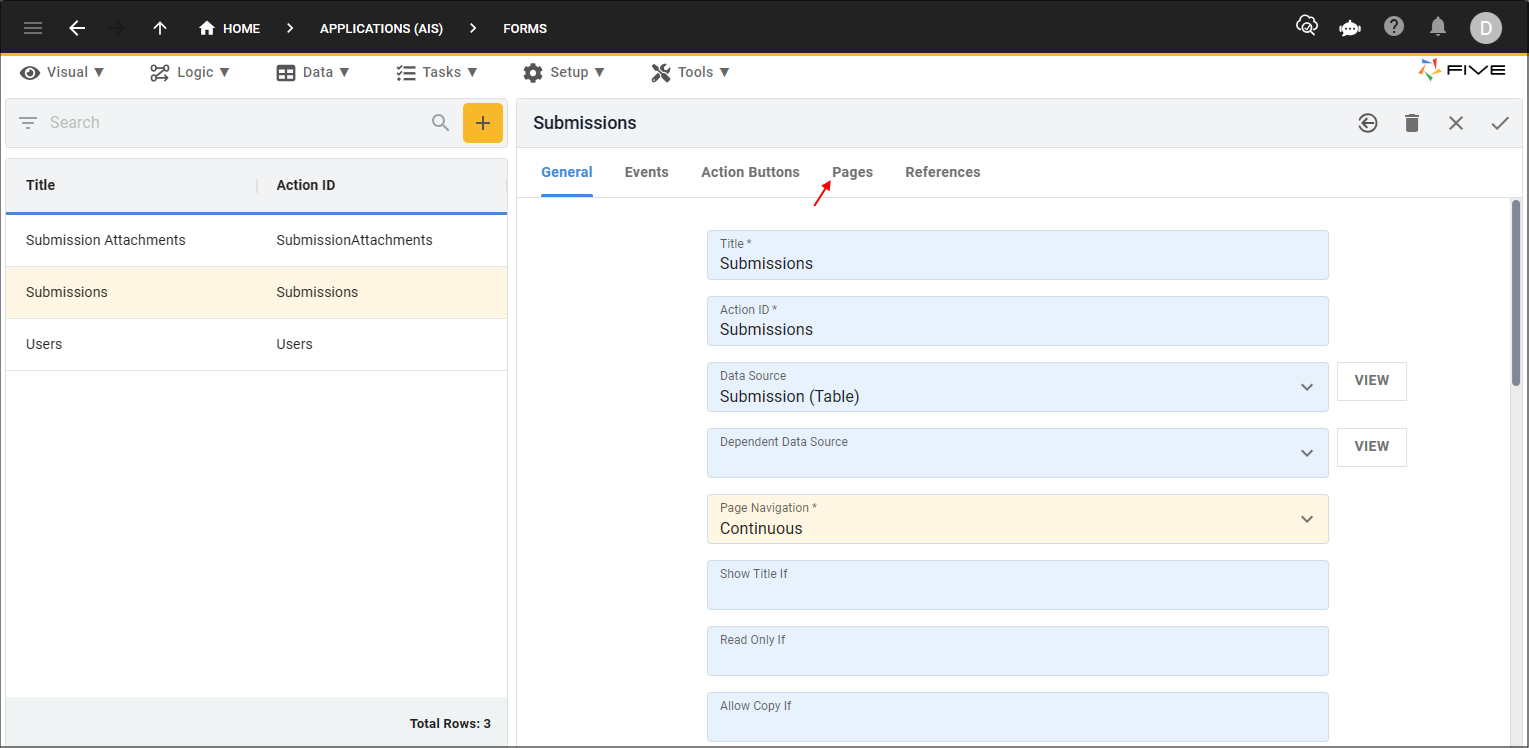
Figure 13 - Pages tab
5. Click the Add Pages button.
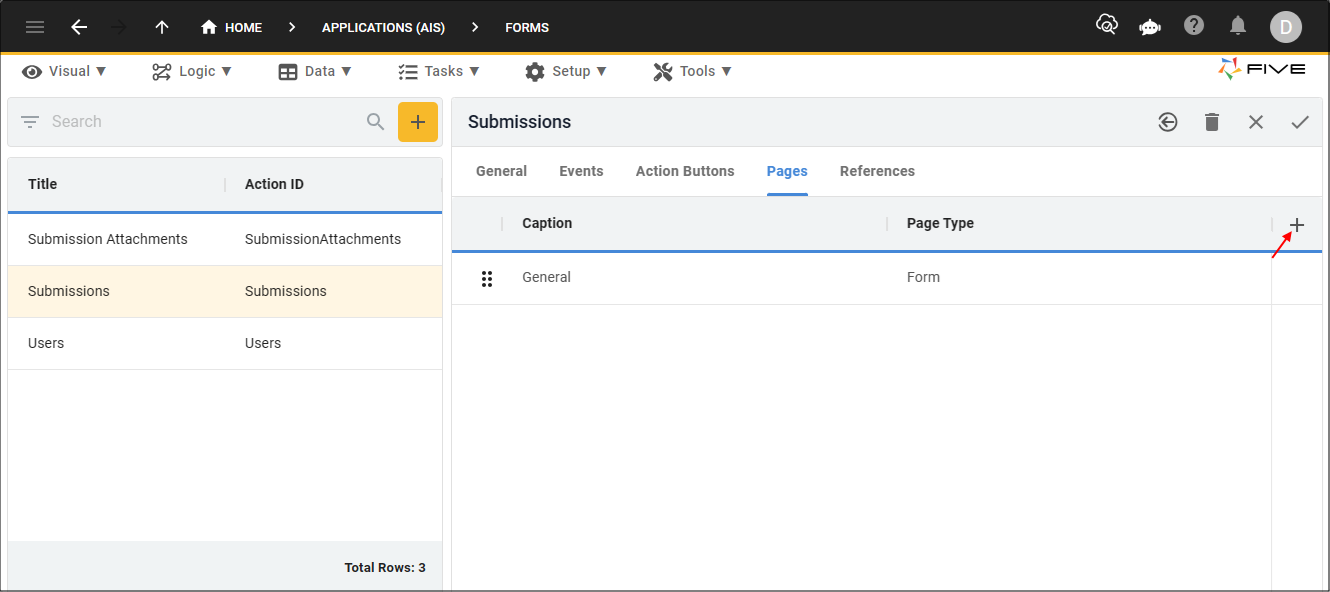
Figure 14 - Add Pages button
6. Type Submission Attachments in the Caption field.
7. Click the lookup icon in the Page Type field and select List.
8. Click the lookup icon in the Action field and select SubmissionAttachments (Form).
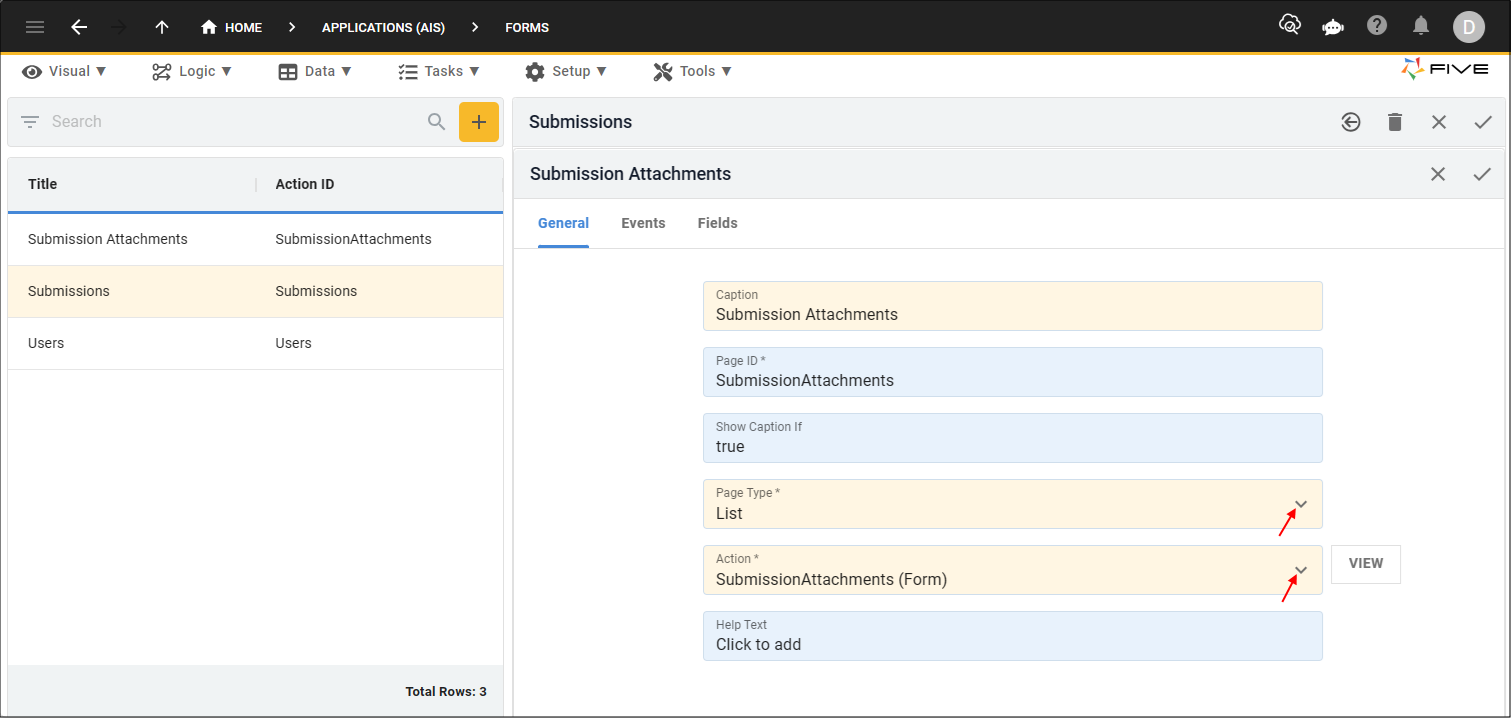
Figure 15 - Add the Submission Attachments page
9. Click the Save button in the form app bar.
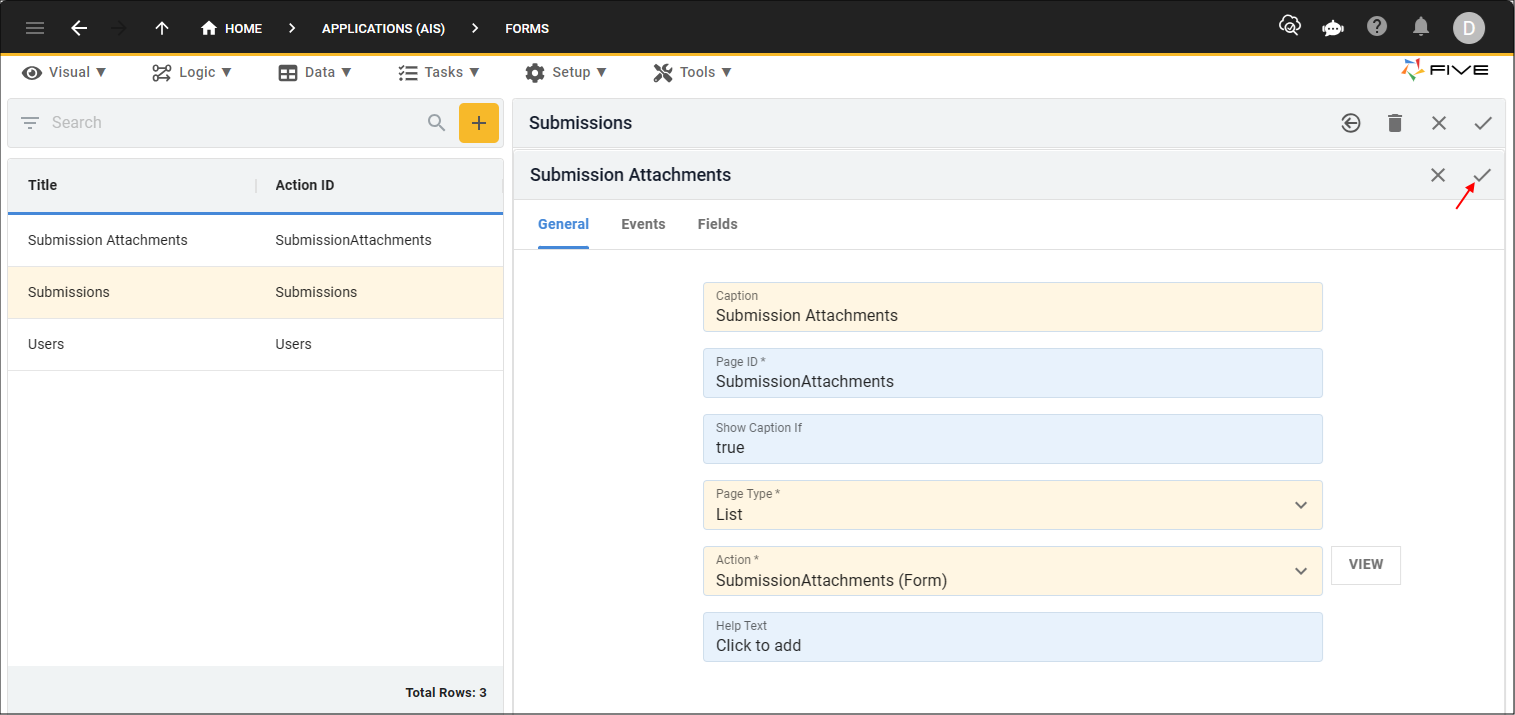
Figure 16 - Save button
note
Next, the key and value pairs will be added to the Status field combo.
info
The key will be stored in the database and the value will be displayed in the Status lookup.
10. Select the General record.

Figure 17 - General record
11. Click the Fields tab.
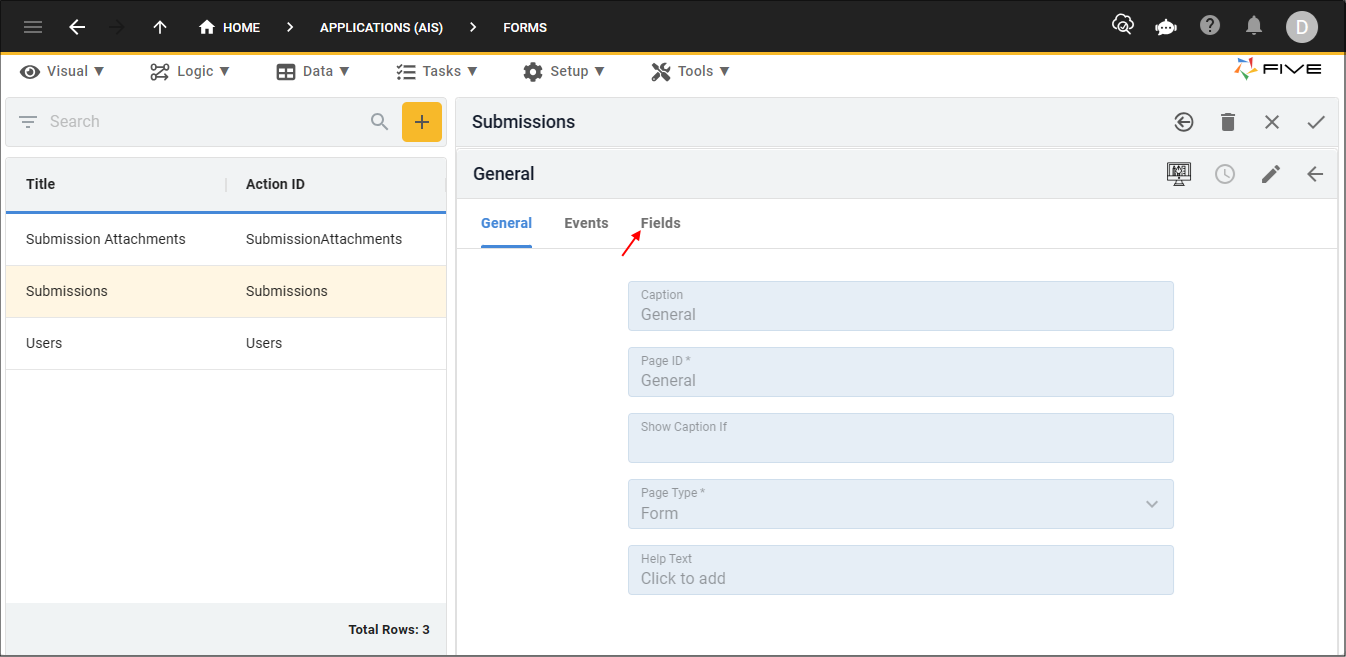
Figure 18 - Fields tab
12. Select the Status record.
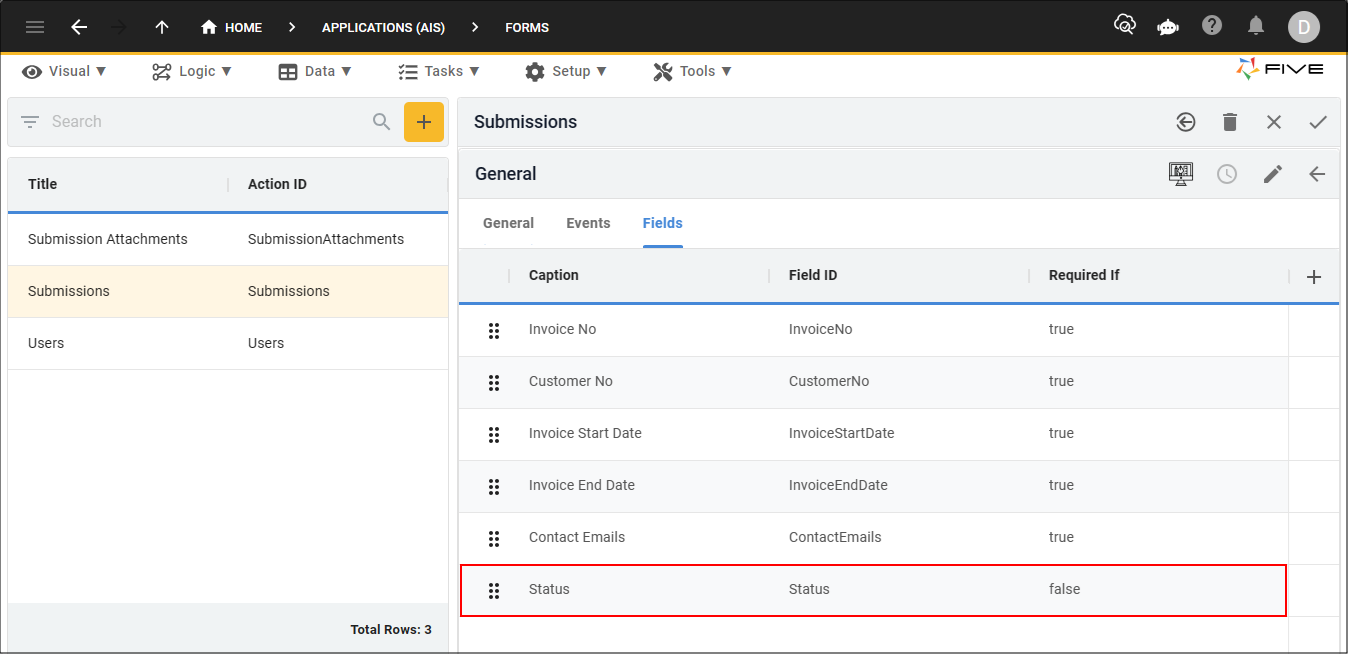
Figure 19 - Status record
13. Click the Edit button in the form app bar.
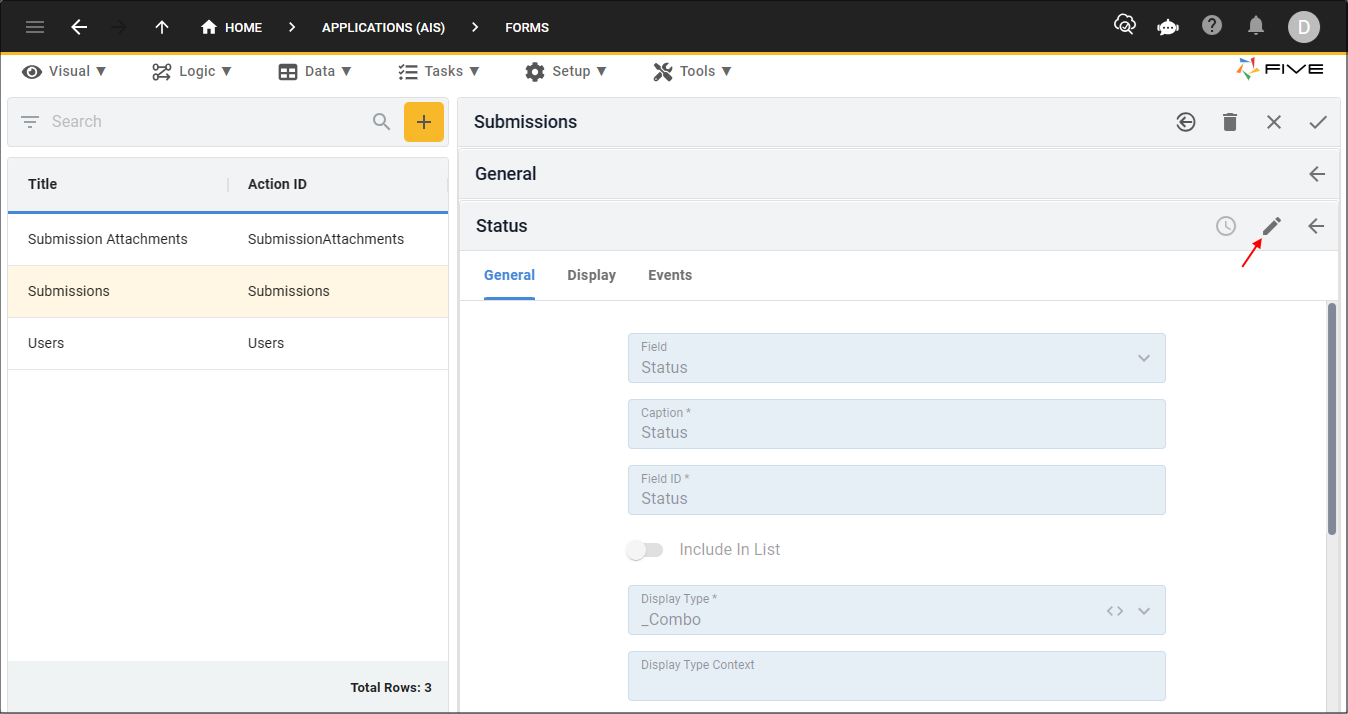
Figure 20 - Edit button
14. Click in the Field Data field.

Figure 21 - Field Data field
15. Type NR in the Key Field and Not Reviewed in the Value field.
16. Click the Add Field Data button.
17. Type A in the Key field and Approved in the Value field.
18. Click the Add Field Data button.
19. Type R in the Key field and Rejected in the Value field.
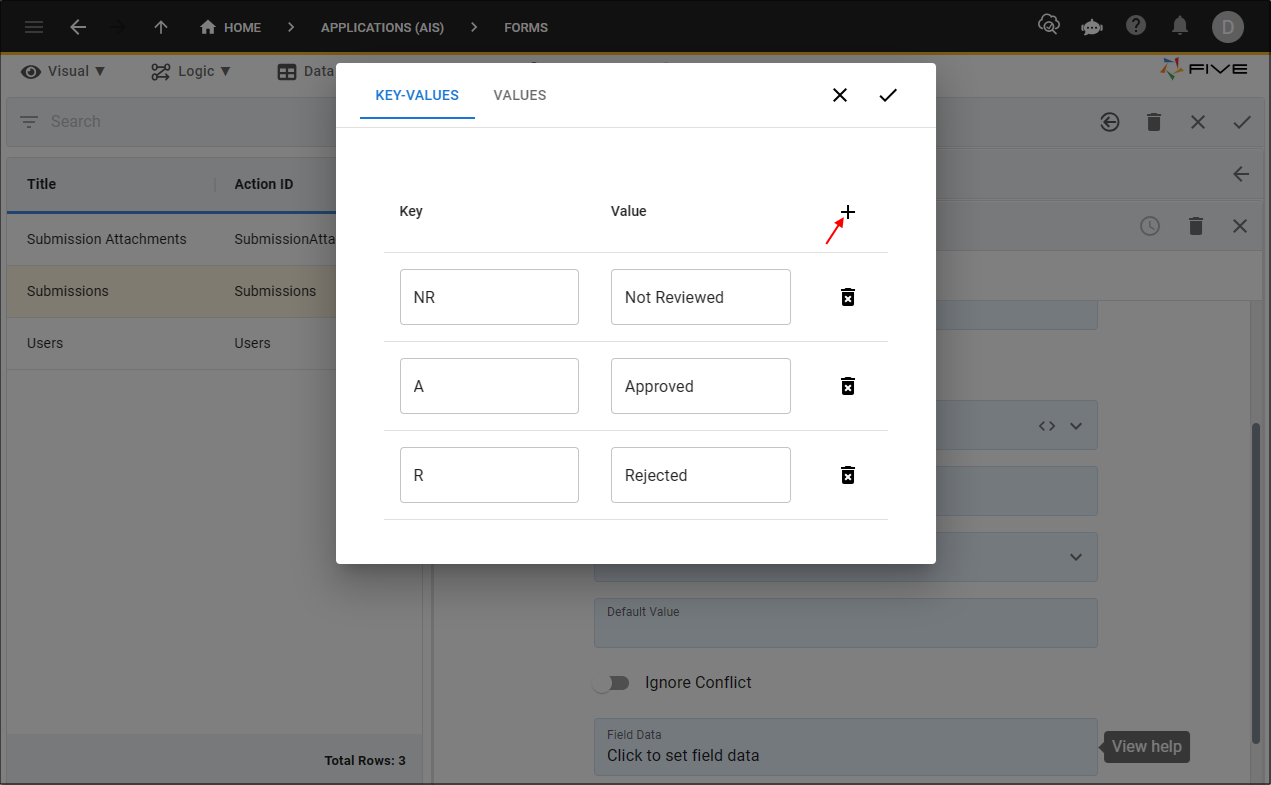
Figure 22 - Add field data
20. Click the Save button in the Field Data app bar.
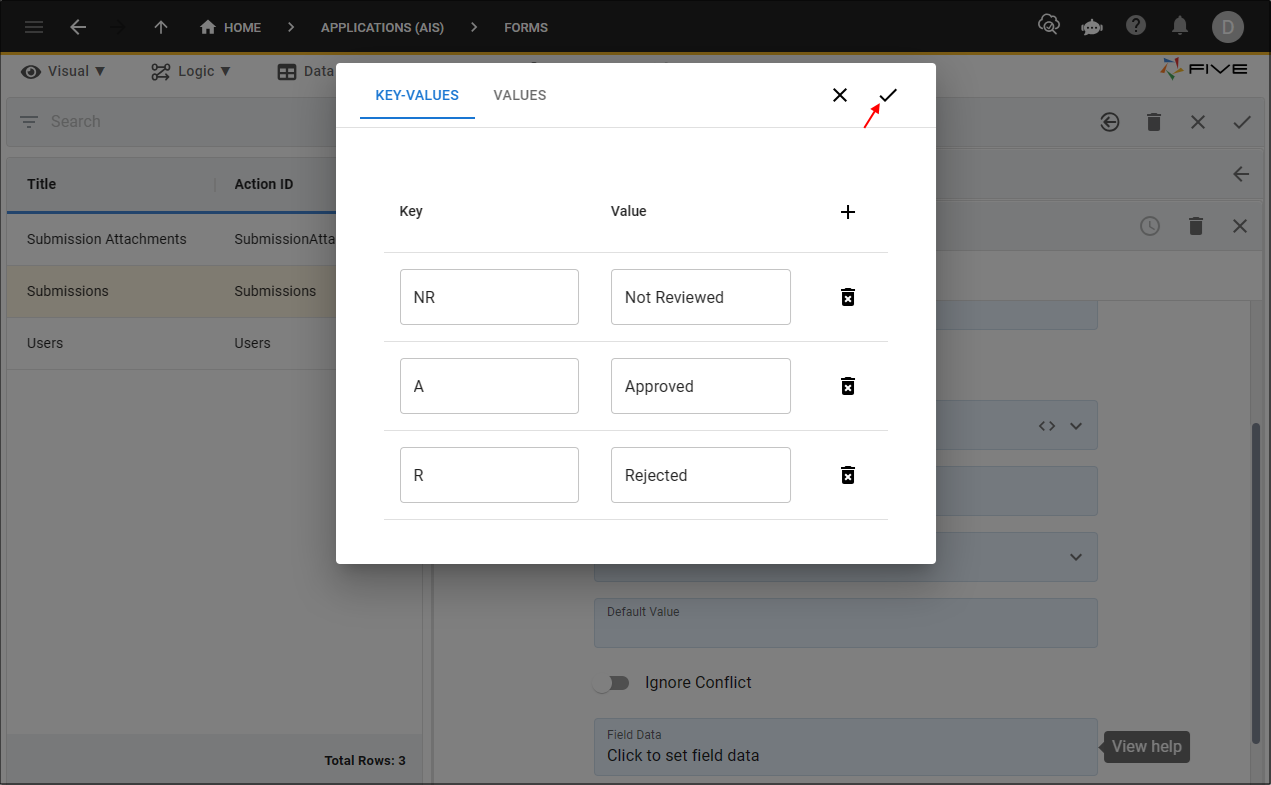
Figure 23 - Save button
note
Next, the default value will be added in the Default Value field.
21. Type NR in the Default Value.
info
The key needs to be used as the default value, however, in the AIS application the value will be displayed.
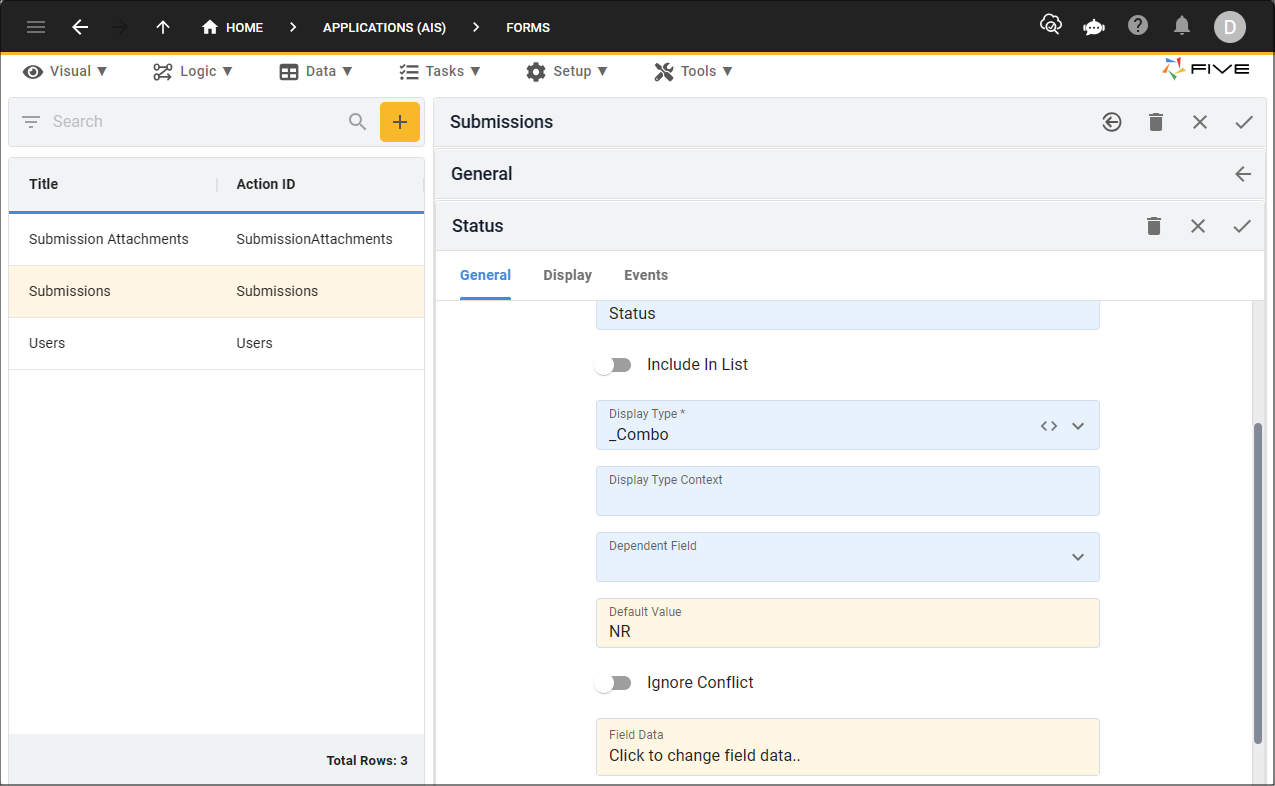
Figure 24 - Add the NR default value
22. Click the Display tab.
info
The Display page will be used to add conditional javascript statements
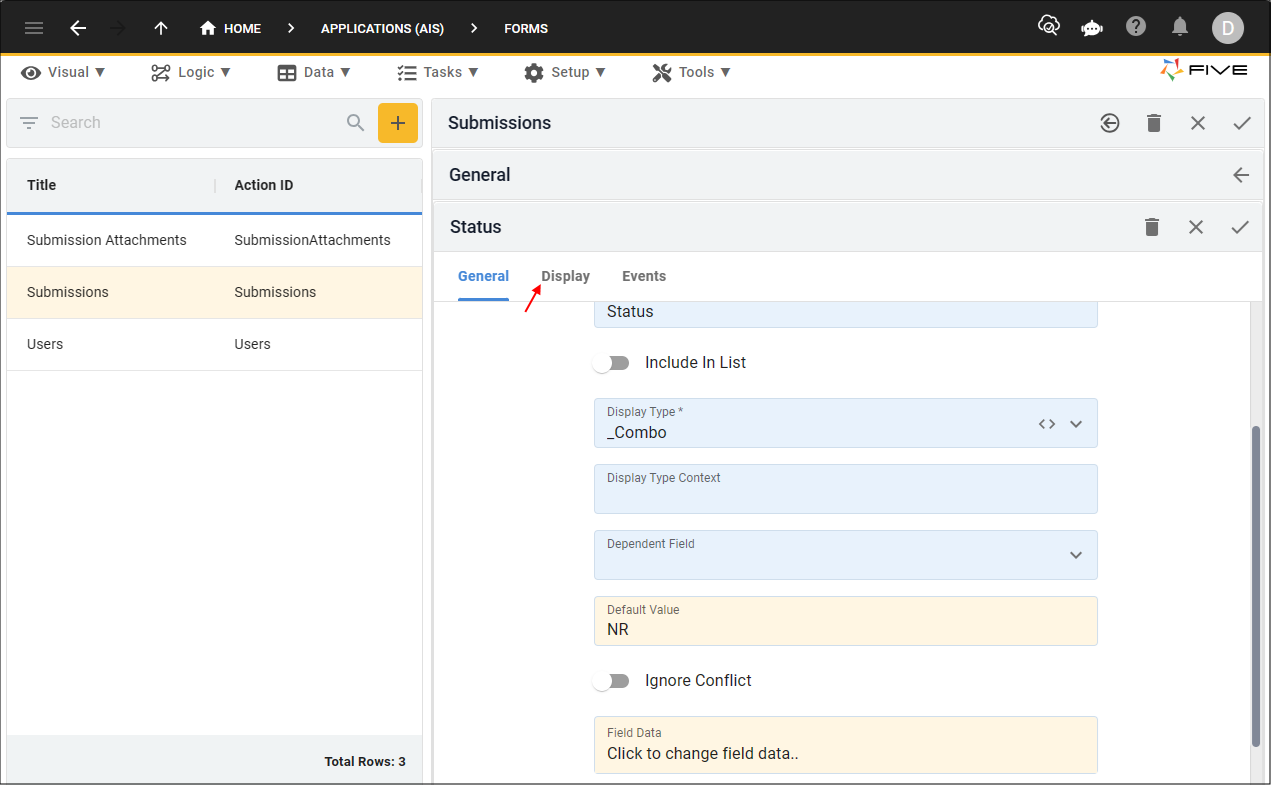
Figure 25 - Display tab
23. Click the Cancel button in the Show If field and type
(five.isCreate()===false)
.info
The
isCreate()
is a function used on the Five
object that returns true
if the action is currently creating a record. In this statement, if the isCreate()
equals false
then don't show the Status field. In the AIS application this will make it that when a user adds a submission they will not see this field, however, when a member from Finance logs into the system they will see the Staus field, as they do not create new Submission forms.24. Click the Cancel button in the Read Only If field and type
(five.field.Status === 'A' || five.field.Status === 'R')
info
The property is used on the
five
object to return the value associated to the field ID for the current form. In this scenario, if the Status field equals A (Approved) or R (Rejected) the field will become read-only.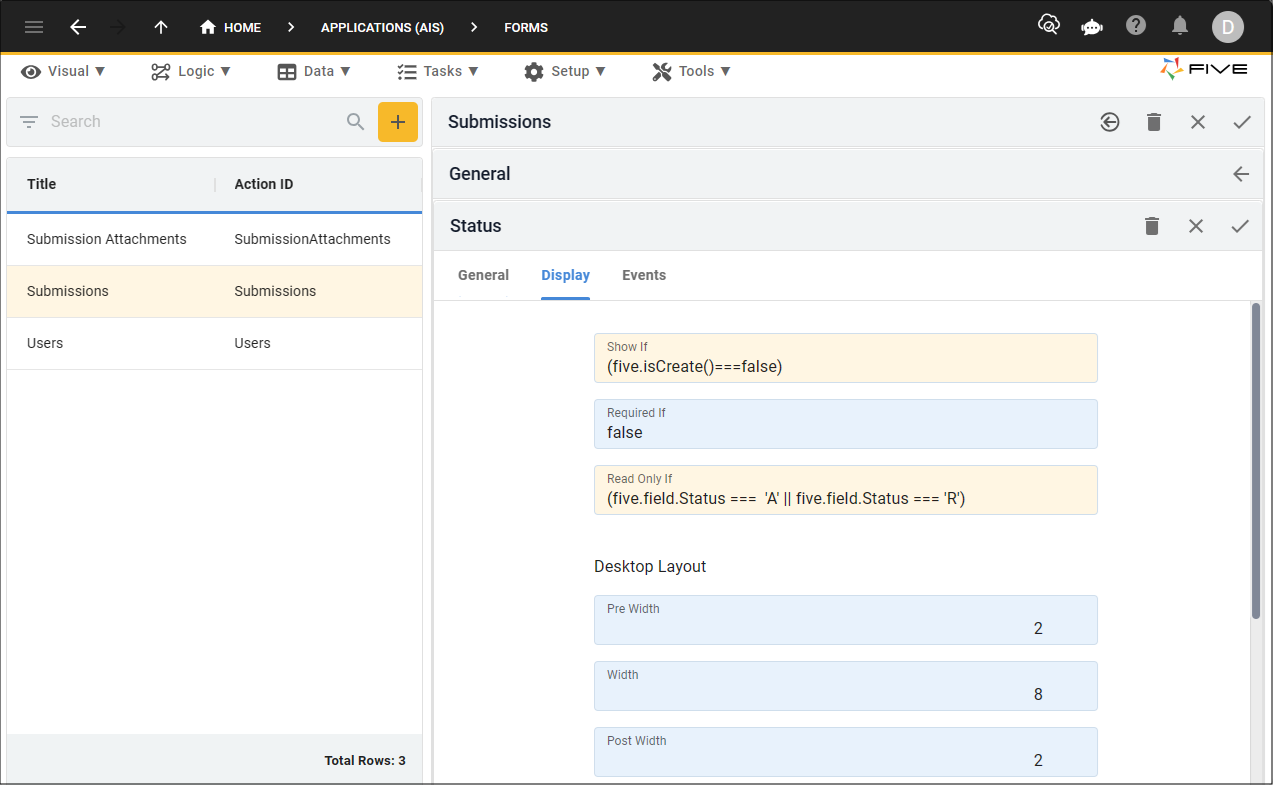
Figure 26 - Add the JavaScript if statements
25. Click the Save button in the form app bar
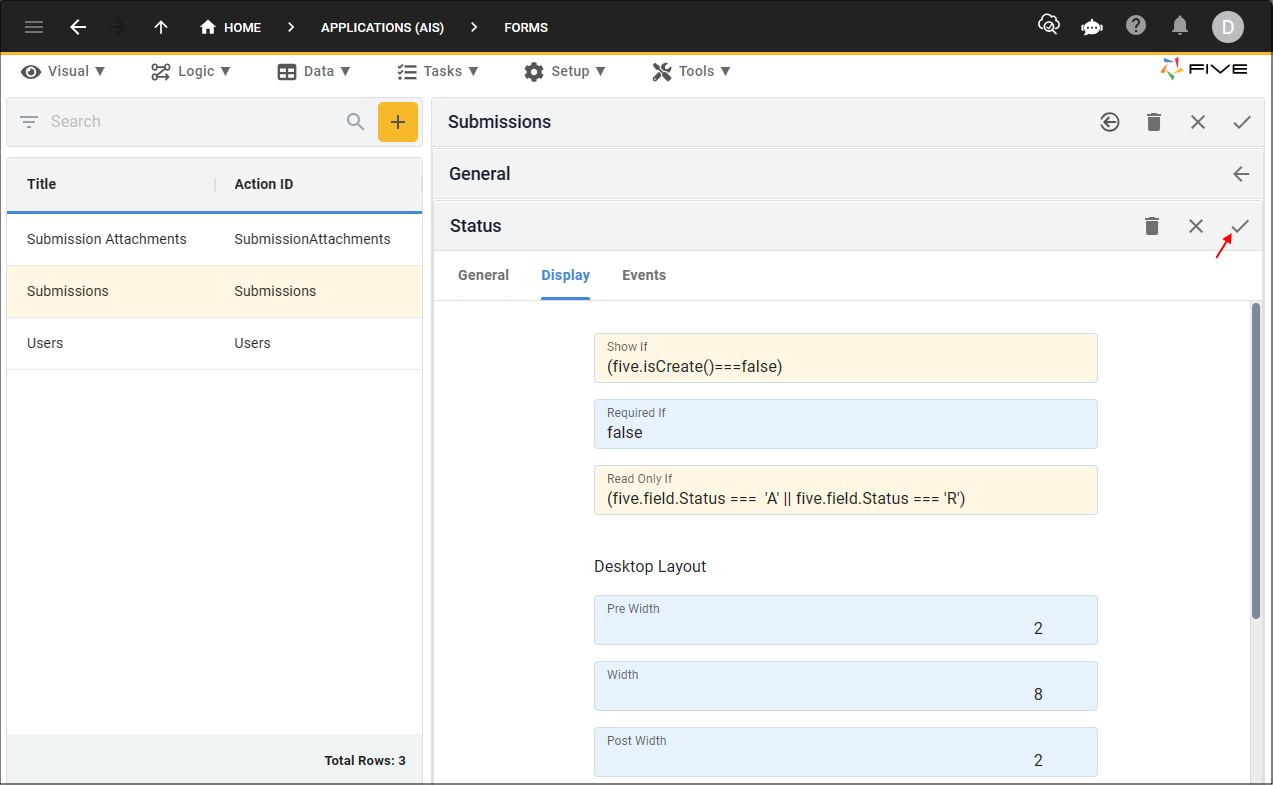
Figure 27 - Save button
26. Click the Open Form Designer button.
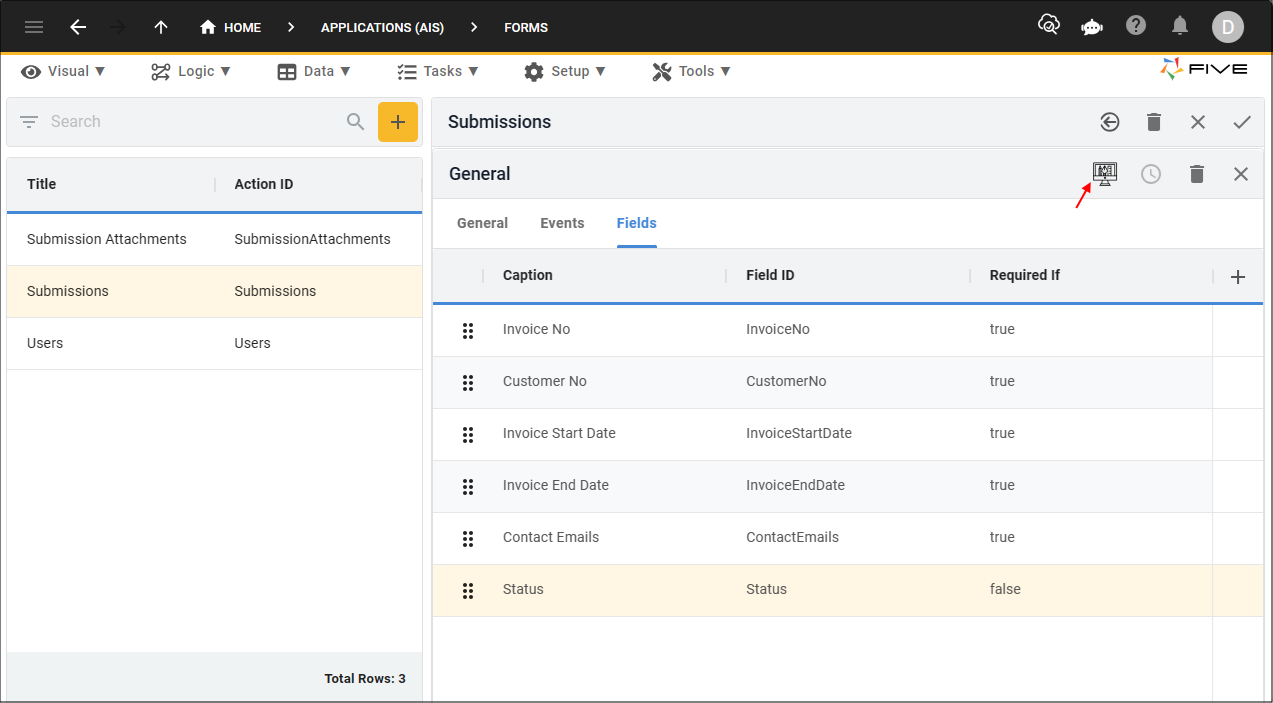
Figure 28 - Open Form Designer button
27. Click, hold, and drag the fields to have a similar layout as the image below.
TIPS
- To make a field larger or smaller in length, grab the inside of the field and drag outwards or inwards.
- To move a field up or down, drag the field and wait for the yellow line before dropping.
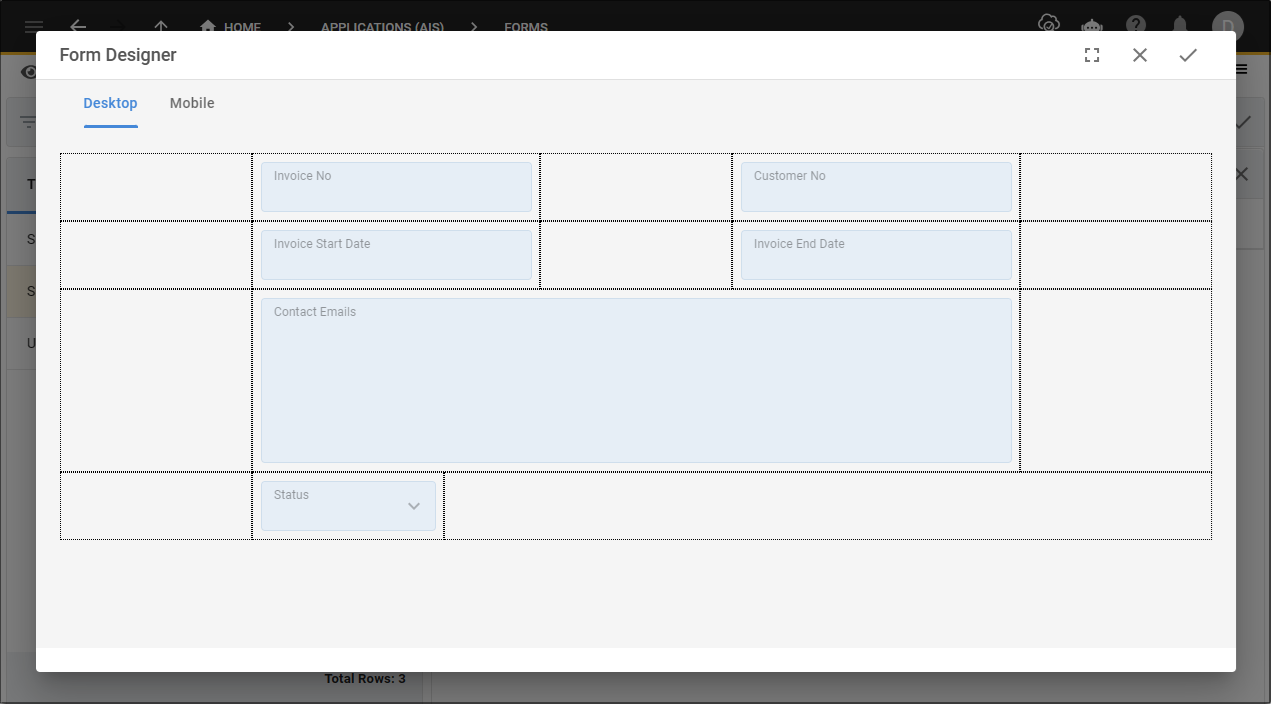
Figure 29 - Form Designer
28. Once you have finished, click the save button in the Form Designer app bar.
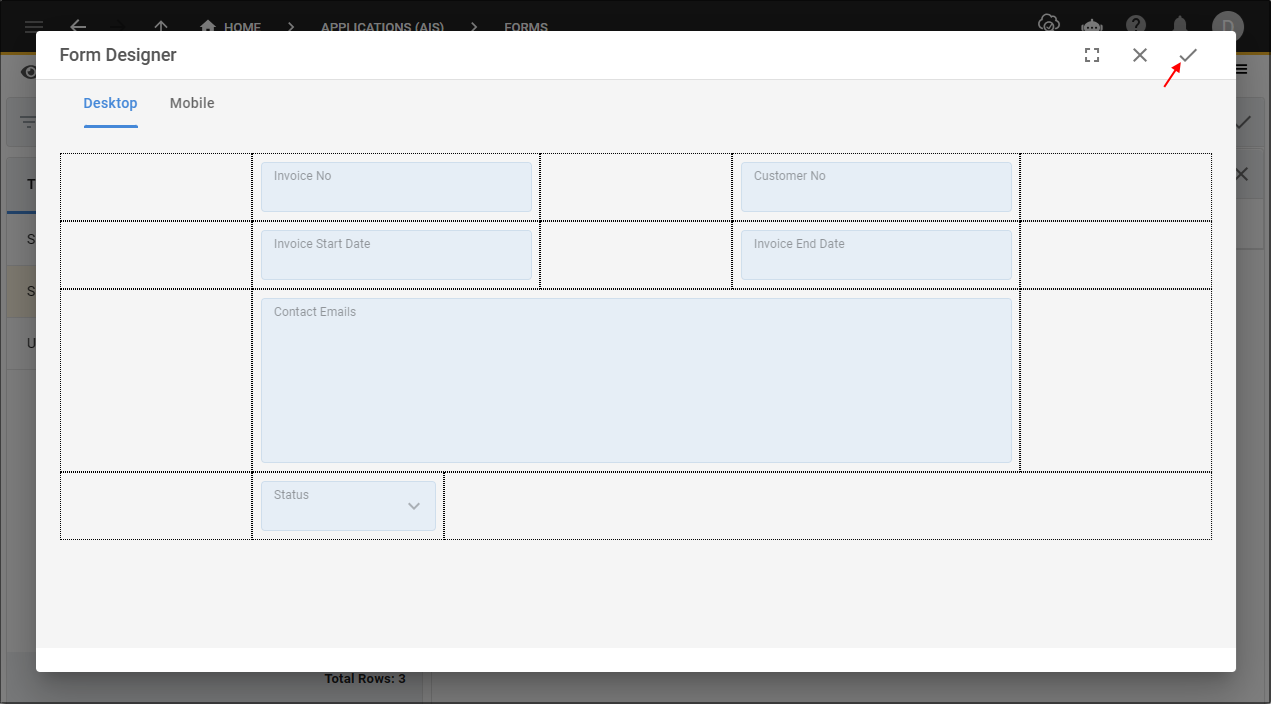
Figure 30 - Save button
29. Click the Save button in the form app bar.
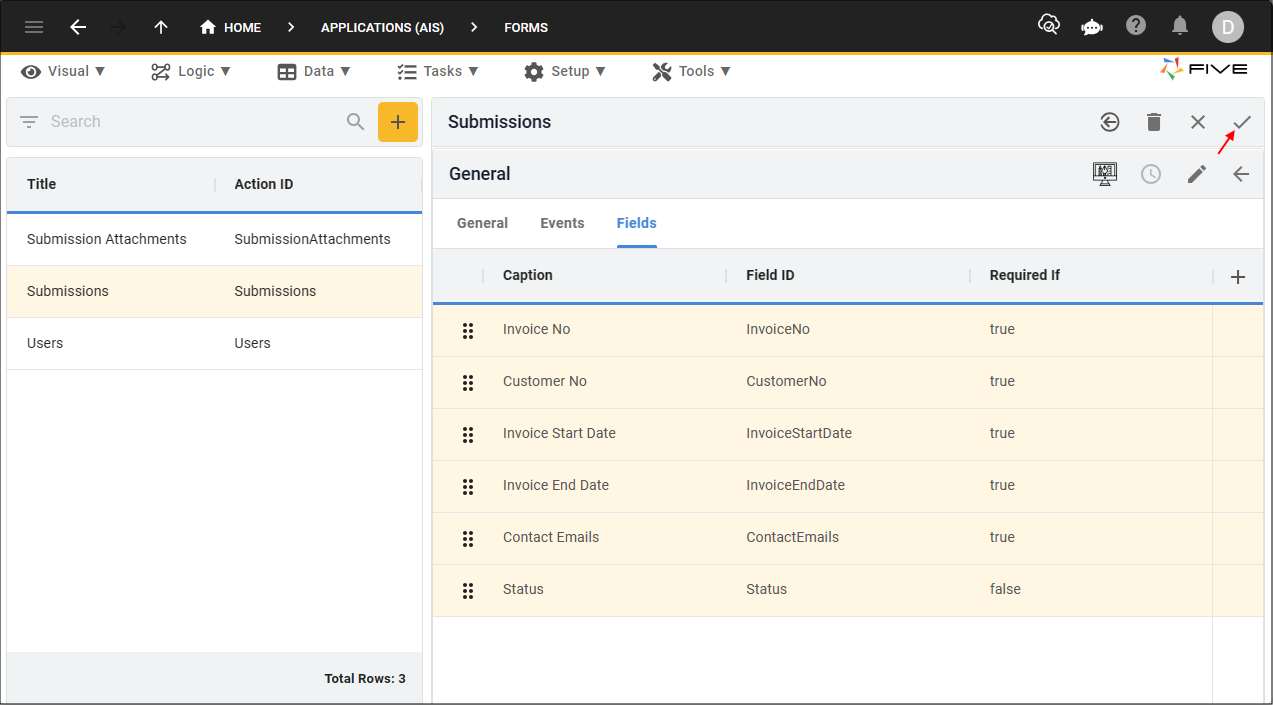
Figure 31 - Save button