Add Your SMTP Settings
Last updated 23/01/2024
To add your SMTP settings you will need to be logged into Five as an Administrator or Control user. Your SMTP settings need to be added on the Instances form. While on the Instances form you can also add your theme and logos.Navigate to Instances
Prerequisite: Signed in as a Administrator or Control user.tip
When logged in as a Developer user, you have limited access to the Instances form!
1. Click Applications in the menu.
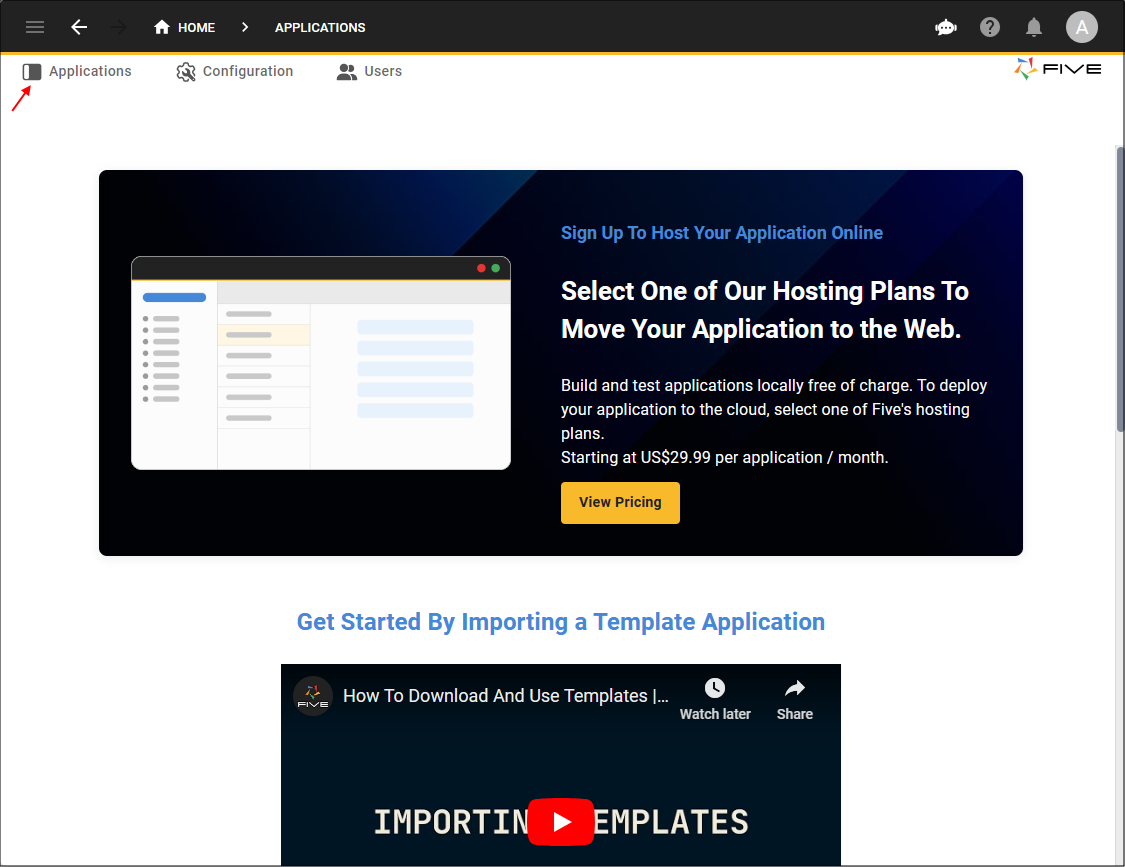
Figure 1 - Applications menu item
2. Select the AIS record in the list.
3. Click the Manage button in the form app bar.
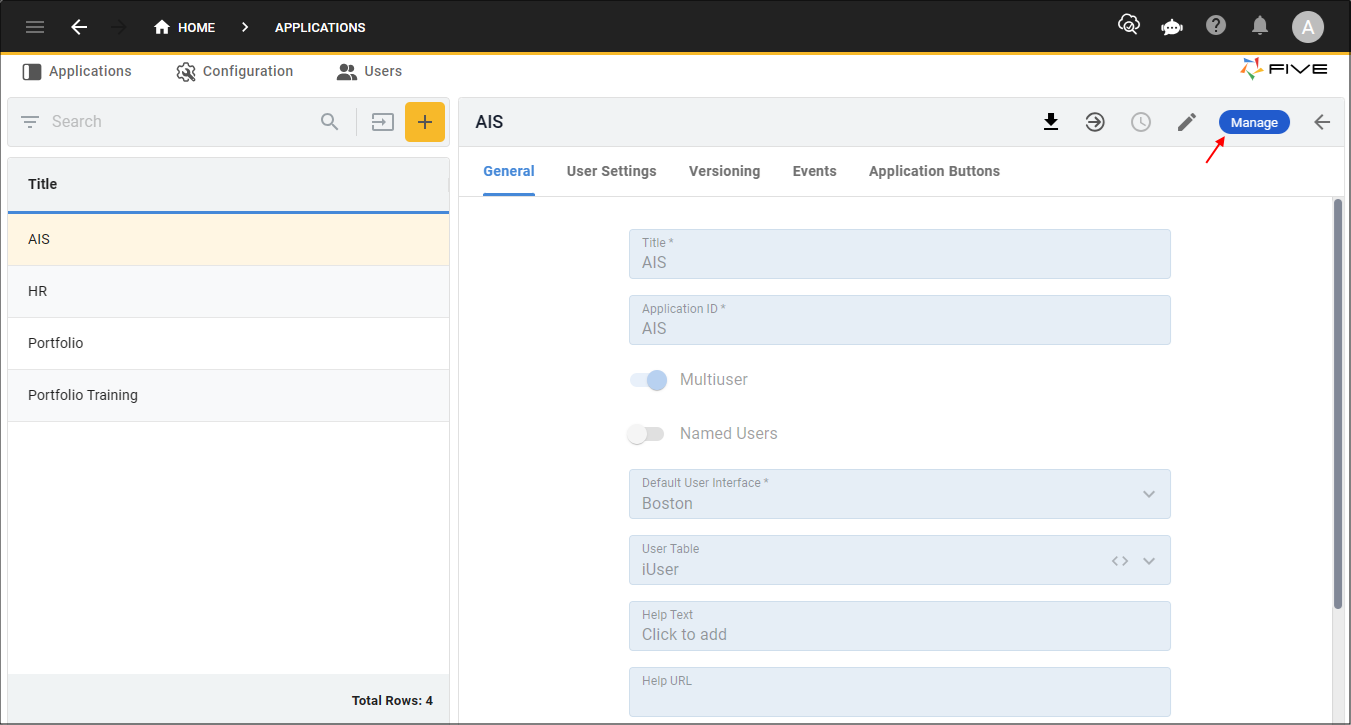
Figure 2 - Manage button
4. Click Setup in the menu.
5. Click Instances in the sub-menu.

Figure 3 - Instances menu item
Edit the Default Record
info
When you save an application, Five will automatically create an instance record for the application. You can have many instances of your application, each instance will use use the same schema and code, however, you can customize and configure each instance with differnet themes, logos, and SMTP settings etc.
The default instance can be deployed from any view in Five. If you have multiple instances, all other instances need to be deployed using the Cluster Management page.
You can only have one default set at a time, to change the default instance record, click the Default Instance switch on the General page.
tip
You cannot edit an instance record while the instance is deployed!
1. Select the default record in the list.
info
Before you add your SMTP settings, you can edit the General page. To add a theme you would need to have the theme created in Five's Theme Editor, which you will find the Themes menu item under the Setup menu.
2. Either click the Edit button in the form app bar, or click directly in the Name field.
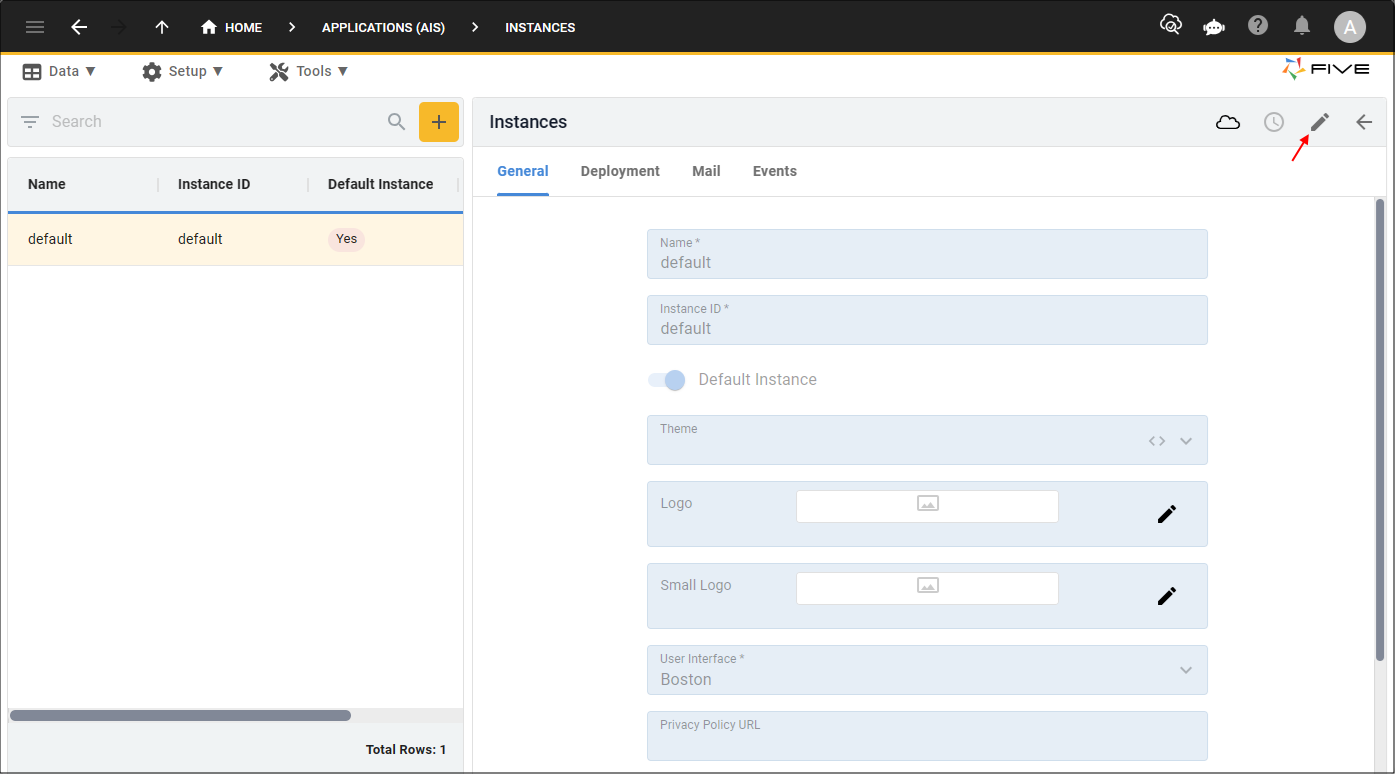
Figure 4 - Edit button
3. Click the Cancel button in the Name and type AIS.
4. Optional: Click the lookup icon in the Theme field and select a theme.
info
You will only have options here if you have theme records saved in the Theme view.
5. Optional: Click the Edit button in the Logo field and open an image file.
6. Optional: Click the Edit button in the Small Logo field and open an image file.
7. Click the lookup icon in the User Interface field and select New York.
info
The Boston user interface will position your menu items down the left hand side of your screen. The New York user interface will position your menu items across the top of the screen giving you more screen real estate.

Figure 5 - Edit the default instance record
Mail Fields
1. Click the Mail tab.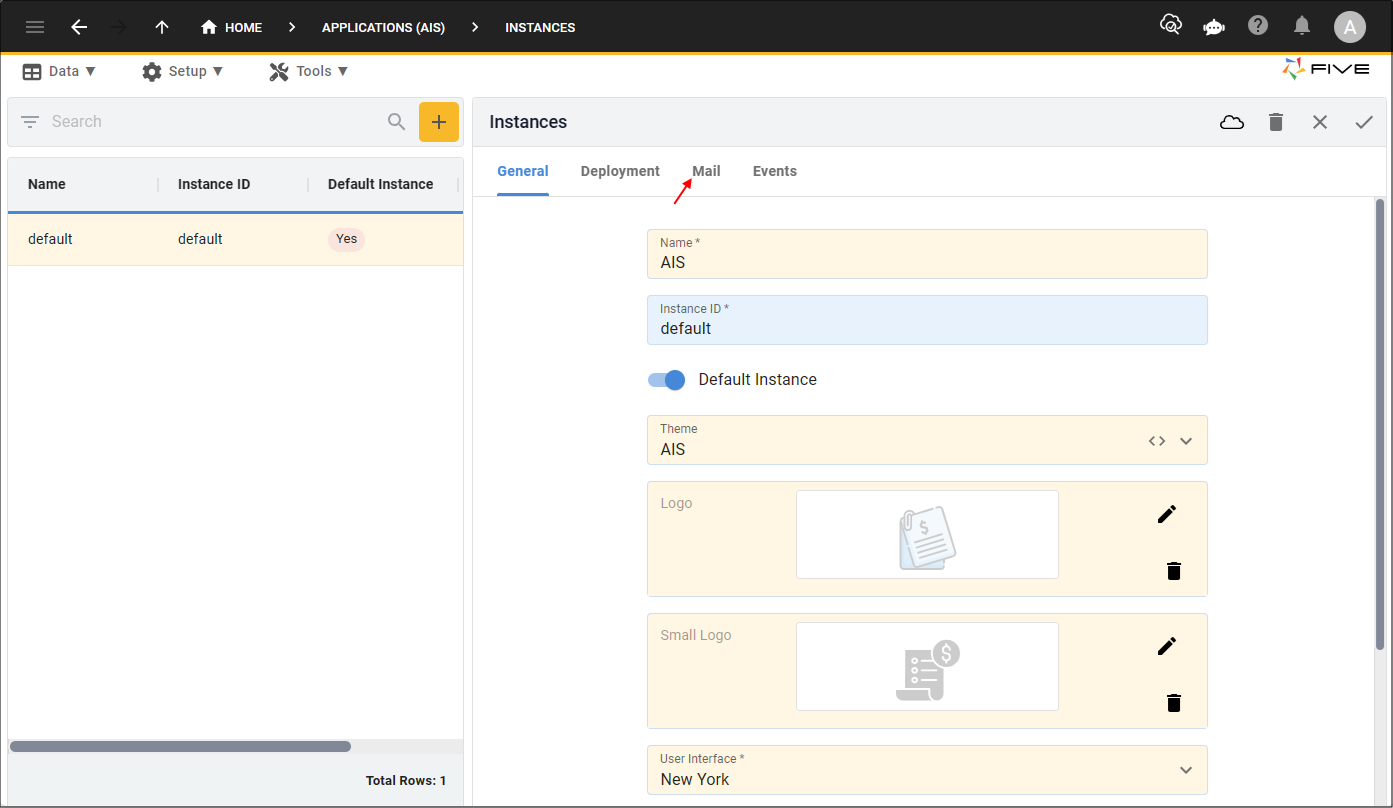
Figure 6 - Mail tab
info
You will need to set your SMTP settings provided by your mail provider, the following table gives you an overview of each of the fields on the Mail page.
| Field | Description |
|---|---|
| SMTP Server | Host name of your email provider server. |
| SMTP Port | Port number of your email provider server. |
| SMTP Username | Username for your account. |
| SMTP Password | Password for your account. |
| SMTP From Name | Name for who the email originates from. |
| SMTP From Email | Email for who the email originates from. |
info
The Invite Email field is for you to design a welcome email template for new users to your application. The Password Reset Email field is for you to design an email template allowing users of your application to reset their password.
Add Your SMTP Settings
1. Type your provider's SMTP server in the SMTP Server field.2. Type your provider's SMTP port number in the SMTP Port field.
3. Type your username in the SMTP Username field.
4. Type your password in the SMTP Password field.
5. Type the from name in the SMTP From Name field.
6. Type the from email in the SMTP From Email field.
info
The values in the image below are only examples, you will need your SMTP settings entered into the fields for the mail merge to work.

Figure 7 - Add your SMTP settings
7. Click the Save button in the form app bar.

Figure 8 - Save button