Create Roles
Last updated 22/01/2024
Five has a default user named Public with the Public role assigned. This user is for when you want to create a public URL, you can provide the URL link to users and they do not need to log into your application to see the action you have attached to the URL.You can assign permissions to the Public user and only grant the access that you want your public users to have. This role will be used so that a URL can be provided to a user so they can create a submission and attach documents via the Submissions form.
Five has a default role named Admin with the Admin role assigned. By default, this user has full table access in the AIS application.
We will create a Finance role and assign the Finance menu, this will give them access to all the menu items in the Finance menu, however, data source permissions can still be granted.
Navigate to Roles
1. Click Setup in the menu.2. Click Roles in the sub-menu.
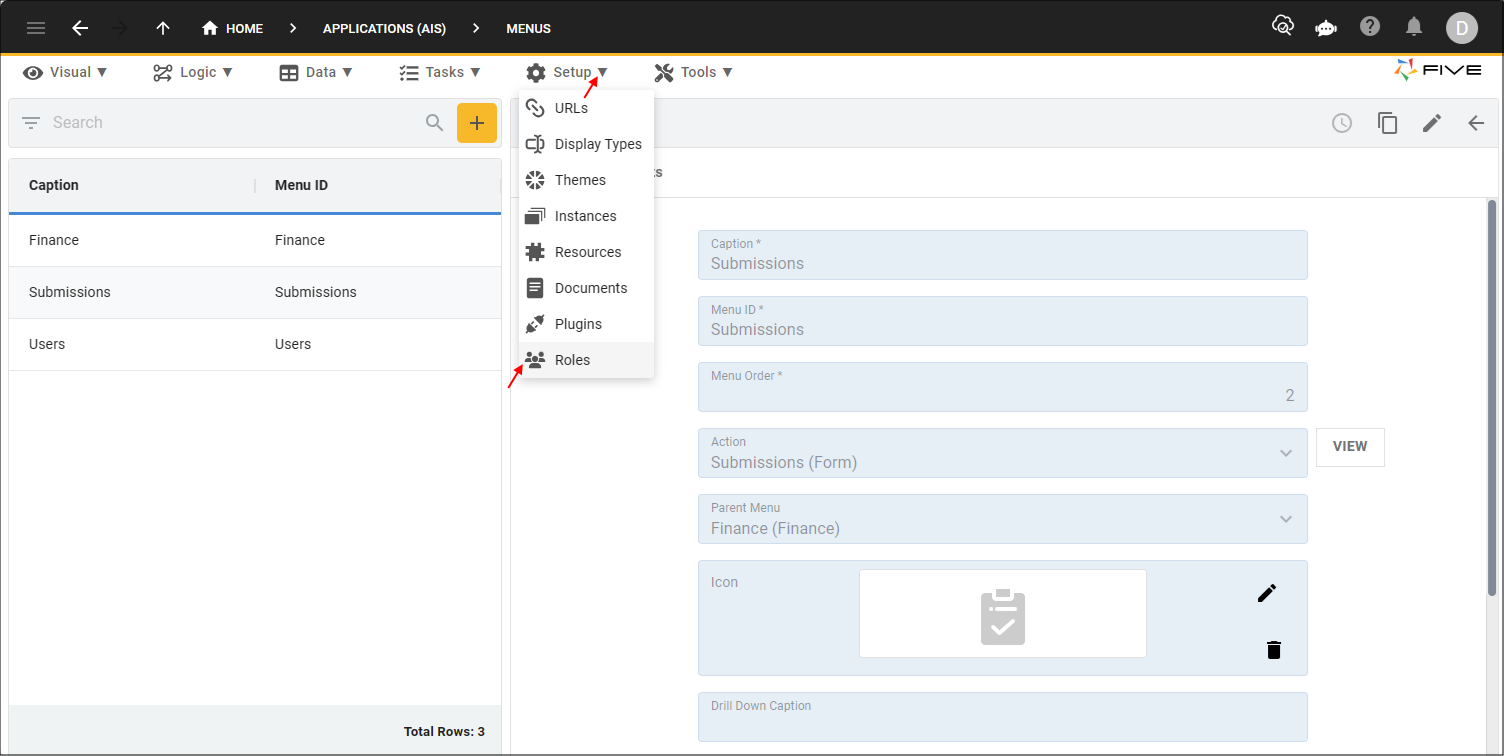
Figure 1 - Roles menu item
Add the Finance Role
1. Click the Add Item button.2. Type Finance in the Name field.
3. Click the lookup icon in the Menu field and select Finance (Finance).

Figure 2 - Add the Finance role
info
Permissions set on the General page will be the default for all data sources. For example, if you select your permissions for tables in the Default Table Permissions field these will apply to all the tables in your application.
Permissions set on the Permissions page will apply to each individual data source. For example, if you have three tables, you can individually set the permissions for each table.
Permissions set on the Permissions page will take precedence over the permissions set on the General page. For example, if you have full permissions granted for tables on the General page these will apply to all the tables in your application, however, if you select an individual table on the Permissions page and only apply Read access, this will apply to the table and not the default table permissions set on the General page.
4. Click the Permissions tab.
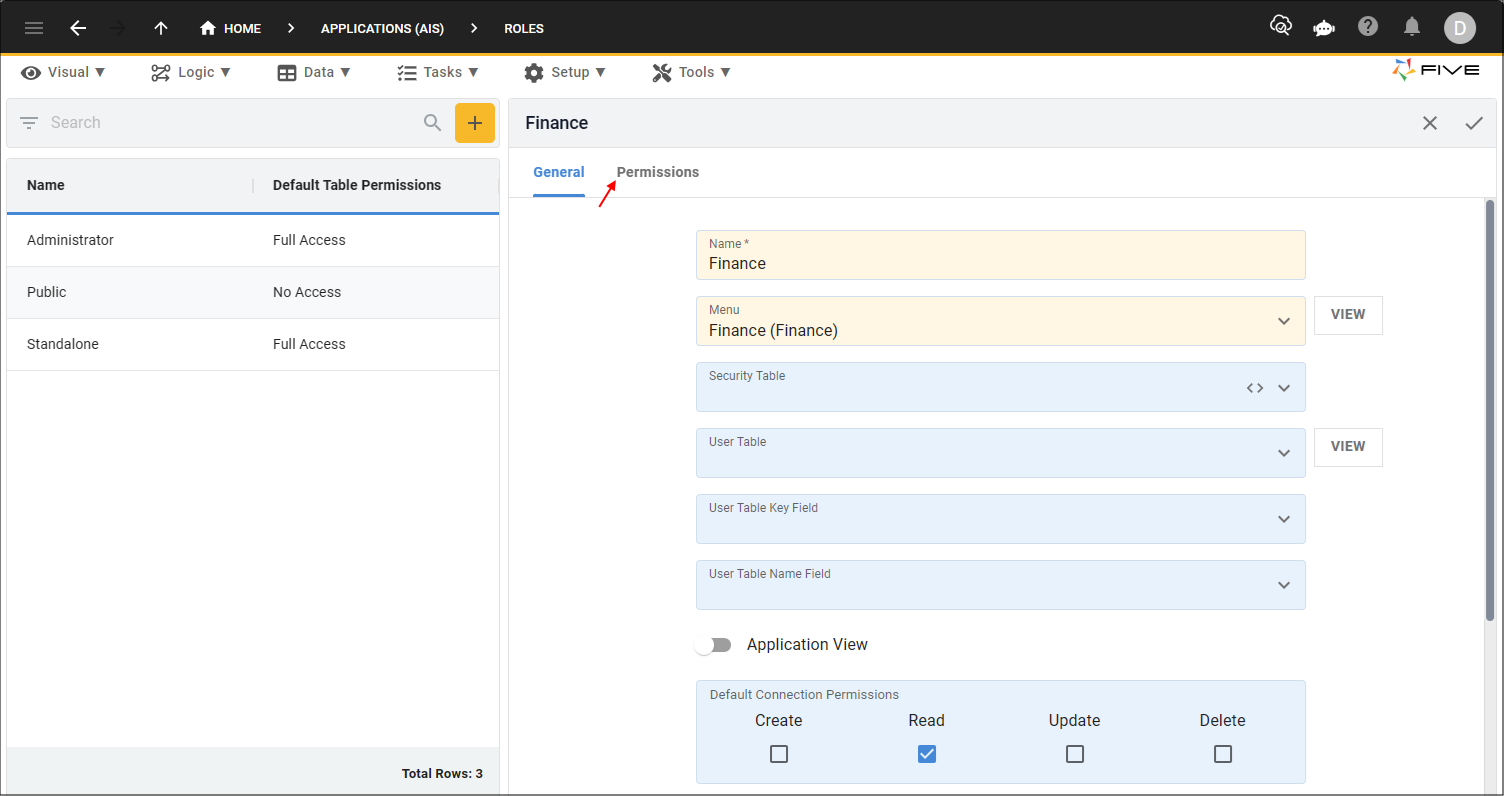
Figure 3 - Permissions tab
5. Click the Add Permissions button.
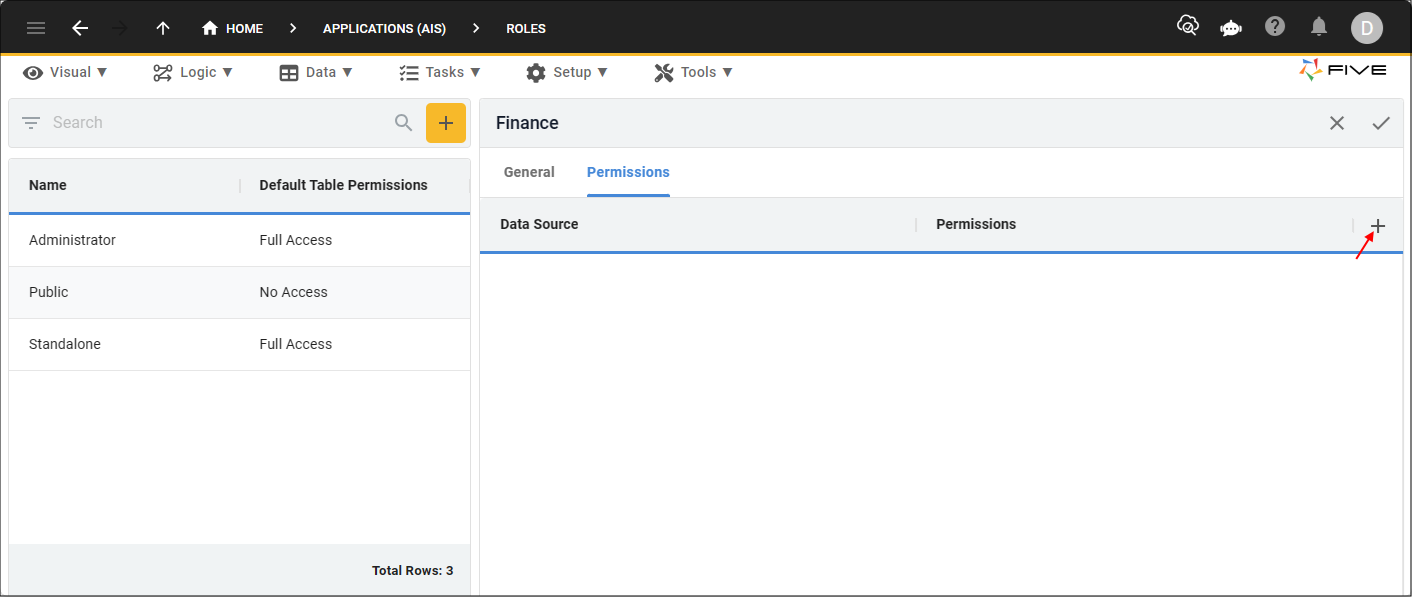
Figure 4 - Add Permissions button
6. Click the lookup icon in the Data Source field and select Submission.
7. Click the Read and Update checkboxes in the Permissions field.
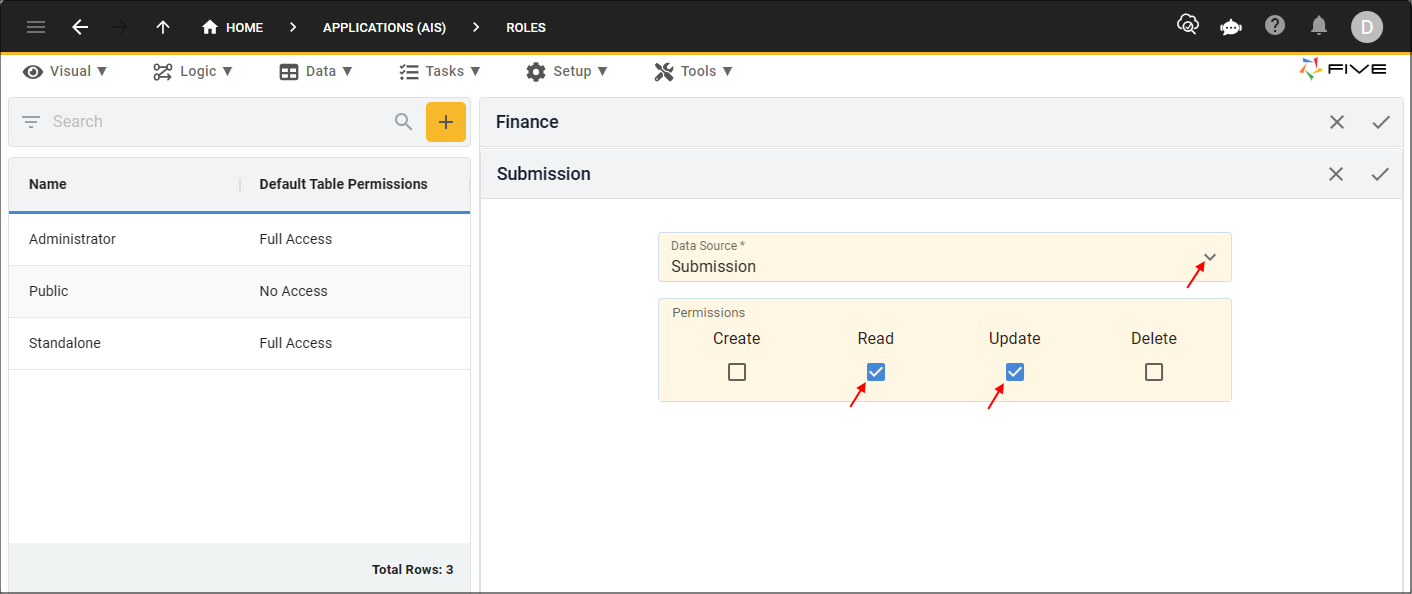
Figure 5 - Add the Submission table permissions
8. Click the Save button in the form app bar.

Figure 6 - Save button
9. Click the Add Permissions button.
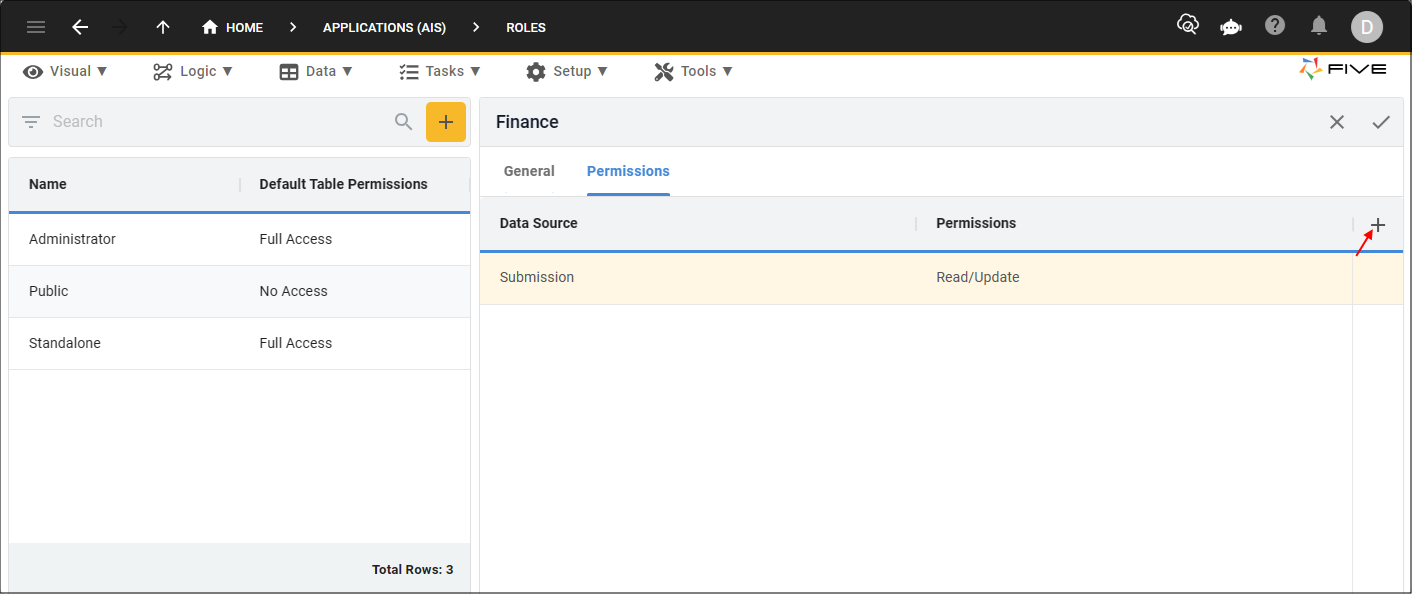
Figure 7 - Add Permissions button
10. Click the lookup icon in the Data Source field and select SubmissionAttachment.
11. Click the Read checkbox in the Permissions field.
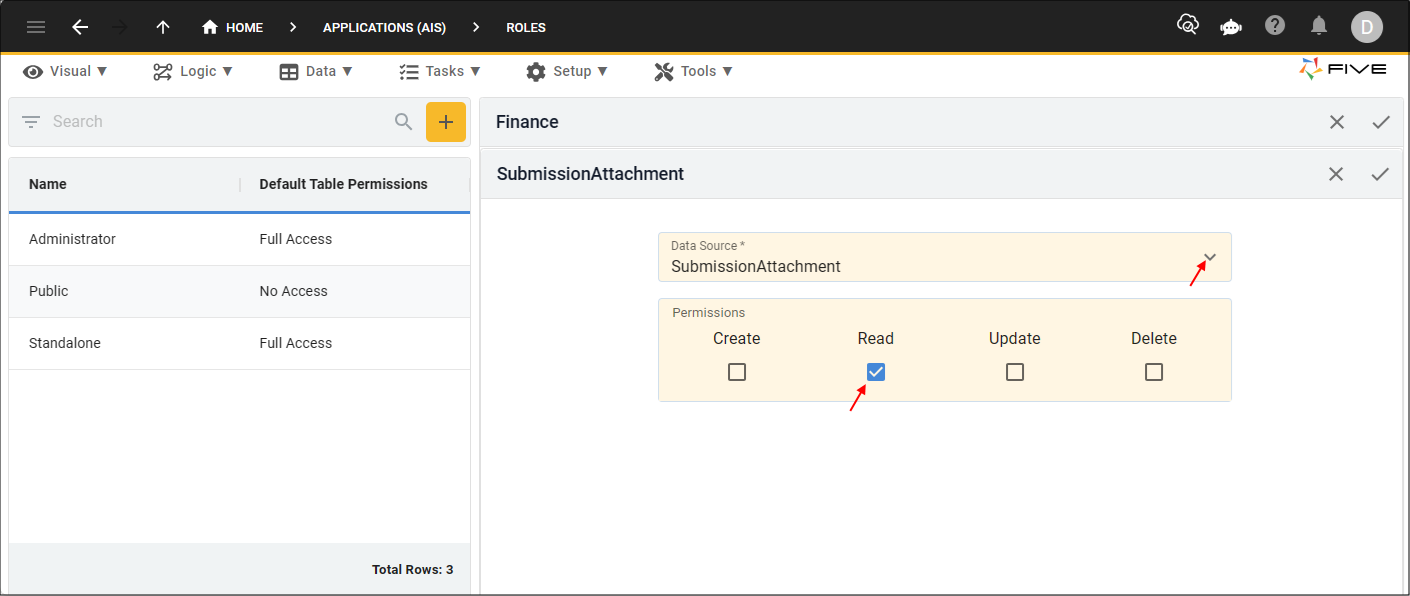
Figure 8 - Add the SubmissionAttachment table permission
12. Click the Save button in the form app bar.
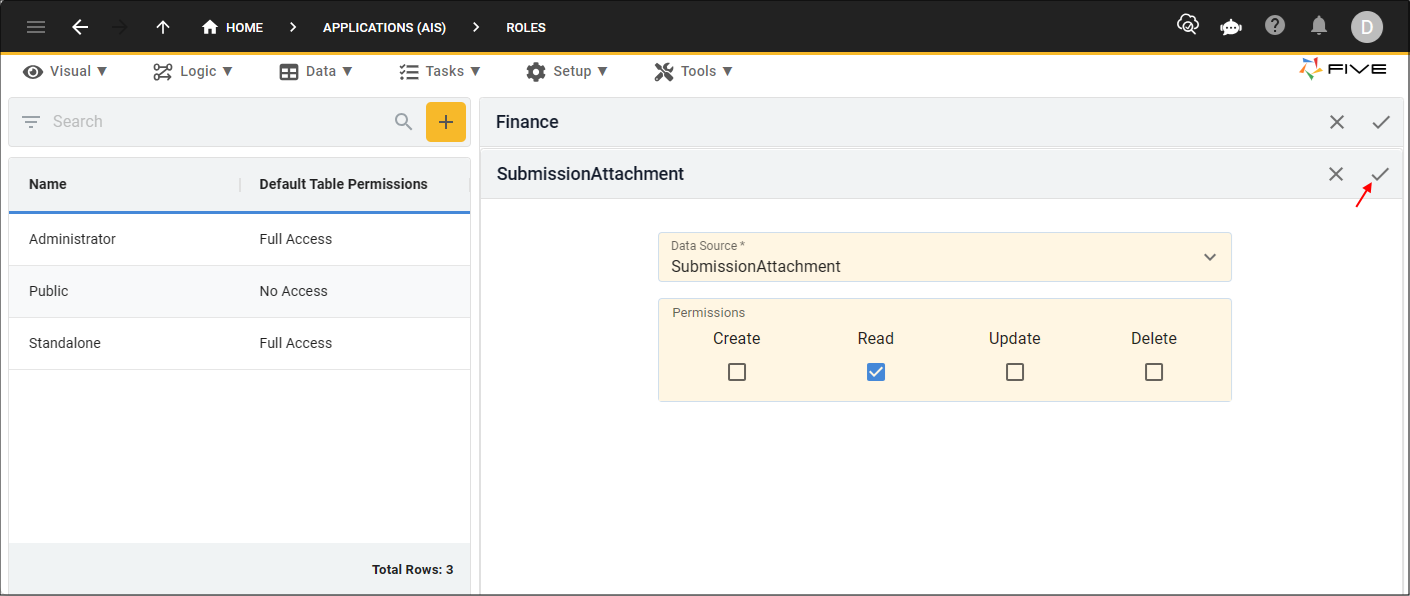
Figure 9 - Save button
13. Click the Save button in the form app bar above the list.
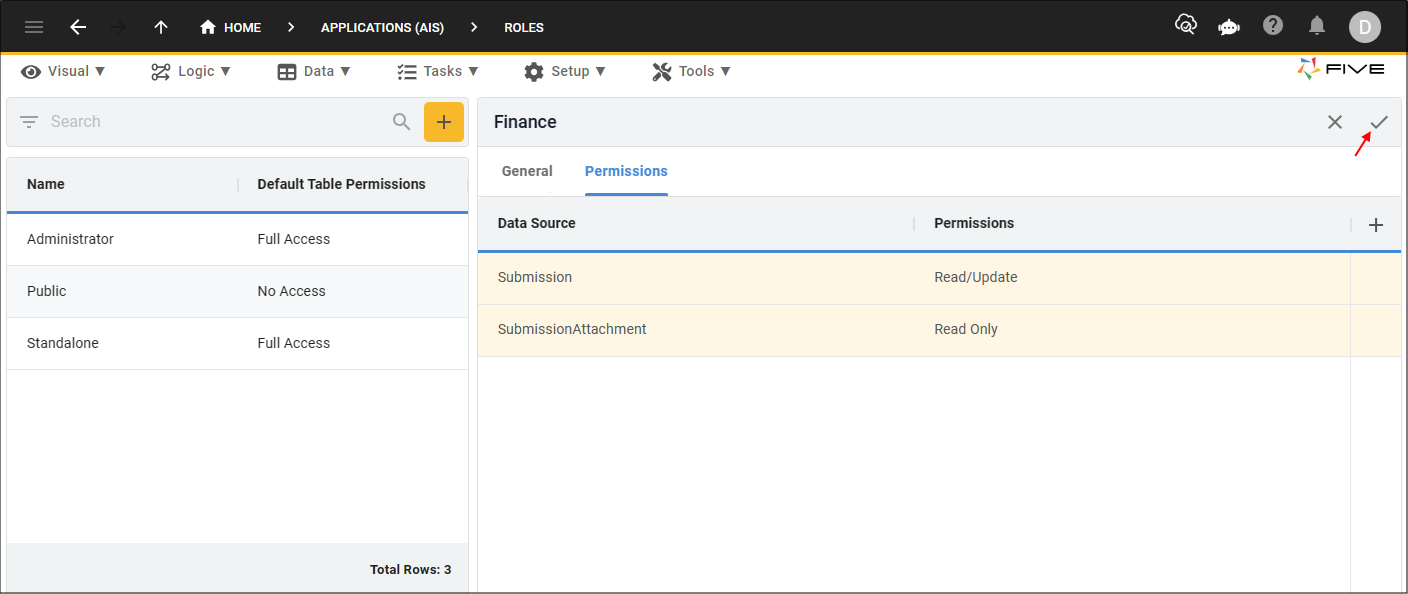
Figure 10 - Save button
Edit the Public Role
1. Select the Public record in the list.2. Click the Permissions tab.
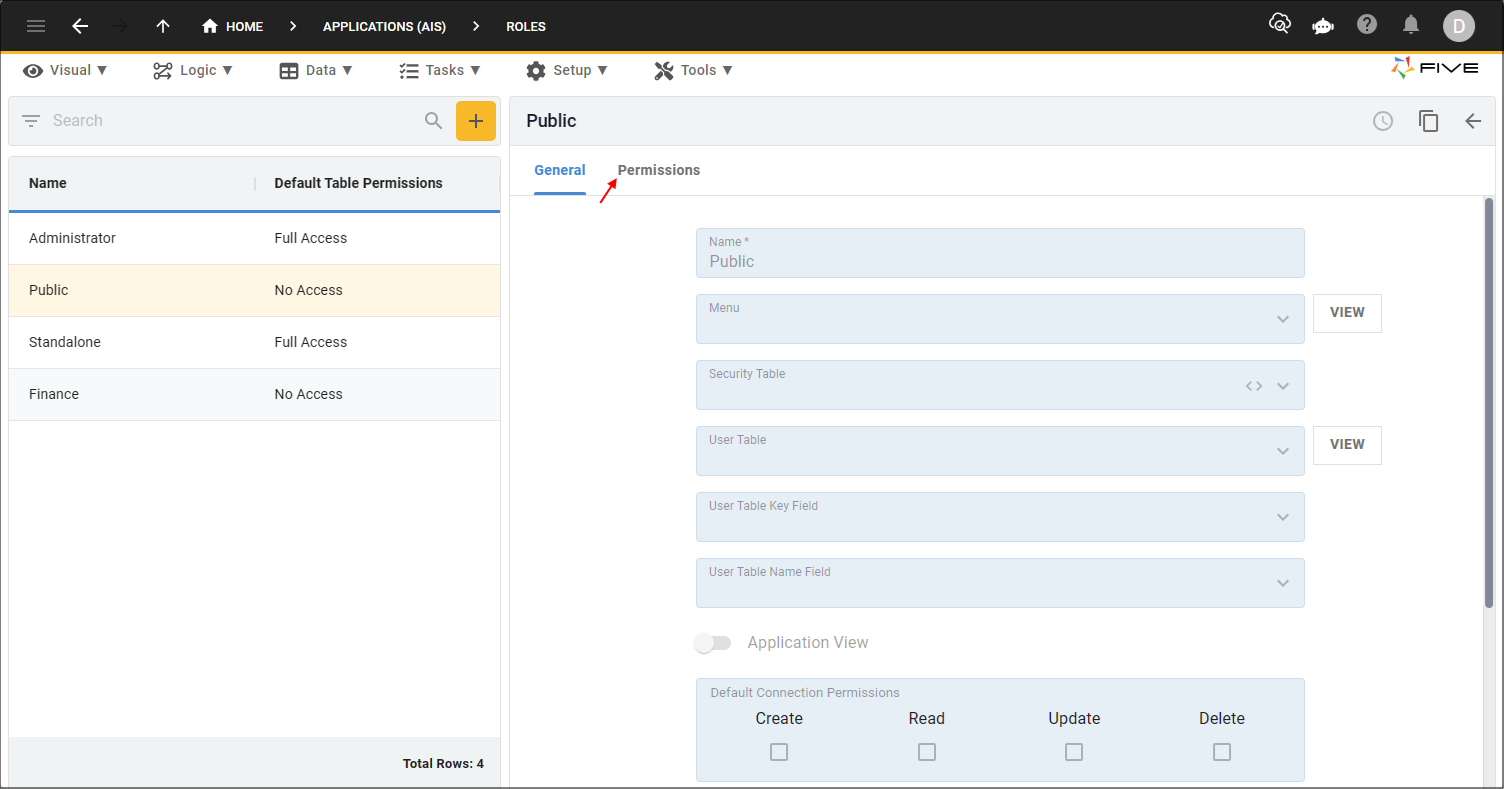
Figure 11 - Permissions tab
3. Click the Add Permissions button.
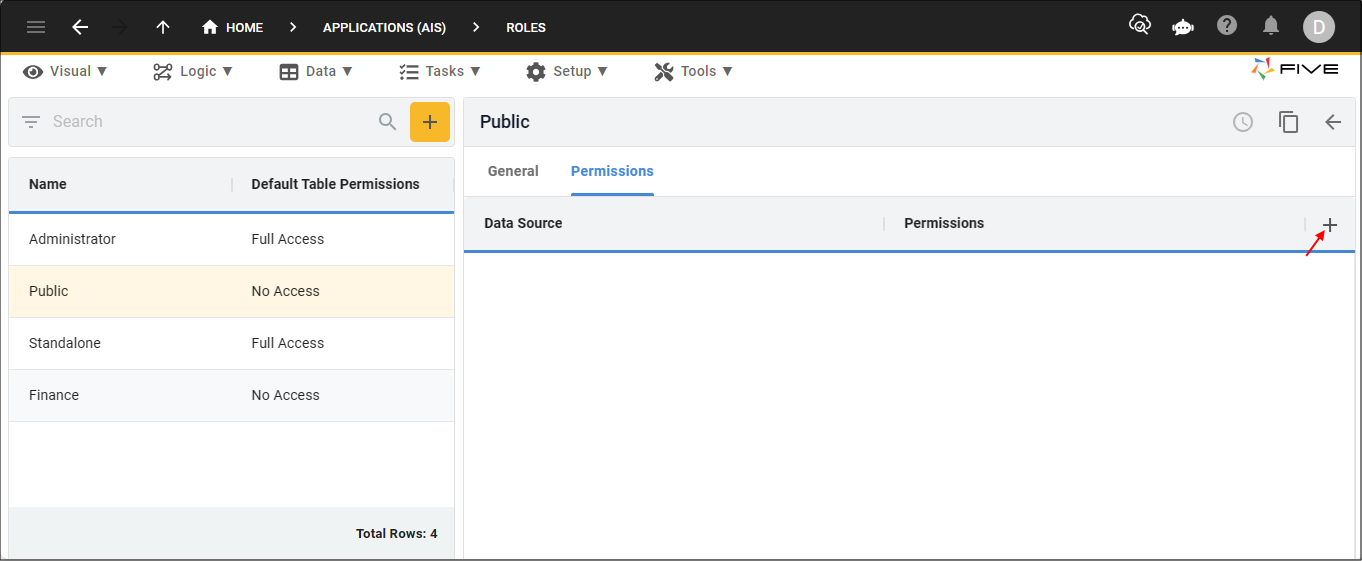
Figure 12 - Add Permissions button
4. Click the lookup icon in the Data Source field and select Submission.
5. Click the Create, Read, and Update checkboxes in the Permissions field.
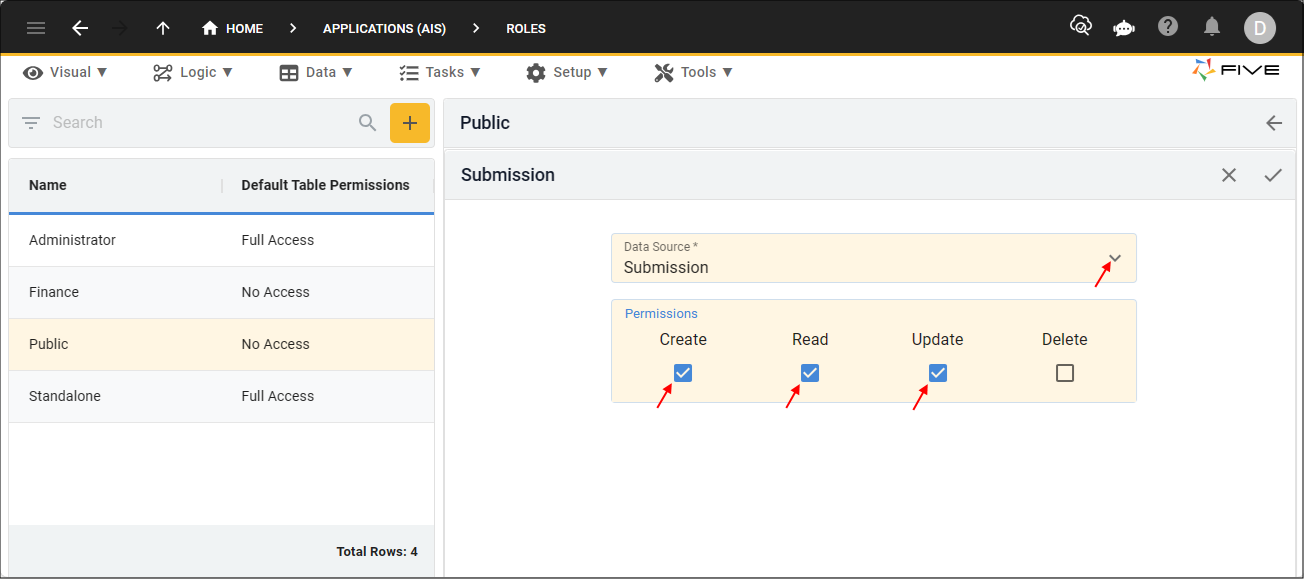
Figure 13 - Add the Submission table permissions
6. Click the Save button in the form app bar.
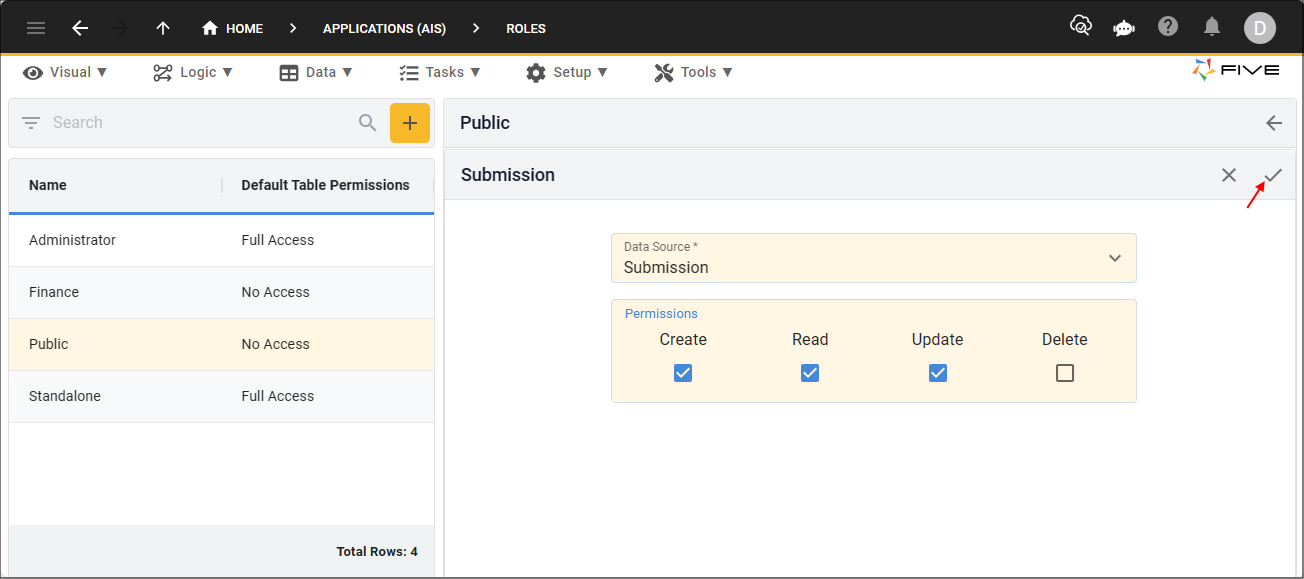
Figure 14 - Save button
7. Click the Add Permissions button.
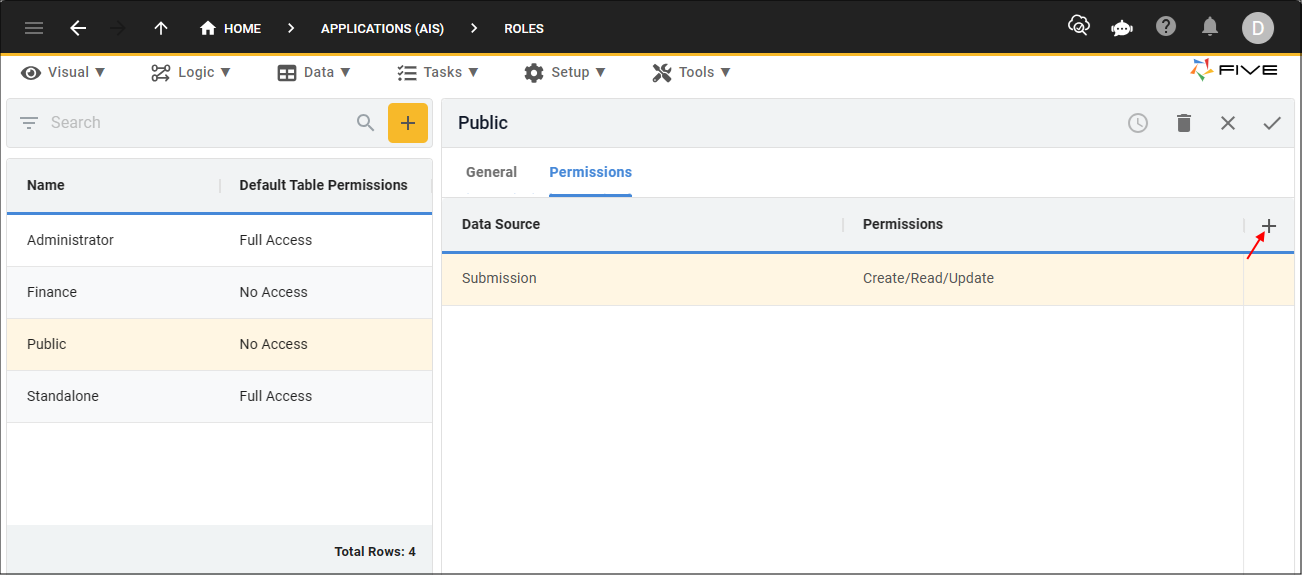
Figure 15 - Add Permissions button
8. Click the lookup icon in the Data Source field and select SubmissionAttachment.
9. Click the Create and Read checkboxes in the Permissions field.
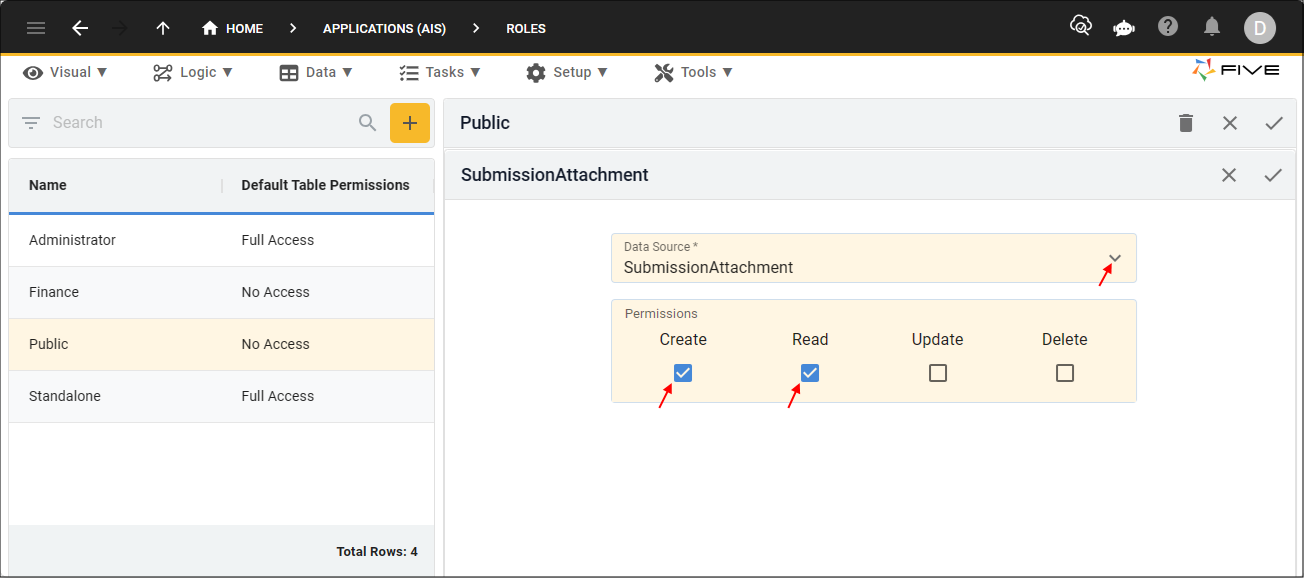
Figure 16 - Add the SubmissionAttachment table permissions
10. Click the Save button in the form app bar.
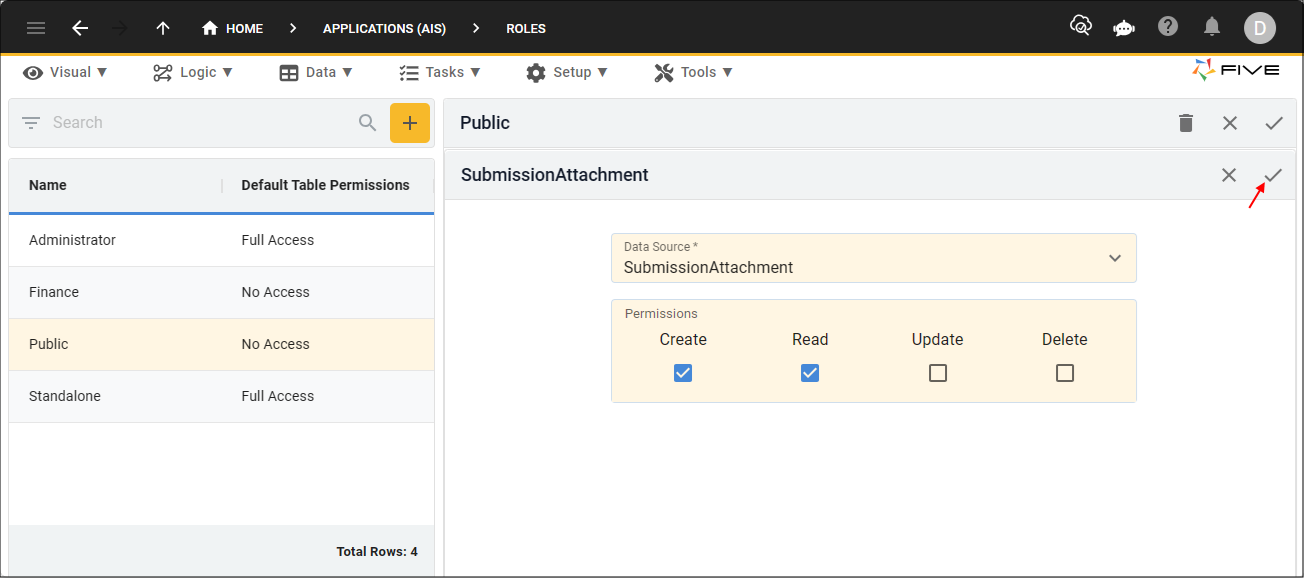
Figure 17 - Save button
11. Click the Save button in the form app bar above the list.
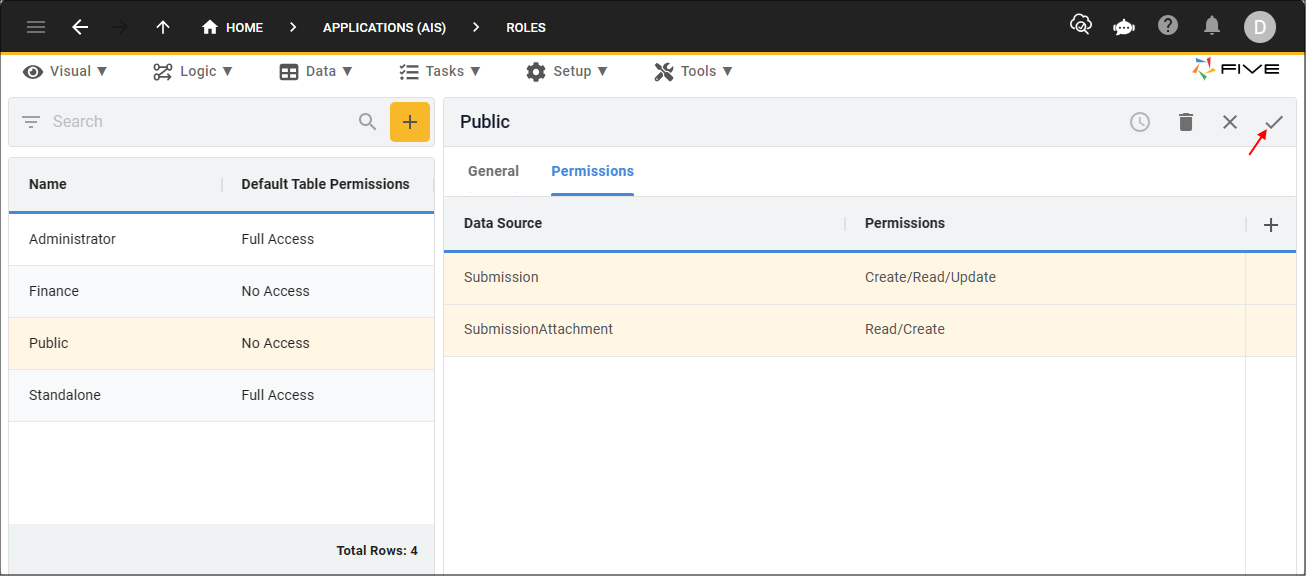
Figure 18 - Save button