Build the AIS Tables
Last updated 8/01/2024
The AIS application has three tables, the iUser table is already created for you by Five, so there are only two tables that need to be added. This documentation will explain how to create the tables for the AIS application.The AIS database model below shows the relationships between the tables. The Submission table holds all the submission details and the SubmissionAttachment table holds the attachment details and the attachment. There is a one-to-many relationship between the Submission and SubmissionAttachment tables, meaning a submission can have many attachments. Five handles the iUser table.
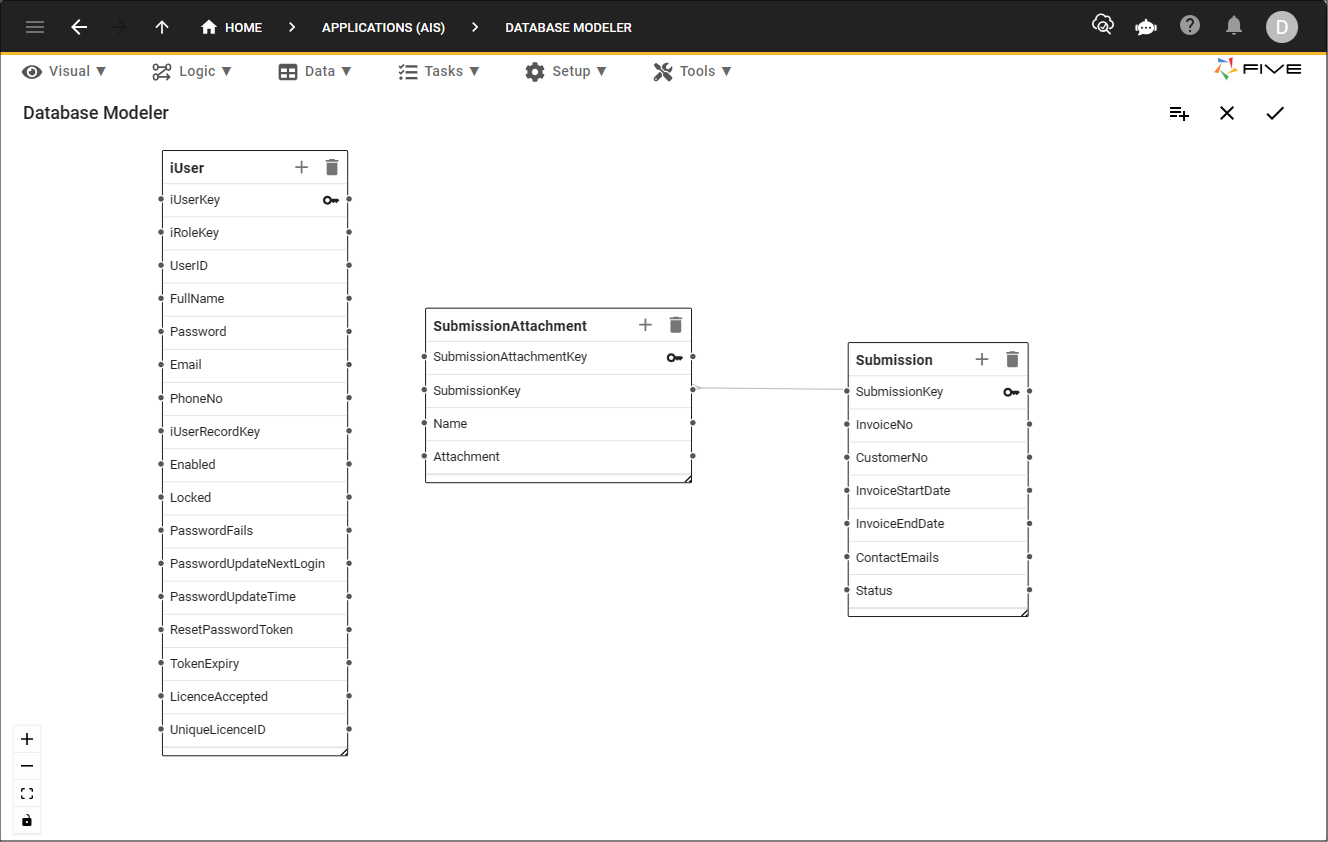
Figure 1 - AIS database model
Navigate to the Table Wizard
Prerequisite: Signed in as a Developer or Control user.1. Click Applications in the menu.
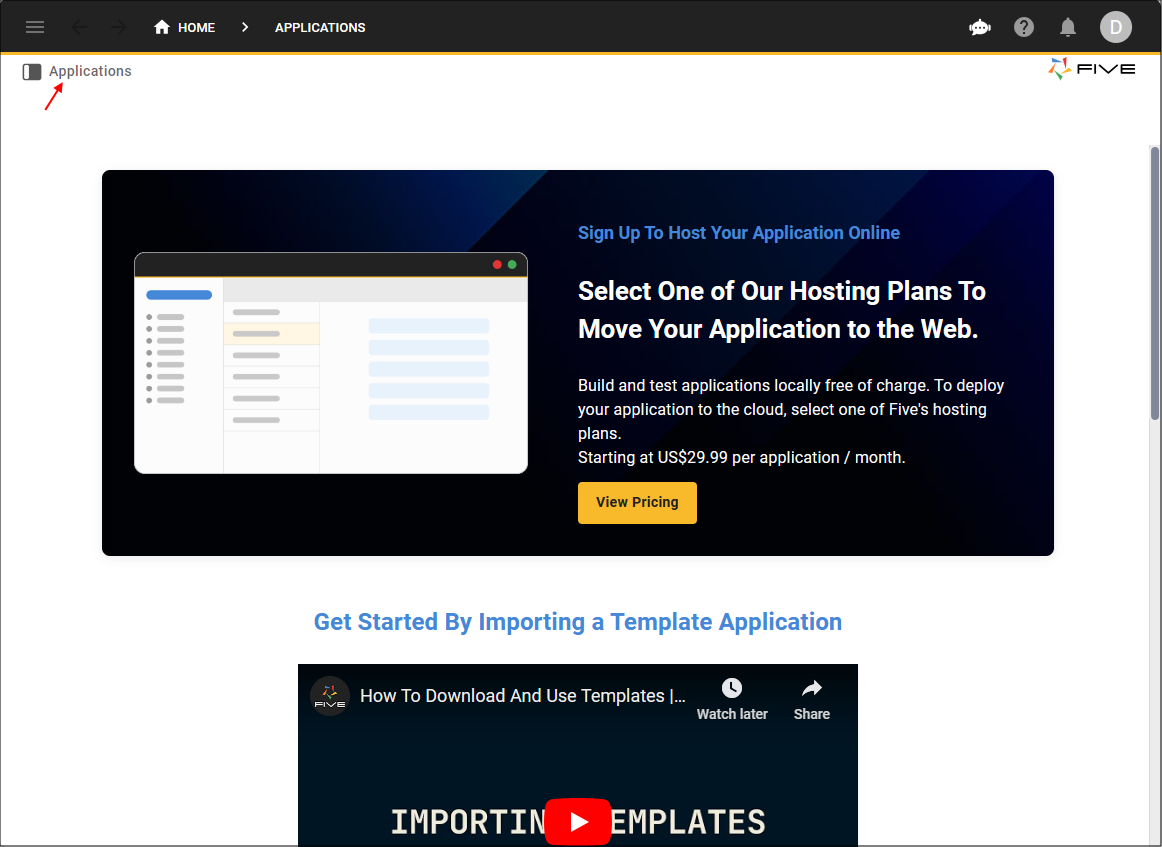
Figure 2 - Applications menu item
2. Select the AIS record in the list.
3. Click the Manage button in the form app bar.
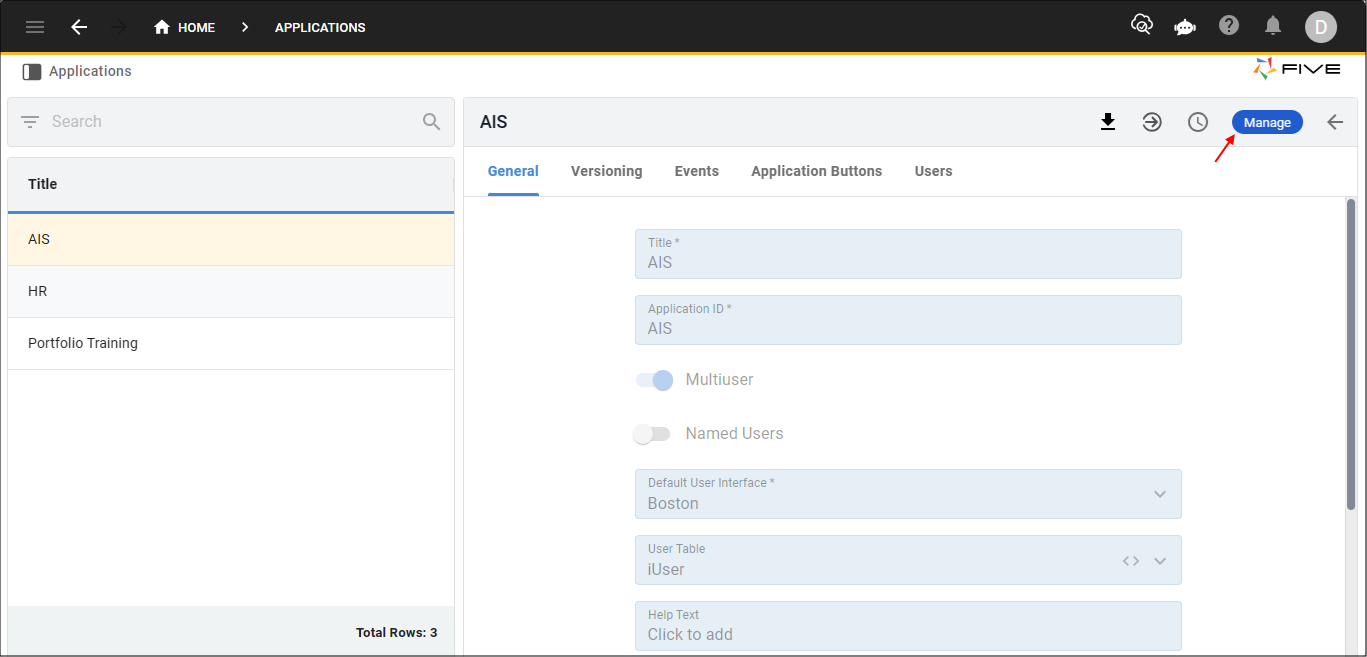
Figure 3 - Manage button
4. Click Data in the menu.
5. Click Table Wizard in the sub-menu.
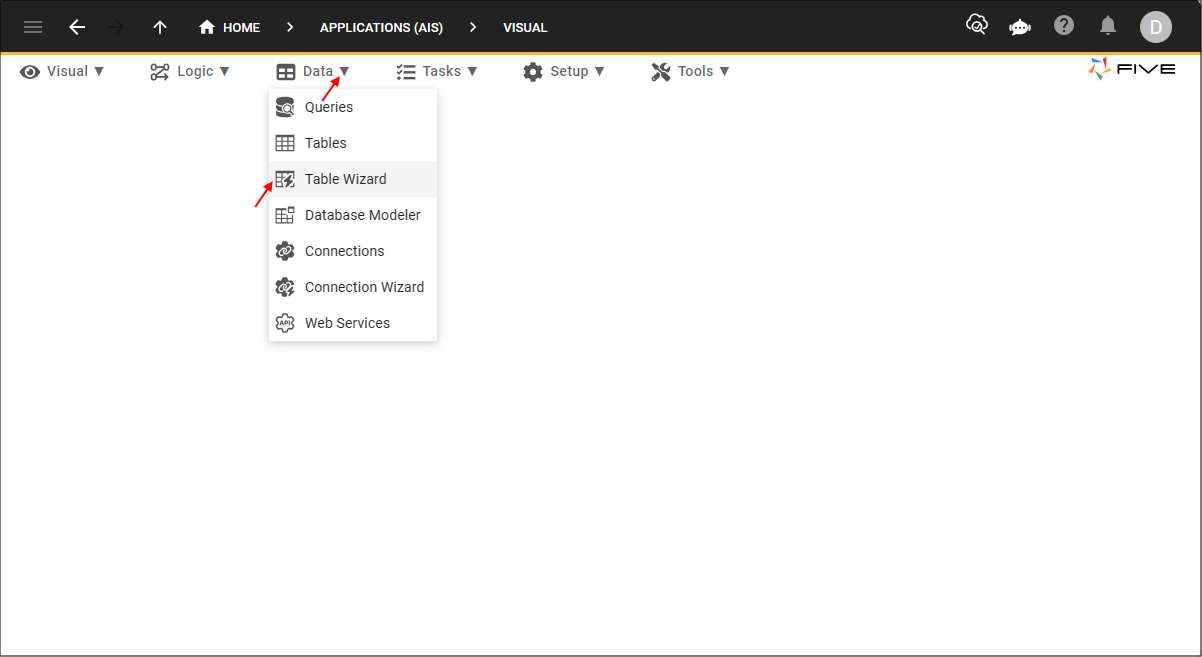
Figure 4 - Table Wizard menu item
Add the Submission Table
tip
Five creates your primary key when creating your table with the Table Wizard!
1. Type Submission in the Name field.
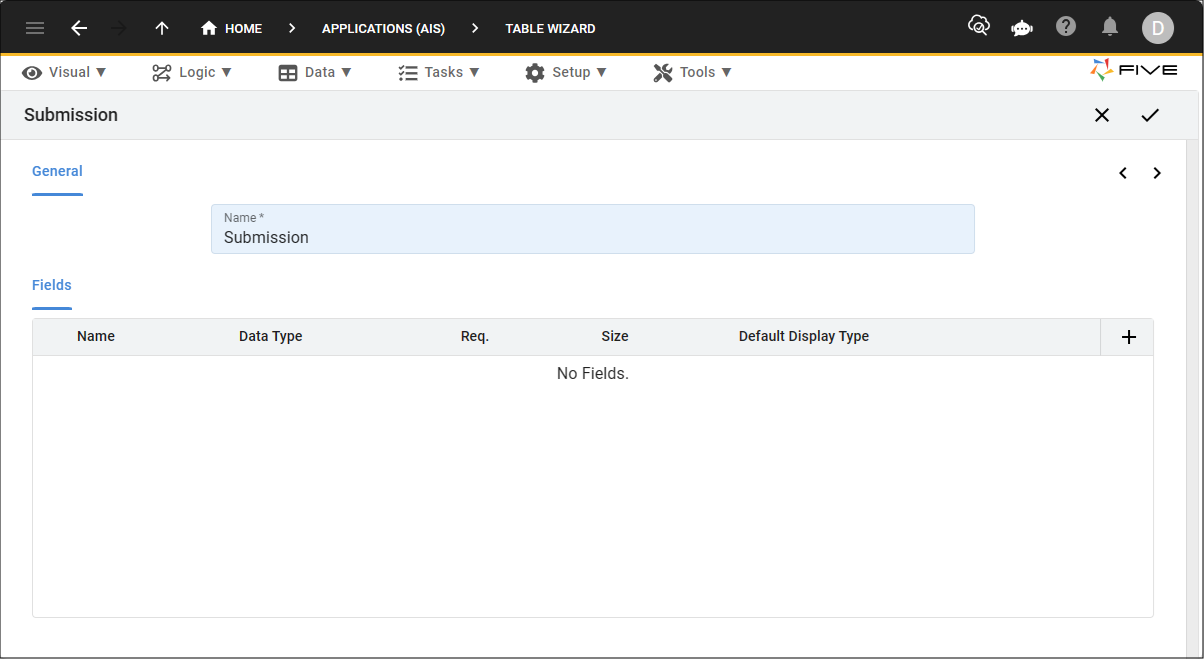
Figure 5 - Add the Submission table
2. Click the Add Fields button.
3. Type InvoiceNo in the Name field.
4. Click the lookup icon in the Data Type field and select Integer.
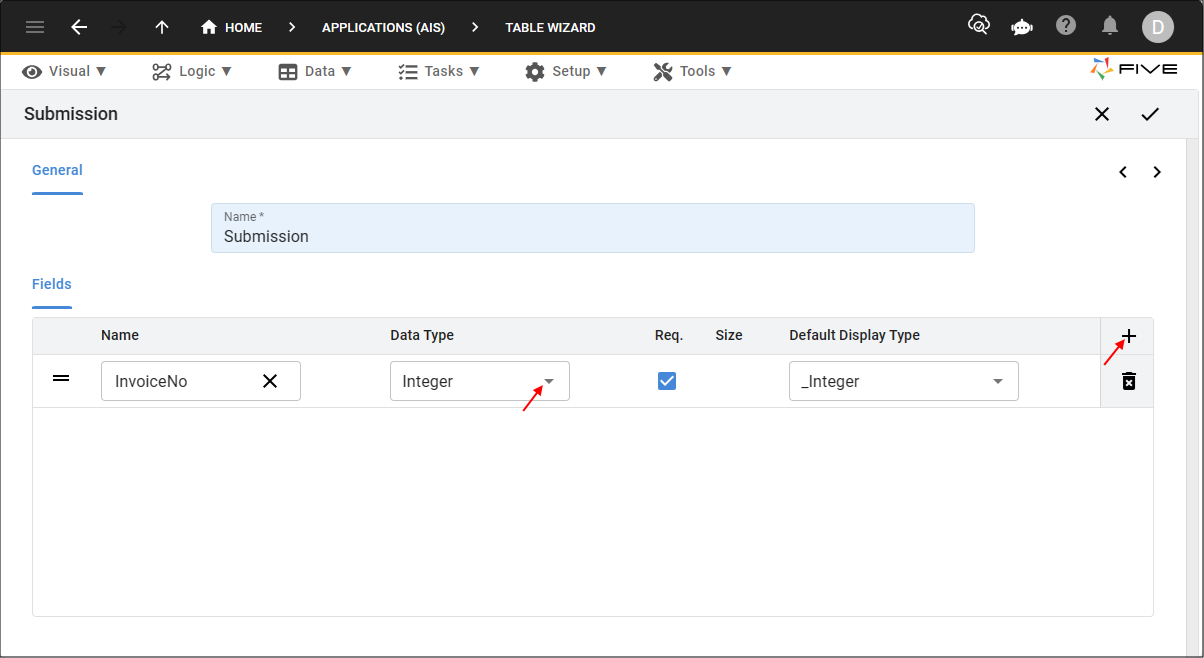
Figure 6 - Add the InvoiceNo field
5. Click the Add Fields button.
6. Type CustomerNo in the Name field.
7. Click the Req. checkbox.
8. Type 20 in the Size field.
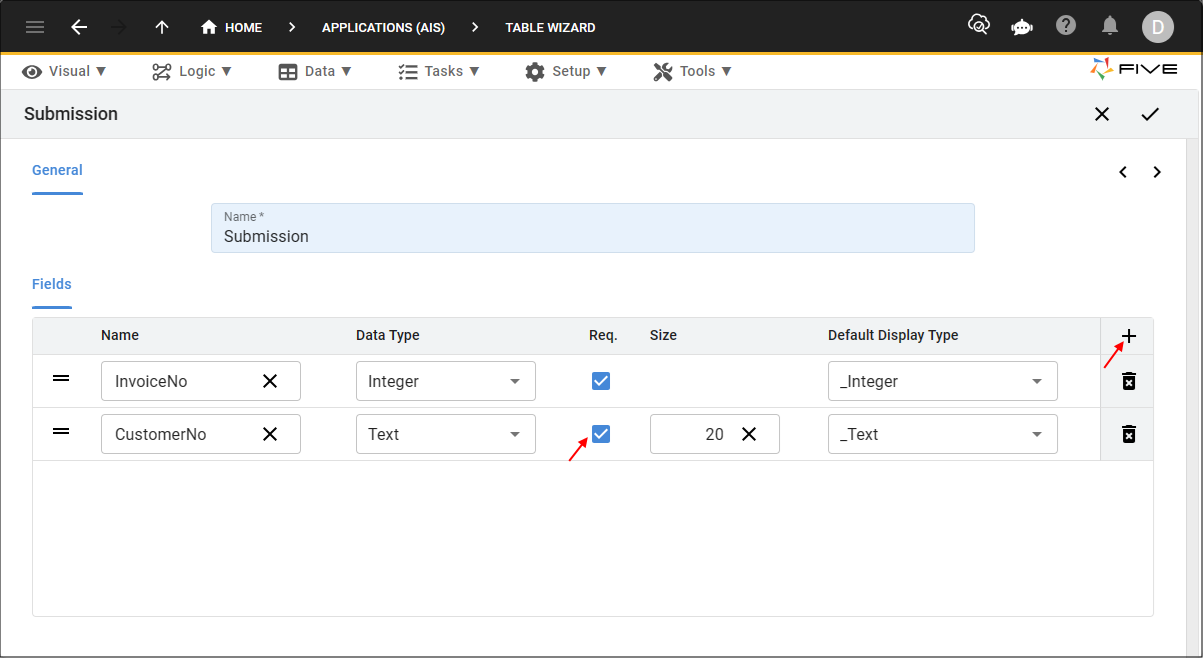
Figure 7 - Add the CustomerNo field
9. Click the Add Fields button.
10. Type InvoiceStartDate in the Name field.
11. Click the Req. checkbox.
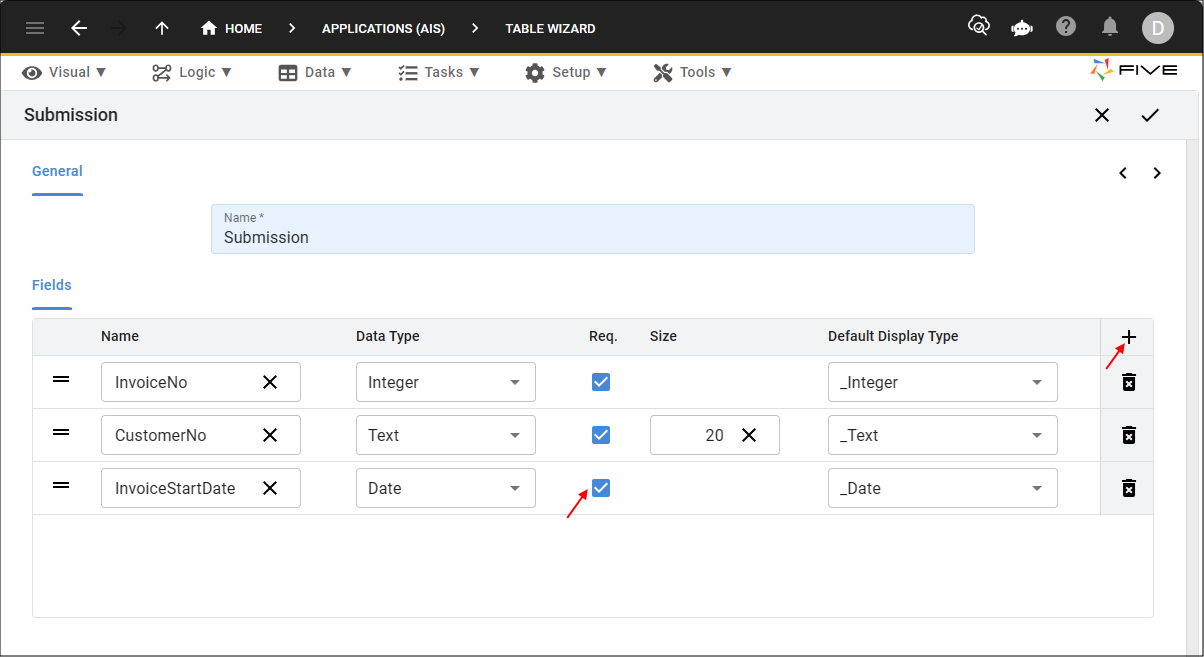
Figure 8 - Add the InvoiceStartDate field
12. Click the Add Fields button.
13. Type InvoiceEndDate in the Name field.
14. Click the Req. checkbox.
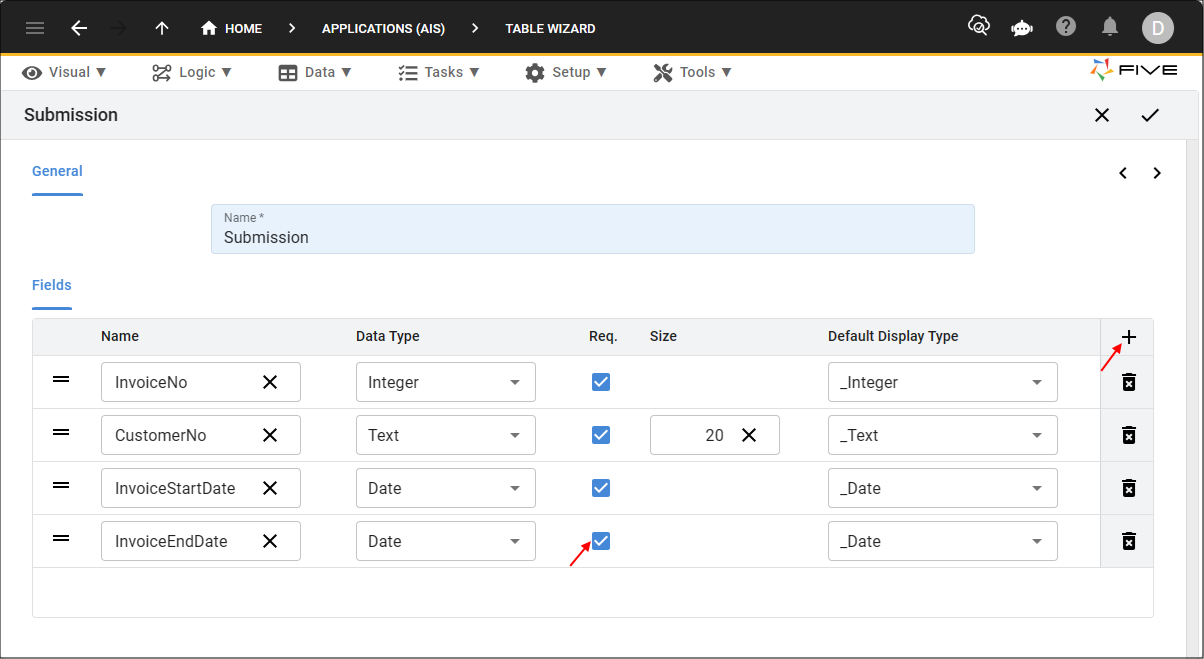
Figure 9 - Add the InvoiceEndDate field
15. Click the Add Fields button.
16. Type ContactEmails in the Name field.
17. Click the lookup icon in the Data Type field and select Memo.
18. Click the Req. checkbox.
19. Type 16384 in the Size field.
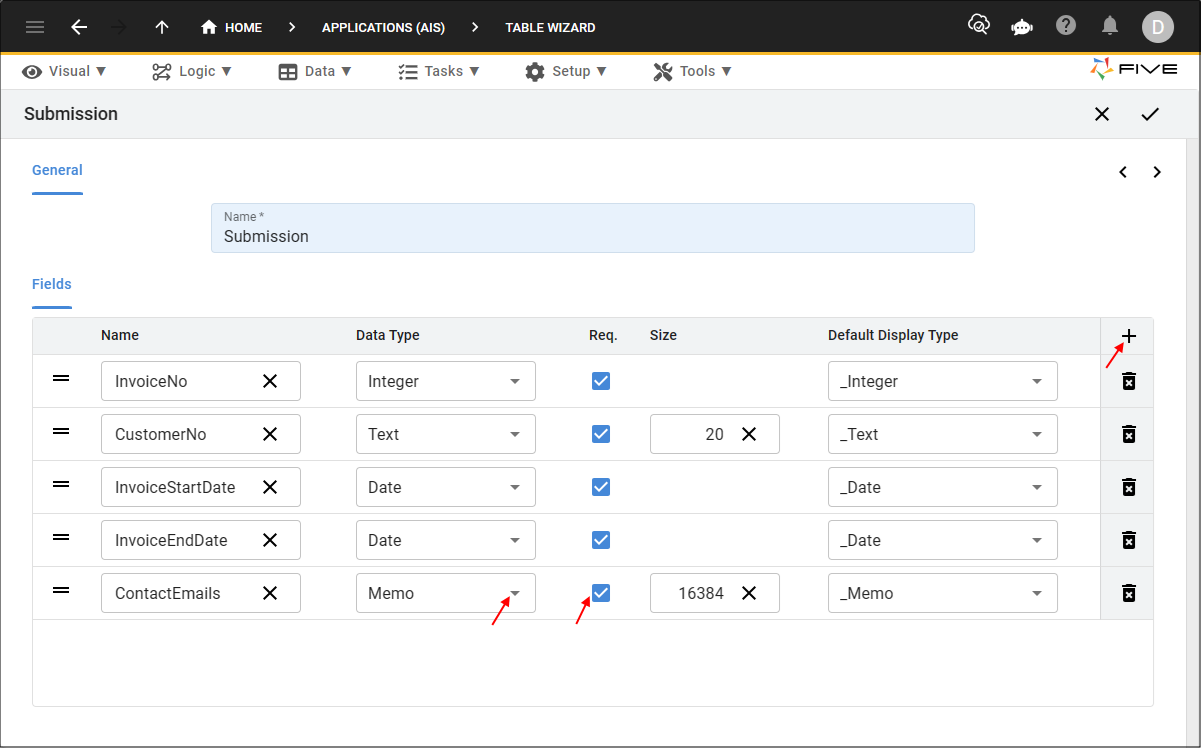
Figure 10 - Add the ContactEmails field
20. Click the Add Fields button.
21. Type Status in the Name field.
22. Type 20 in the Size field.
23. Click the lookup icon in the Default Display Type field and select _Combo.
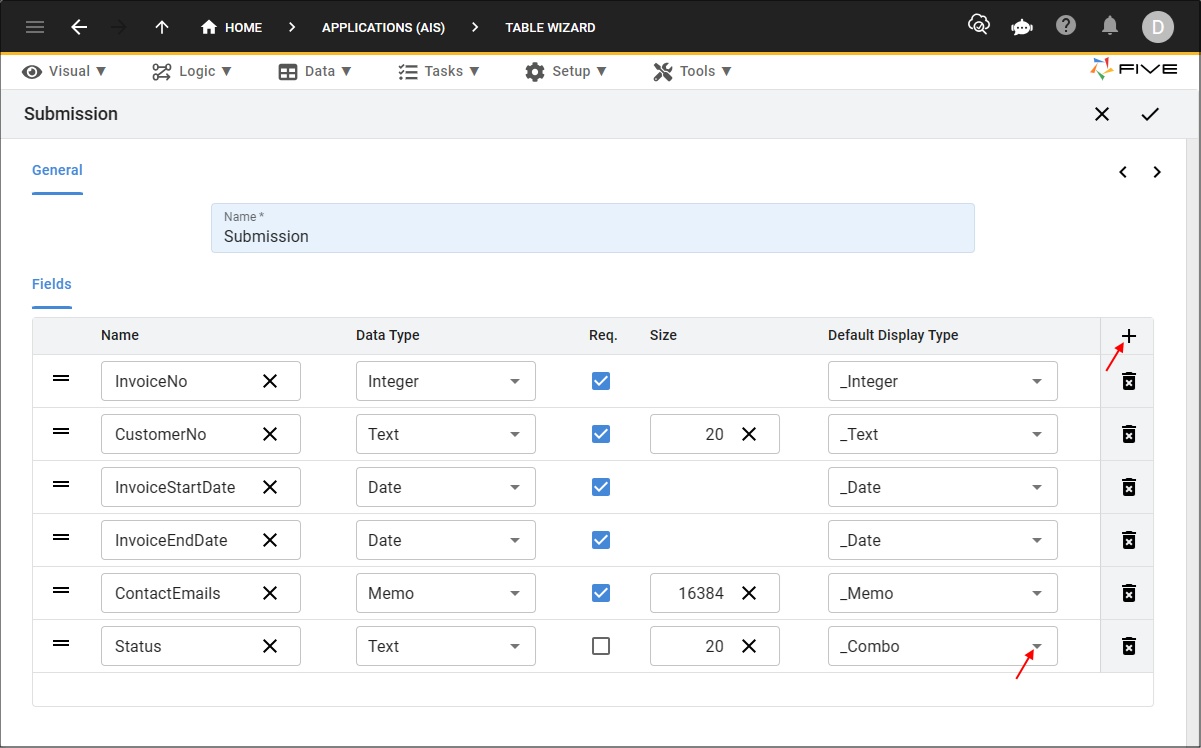
Figure 11 - Add the Status field
24. Click the Save button in the Table Wizard app bar.
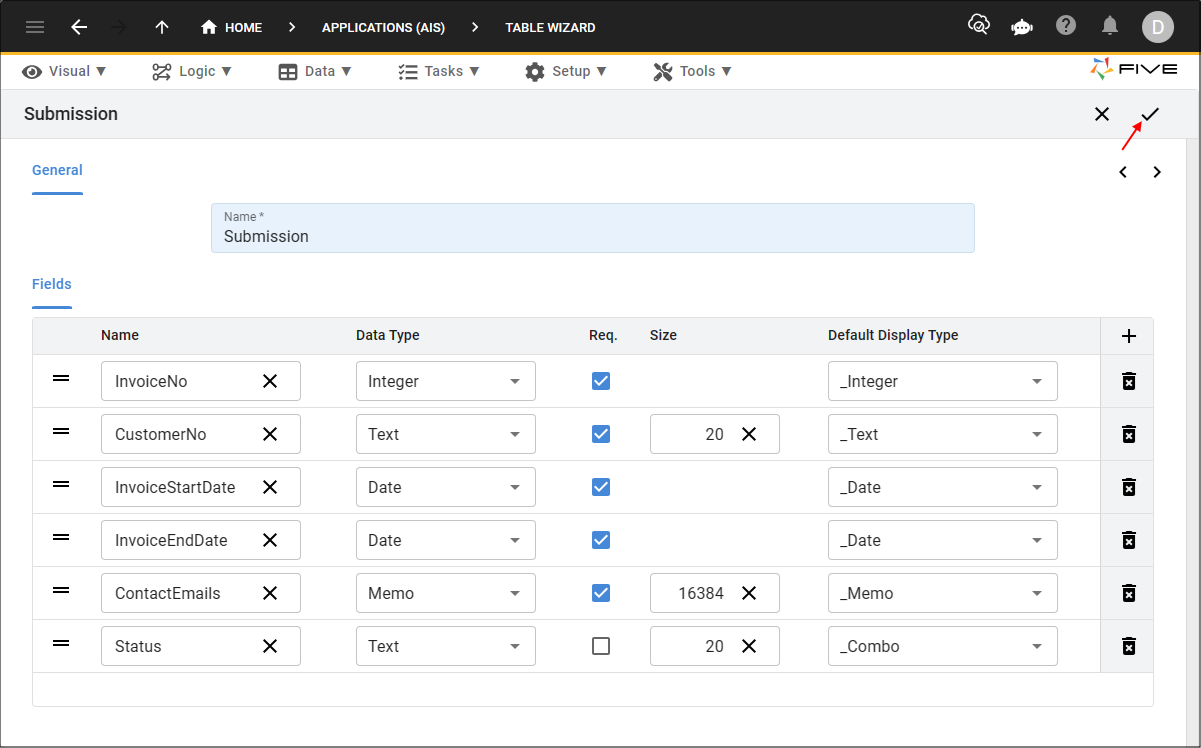
Figure 12 - Save button
25. Click the Save button in the Table Upgrade window.
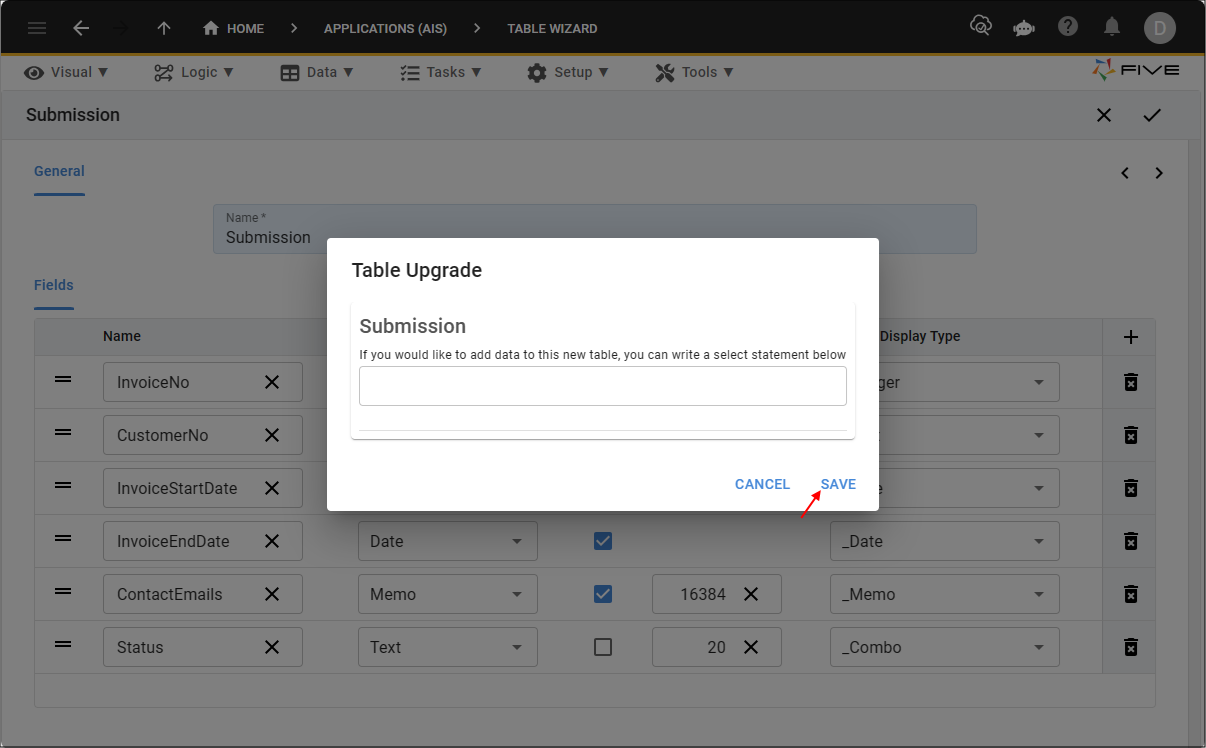
Figure 13 - Save button
Add the SubmissionAttachment Table
1. Type SubmissionAttachment in the Name field.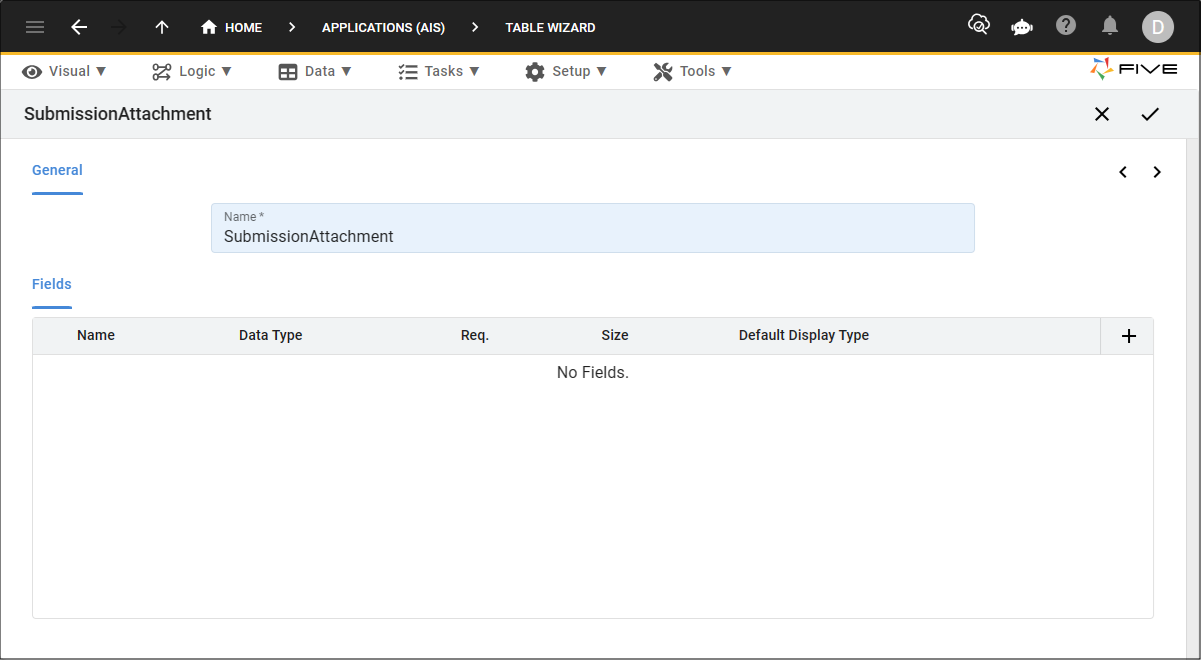
Figure 14 - Add the SubmissionAttachment table
2. Click the Add Fields button.
3. Type Name in the Name field.
4. Type 255 in the Size field.
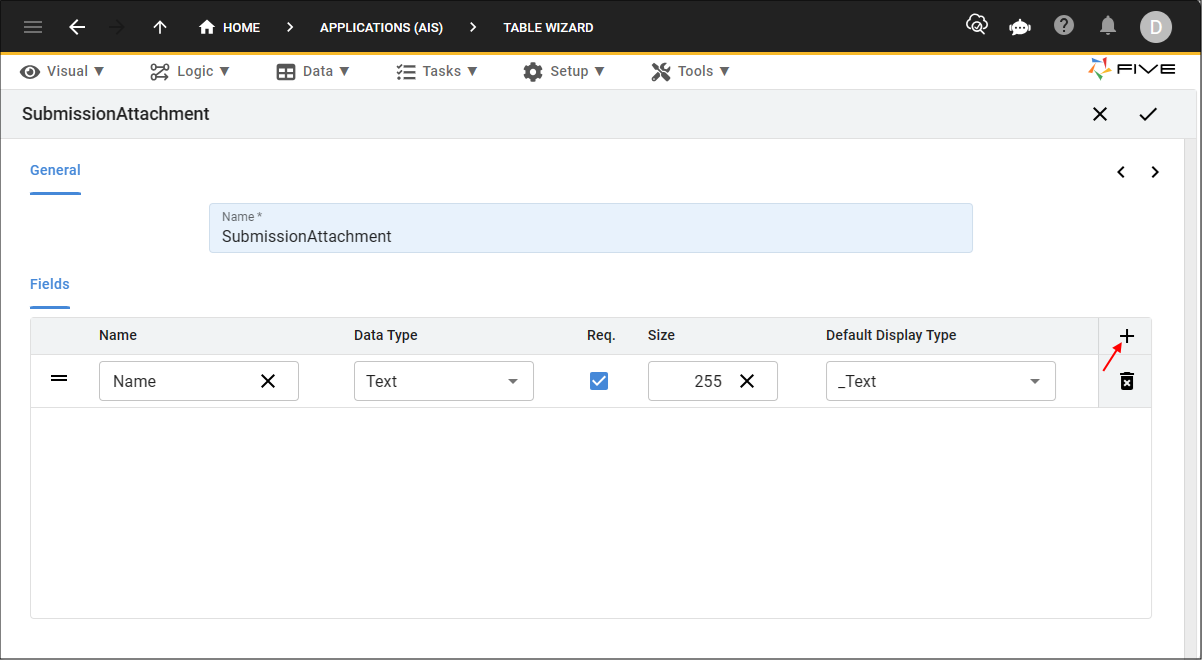
Figure 15 - Add the Name field
5. Click the Add Fields button.
6. Type Attachment in the Name field.
7. Click the lookup icon in the Data Type field and select Binary.
8. Click the Req. checkbox.
9. Type 167772150 in the Size field
10. Click the lookup icon in the Default Display Type field and select _DocumentUploader.
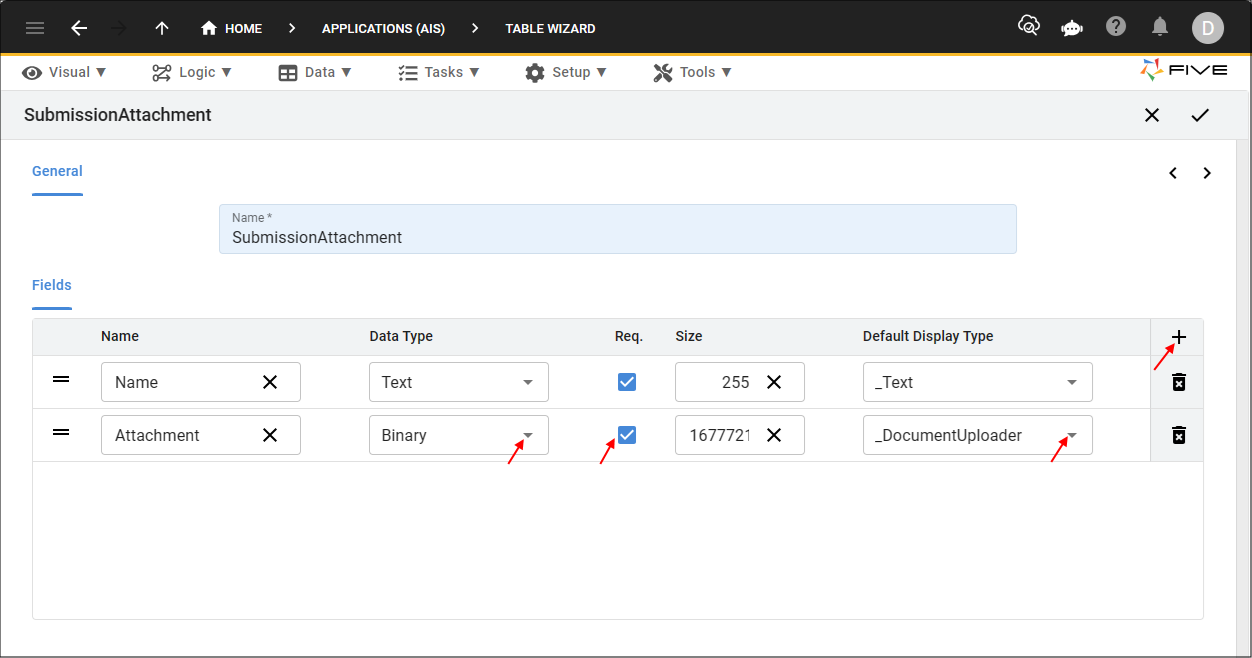
Figure 16 - Add the Attachment field
info
Five's display type _DocumentUploader enables a user of your application to upload a document simply by clicking in the field, navigating their files and opening the required file.
11. Click the Next button.
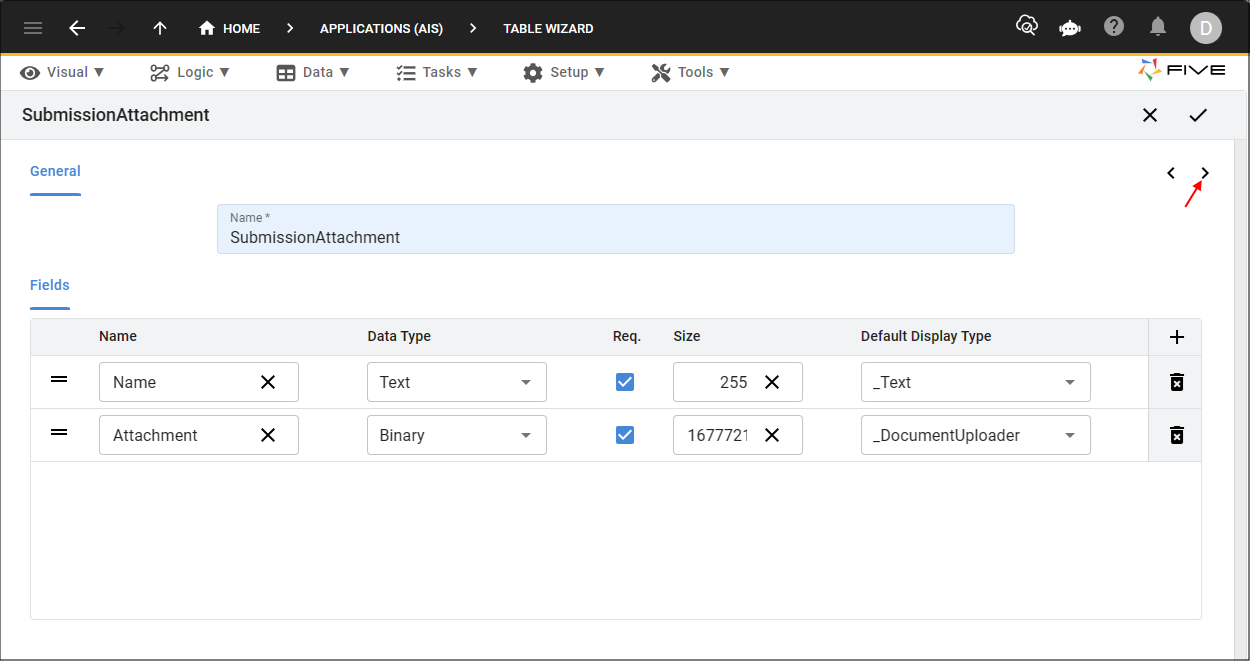
Figure 17 - Next button
12. Click the Add Relationships button.
13. Click the lookup icon in the Table field and select Submission.
tip
Five creates your foreign key when you establish a relationship with another table.
14. Click the Required checkbox.
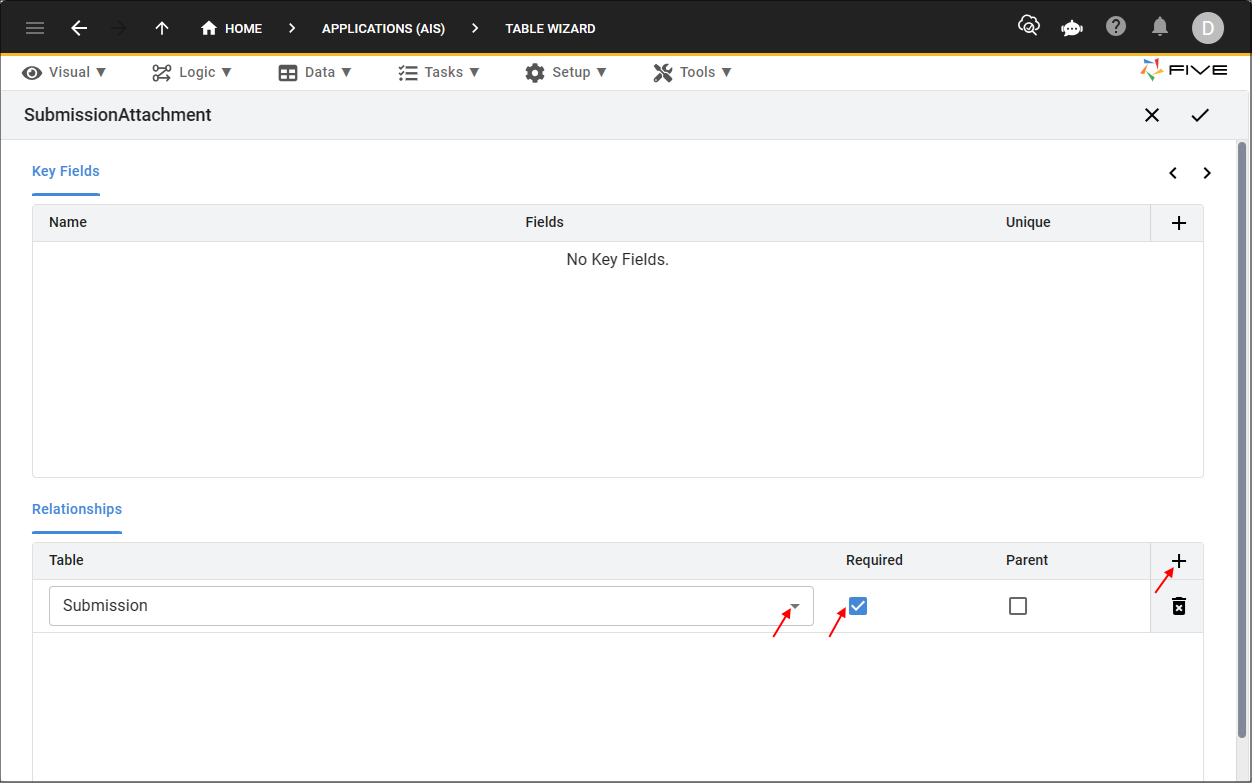
Figure 18 - Add the Submission relationship
15. Click the Save button in the Table Wizard app bar.
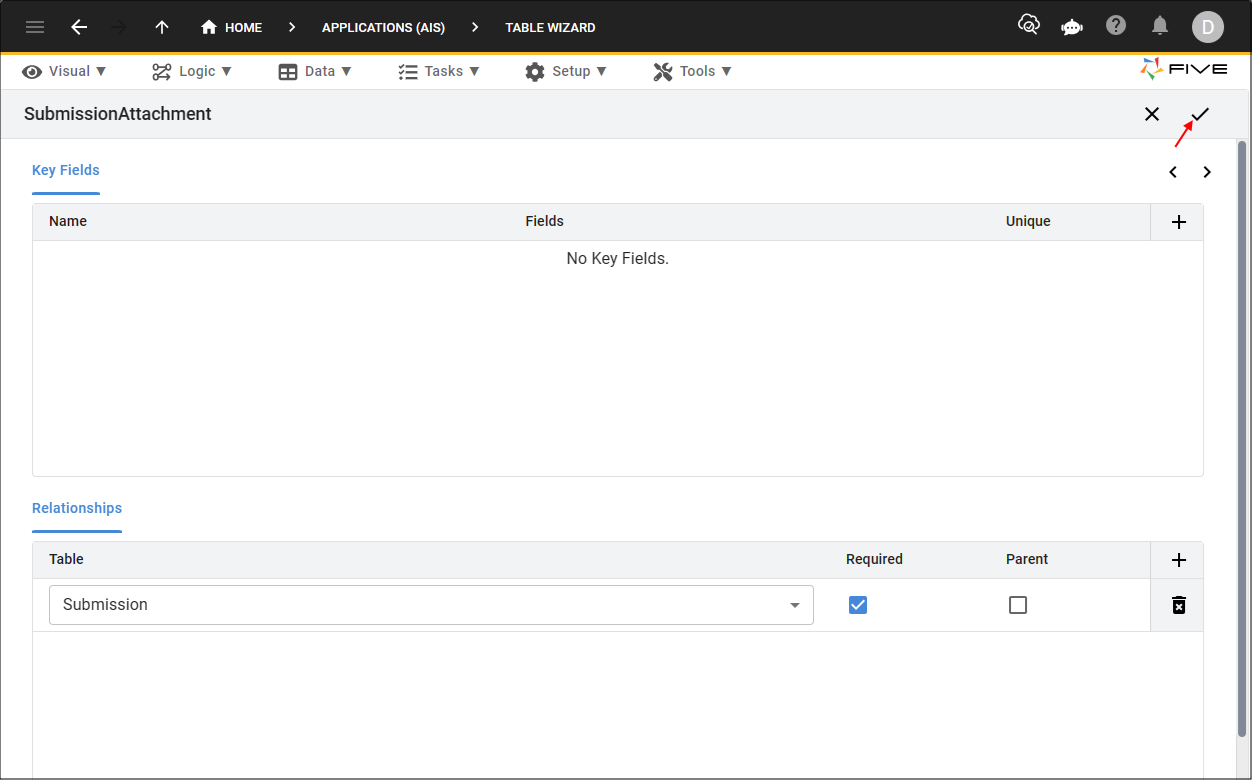
Figure 19 - Save button
16. Click the Save button in the Table Upgrade window.
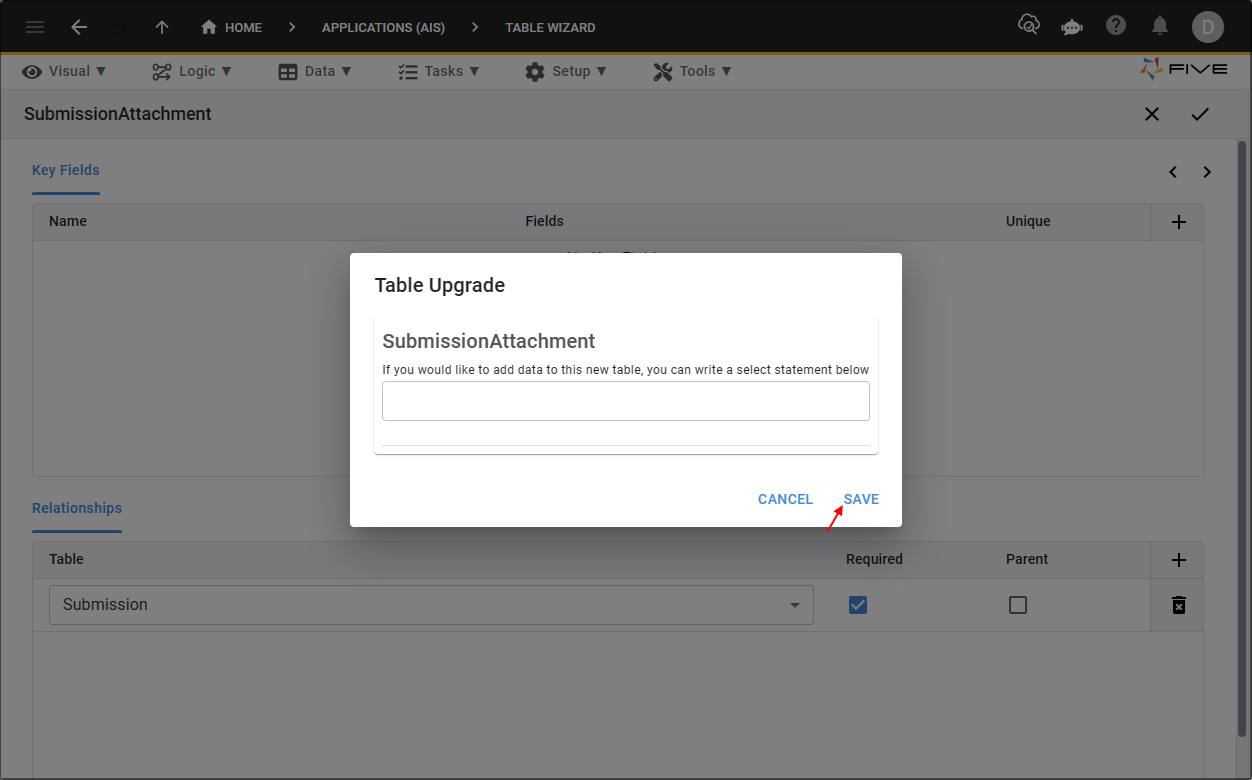
Figure 20 - Save button
tip
You can find your table records in the Tables view, located under the Data menu!