User Interface Orientation
Last updated 24/05/2024
Introduction to Navigating Five's User Interface
You can use Five to rapidly develop and deliver modern business software. This documentation provides you a high-level overview of Five's interface to quickly get you familiar with how to navigate around.
First logging into your Five account you will land on our landing page. This provides you with several links on where you can get extra infomation on how to use Five. Along the top is Five's top-level menu. Click Applications in the menu to remove the landing page.

On this page there is a yellow button, you will see this button in a number of views in Five because it adds a new record. Your screen is divided into a list with no records at this point and a form with the menu at the top.
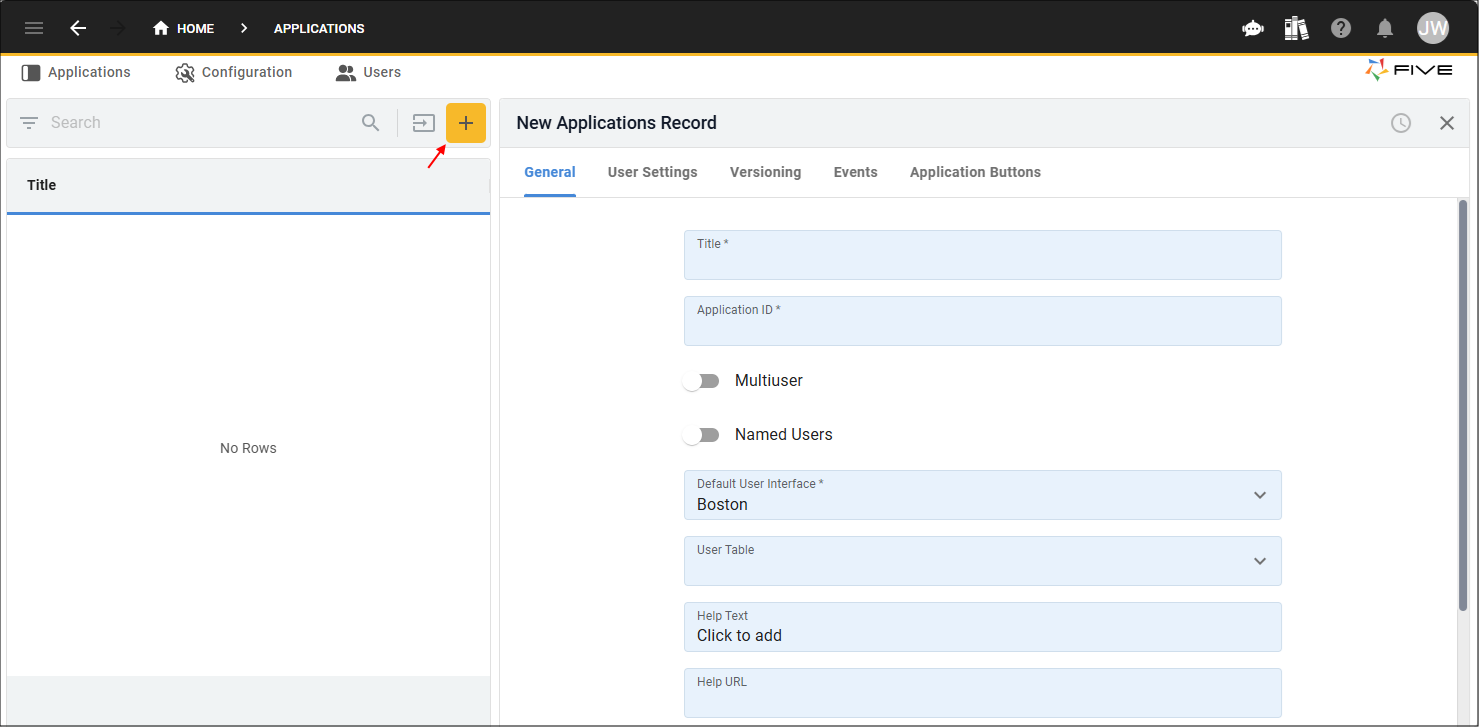
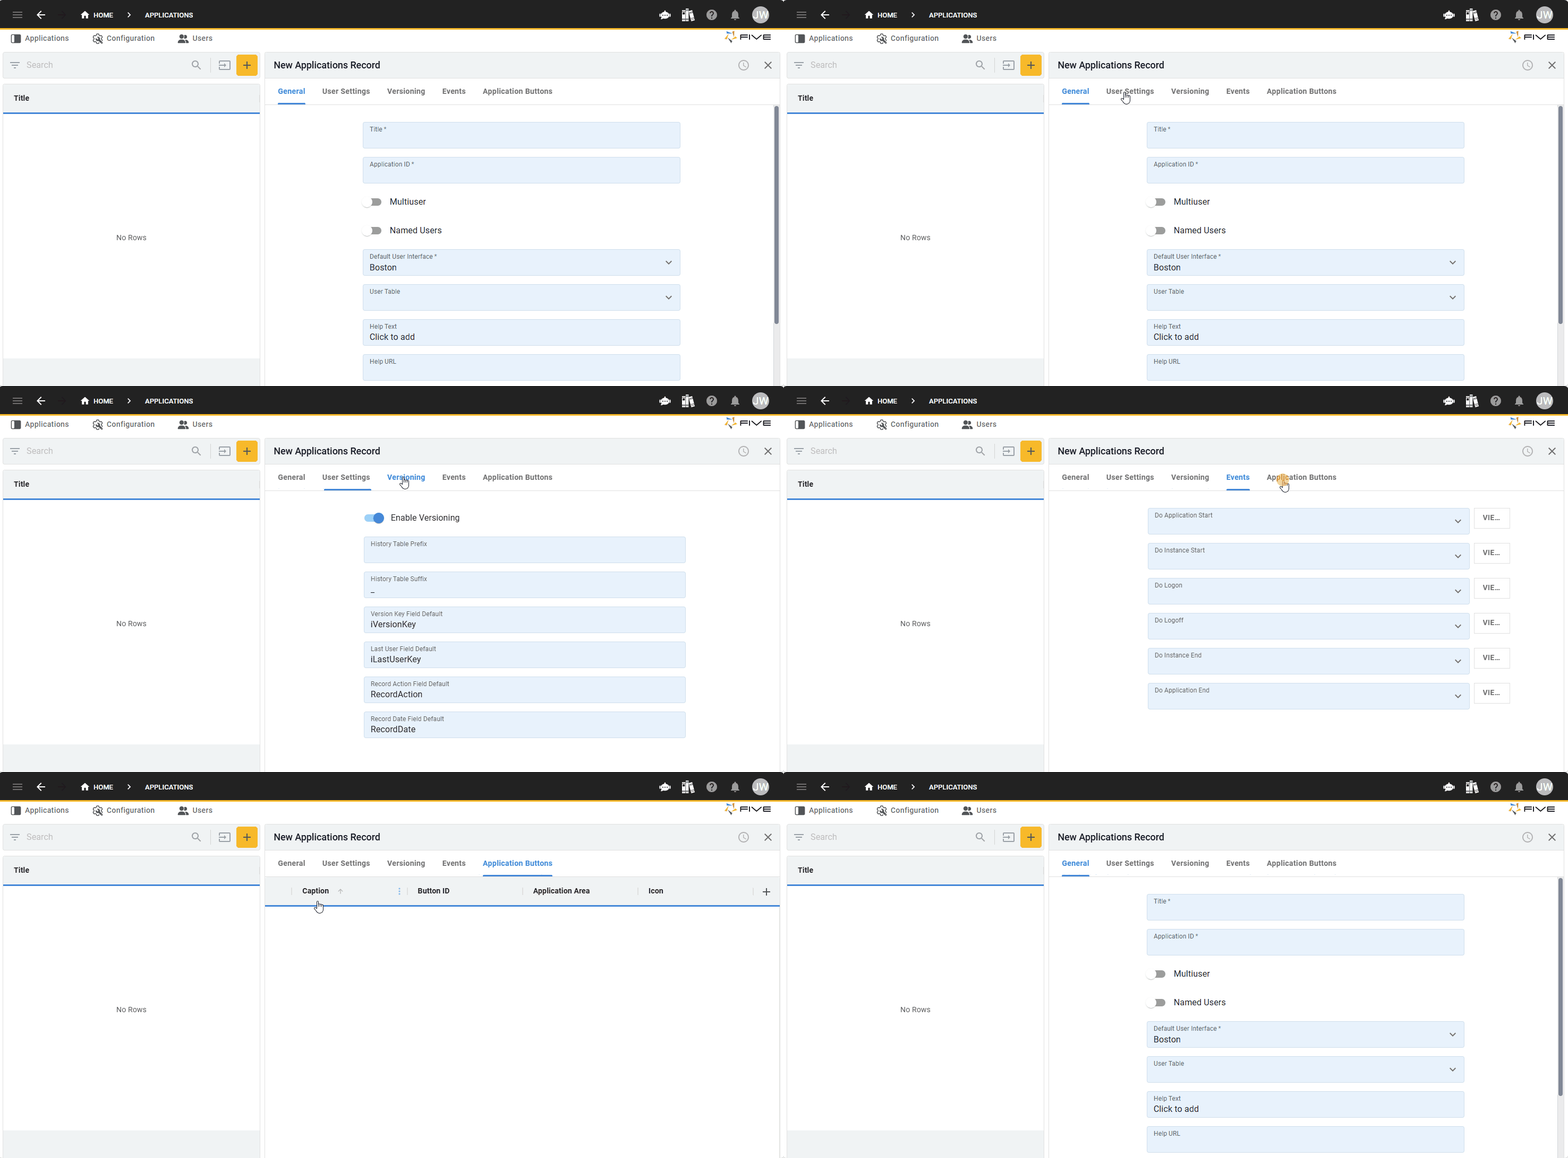
To navigate through a form you use the tabs located at the top of the form.
You can begin to add your first application by giving it a title, whenever you edit a field it will be displayed in yellow.
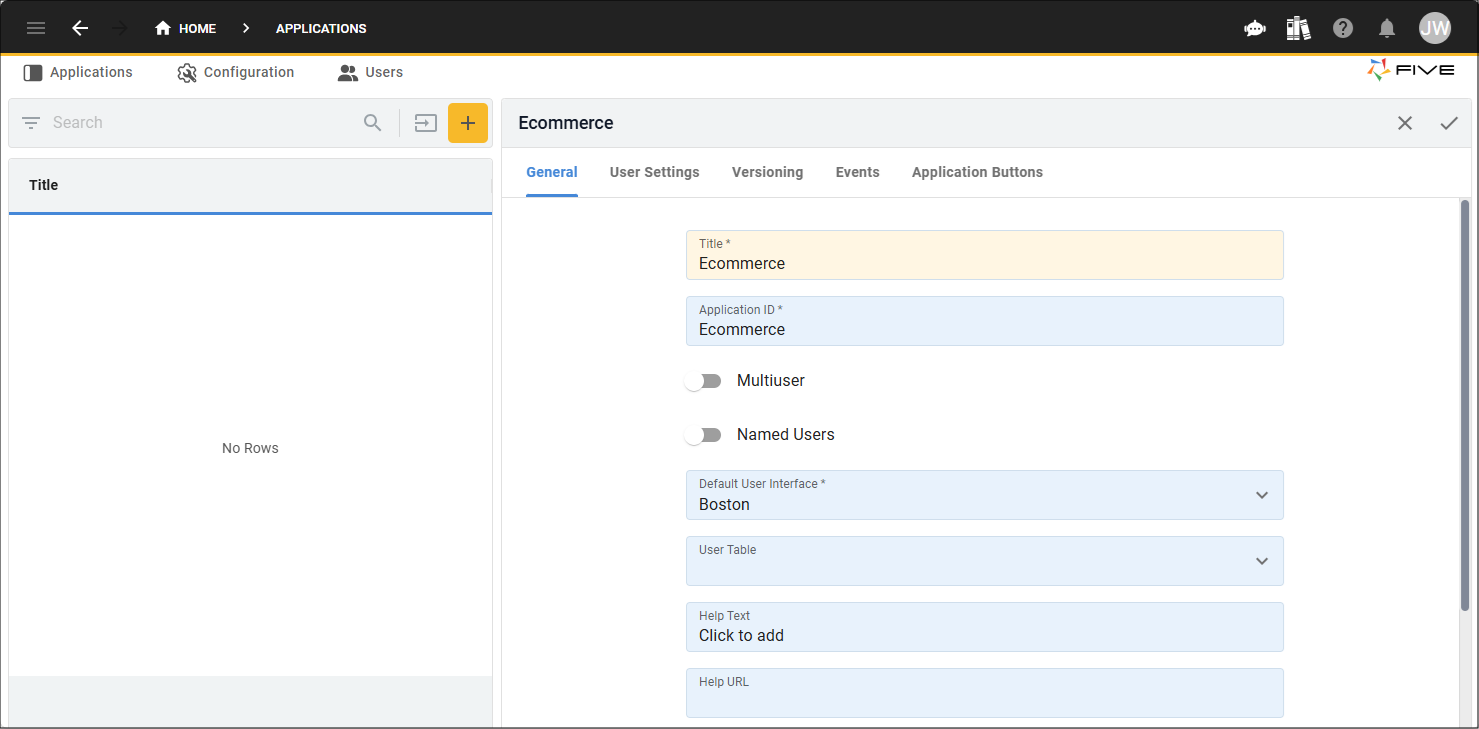
Every form in Five has an app bar at the top, this is where you will find the common buttons to maintain your record like cancel, edit, delete, and save etc. Once you save a record, you will see it in the list.

At the very top of your screen is Five's toolbar, on the left side you have the breadcrumbs which can help you navigate through Five. On the right you will see several buttons, hovering your mouse on these buttons will display a tooltip for you to know what it does. The button you will be using the most is the Deploy to Development button as this is used to deploy your application to the development environment for you to see the development of your application.

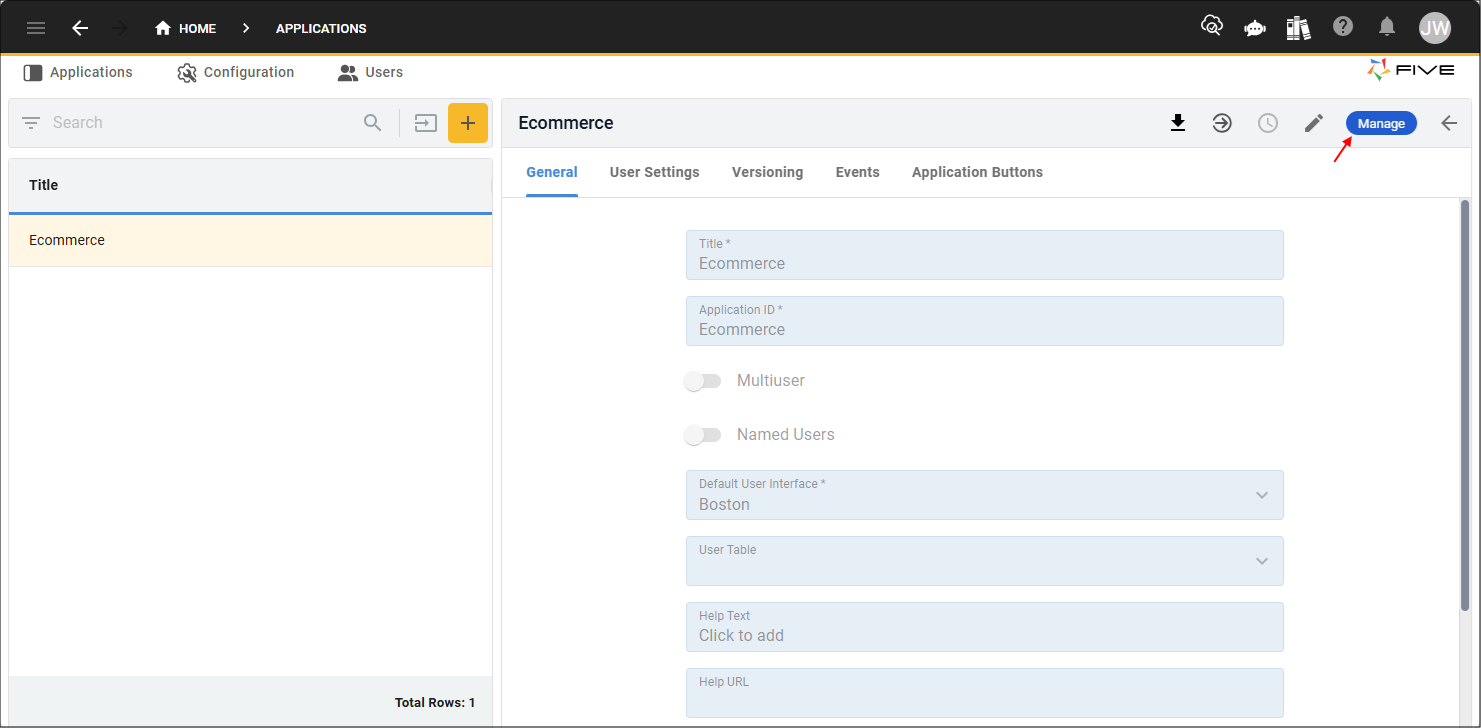
A saved application record will have the Manage button in the app bar, this button will take you to a child menu that holds everything to build out your application.
The menus are categorized and when you select one it will open a sub-menu.
- The Visual menu holds everything that you will visually see in your application.
- The Logic menu is where you can add your application's functionality.
- The Data menu is to handle all your application's data.
- The Task menu is where you can create and automate tasks.
- The Setup menu holds everything to setup your application.
- The Tools menu is for you as a devloper in Five to search and maintain your code.
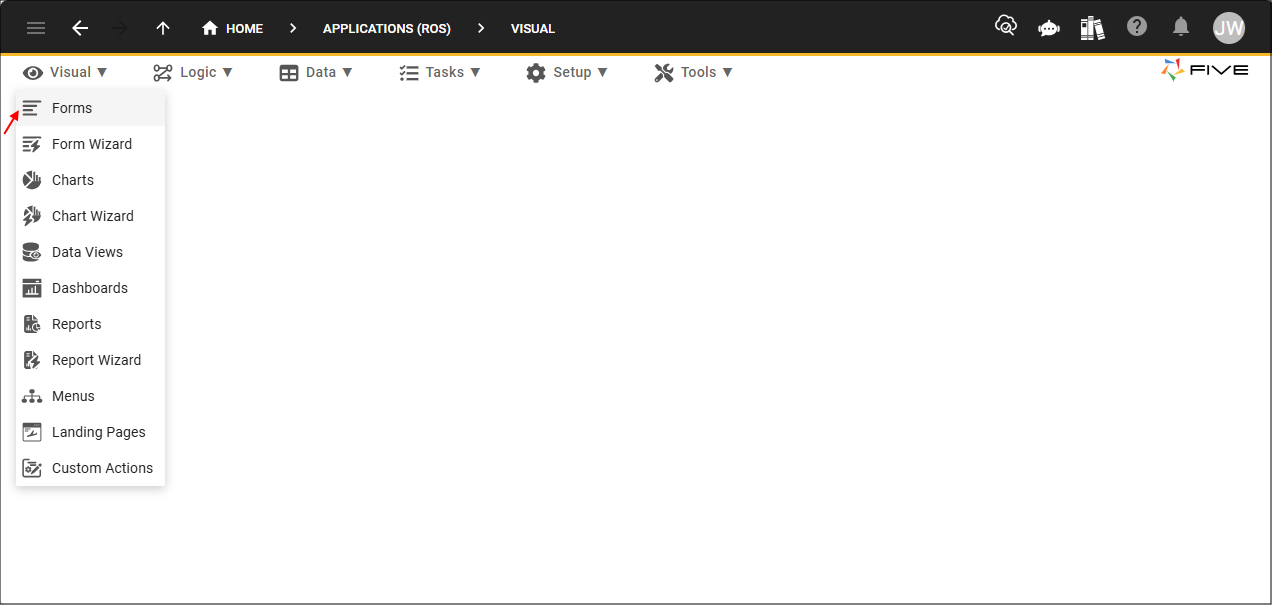
Let's take a look at the Forms view by selecting it in the sub-menu.
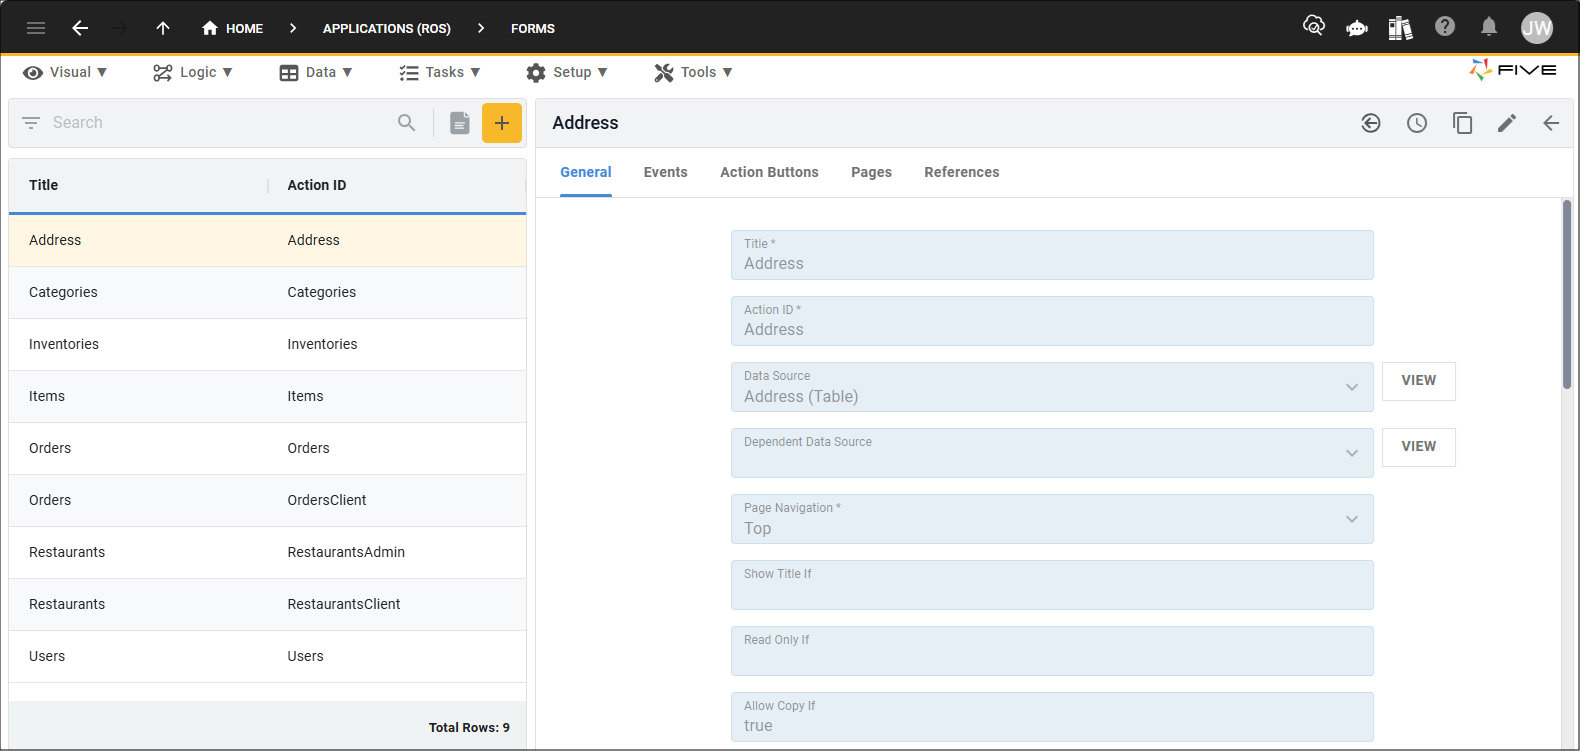
Once again like in the Applications view, once you click the Add Item button a new form is available to add a record. If you select a record in the list, the details for this record are available to edit. You will find a lot of views in Five have the same layout to enhance your user experience.
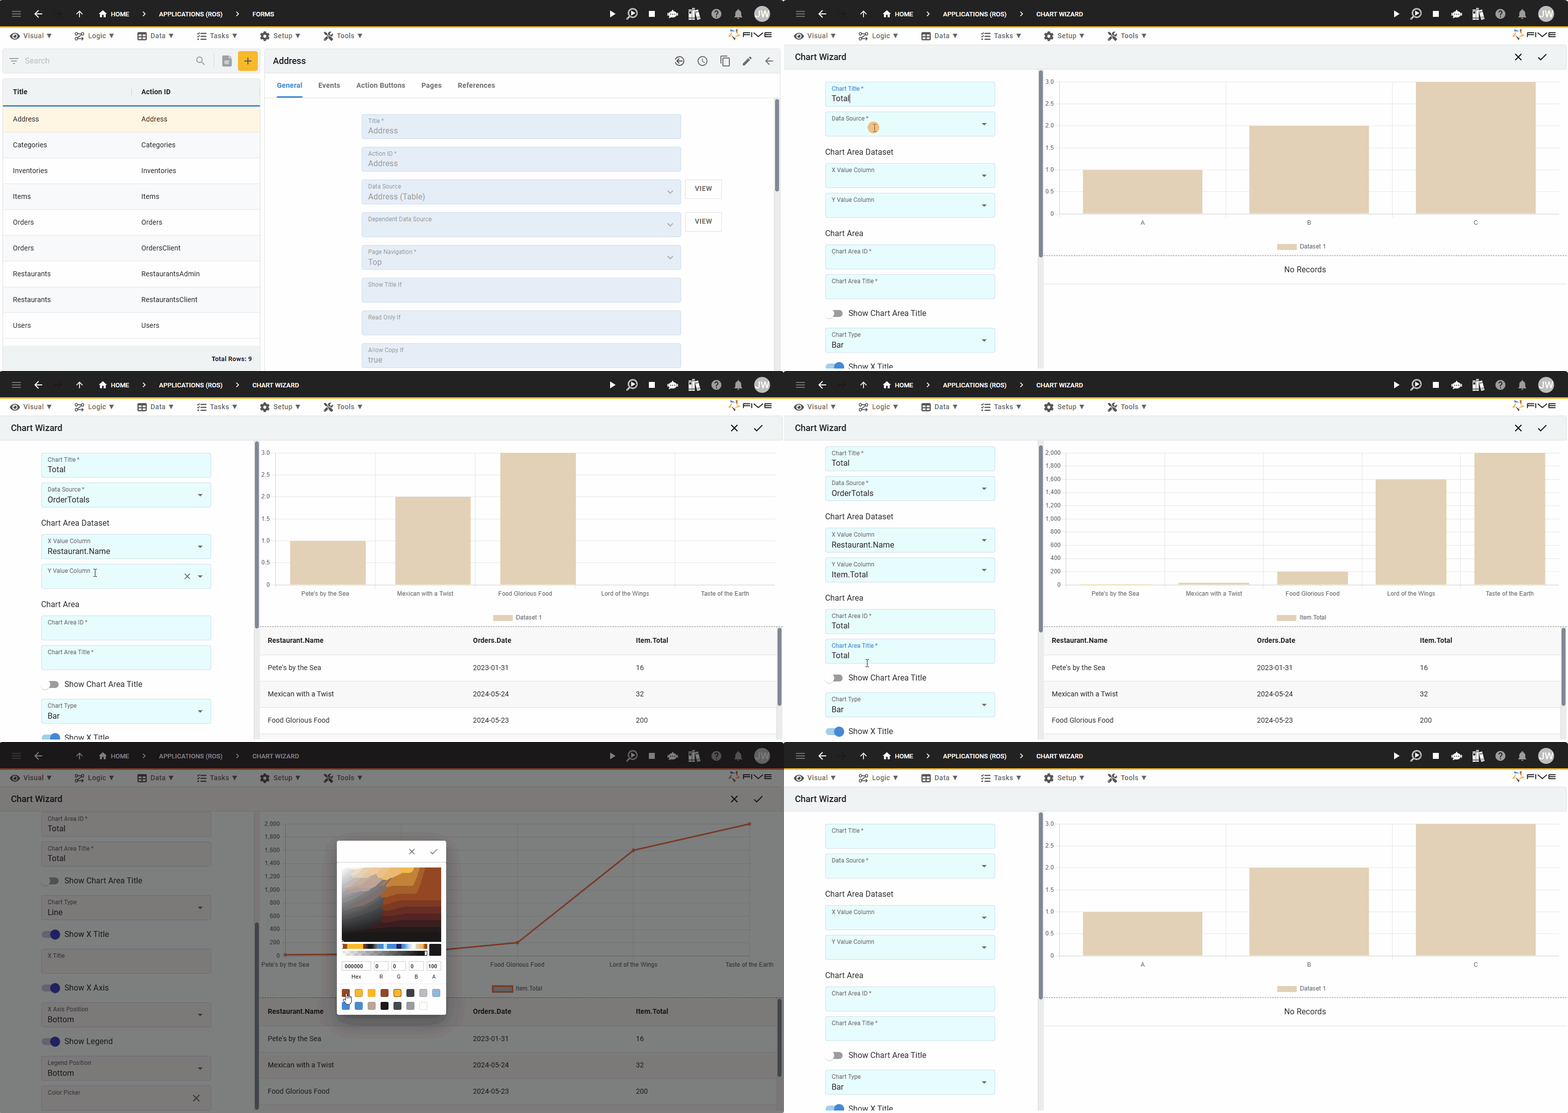
Five has a number of wizards which give you a quick and easy method to add elements to your application. Some of these wizards are dynamic, such as the Chart Wizard (under the Visual menu), while building your chart you will have a live preview.
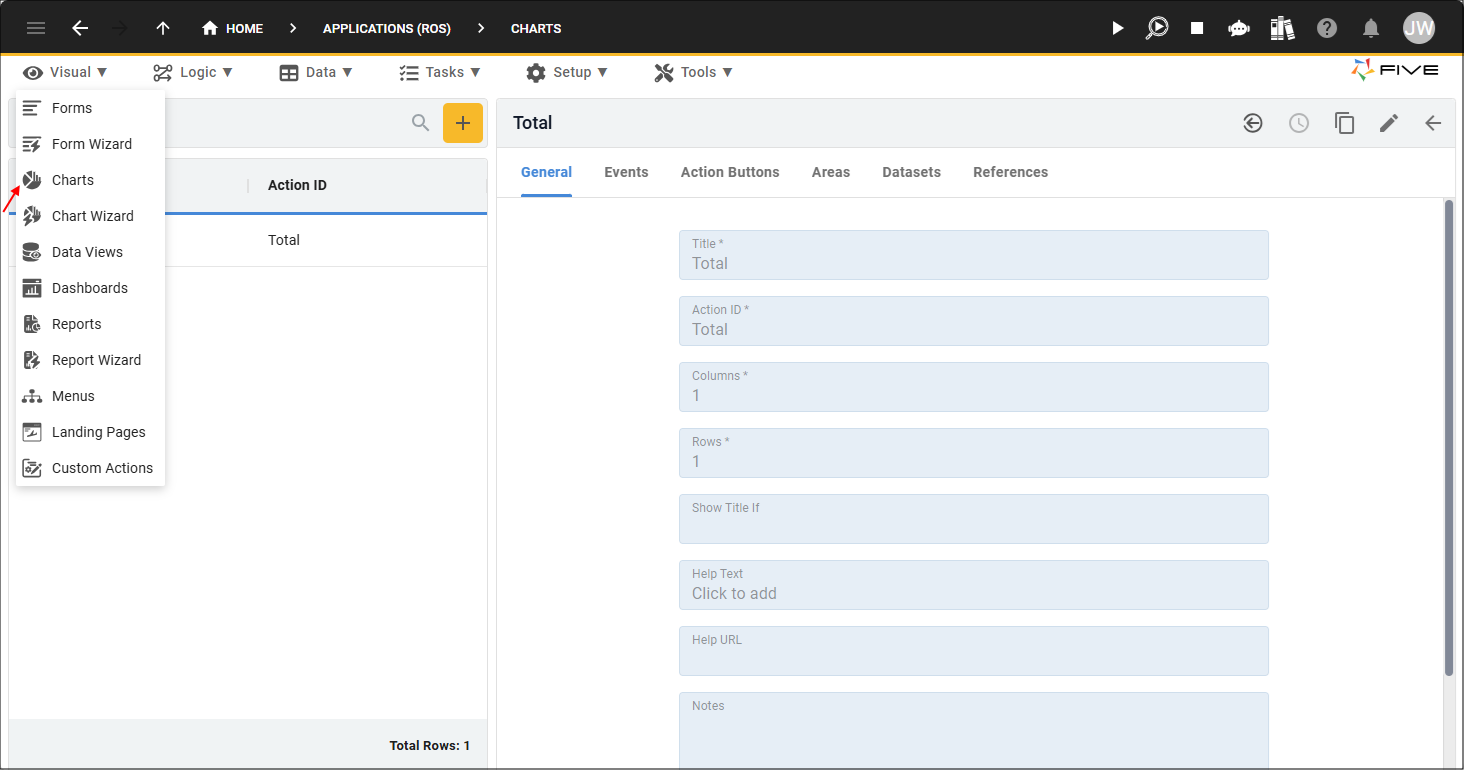
Once a record has been saved via a wizard, you can go to its respective view to have access to the record. For example, the chart that was just created will be available in the Charts view.
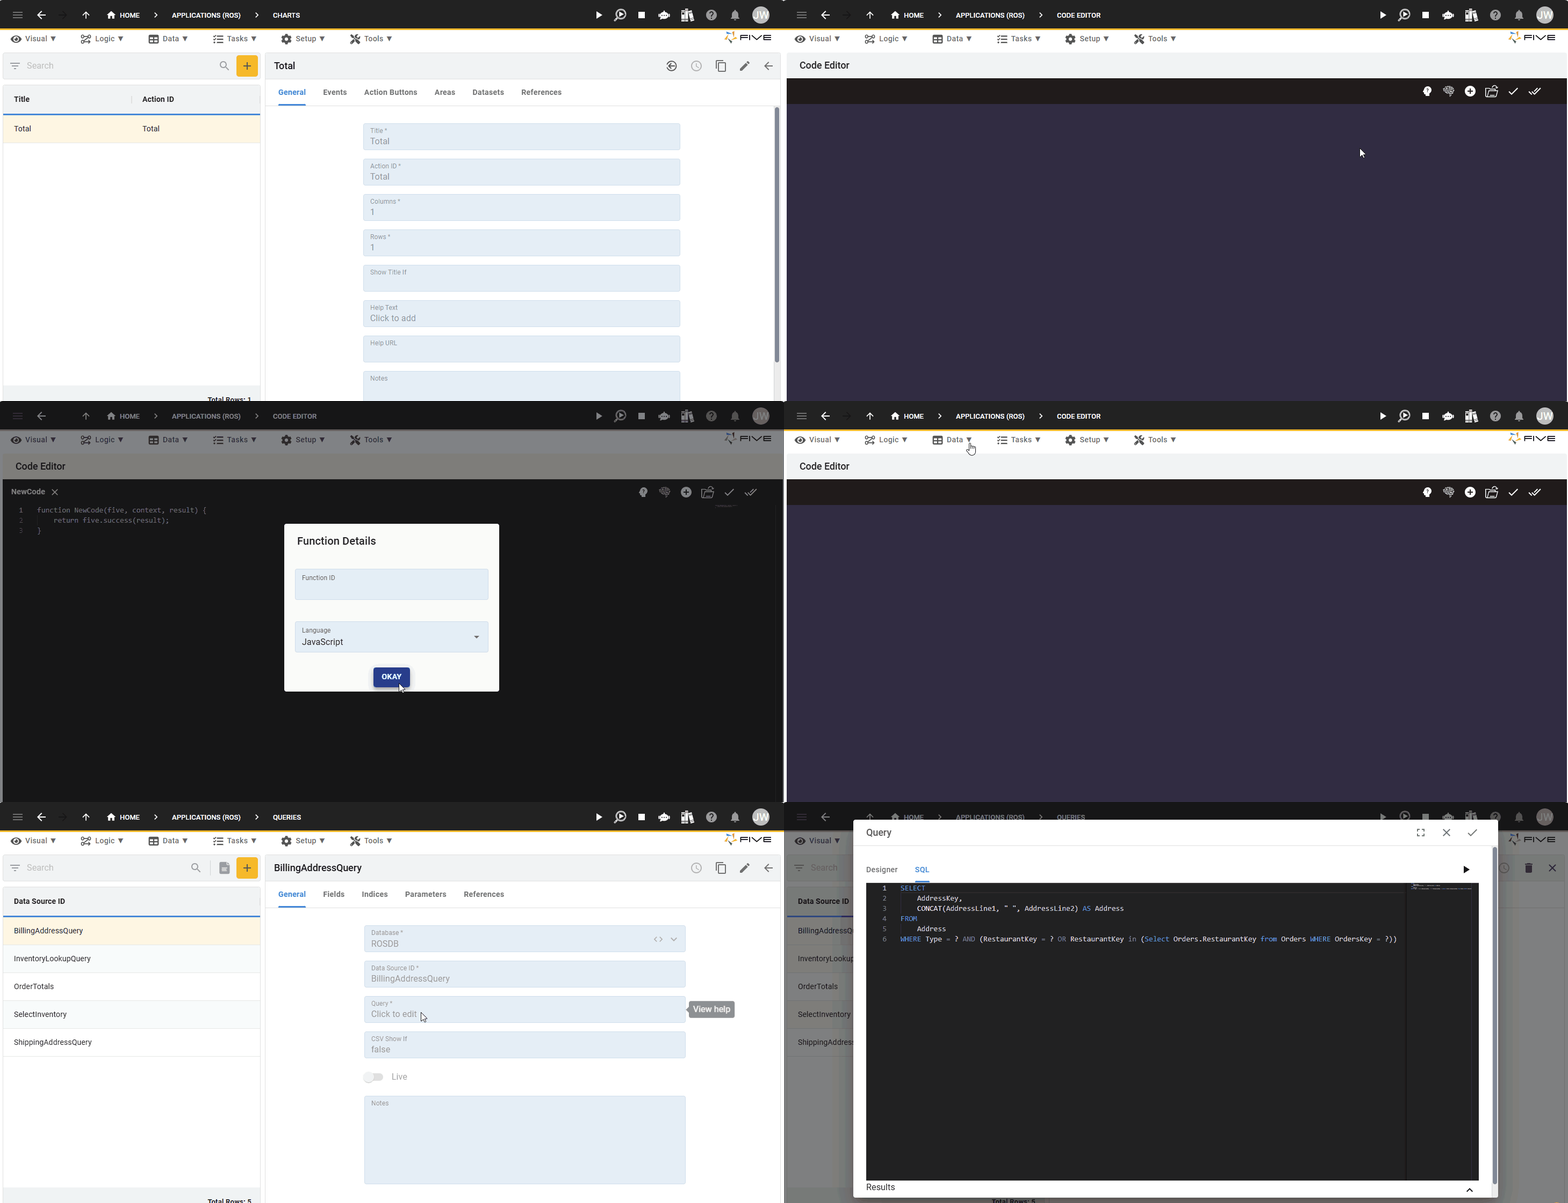
Five has a number of built in editors that you can use to extend your application. Some of these will have their own menu items and others will be available in fields in their respective views.
You can log out of Five by using the Avatar button.