11 - Add an Action Page
Last updated 16/12/2025
This documentation will explain how you can add a page on a form that references another action besides a form. The recommended actions are:
We are going to add a data view that will display the shares we have sold. This data view will then become a page on the Buys form, so we can see what shares we have sold without having to leave a buy record.
The SellAllocations query needs to be added which will return the allocation records linked to the sell records, along with the transaction date, allocation quantity, sell quantity, and the buyKey for a specific buy.
Add the SellAllocations Query
1. Click Data in the menu followed by Queries in the sub-menu.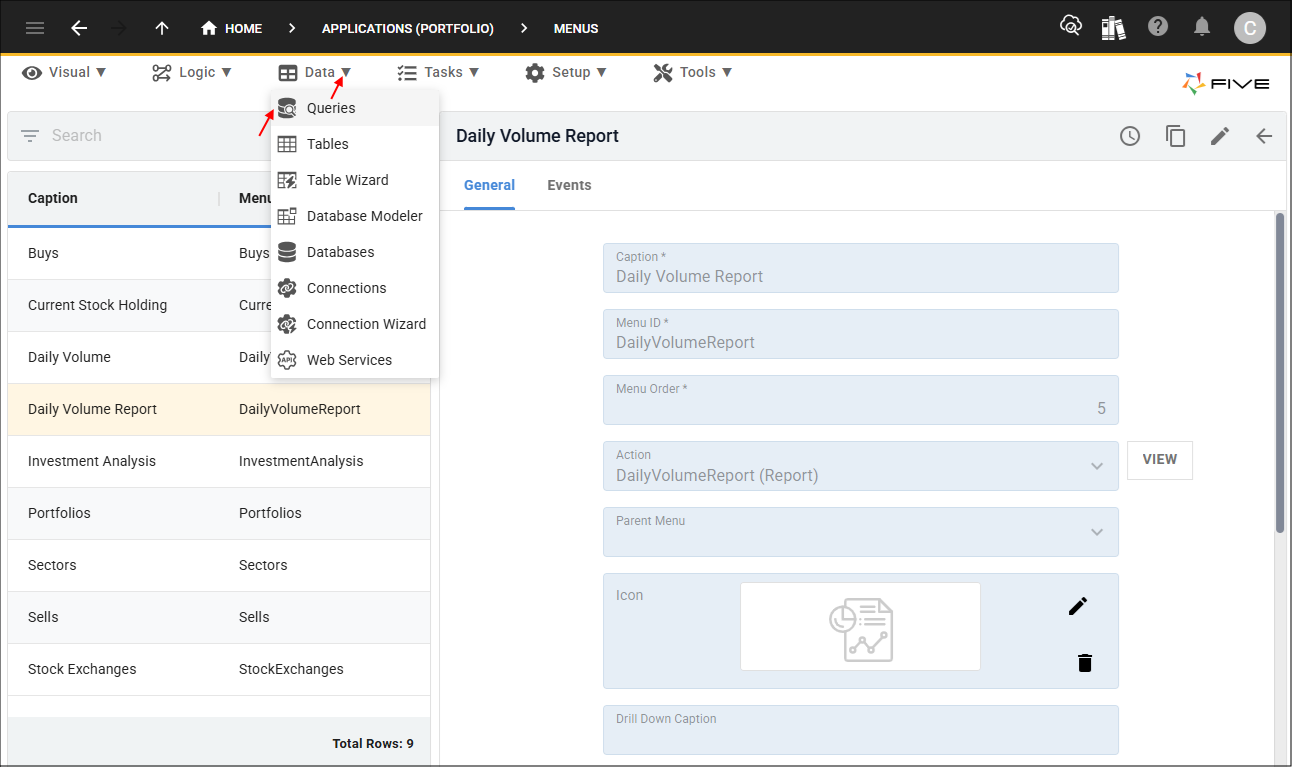
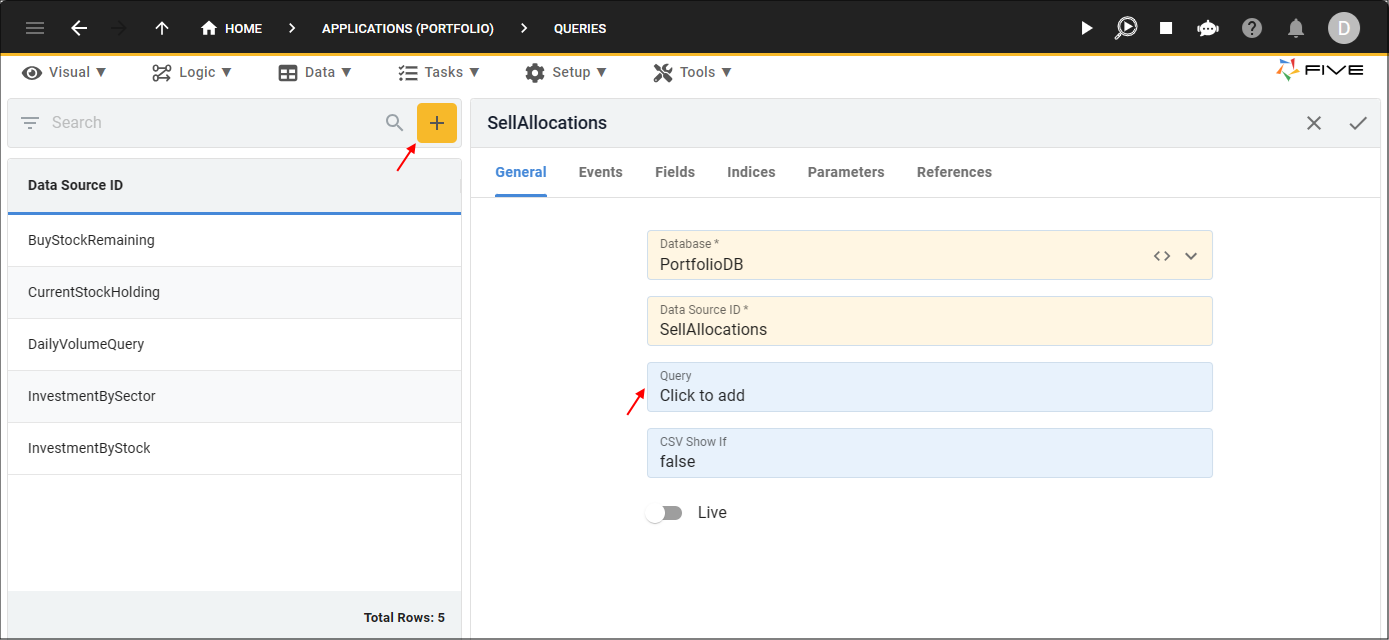
2. Click the Add Item button and type SellAllocations in the Data Source ID field.
3. Click in the Query field to open Five's Query Builder.
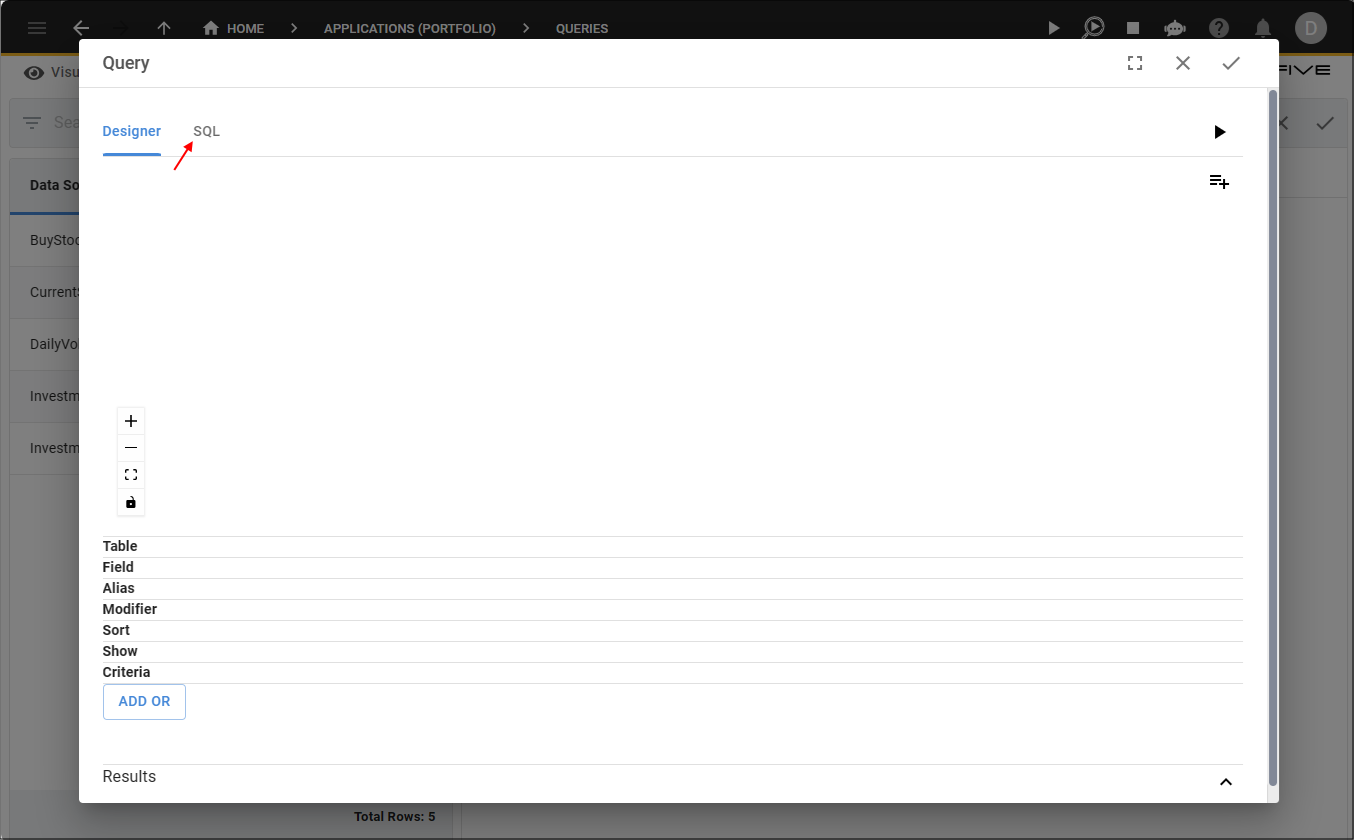
4. Click the SQL tab.
5. Click the Copy button for the syntax below.

SELECT
    TransactionDate,
    Allocation.Quantity AS Quantity,
    Sell.Quantity AS SellQuantity,
    Allocation.BuyKey AS BuyKey
FROM
    Allocation
    INNER JOIN Sell ON Allocation.SellKey = Sell.SellKey
HAVING
    (BuyKey = ?)
ORDER BY
    TransactionDate
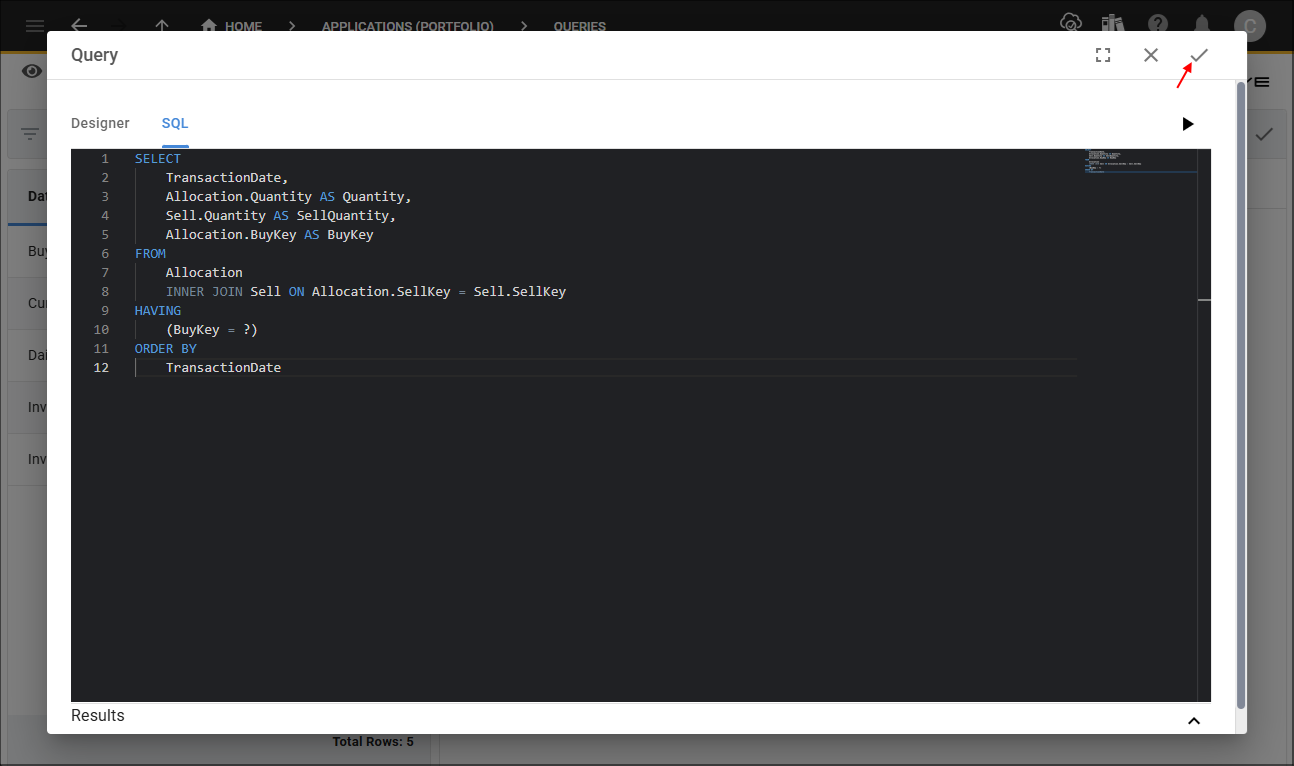
6. Paste the syntax in the SQL Editor.
7. Click the Save button in the SQL Editor app bar.
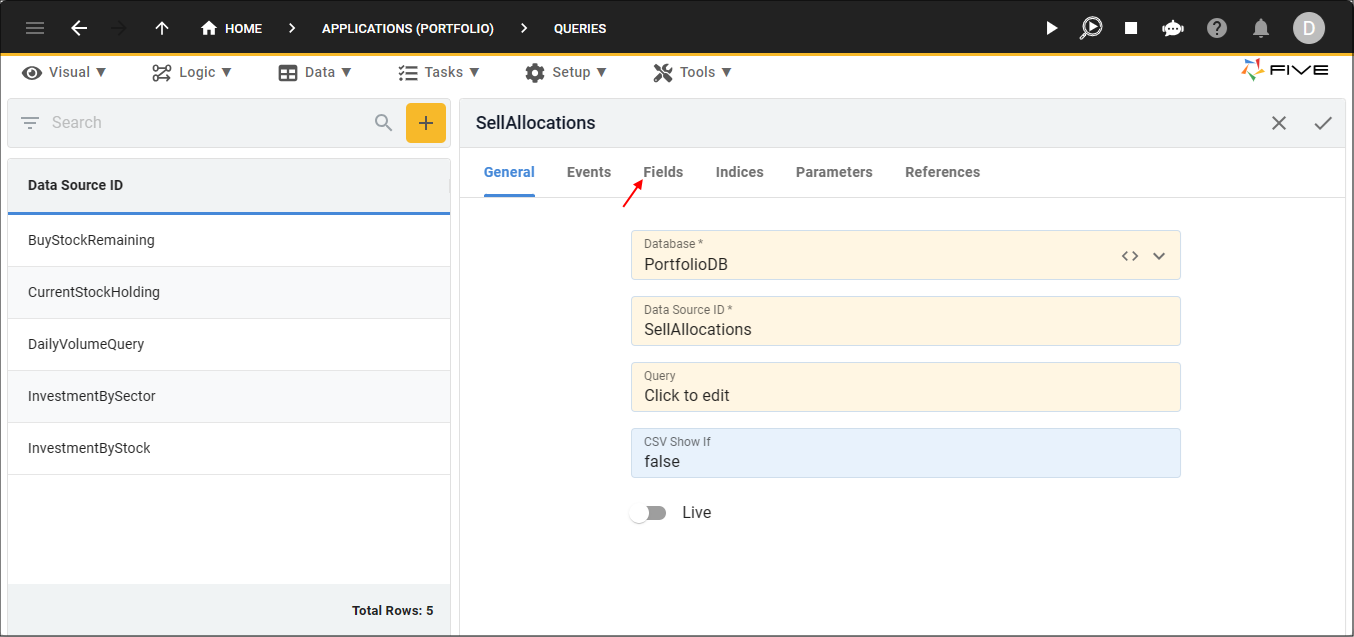
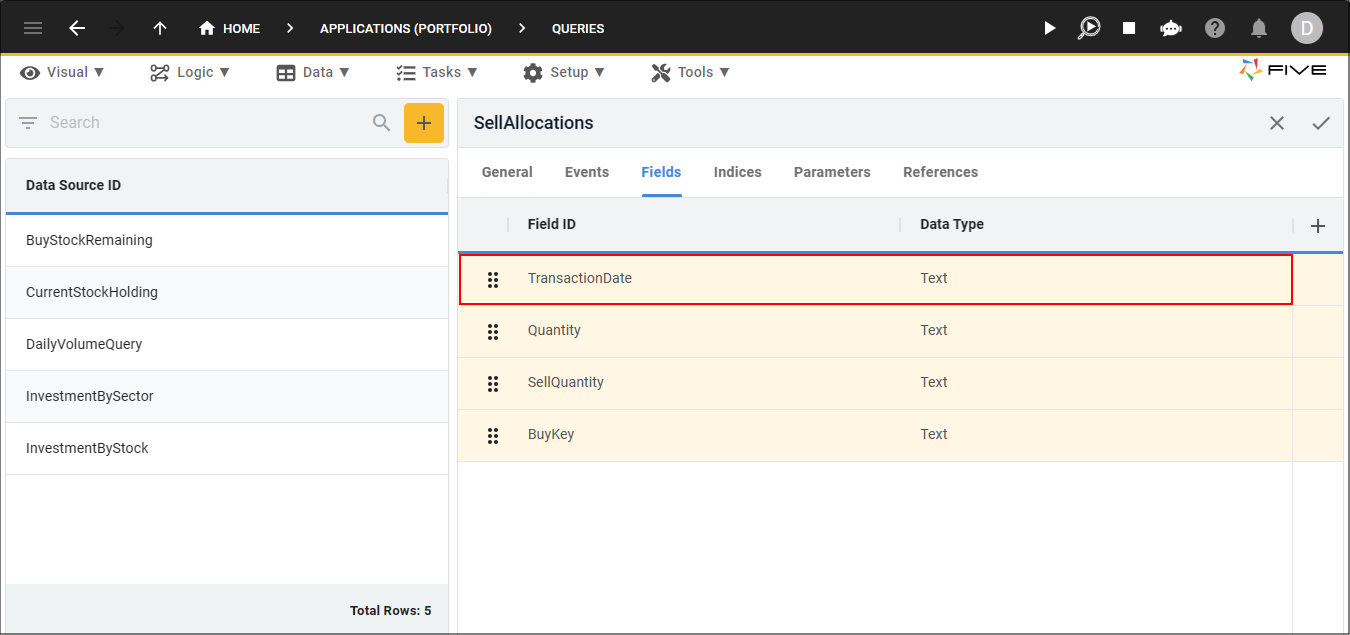
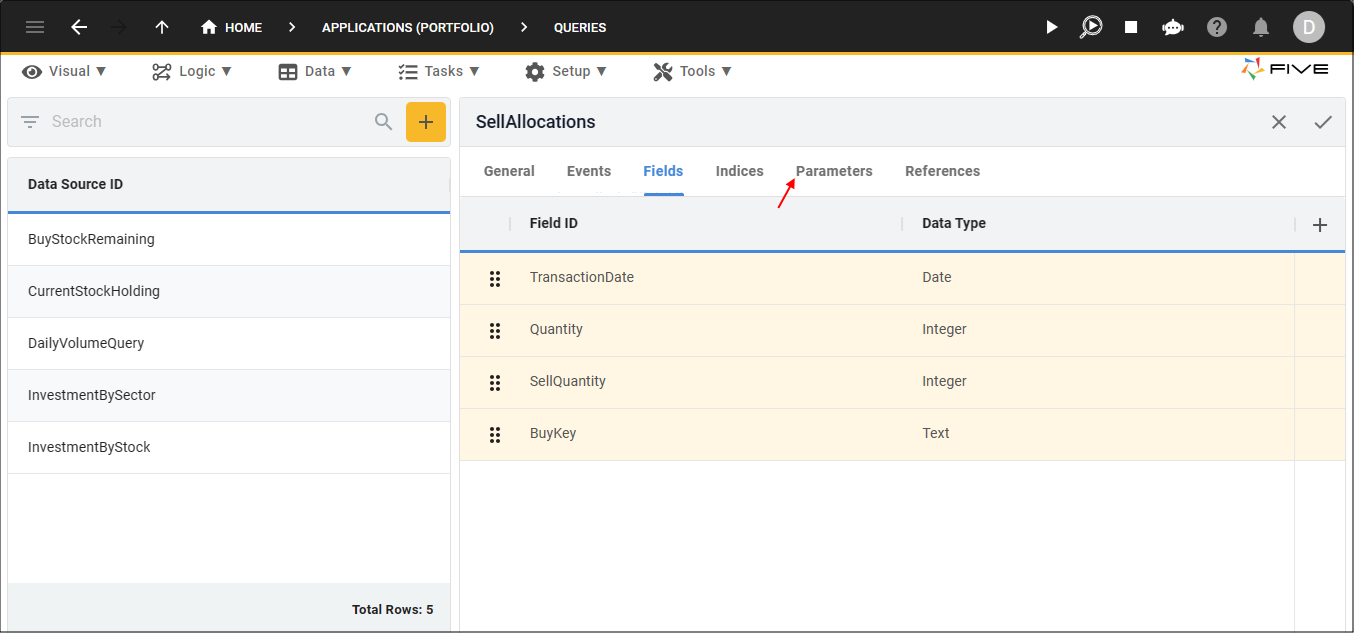
8. Click the Fields tab.
9. Select the TransactionDate record.
10. Edit the following fields:
- Select Date in the Data Type field
- Type 8 in the Size field
- Add a space between Transaction and Date in the Default Caption field
- Select _Date in the Default Display Type field
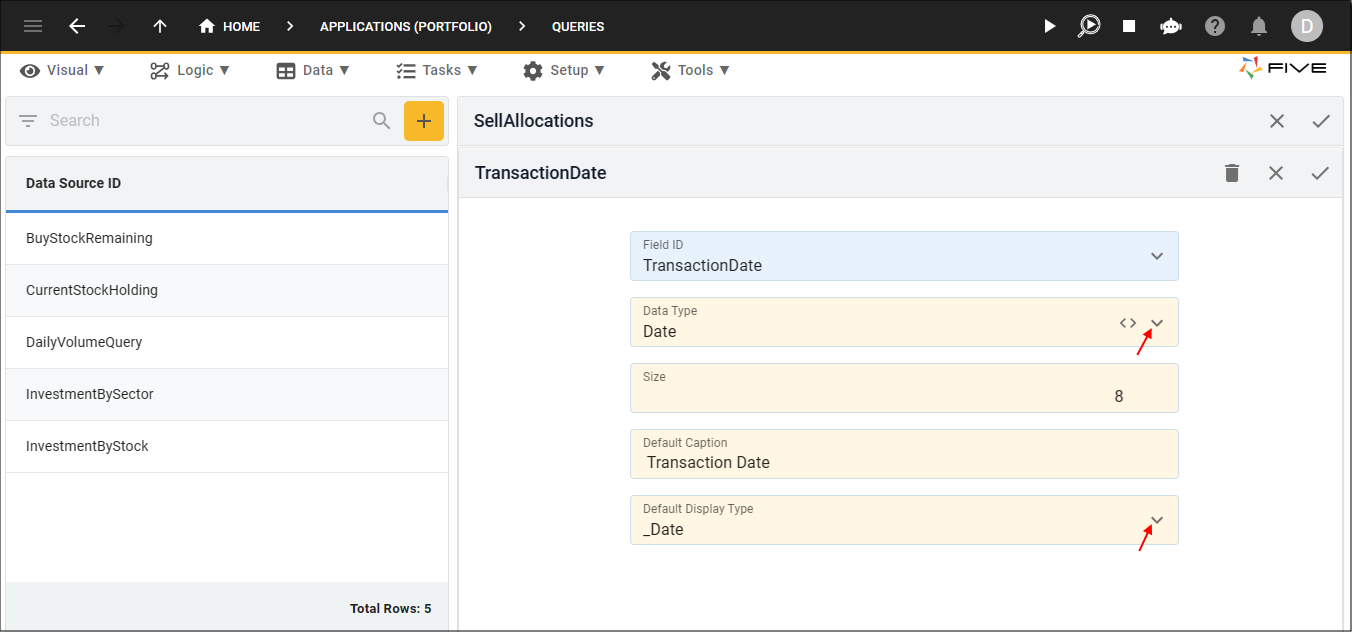
11. Click the Save button in the form app bar.

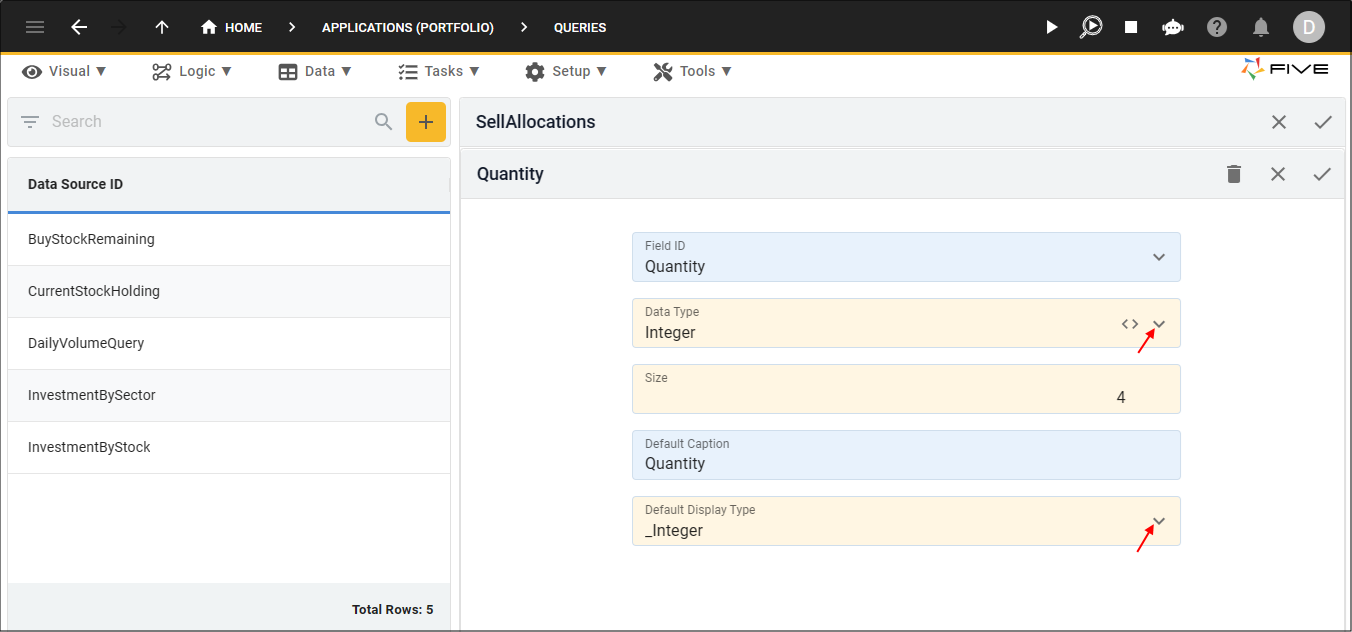
12. Select the Quantity record.
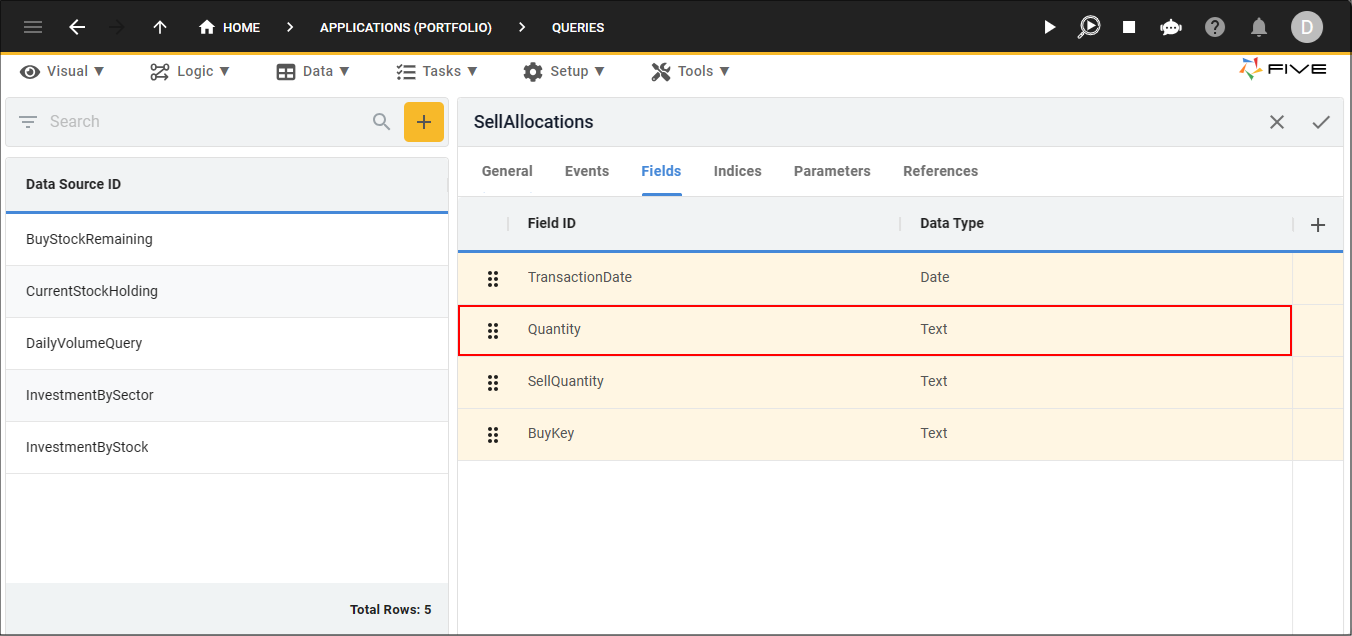
13. Edit the following fields:
- Select Integer in the Data Type field
- Type 4 in the Size field
- Select _Integer in the Default Display Type field
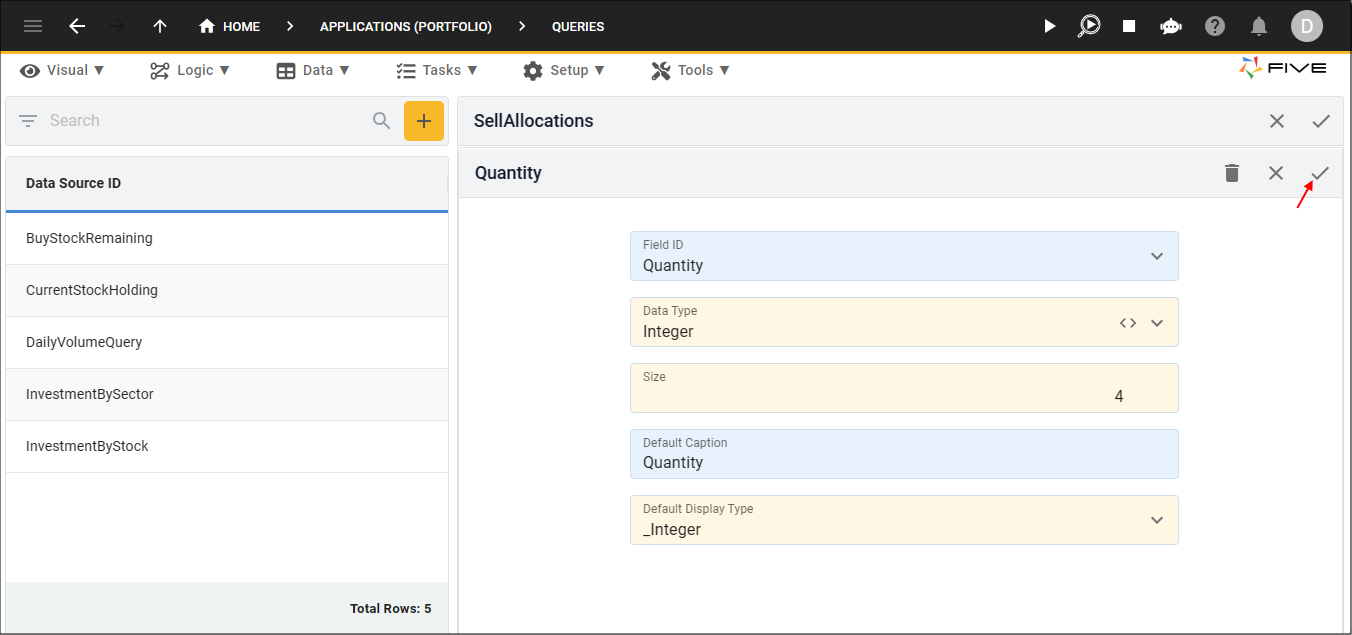
14. Click the Save button in the form app bar.
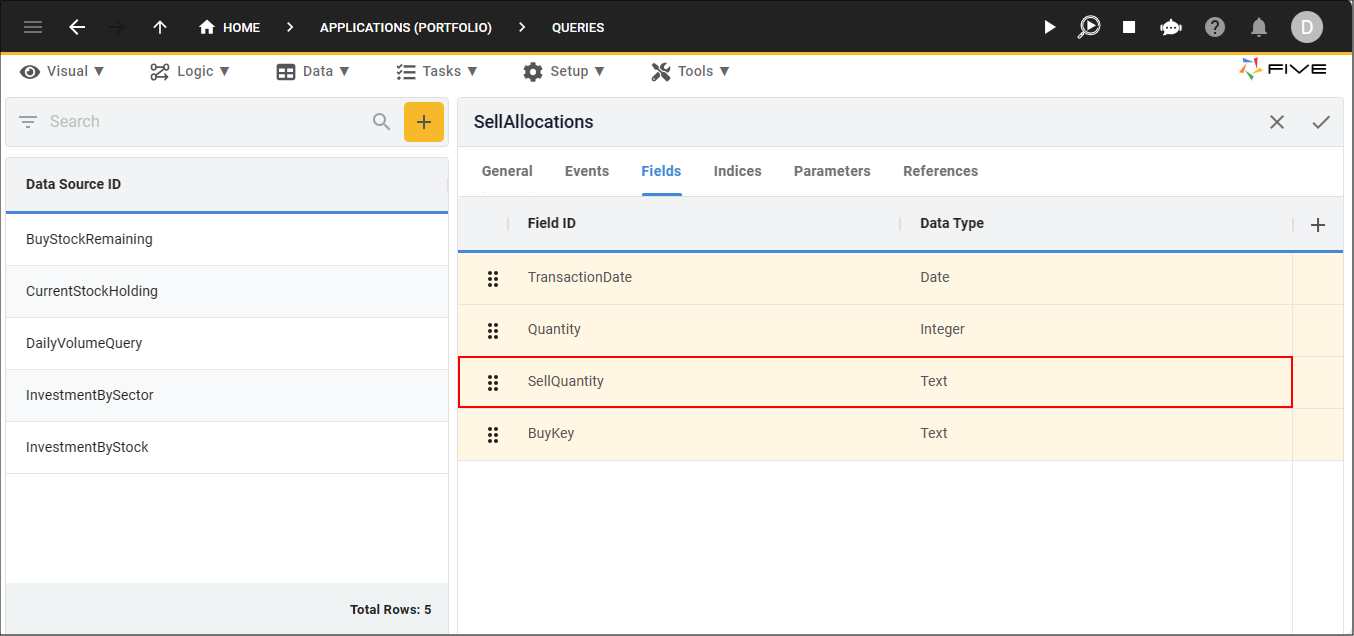
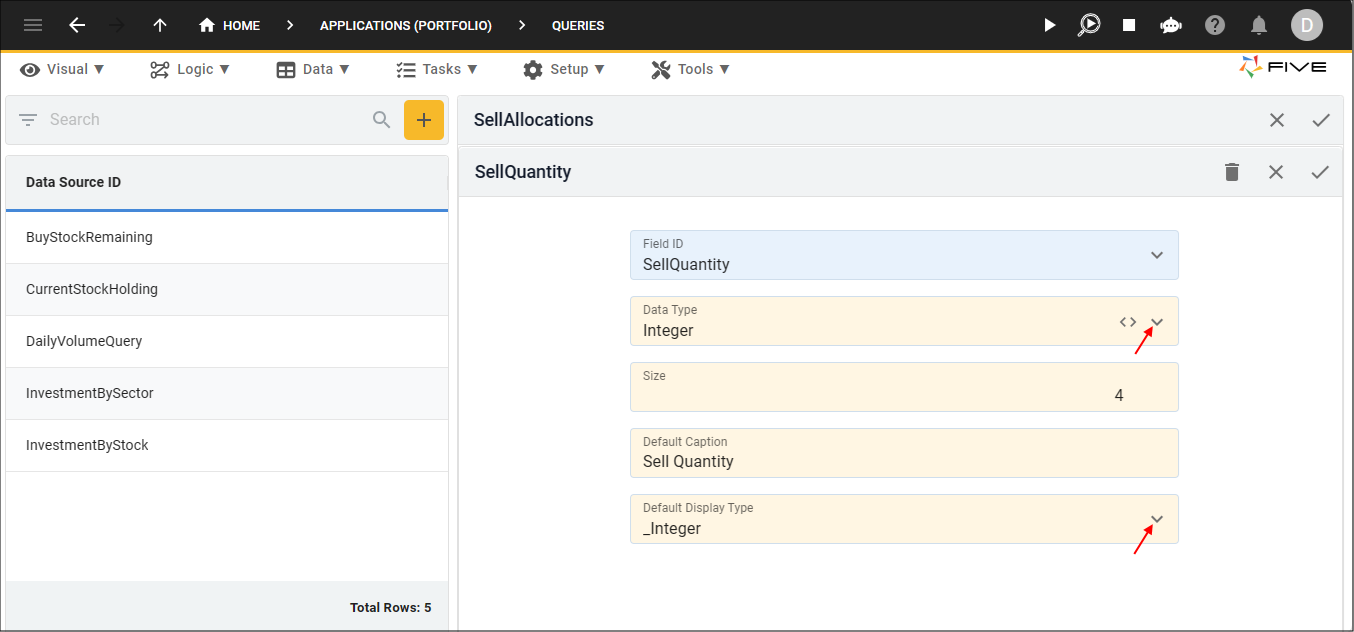
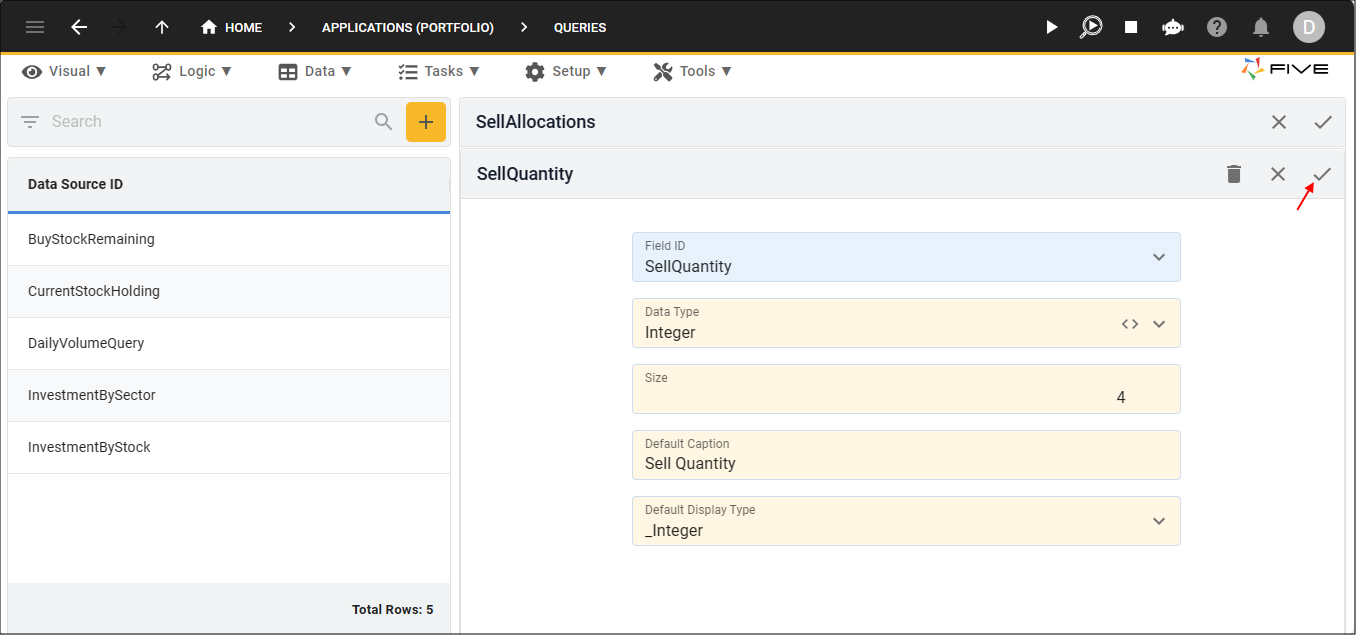
15. Select the SellQuantity record.
16. Edit the following fields:
- Select Integer in the Data Type field
- Type 4 in the Size field
- Add a space between Sell and Quantity in the Default Caption field
- Select _Integer in the Default Display Type field
17. Click the Save button in the form app bar.
18. Click the Parameters tab.
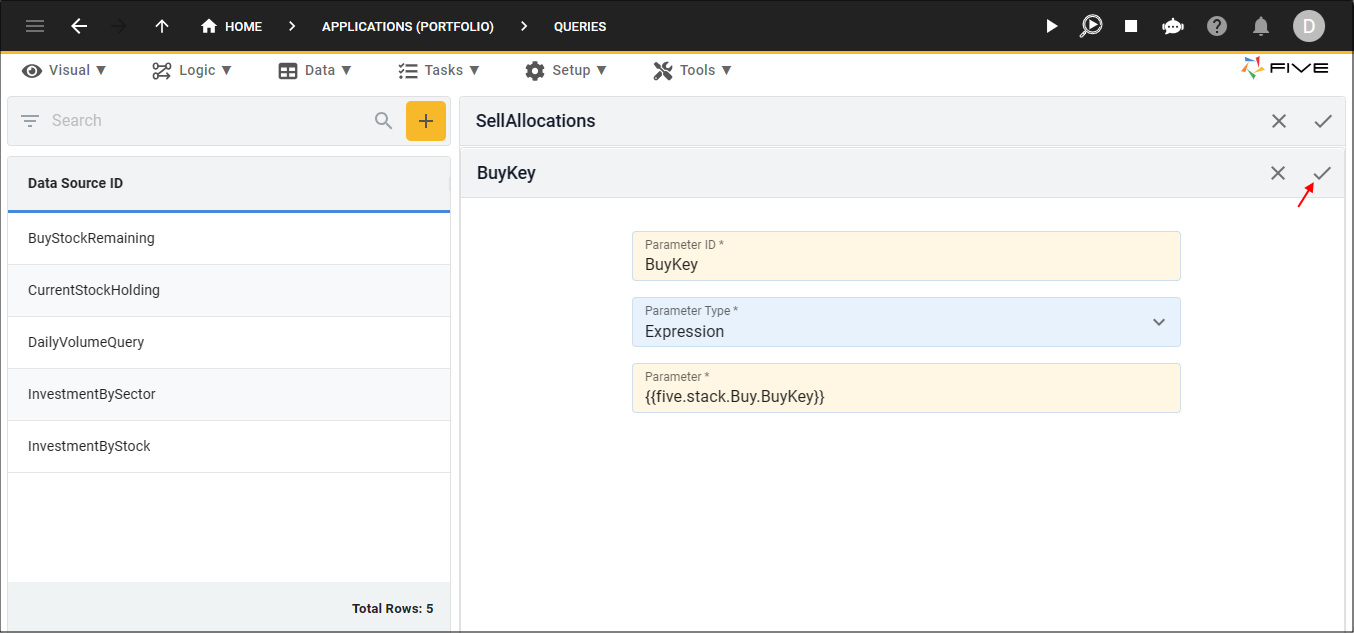
19. Click the Add Parameters button.

20. Type BuyKey in the Parameter ID field.
21. Type

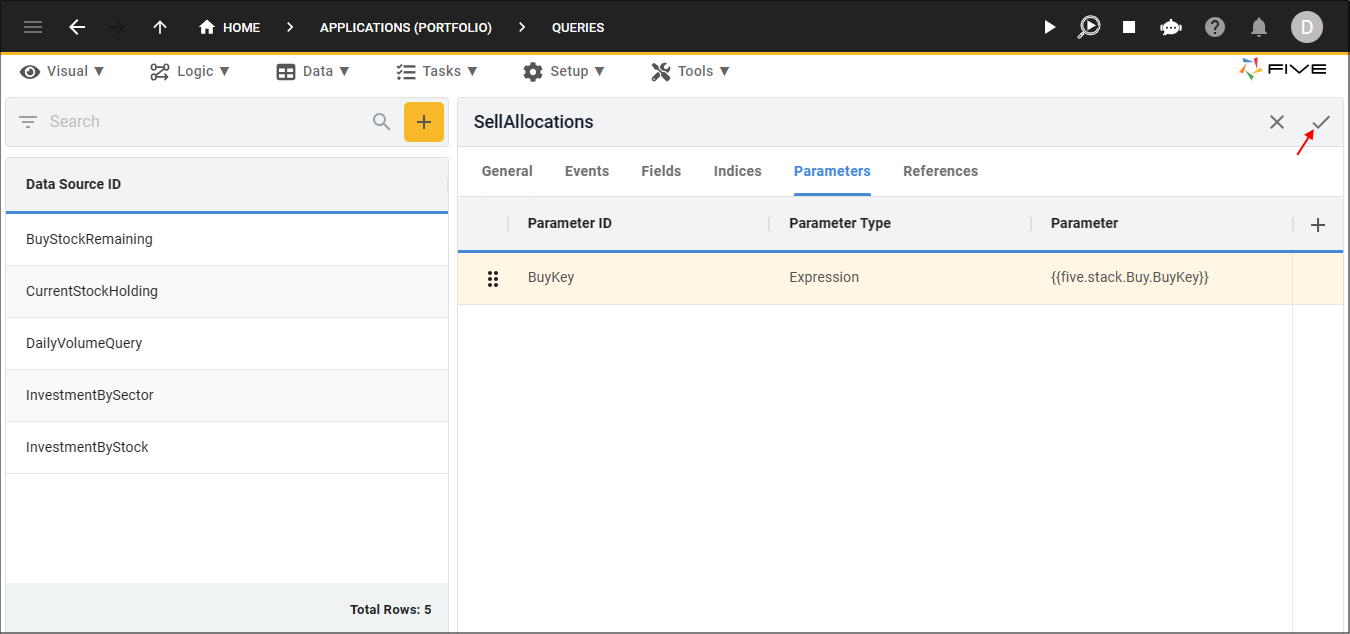
22. Click the Save button in the form app bar.
23. Click the Save button in the form app bar above the list.
Add the Sell Allocations Data View
The Sell Allocations data view needs to be created using the SellAllocations query to display the results.
1. Click Visual in the menu followed by Data Views in the sub-menu.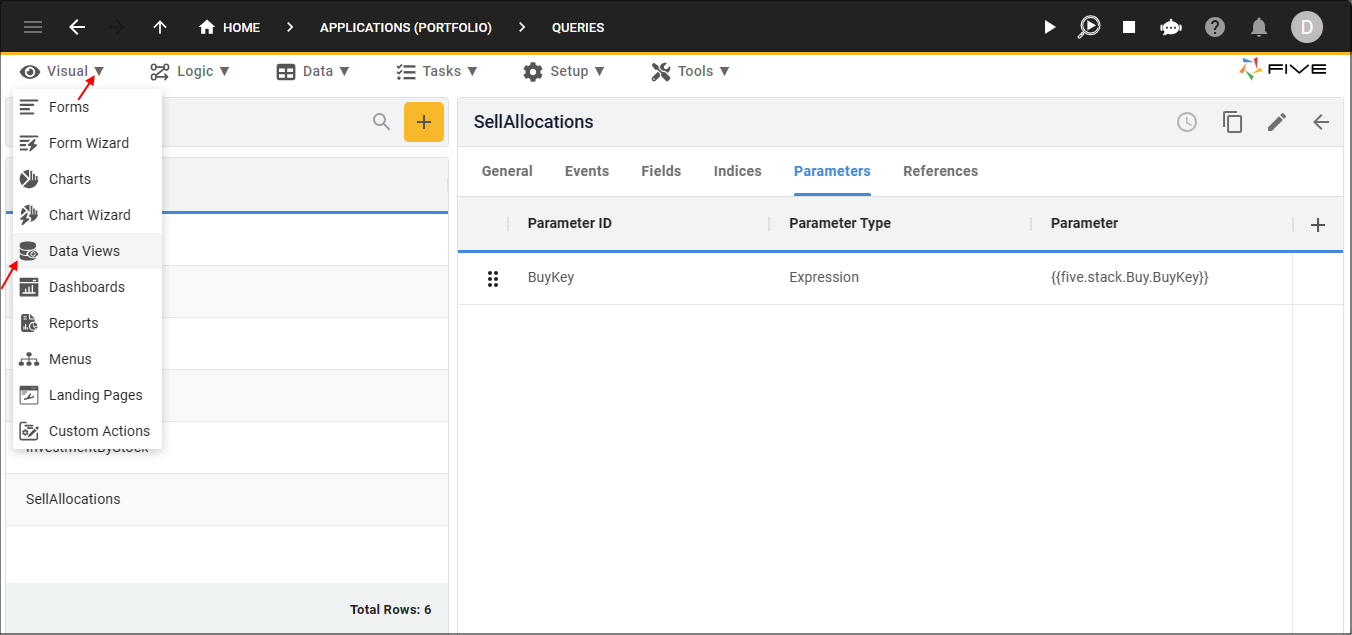
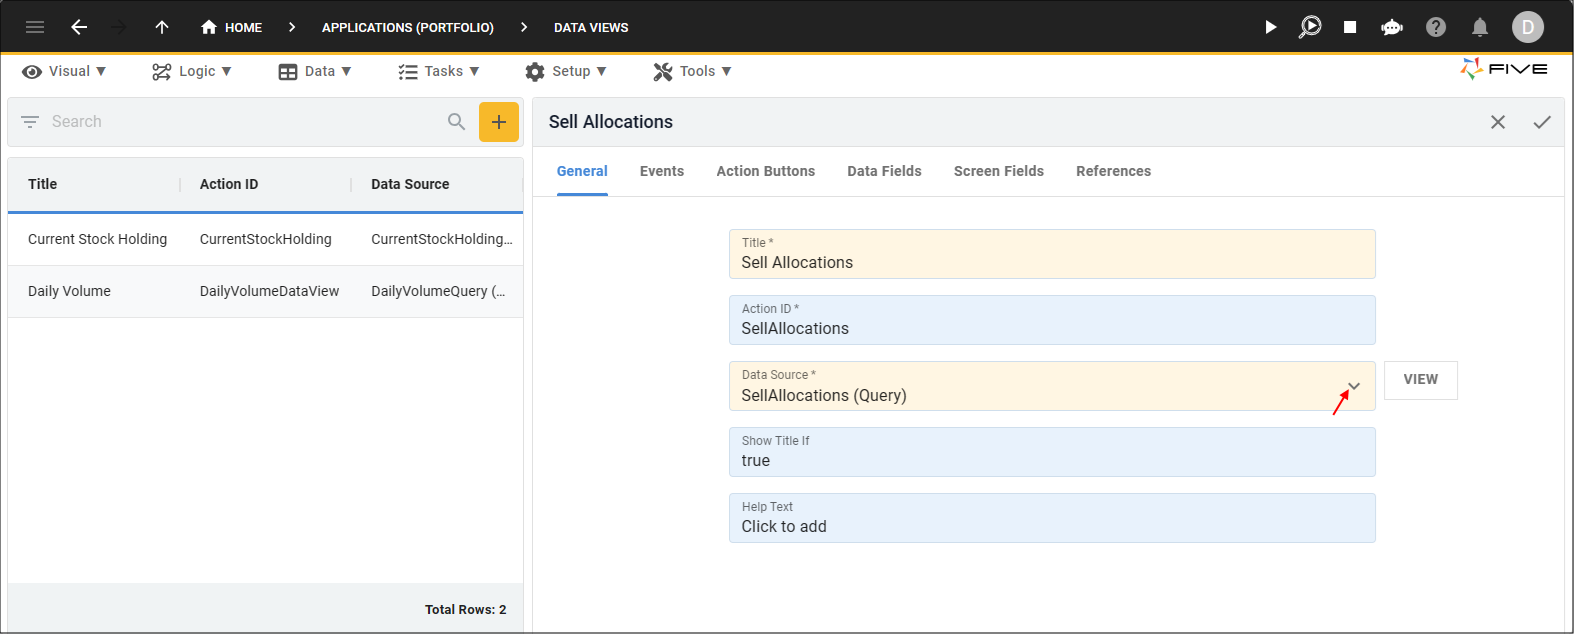
2. Click the Add Item button and type Sell Allocations in the Title field.
3. Select SellAllocations (Query) in the Data Source field.
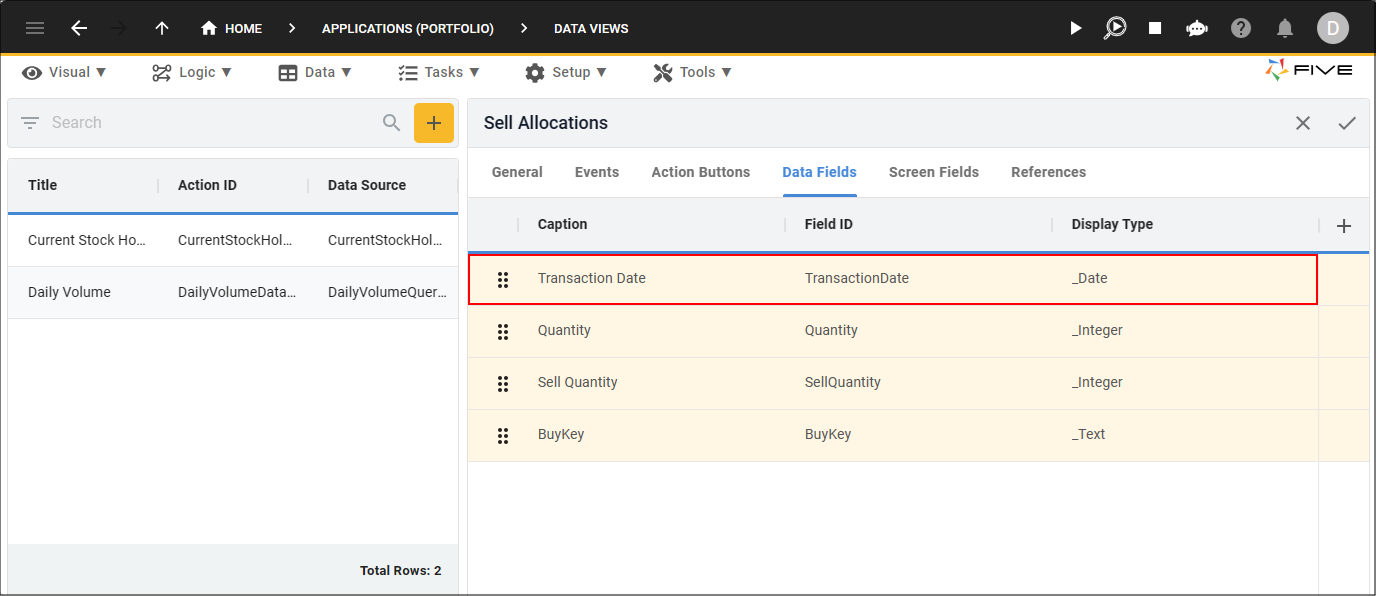
4. Click the Data Fields tab.

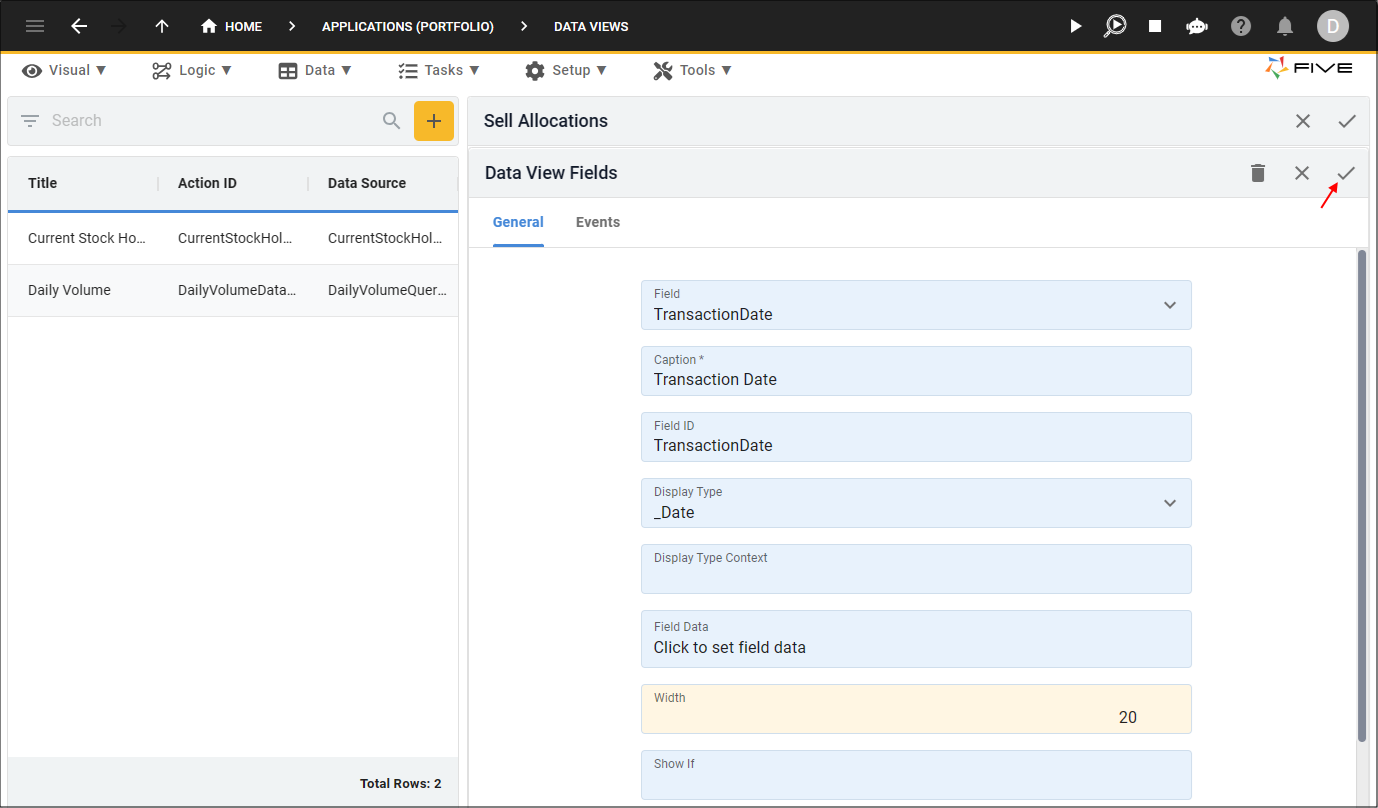
5. Select the TransactionDate record.
6. Click the Cancel button in the Width field and type 20.
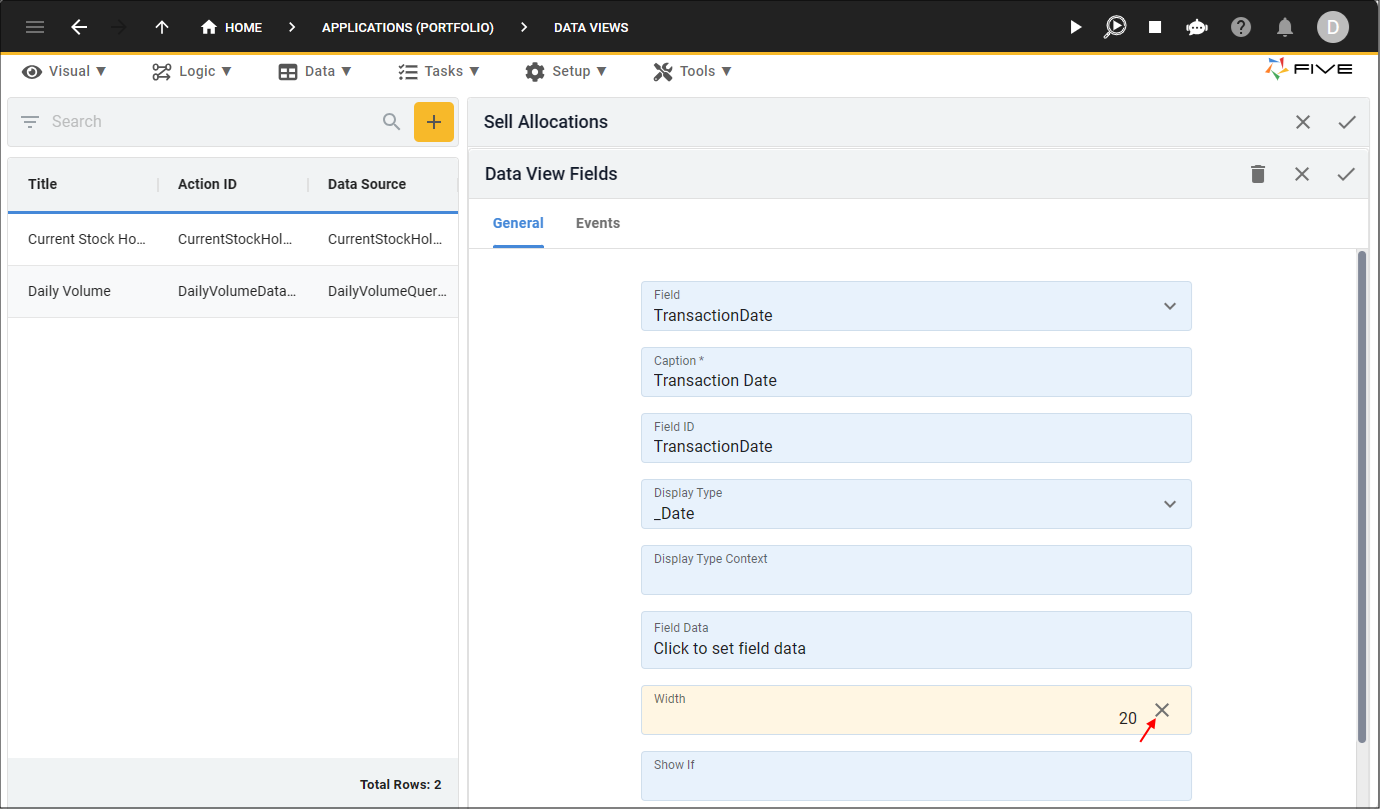
7. Click the Save button in the form app bar.
8. Repeat the same steps in the Width field for the Quantity and SellQuantity records.
9. Select the BuyKey record.
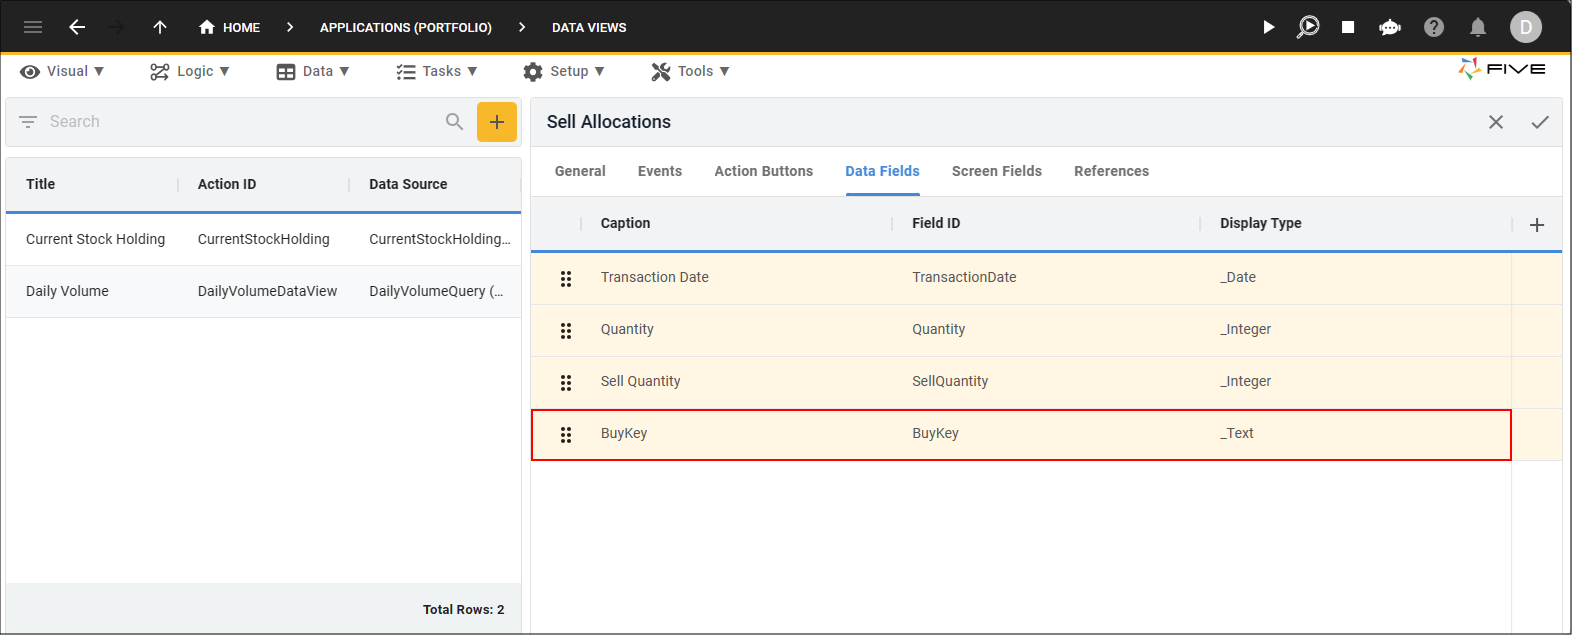
10. Type

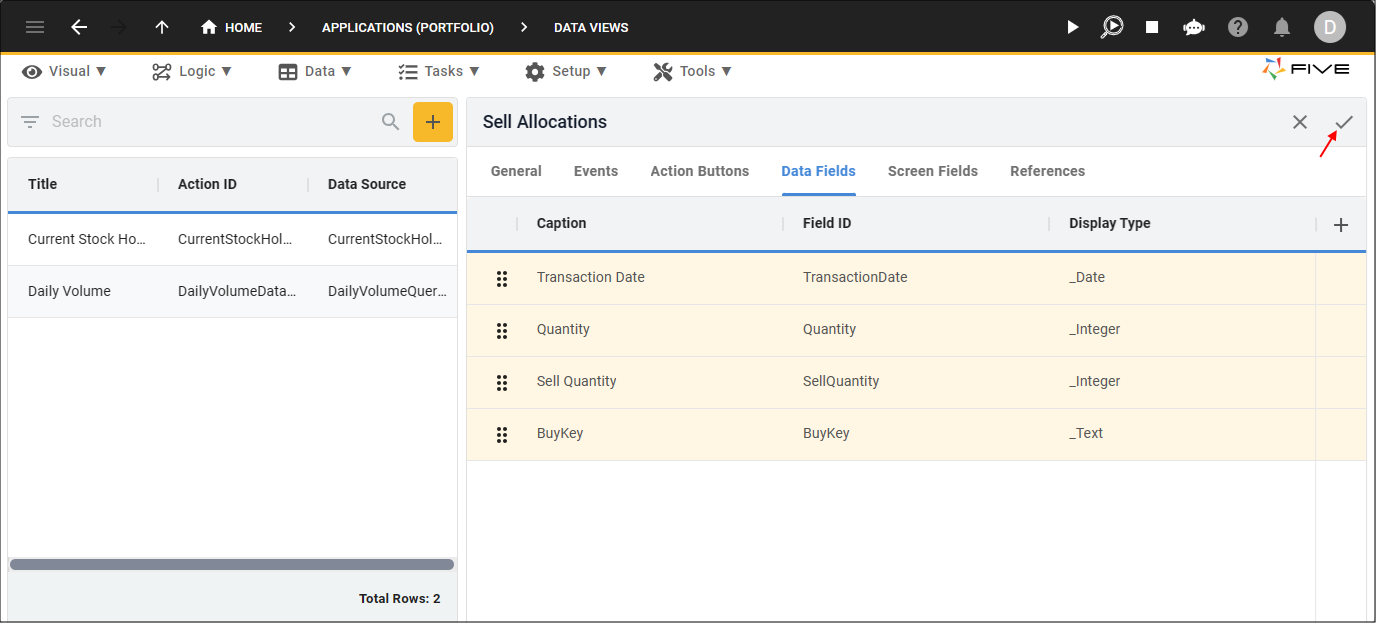
11. Click the Save button in the form app bar.

12. Click the Save button in the form app bar above the list.
Add the Sell Allocations Page
The Buys form needs to be edited to add the Sell Allocations data view as an action page.
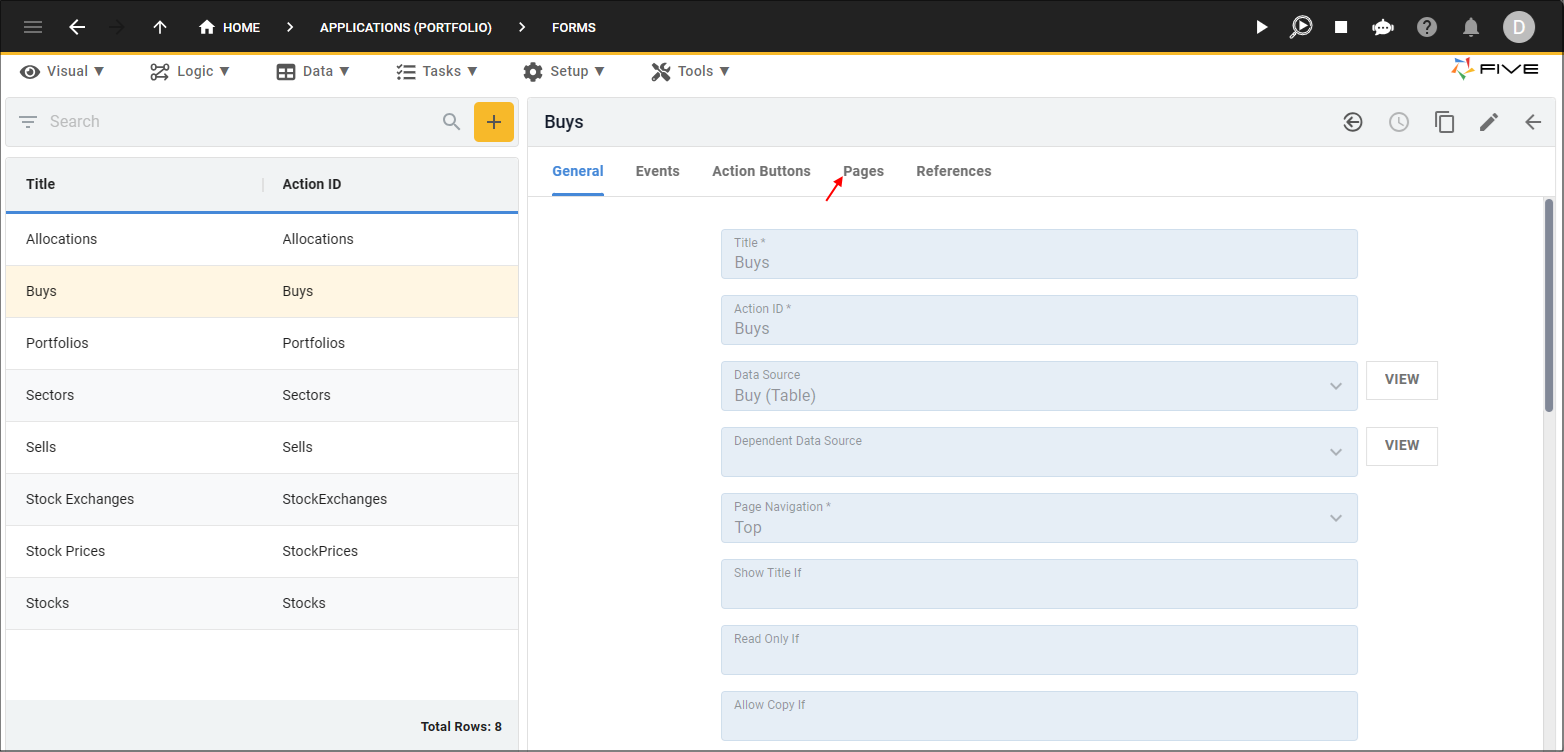
1. Click Visual in the menu followed by Forms in the sub-menu.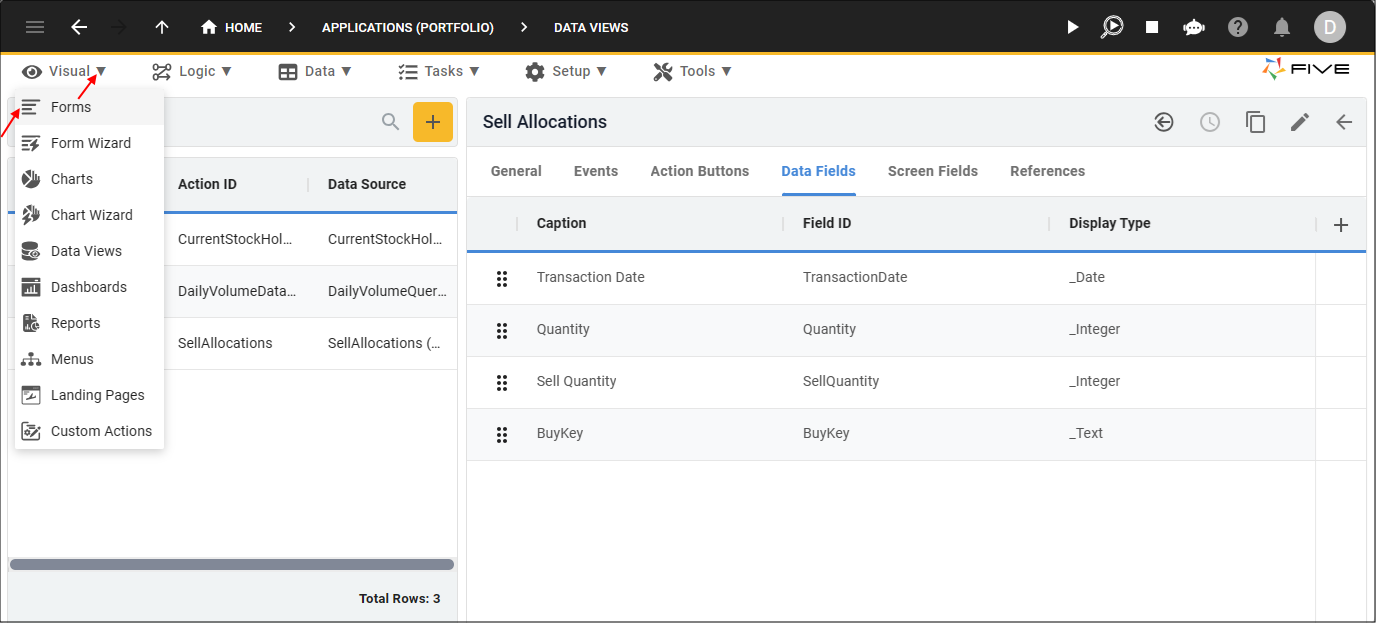
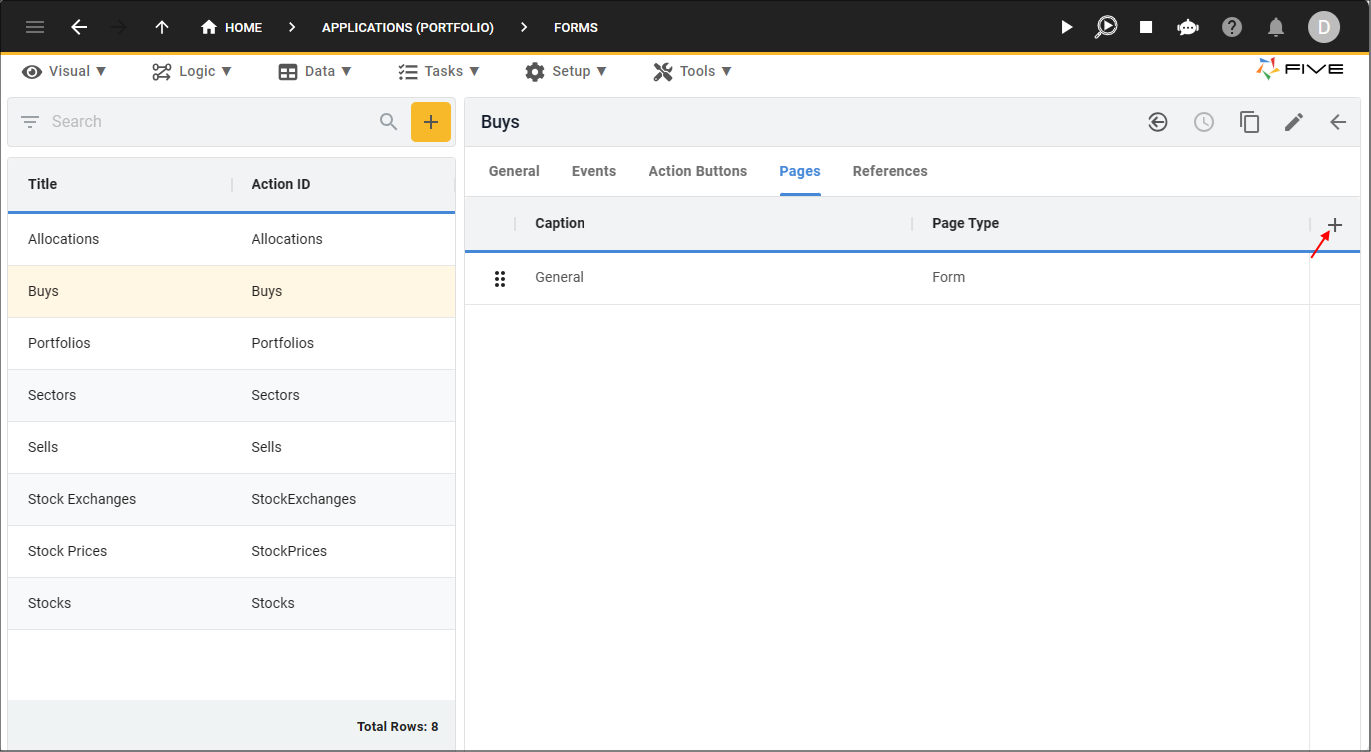
2. Select the Buys record in the list and click the Pages tab.
3. Click the Add Pages button.
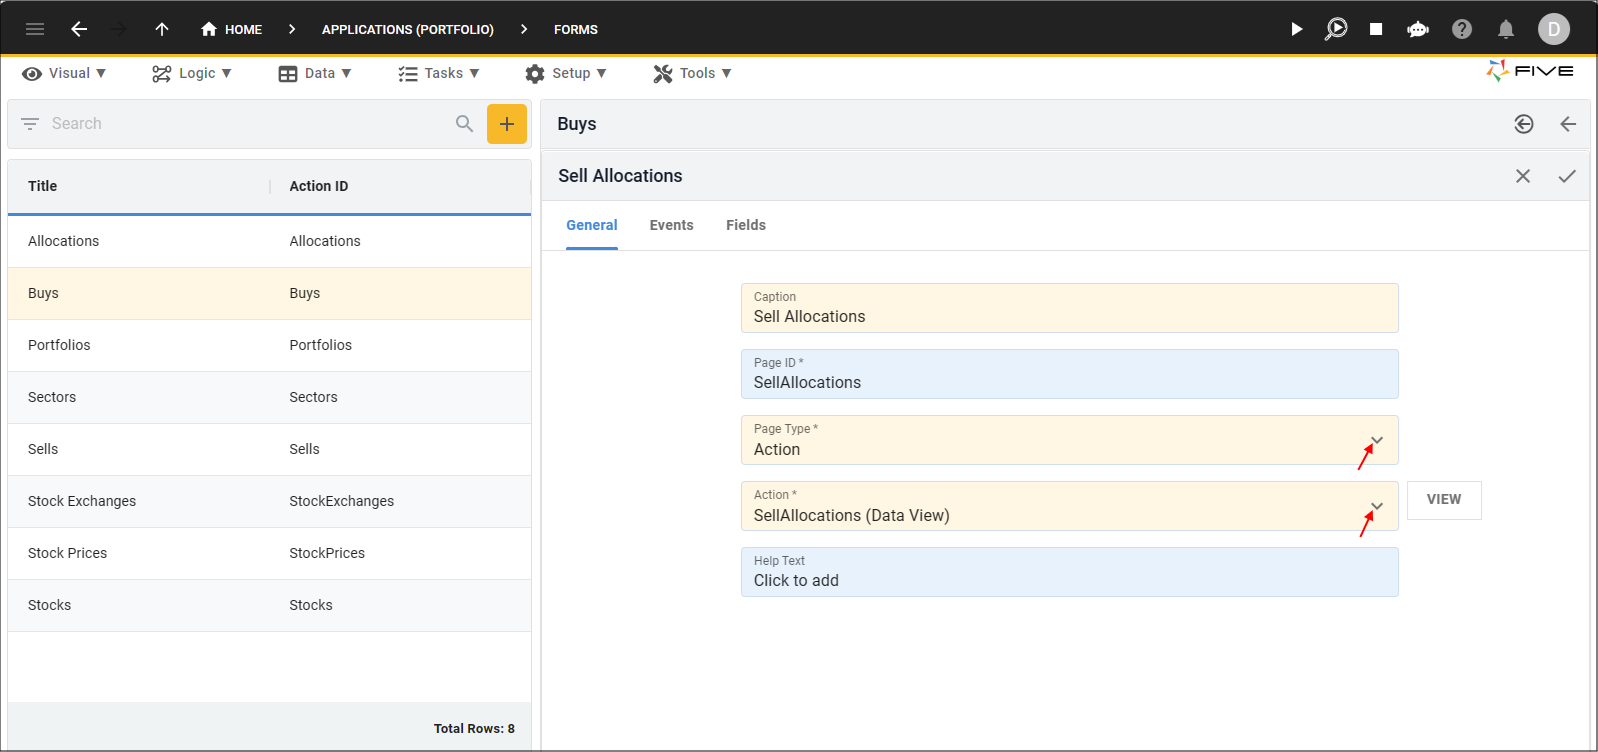
4. Type Sell Allocations in the Caption field, select Action in the Page Type field, and select SellAllocations (Data View) in the Action field.
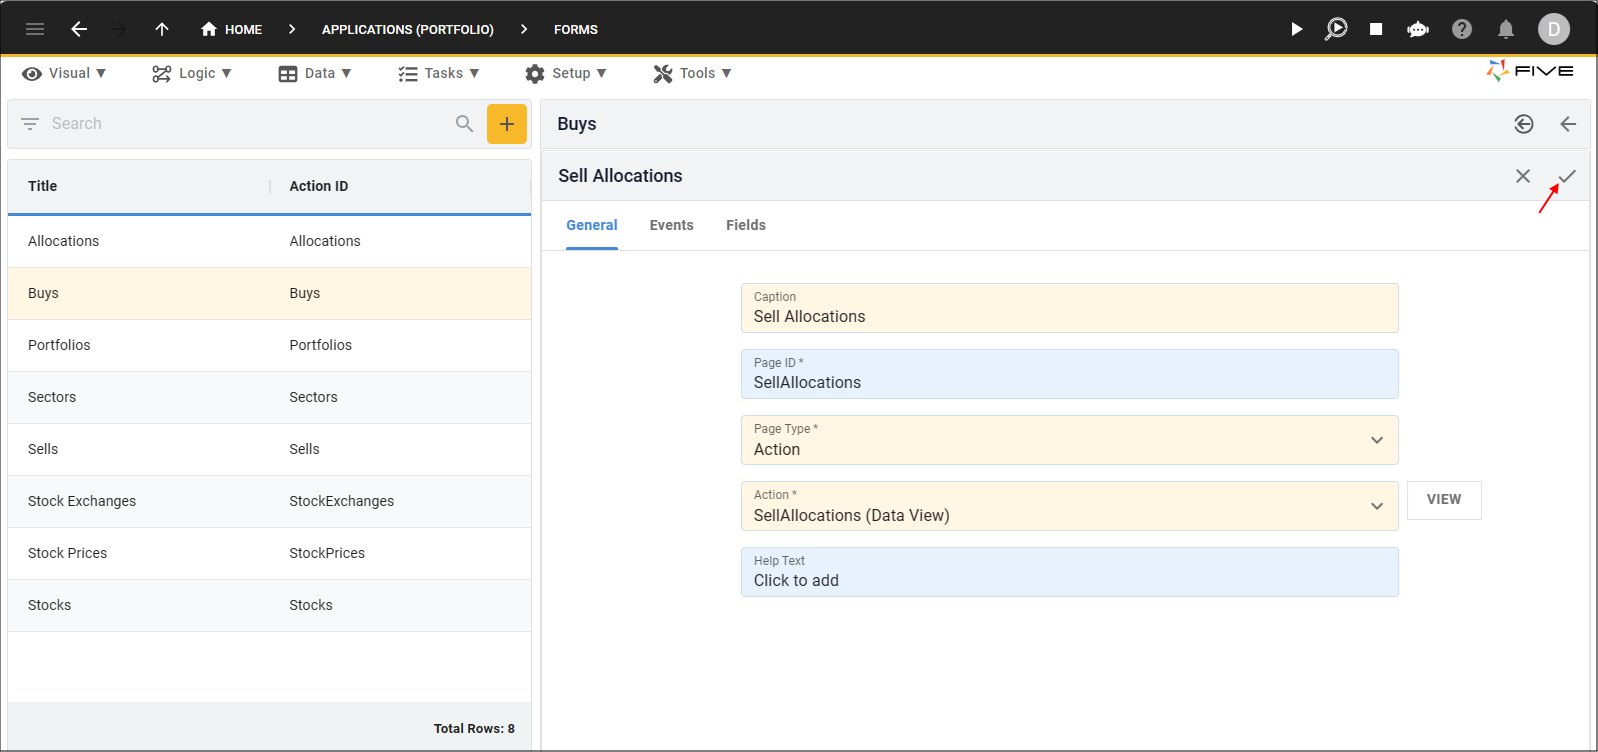
5. Click the Save button in the form app bar.
6. Click the Save button in the form app bar above the list.

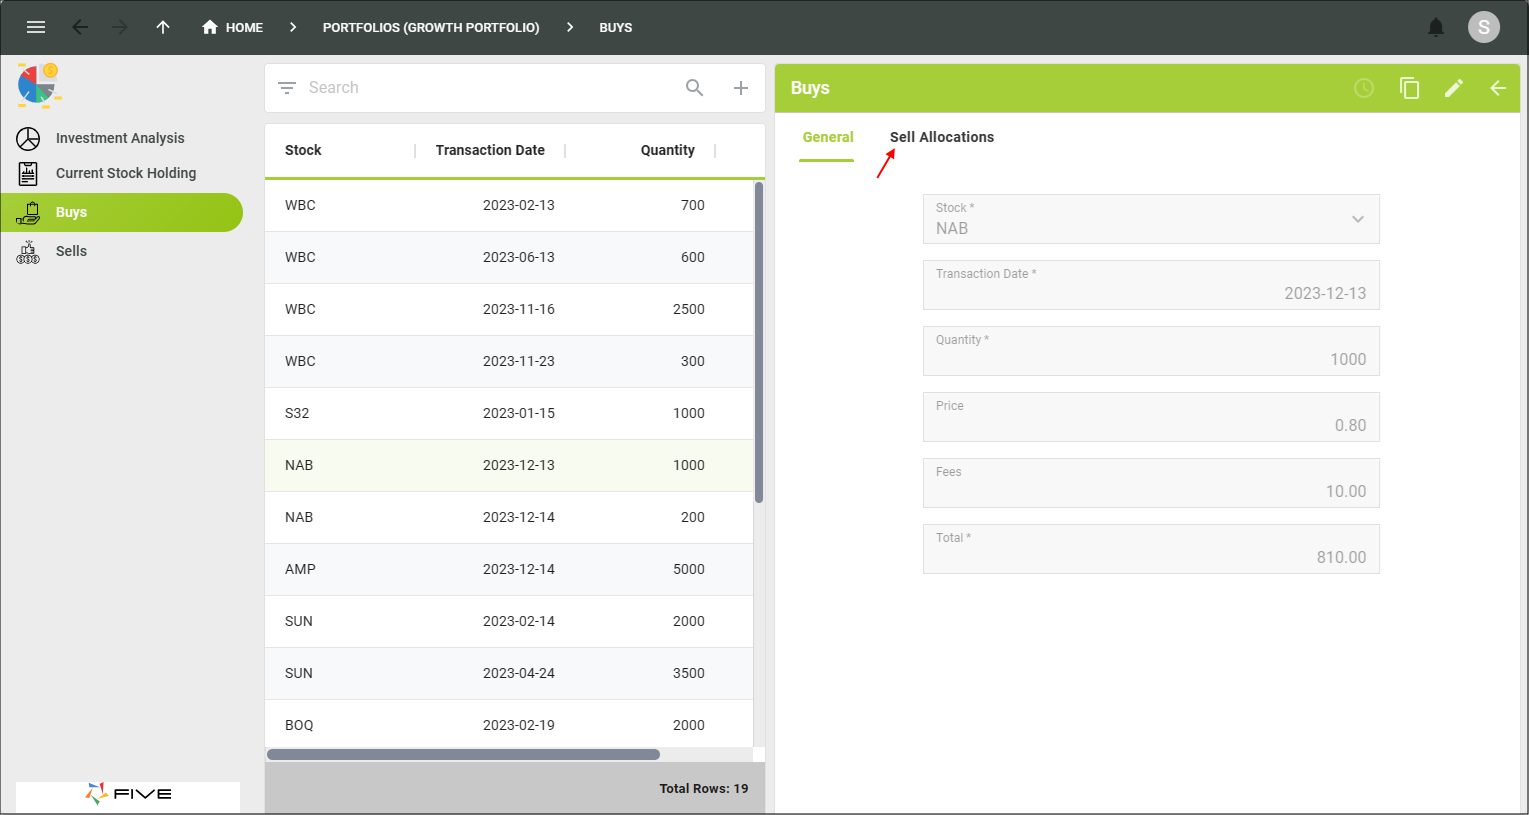
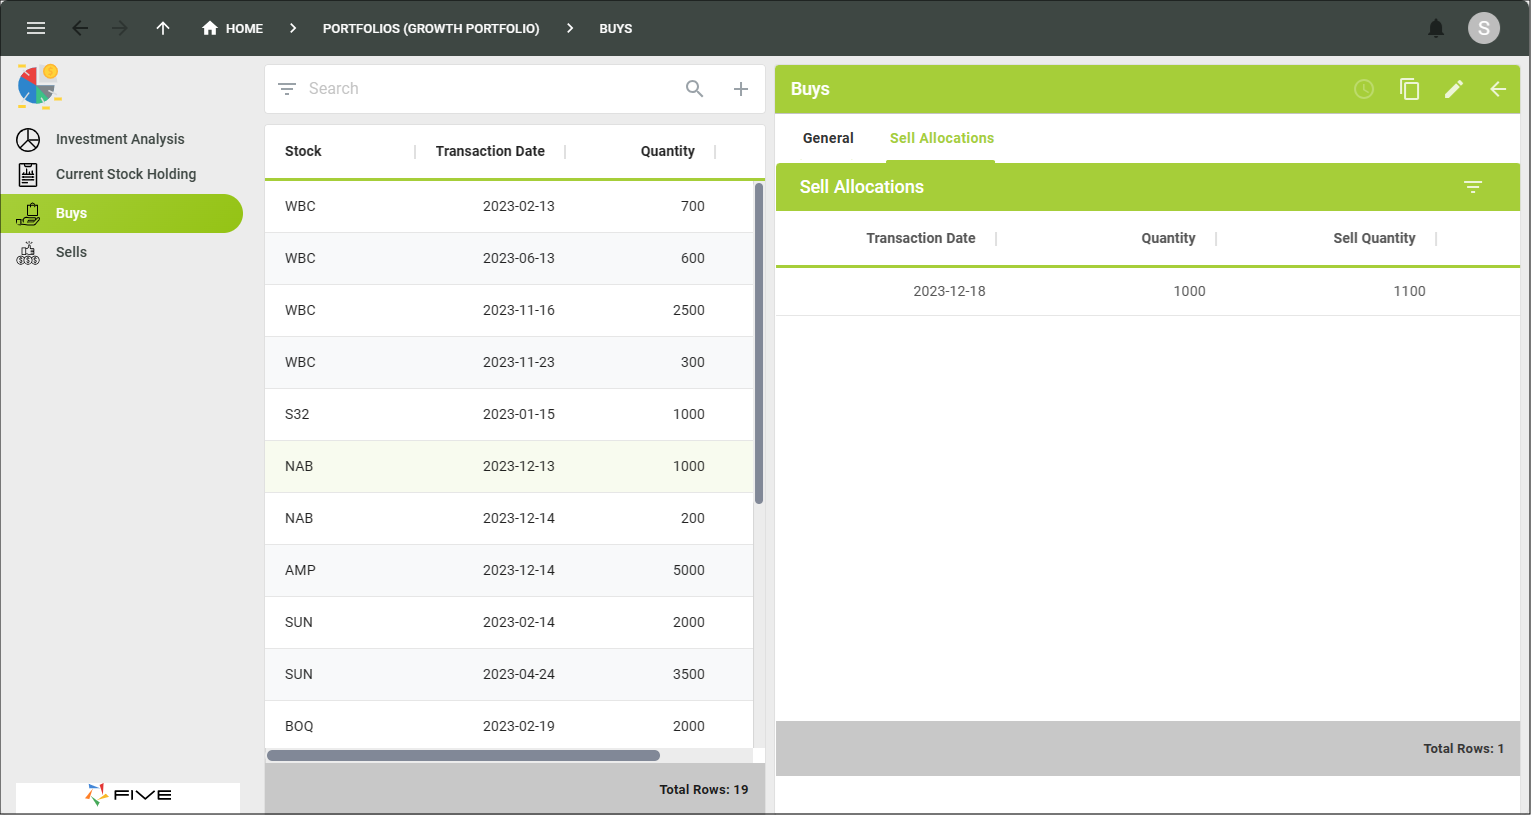
Test the Buys Page
1. Select the Growth Portfolio record in the list and click the Down button in the form app bar.
2. Select Buys in the menu.
3. Select either of the TSLA records and click the Sell Allocations tab.
4. Close the browser tab.