5 - Create a Validation
Last updated 30/03/2023
This documentation is to demonstrate how to add validation to a field to ensure the correct data is entered. The On Validate event can be used for this. The event executes on the client and performs accuracy checks on the data entered in the field.Using the On Validate event we can ensure the Quantity field on the Sells form can not have a value larger than what we own in the stock.
Navigate to the Code Editor
1. Select Logic in the menu.2. Select Code Editor in the sub-menu.
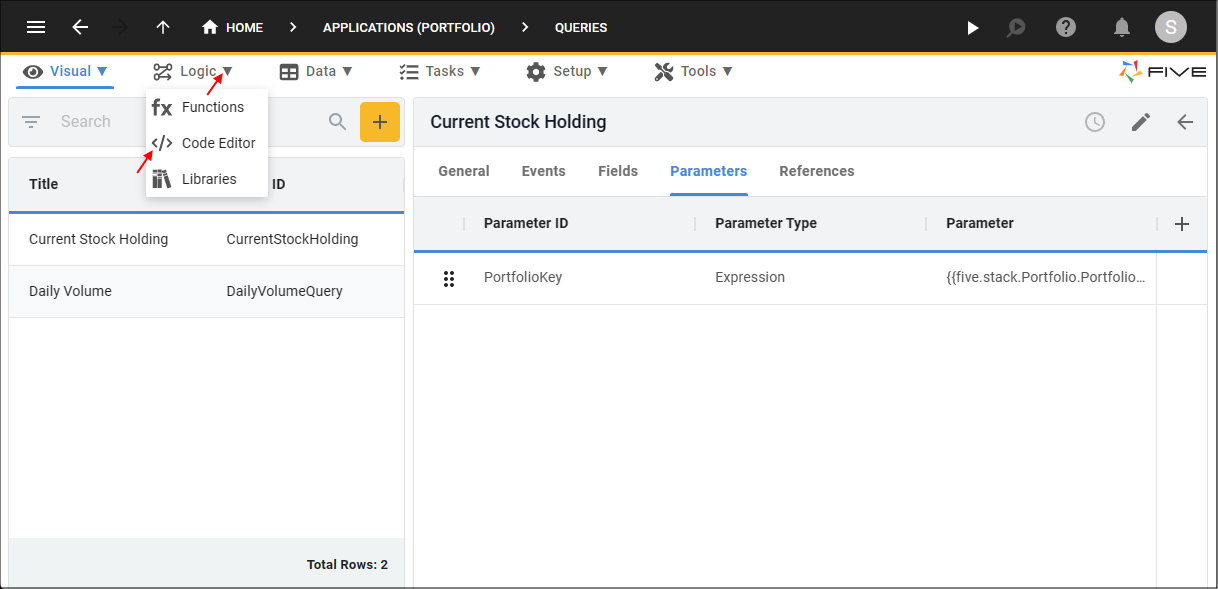
Figure 1 - Code Editor menu item
Add the CheckStockQuantity Function
info
The CheckStockQuantity function will use the metadata supplied in the CurrentStockHolding query on the Stock field. The function will use the Holding query field to know what we are currently holding in the stock.
1. Click the Add New Code button.
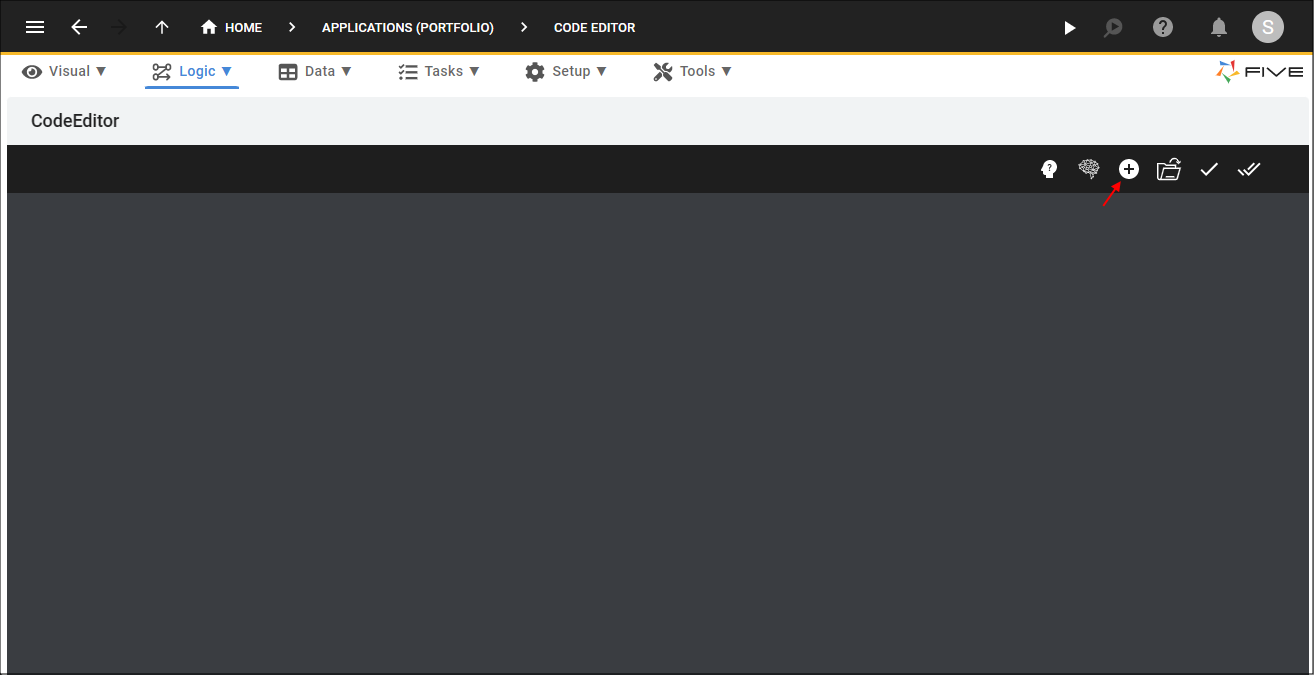
Figure 2 - Add New Code button
2. Type CheckStockQuantity in the Function ID field.
3. Click the lookup icon in the Language field and select TypeScript.
4. Click the OKAY button.
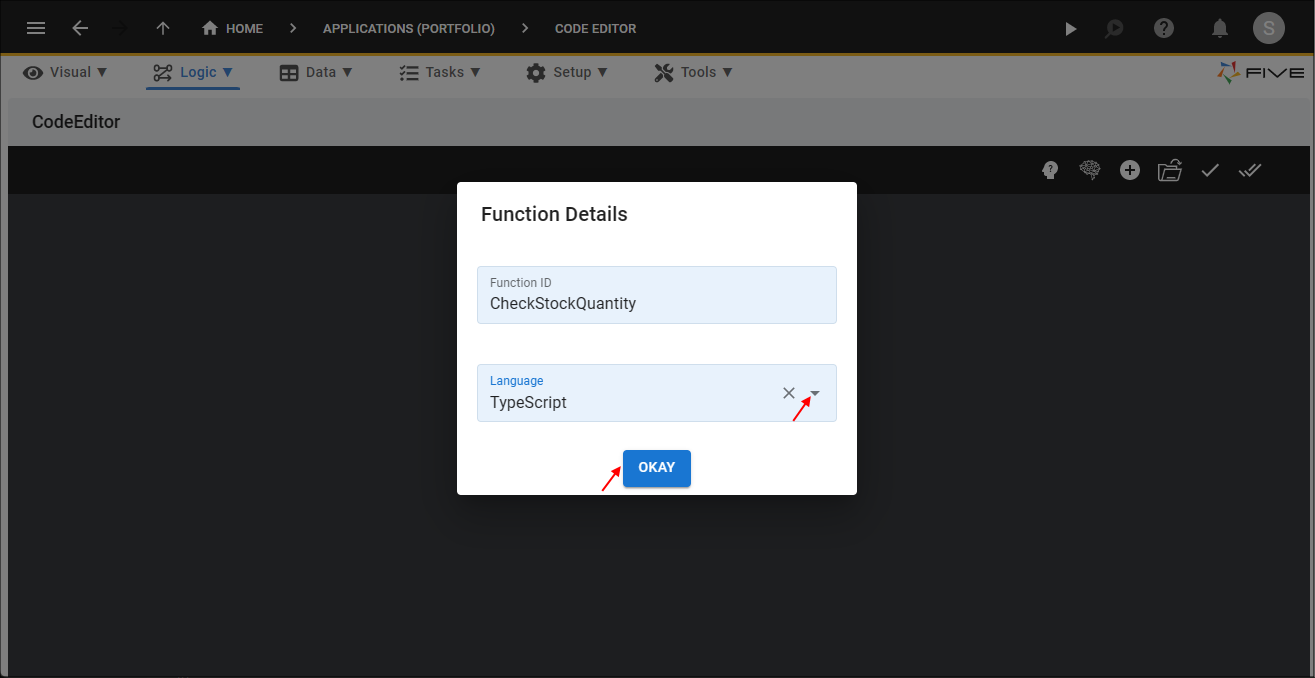
Figure 3 - Add the CheckStockQuantity function
5. Click the Copy button on the below code block.

CheckStockQuantity
function CheckStockQuantity(five: Five, context: any, result: FiveError) : FiveError {
    const qty: number = parseInt(five.field.Quantity);
    if (qty > five.getMetadata('Sells', 'StockKey', 'Holding')) {
        return five.createError(result, 'Stock quantity exceeds current holding');
    }

    return five.success(result, '');
}
6. Paste the code block over the template in the Code Editor.
7. Click the Save Current Tab button.
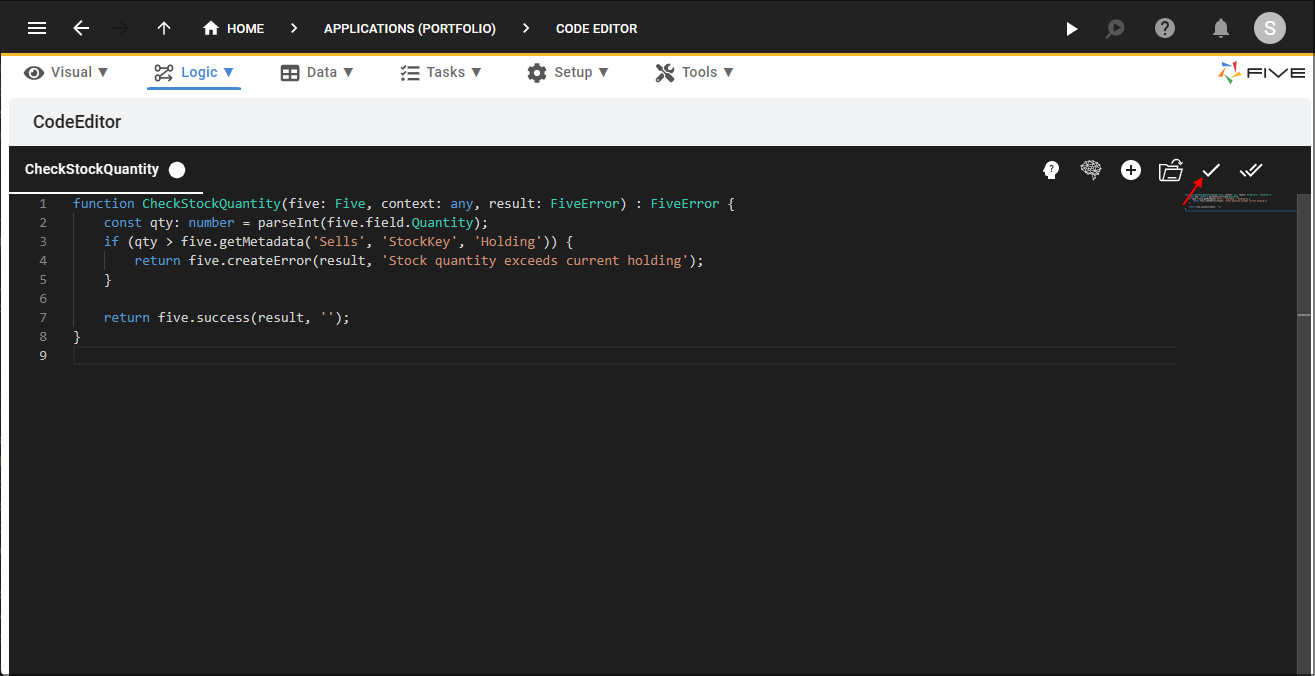
Figure 4 - Save the CheckStockQuantity function
Attach the CheckStockQuantity Function
Path: Sells form > General page > Quantity field > On Validate event1. Select Visual in the menu.
2. Select Forms in the sub-menu.
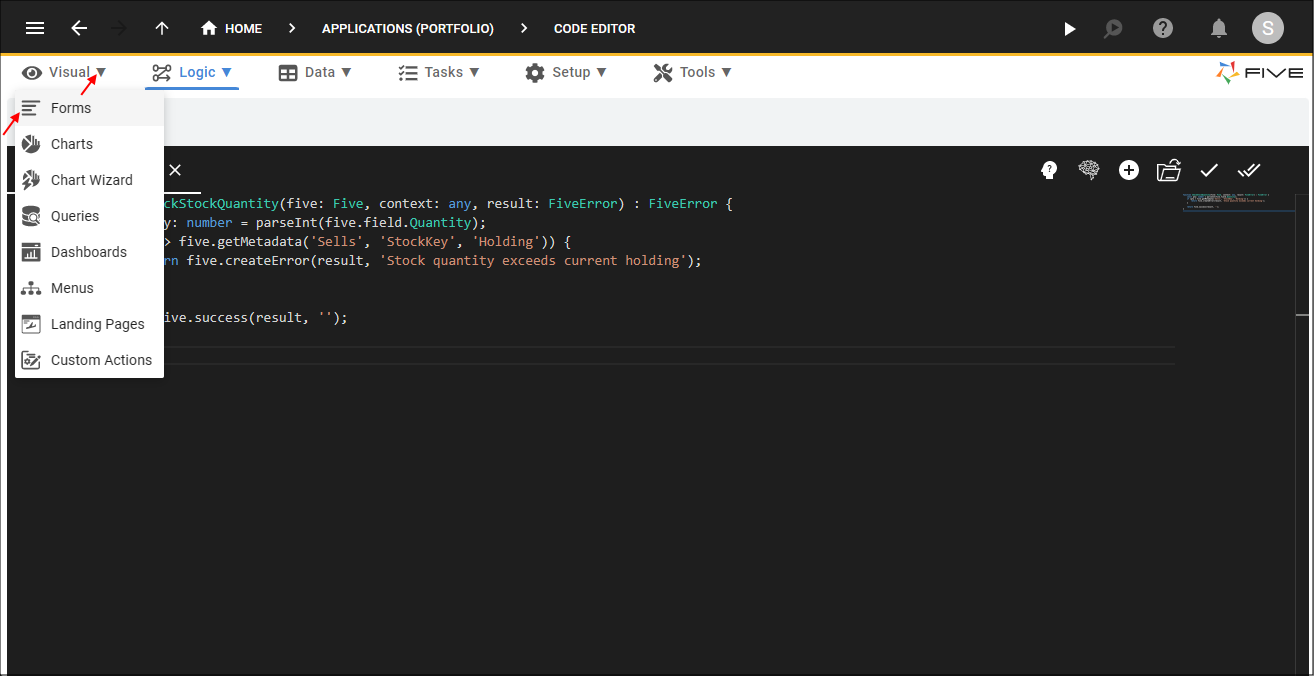
Figure 5 - Forms menu item
3. Select the Sells record in the list.
4. Click the Pages tab.
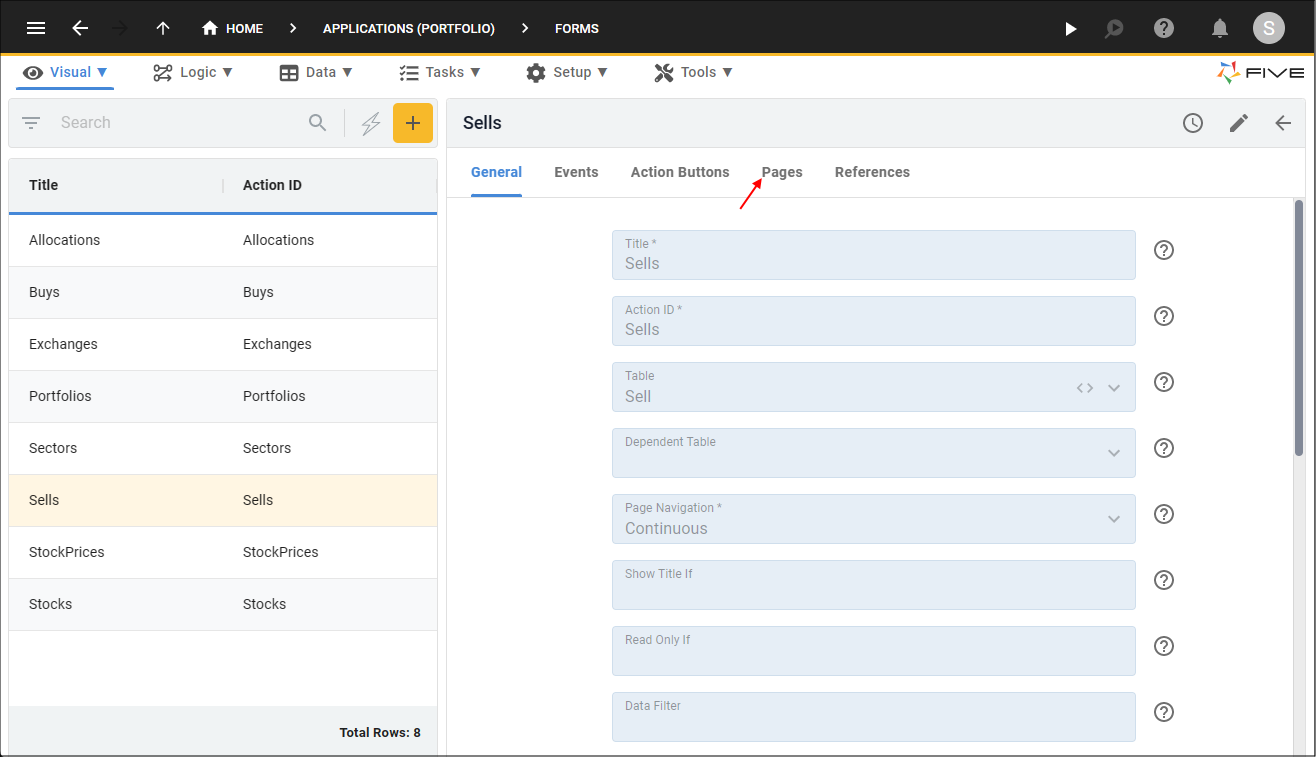
Figure 6 - Pages tab
5. Select the General record.

Figure 7 - General record
6. Click the Fields tab.
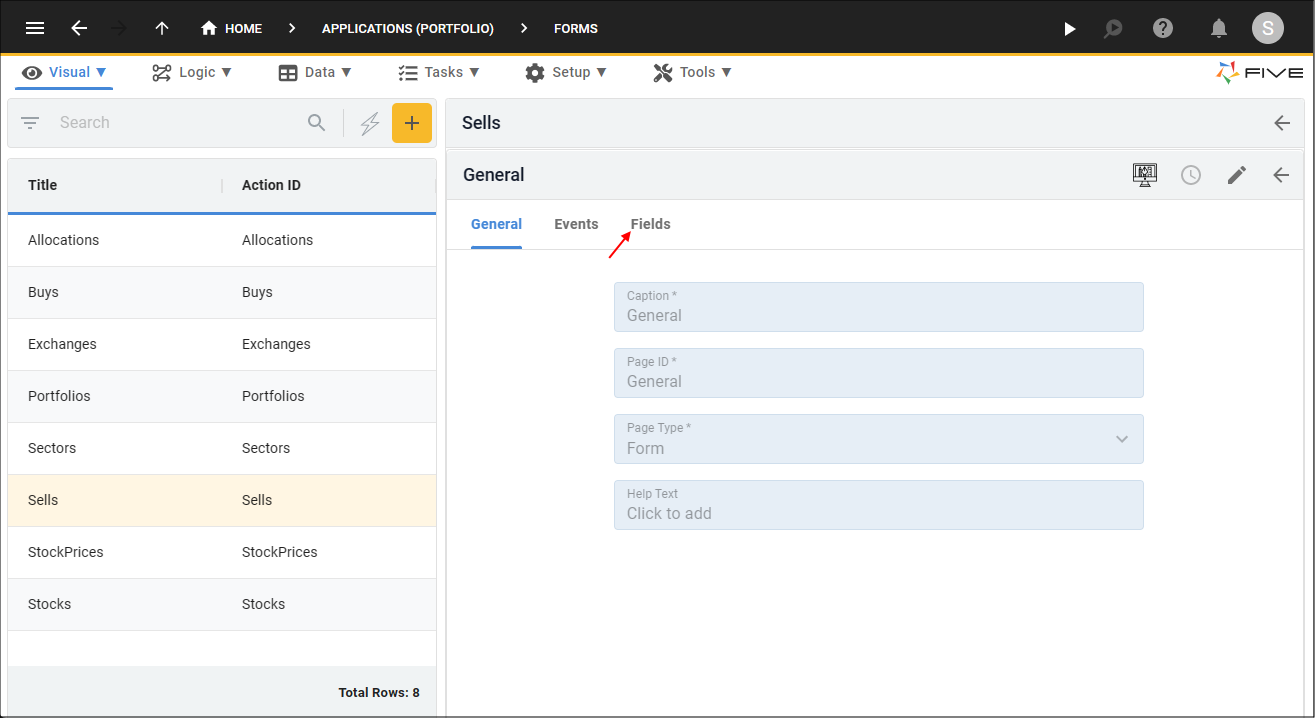
Figure 8 - Fields tab
7. Select the Quantity record.
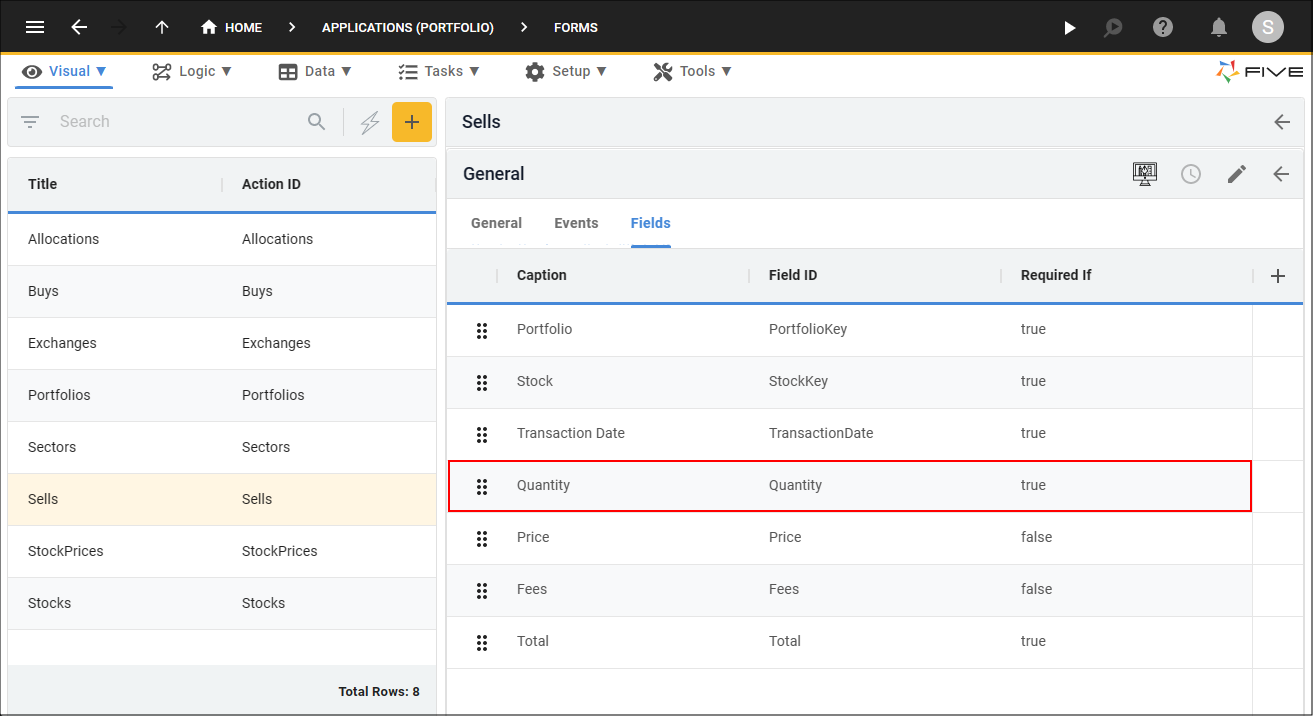
Figure 9 - Quantity record
8. Click the Events tab.
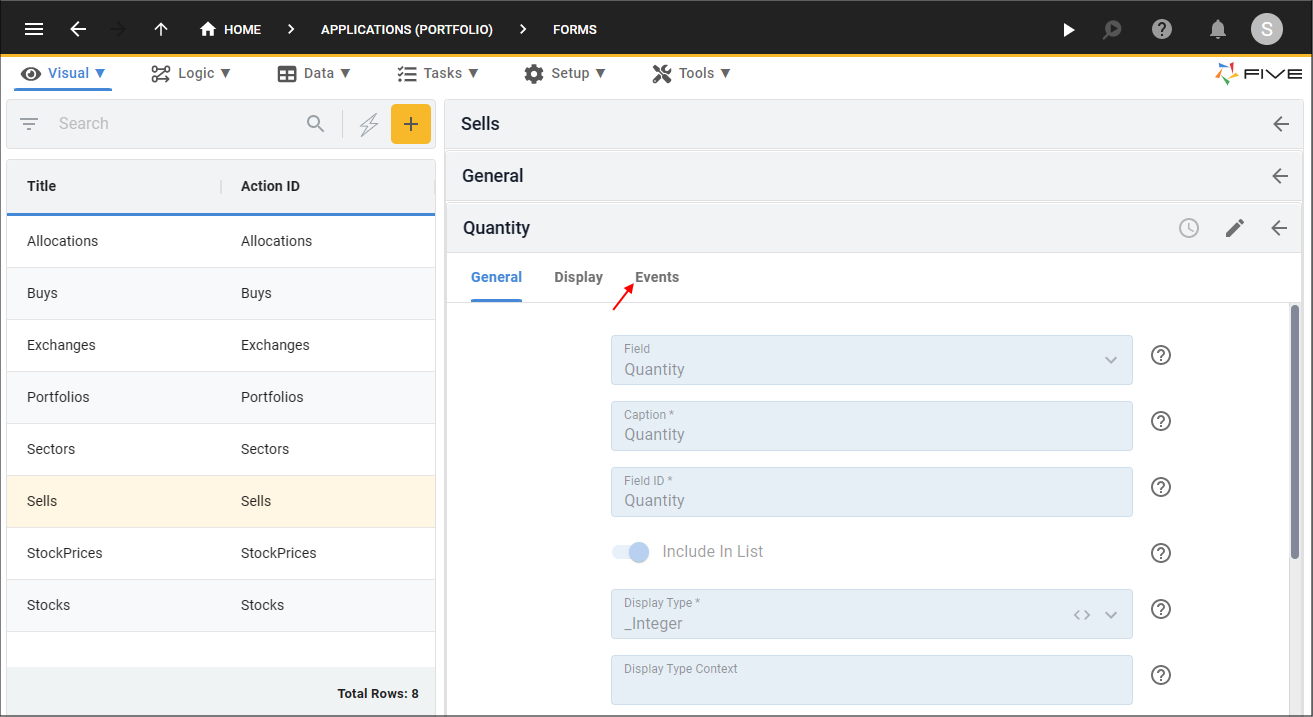
Figure 10 - Events tab
9. Click the lookup icon in the On Validate field and select CheckStockQuantity.
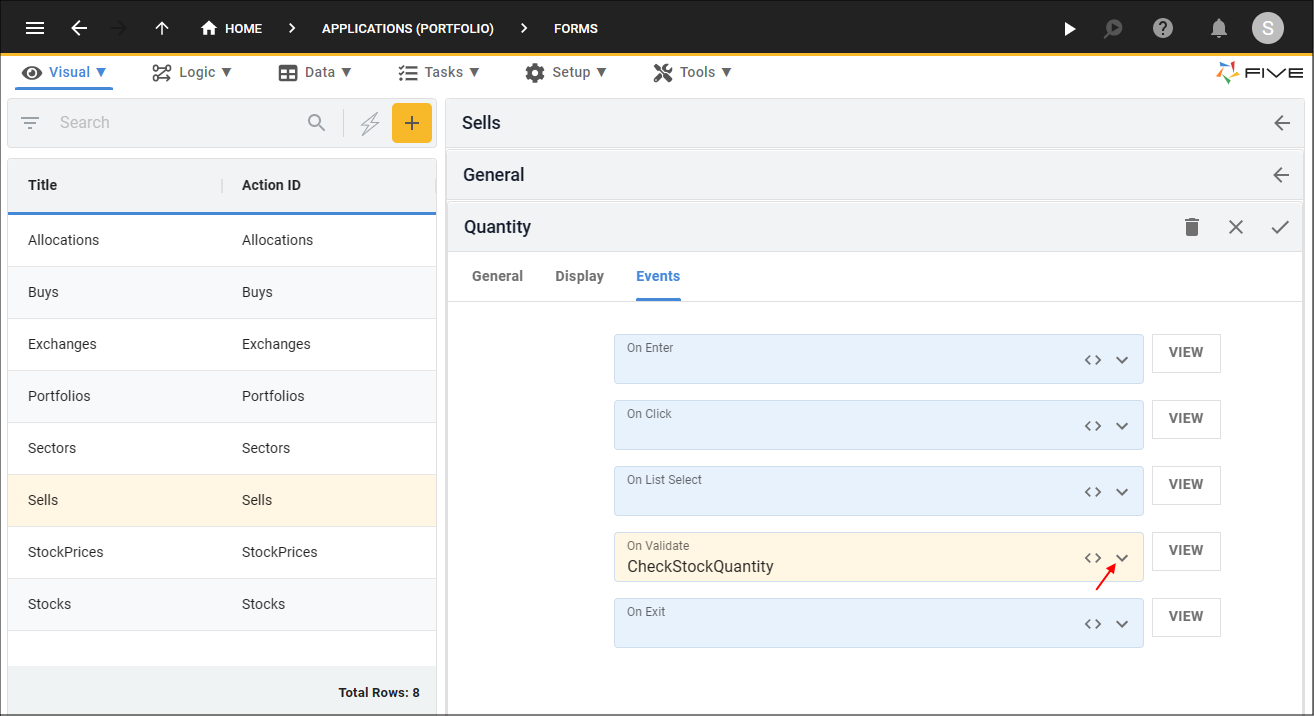
Figure 11 - Attach the CheckStockQuantity function
10. Click the Save button in the form app bar.
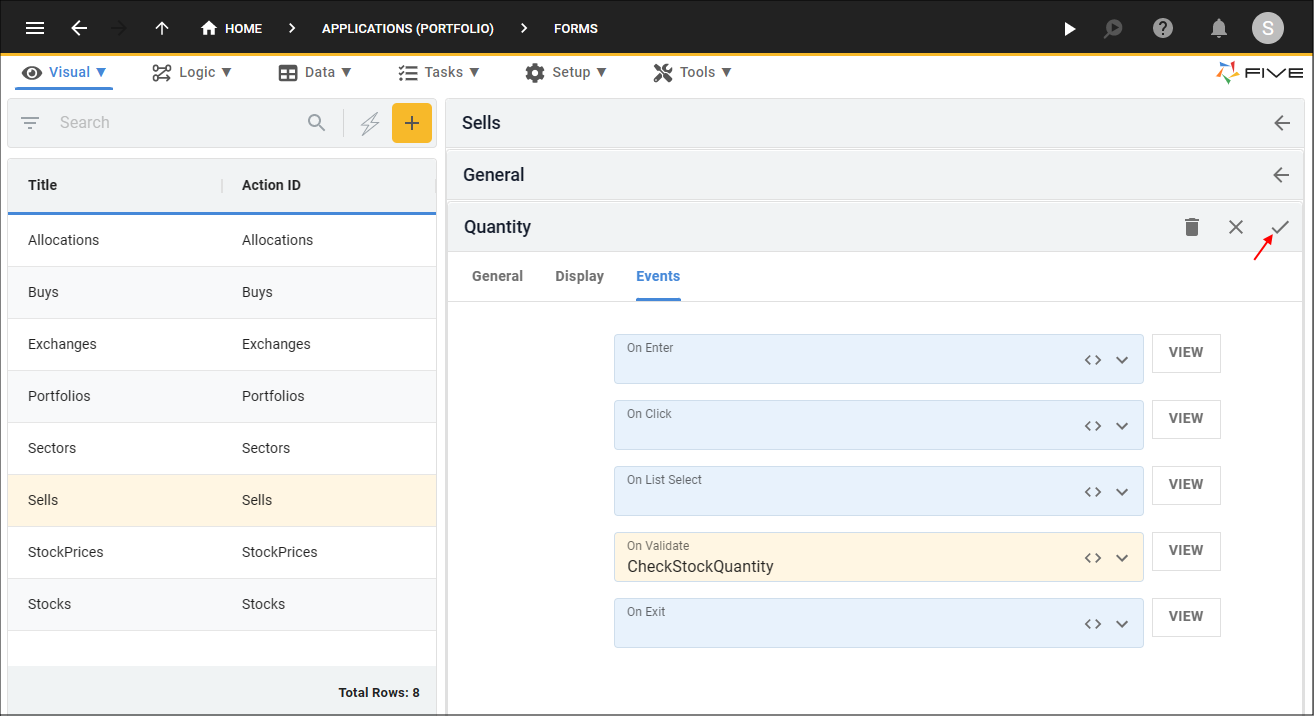
Figure 12 - Save the CheckStockQuantity event
11. Click the Save button in the form app bar above the list.
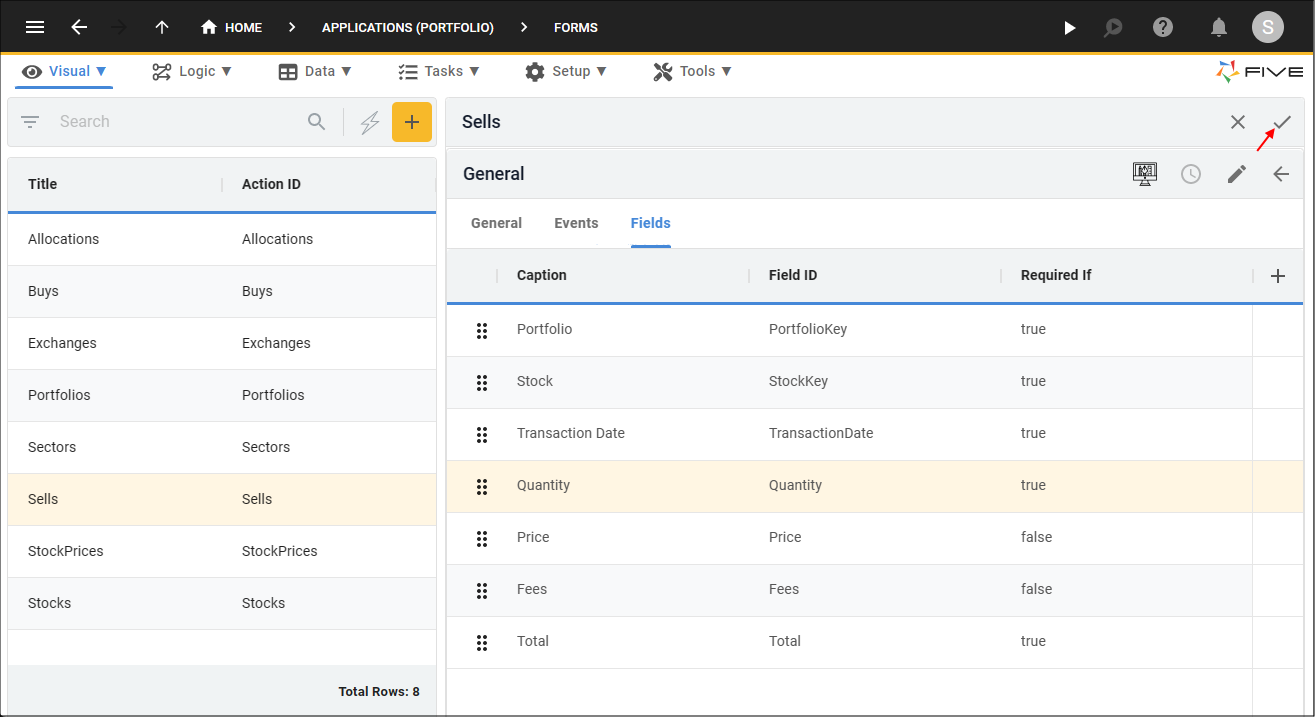
Figure 13 - Save the Sells form
Run the Portfolio Application
1. Click the Run button in Five's toolbar.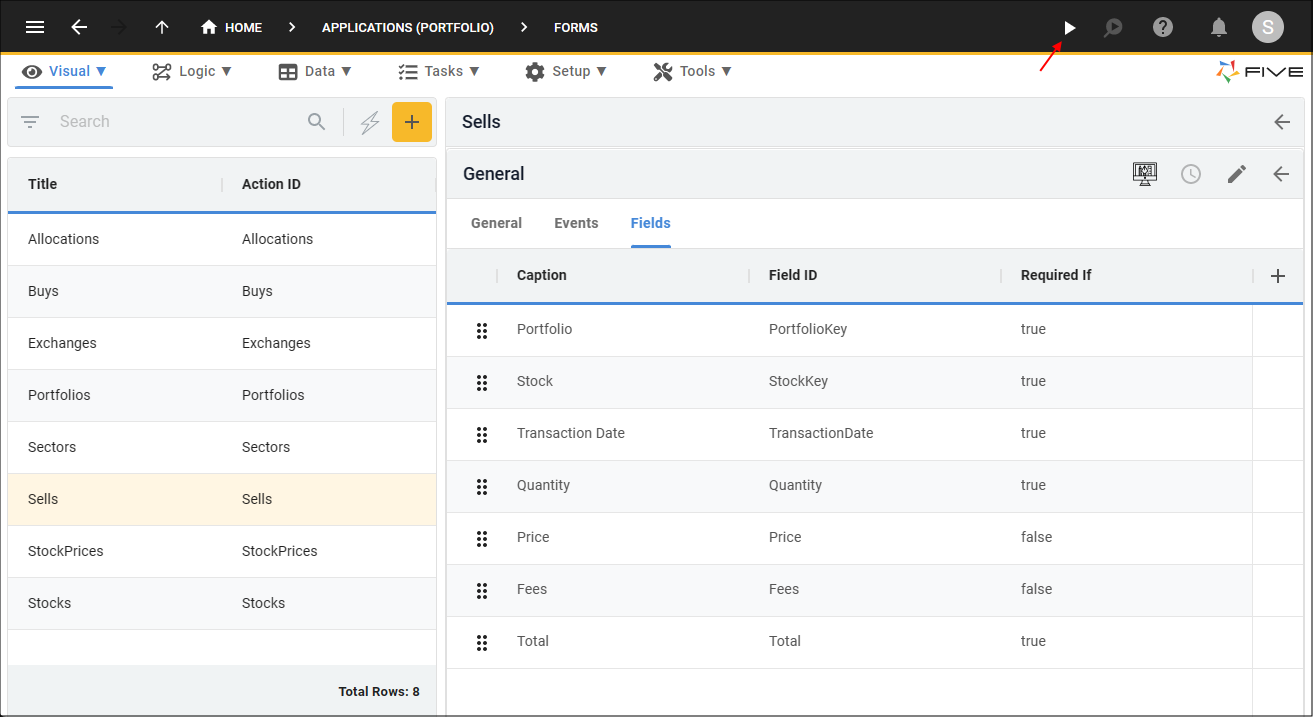
Figure 14 - Run button
2. Select the Growth Portfolio record in the list.
3. Click the Down button in the form app bar.
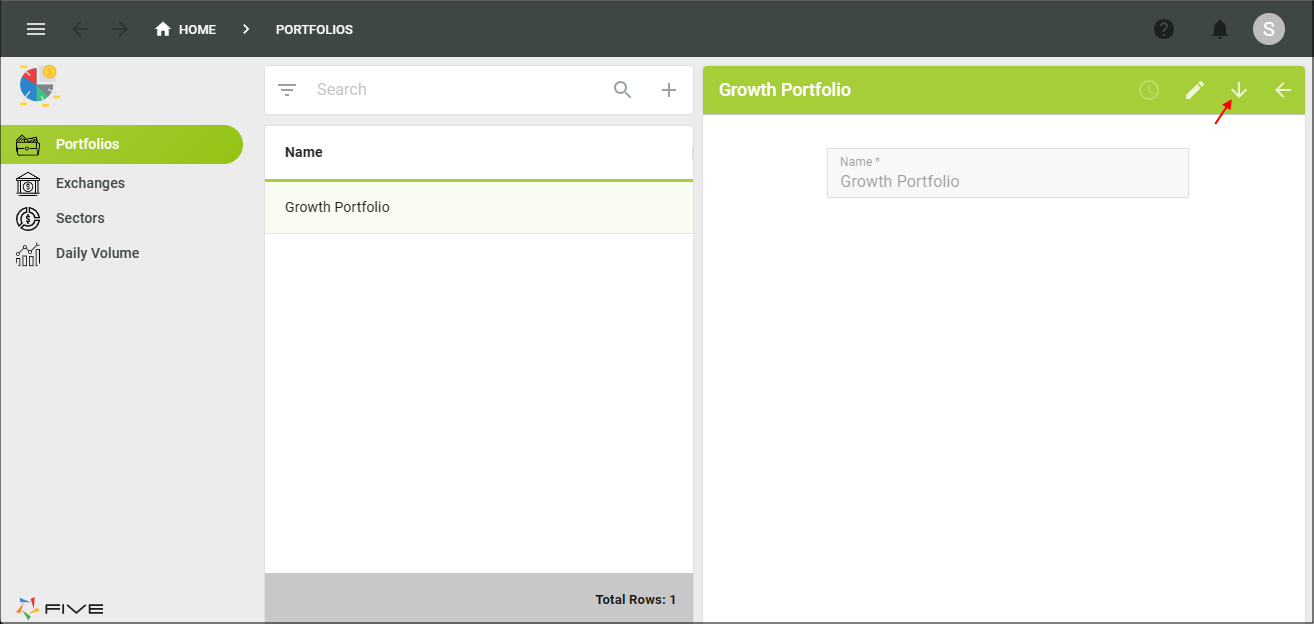
Figure 15 - Down button
Test the CheckStockQuantity Function
info
We can see on our Current Stock Holding report that we own 300 shares in the BOQ stock.
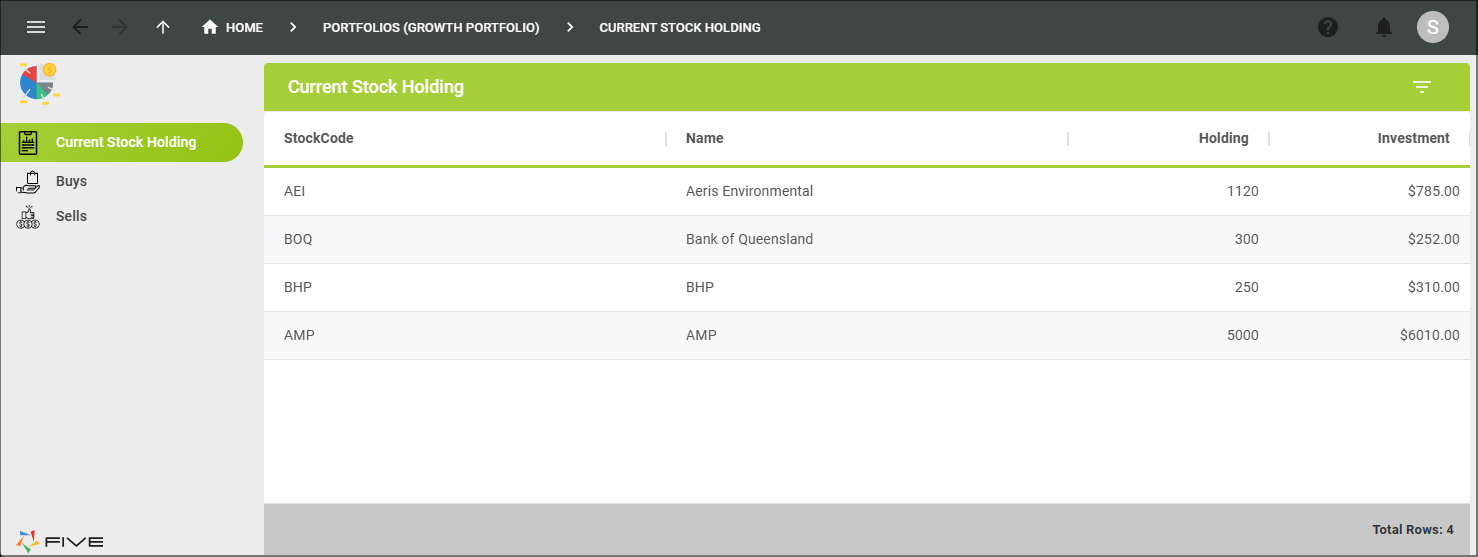
Figure 16 - Current Stock Holding report
1. Select Sells in the Menu.
2. Click the Add Item button.
3. Click the lookup icon in the Stock field and select BOQ.
4. Click the calendar icon in the Transaction Date field and select the current date.
5. Type 400 in the Quantity field, press tab.
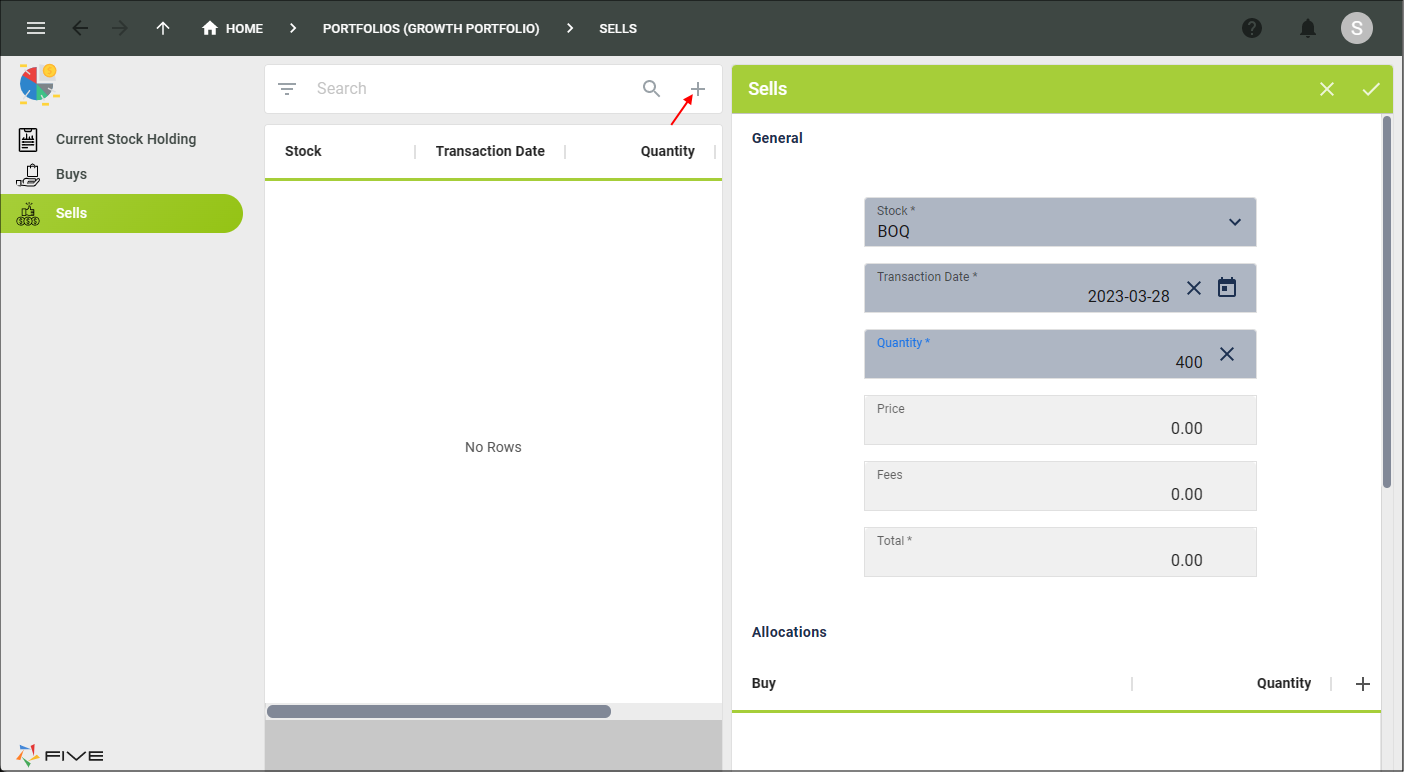
Figure 17 - Add a Sells record
info
The On Validation event is executed and causes an error as we do not own 400 shares in the BOQ stock.
6. Click the OK button.
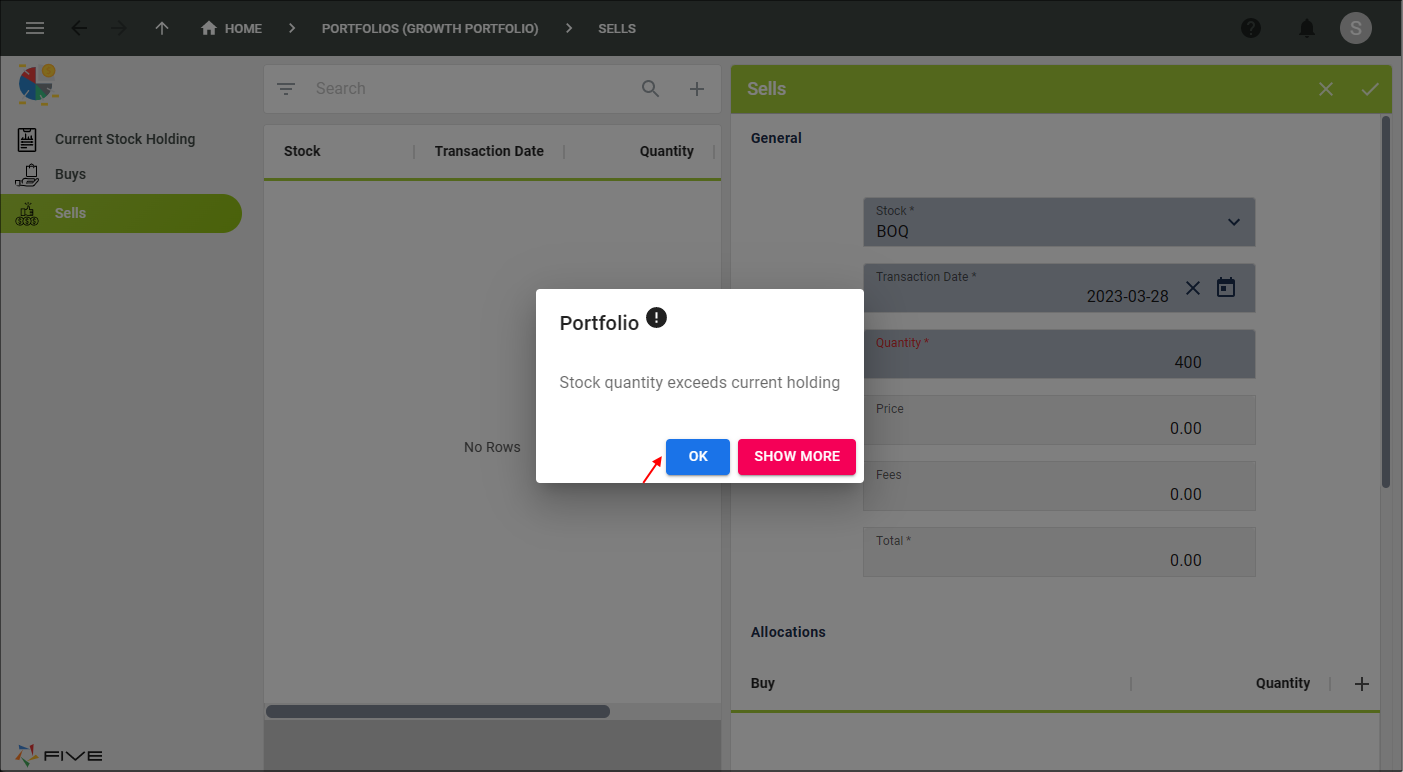
Figure 18 - Validation error
7. Type 300 in the Quantity field.
8. Type 1.00 in the Price field.
9. Type 10.00 in the Fees field, press tab.
10. Click the Add Allocations button.

Figure 19 - Add Allocations button
11. Click the lookup icon in the Buys field.
info
The Buys field lookup is showing us all the buy transaction dates. In Five, we can make it that we only see the transation dates for the current selected stock to sell.
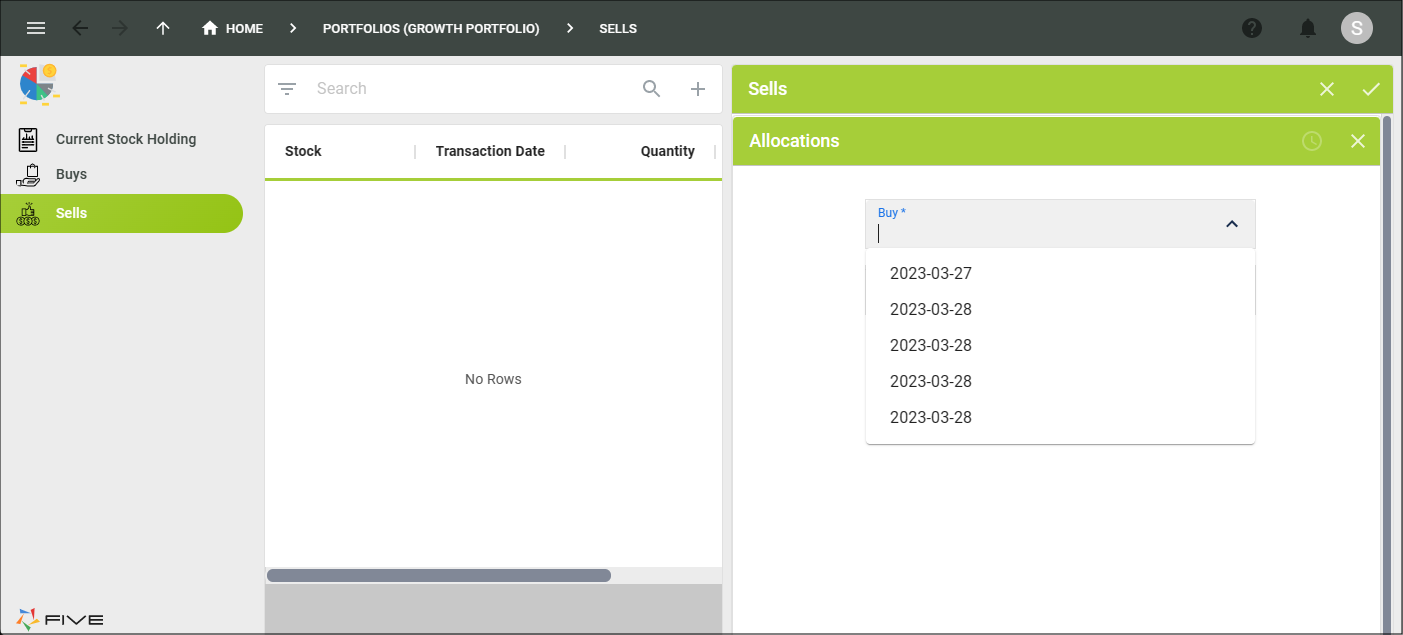
Figure 20 - Buys lookup
12. Click the Cancel button in the form app bar.

Figure 21 - Cancel button
13. Close the browser tab and return to Five.