2 - Build Database Tables
Last updated 24/03/2023
All applications built with Five use a MySQL database. This documentation will explain how to create and add tables to the MySQL database for the Portfolio application via Five's Table Wizard. In total, five tables will be added. The Portfolio database model below shows the relationships between the tables.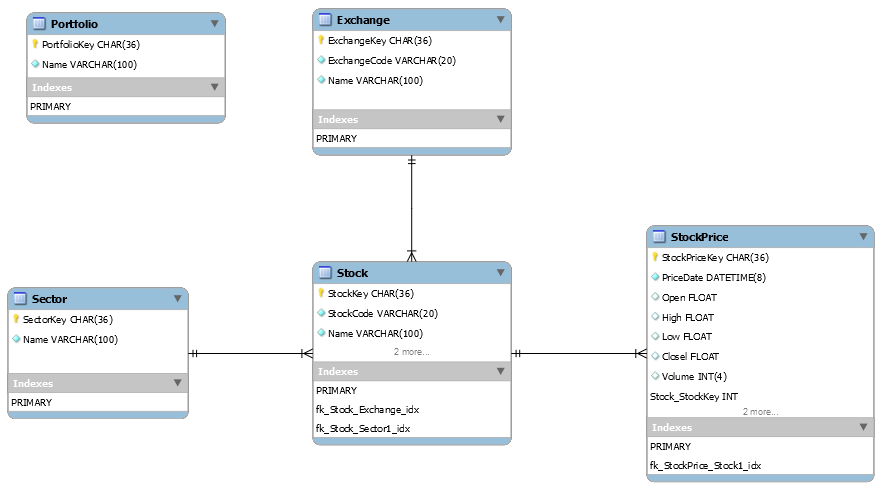
Figure 1 - Portfolio model stage one
How to Build a Table Using Five's Table Wizard
Navigate to Tables
1. Click the Manage button in the form app bar.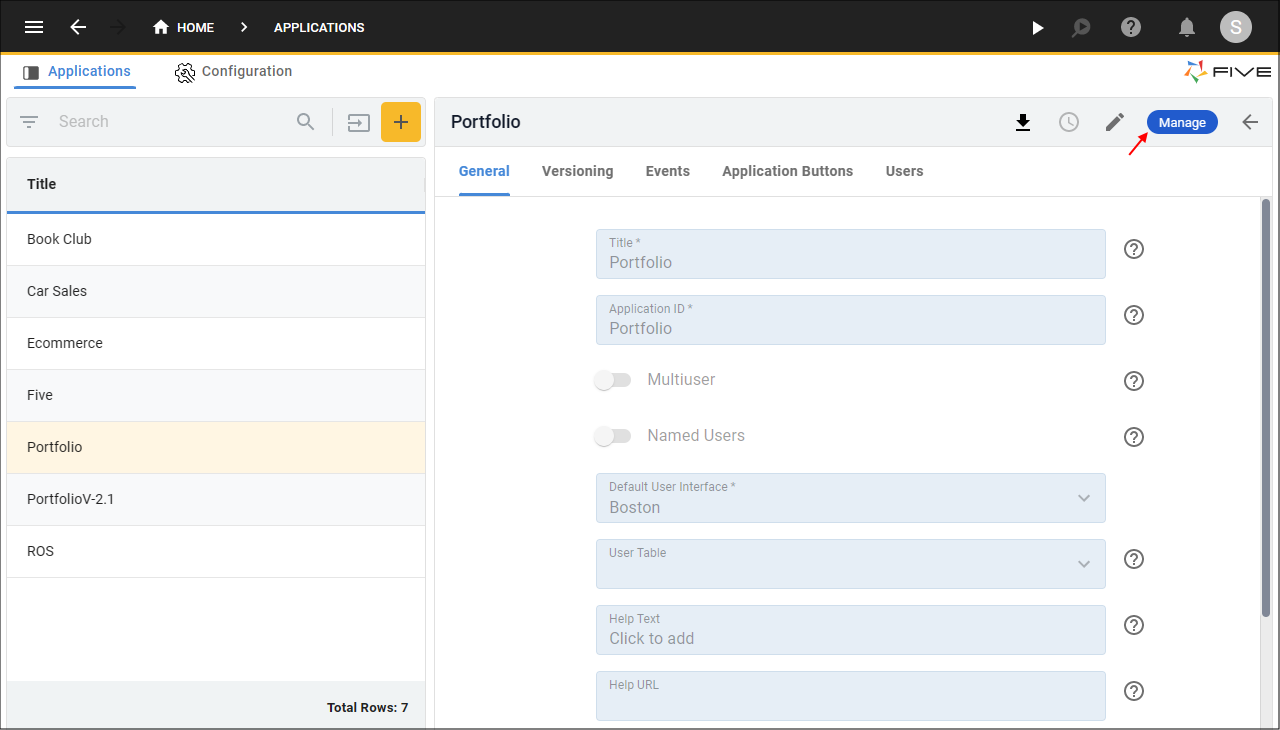
Figure 2 - Manage button
2. Select Data in the menu.
3. Select Tables in the sub-menu.

Figure 3 - Tables menu item
Add the Portfolio Table
1. Click the New Table Wizard button.2. Type Portfolio in the Name field.
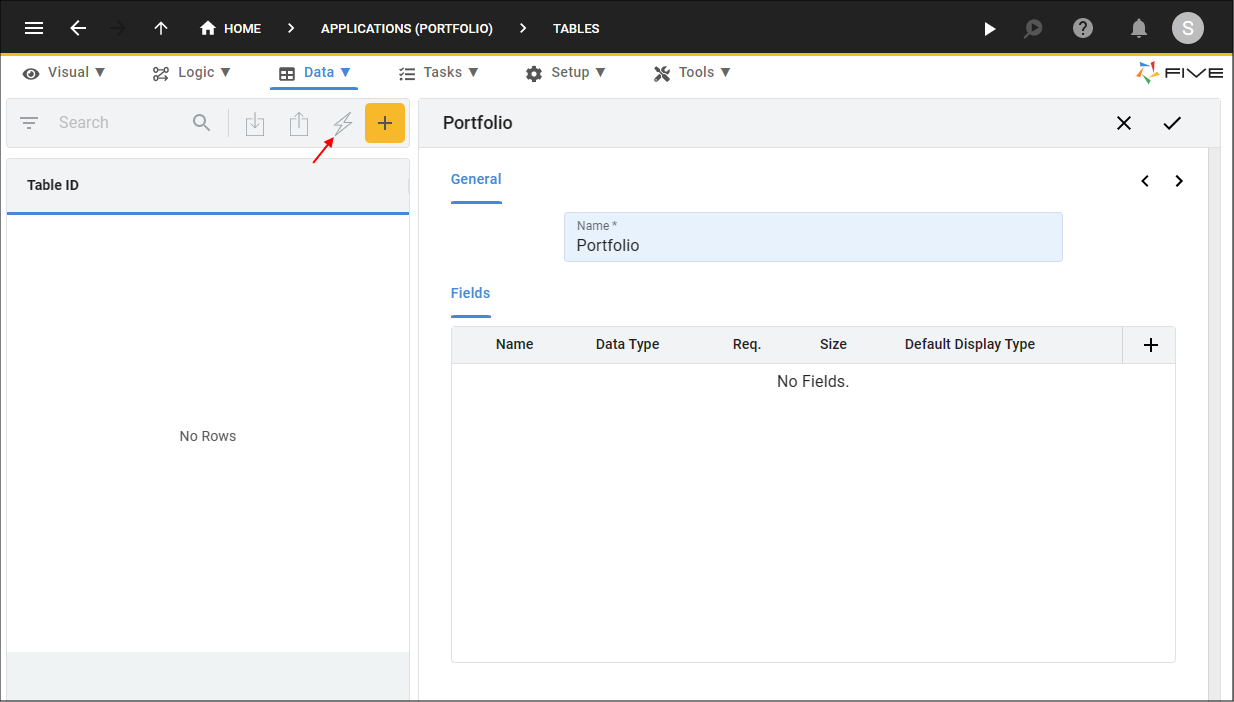
Figure 4 - Add the Portfolio table
tip
Five automatically creates a Primary Key field and index for your table when you create a table via the Table Wizard!
3. Click the Add Fields button.
4. Type Name in the Name field.
5. Type 100 in the Size field.
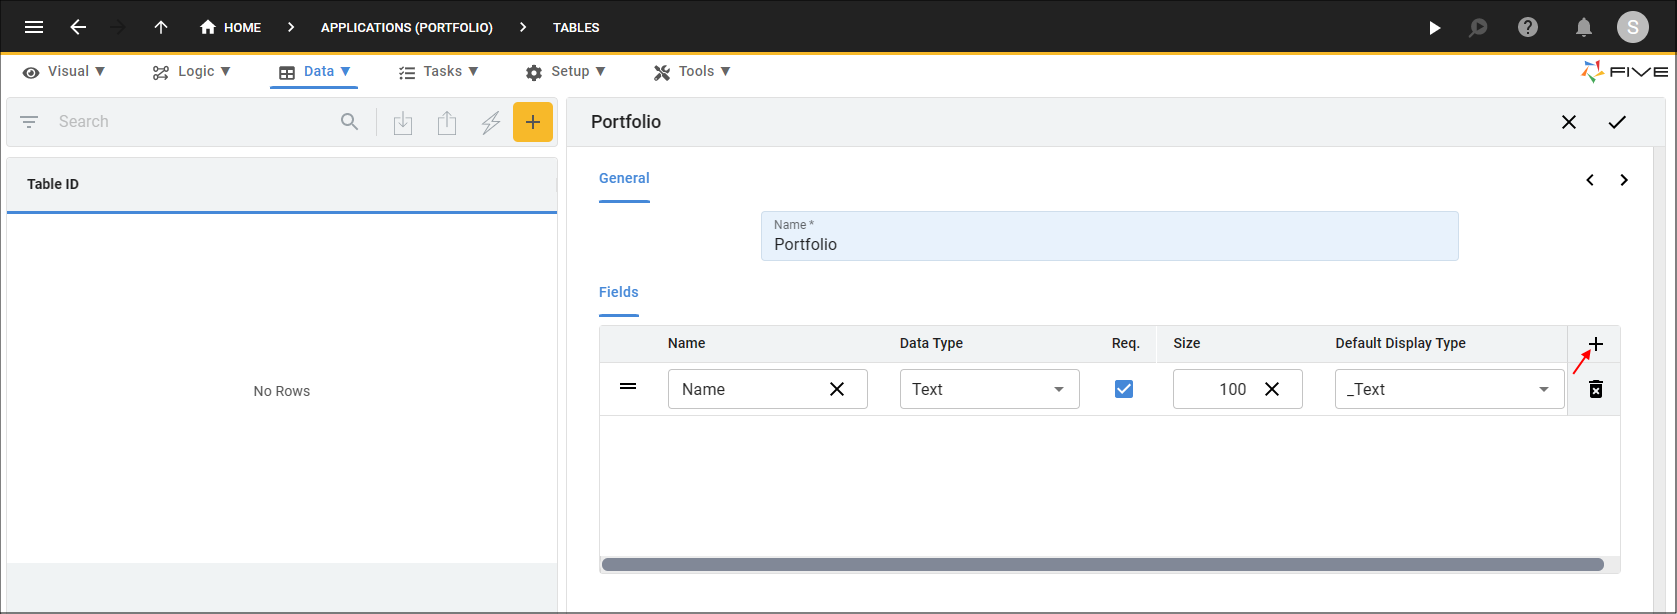
Figure 5 - Add the Name field
6. Click the Save button in the Table Wizard app bar.

Figure 6 - Save the Portfolio table
Add the Exchange Table
1. Click the New Table Wizard button.2. Type Exchange in the Name field.
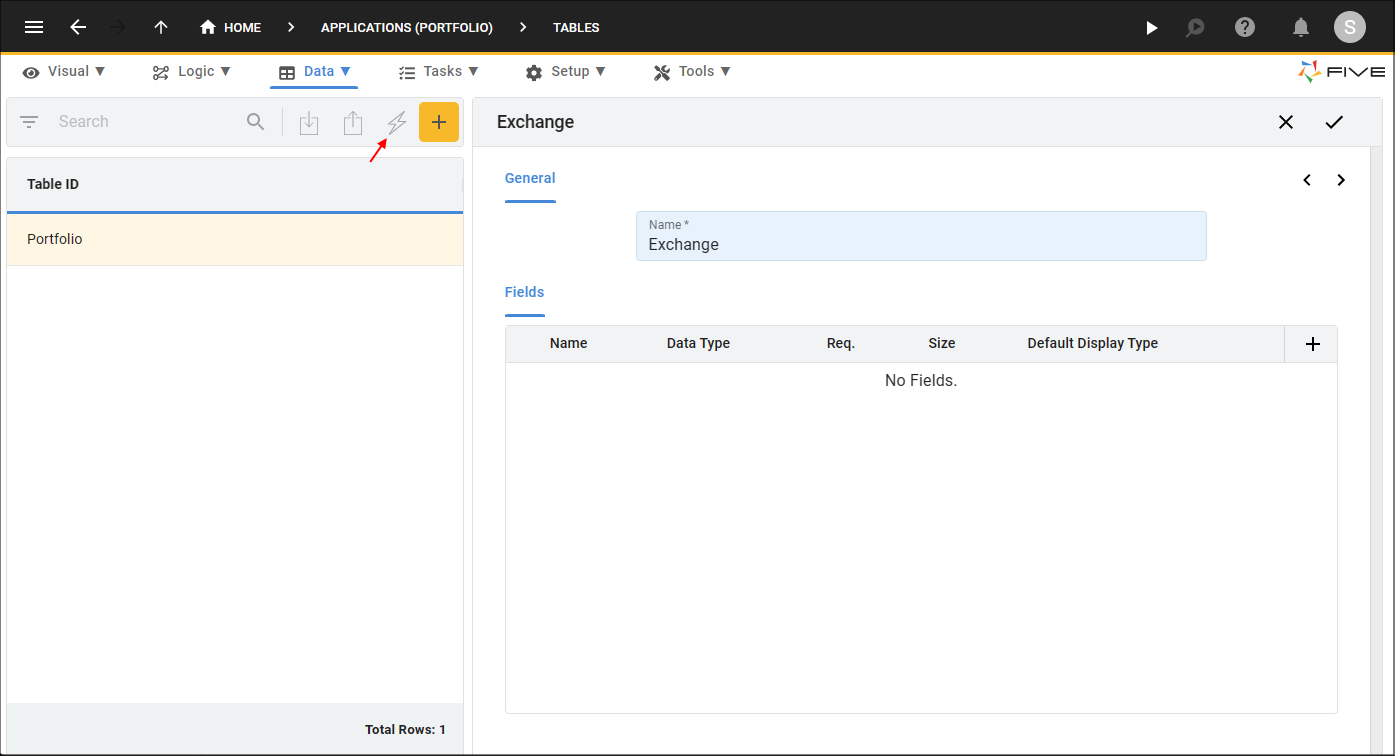
Figure 7 - Add the Exchange table
3. Click the Add Fields button.
4. Type ExchangeCode in the Name field.
5. Type 20 in the Size field.
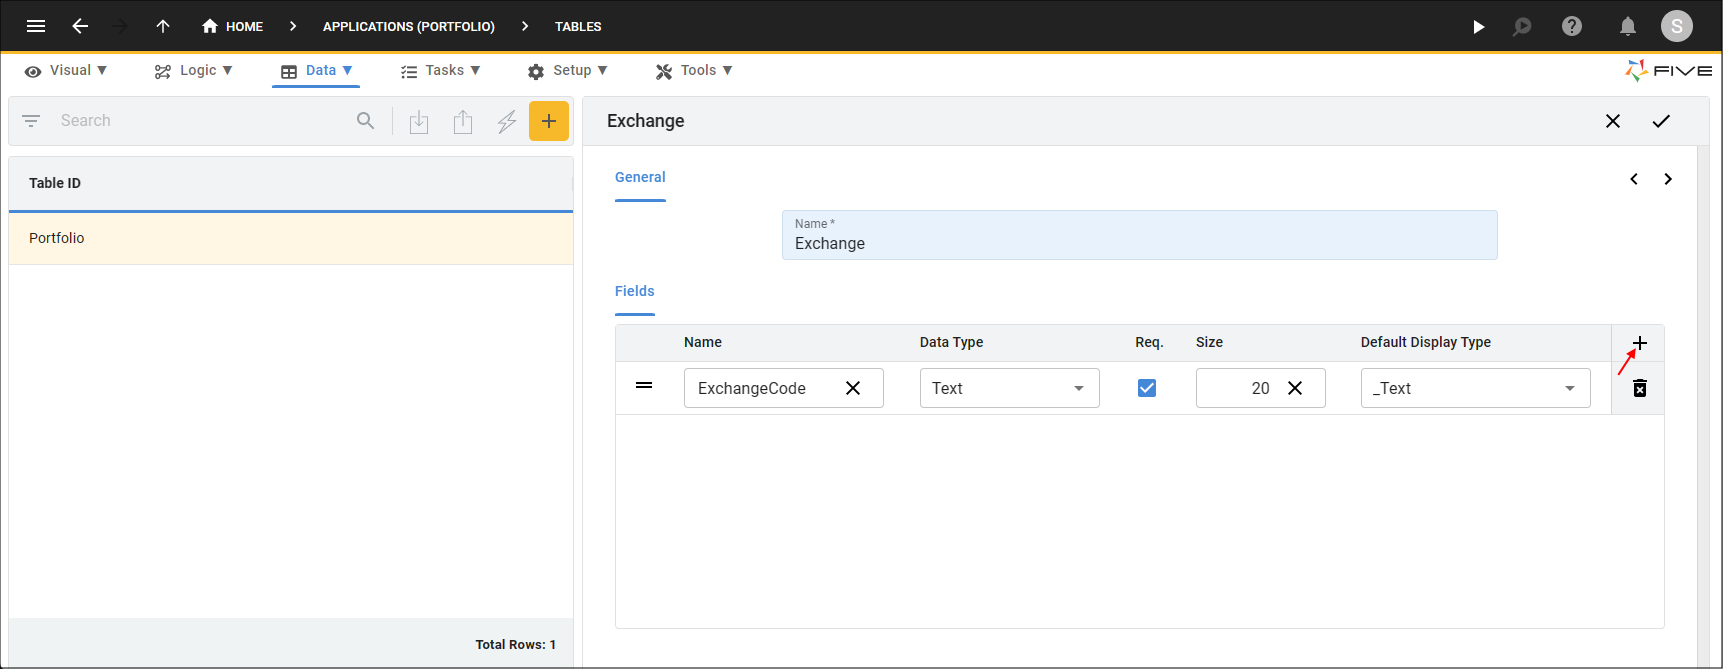
Figure 8 - Add the ExchangeCode field
6. Click the Add Fields button.
7. Type Name in the Name field.
8. Click the Req. checkbox.
9. Type 100 in the Size field.

Figure 9 - Add the Name field
10. Click the Save button in the Table Wizard app bar.
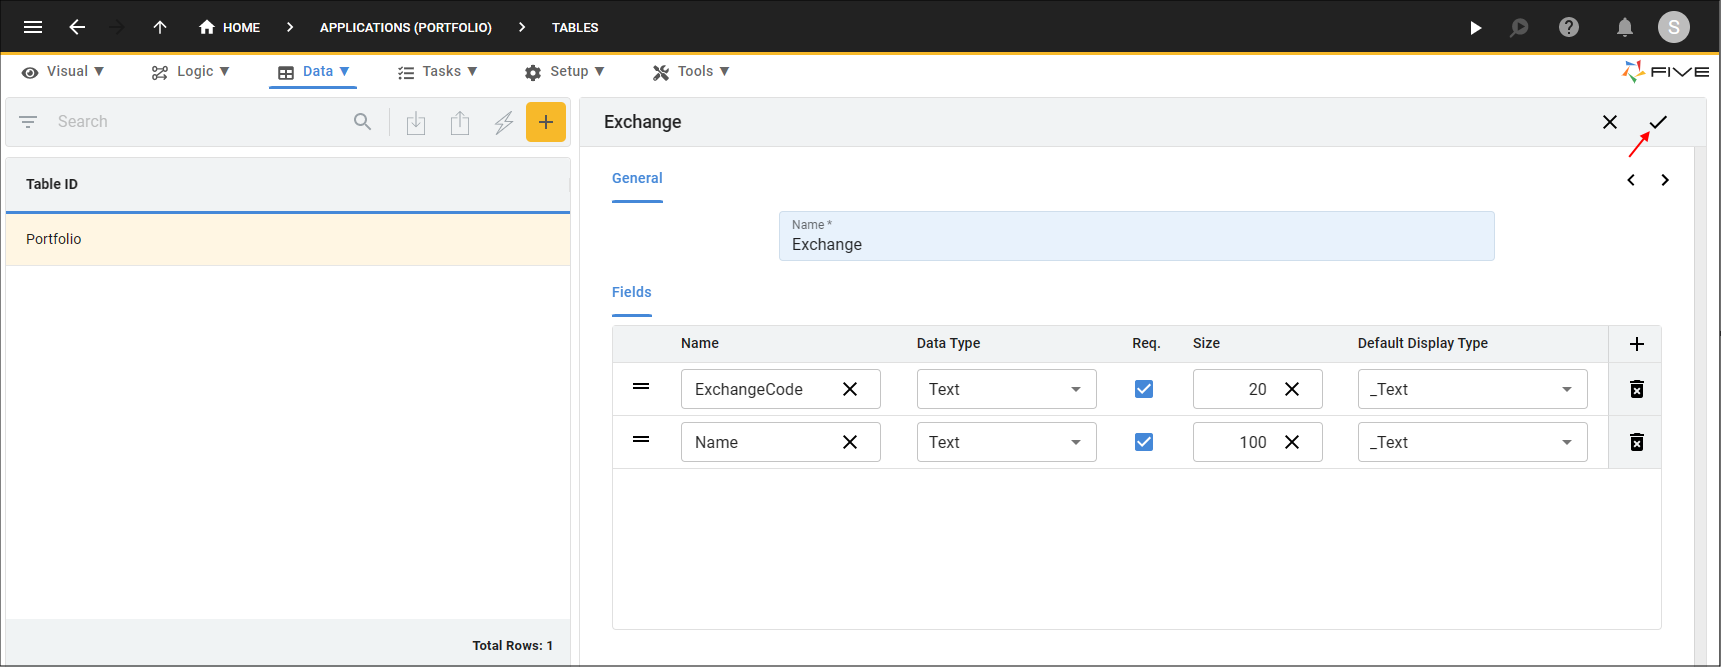
Figure 10 - Save the Exchange table
Add the Sector Table
1. Click the New Table Wizard button.2. Type Sector in the Name field.
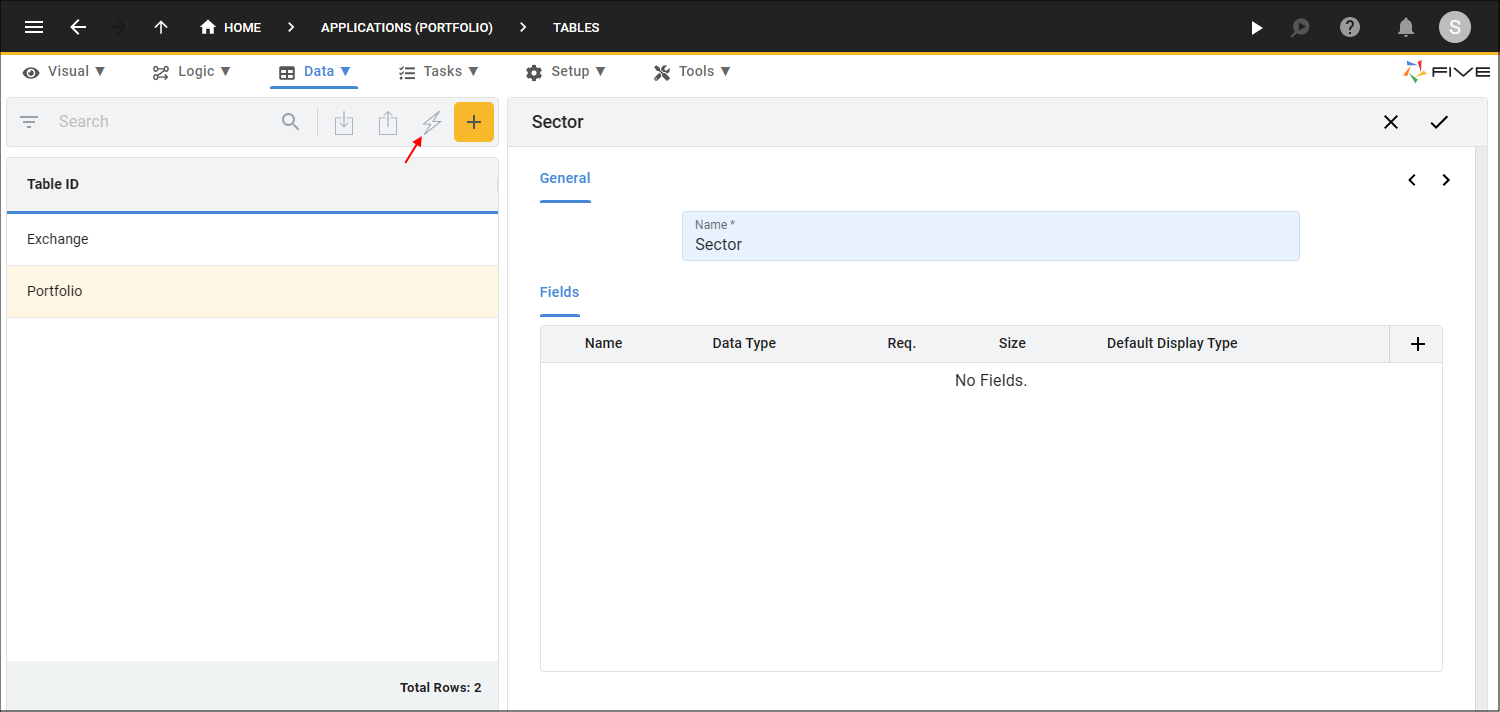
Figure 11 - Add the Sector table
3. Click the Add Fields button.
4. Type Name in the Name field.
5. Type 100 in the Size field.
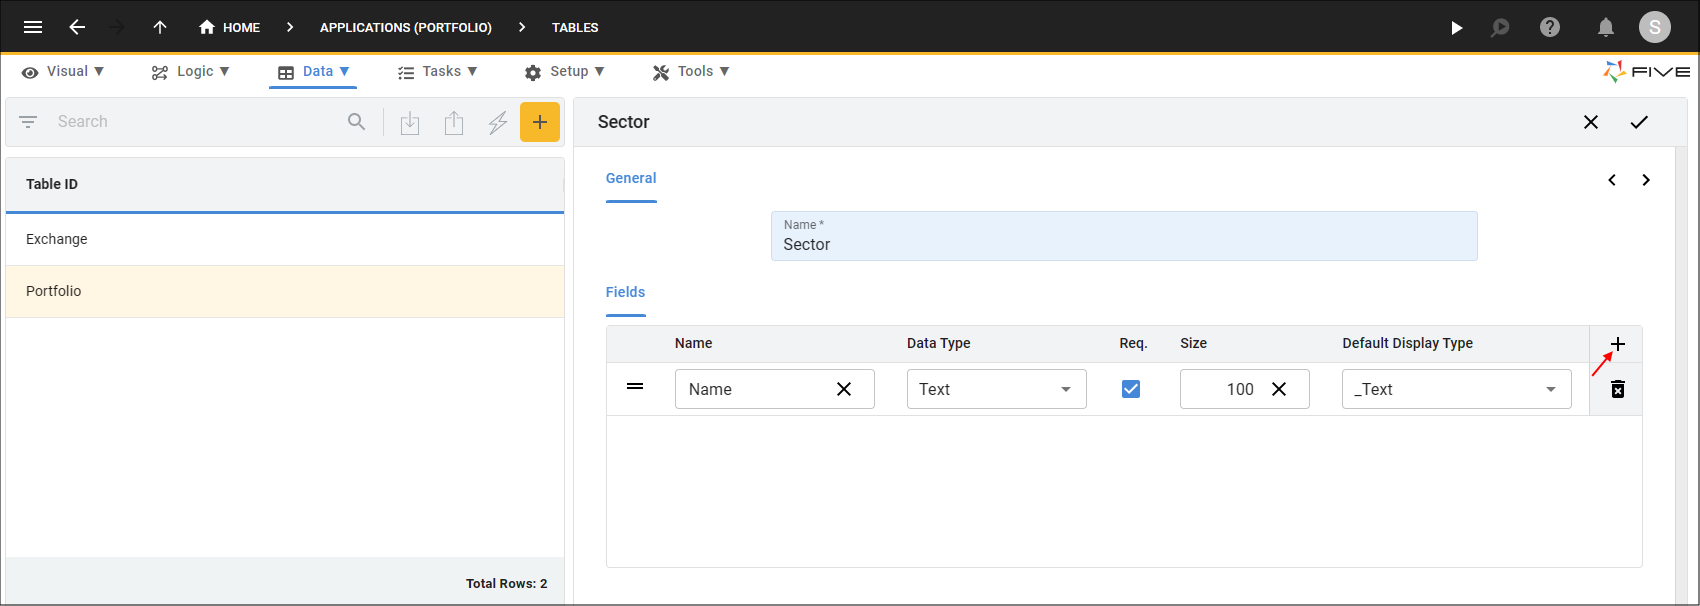
Figure 12 - Add the Name field
6. Click the Save button in the Table Wizard app bar.
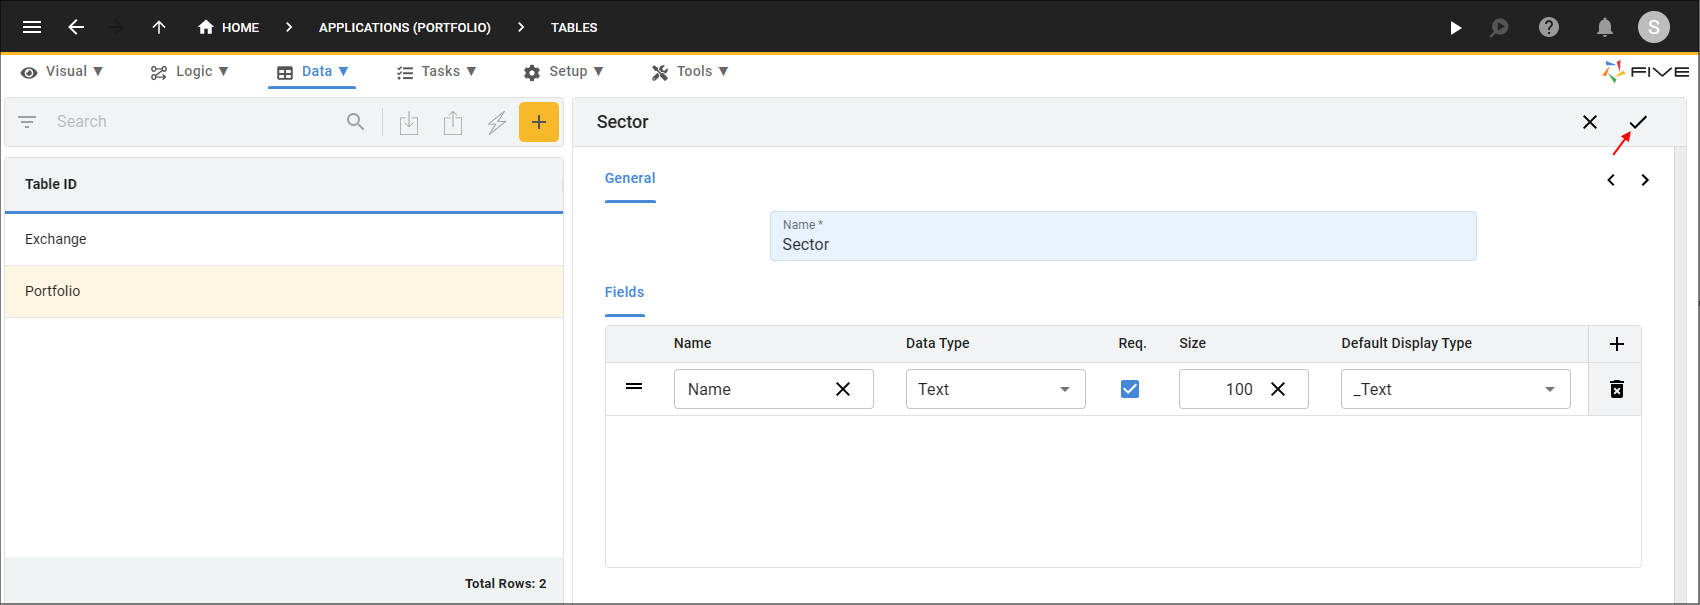
Figure 13 - Save the Sector table
Add the Stock Table
1. Click the New Table Wizard button.2. Type Stock in the Name field.
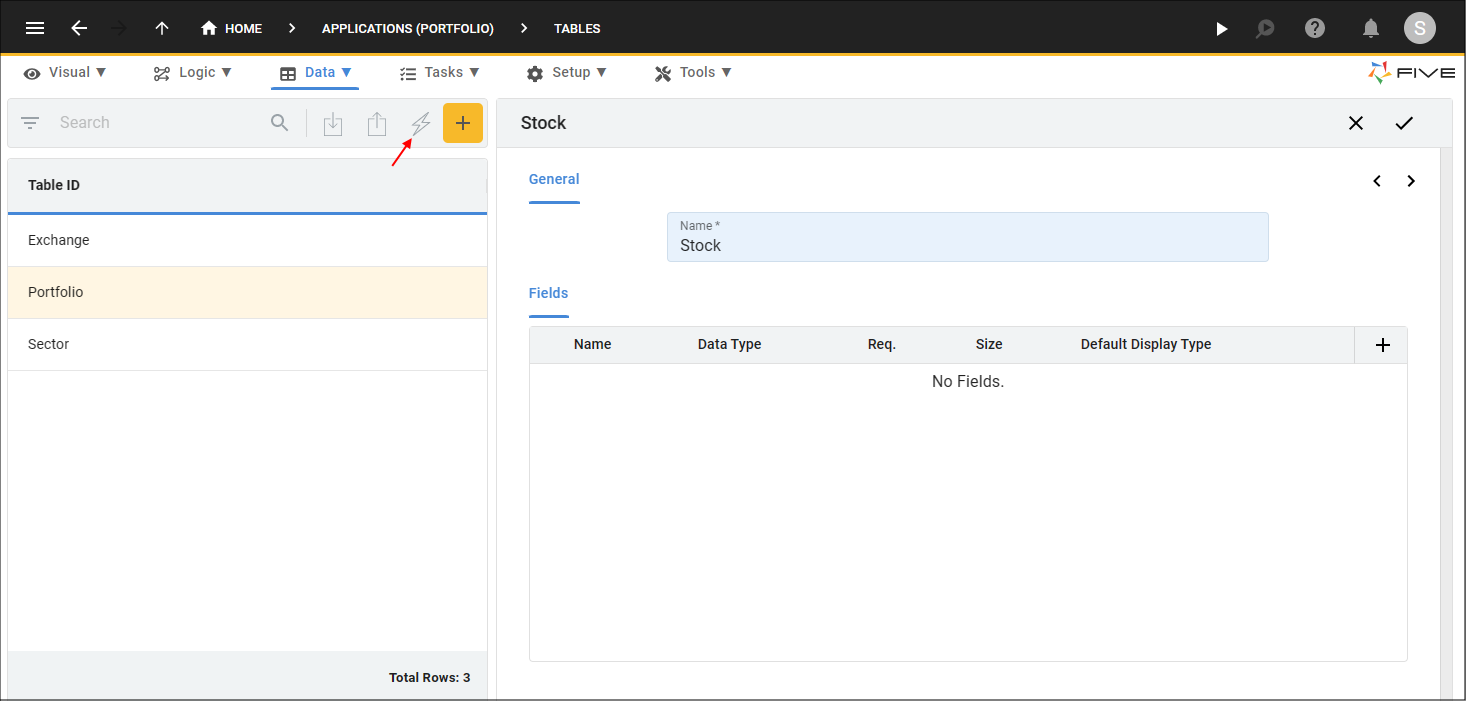
Figure 14 - Add the Stock table
3. Click the Add Fields button.
4. Type StockCode in the Name field.
5. Type 20 in the Size field.
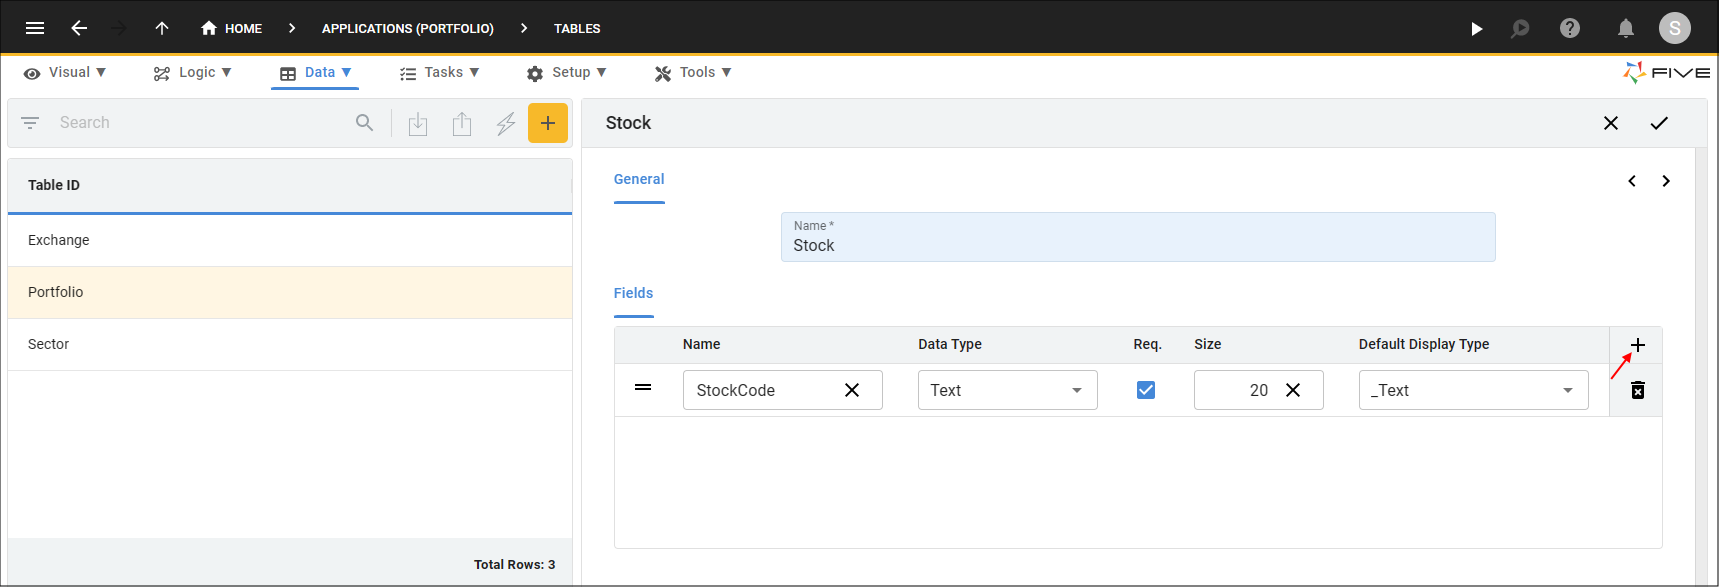
Figure 15 - Add the StockCode field
6. Click the Add Fields button.
7. Type Name in the Name field.
8. Click the Req. checkbox.
9. Type 100 in the Size field.
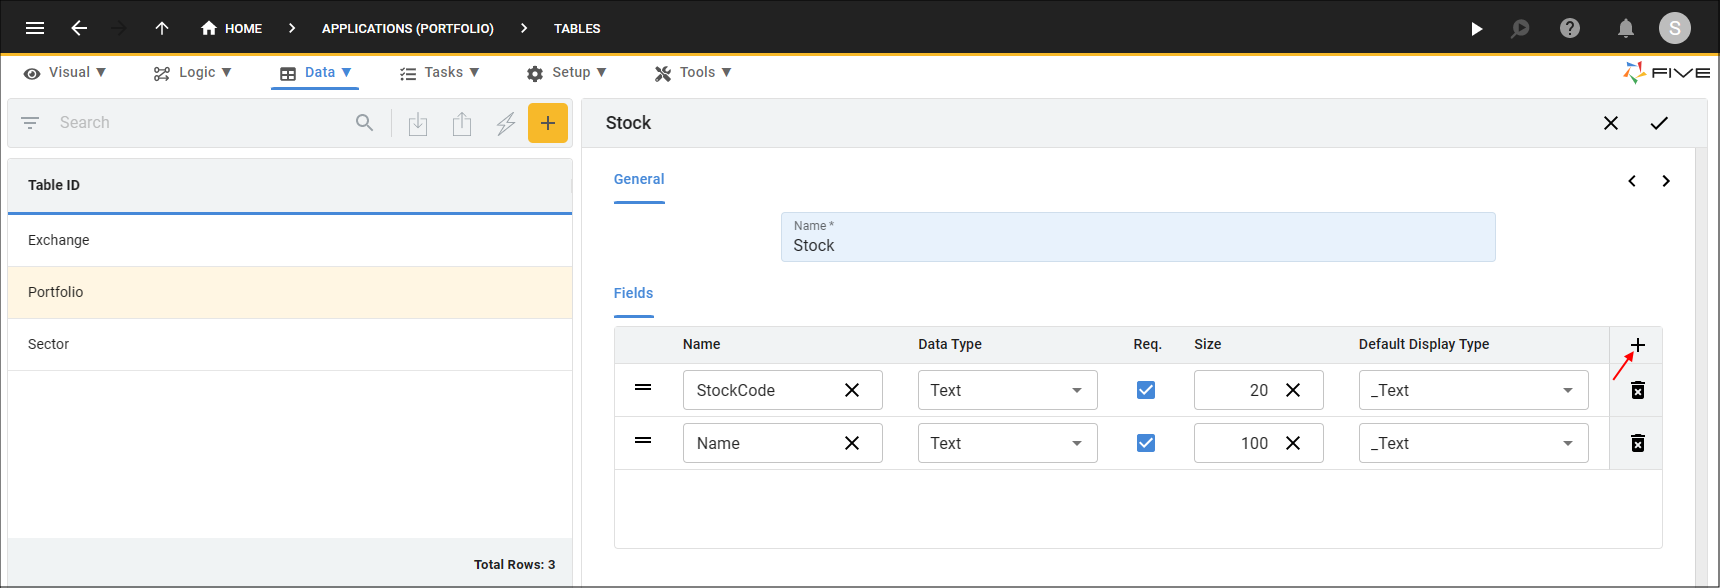
Figure 16 - Add the Name field
10. Click the Next button.

Figure 17 - Next button
11. Click the Add Relationships button.
12. Click the lookup icon in the Table field and select Exchange.
13. Click the Required checkbox.
tip
Five automatically creates a Foreign Key field and index when you establish a relationship with another table!
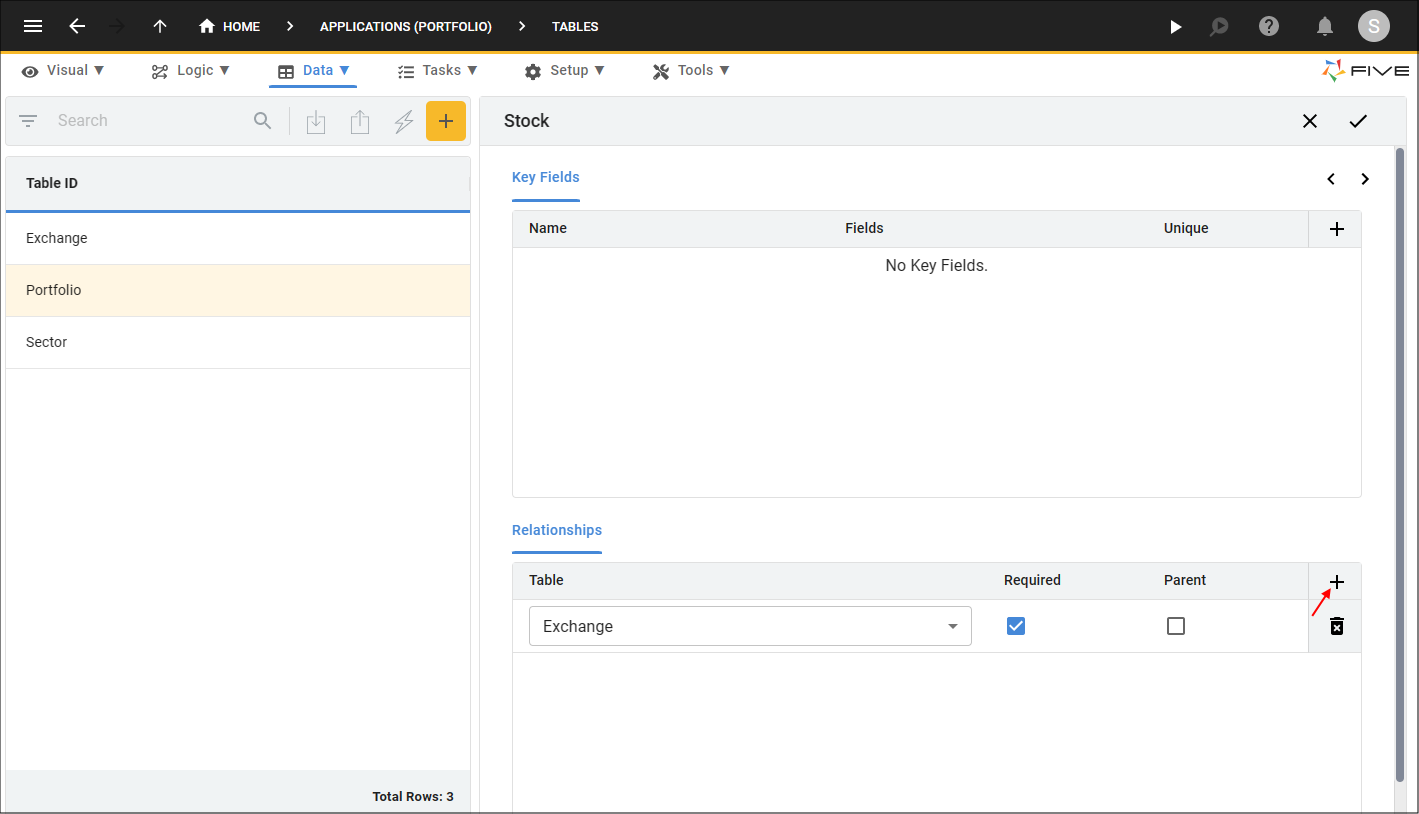
Figure 18 - Add the Exchange relationship
14. Click the Add Relationships button.
15. Click the lookup icon in the Table field and select Sector.
16. Click the Required checkbox.
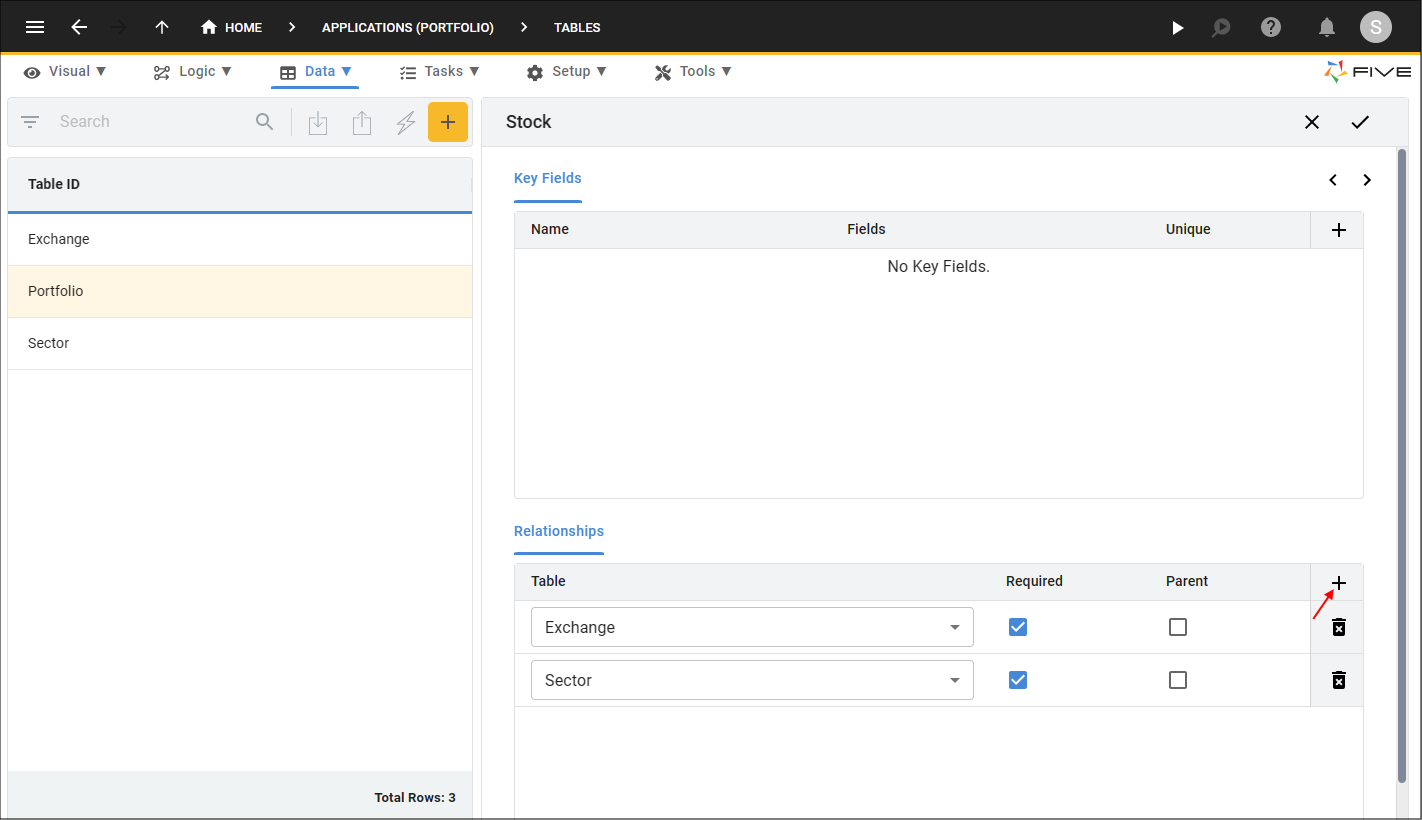
Figure 19 - Add the Sector relationship
17. Click the Save button in the Table Wizard app bar.
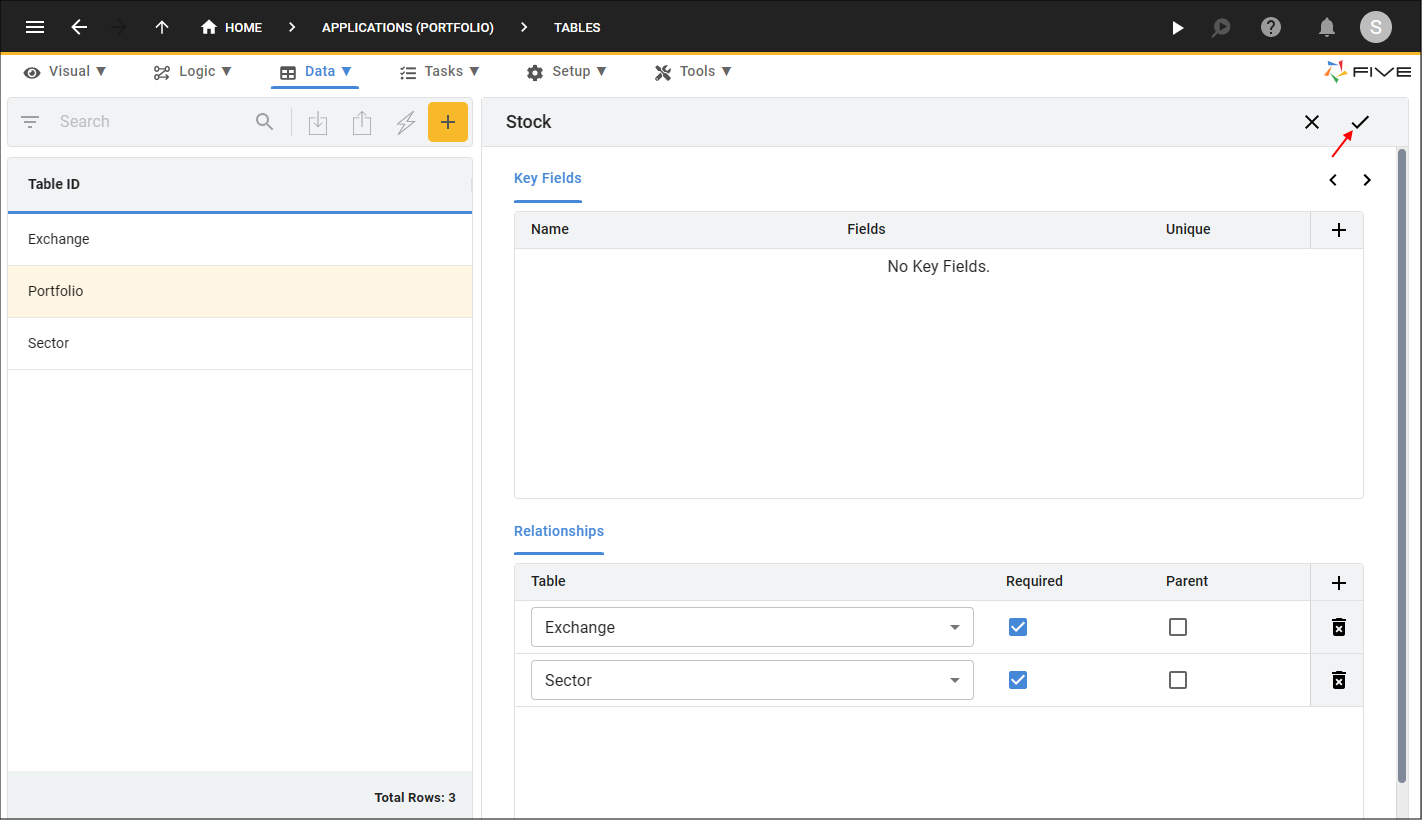
Figure 20 - Save the Stock table
Add the StockPrice Table
1. Click the New Table Wizard button.2. Type StockPrice in the Name field.
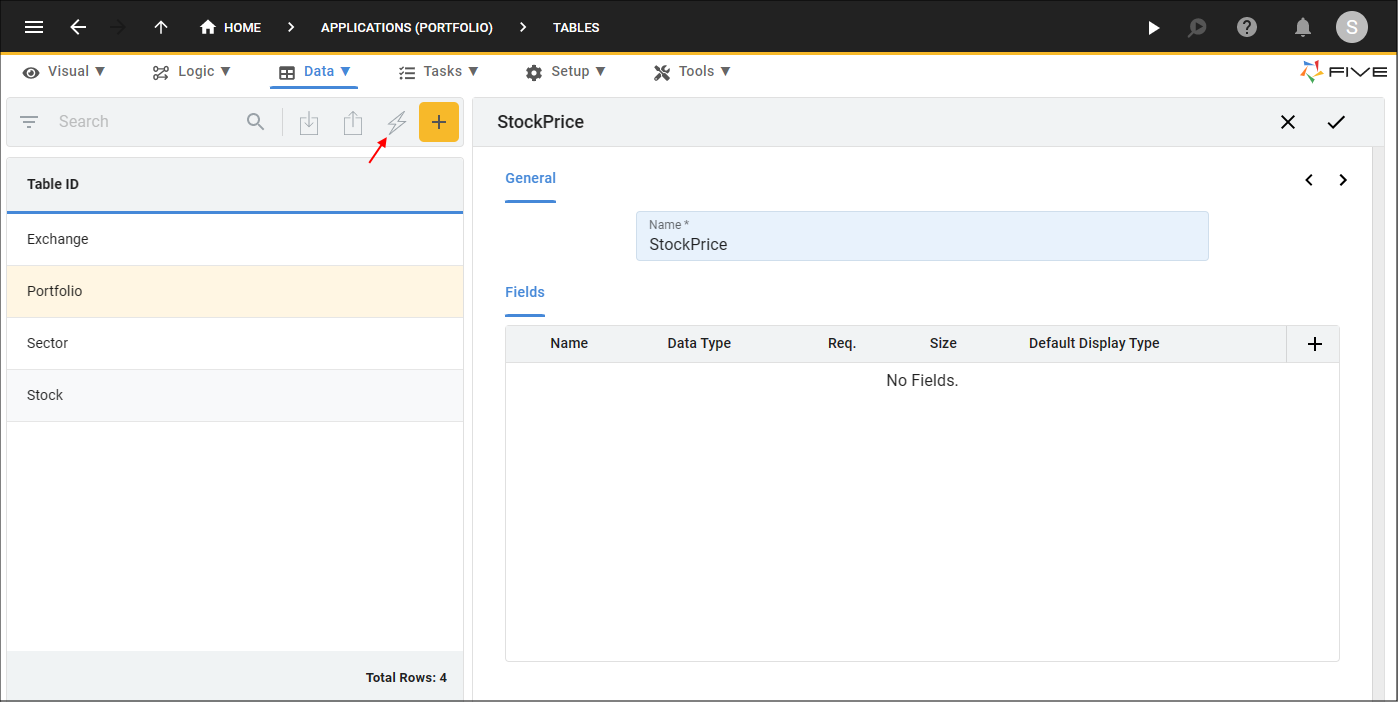
Figure 21 - Add the StockPrice table
3. Click the Add Fields button.
4. Type PriceDate in the Name field.
tip
Five sets some field definitions for you dependent on the name or data type of the field!
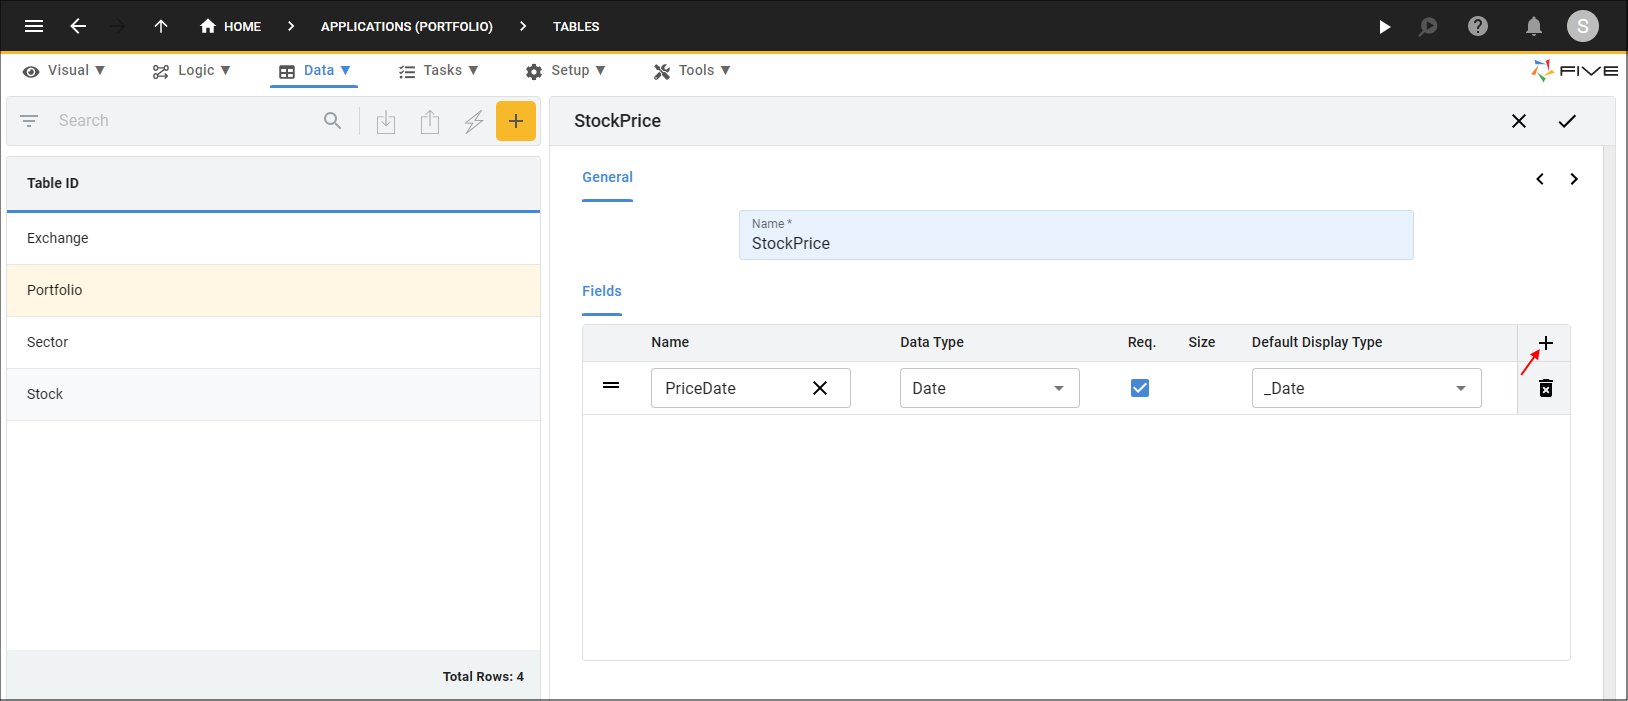
Figure 22 - Add the PriceDate field
5. Click the Add Fields button.
6. Type Open in the Name field.
7. Click the lookup icon in the Data Type field and select Float.
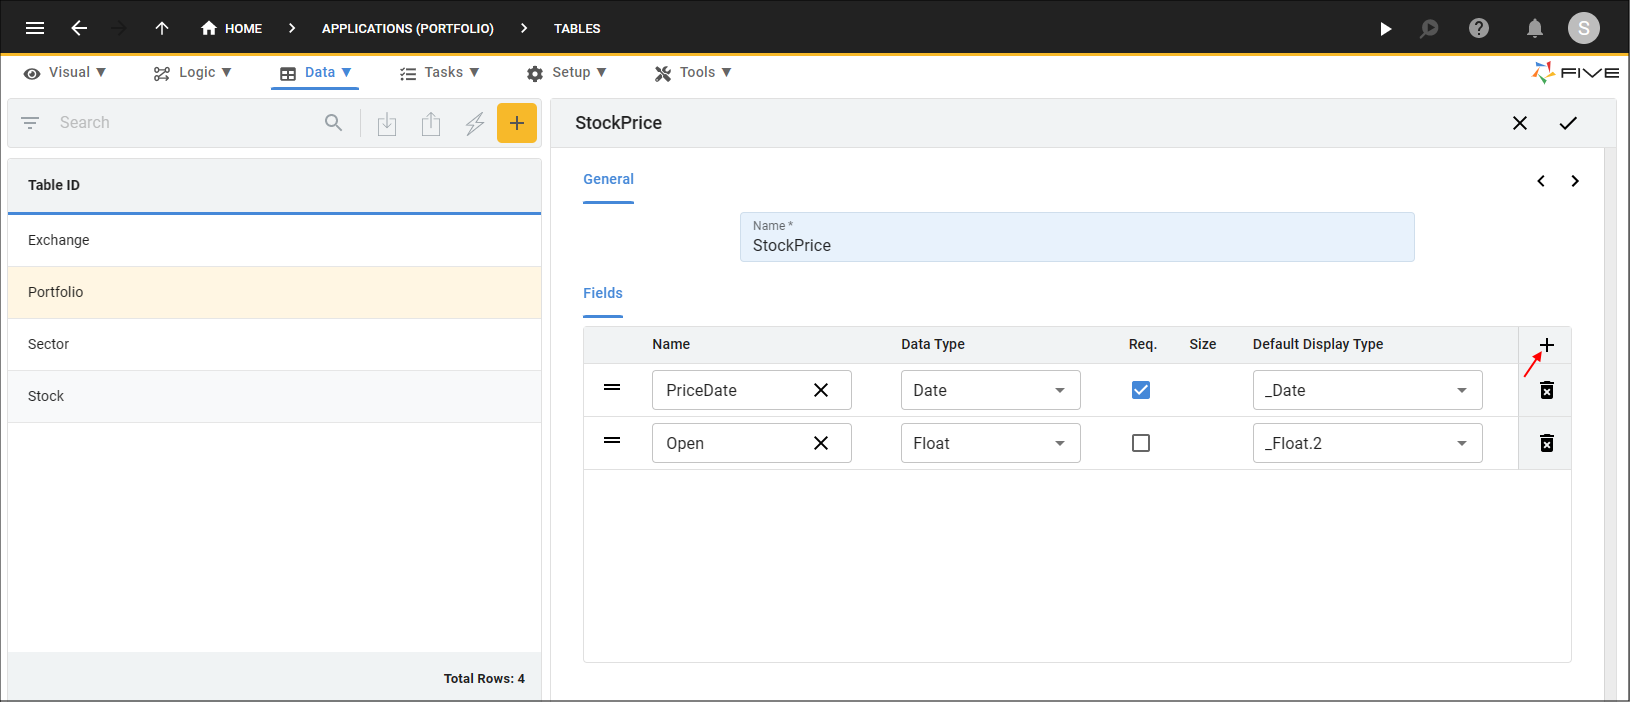
Figure 23 - Add the Open field
8. Click the Add Fields button.
9. Type High in the Name field.
10. Click the lookup icon in the Data Type field and select Float.
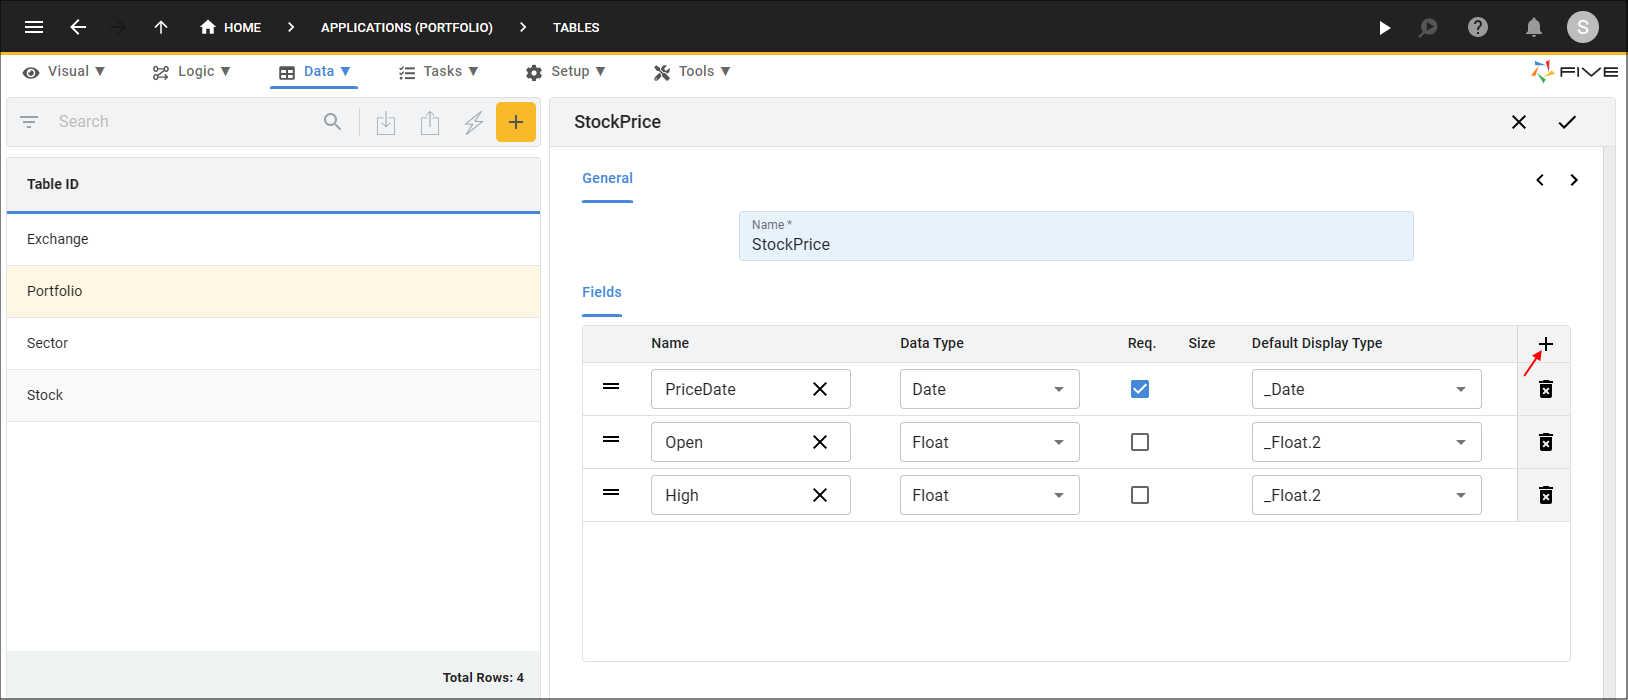
Figure 24 - Add the High field
11. Click the Add Fields button.
12. Type Low in the Name field.
13. Click the lookup icon in the Data Type field and select Float.

Figure 25 - Add the Low field
14. Click the Add Fields button.
15. Type Close in the Name field.
16. Click the lookup icon in the Data Type field and select Float.
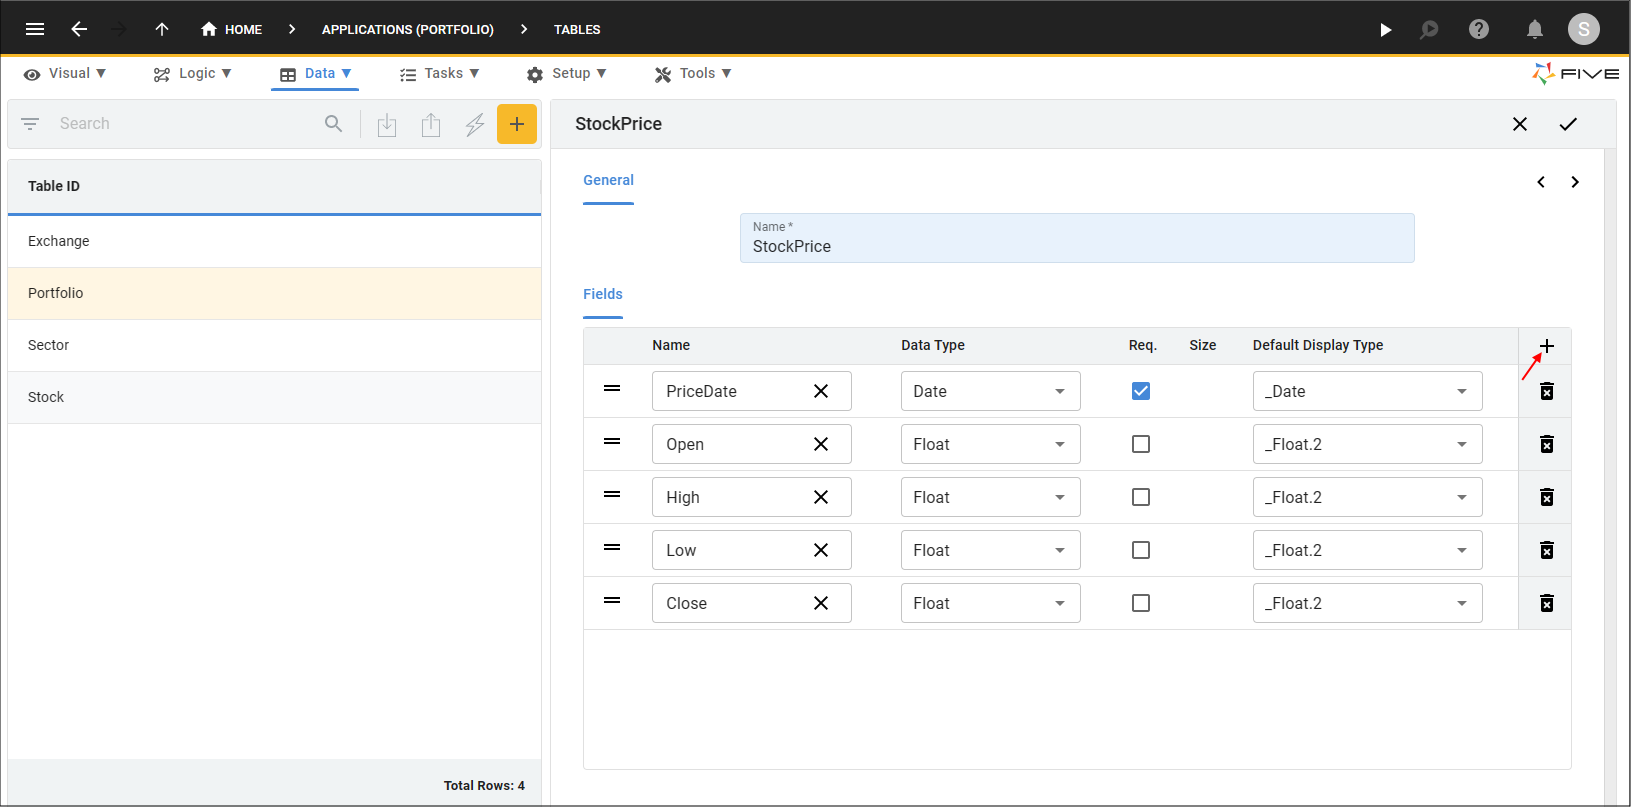
Figure 26 - Add the Close field
17. Click the Add Fields button.
18. Type Volume in the Name field.
19. Click the lookup icon in the Data Type field and select Integer.

Figure 27 - Add the Volume field
20. Click the Next button.
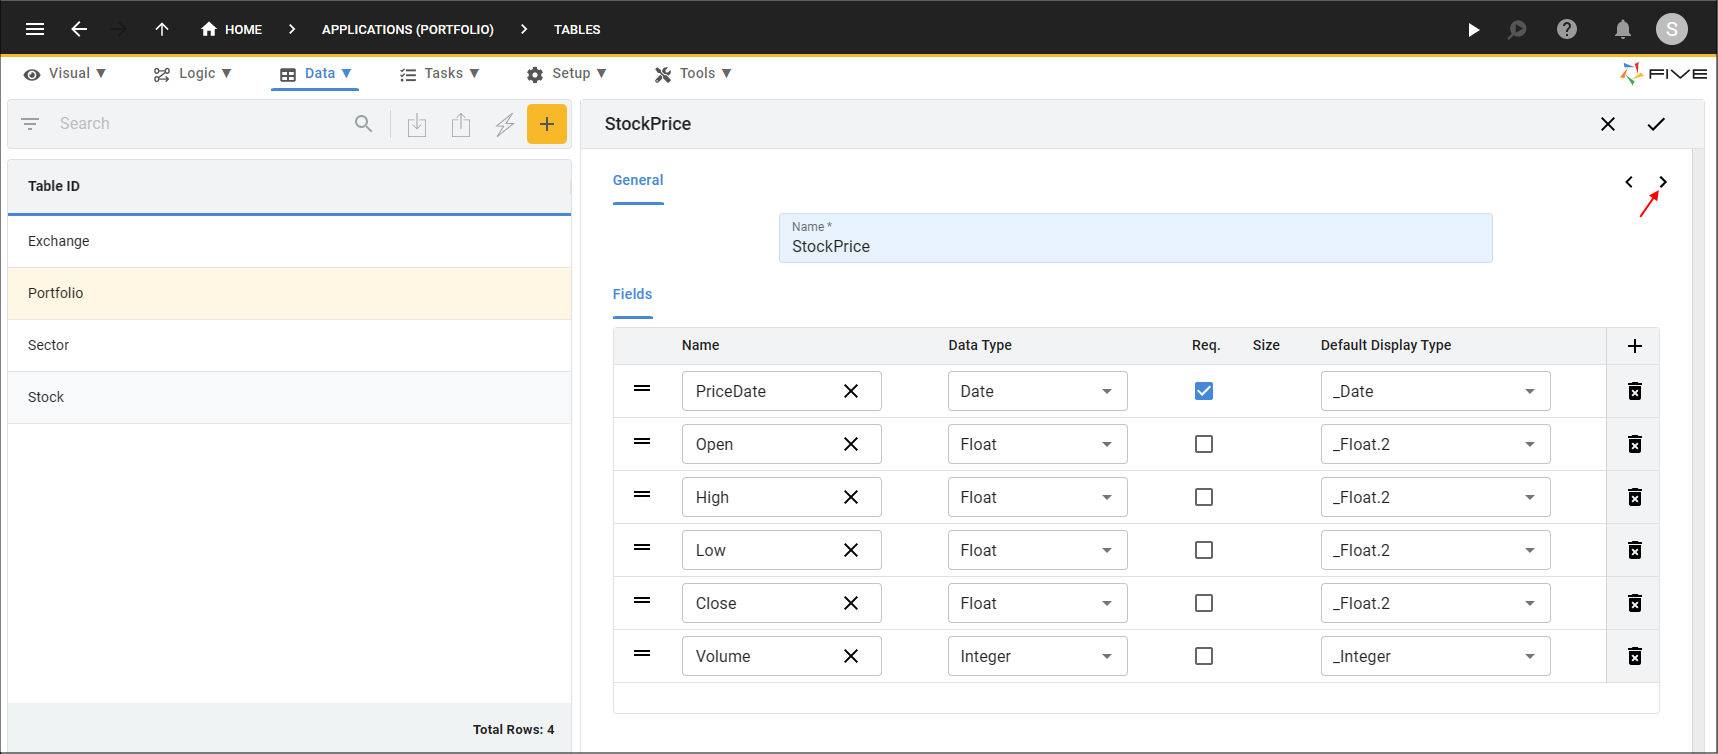
Figure 28 - Next button
21. Click the Add Relationships button.
22. Click the lookup icon in the Table field and select Stock.
23. Click the Required checkbox.
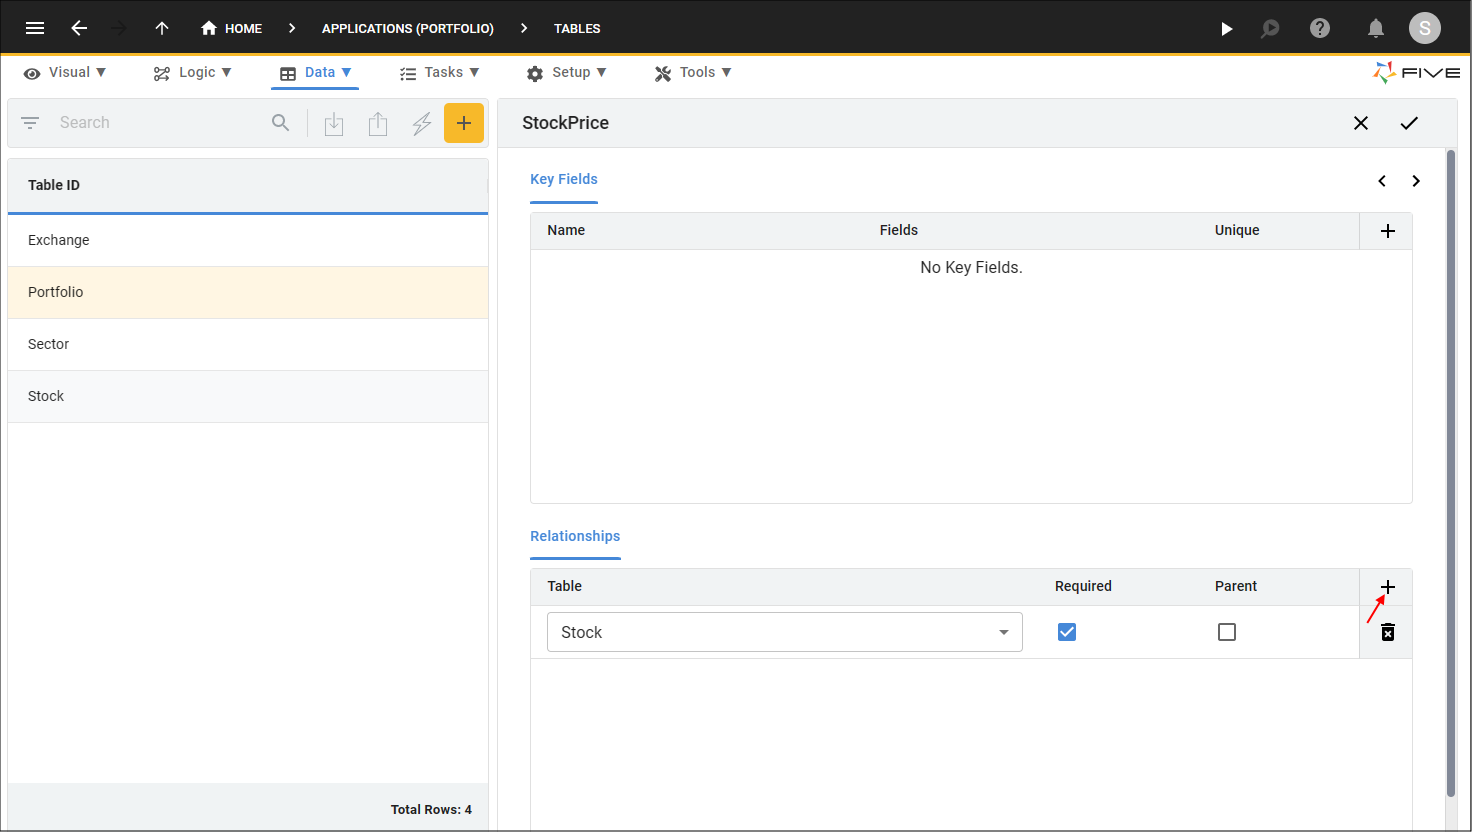
Figure 29 - Add the Stock relationship
24. Click the Save button in the Table Wizard app bar.
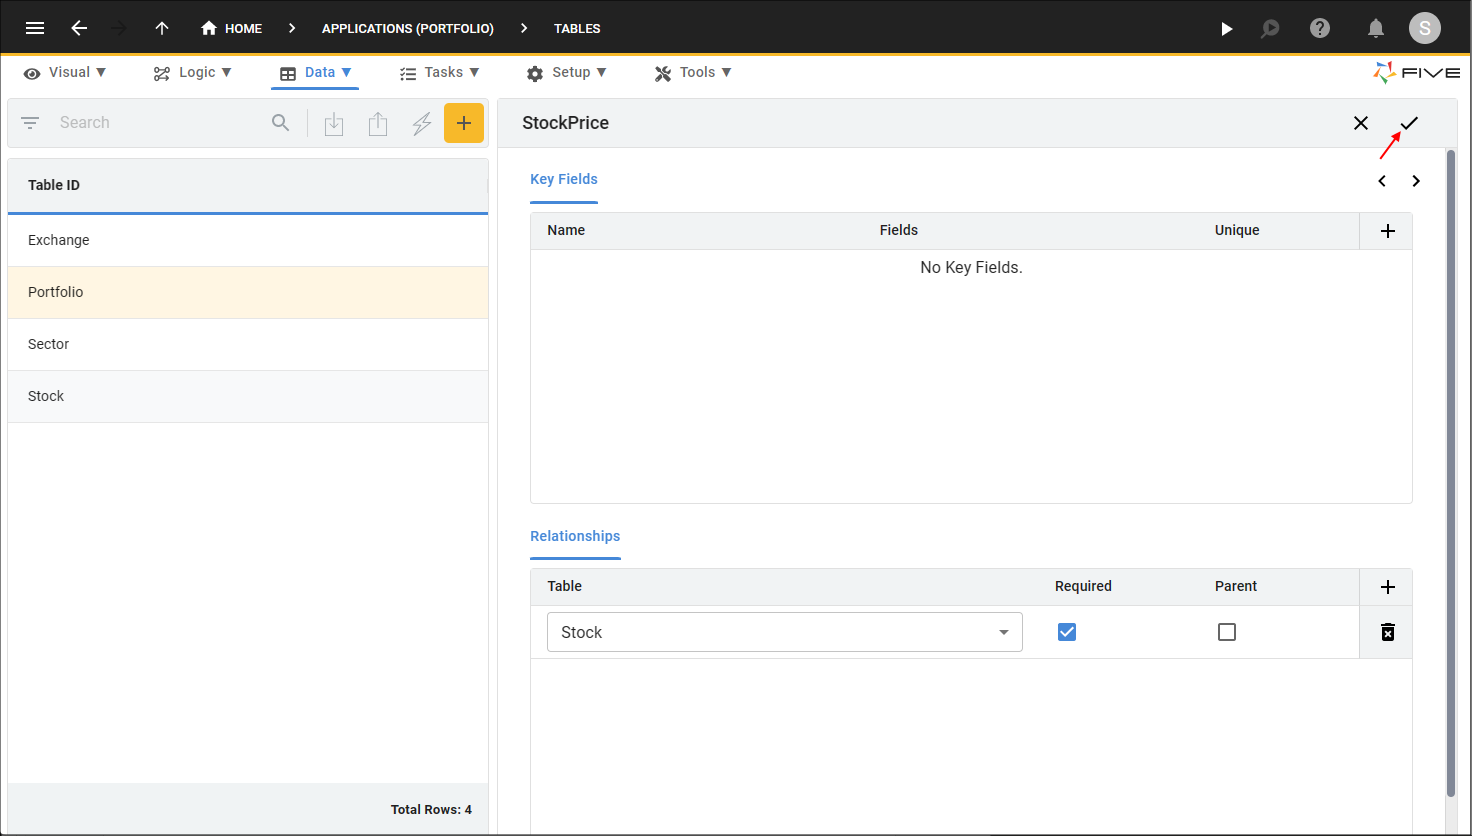
Figure 30 - Save the StockPrice table