Build the Book Club Tables
Last updated 16/04/2025
Once you have created your application, the next logical thing to do is to add your tables. This documentation will teach you how to add the tables for the Book Club application.
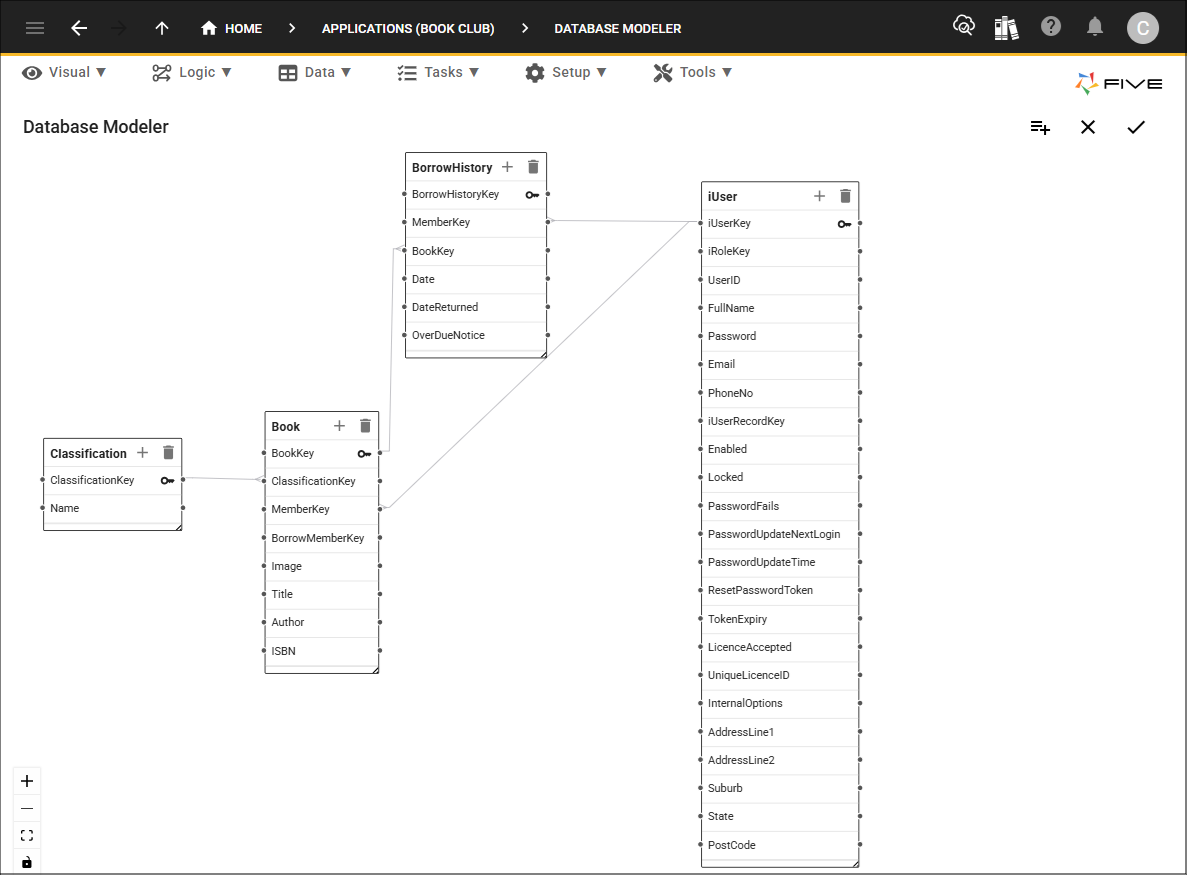
There are only three tables that need to be added to the database. The Book Club database model shows the tables and the relationships between the tables.
While building the Book Club tables, you will learn the following:
- How to add tables with Five's Table Wizard
- How to edit tables with Five's Table form
- How to interact with the iUser table automatically created by Five; and
- How to upgrade a table using Five's Table Upgrade functionality
Navigate to the Table Wizard
1. Click the Manage button in the form app bar.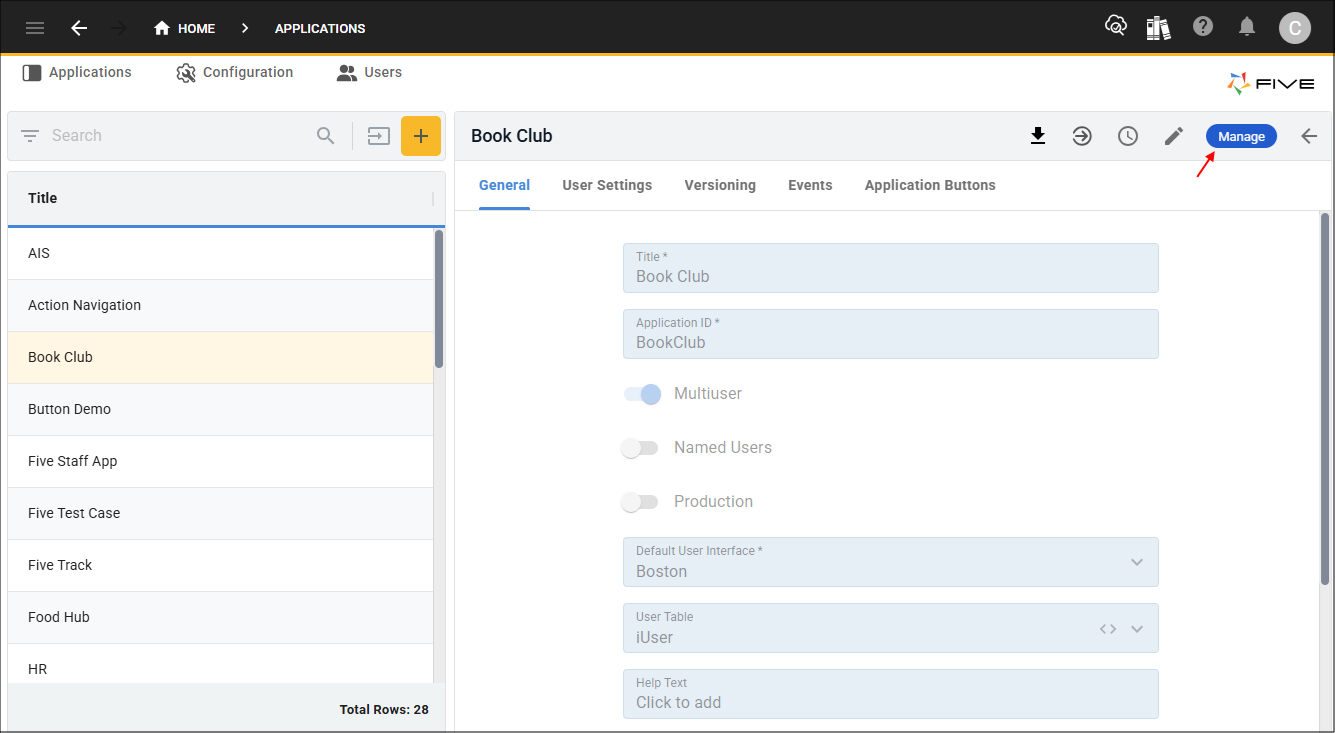
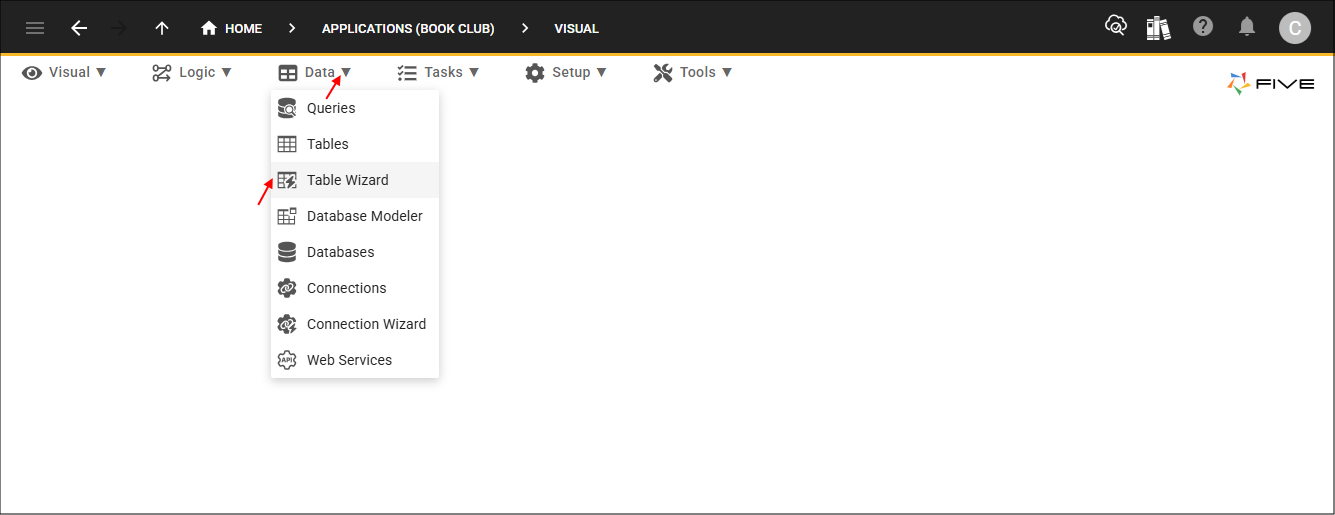
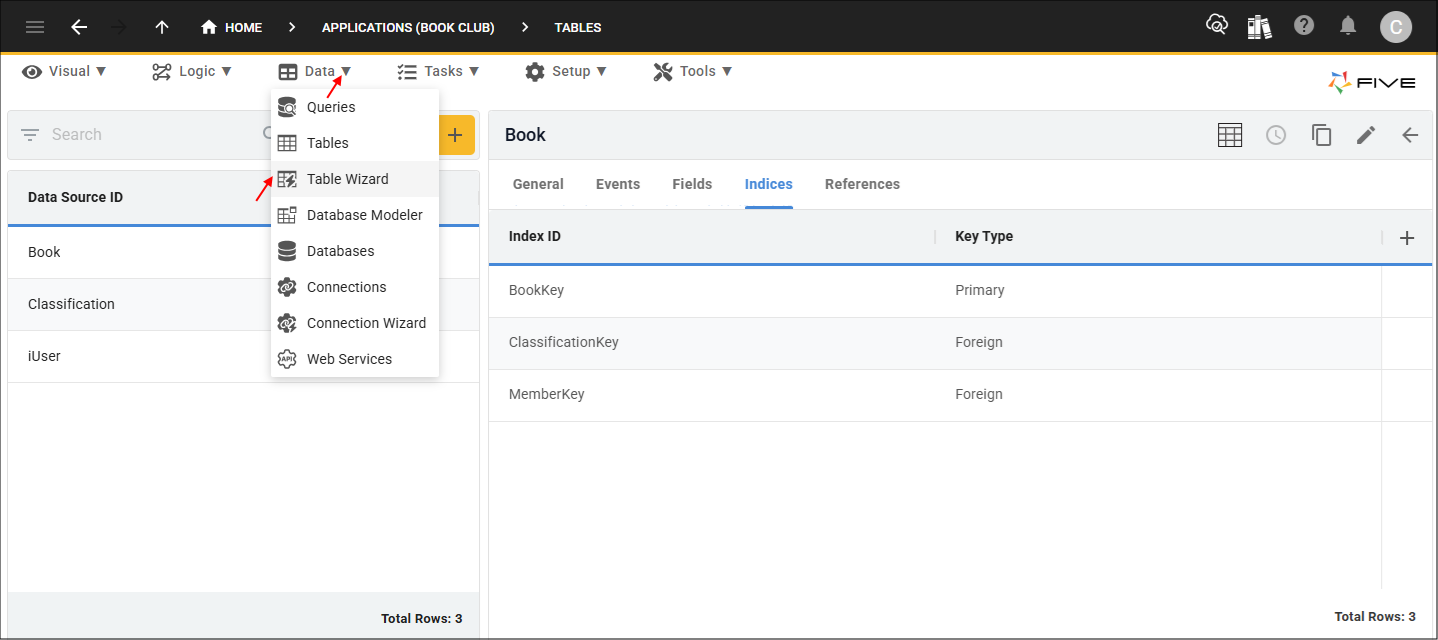
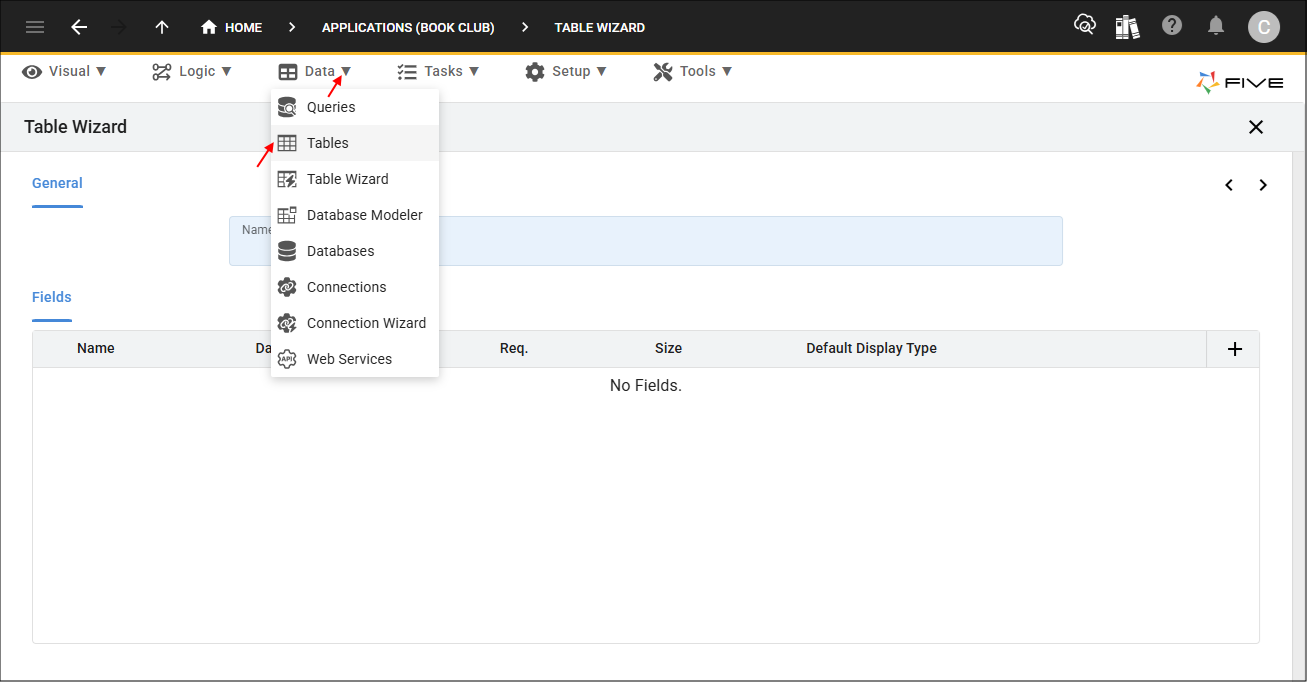
2. Click Data in the Menu.
3. Click Table Wizard in the sub-menu.
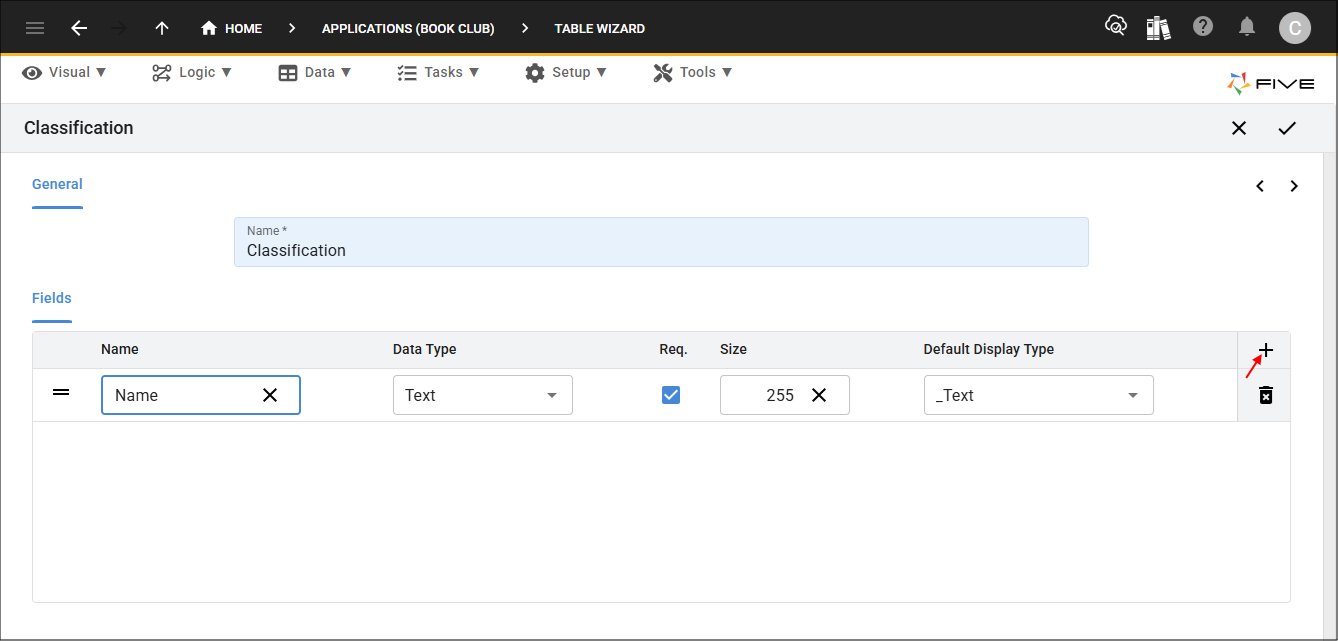
Add the Classification Table
1. Type Classification in the Name field.
2. Click the Add Fields button.
3. Type Name in the Name field.
4. Click the Save button in the Table Wizard app bar.
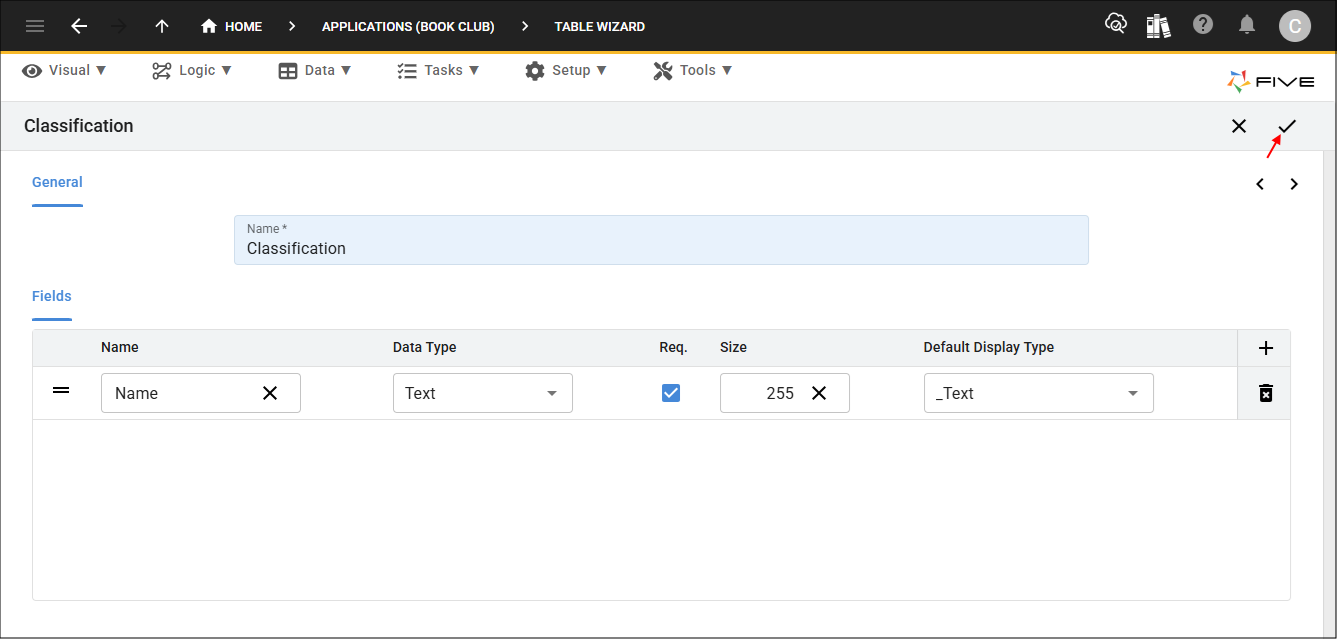
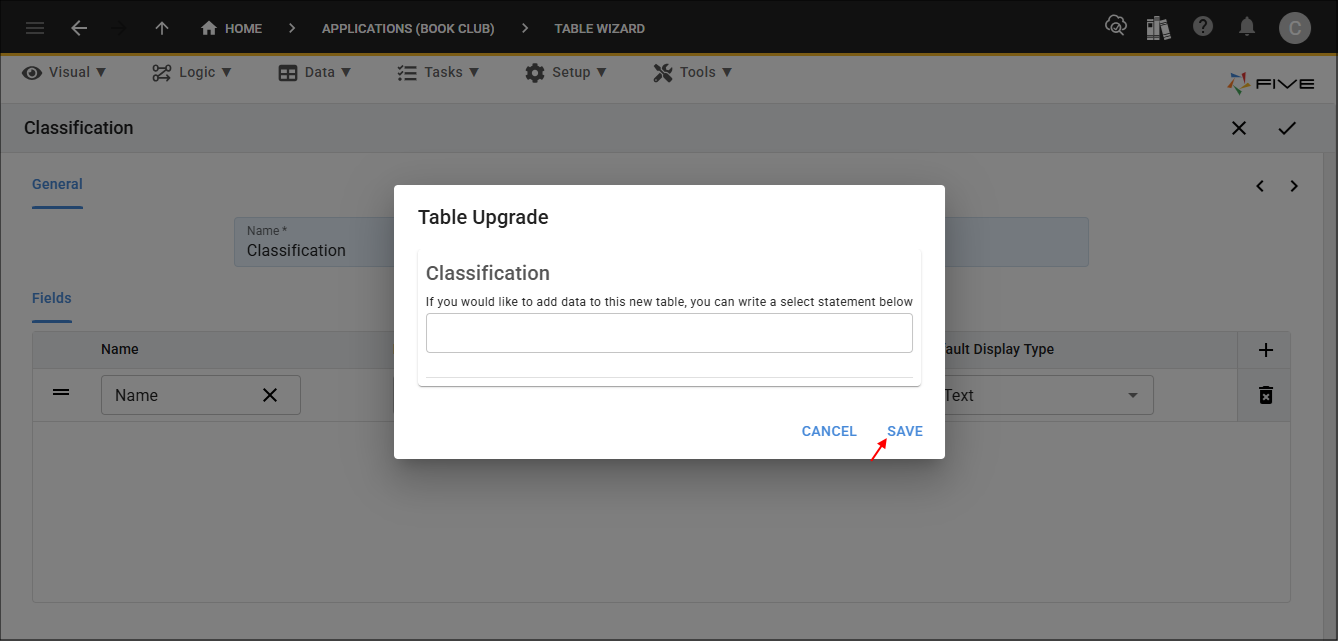
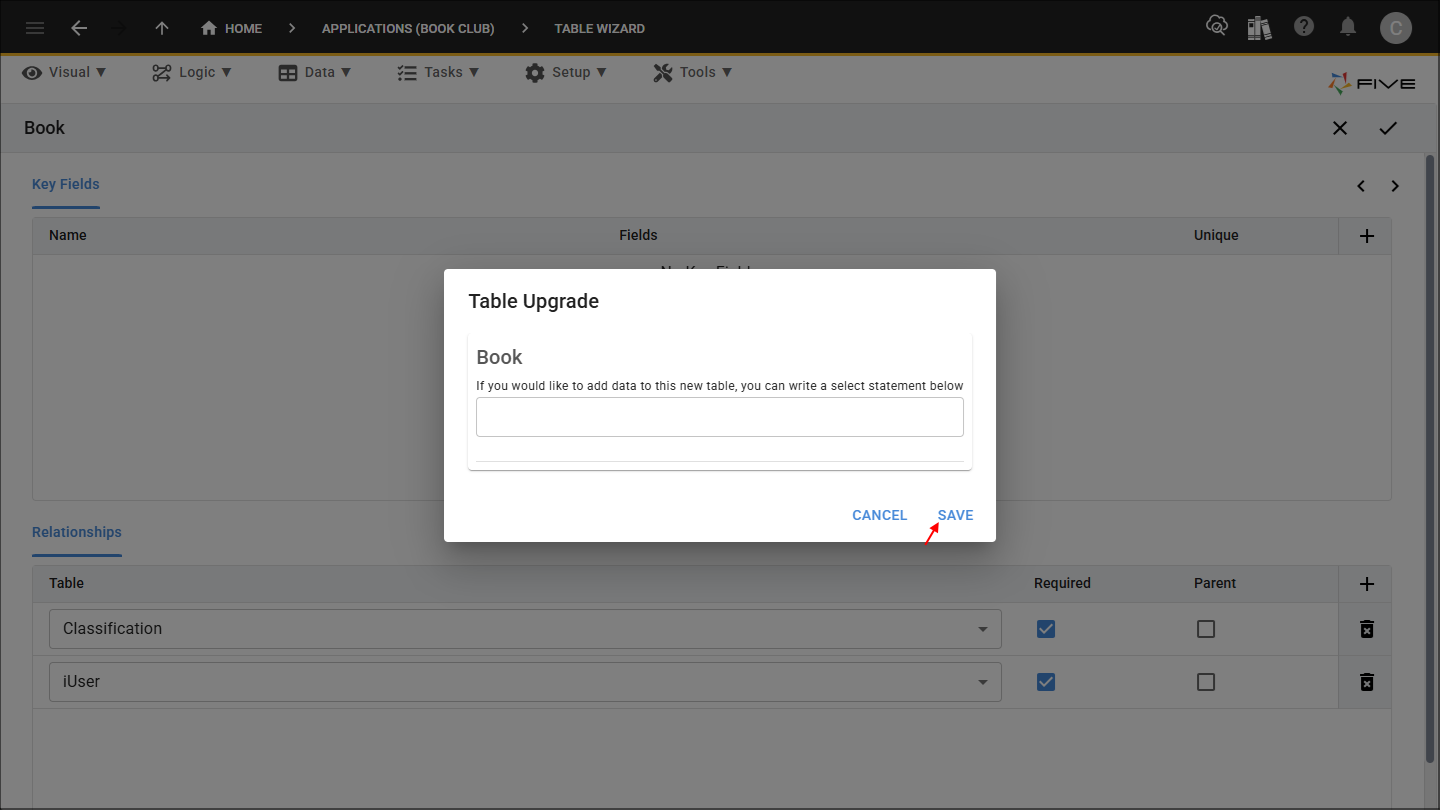
5. Click the Save button in the Table Upgrade window.
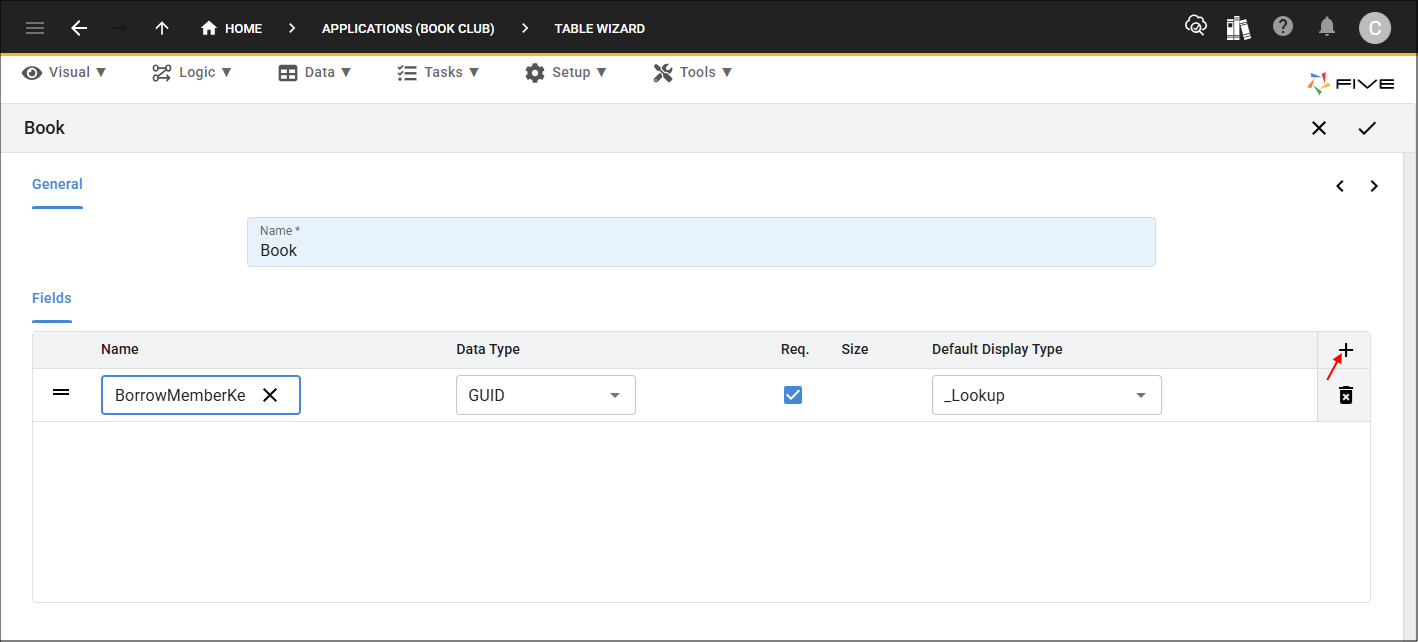
Add the Book Table
1. Type Book in the Name field.2. Click the Add Fields button.
3. Type BorrowMemberKey in the Name field.
4. Click the Add Fields button.
5. Type Image in the Name field.
6. Click the lookup icon in the Data Type field and select Binary.
7. Type 16777215 in the Size field.
8. Click the lookup icon in the Default Display Field and select _Picture.
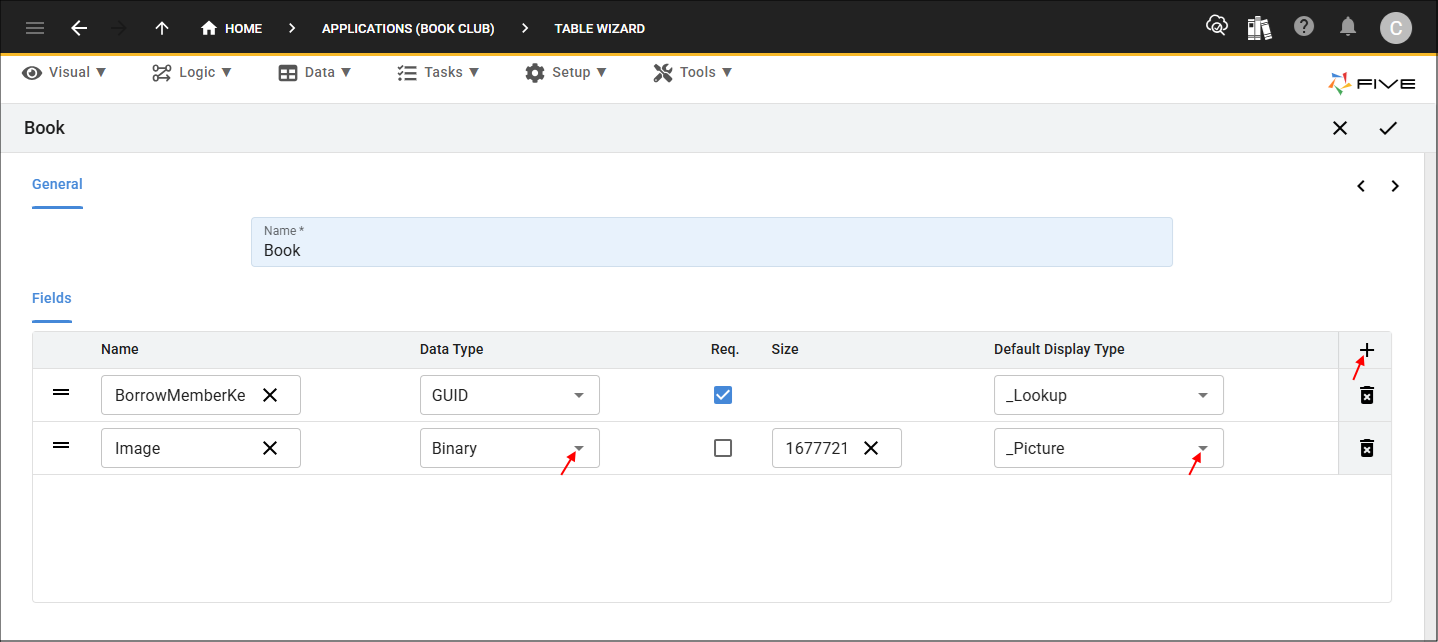
9. Click the Add Fields button.
10. Type Title in the Name field.
11. Click the Req. (Required) checkbox.

12. Click the Add Fields button.
13. Type Author in the Name field.
14. Click the Req. checkbox.
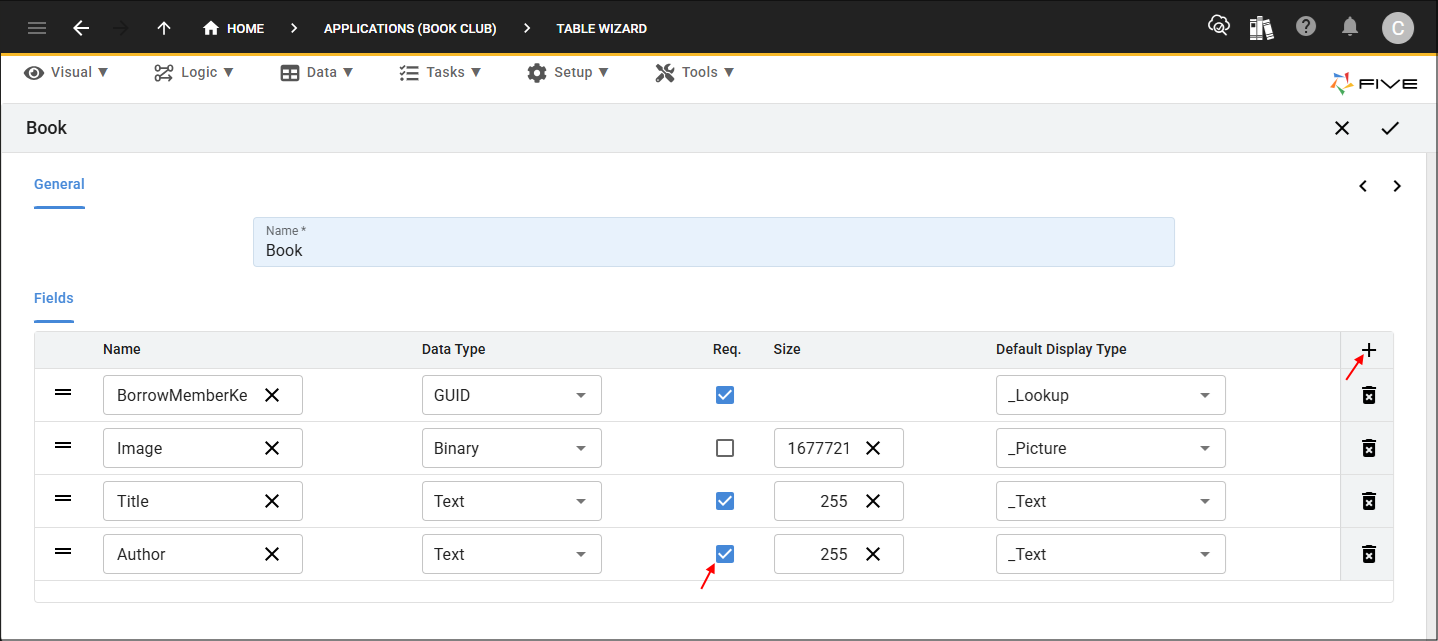
15. Click the Add Fields button.
16. Type ISBN in the Name field.
17. Click the Req. checkbox.
18. Type 15 in the Size field.
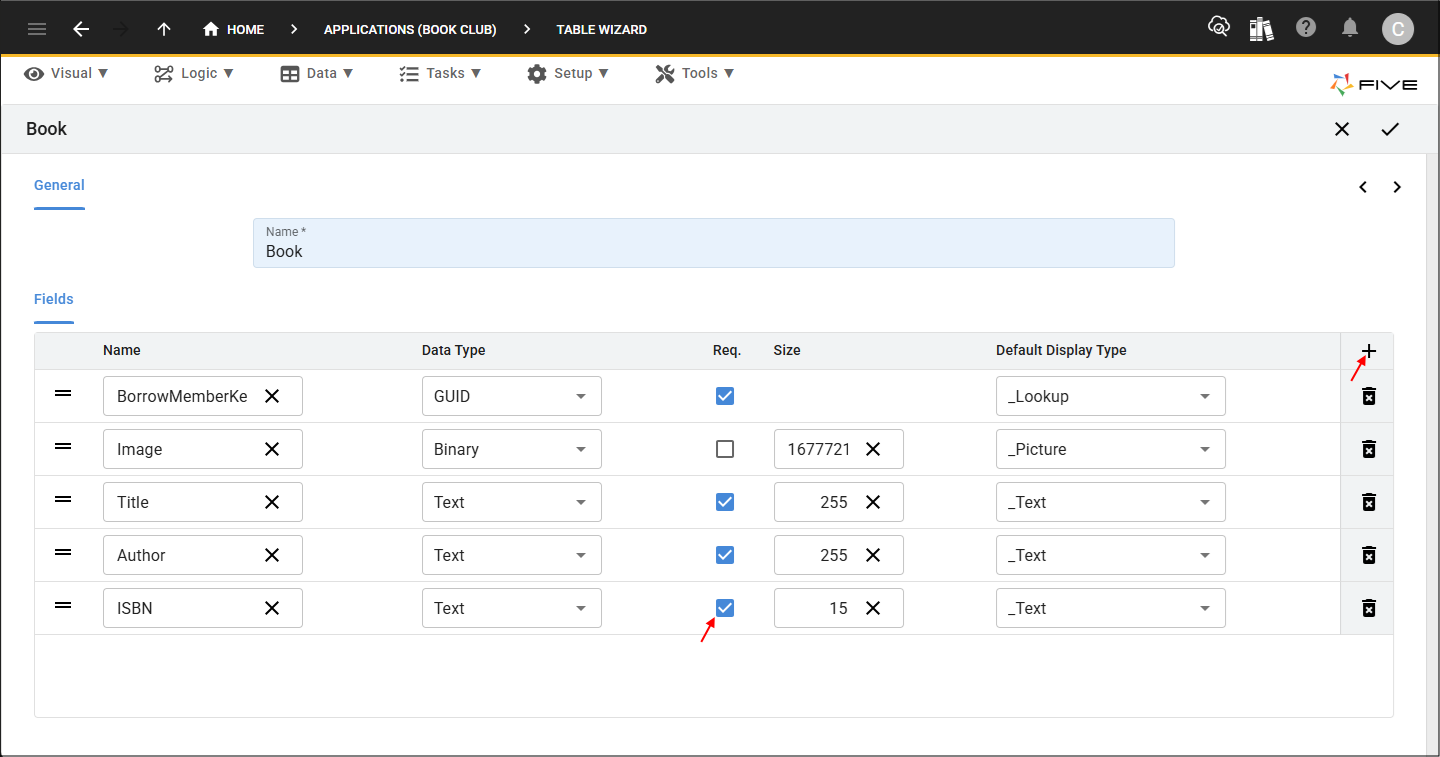
19. Click the Next button.

20. Click the Add Relationships button.
21. Click the lookup icon in the Table field and select Classification.
22. Click the Required checkbox
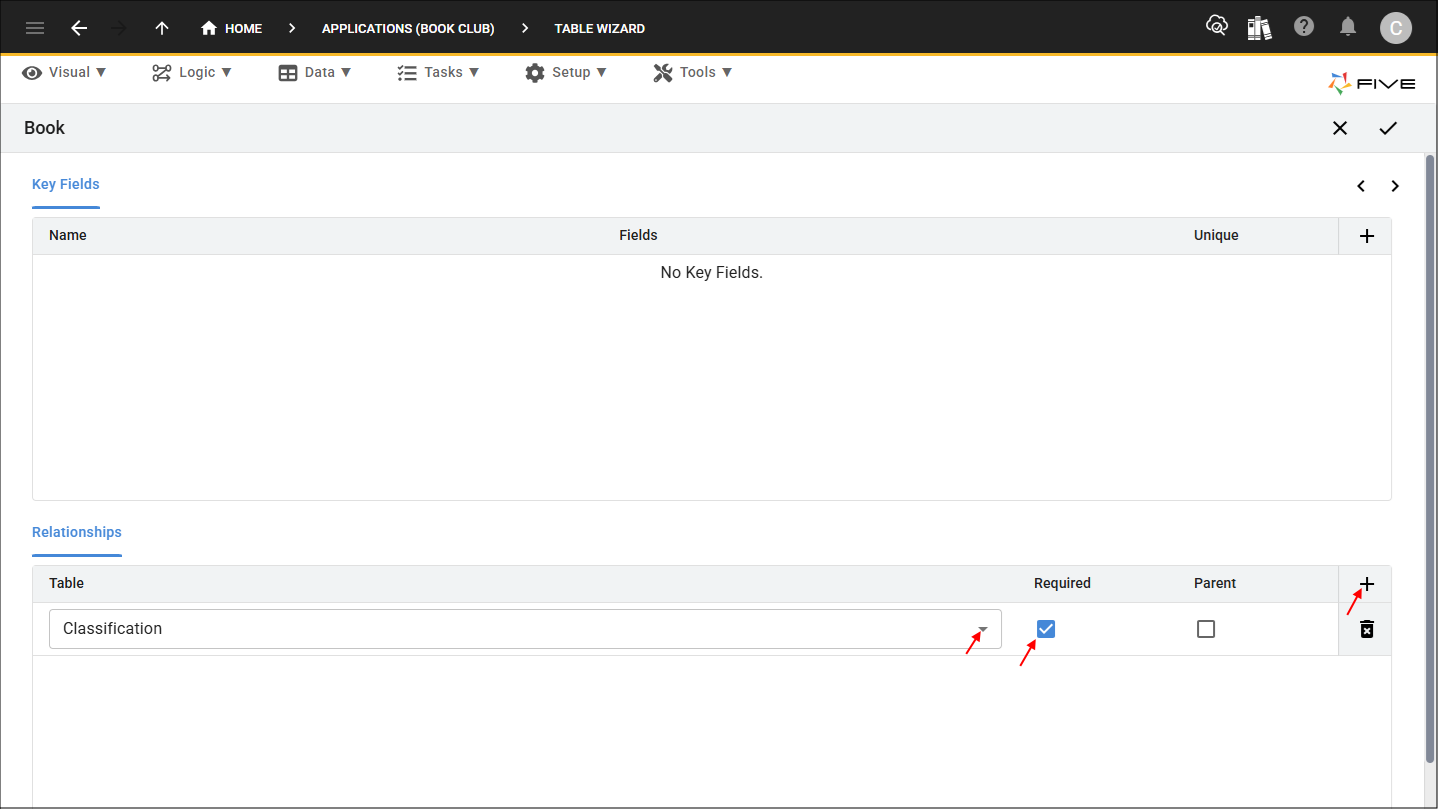
23. Click the Add Relationships button.
24. Click the lookup icon in the Table field and select iUser.
25. Click the Required checkbox.

26. Click the Save button in the Table Wizard app bar.

27. Click the Save button in the Table Upgrade window.
Edit the Book Table
After saving a table created in the Table Wizard, the record will be listed in the Tables view and after selecting the record, you can edit the record using the Table form.
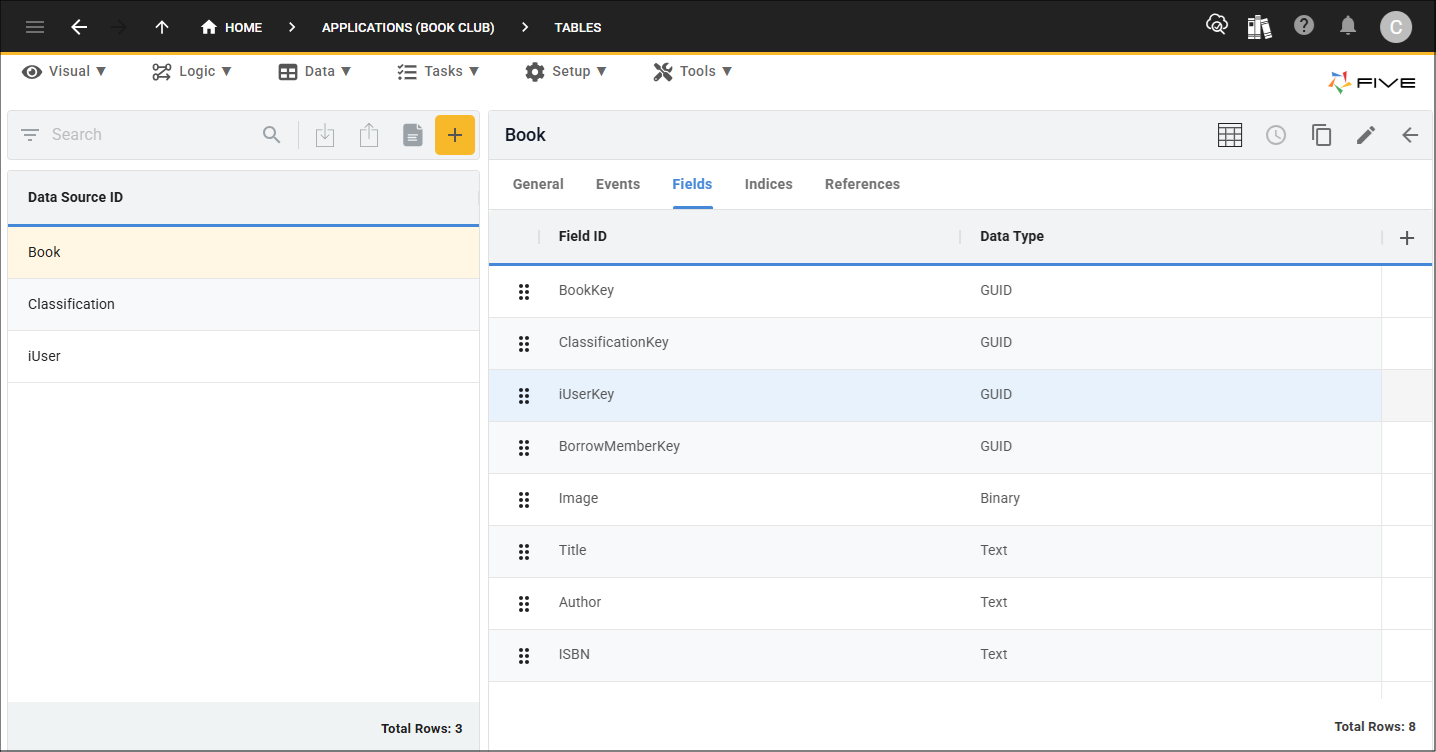
When a relationship is created in the Table Wizard, Five automatically creates the foreign field and index with the same name as the primary key in the foreign table. For example, when we established the relationship with the iUser table in the Book table, Five created the iUserKey field and the iUserkey foreign index in the Book table.
We are going to edit the book table so the iUserKey field and index are called MemberKey, this way we can easily see who is a member that owns a book and who is a member who is borrowing a book.
The documentation below will guide you through the steps to edit a field and an index record after saving a table. You will also see the Key fields and indices the Table Wizard automatically created for us.
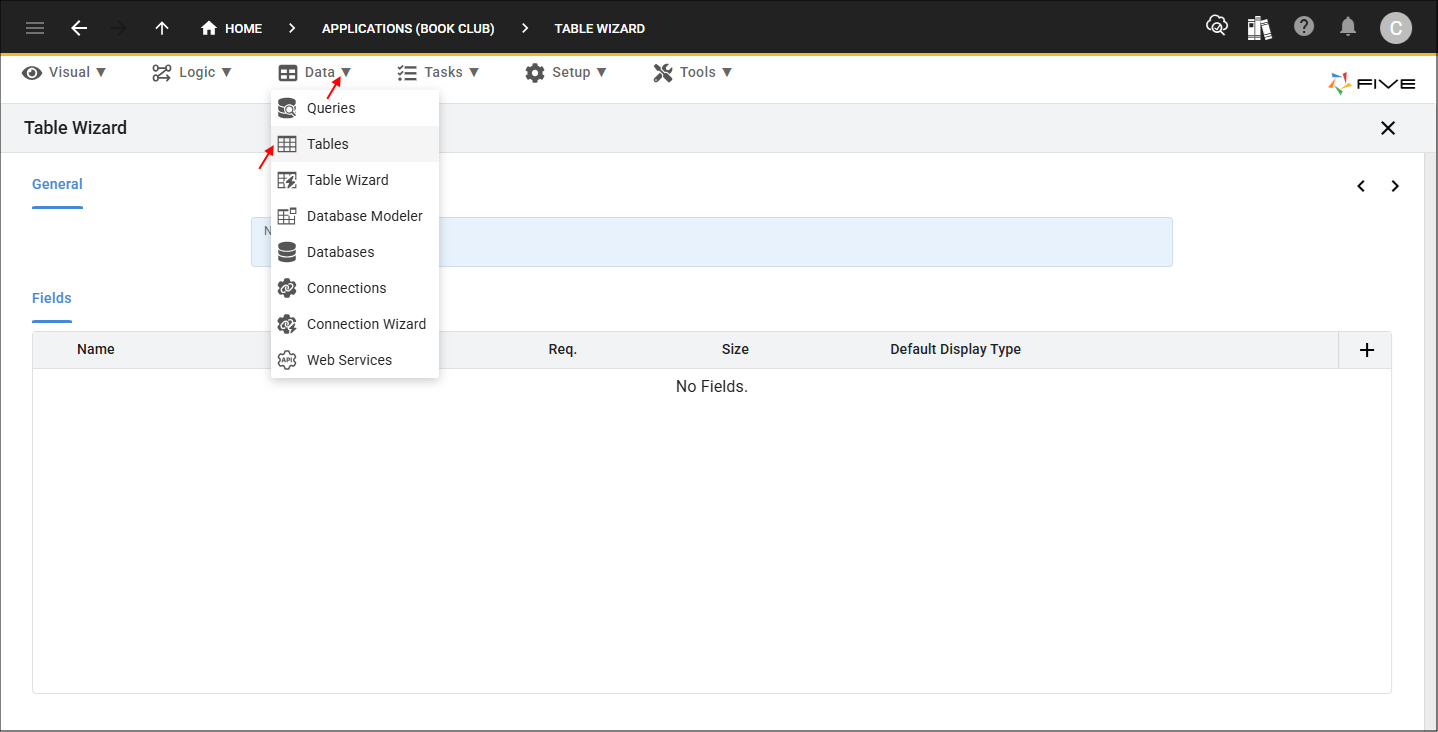
1. Click Data in the menu.
2. Click Tables in the sub-menu.
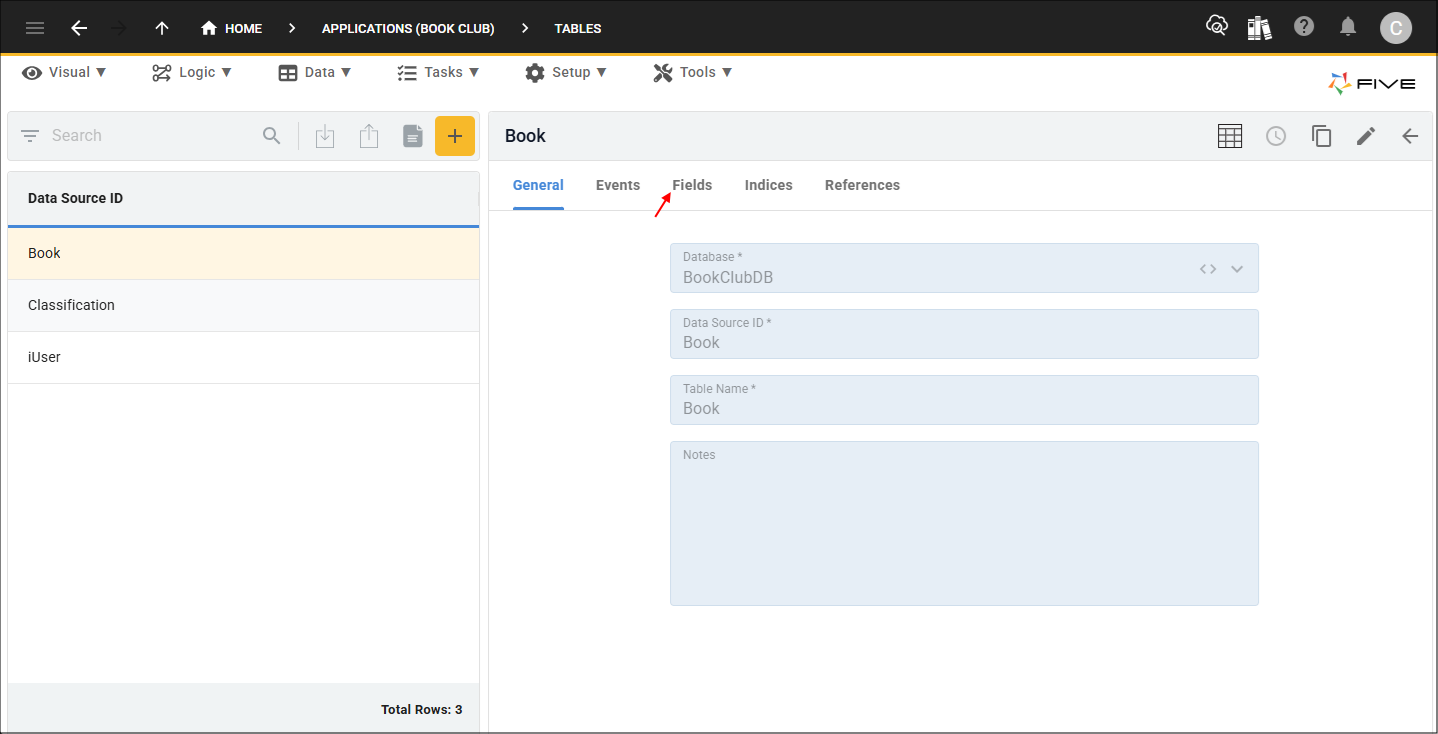
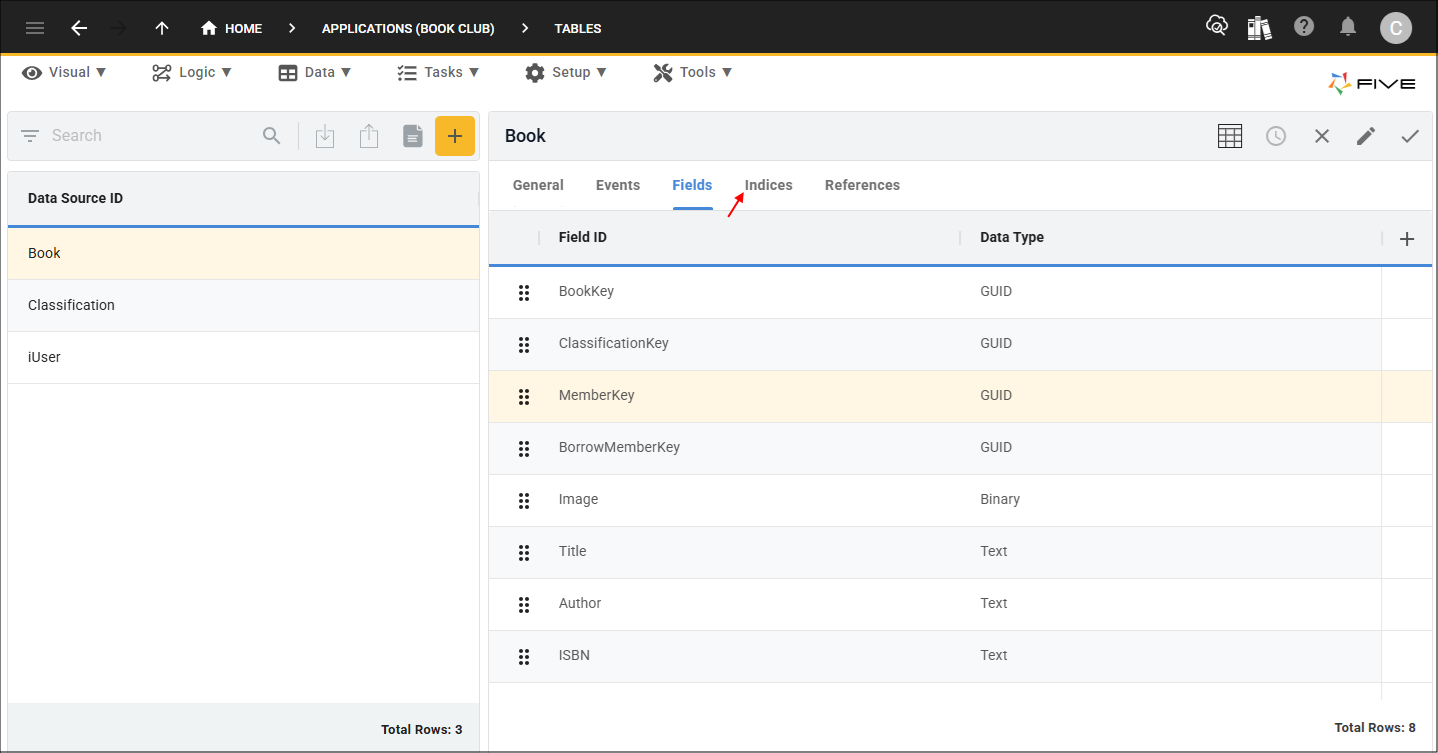
3. Select the Book record in the list.
4. Click the Fields tab.
5. Select the iUserKey record.
6. Either click the Edit button in the form app bar or click directly in the Field ID field.
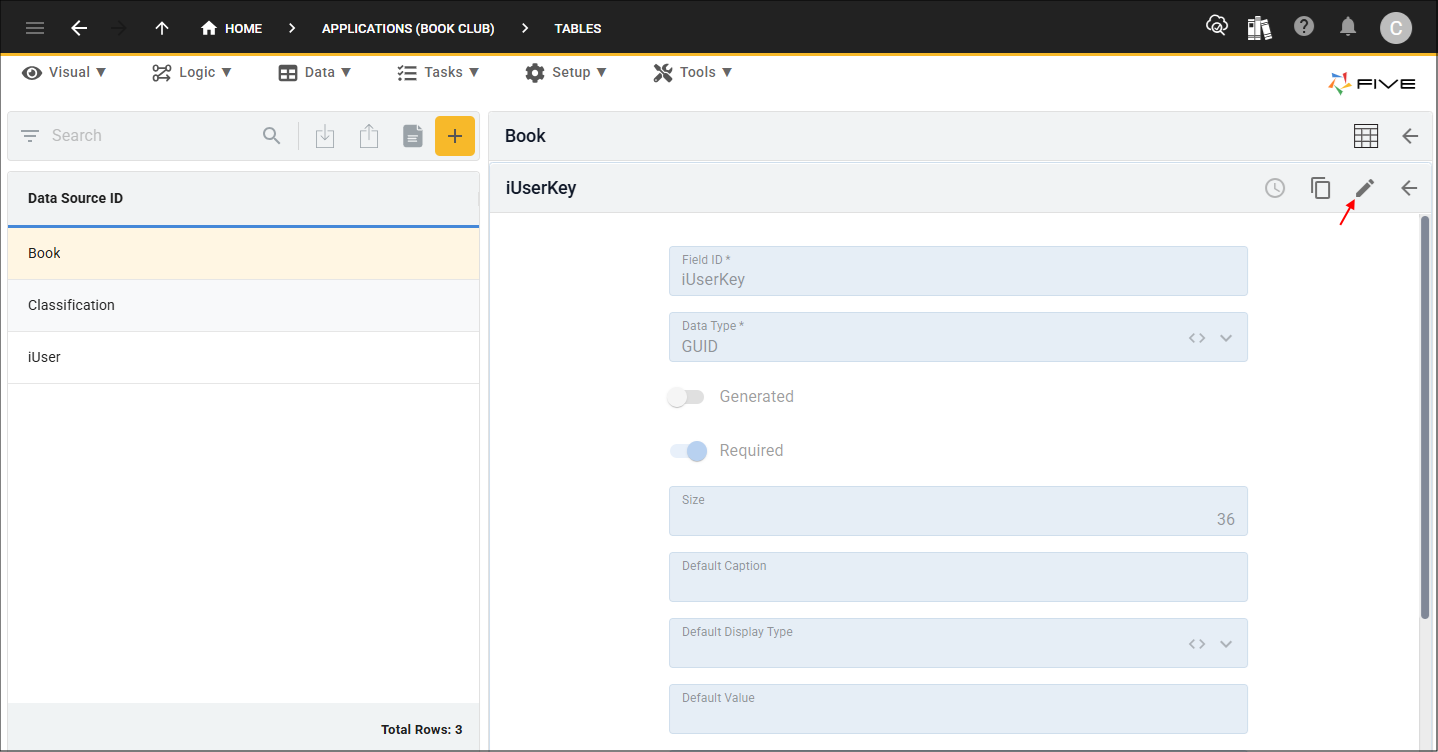
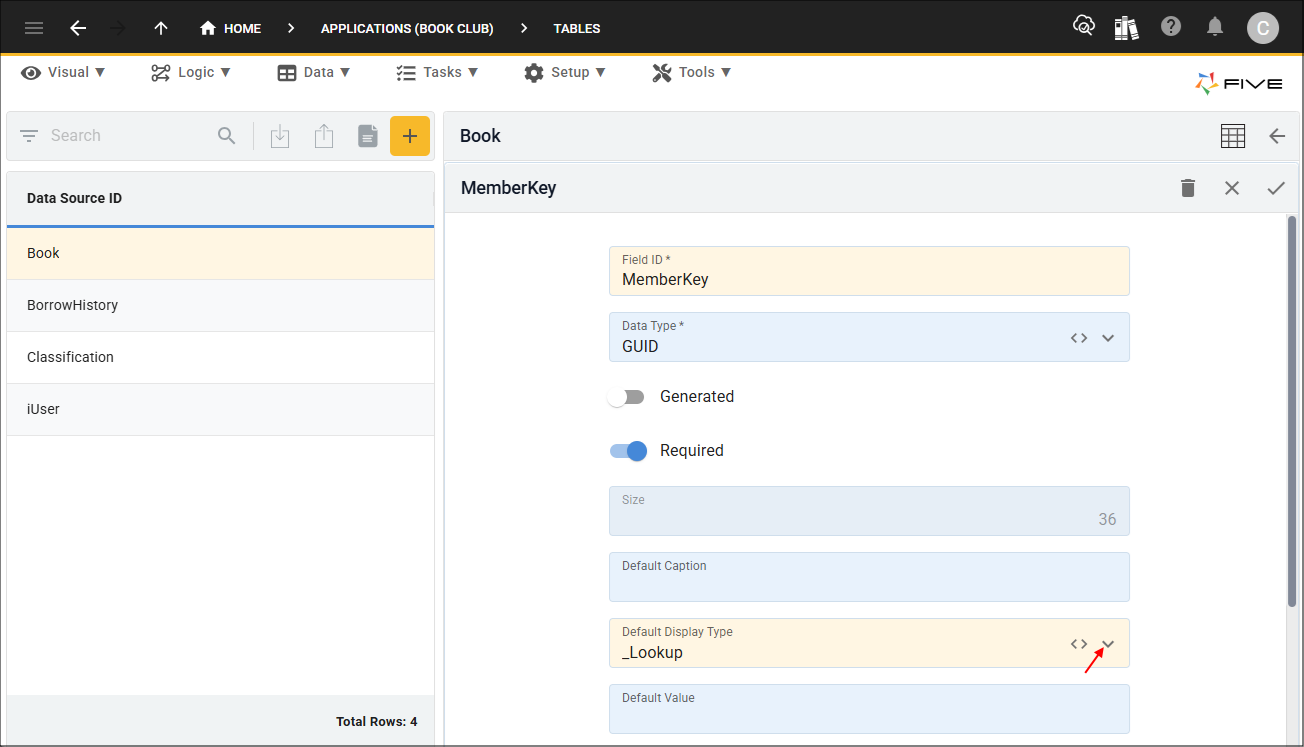
7. Click the Cancel button in the Field ID field and type MemberKey.
8. Click the lookup icon in the Default Display Type field and select _Lookup.
9. Click the Save button in the form app bar.

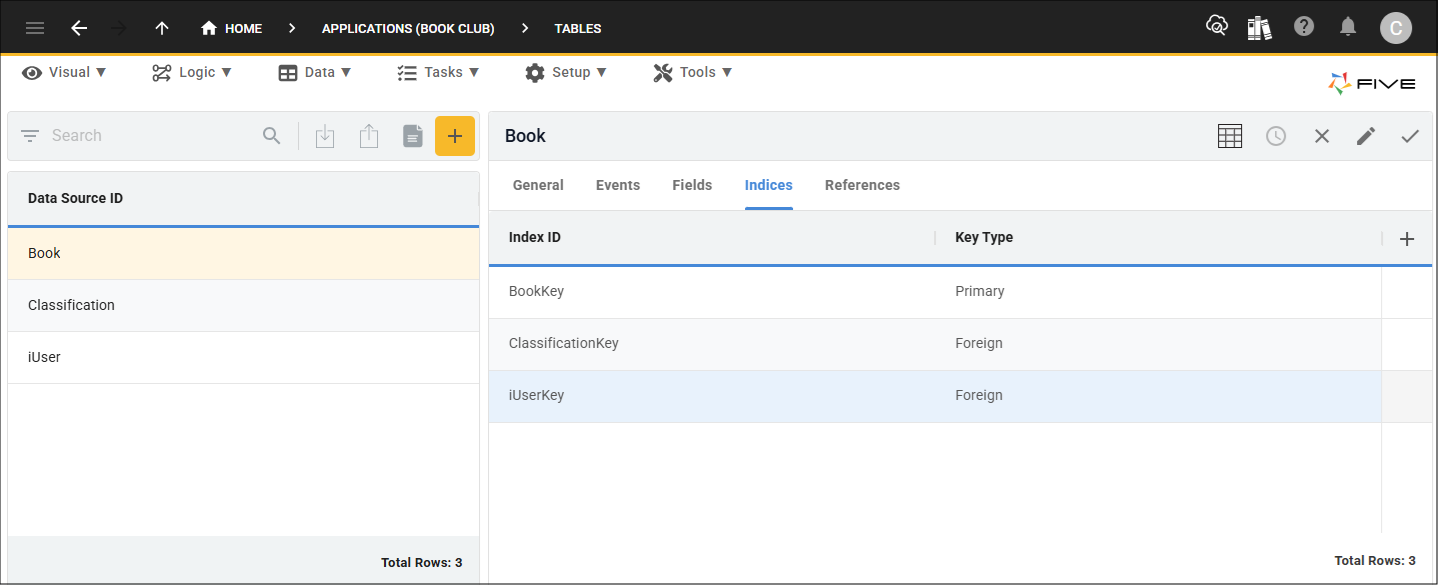
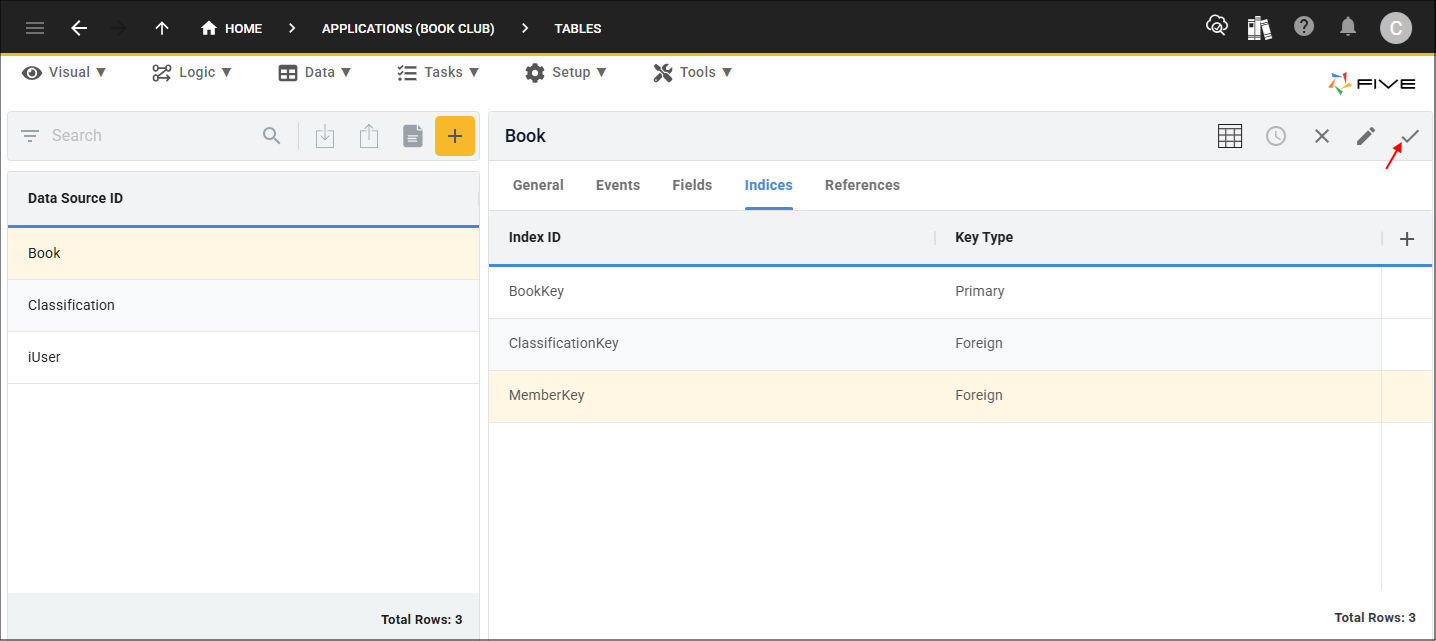
10. Click the Indices tab.
11. Select the iUserKey record.
12. Either click the Edit button in the form app bar or click directly in the Index ID field.
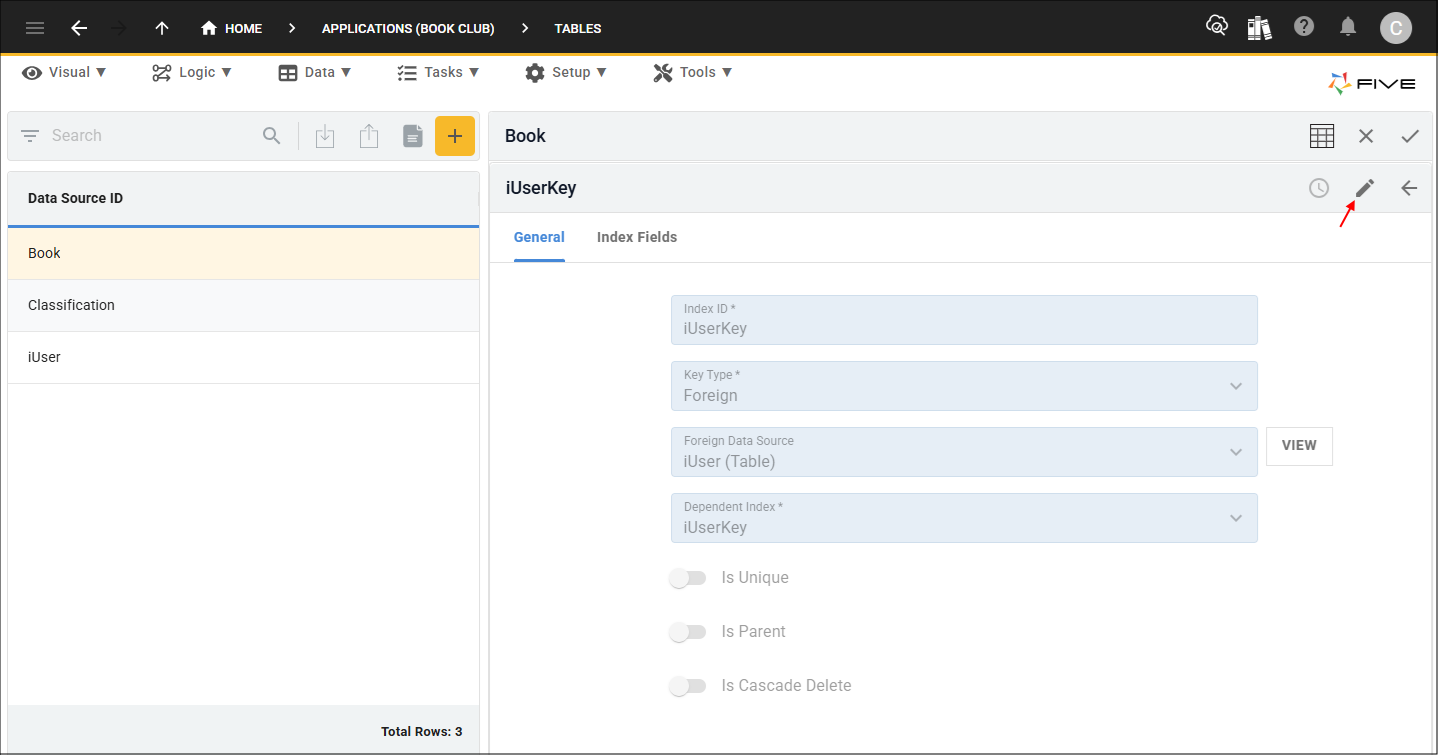
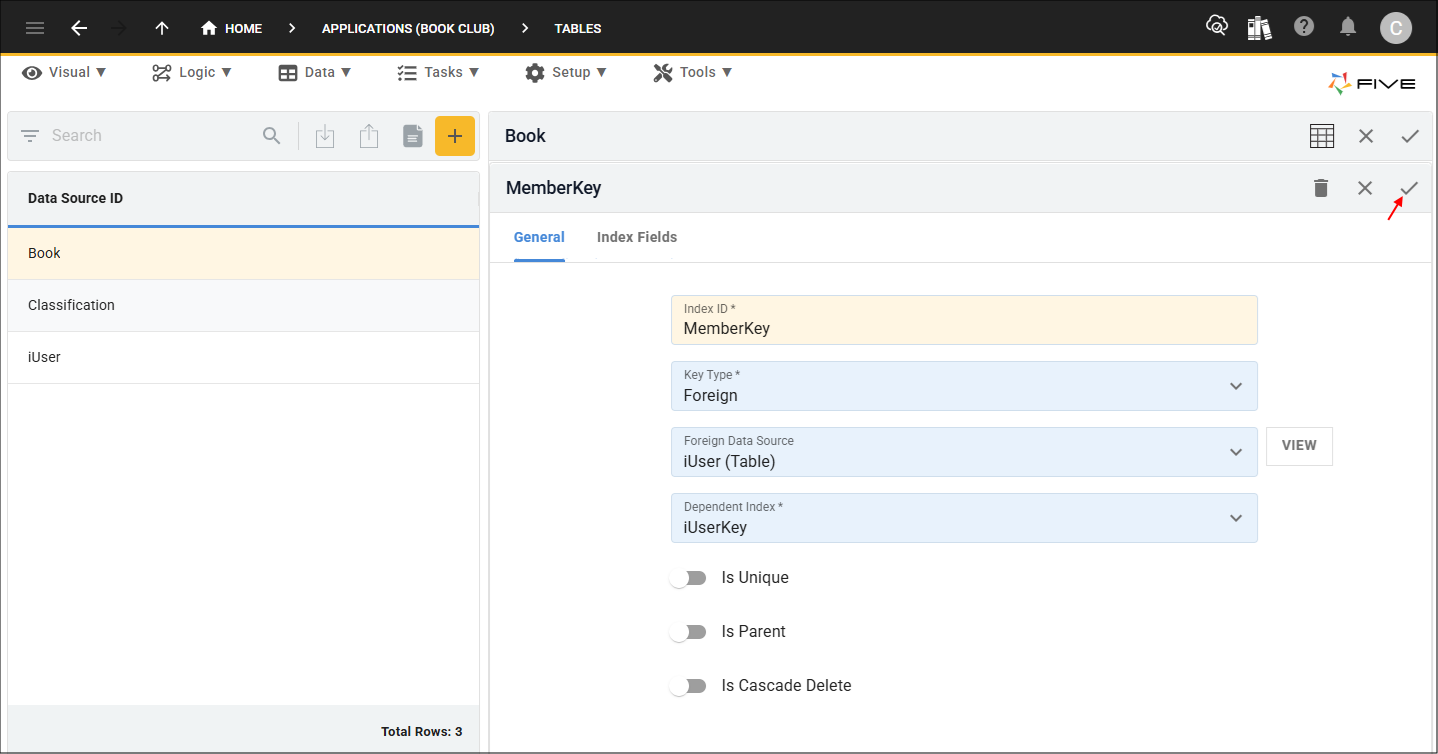
13. Click the Cancel button in the Index ID field and type MemberKey.
14. Click the Save button in the form app bar.
15. Click the Save button in the form app bar above the list.
Add the BorrowHistory Table
1. Click Data in the menu.
2. Click Table Wizard in the sub-menu.
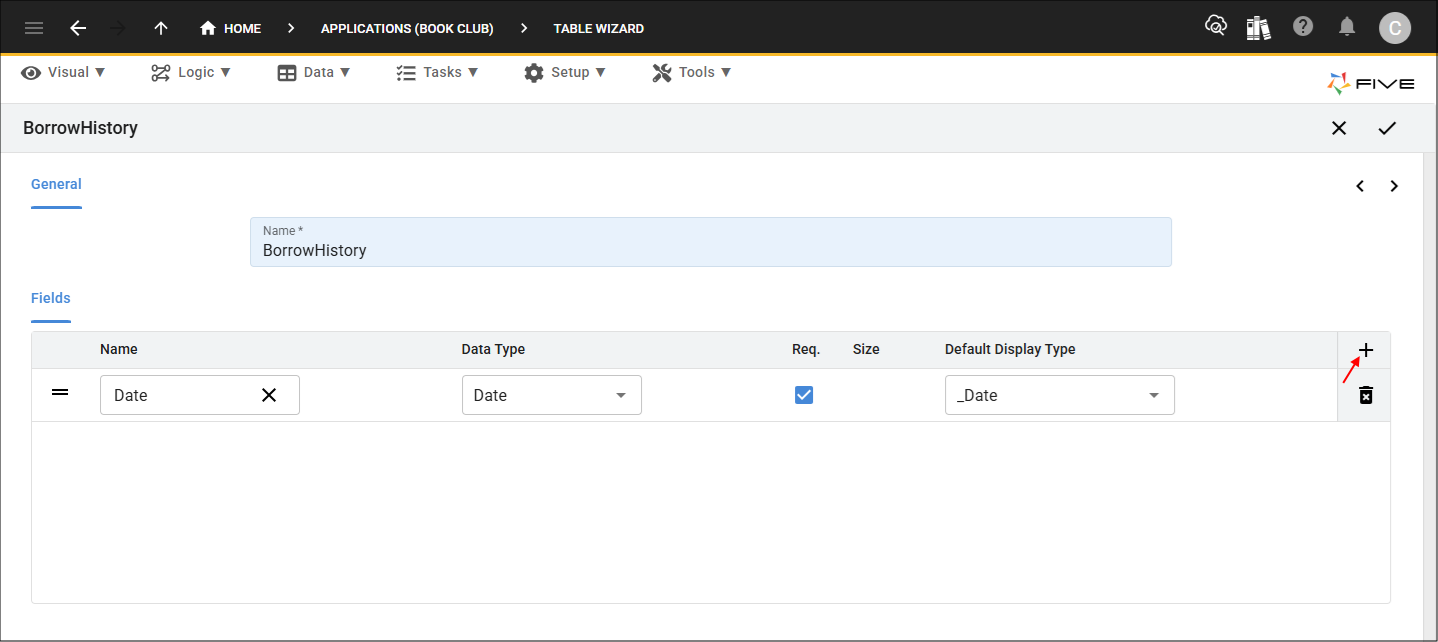
3. Type BorrowHistory in the Name field.
4. Click the Add Fields button.
5. Type Date in the Name field.
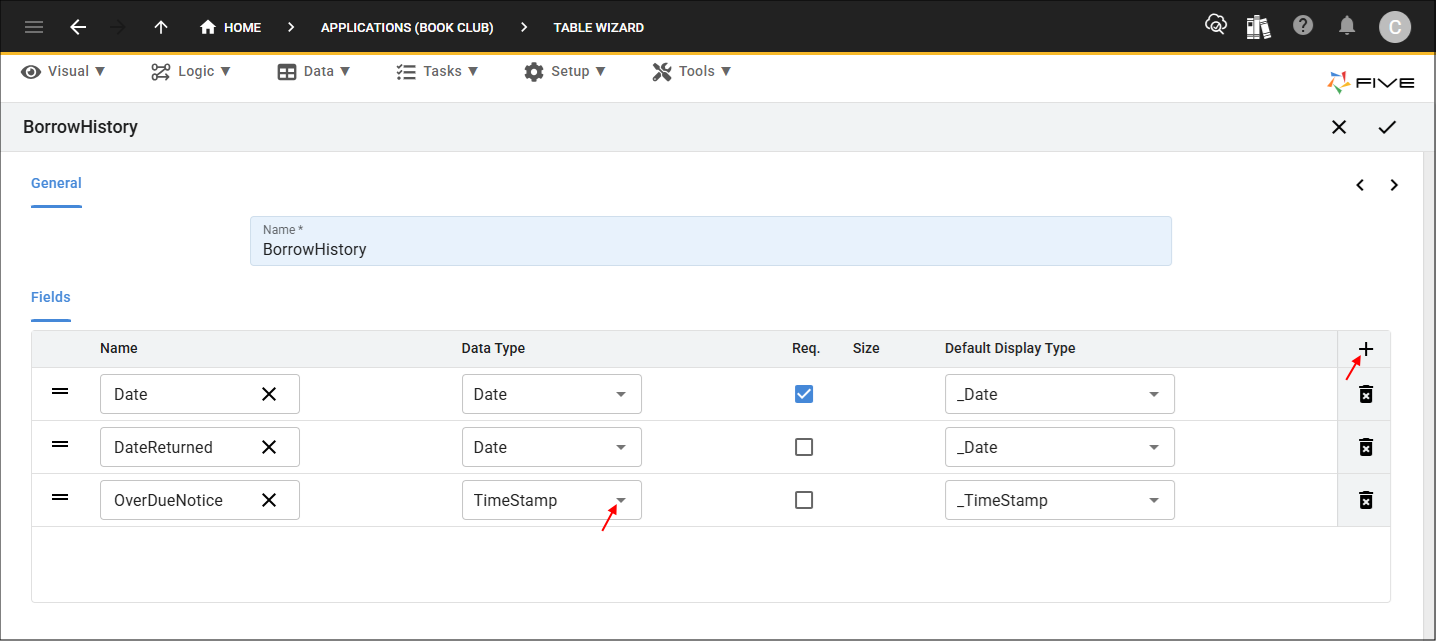
6. Click the Add Fields button.
7. Type DateReturned in the Name field.

8. Click the Add Fields button.
9. Type OverDueNotice in the Name field.
10. Click the lookup icon in the Data Type field and select TimeStamp.
11. Click the Next button.

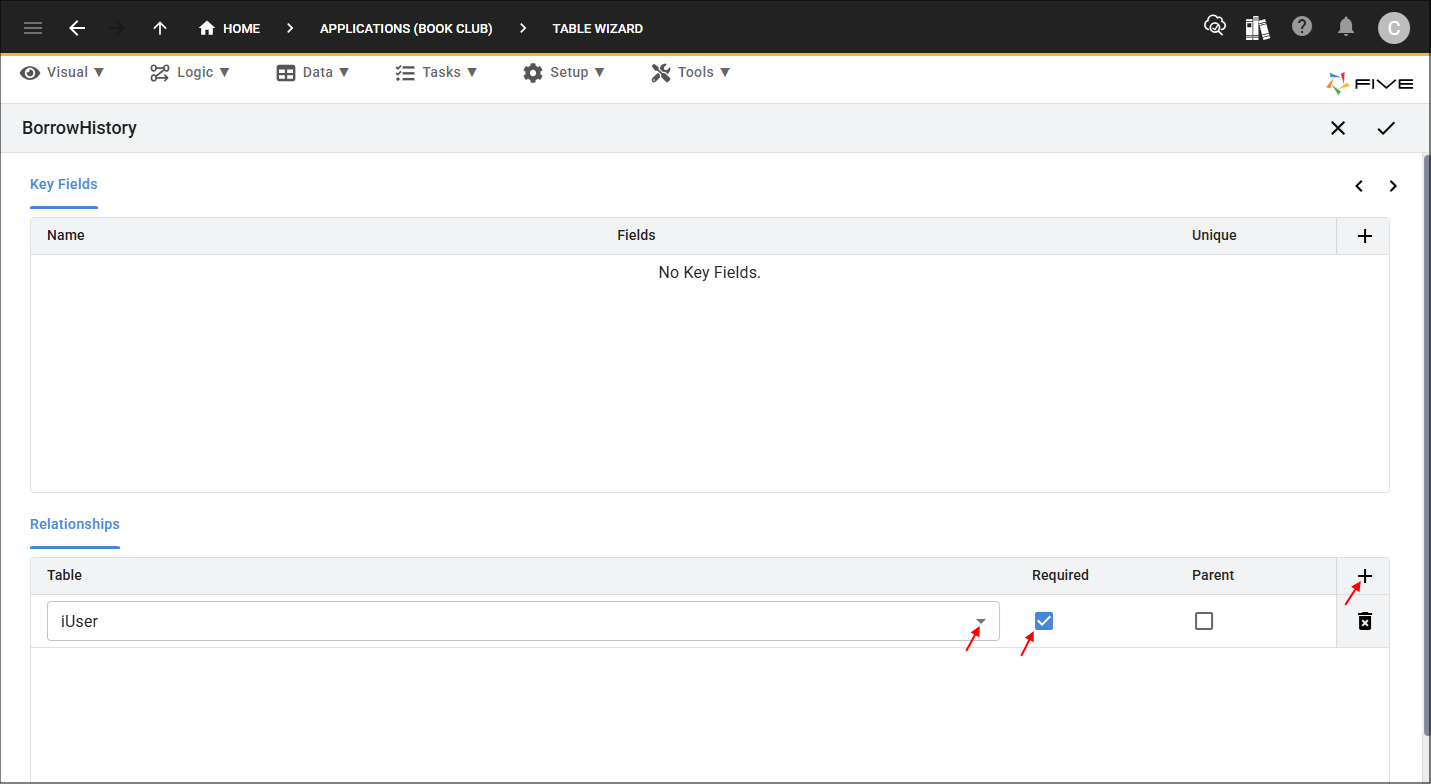
12. Click the Add Relationships button.
13. Click the lookup icon in the Table field and select iUser.
14. Click the Required checkbox.
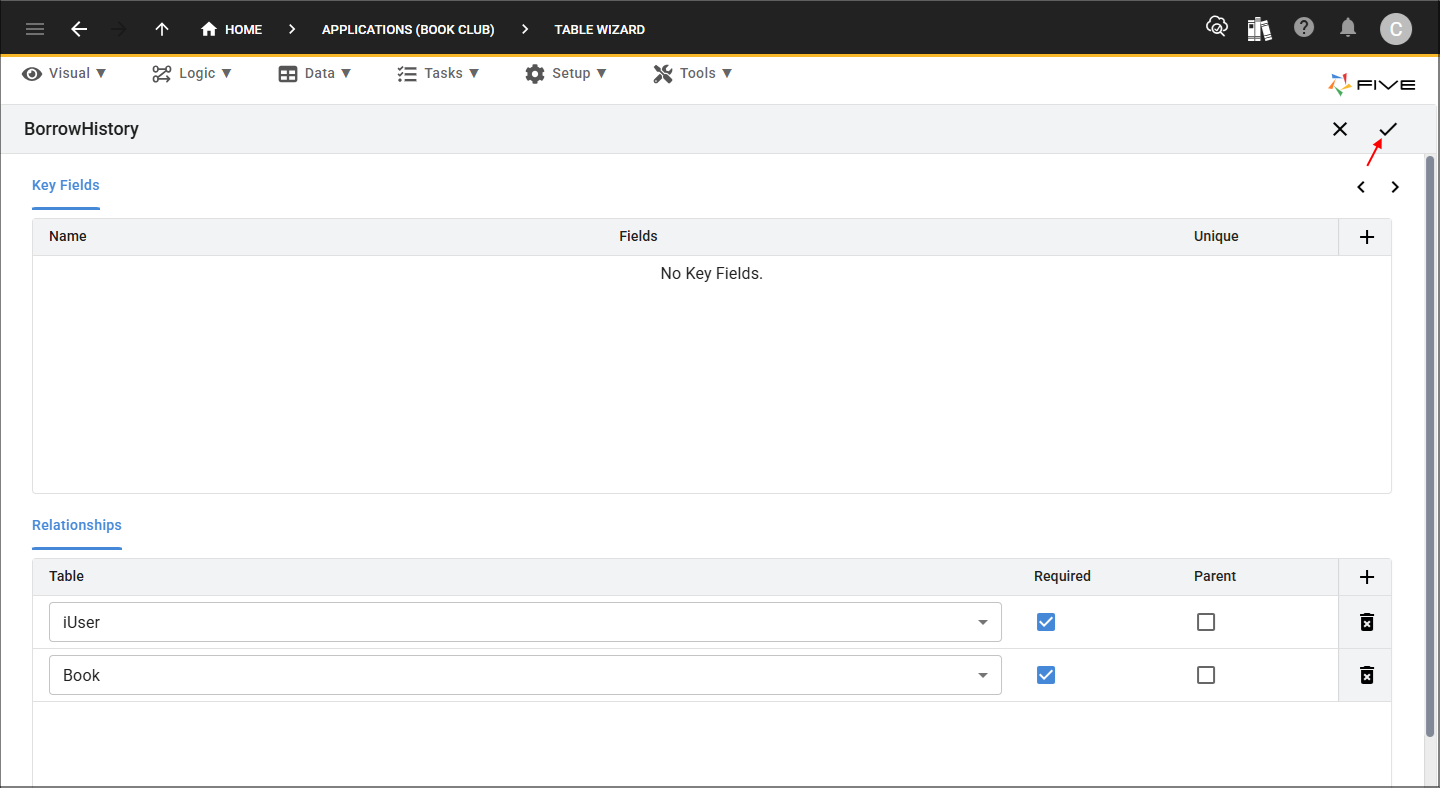
15. Click the Add Relationships button.
16. Click the lookup icon in the Table field and select Book.
17. Click the Required checkbox.

18. Click the Save button in the Table Wizard app bar.
19. Click the Save button in the Table Upgrade window.

Edit the BorrowHistory Table
The BorrowHistory table needs to be updated to change the name of the iUserKey field and index to keep with the same naming conventions we have been using in the Book table.
1. Click Data in the menu.2. Click Tables in the sub-menu.
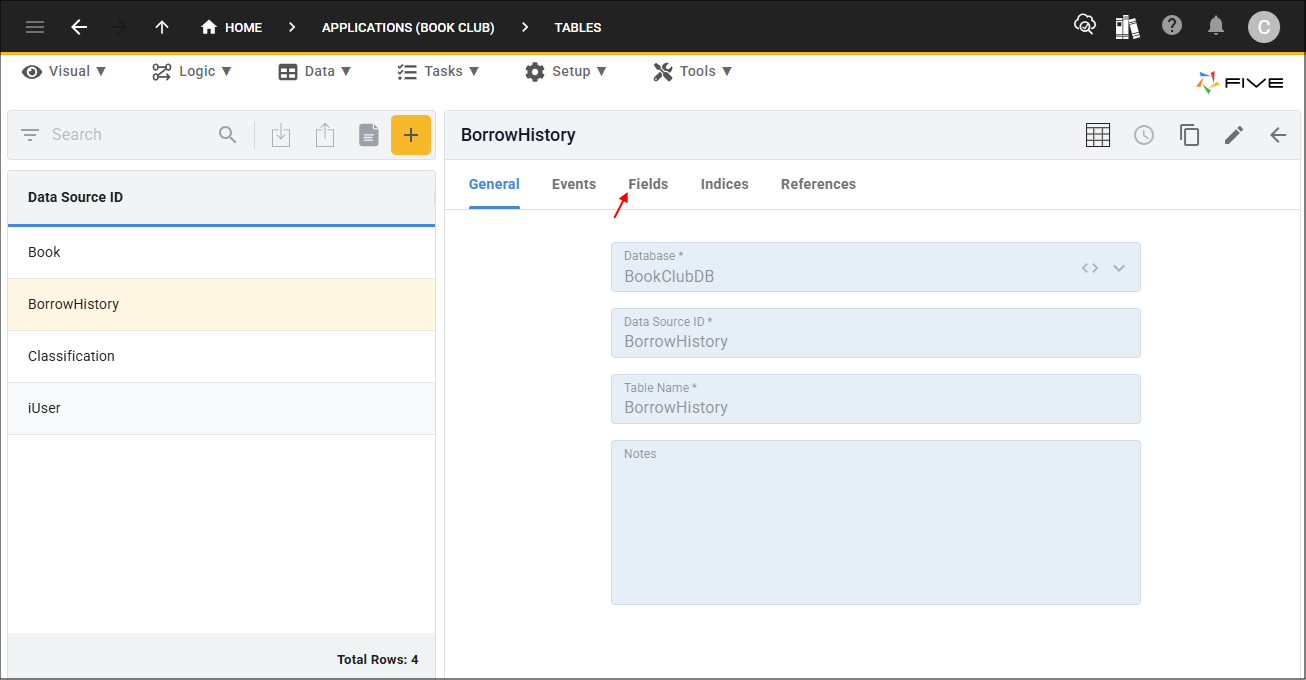
3. Select the BorrowHistory record in the list.
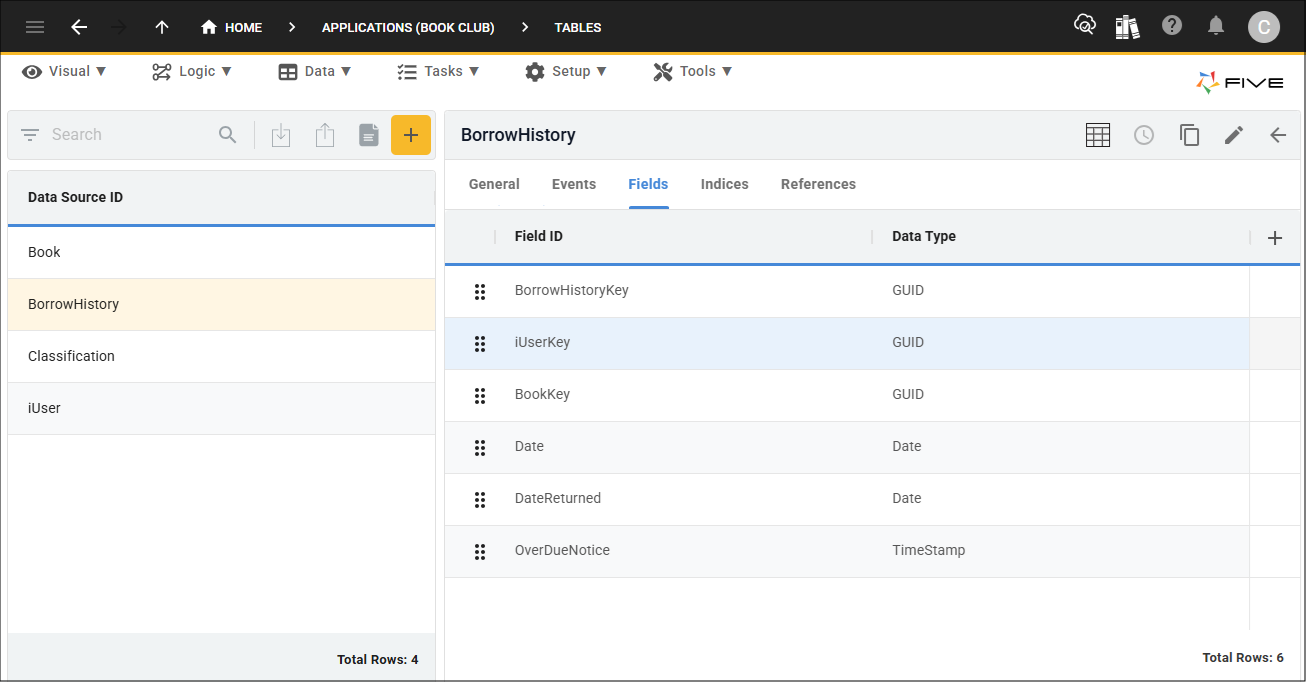
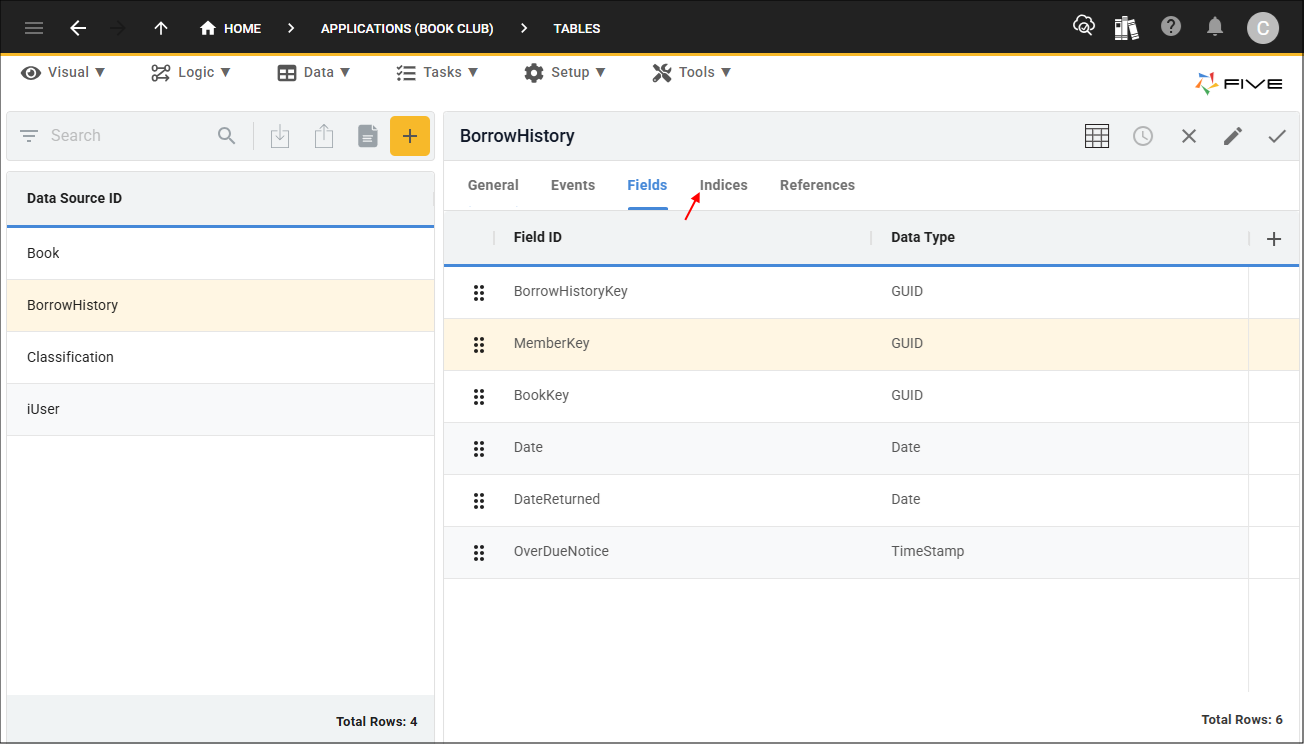
4. Click the Fields tab.
5. Select the iUserKey record.
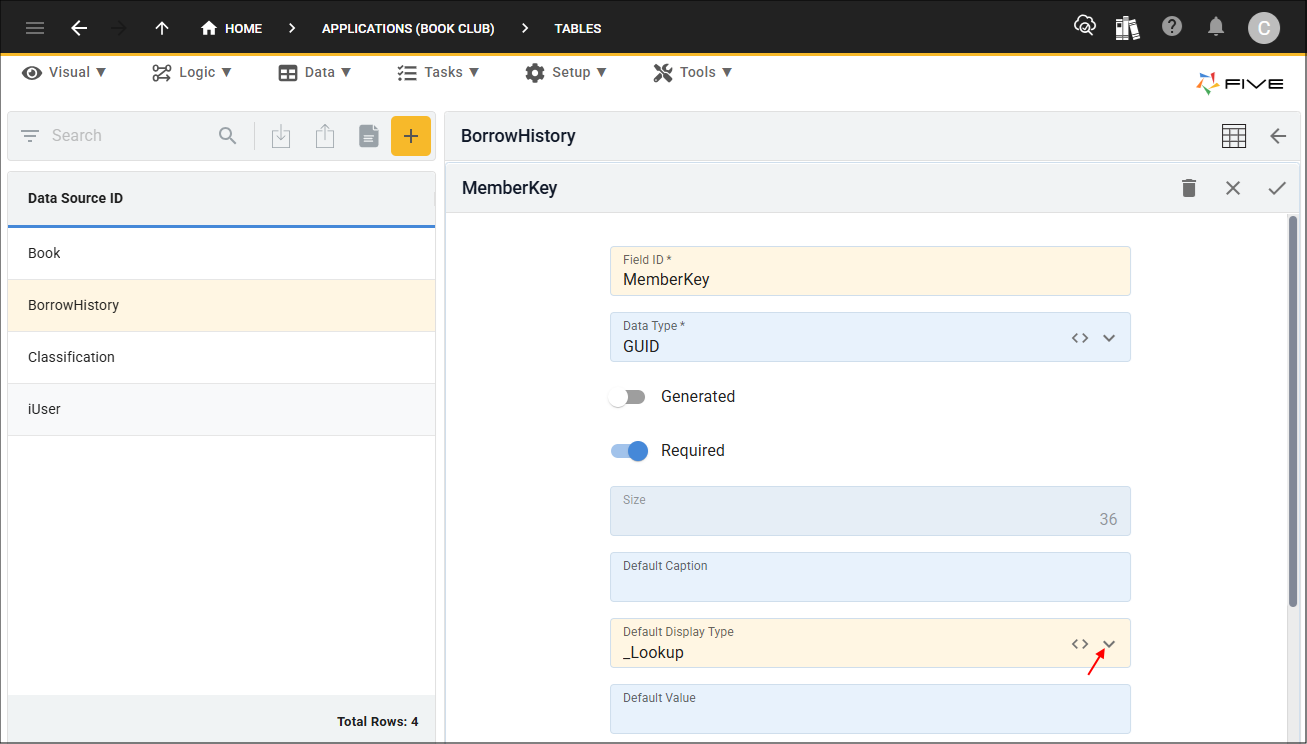
6. Either click the Edit button in the form app bar or click directly in the Field ID field.
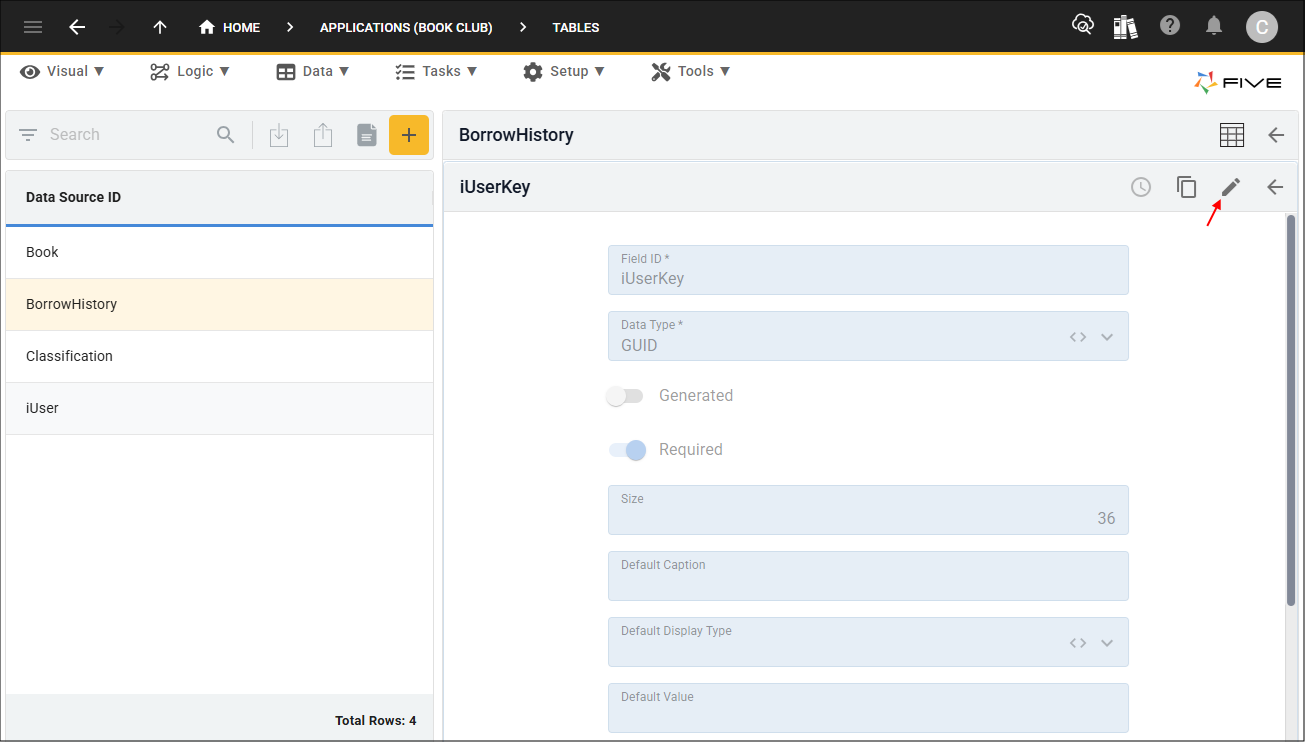
7. Click the Cancel button in the Field ID field and type MemberKey.
8. Click the lookup icon in the Default Display Type field and select _Lookup.
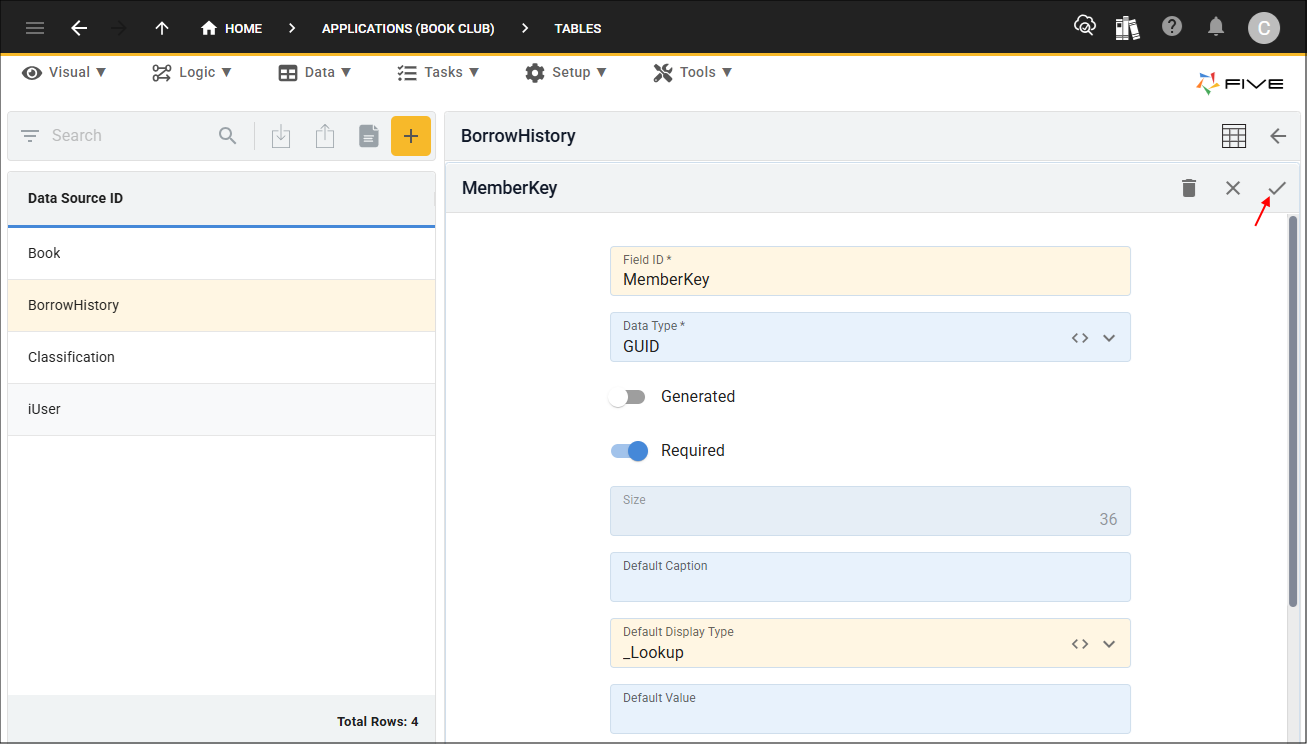
9. Click the Save button in the form app bar.
10. Click the Indices tab.
11. Select the iUserKey record in the list.
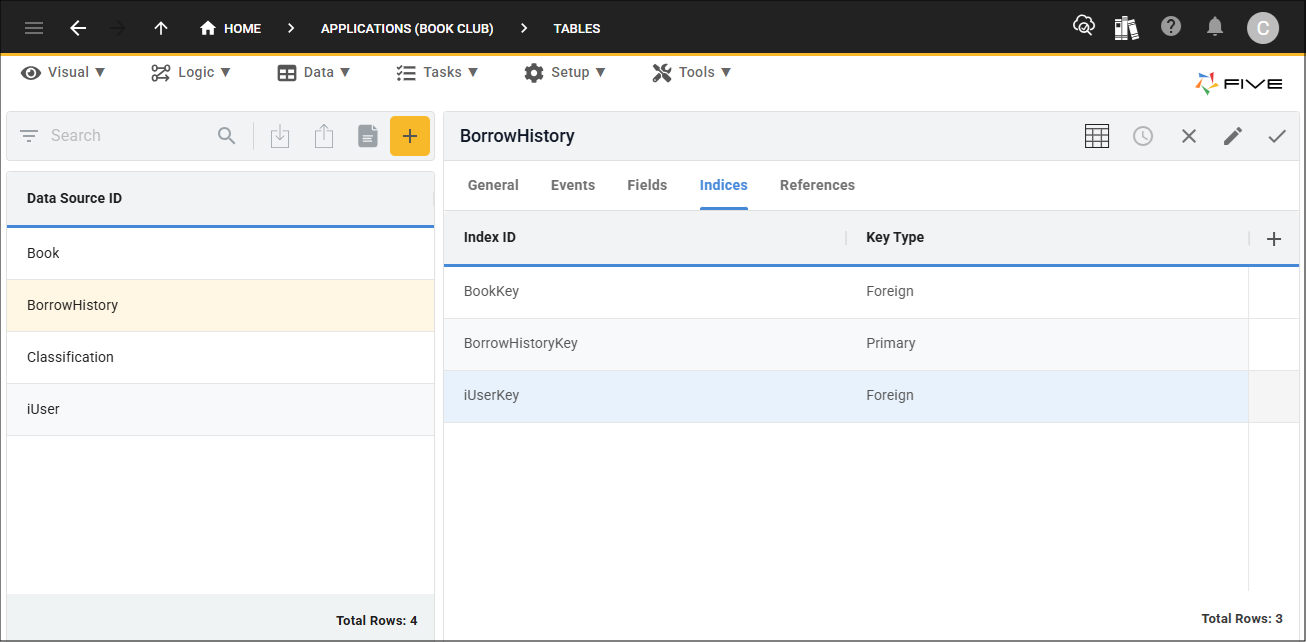
12. Either click the Edit button in the form app bar or click directly in the Index ID field.
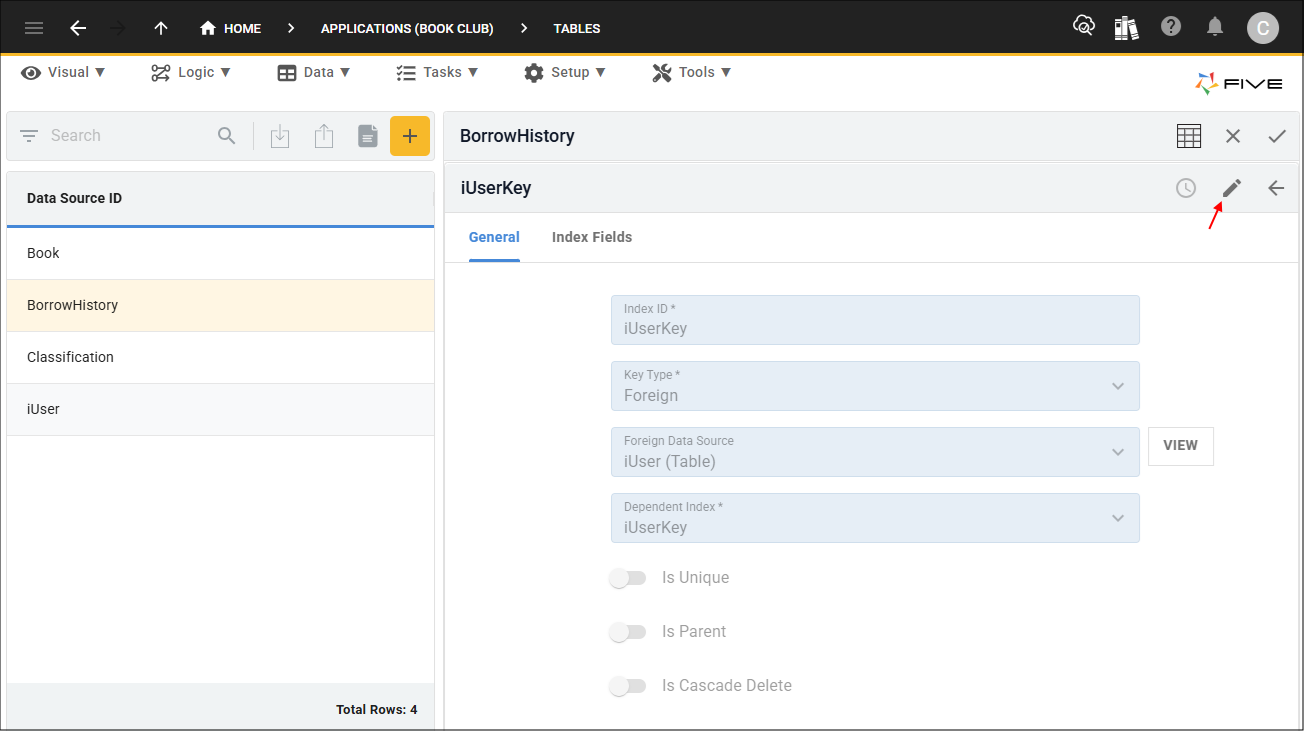
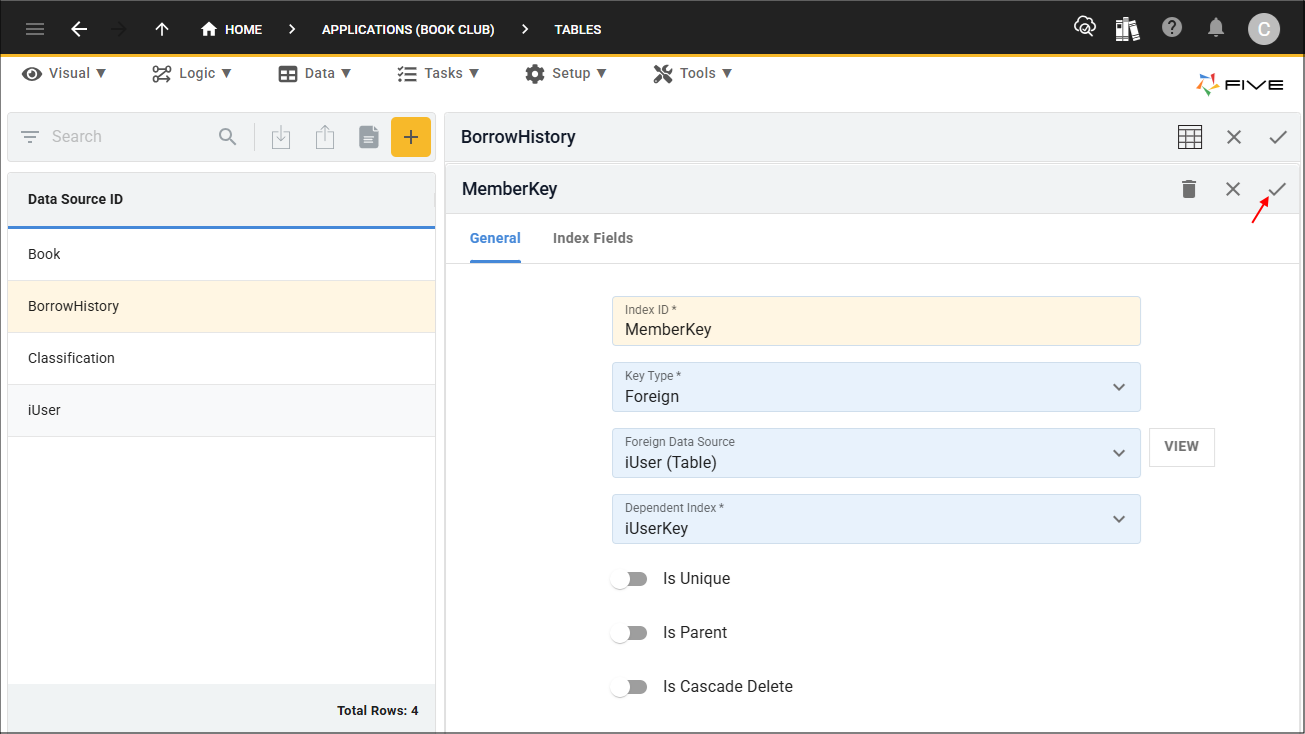
13. Click the Cancel button in the Index ID field and type MemberKey.
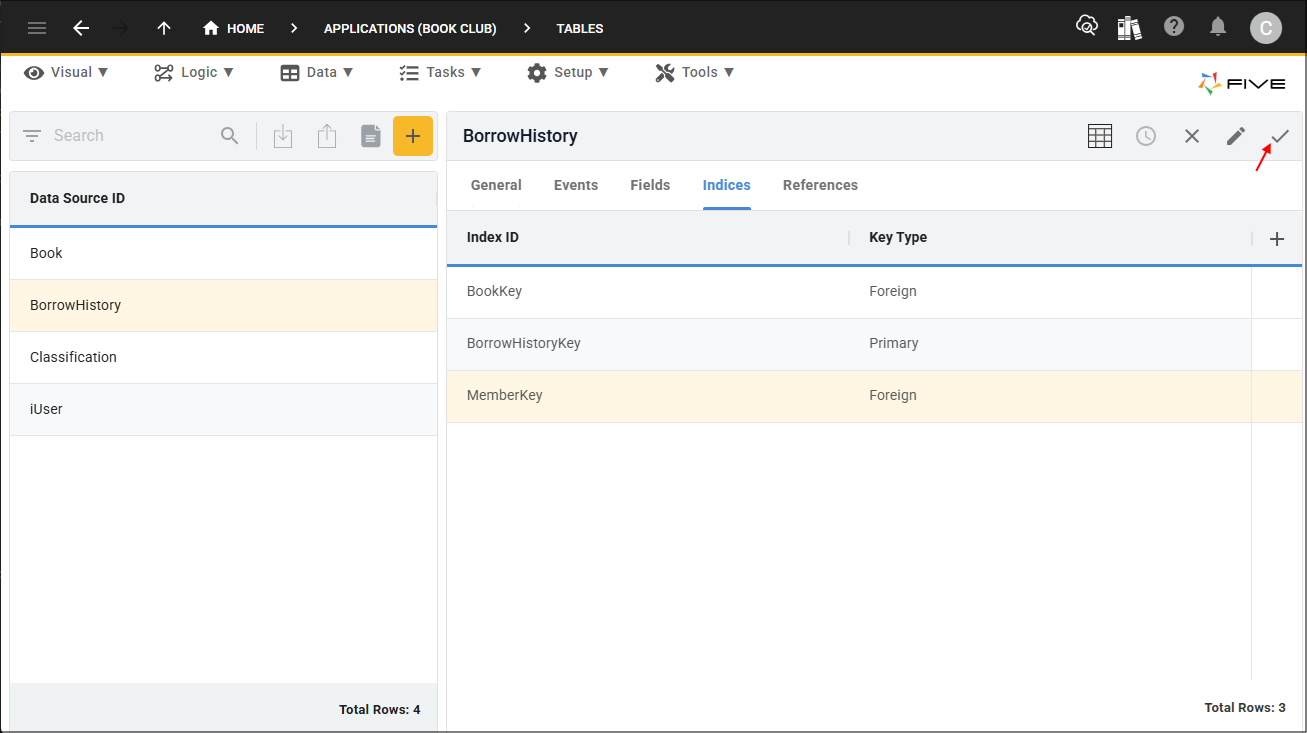
14. Click the Save button in the form app bar.
15. Click the Save button in the form app bar above the list.
Working with Five's iUser Table
The iUser table that Five adds into your multiuser application can be edited to suit your requirements.
We are going to add some fields to the iUser table. These fields will be used for the Parcel Locker locations to know where a book is available to pick up.
At the form-level, you can select to hide fields, this is the recommended way to not show any fields that you do not want to display.
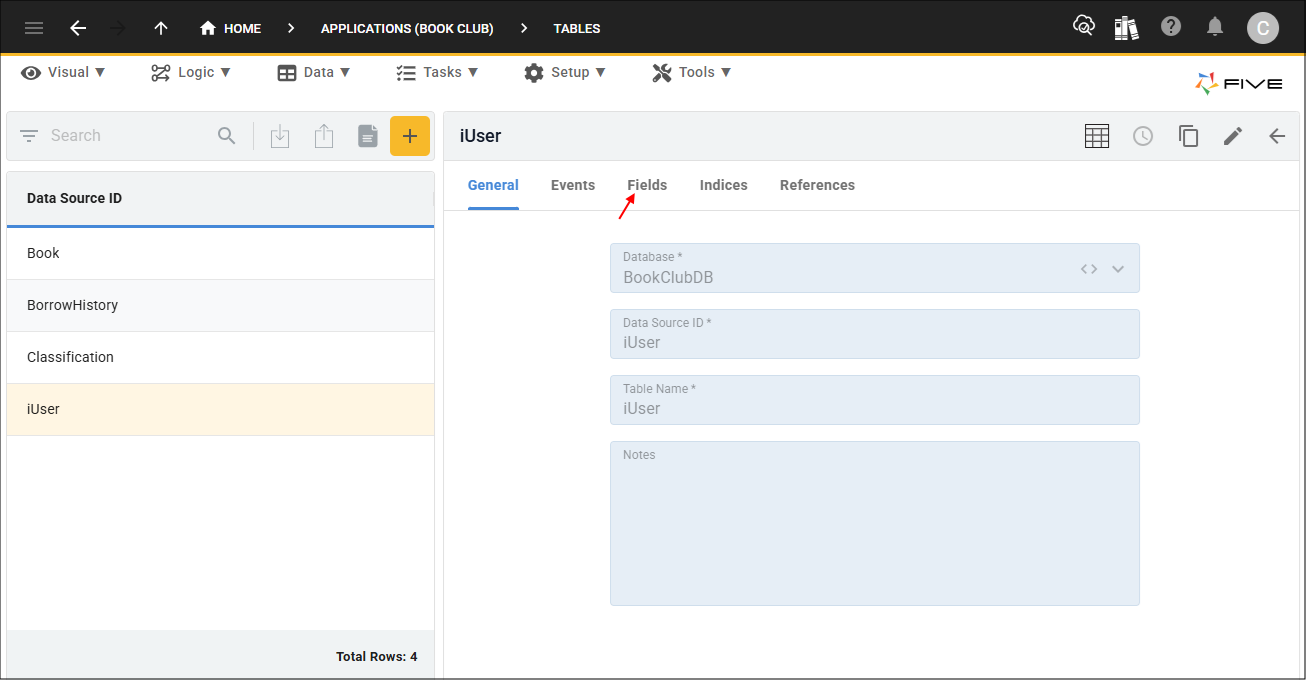
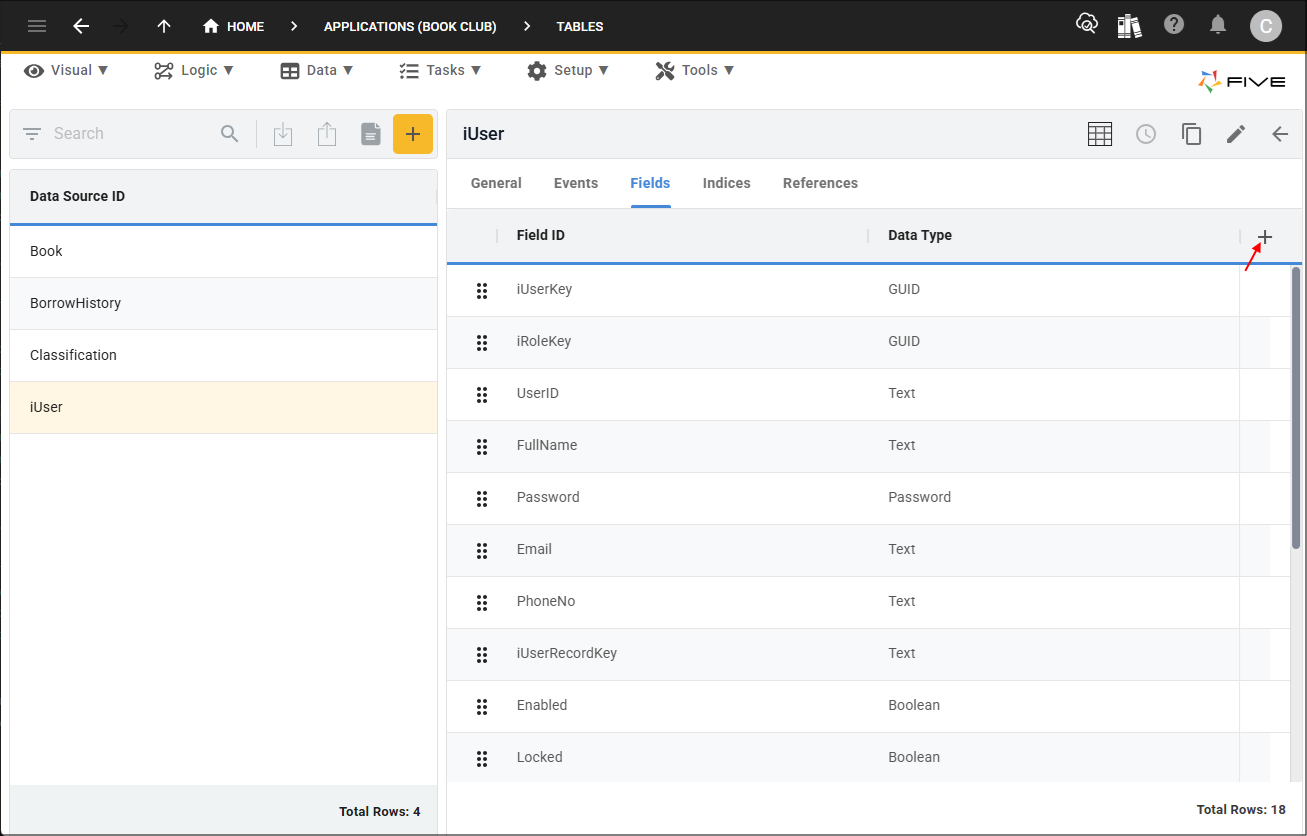
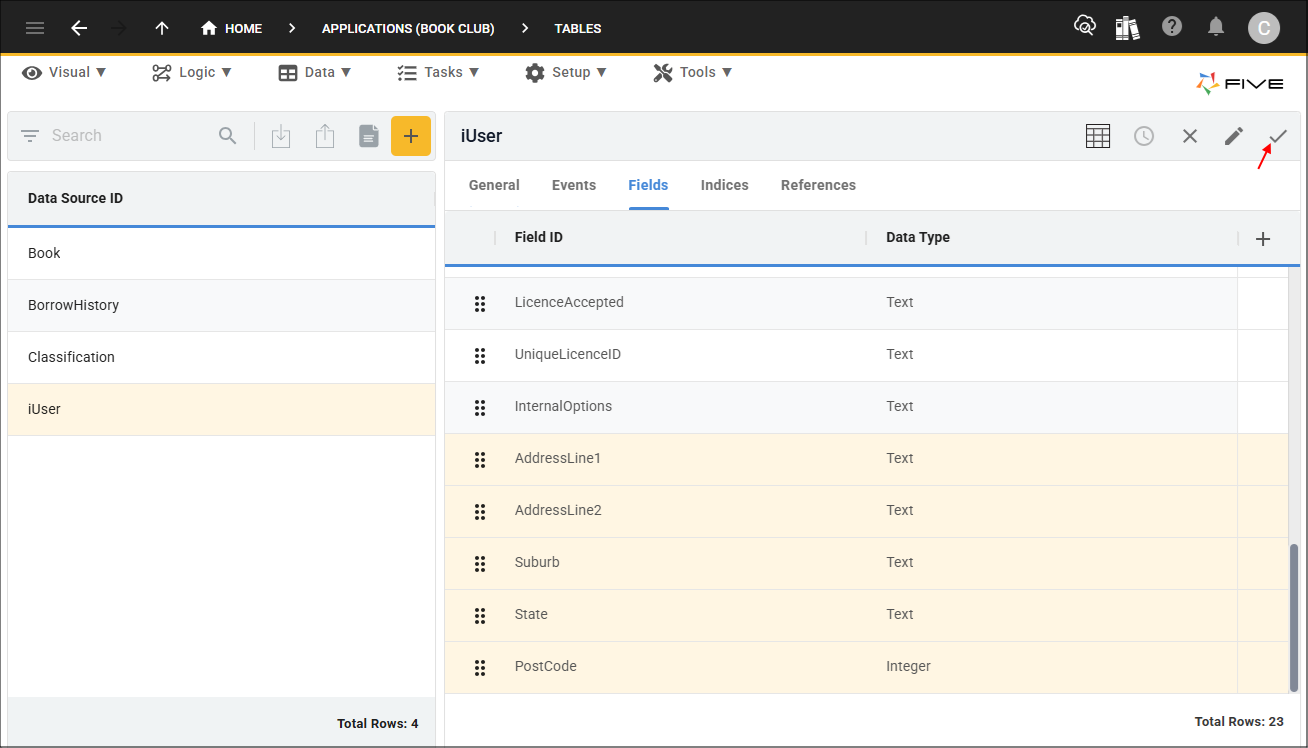
1. Select the iUser record in the list.
2. Click the Fields tab.
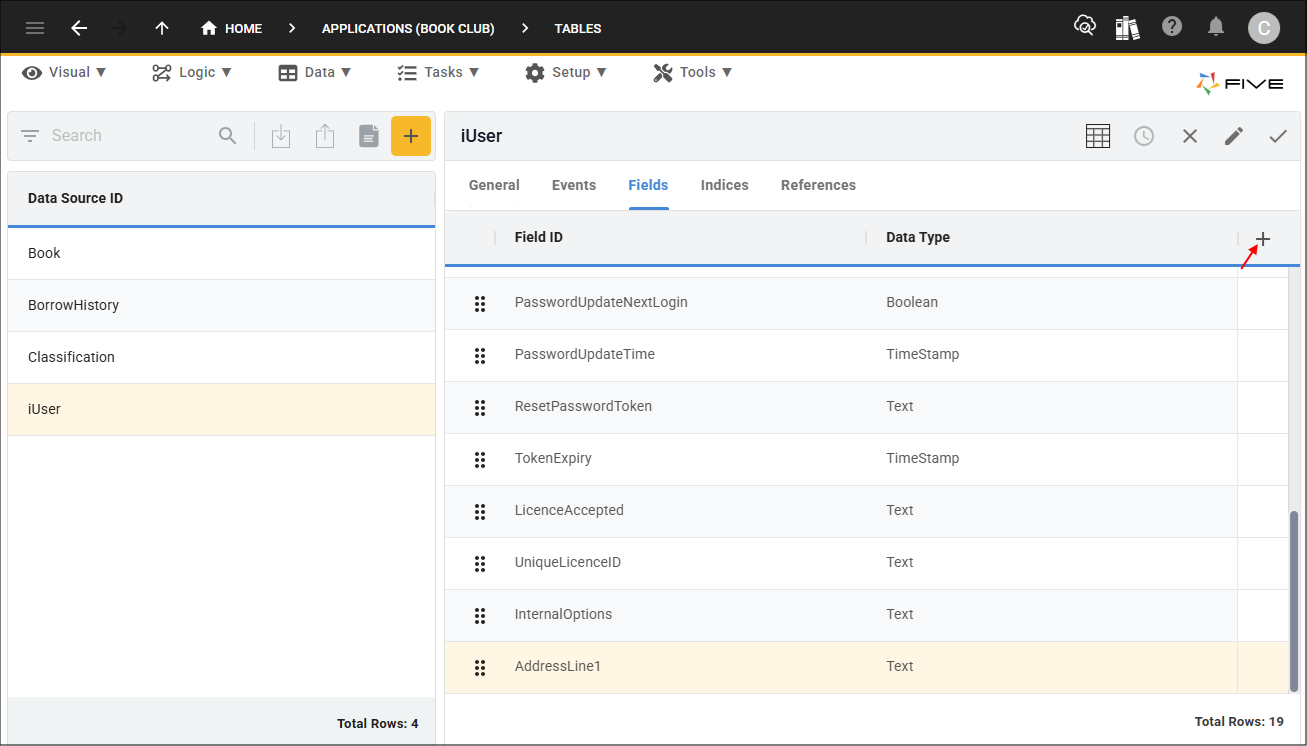
3. Click the Add Fields button.
4. Type AddressLine1 in the Field ID field.
5. Click the lookup icon in the Data Type field and select Text
6. Click the Required switch.
7. Click the lookup icon in the Default Display Type field and select _Text.

8. Click the Save button in the form app bar.

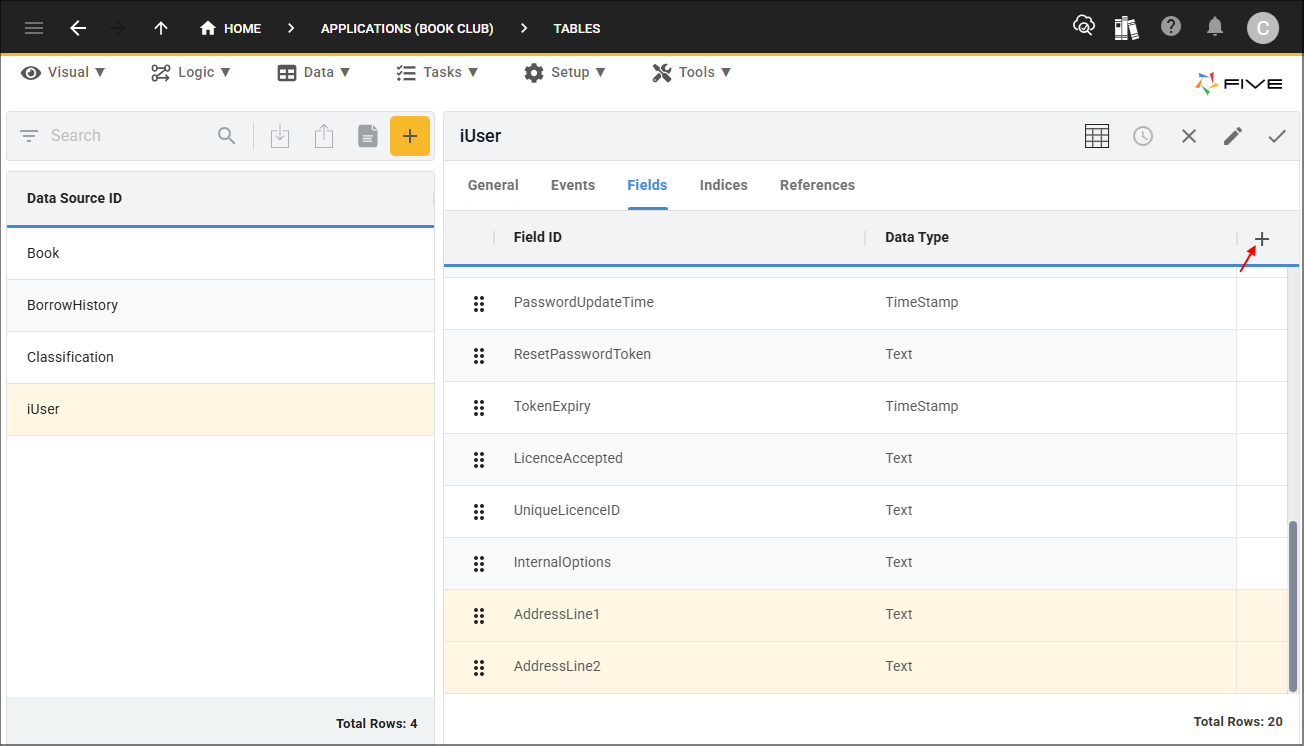
9. Click the Add Fields button.
10. Type AddressLine2 in the Field ID field.
11. Click the lookup icon in the Data Type field and select Text.
12. Click the lookup icon in the Default Display Type field and select _Text.

13. Click the Save button in the form app bar.

14. Click the Add Fields button.
15. Type Suburb in the Field ID field.
16. Click the lookup icon in the Data Type field and select Text.
17. Click the Required switch.
18. Click the lookup icon in the Default Display Type field and select _Text.

19. Click the Save button in the form app bar.

20. Click the Add Fields button.

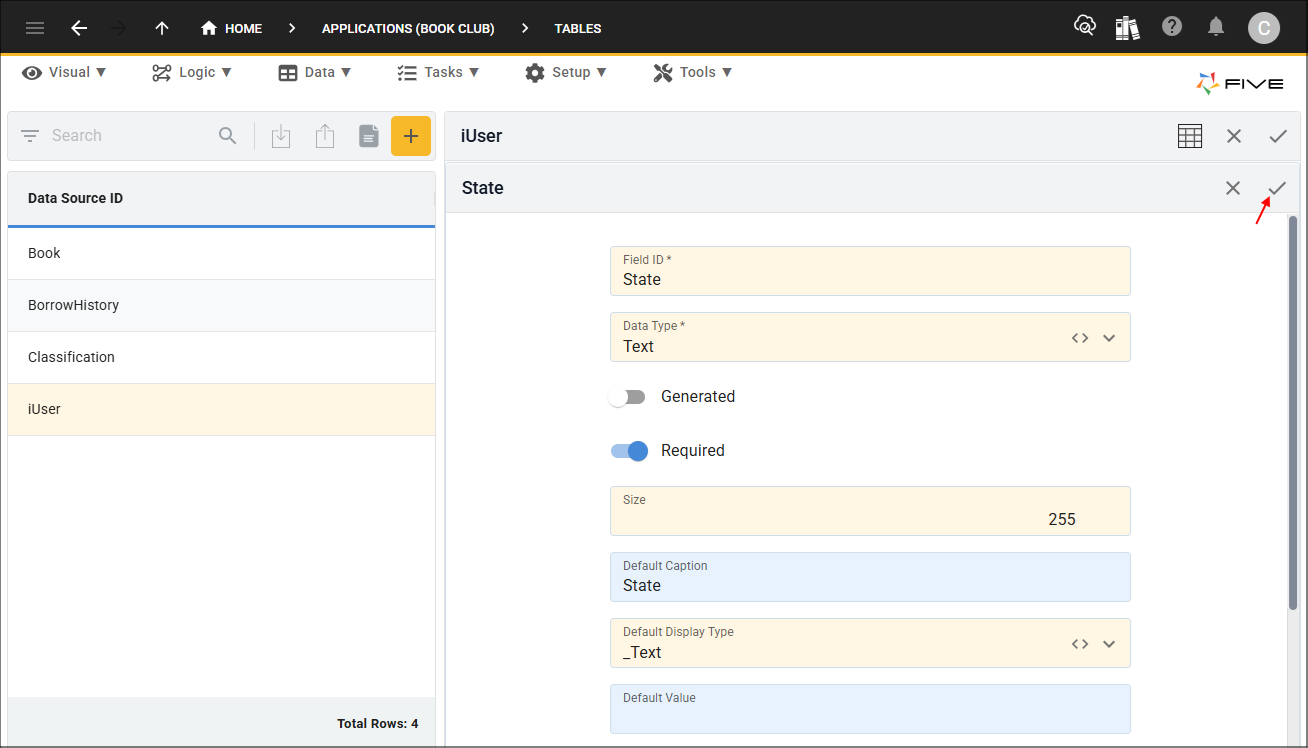
21. Type State in the Field ID field.
22. Click the lookup icon in the Data Type field and select Text.
23. Click the Required switch.
24. Click the lookup icon in the Default Display Type field and select _Text.

25. Click the Save button in the form app bar.
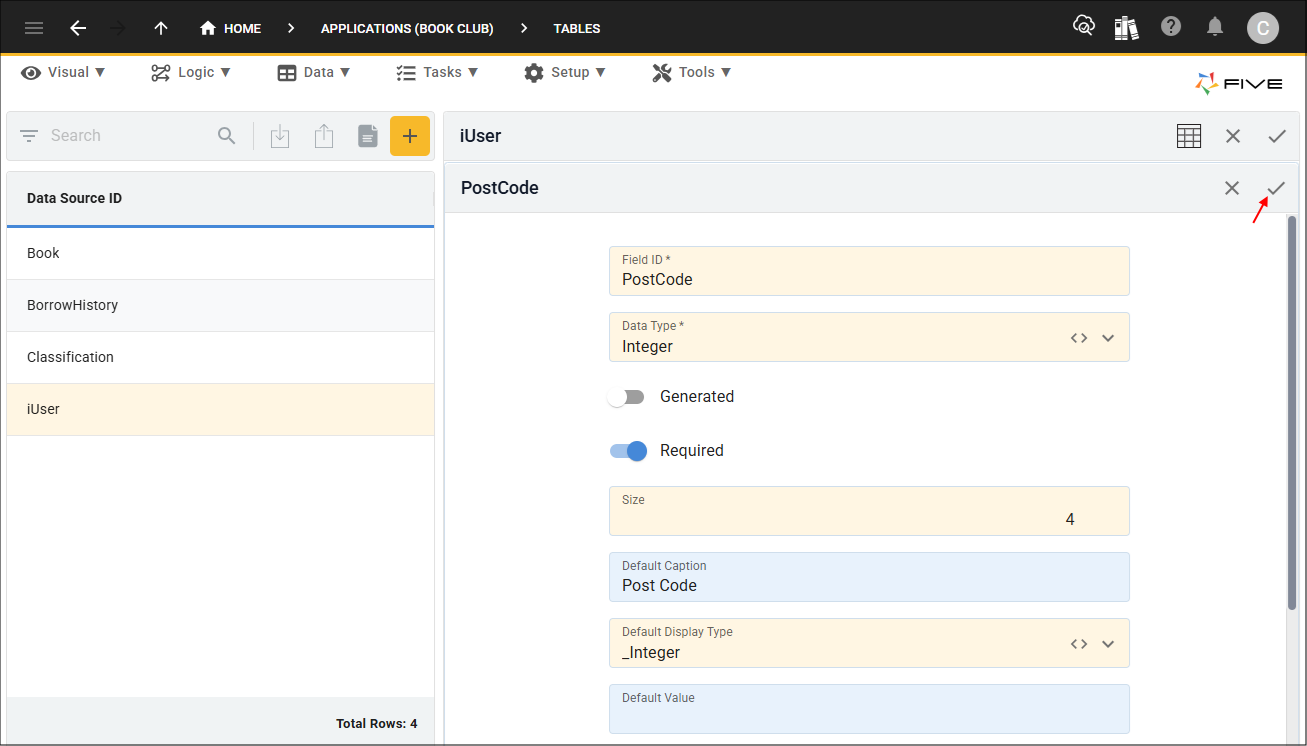
26. Click the Add Fields button.

27. Type PostCode in the Field ID field.
28. Click the lookup icon in the Data Type field and select Integer.
29. Click the Required switch.
30. Click the lookup icon in the Default Display Type field and select _Integer.

31. Click the Save button in the form app bar.
32. Click the Save button in the form app bar above the list.
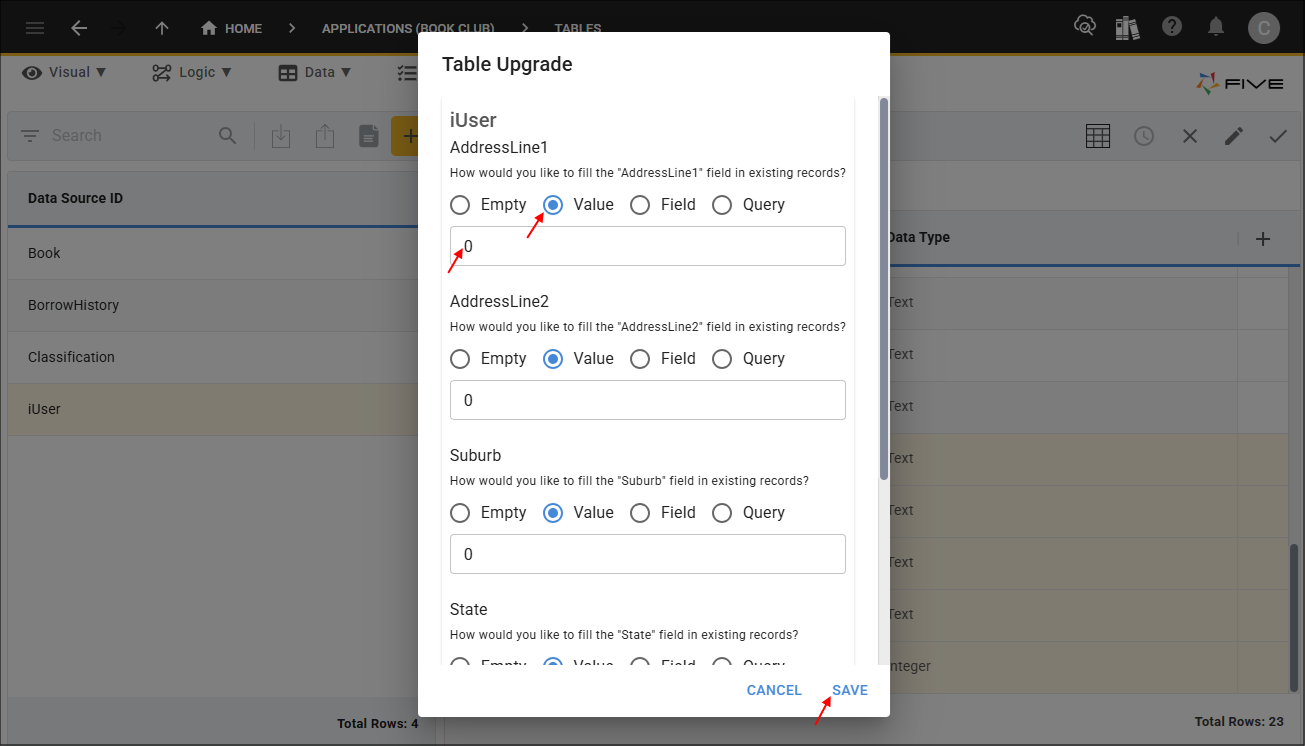
33. Click the Value checkbox for each of the fields.
34. Type 0 in the field for the fields: AddressLine1, AddressLine2, Suburb, State, and PostCode.
35. Click the Save button.