Version Control
Last updated 29/10/2024
How Versioning Works in Five
Out of the box, Five has version control. This method is used to track changes made to your application you are developing in Five and gives you full capability to restore to a previous state.
Restore to a Previous Version
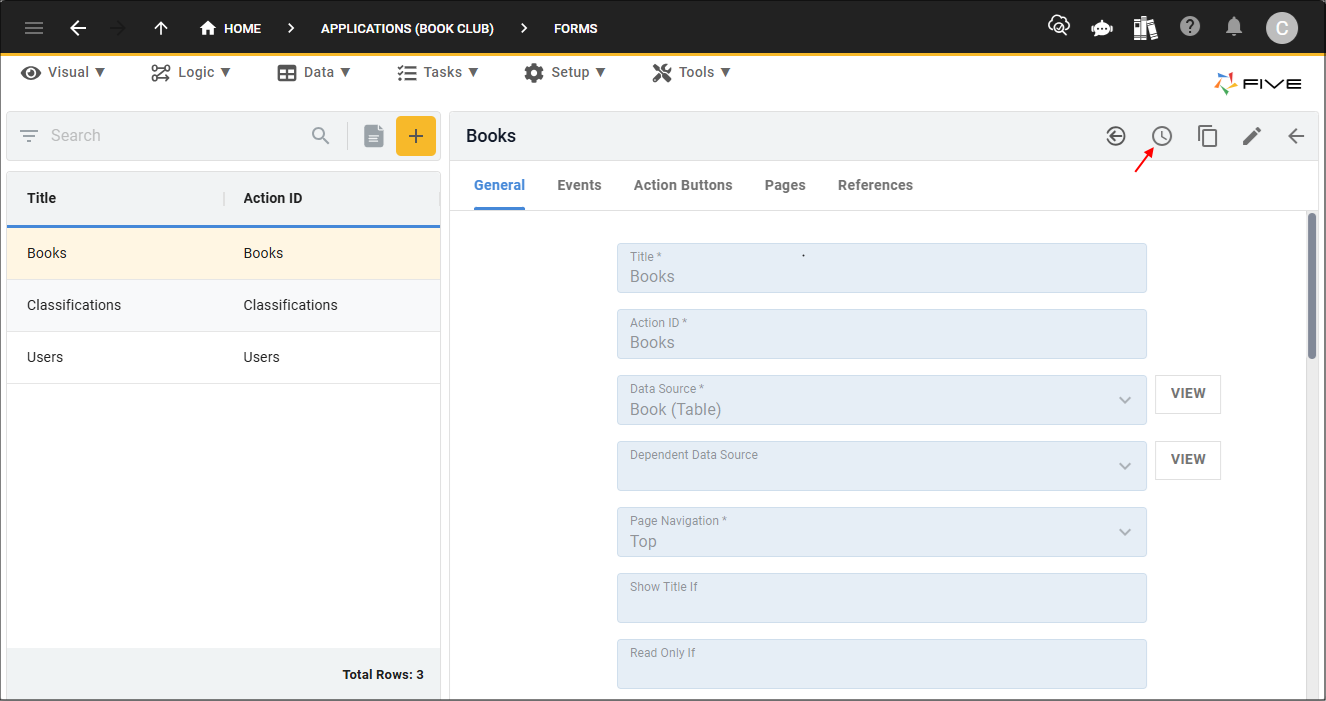
1. Select a record in the list.2. Click the History button in the form app bar.
3. Click a previous point on the timeline.
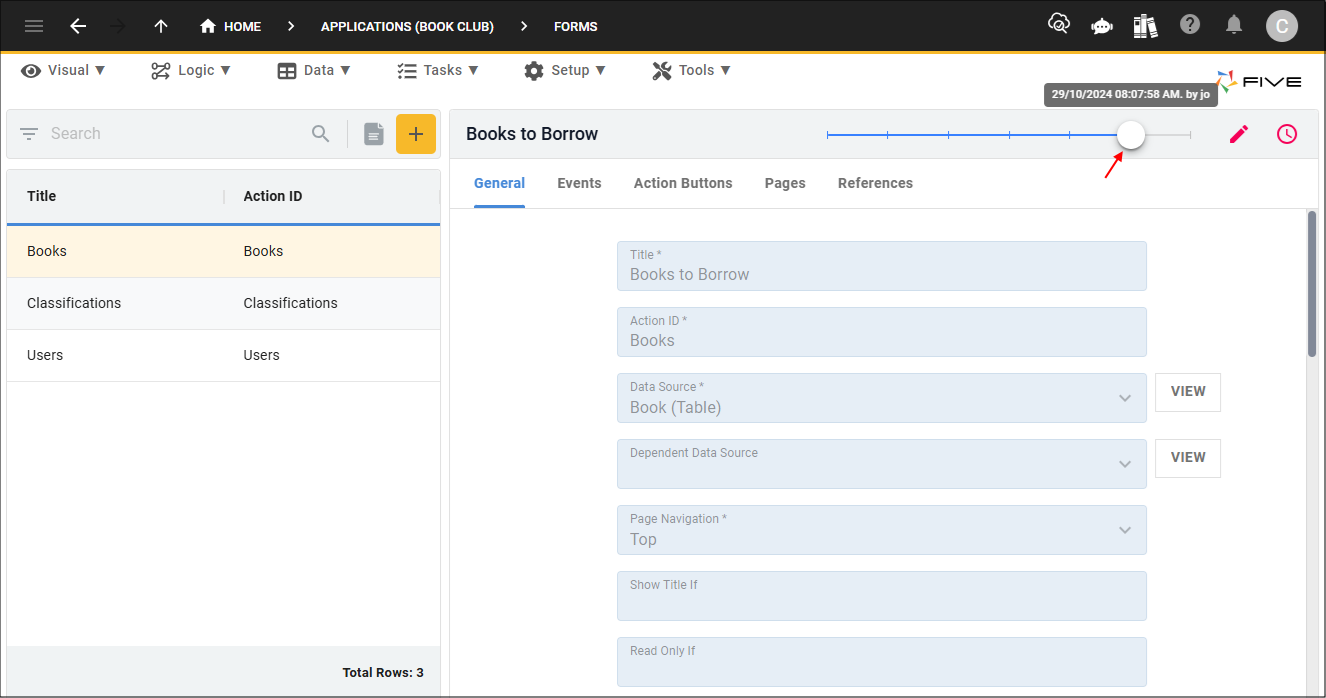
4. Click the Edit button in the form app bar.

5. Click the Save button in the form app bar.

Configuring Versioning for Your Application
By default, your applications built in Five also have this feature. For every table you create in Five, a history table is automatically created to store these changes and previous states can be restored. Five has default settings configured for your history tables if you wish to use this feature. On the Application form, you have access to the Versioning tab which will display the Versioning page. All fields on the Versioning form can be edited.
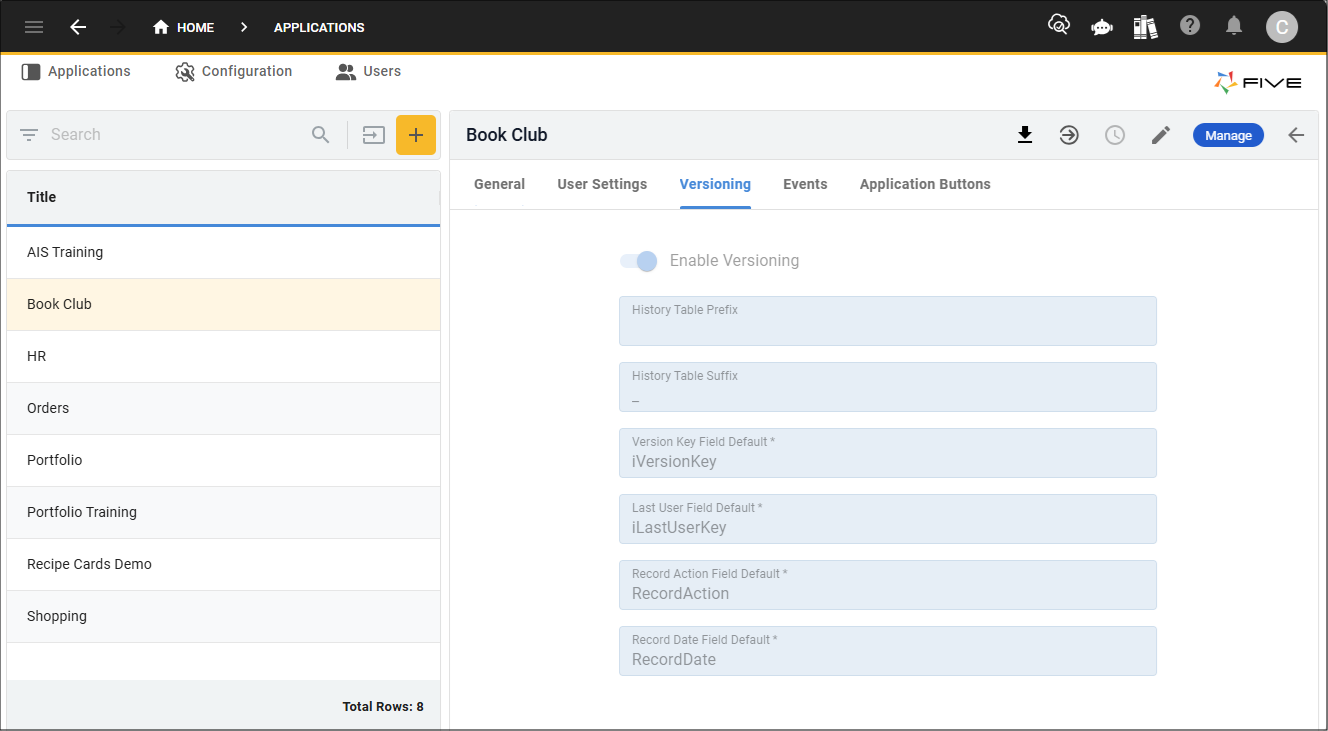
The table below explains the fields on the Versioning form.
| Field | Default Setting | Description |
|---|---|---|
| Enable Versioning | true | This will allow for a full set of history tables to be created. |
| History Table Prefix /Suffix | Suffix: _ | At least one of these fields is mandatory for versioning so Five can duplicate your table schema with the table name and the prefix, suffix, or both and store all versions of a record in the history table. For example, if you had a table called Customer, by using the underscore suffix, there will now be two versions of the table in the database shown: Customer and Customer_. The Customer table will be the main table and hold the latest version of each record, while the Customer_ table will be the history table and will hold all versions of the record. |
| Version Key Field Default | iVersionKey | This field will be the name of the column in the history table that will hold the primary key (Globally Unique Identifier, GUID) to uniquely identify each version of the record. |
| Last User Field Default | iLastUserKey | This field will be the name of the column in the history table that stores the GUID associated with the user who last performed changes, and the user’s name will be available in the history timeline. |
| Record Action Field Default | RecordAction | This field will be the name of the column in the history table that stores the action that was performed: C – Create, U – Update, or D - Delete. |
| Record Date Field Default | RecordDate | This field will be the name of the column in the history table that stores the timestamp of when the modifications occurred and will be available in the history timeline displayed as date and time. Database format - RFC 3339 (2019-10-12 07:20:50.52z) |
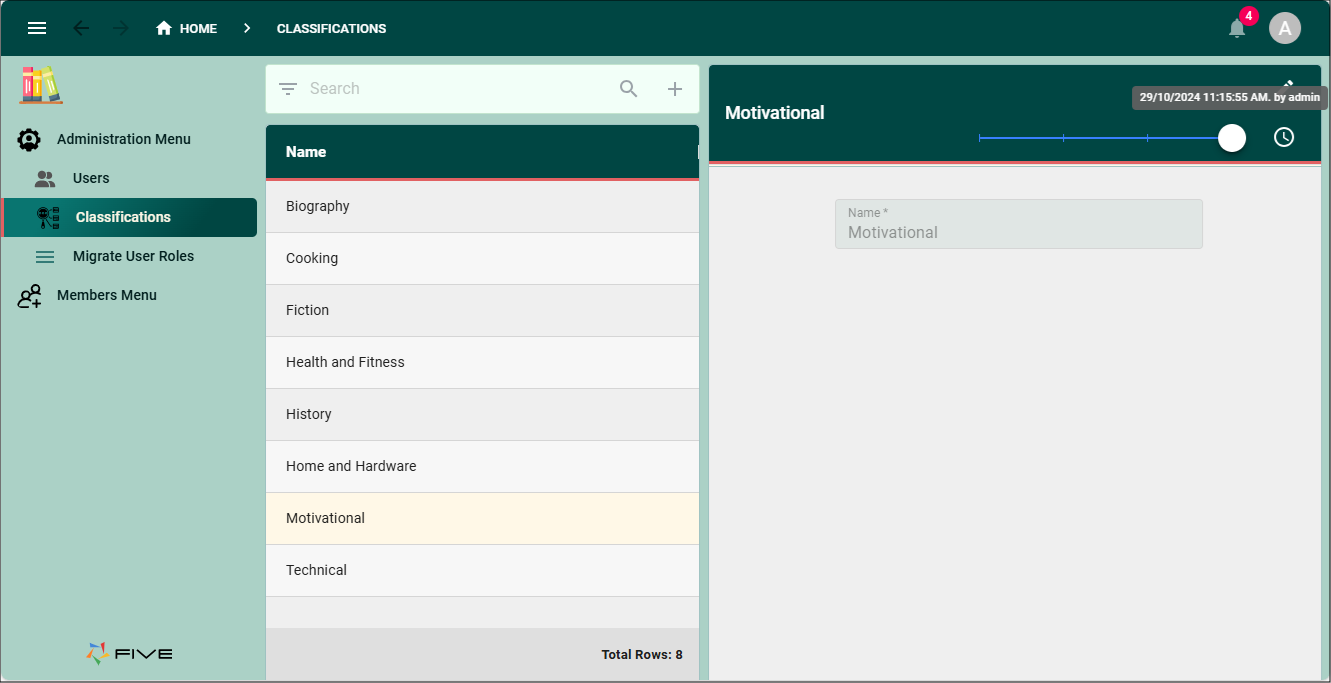
With versioning enabled in your application, it will work the same as it does if Five. Once the History button is clicked, the history timeline will be available displaying all previous states.
Disable Versioning
You will not be able to restore data in your application with the Enable Versioning switch set to false.
Once you disable versioning all history will be lost for your application.
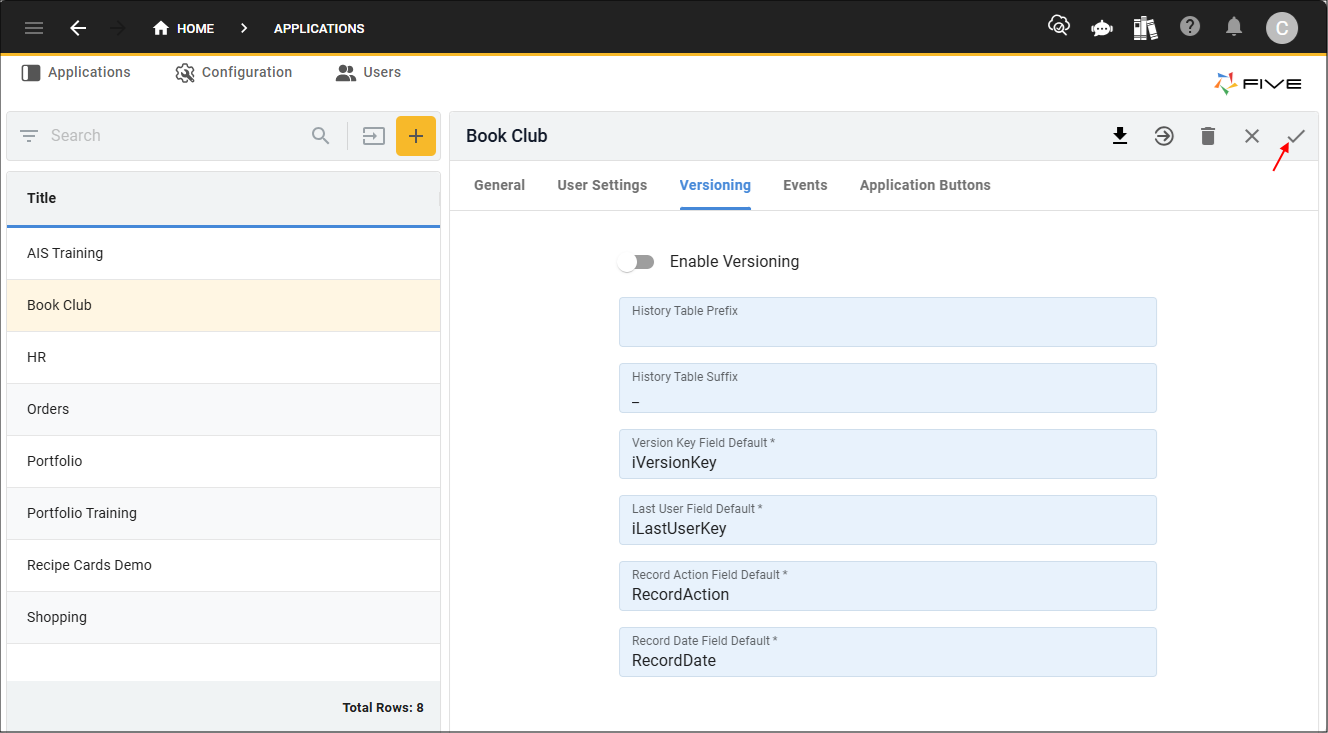
1. Select the Application record in the list.
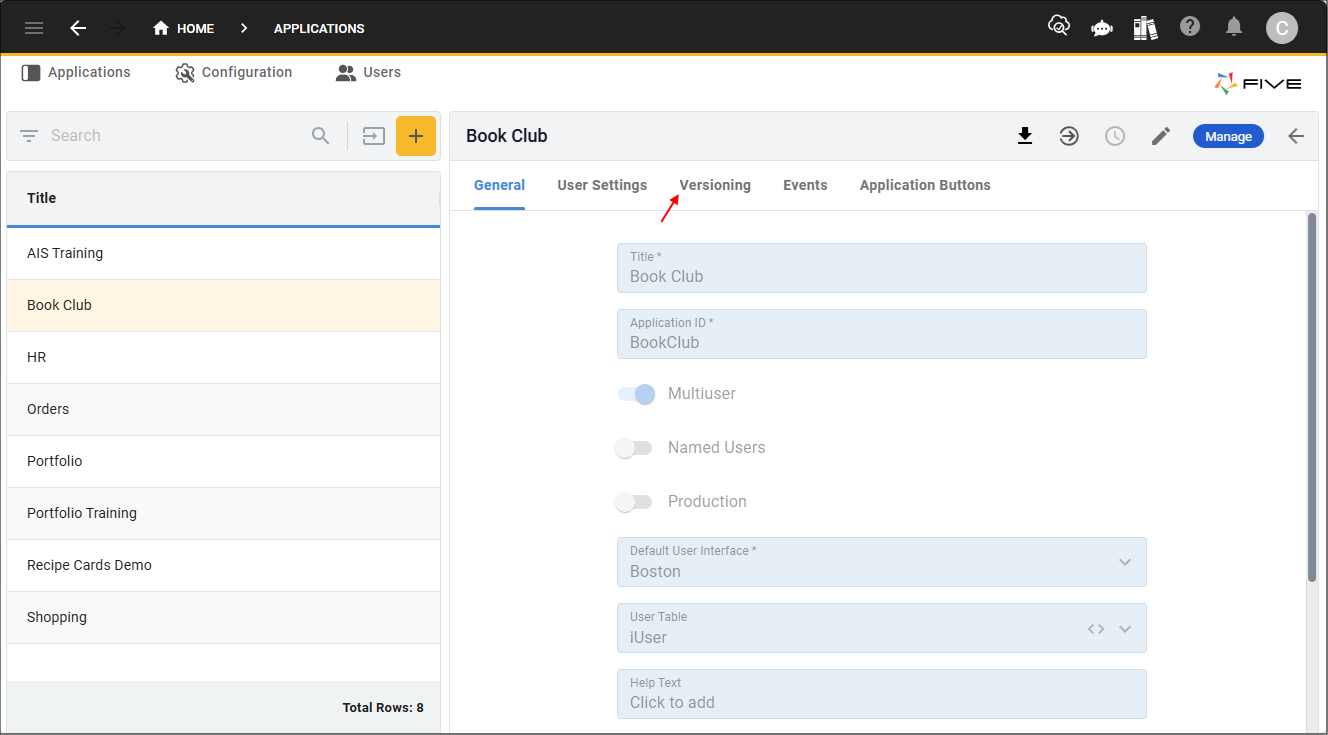
2. Click the Versioning tab.
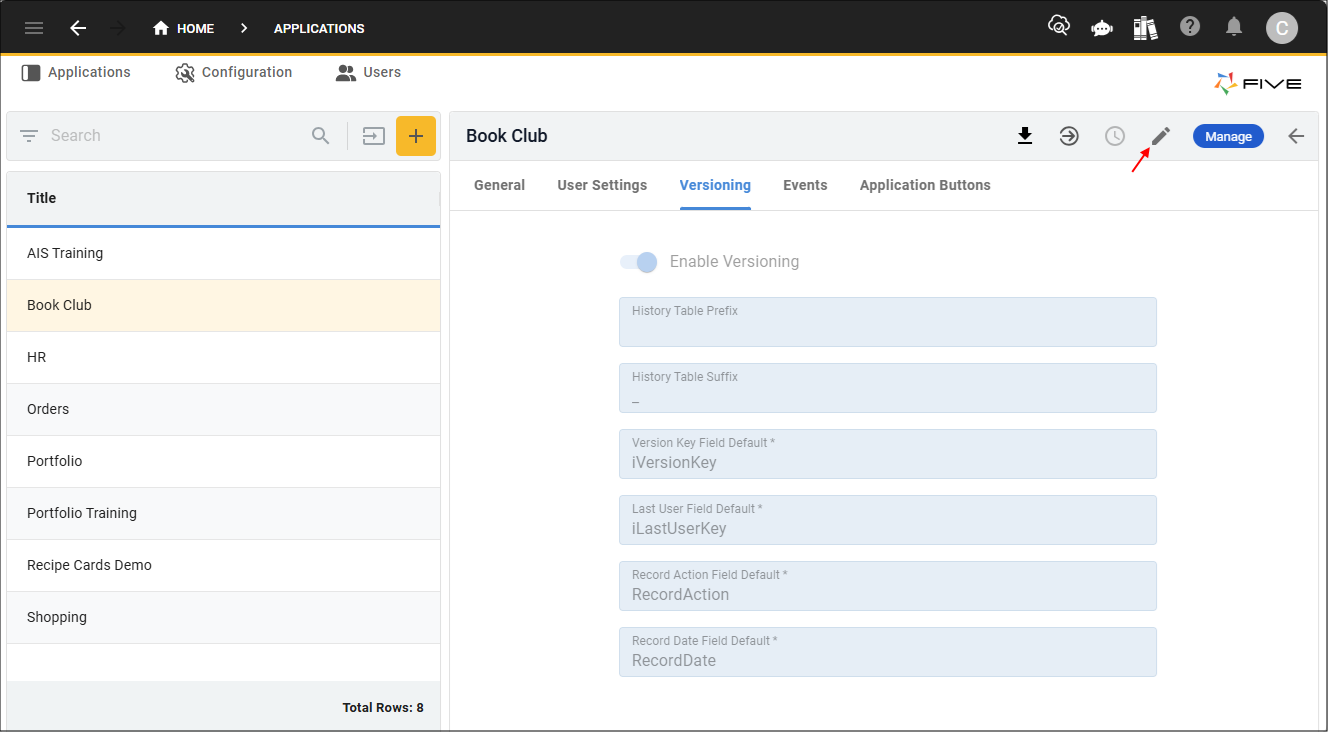
3. Either click the Edit button in the form app bar, or click directly in a field.
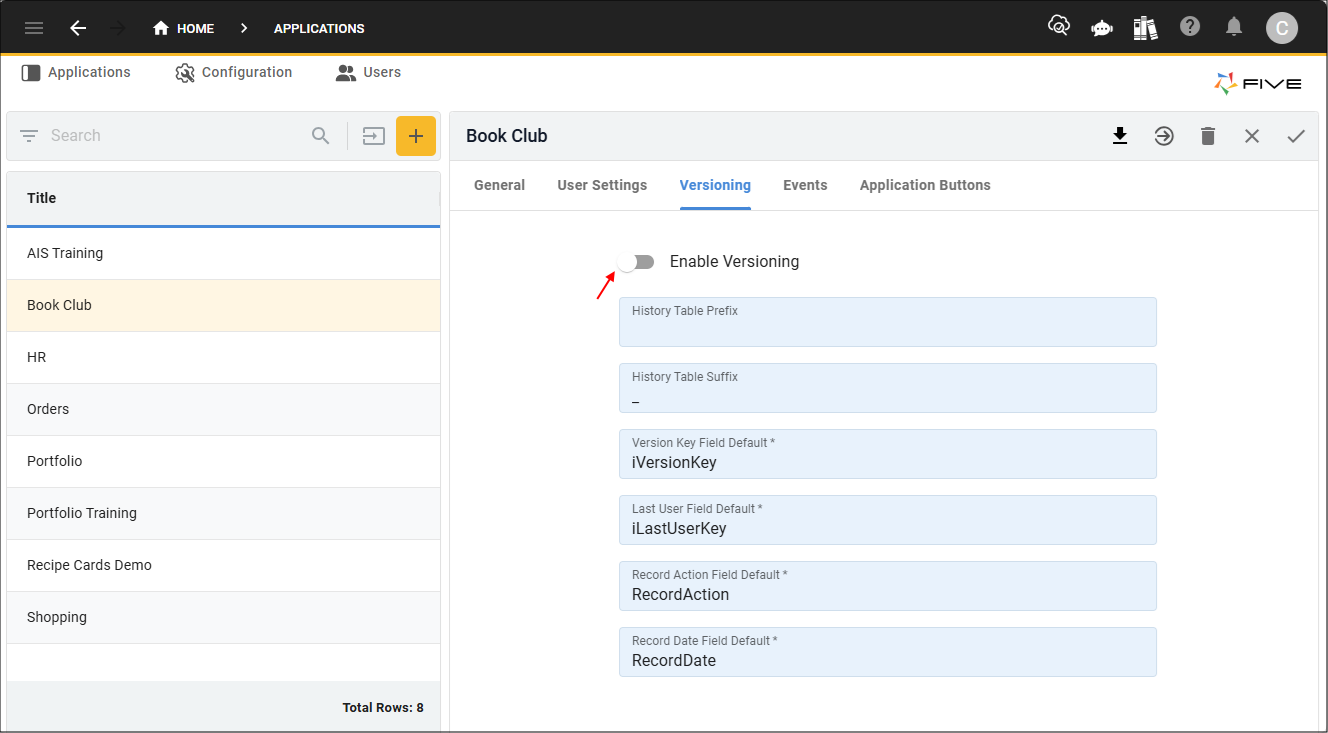
4. Click the Enable Versioning switch.
5. Click the Save button in the form app bar.
