Add Custom Fields
Last updated 28/07/2023
Before you add a Custom Field you will need to refer to the following chapters:- Project Setup, to know how to set up your development environment.
- Writing a Plugin, to know how to download Five's templates.
There are four steps to creating a custom field:
- Write your code using Five's custom-field-template.
- Run the final Webpack build command.
- Create a Custom Field display type.
- Attach the display type to a field.
tip
You are not restricted to what can be coded in our custom-field-template!
Add Your Code
1. Open your preferred IDE.2. Open the custom-field-template-folder.
3. Open the Src folder.
info
The customField.tsx file is the template you will use to write the code for your custom field.
Figure 1 - customField.tsx file
Example Code
Use the custom-field-template as a base for this example. The following example code and steps will assist you in how to write your own custom field.1. Add the MenuItem component to the import declaration.

customField.tsx
MenuItem,
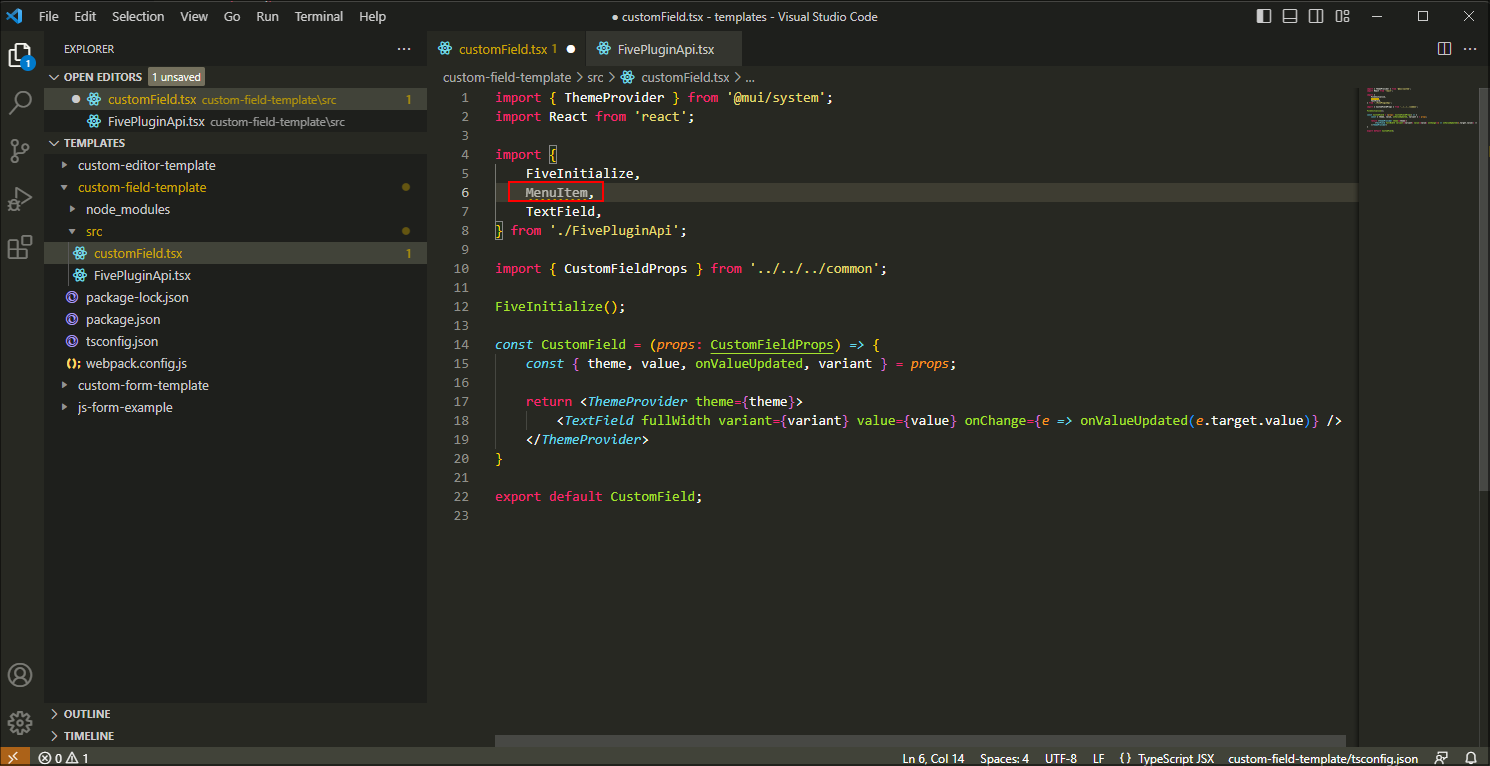
Figure 2 - Add the MenuItem component
info
The MenuItem component gives us the method of adding a list of menu items provided in a lookup for a user to select. A full list of the components available for you to use can be found in the FivePluginApi.tsx file as shown below.
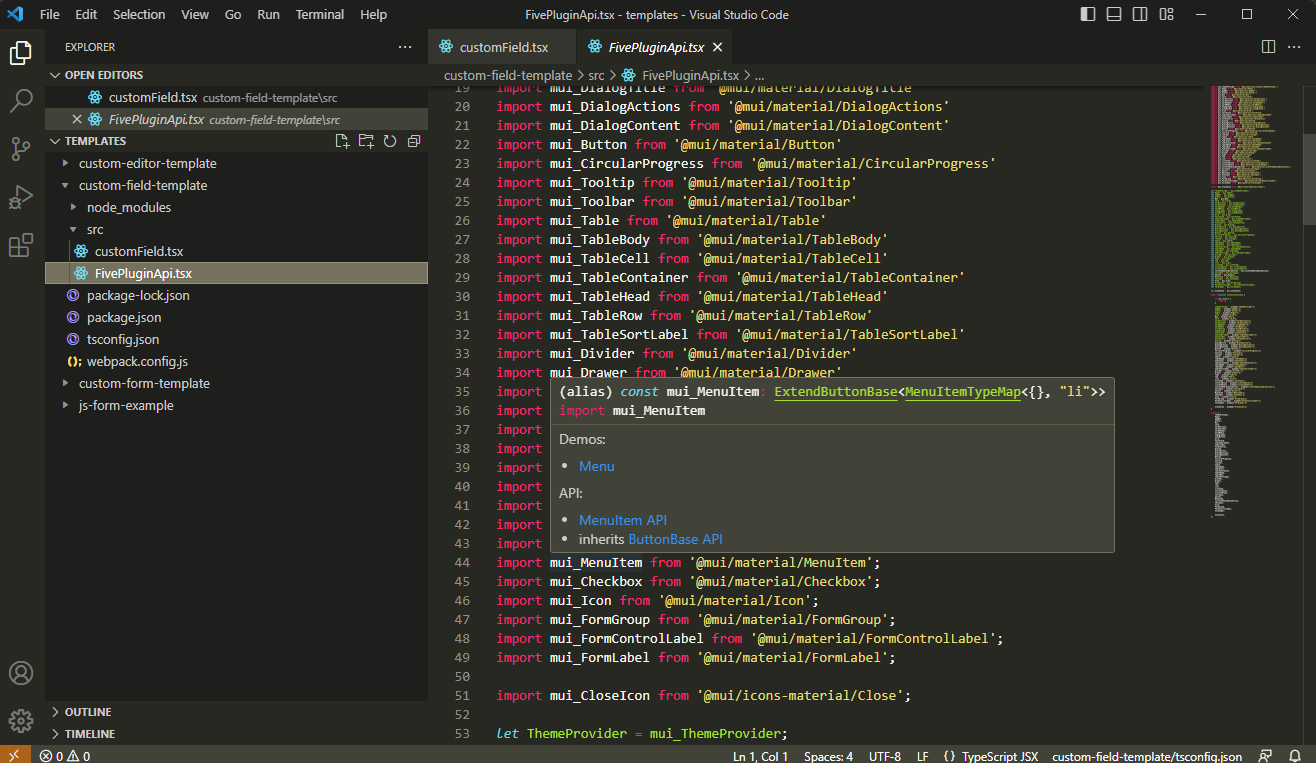
Figure 3 - FivePluginApi.tsx file
2. Delete
value
out of the destructuring line.
customField.tsx
const { theme, onValueUpdated, variant } = props;
info
value
is deleted as it is not required in this example, as we are using the MenuItem component to list the values.caution
The
value
variable controls whether your choice will be saved to the database when the form is saved. If you need the value saved to the database, do not
delete the value
variable from the destructuring line and its use in the TextField
component below. 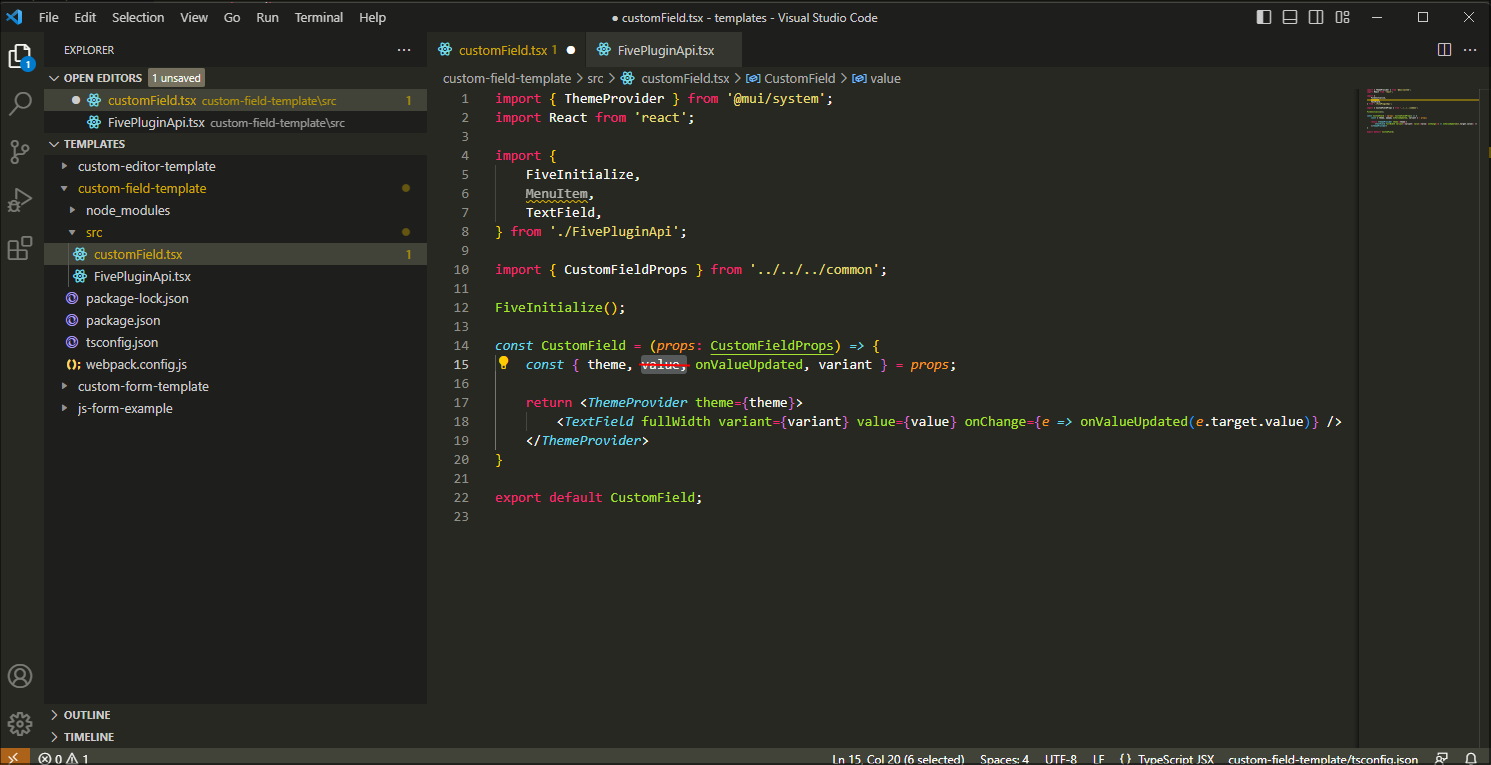
Figure 4 - Edit the TextField component
3. Add the currency values to a variable called currencies.
customField.tsx
    const currencies = [
        {
          value: 'USD',
          label: '$',
        },
        {
          value: 'EUR',
          label: '€',
        },
        {
          value: 'BTC',
          label: '฿',
        },
        {
          value: 'JPY',
          label: '¥',
        },
      ];
info
The
currencies
variable is now available to be used as a value in the TextField
component. The currency values will become the values available
in the lookup for the custom field.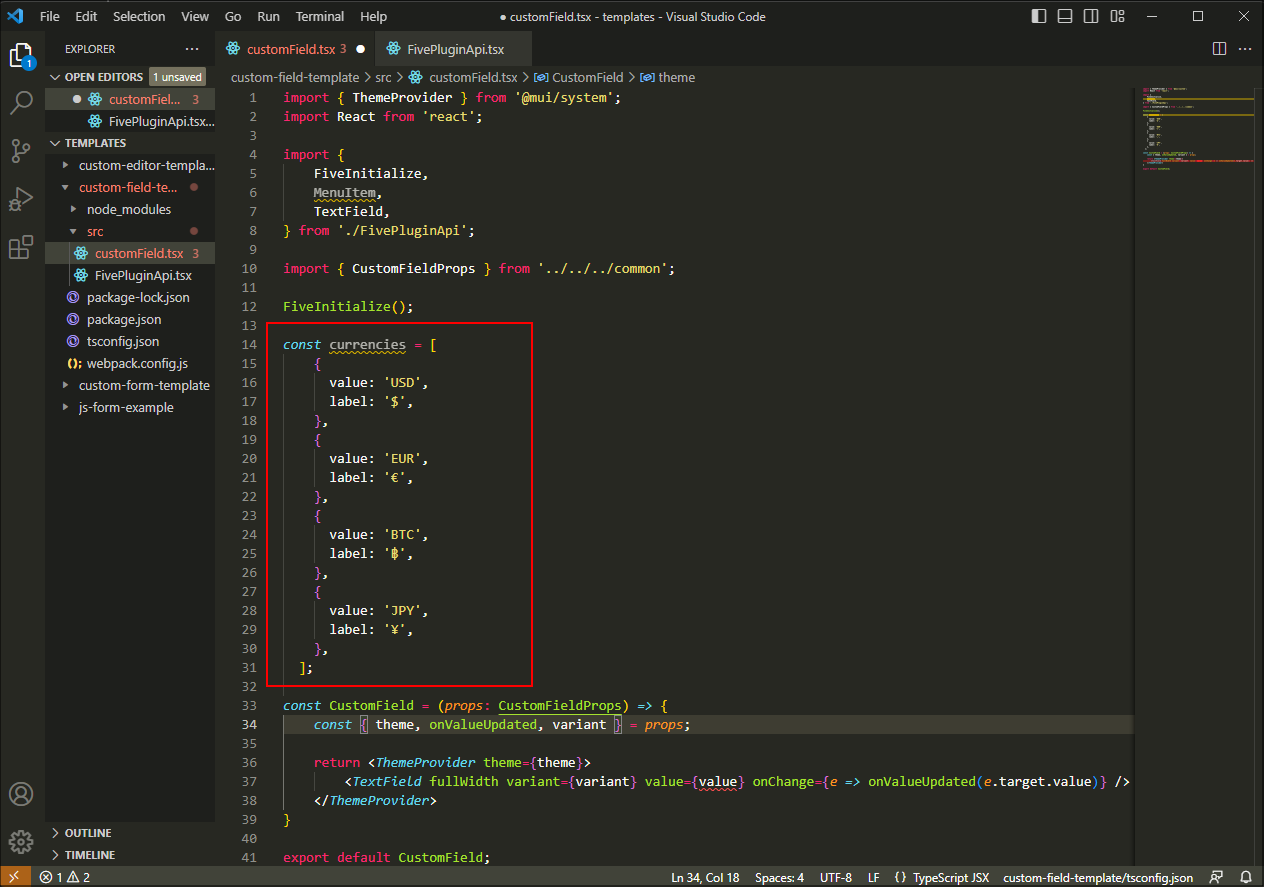
Figure 5 - Add the currencies variable
4. Add extra details to the TextField component.
customField.tsx
<TextField
    id='currency-selection'
    select
    fullWidth
    variant={variant}
    defaultValue="EUR"
    helperText="Please select the currency"
    onChange={e => onValueUpdated(e.target.value)}>
    {currencies.map((option) => (
    <MenuItem key={option.value} value={option.value}>
        {option.label}
    </MenuItem>
    ))}
</TextField>
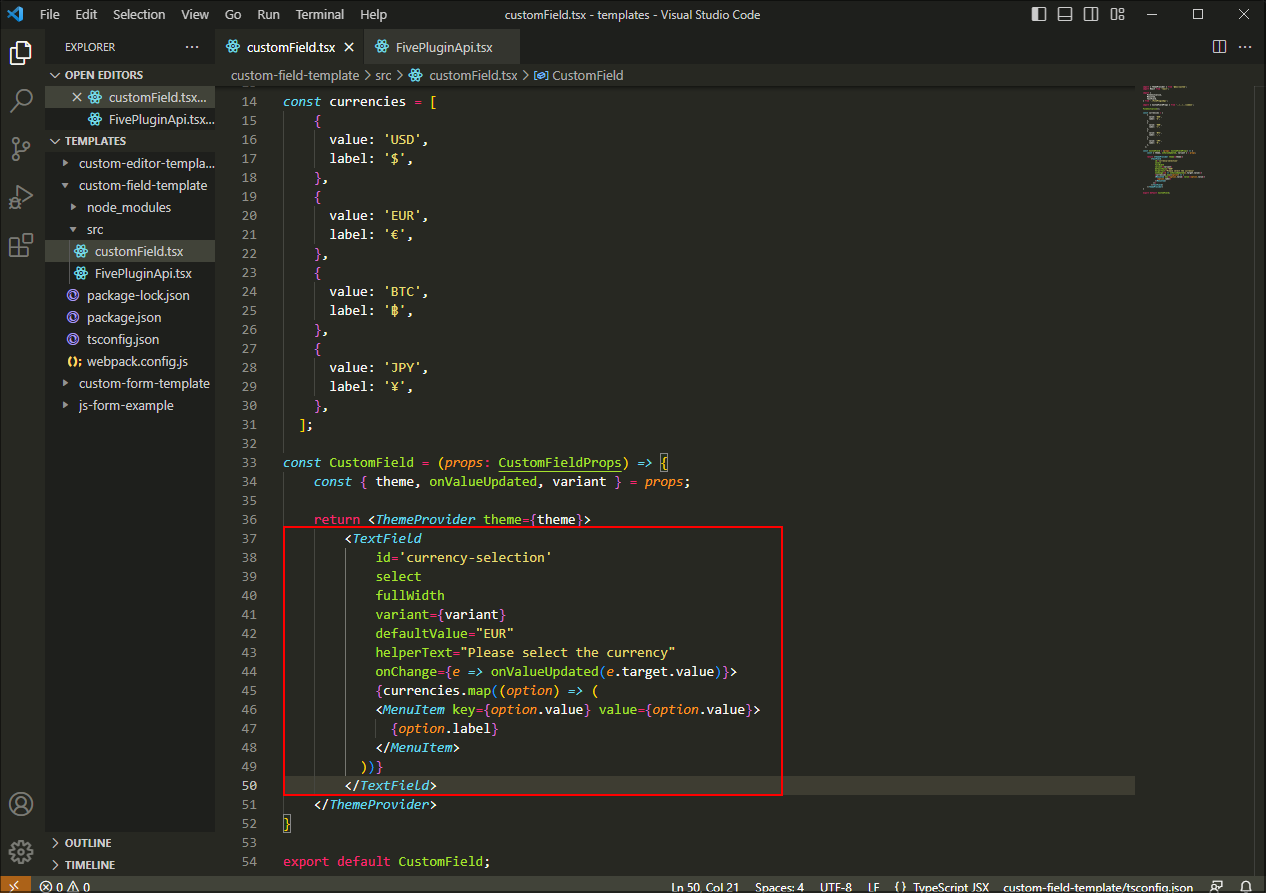
Figure 6 - Add extra details to the TextField component
tip
Save your code changes!
Run Your Final Webpack Build Command
1. Open a new terminal.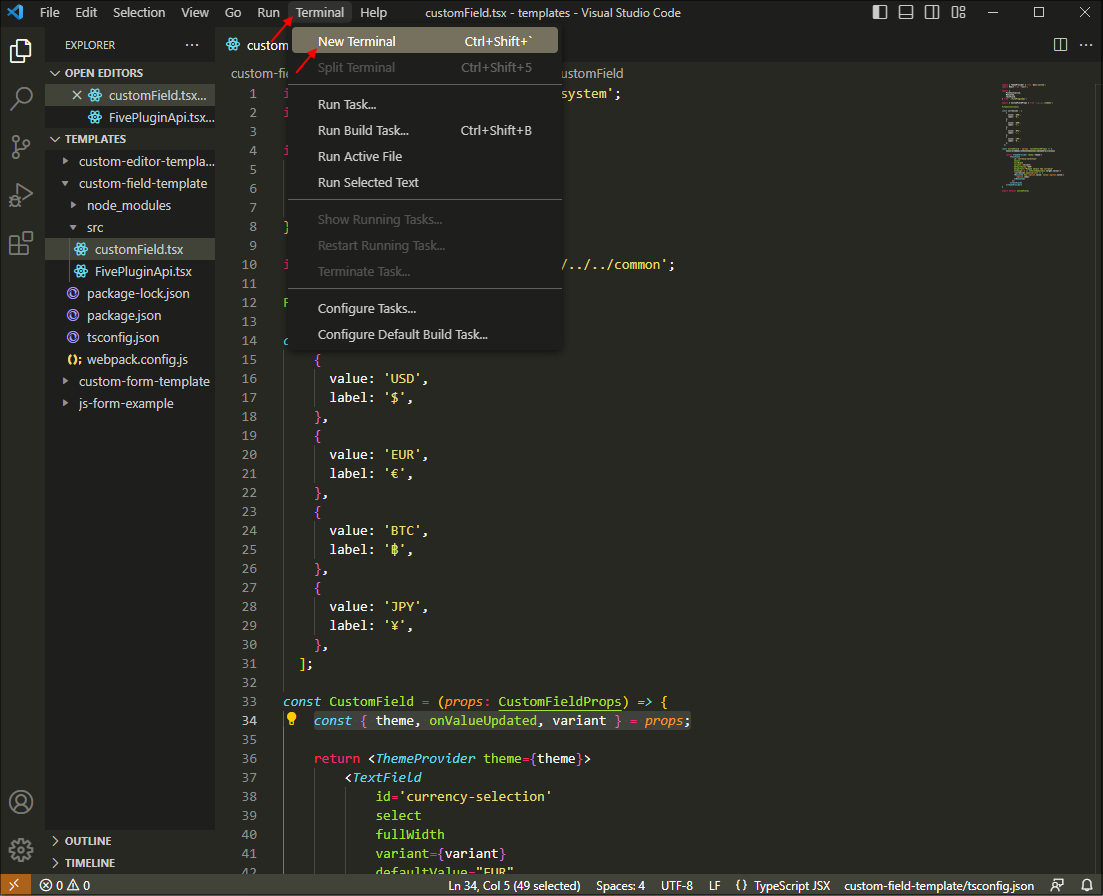
Figure 7 - Open a new terminal
2. Run the Webpack command to build your final build.
node ./node_modules/webpack/bin/webpack.js
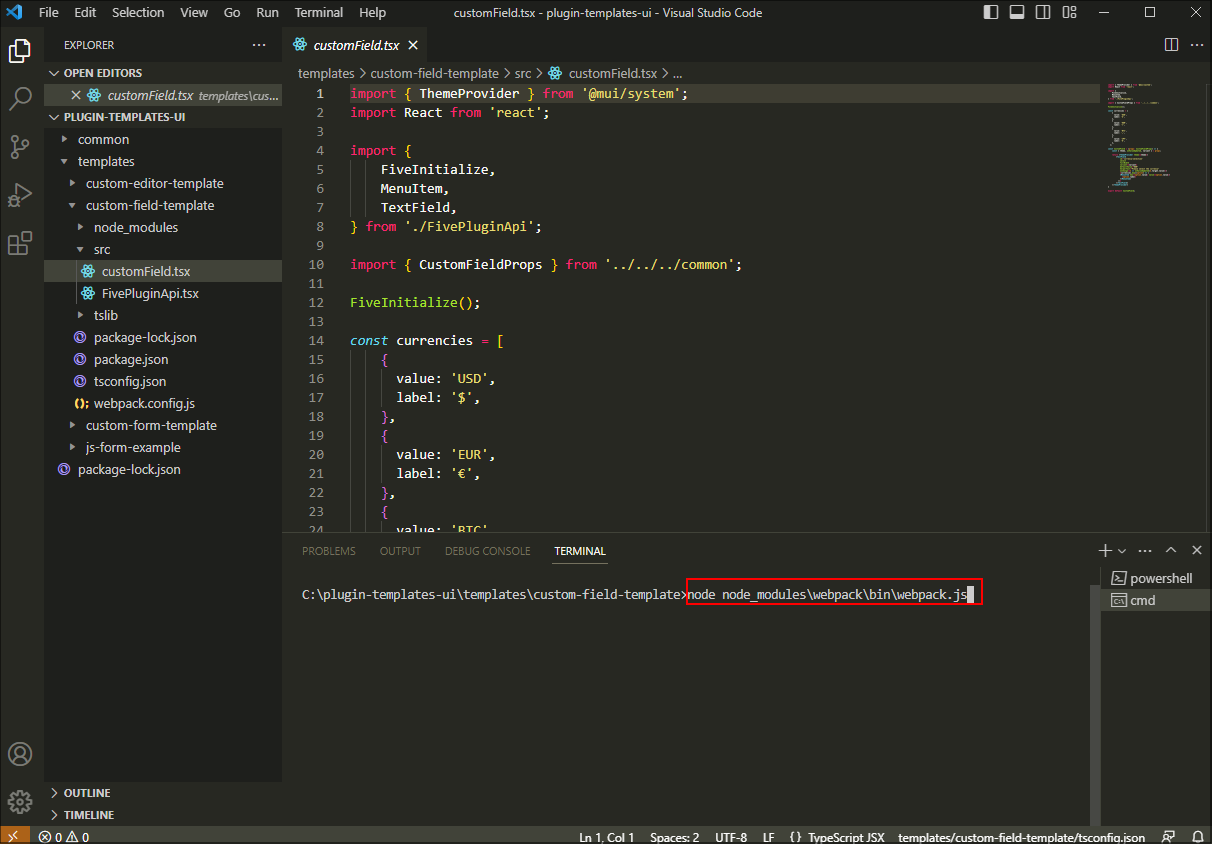
Figure 8 - Run the Webpack command
3. Locate and open your dist folder.
4. Inside the dist folder compress your .js plugin file to a zip file.
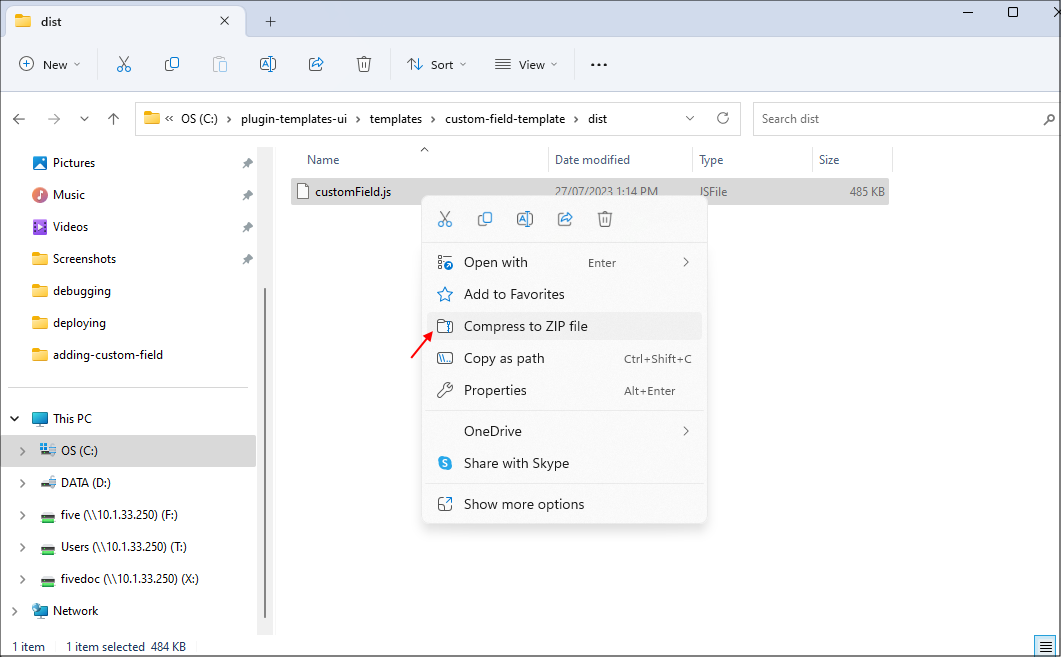
Figure 9 - Compress your .js plugin file to a zip file
tip
Rename your zip file to a more relevant name!
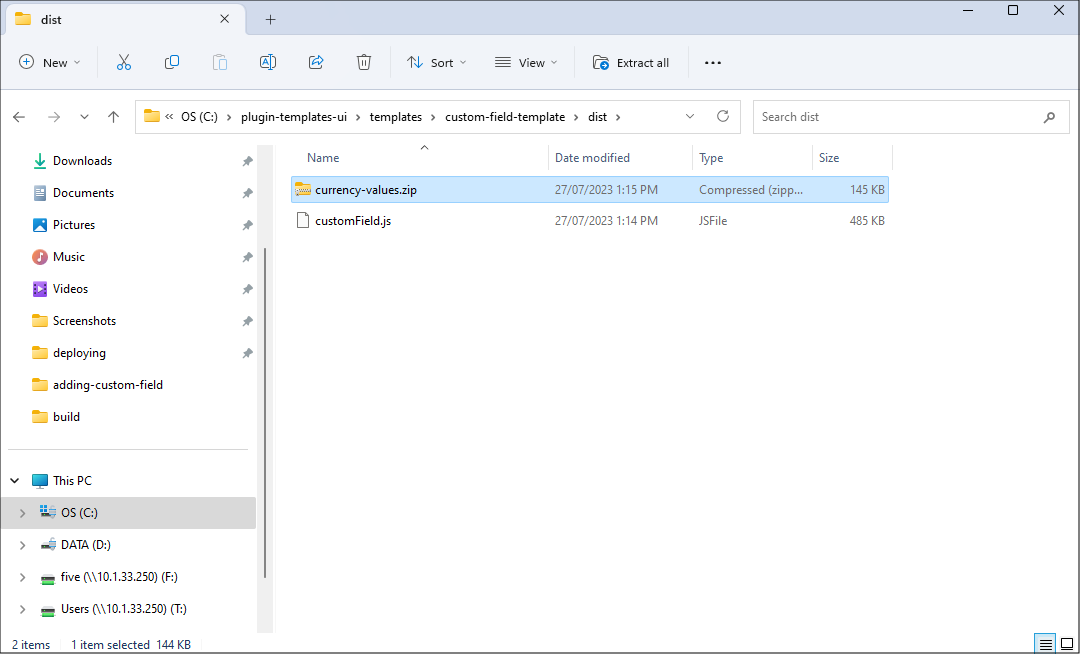
Figure 10 - Rename your zip file
Prerequisites
After running your final Webpack build command and compressing your .js plugin file, you will need to return to Five and create a custom display type to attach to your field.For the SelectCurrency example, an application was created with one table called Product that has two fields called Name and CurrencyType.
Product Table
| Field | Data Type |
|---|---|
| Name | Text |
| CurrencyType | Text |
Navigate to Display Types
1. Click Setup in the menu.2. Click Display Types in the sub-menu.
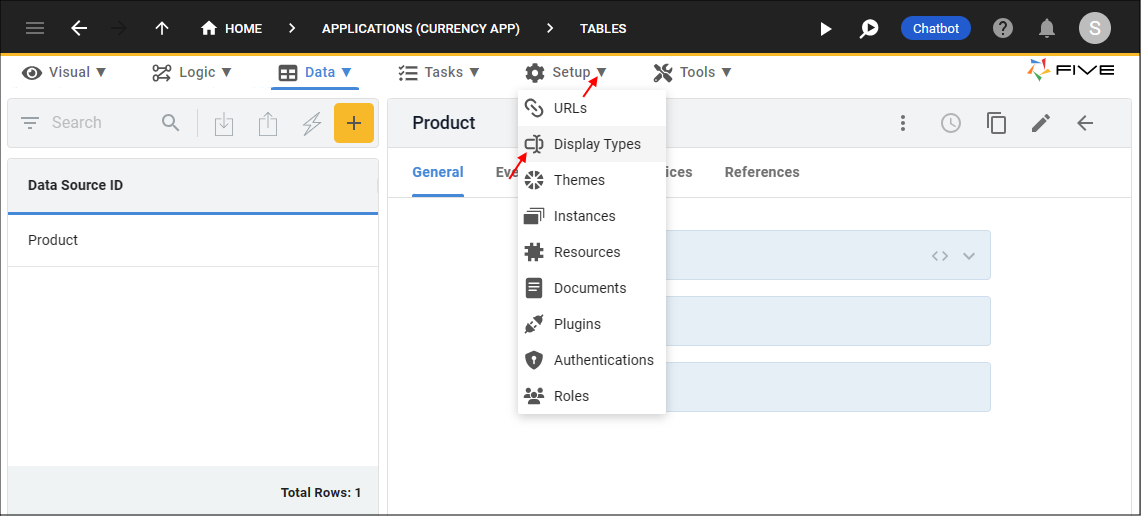
Figure 11 - Display Types menu item
Add a Custom Field
1. Click the Add Item button.2. Type a name in the name field.
3. Click the lookup icon in the Display Type field and select Custom Field.
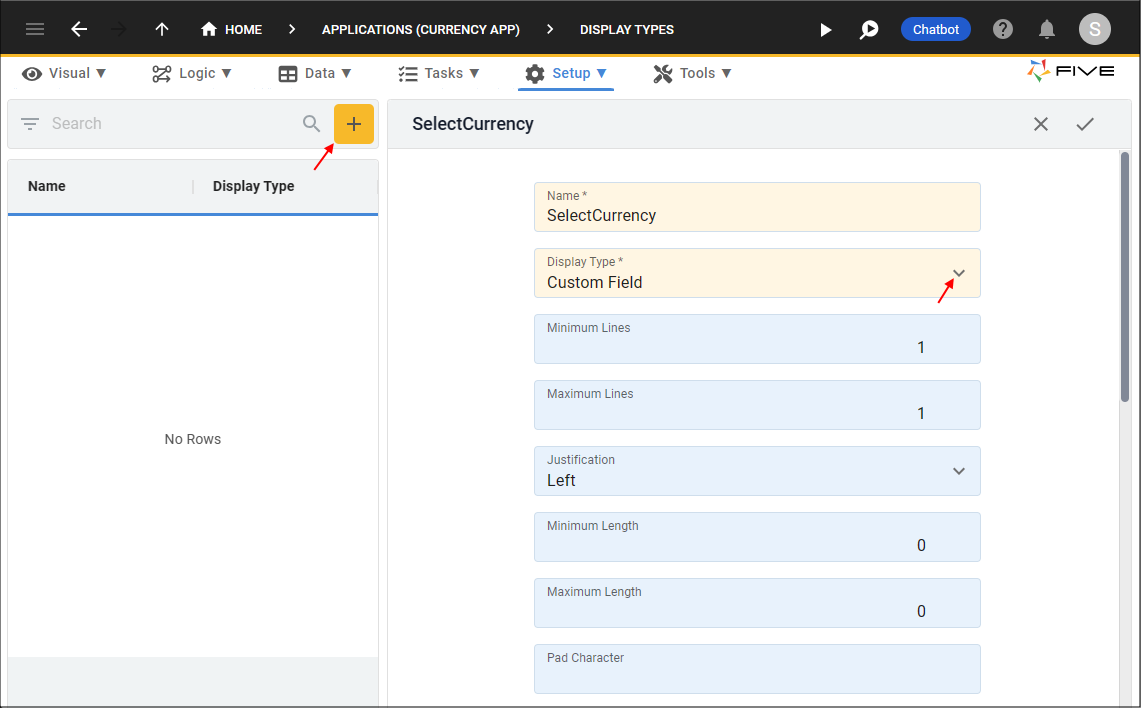
Figure 12 - Add a Custom Field display type
4. Click the UPLOAD PLUGIN button in the Upload Plugin field.
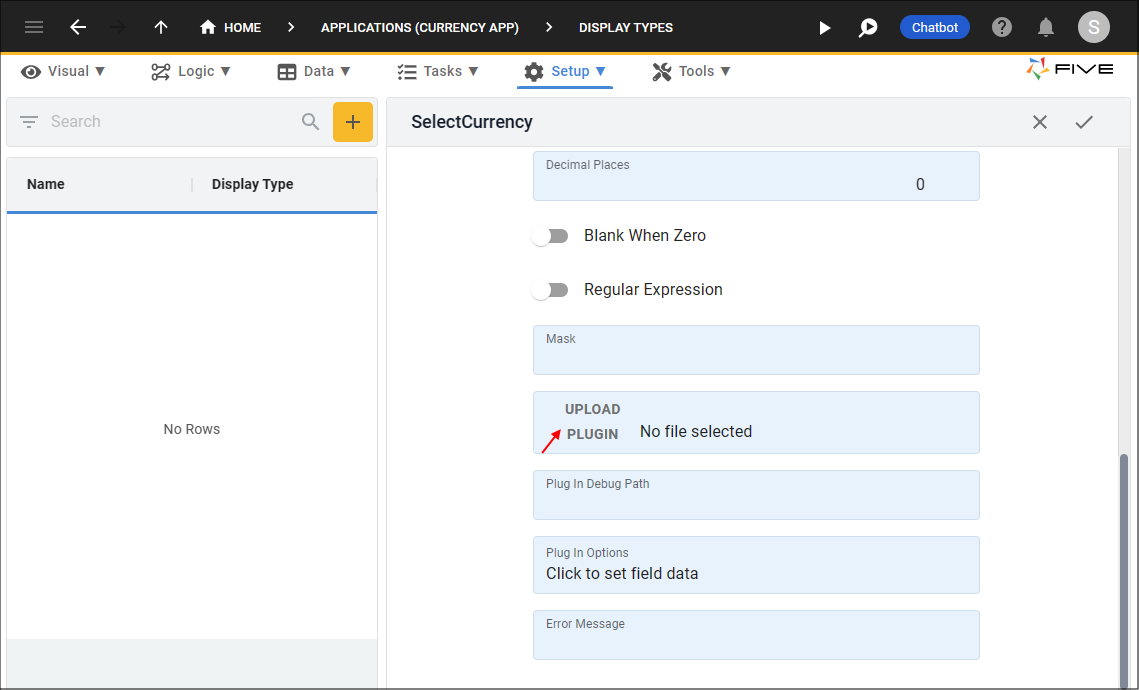
Figure 13 - UPLOAD PLUGIN button
5. Navigate your files and open the zip folder.
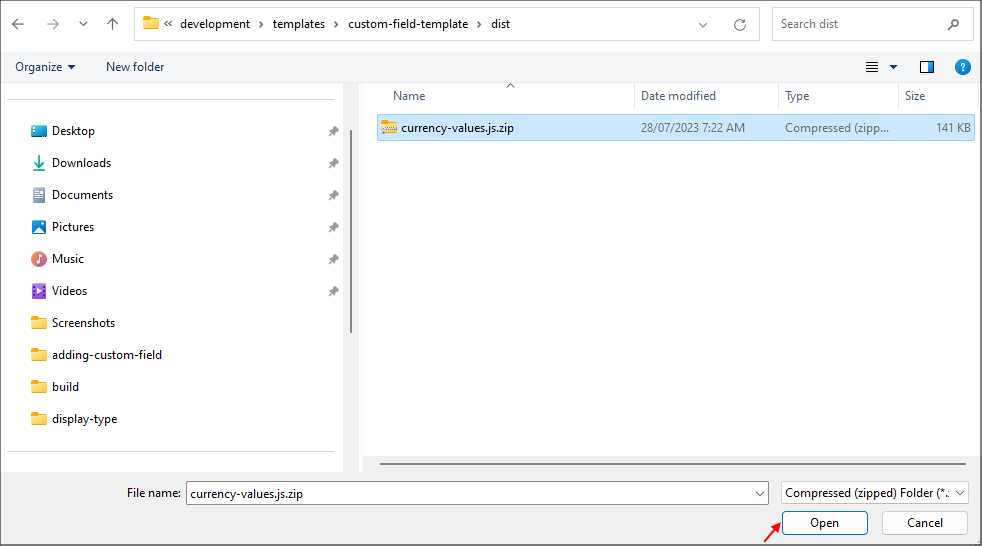
Figure 14 - Open the zip file
6. Click the Save button in the form app bar.
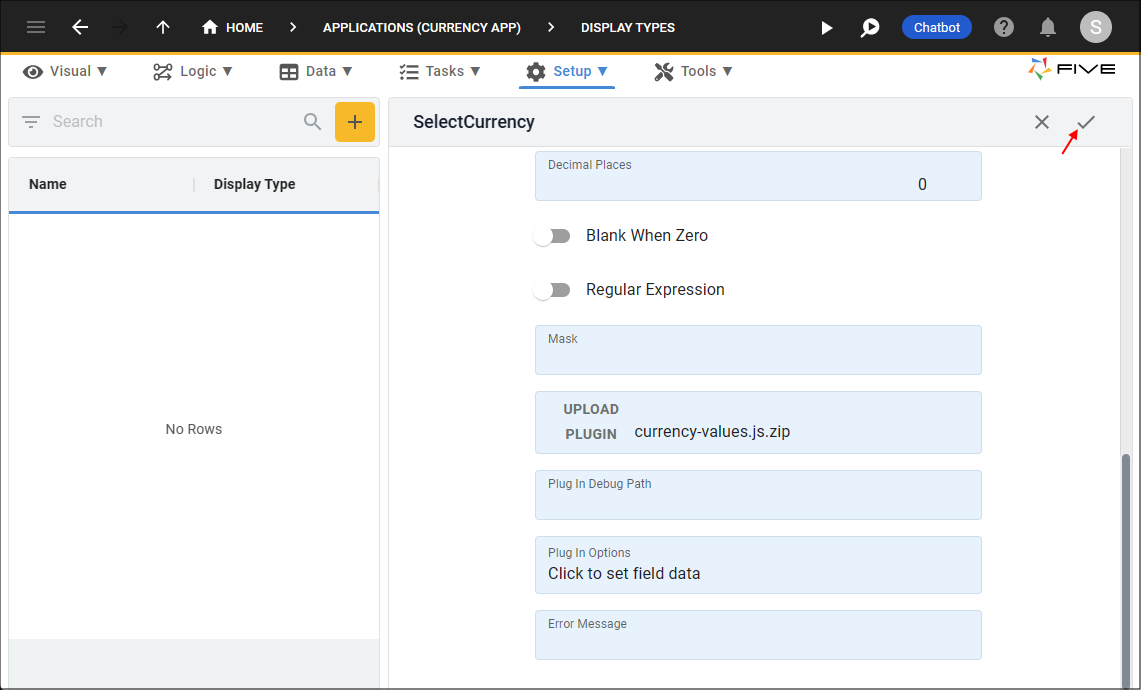
Figure 15 - Save the Custom Field display type
Attach the Custom Field
info
The Custom Field display type can now be attached to a field. For this example, the custom field is added to a form field.
1. Click Visual in the menu.
2. Click Forms in the sub-menu.
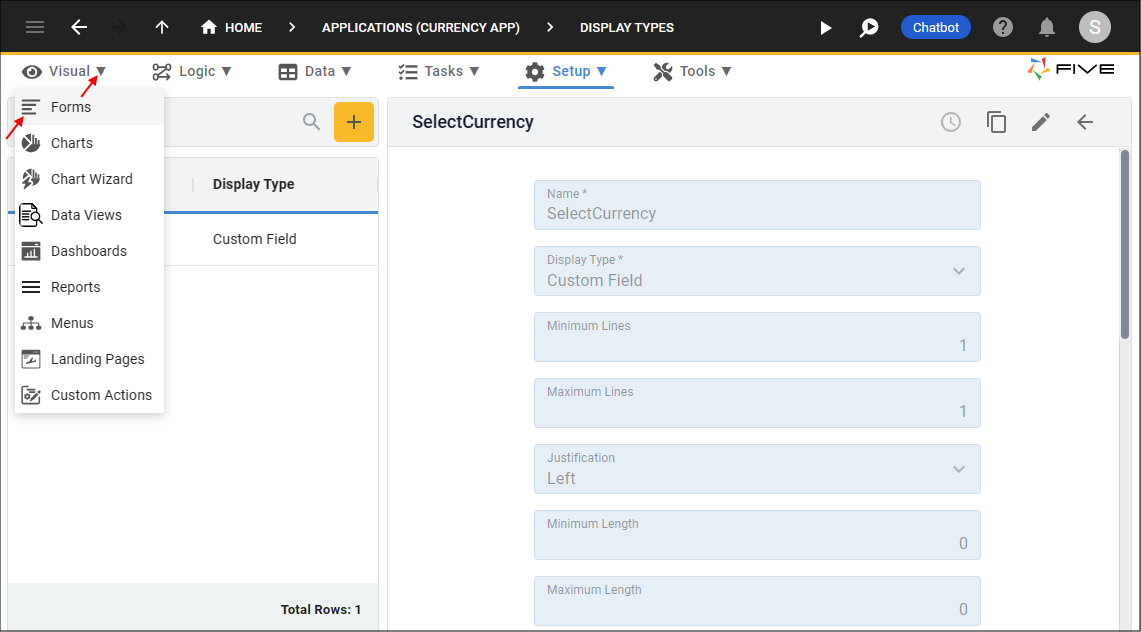
Figure 16 - Forms menu item
3. Click the New Form Wizard button.
4. Click the lookup icon in the Main Data Source field and select a data source holding the field. For this example, a table is selected.
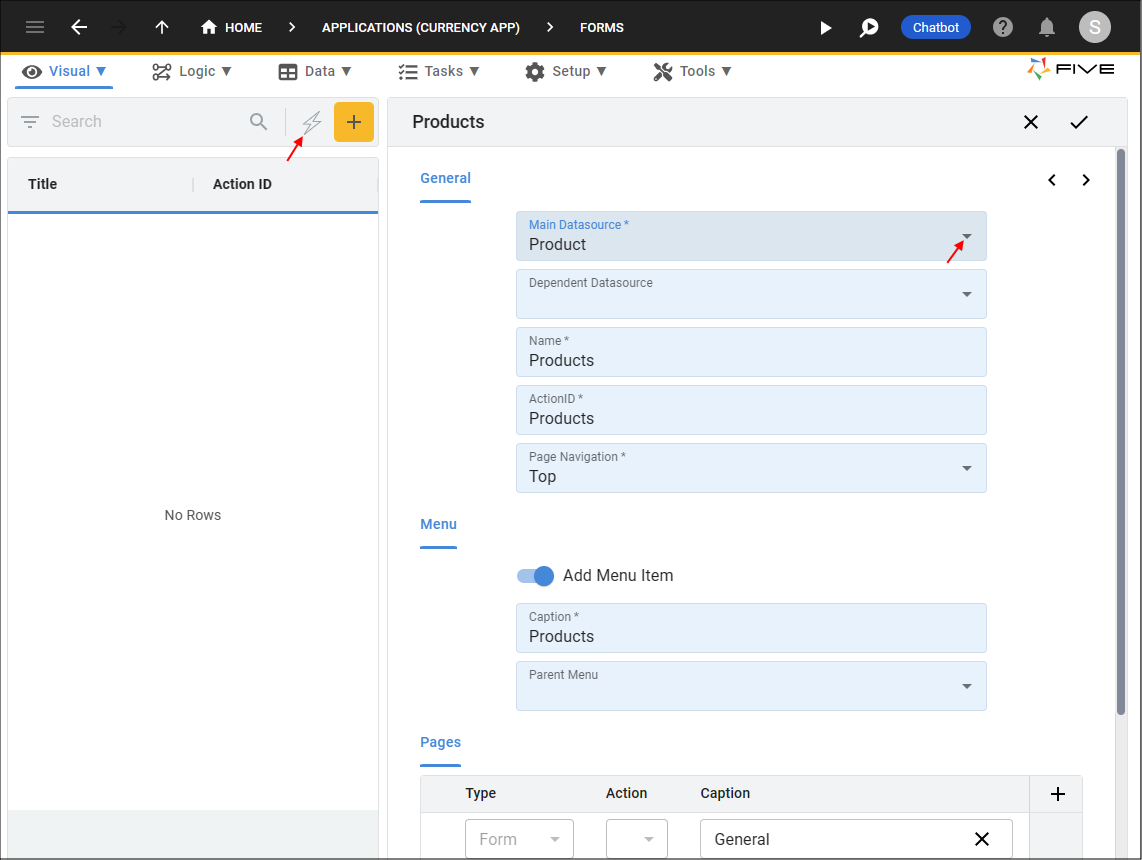
Figure 17 - Add a form
5. Click the Next button.

Figure 18 - Next button
6. Click the lookup icon in the Display Type field for the required field and select the name of your display type.
tip
Your custom display types will be at the top of the lookup list!
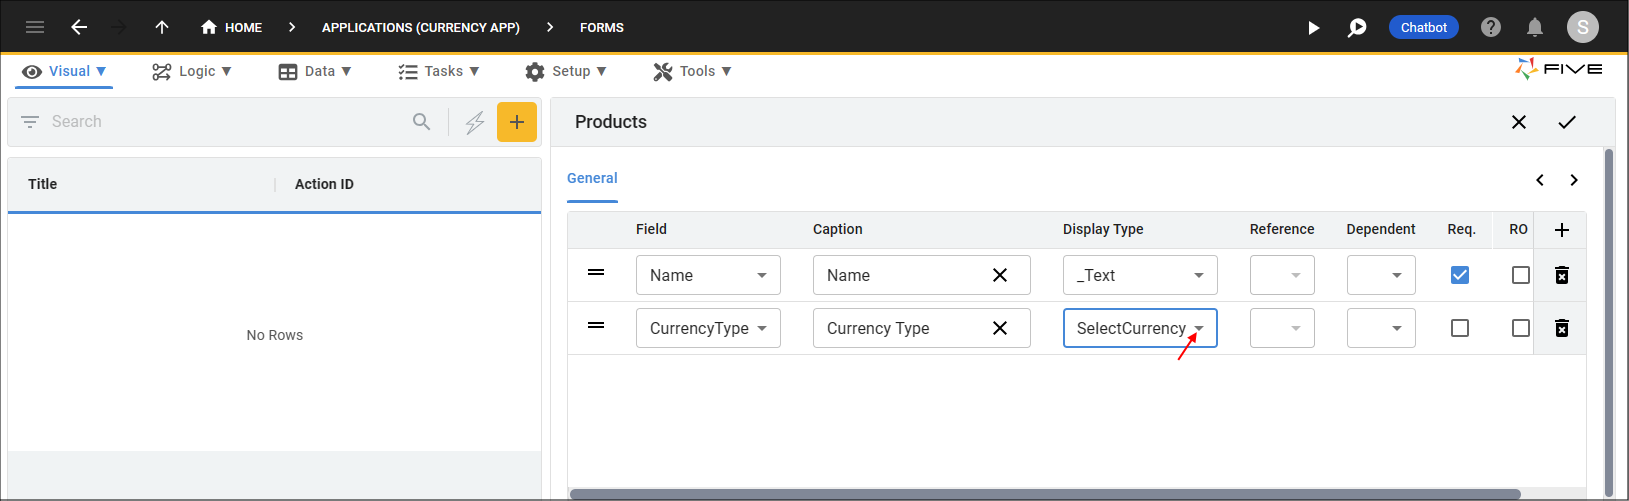
Figure 19 - Select the Custom Field display type
7. Click the Save button in the Form Wizard app bar.
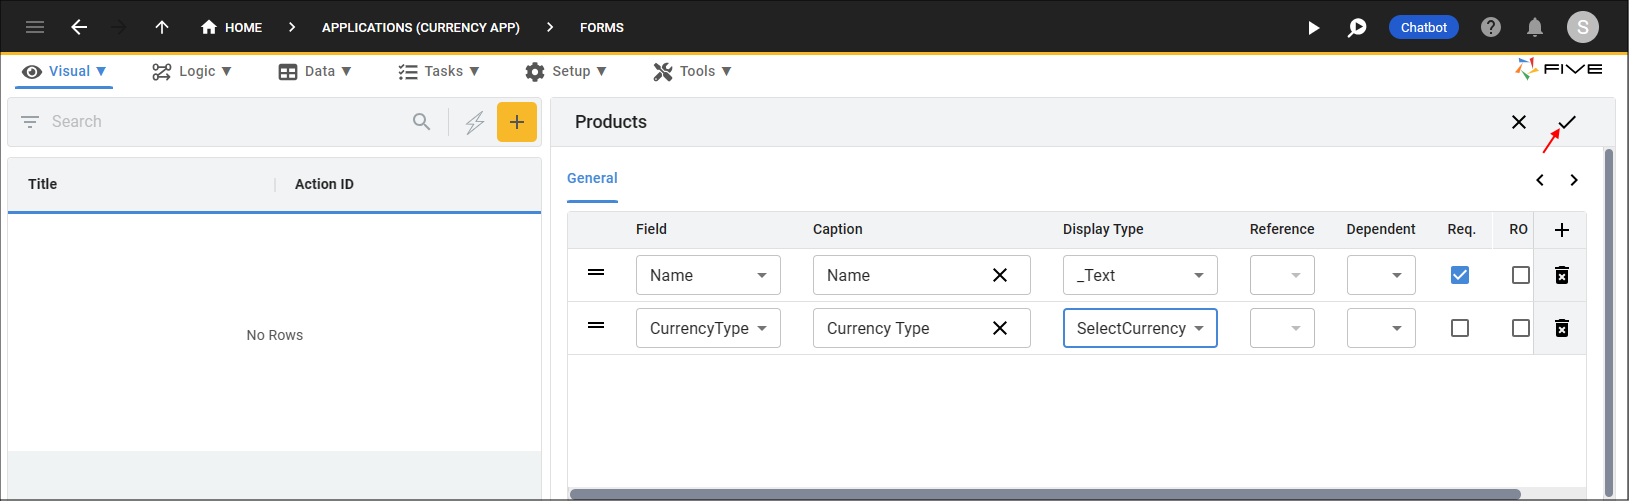
Figure 20 - Save the form
tip
If your form is already saved, just edit your form record, navigate to the field and edit the Display Type field!
caution
At any time in the future if you update your plugin code, you will need to compress the dist folder again and upload the updated zip file into Five.
Run Your Application
1. Click the Run button.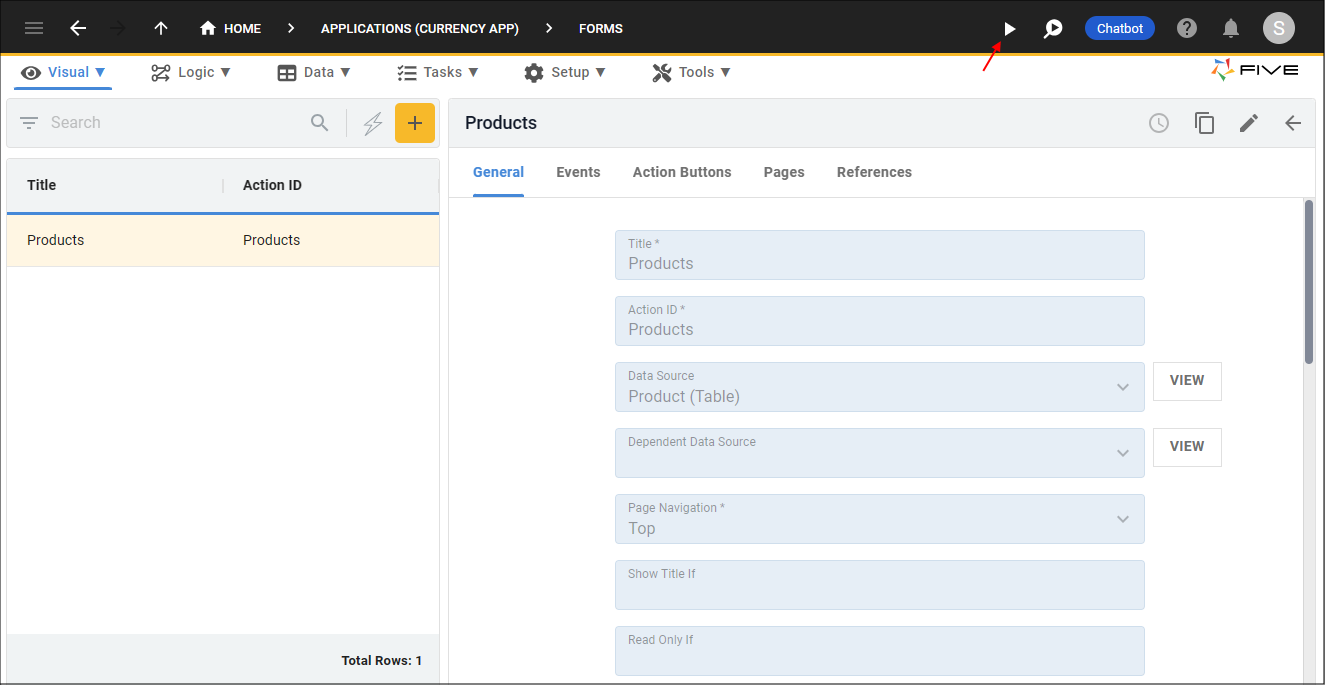
Figure 21 - Run button
2. Click the Add Item button.
3. Click the lookup icon in the custom field.
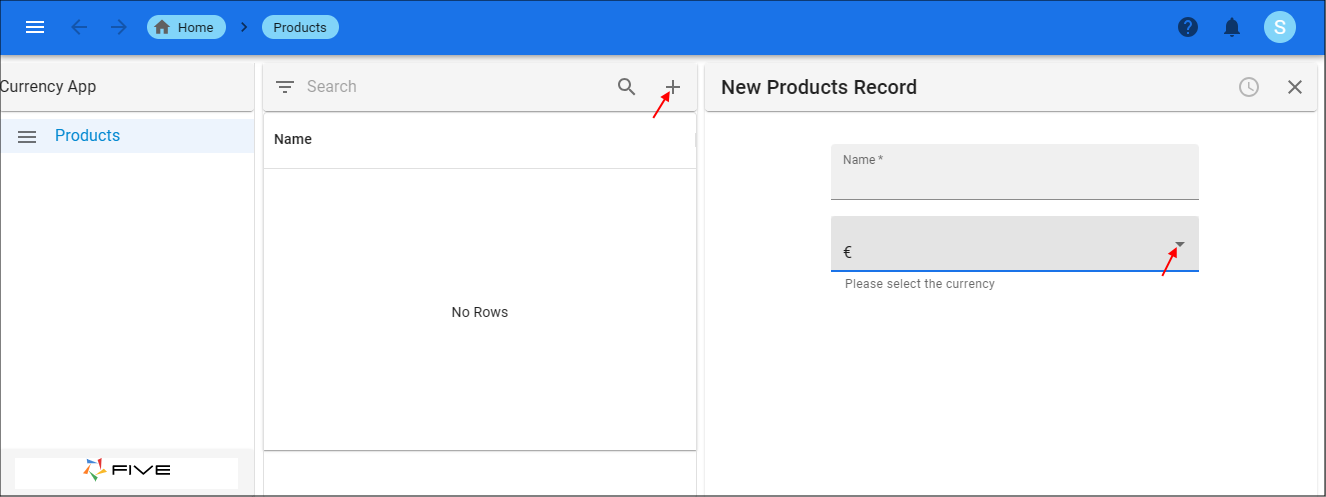
Figure 22 - SelectCurrency custom field
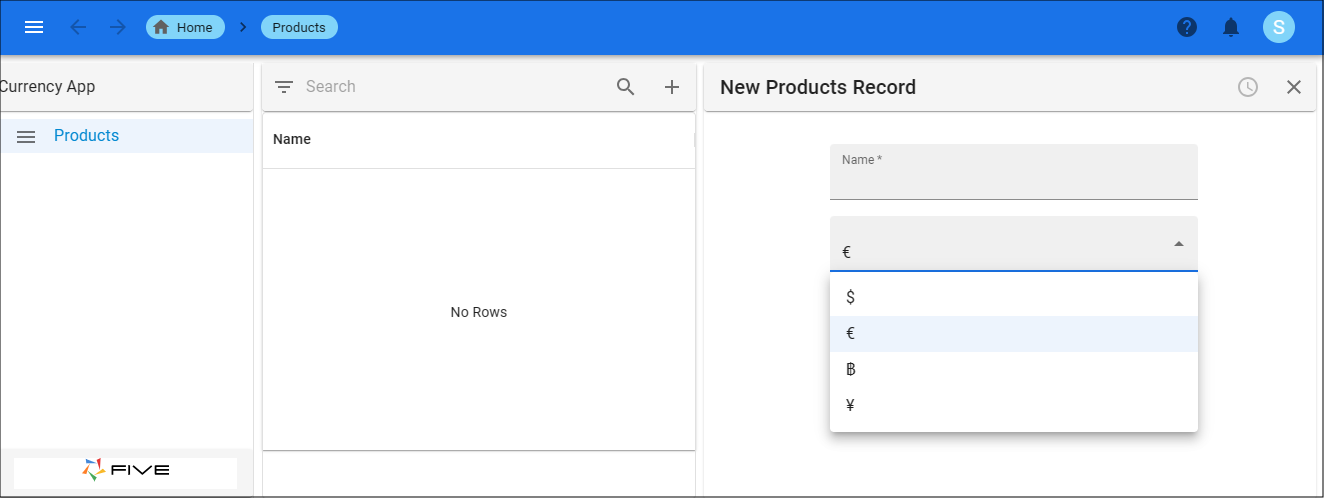
Figure 23 - Currency values in the custom field