Developing Your Plugin
Last updated 26/07/2023
Compiling
Compiling of your plugin will depend on which build tool you are using, (if any at all).The provided plugin examples use Webpack, and as such, running Webpack in your plugin's directory will build your plugin into the distribution directory specified in the webpack.config.js file as documented in the Project Setup chapter.
Building
Webpack has many options to build plugins including many different debugging schemes and optimizations for faster and smaller code. To read more on this refer to the Debugging documentation in Webpack. When debugging your plugin, we recommend setting the devtool toeval-source-map
. Please see the table in the previous link to make
the best decision for your development environment.
Debugging in Five
While you are still in the development stage of creating your plugin, you can use the Plugin Debug Path field to point to your output file, which can be helpful for iterating your plugin during development as you don't have to re-upload your plugin with every change made. With the path defined, you can continually run your application to check your changes and when you are complete you can upload the final zip file in Five.
Prerequisites to Debug your Development:- Your Webpack is set for development in the webpack.config.js file.
- devtool is set to eval-source-mapin the webpack.config.js file.
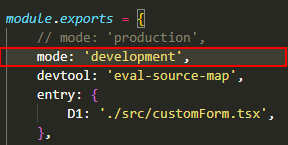
Figure 1 - Development mode
tip
Use the
--watch
command to automatically run Webpack!info
Debugging can be performed in the Custom Actions or the Display Types view dependent on which type of plugin you are debugging. The following steps will
be taken in the Custom Actions view as the example shows how to debug a Custom Form.
Debug Your Plugin
1. Click the Add Item button.2. Type a title in the Title field.
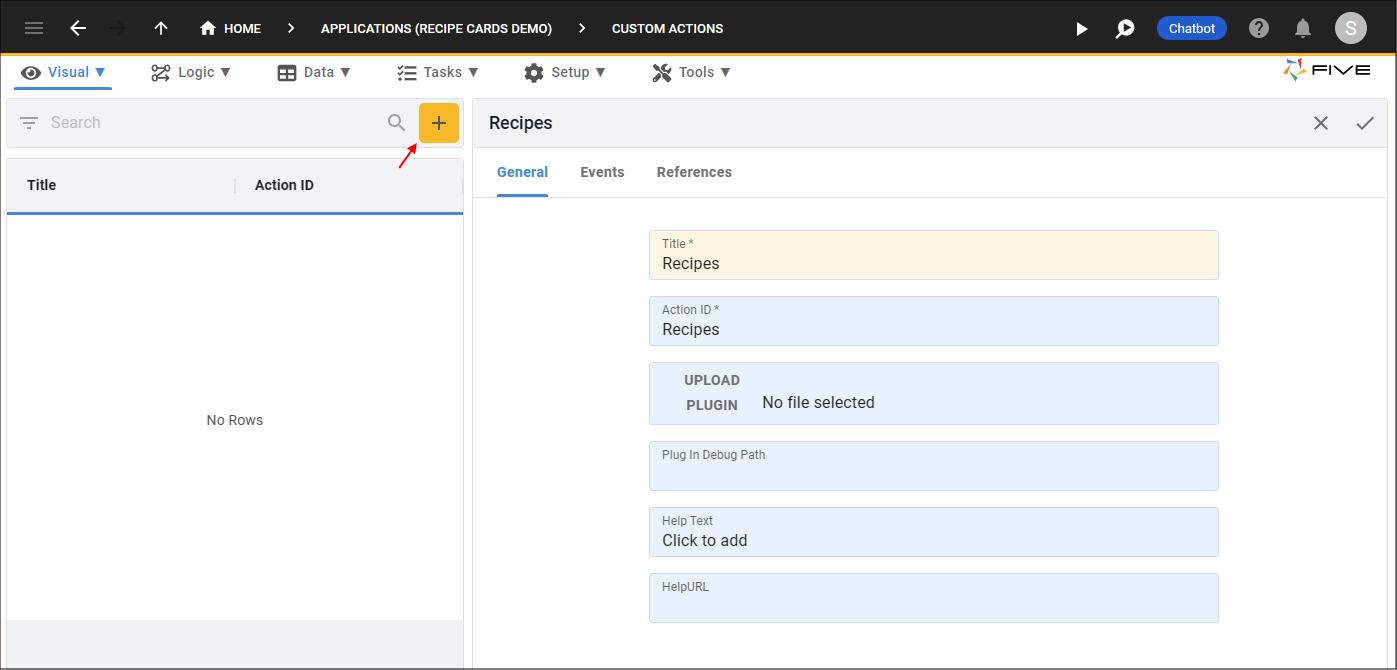
Figure 2 - Add your custom action
3. Type the path that points to your dist location in the Plugin Debug Path field, including your dist folder and .js file.
example
C:\five\2.5.389\development\card-recipes\dist\customForm.js
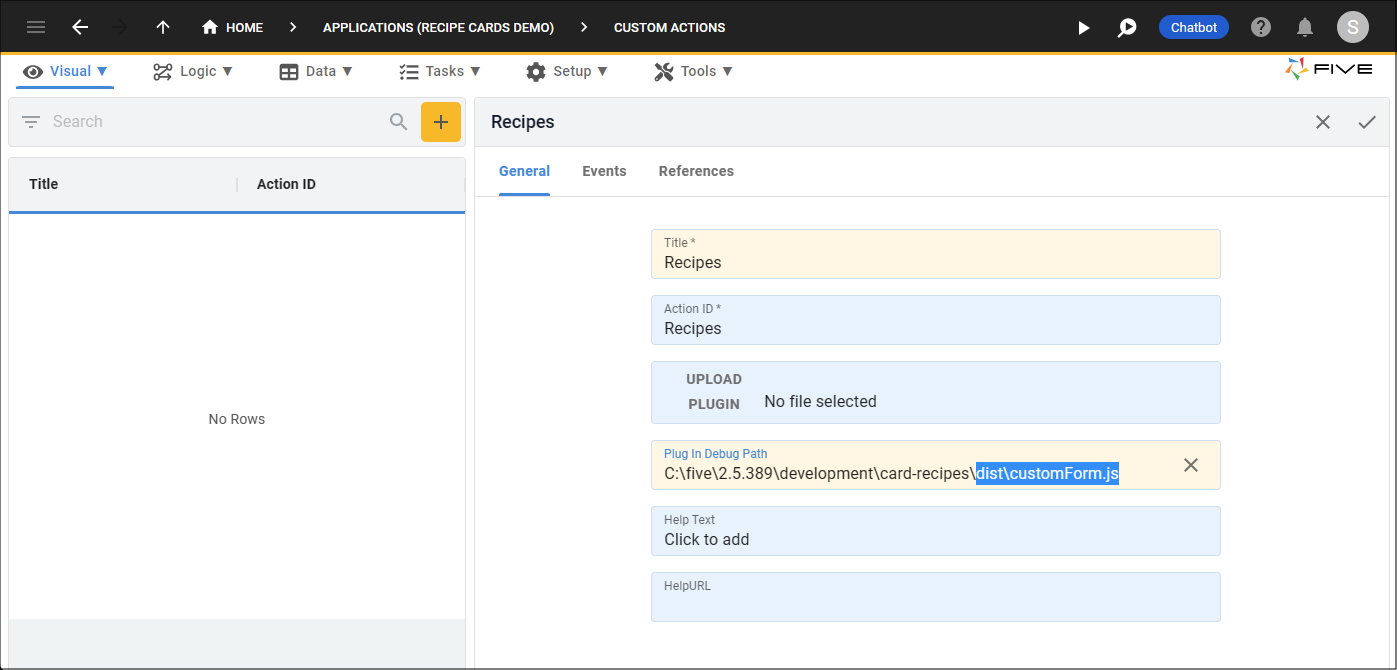
Figure 3 - Add the file path
tip
The output must match your custom action's Action ID.

Figure 4 - Output must match Action ID
info
The Plugin Debug Path field will take precedence over the field holding your final plugin zip file while you are in development mode.
4. Click the Save button in the form app bar.

Figure 5 - Save your custom action
5. Click the Run button.
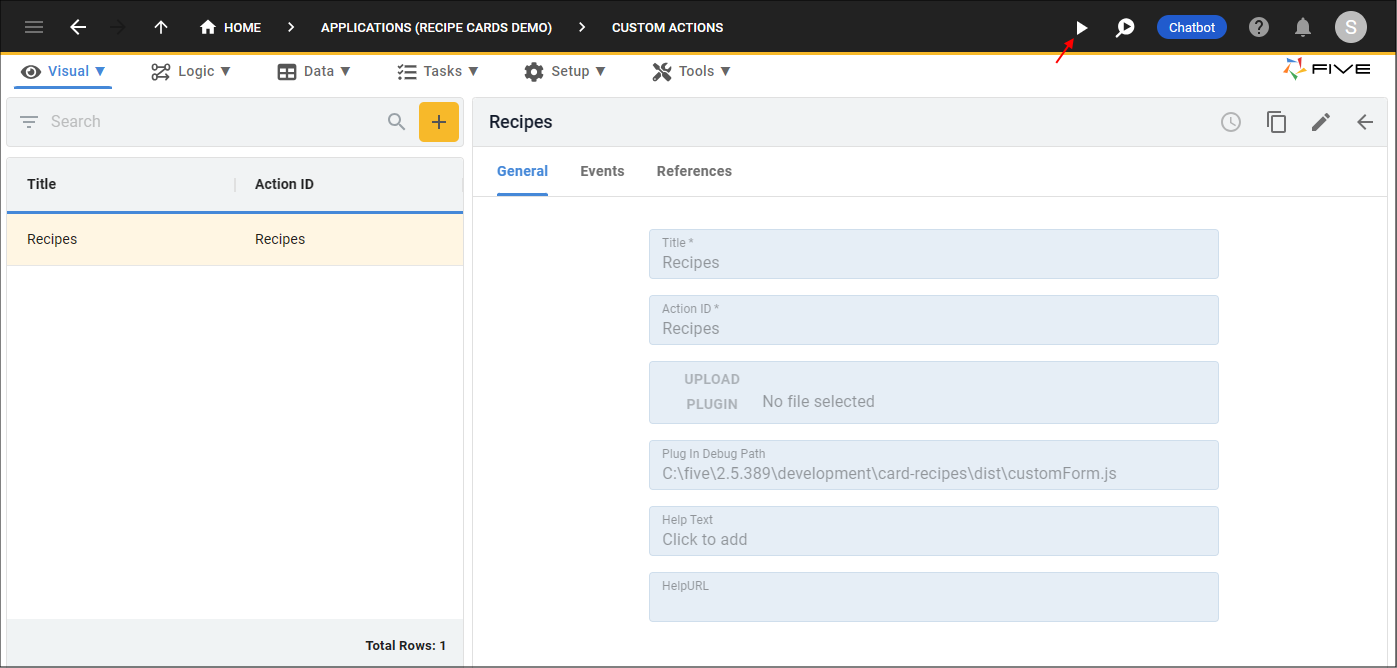
Figure 6 - Run button
info
Your plugin is available to debug.
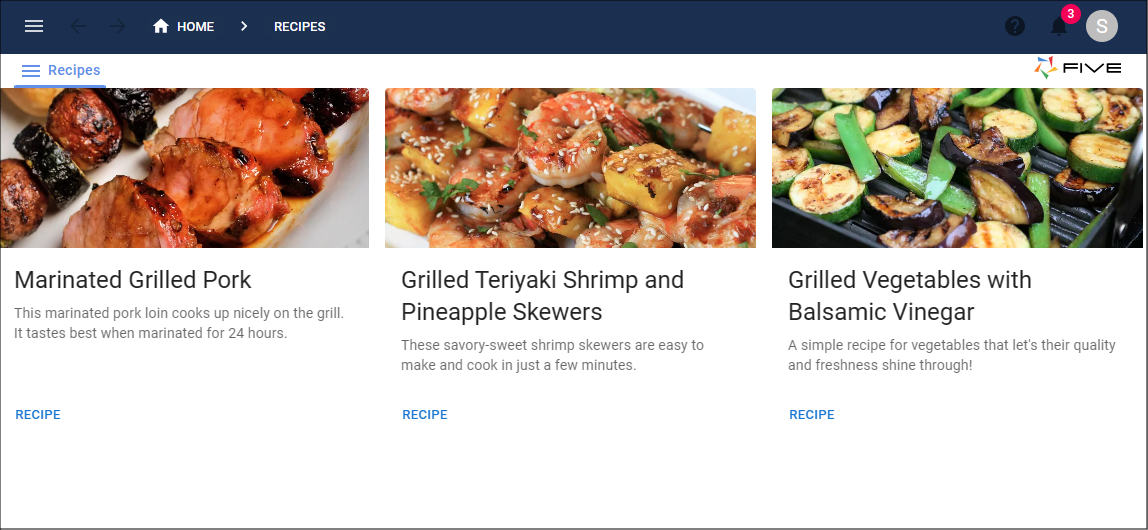
Figure 7 - Plugin in development
6. After saving any changes in your code, click the Refresh button in your browser to see the changes.
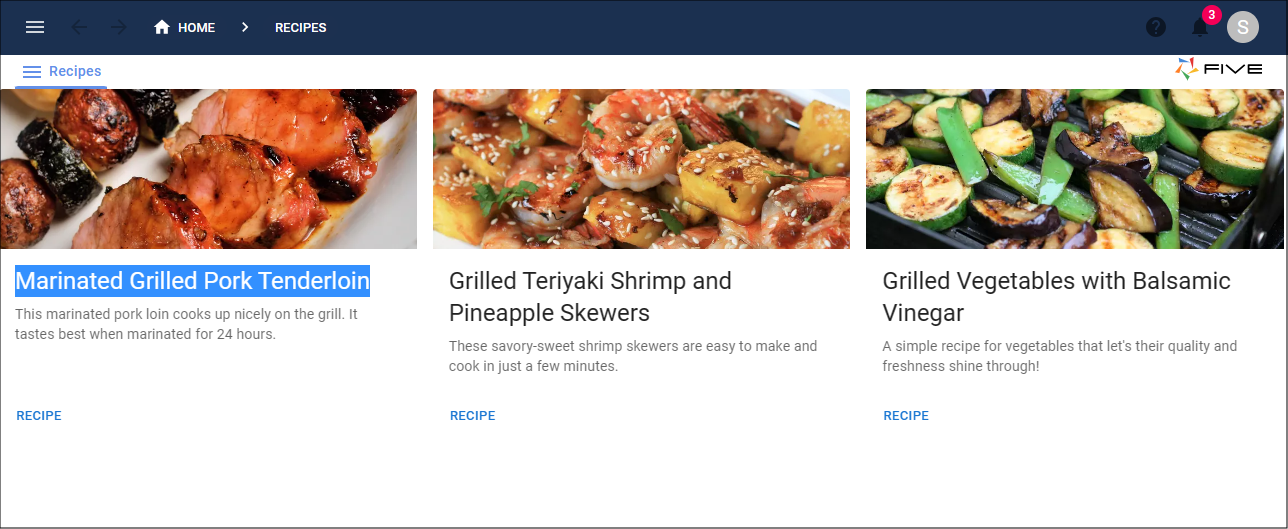
Figure 8 - Refresh to view changes
Deploying in Five
With the development of your plugin completed, dependent on the type, you can either upload your zip file on the Custom Action form or the Display Type form ready for production.
Prerequistes to Deploy your Plugin- Your Webpack is set for production in the webpack.config.js file.
- devtool has been removed or commented out webpack.config.js file.
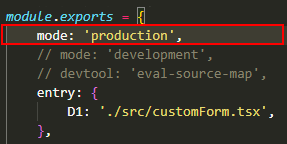
Figure 9 - Production mode
Deploy Your Plugin
1. Run the Webpack command to build your final build.node ./node_modules/webpack/bin/webpack.js
2. Locate and open your dist folder.
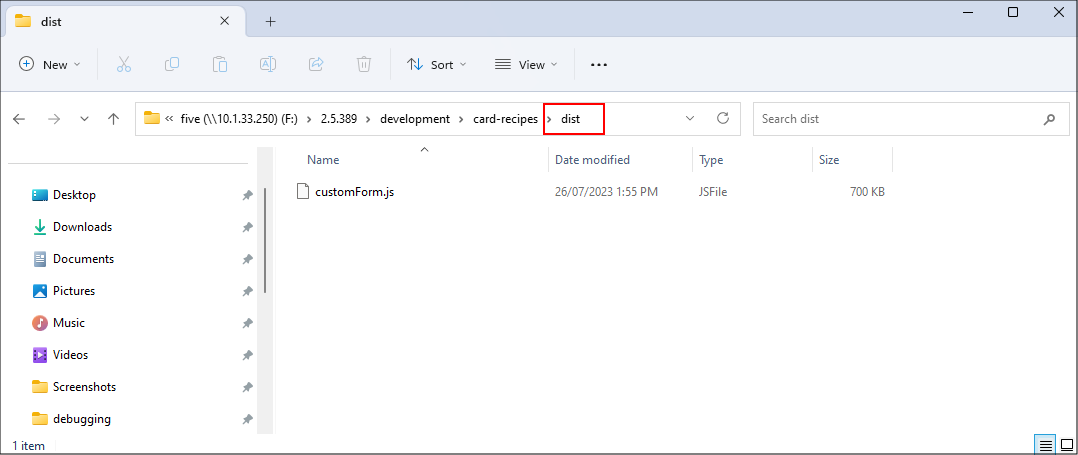
Figure 10 - dist folder
3. Inside the dist folder compress your plugin file to a zip file.
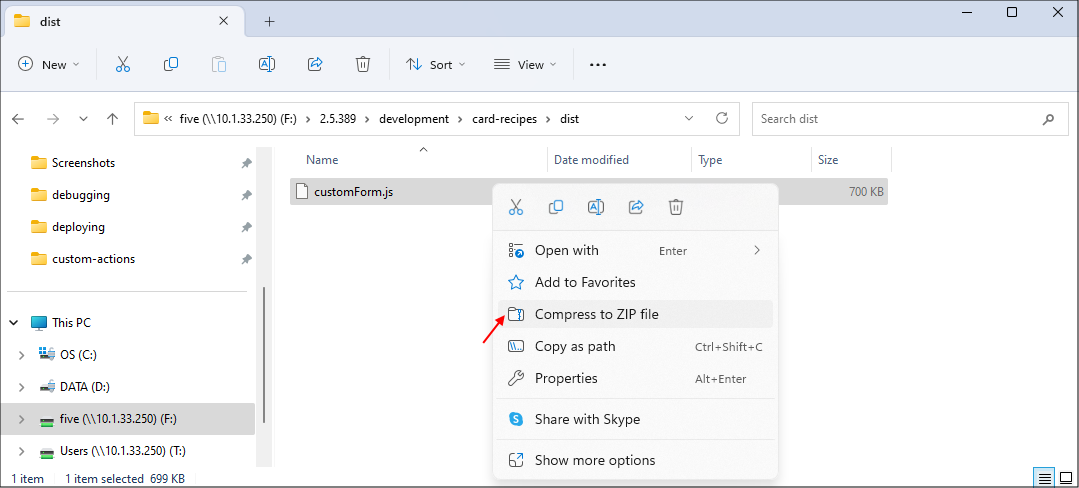
Figure 11 - Compress your plugin file to a zip file
tip
Rename your zip file to a more relevant name!
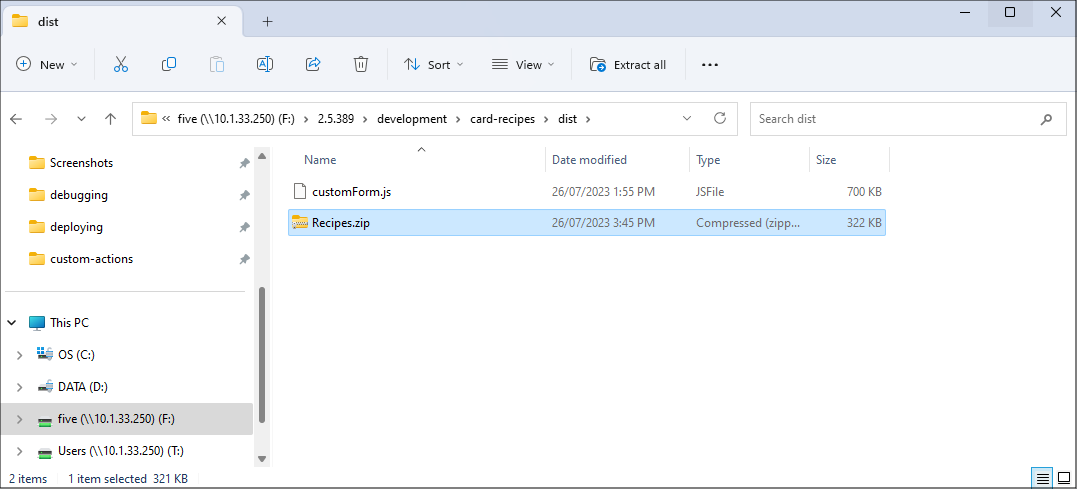
Figure 12 - Rename your zip file
4. Select the required Custom Action record in the list.
tip
Remember it can be a Display Type record!
5. Either click the Edit button in the form app bar, or click directly in the Plugin Debug Path field.
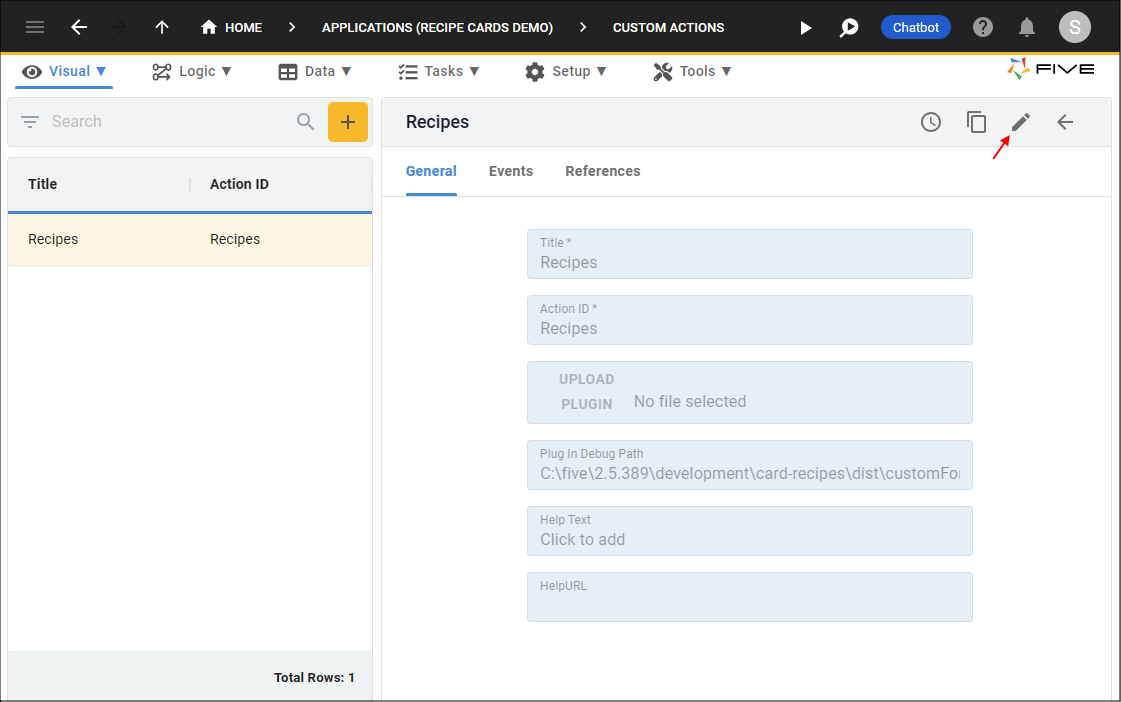
Figure 13 - Edit the Custom Action record
6. Click the Cancel button in the Plugin Debug Path field.
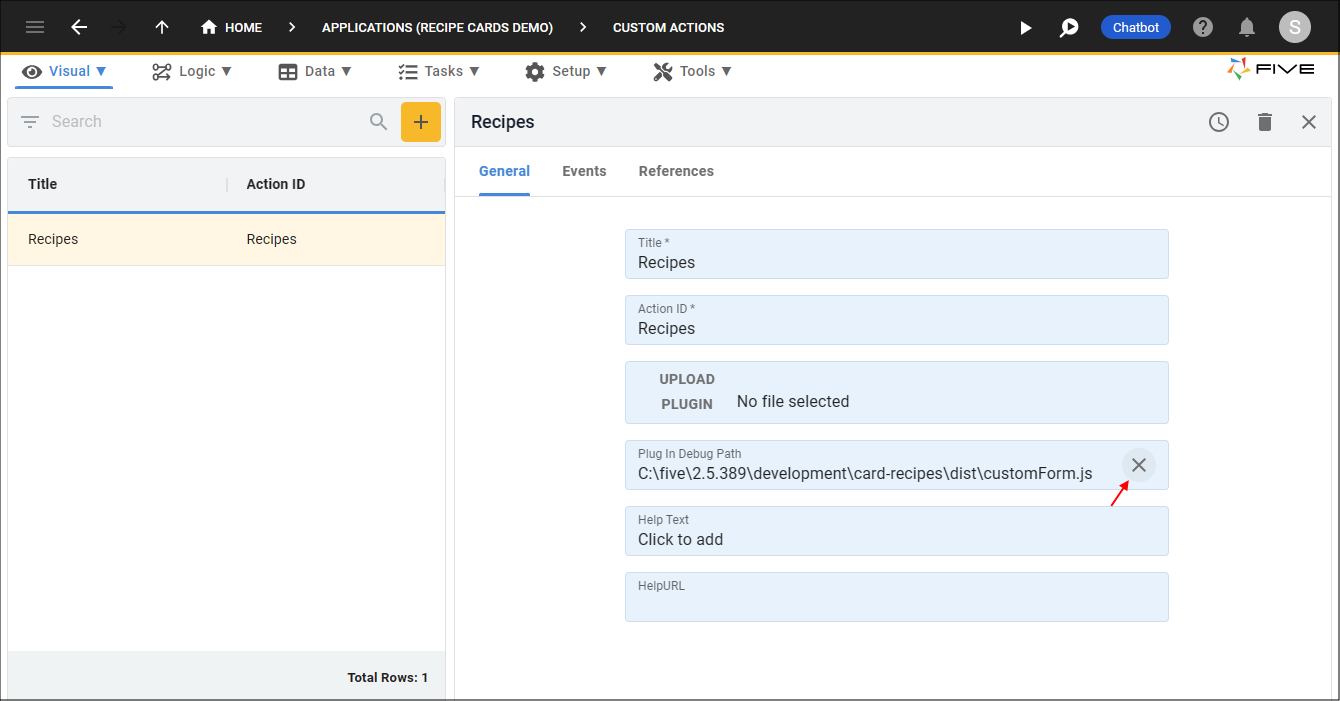
Figure 14 - Cancel button
7. Click the UPLOAD PLUGIN button.
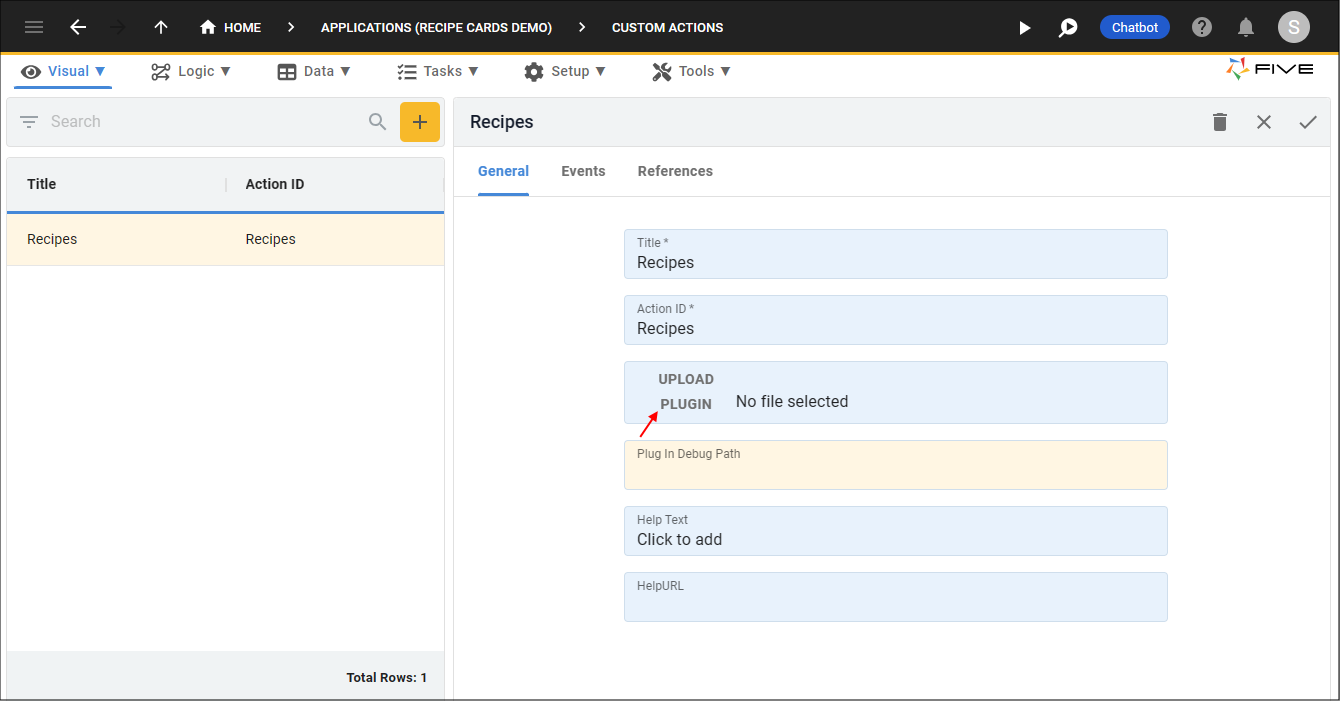
Figure 15 - UPLOAD PLUGIN button
8. Navigate to your dist folder and open your plugin zip file.
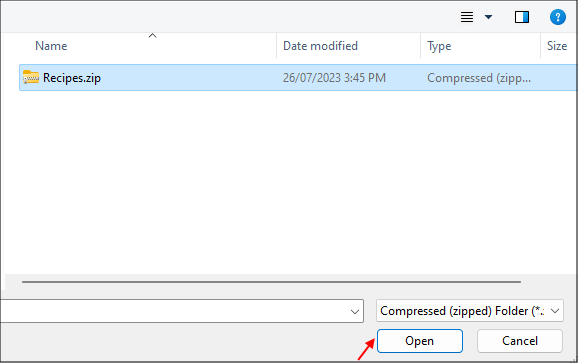
Figure 16 - Open your zip file
9. Click the Save button in the form app bar.
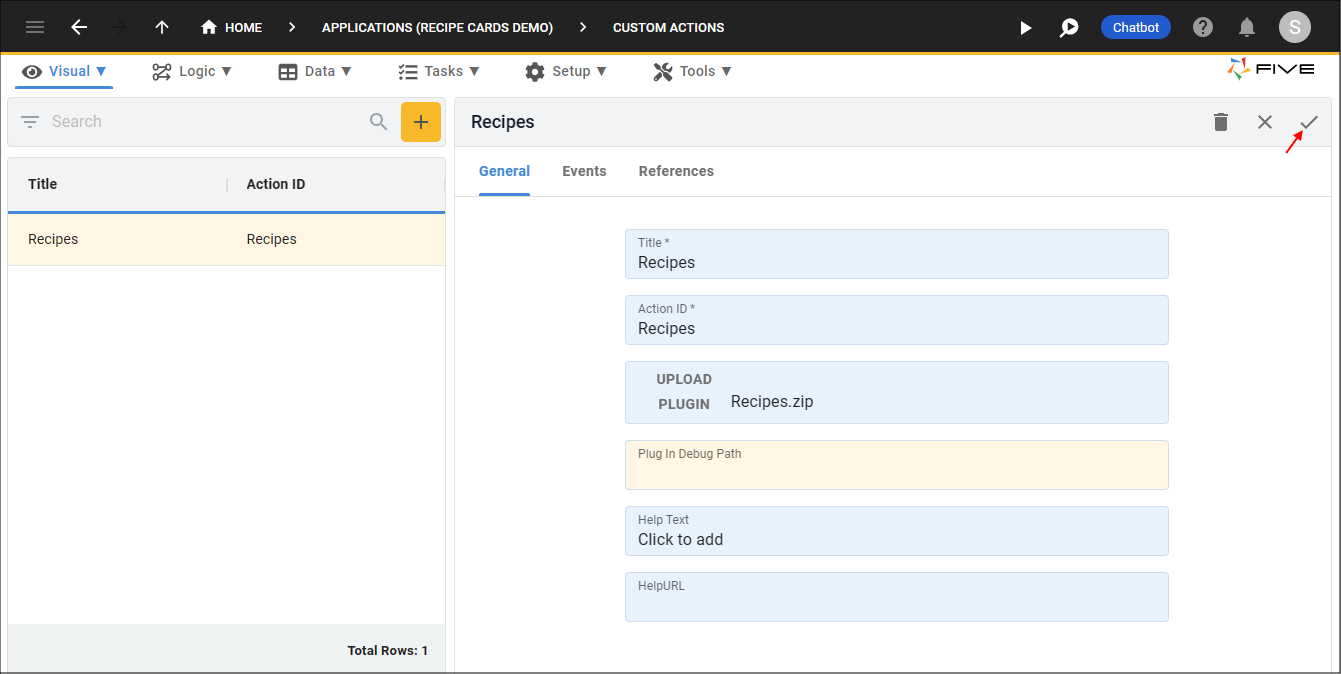
Figure 17 - Save button
info
Your plugin is now ready for production deployment.