Add a Form with a Dependent Table
Last updated 20/03/2024
Dependent Tables
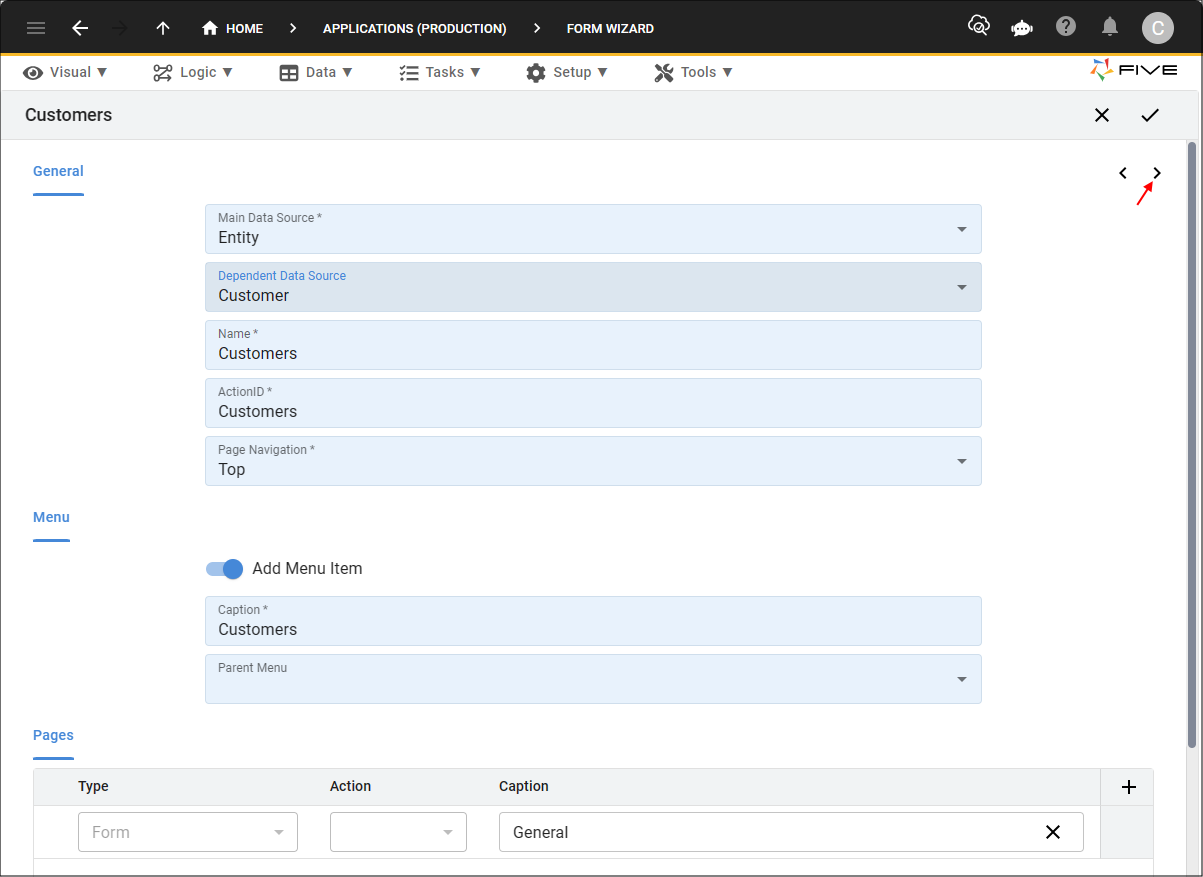
Initially opening the Form Wizard, The Dependent Data Source field will be captioned with Select a Main Data Source. This is because a main data source is required before a dependent data source can be selected. Dependent data sources will only be available in the field's lookup if your database has been configured to have inheritance between tables.
Inheritance allows child tables to inherit the common field attributes from a parent table creating a parent-child relationship. This causes the child table to inherit the fields and constraints from its parent along with its own defined fields.
When selecting a dependent table you will have access to the fields from both tables to use on your form.
Example
The following diagram shows the children tables inherit all the fields of their parent table, plus have additional fields unique to themselves. The parent table has a Type field to hold the type of child.
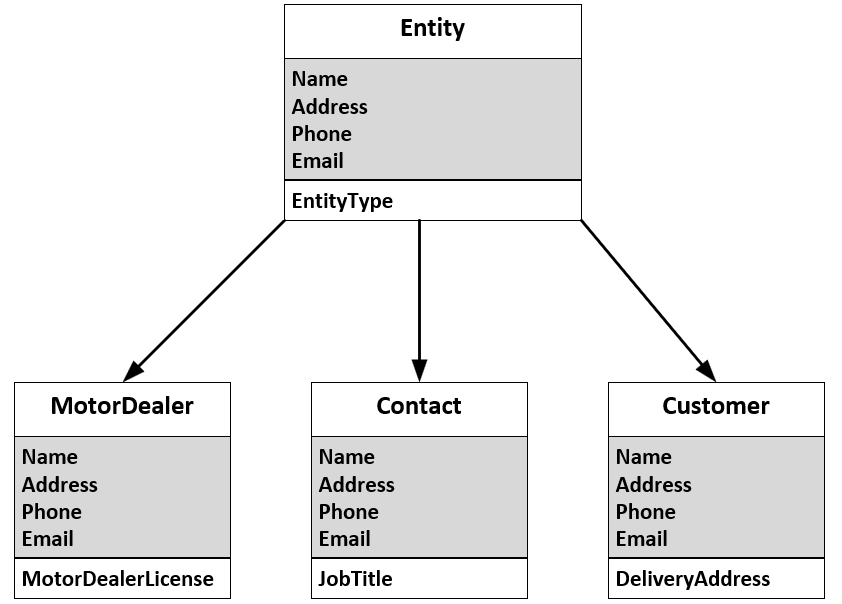
The MotorDealer, Contact, and Customer tables all inherit the field attributes from the Entity table.
Add a Dependent Table in the Form Wizard
1. Click the lookup icon in the Main Data Source field and select the main (parent) table.2. Click the lookup icon in the Dependent Data Source field and select the dependent (child) table.
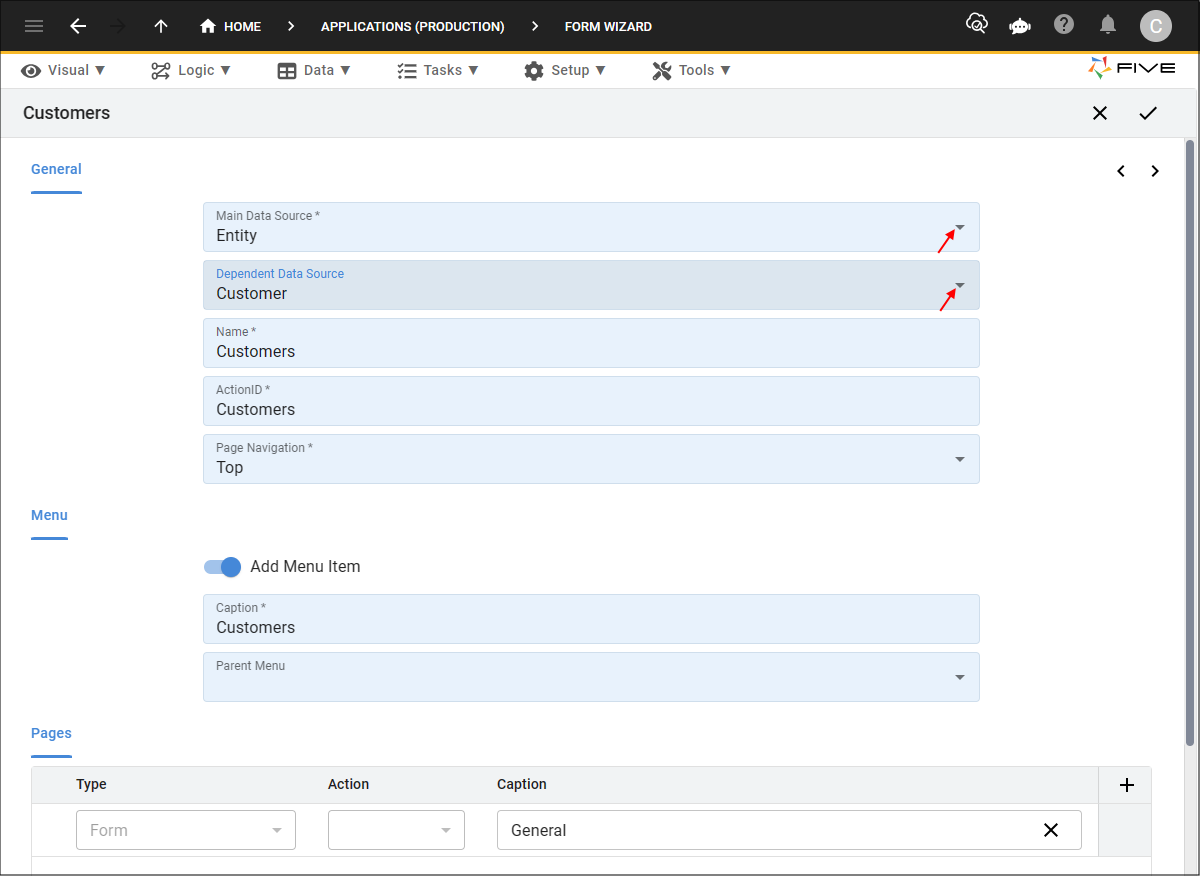
3. Click the Next button.
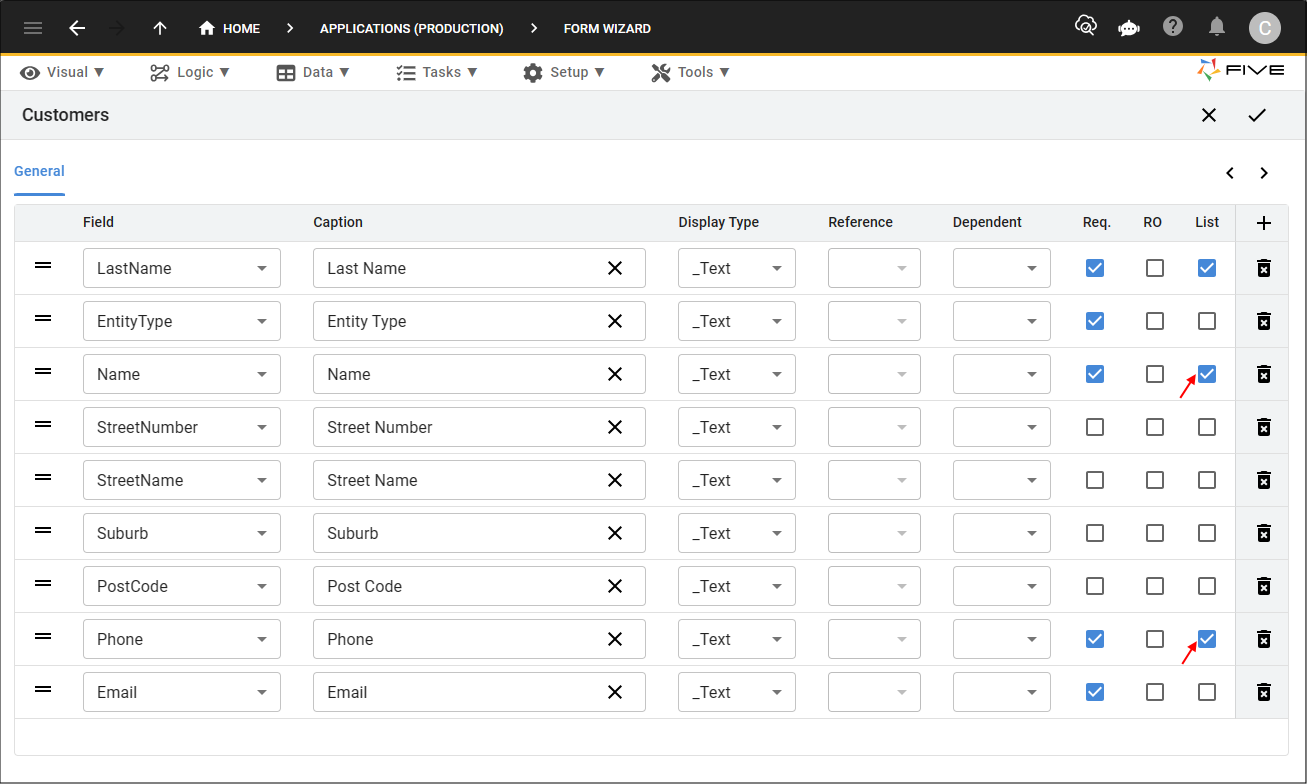
4. Include any fields you want in the list.
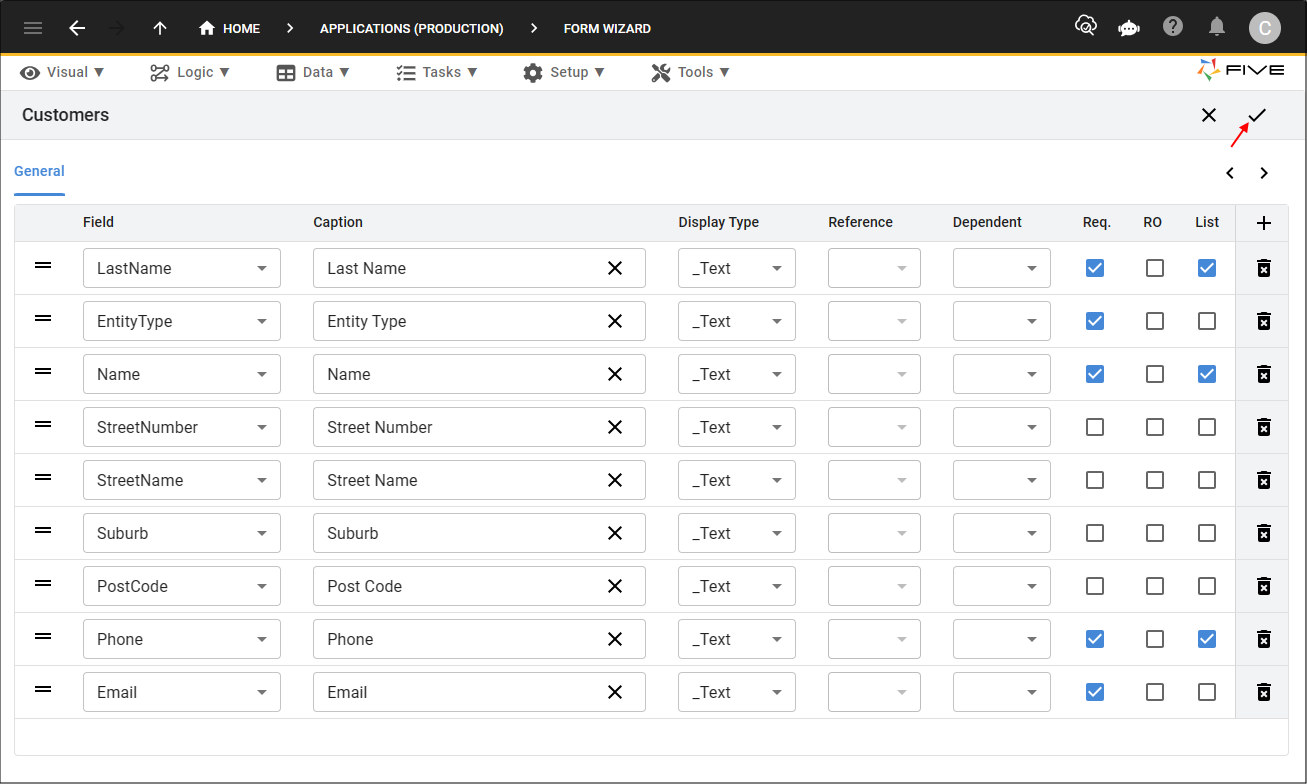
5. Click the Save button in the Form Wizard app bar.
Post Requisites
You will need to edit the form you just saved to perform the following modifications as these can't be done in the Form Wizard.
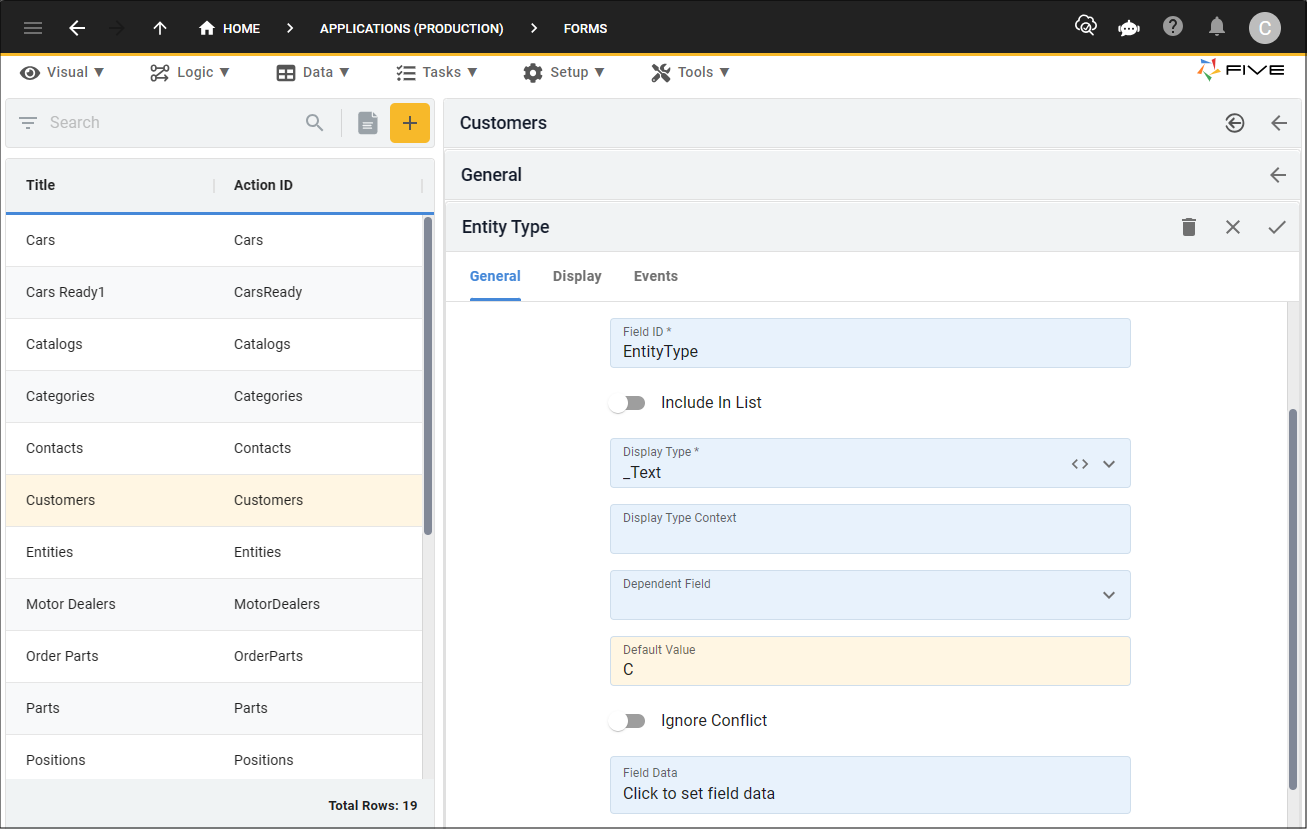
- The Default Value field will need a value entered that will automatically be stored in the main table in the database. An example is, C for Customer.
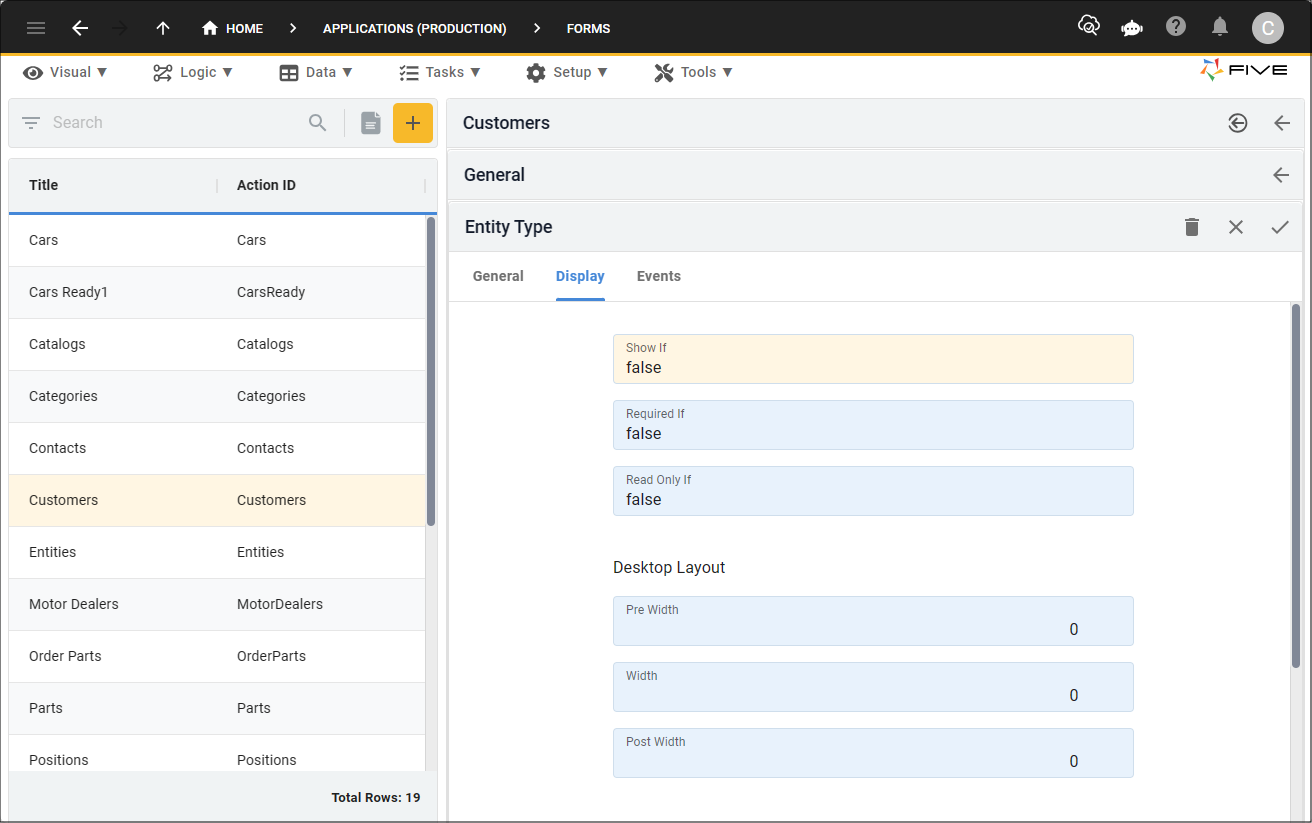
- The Show If field will need to be set to falseso the field will not be shown on the form.