Add a Mail Merge Using a Function
Last updated 12/02/2024
A mail merge can be created using a function and inside this function you can retrieve data from a data source. For this example, we will use a SQL statement to retrieve data from a database inside the function. The function will look for employee birthdays and will be attached to an application button. When the button is clicked, the mail merge will be sent to any employees who have a birthday that matches the current date.
The following steps need to be performed:- Create your mail merge record
- Add your function
- Create an application button and attach your function
Mail Merge Properties
At a minimum you must pass in theSMTPToName
and SMTPToEmail
properties or
the SMTPAddresses
property into the context
parameter of the function for the mail merge.
Any properties set in the
executeAction()
function will override any settings on the Instance record and the Mail Merge record.
Please refer to the API documentation to have a full list of Five's mail merge reserved context options.
Add a Mail Merge
info
When you add a mail merge that uses a function you do not need to provide a data source as the mail merge will use your function.
The mail merge is created first because the mail merge's action ID will be passed in as the first parameter to Five's function.
The mail merge is created first because the mail merge's action ID will be passed in as the first parameter to Five's function.
1. Click the Add Item button.
2. Type a title in the Title field.
info
The SMTP From Name and SMTP From Email fields are not required here on the Mail Merge form as they are using the values in these fields on the Instances form.
3. Type a subject line in the Subject Text field.
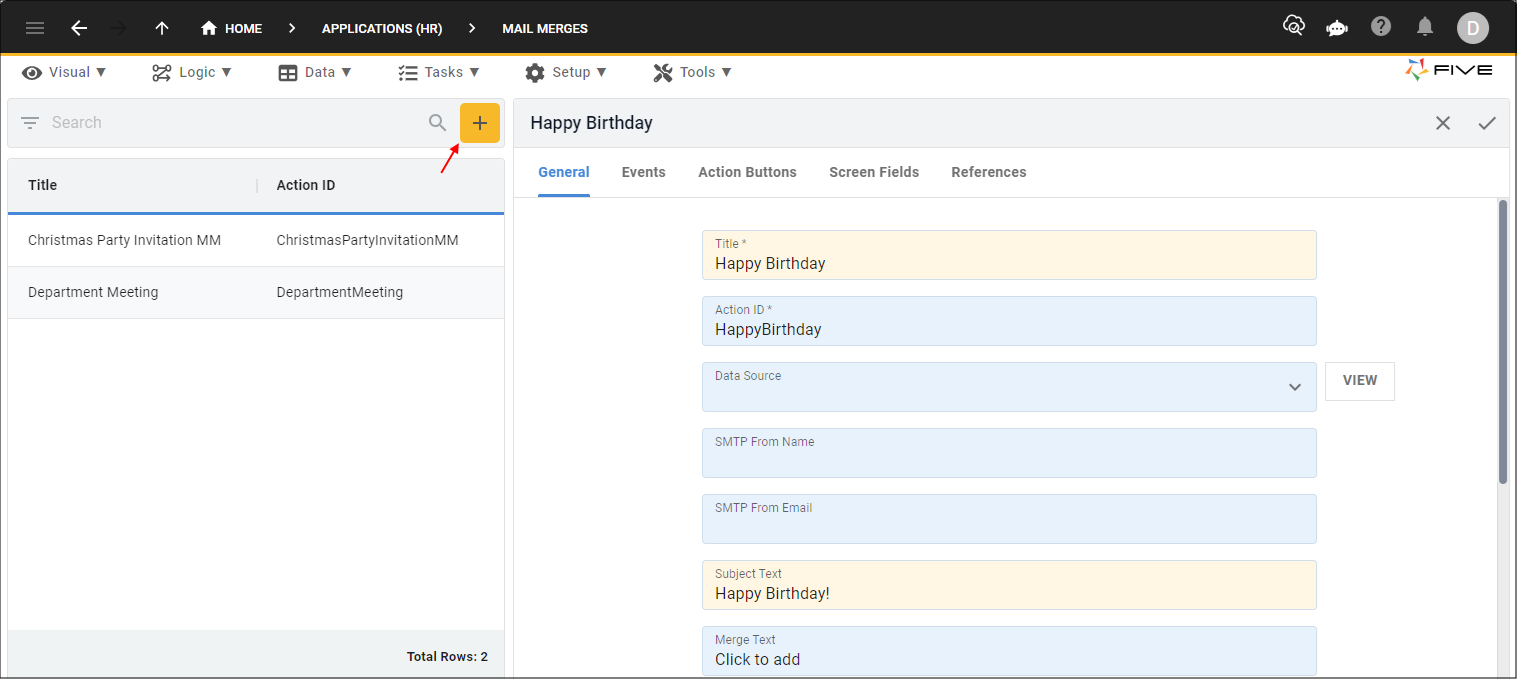
Figure 1 - Add a mail merge
4. Click in the Merge Text field.
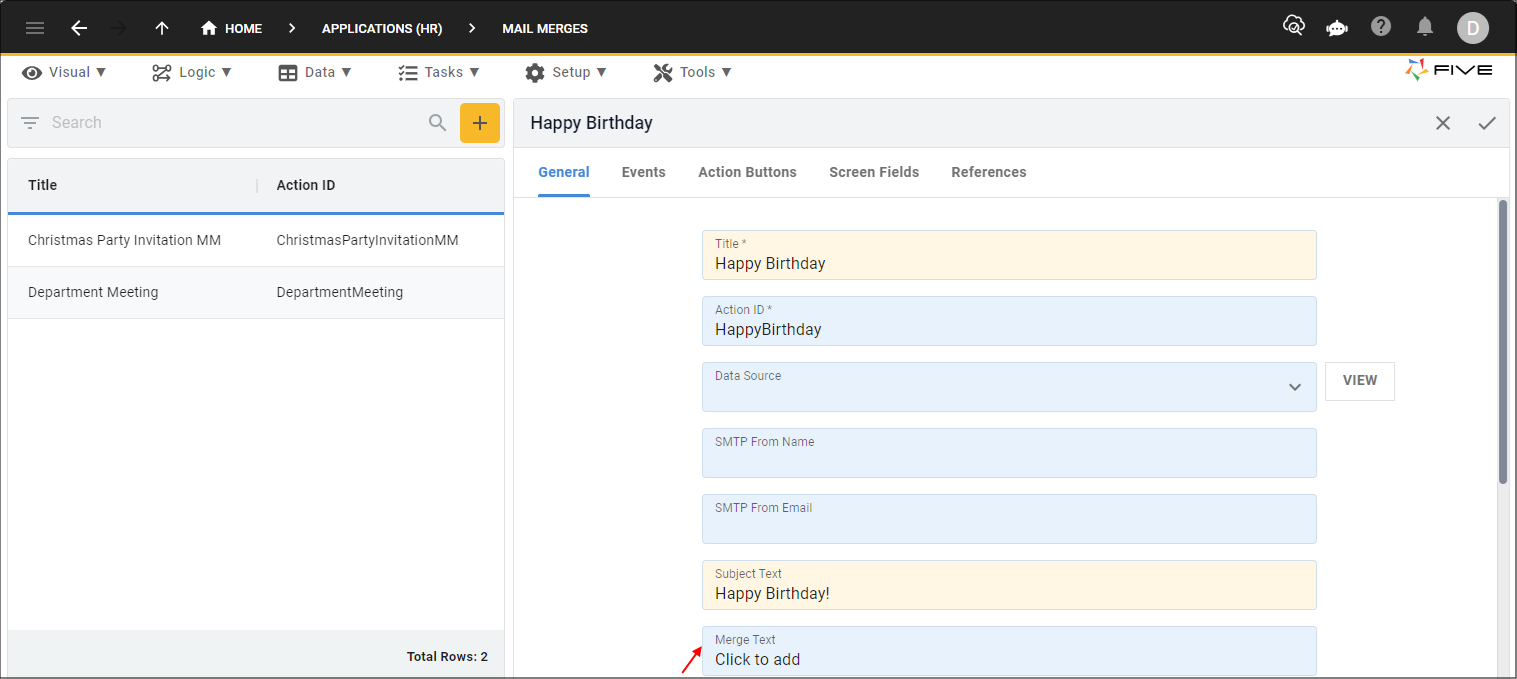
Figure 2 - Merge Text field
5. Use the icons in the toolbar to design your template.
info
You need to manually type your properties in your function in the mail merge template using the
property{{five.variable.<variableName>}}
. The values passed through as the context to the function will
be merged into the variable
property on the object.
Figure 3 - variable property
6. Click the Save button in the editor app bar.
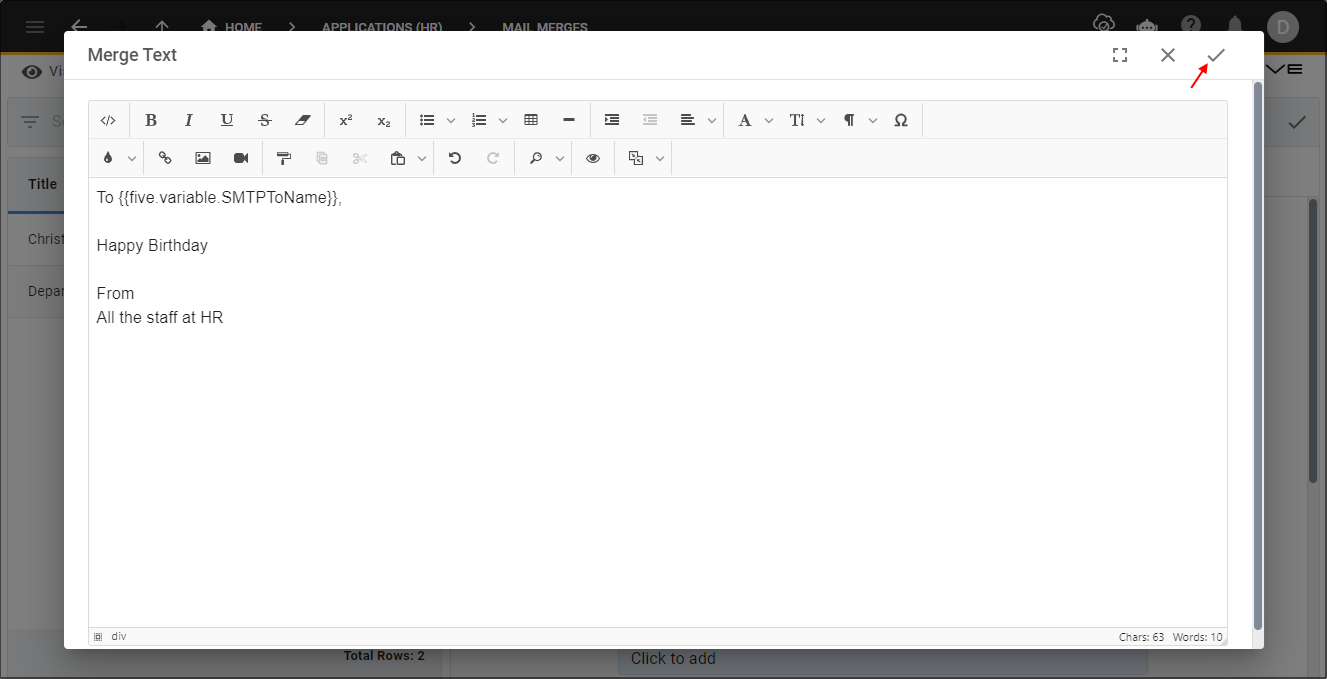
Figure 4 - Save button
7. Click the Save button in the form app bar.
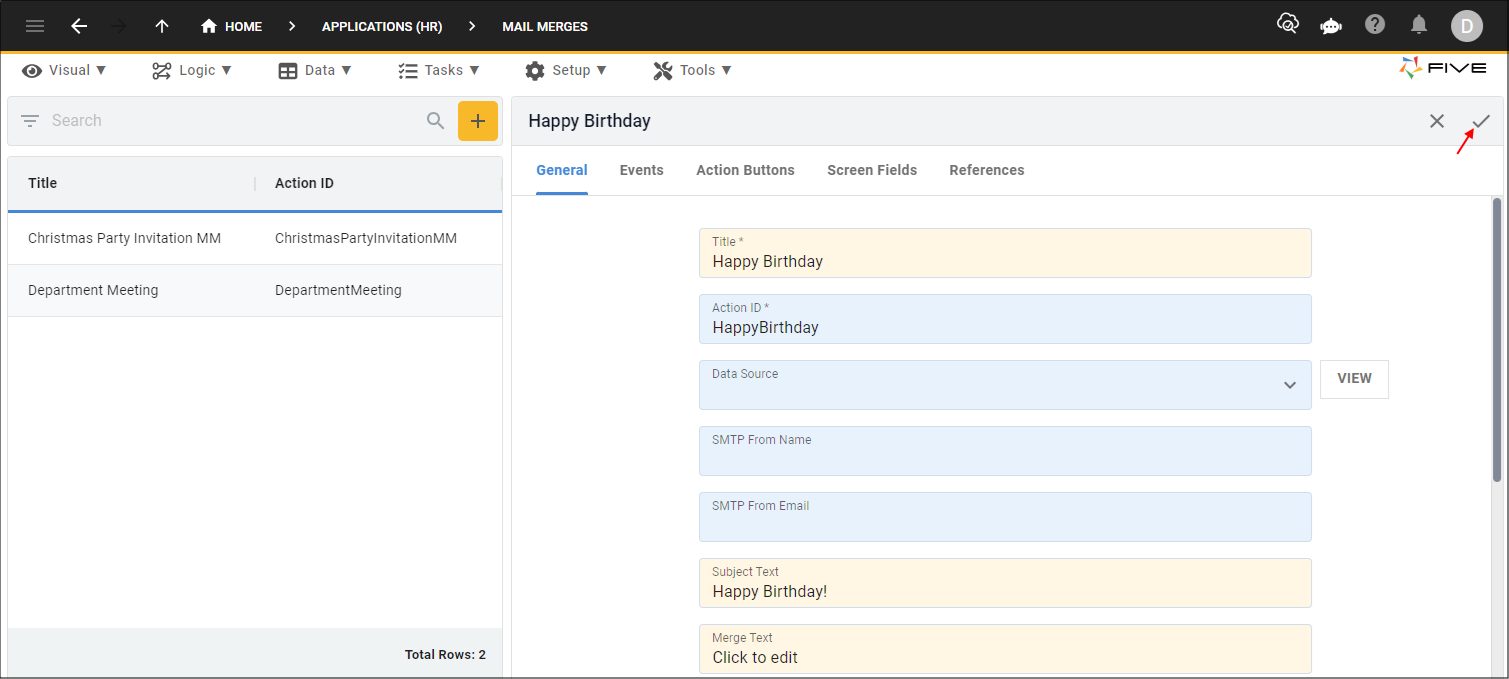
Figure 5 - Save button
Navigate to the Code Editor
1. Select Logic in the menu.2. Select Code Editor in the sub-menu.
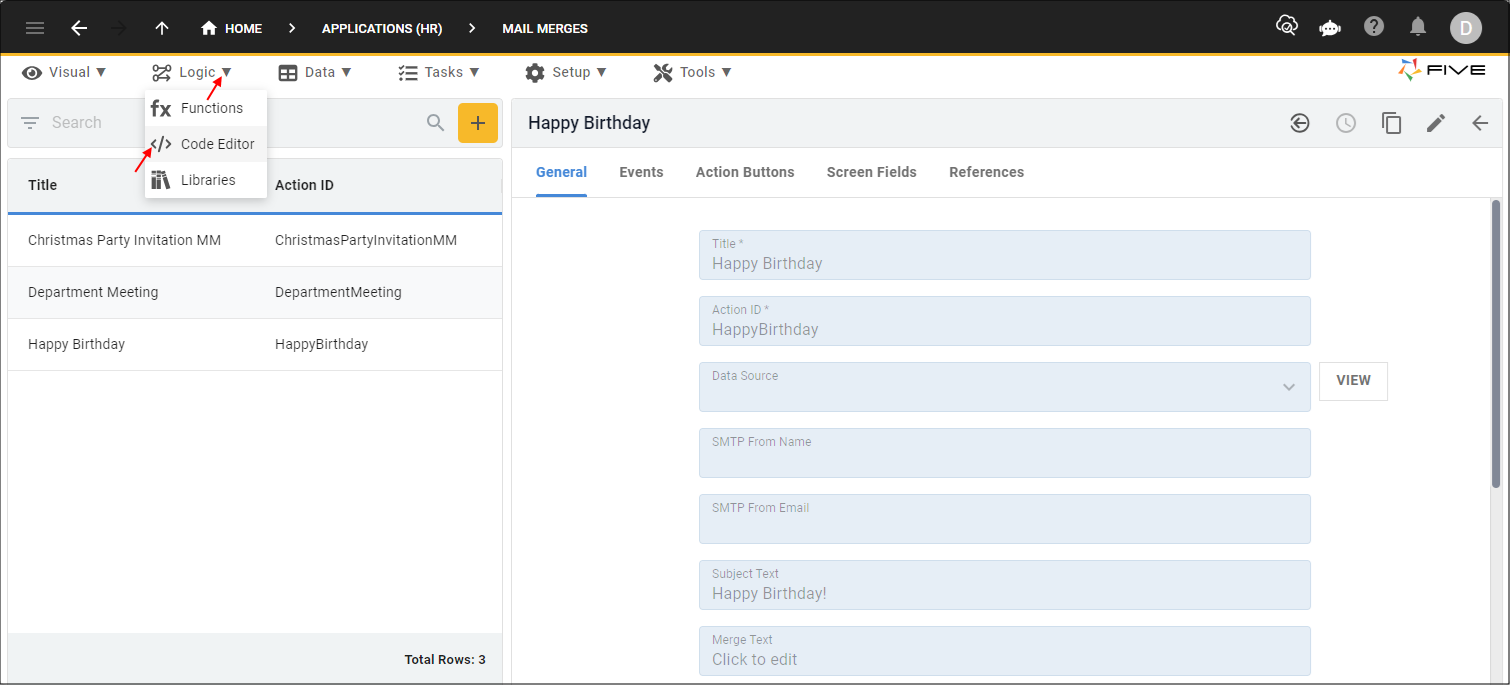
Figure 6 - Code Editor menu item
Add Your Function
The example code is using several of Five's inbuilt functions, you can find the API documentation for these functions by clicking on each link below.- is a function on the
Five
object that executes SQL statements on the Five server and returns results.
- is a function used on the
FiveError
object that returns true or false based on the outcome of the returning function call.
- is a function used on the
Five
object that returns an error with an optional message and notification parameters.
- is a function on the
FiveResult
object returned from the executeQuery()
function returning the number of records in the result set.
- is a function used on the
Five
object that returns a FiveError
indicating success.
- is a function used on the
Five
object and executes an action on the Five server.
1. Click the Add New Code button.
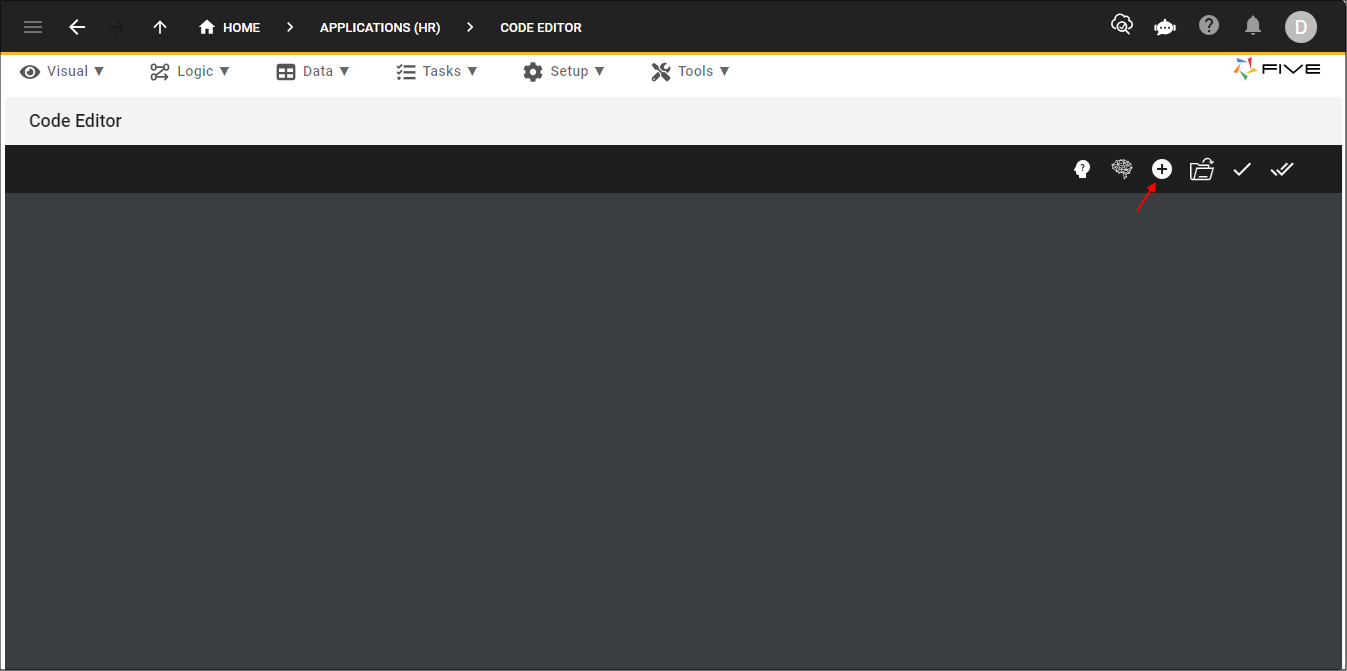
Figure 7 - Add New Code button
2. Type an ID in the Function ID field.
tip
If you are using the example code below, ensure your function ID is called SendBirthdayEmails. Because the function name in the code must
exactly match the function ID that you enter in the Function ID field!
3. Click the OKAY button.
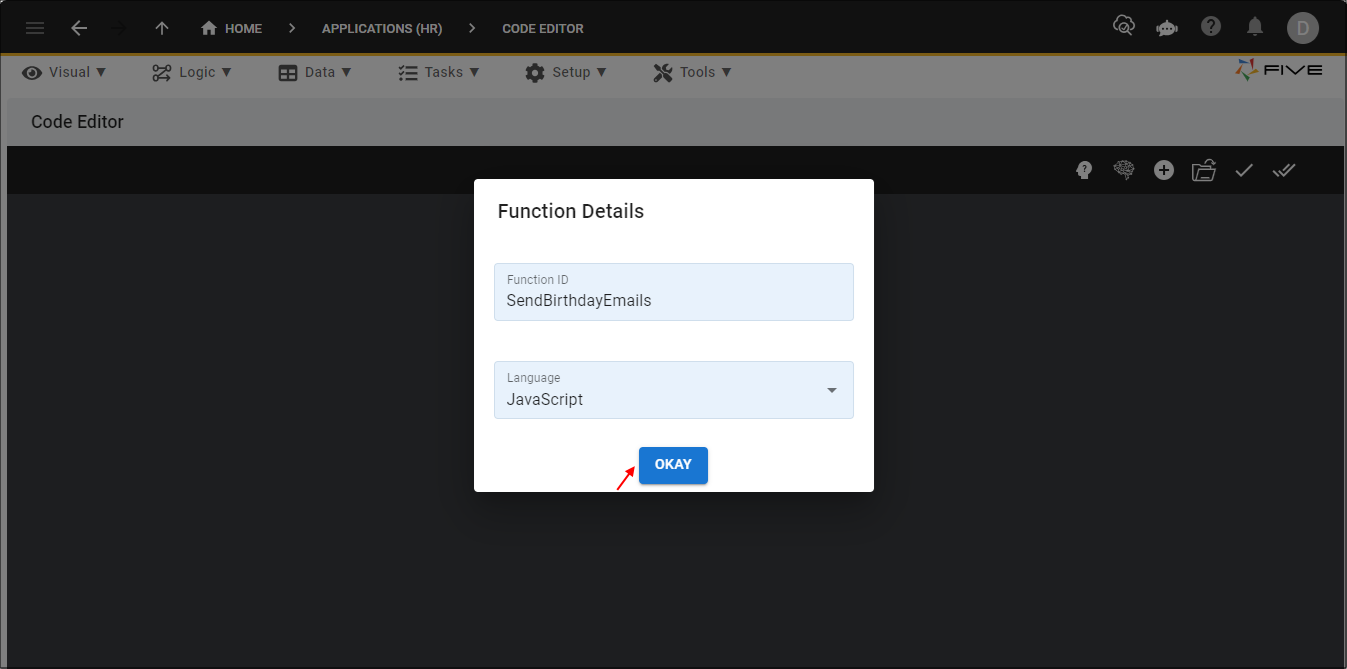
Figure 8 - OKAY button
4. Click the Copy button on the code block below.
info
In the code below, you can see the action ID for the mail merge is passed into the
executeAction()
function with the properties SMTPToName
and SMTPToEmail
.
SendBirthdayEmails
function SendBirthdayEmails(five, context, result)  {
    const currentDate = new Date();

    const month = String(currentDate.getMonth() + 1).padStart(2, '0');
    const day = String(currentDate.getDate()).padStart(2, '0');

    const filter = `%${month}-${day}`;
    const sqlStatement = `
        SELECT
            FullName,
            Email
        From
            Employee
        WHERE
            DOB LIKE ?`;

    queryResults = five.executeQuery(sqlStatement, 0, filter);
    if (!queryResults.isOk()) {
        return five.createError(queryResults, 'Getting birthdays');
    }

    if (queryResults.recordCount() === 0) {
        return five.success(`No birthdays today ${currentDate.toDateString()}`);
    }

    for (let i = 0; i < queryResults.records.length; i++) {
        const fullName = queryResults.records[i].FullName;
        const email = queryResults.records[i].Email;
        const emailResult = five.executeAction("HappyBirthday",  {"SMTPToName": fullName, "SMTPToEmail": email} );
        if (!emailResult.isOk()){
            return five.createError(emailResult, 'Failure to execute Email Merge (SendBirthdayEmails)');
        }
    }

    return five.success(result);
}
5. Paste the code block over the template in Five's Code Editor.
6. Click the Save Current Tab button.
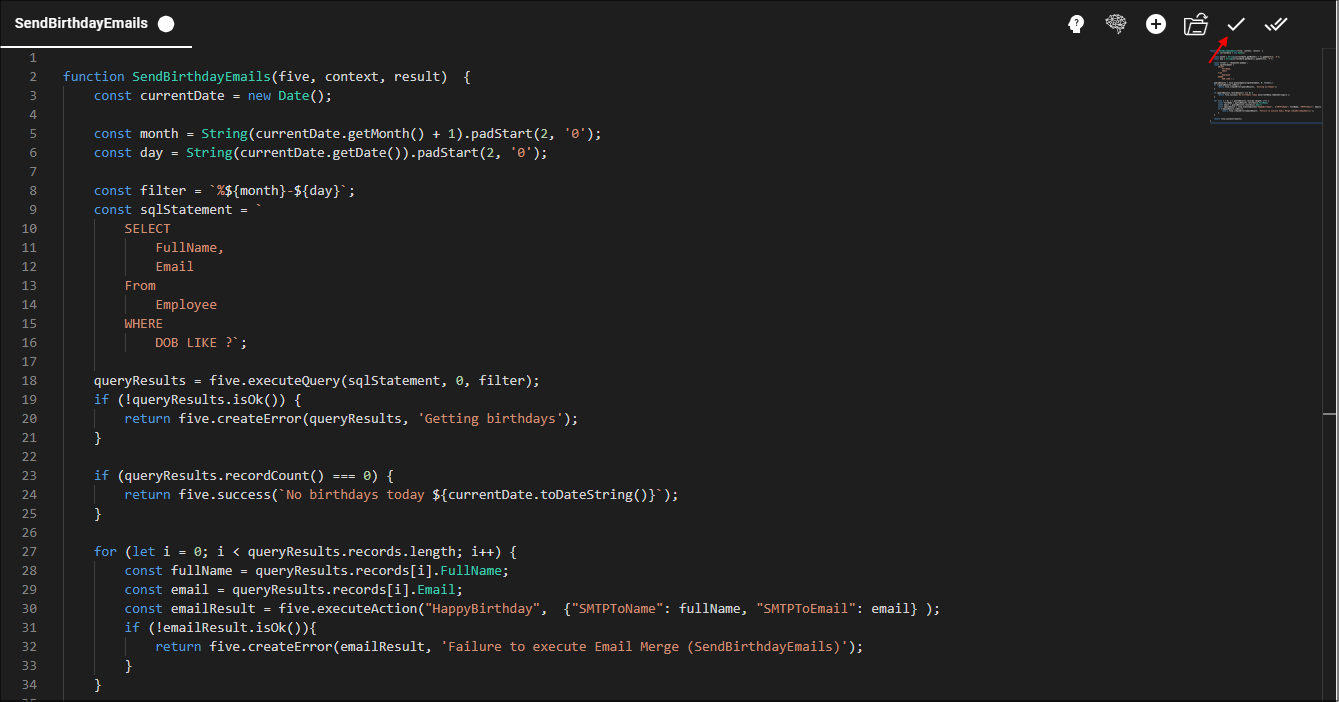
Figure 9 - Save Current Tab button
info
If you were wanting to send your mail merge to mulitple recipients and multiple Cc and Bcc recipients, you can pass them as arrays on
the mail merge context. These properties take an array of objects which contain an email address
and an optional name. See the example below.
CopyStaffIntoSendBirthdayEmails
function CopyStaffIntoSendBirthdayEmails(five, context, result)  {
    const currentDate = new Date();

    const month = String(currentDate.getMonth() + 1).padStart(2, '0');
    const day = String(currentDate.getDate()).padStart(2, '0');

    const filter = `%${month}-${day}`;
    const sqlStatement = `
        SELECT
            FullName,
            Email
        From
            Employee
        WHERE
            DOB LIKE ?`;

    queryResults = five.executeQuery(sqlStatement, 0, filter);
    if (!queryResults.isOk()) {
        return five.createError(queryResults, 'Getting birthdays');
    }

    if (queryResults.recordCount() === 0) {
        return five.success(`No birthdays today ${currentDate.toDateString()}`);
    }

    for (let i = 0; i < queryResults.records.length; i++) {
        const fullName = queryResults.records[i].FullName;
        const email = queryResults.records[i].Email;

        const mailMergeContext = {};
        mailMergeContext['SMTPAddresses'] = [five.emailAddress(email, fullName)];
        mailMergeContext['SMTPCcAddresses'] = [five.emailAddress('staff@example.com'), five.emailAddress('management@example.com')];
	    mailMergeContext['SMTPBccAddresses'] = [five.emailAddress('hr@example.com')];
        const emailResult = five.executeAction("HappyBirthday",  mailMergeContext);
        if (!emailResult.isOk()){
            return five.createError(emailResult, 'Failure to execute Email Merge (SendBirthdayEmails)');
        }
    }

    return five.success(result);
}
Add an Application Button
info
When working in the Cloud, to create an application button and attach a function, you need to be logged into Five as an Administrator or Control user because a Developer
user does not have the permissions to add application buttons.
If you are working in Local, you can make an application button as the standalone user.
If you are working in Local, you can make an application button as the standalone user.
1. Sign in as the admin or control user.
2. Select Applications in the menu.
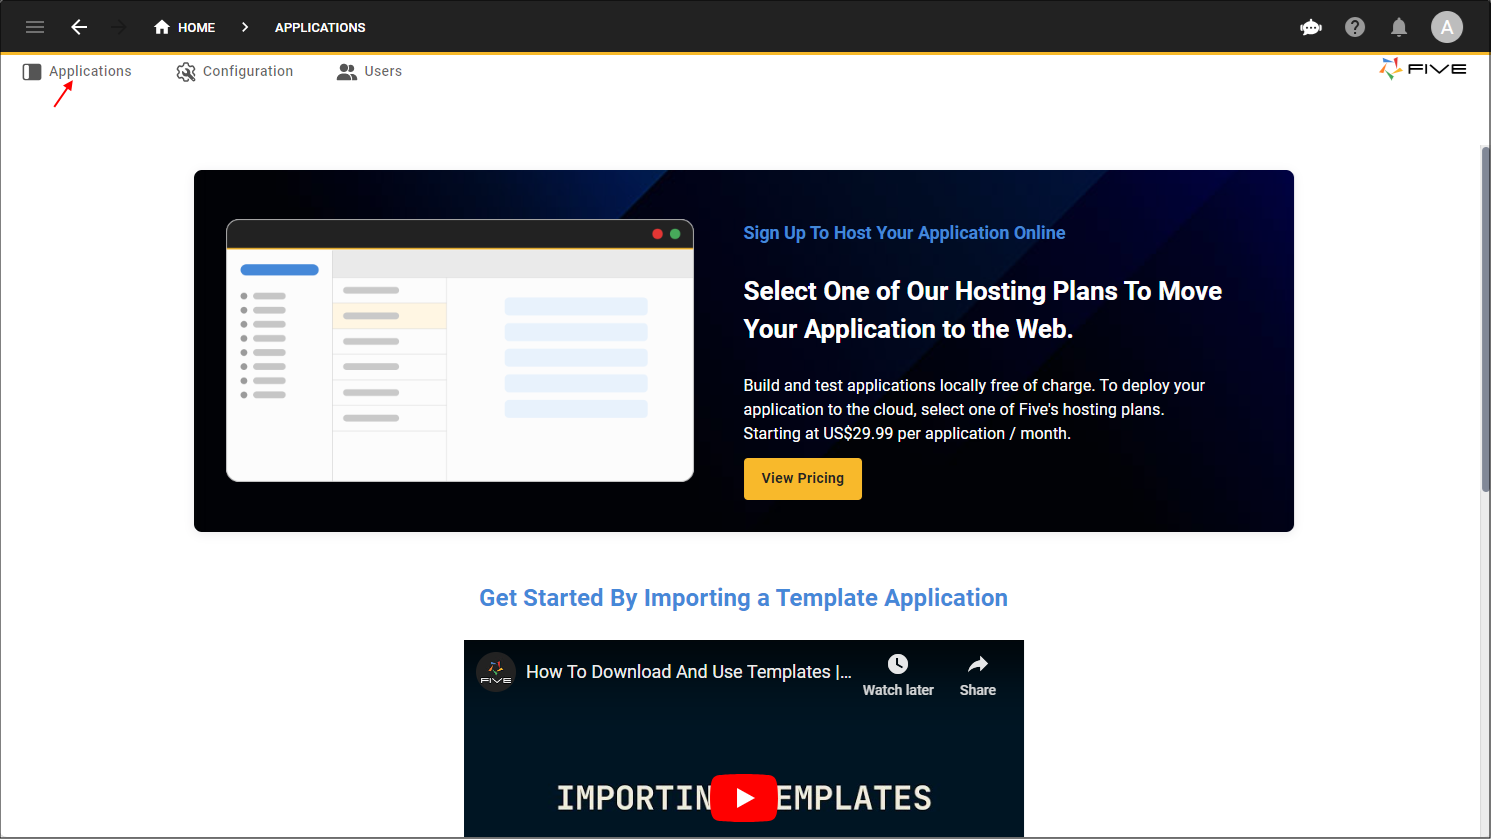
Figure 10 - Applications menu item
3. Select the Application record in the list.
4. Click the Application Buttons tab.
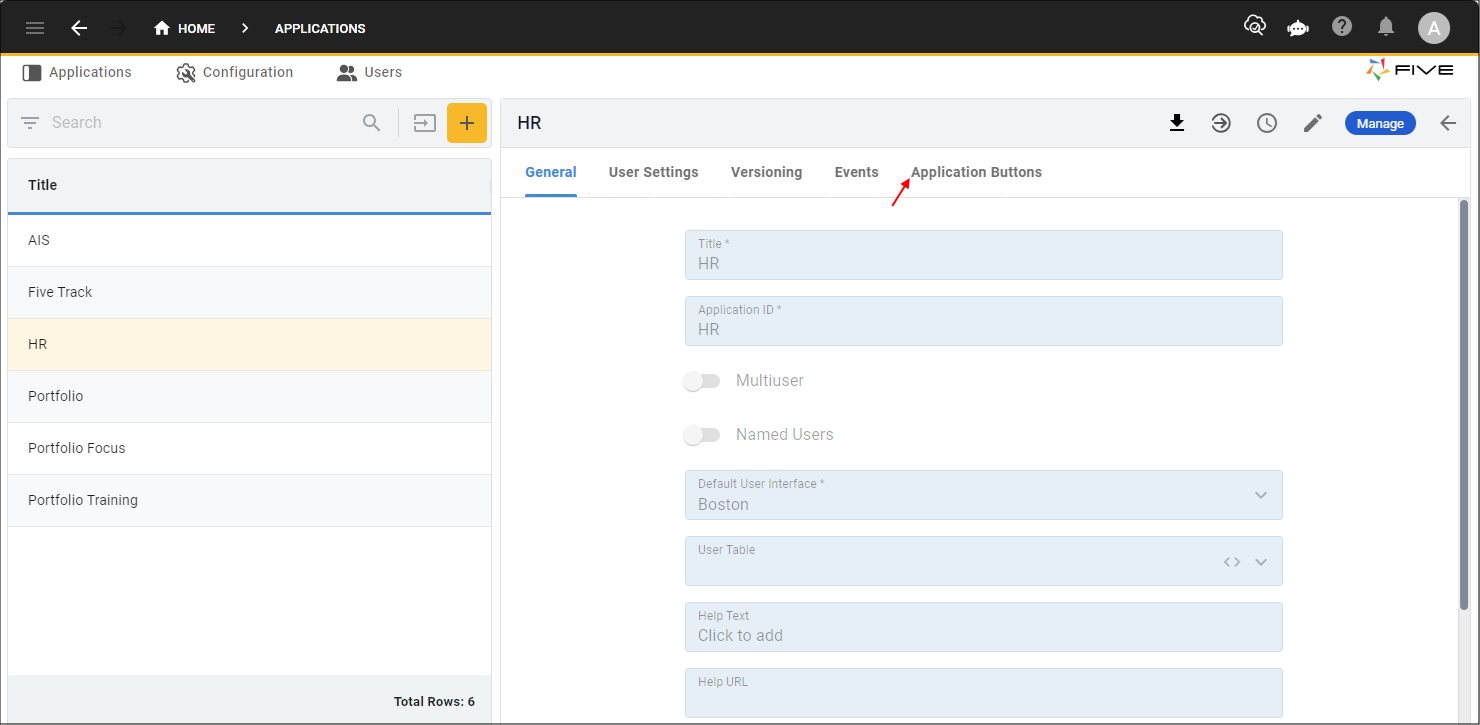
Figure 11 - Application Buttons tab
5. Click the Add Application Buttons button.
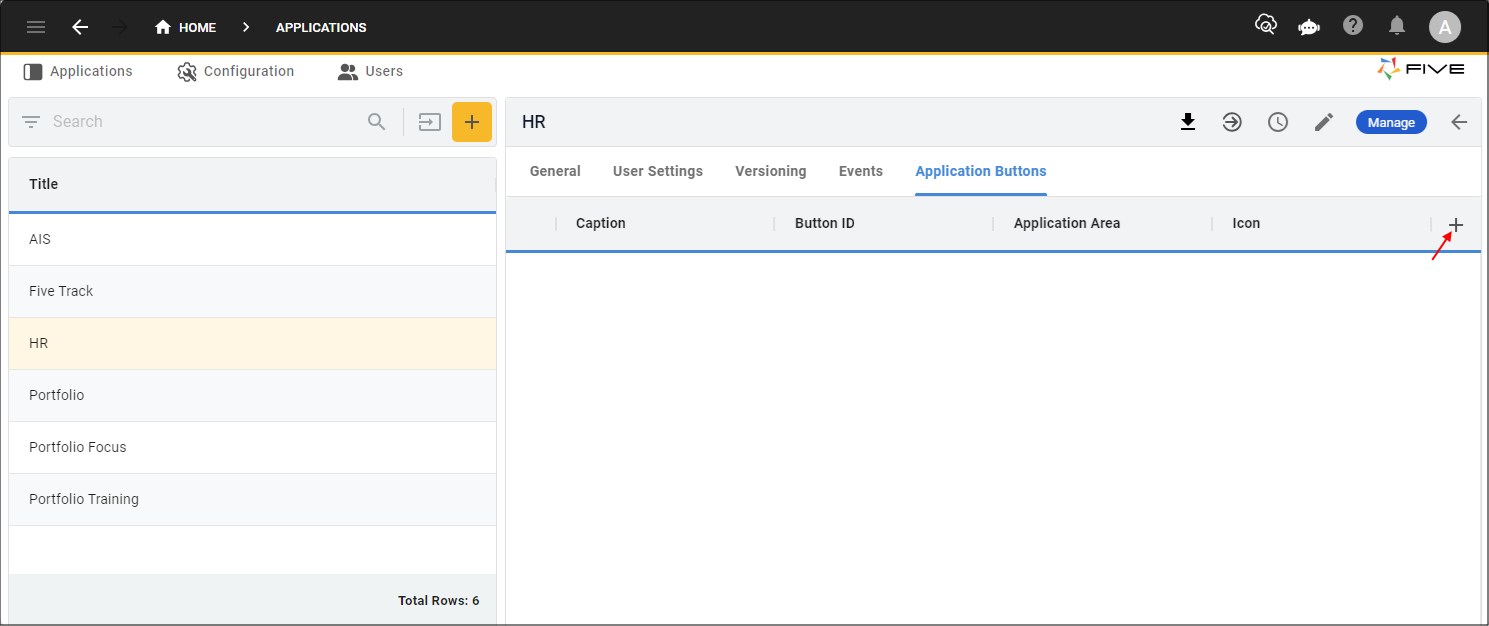
Figure 12 - Add Application Buttons button
6. Type a caption in the Caption field.
7. Click the lookup icon in the Application Area field and select Top Menu Bar.
8. Optional: Click the Edit button in the Icon field and select an image file.

Figure 13 - Add an application button
9. Click the Events tab.
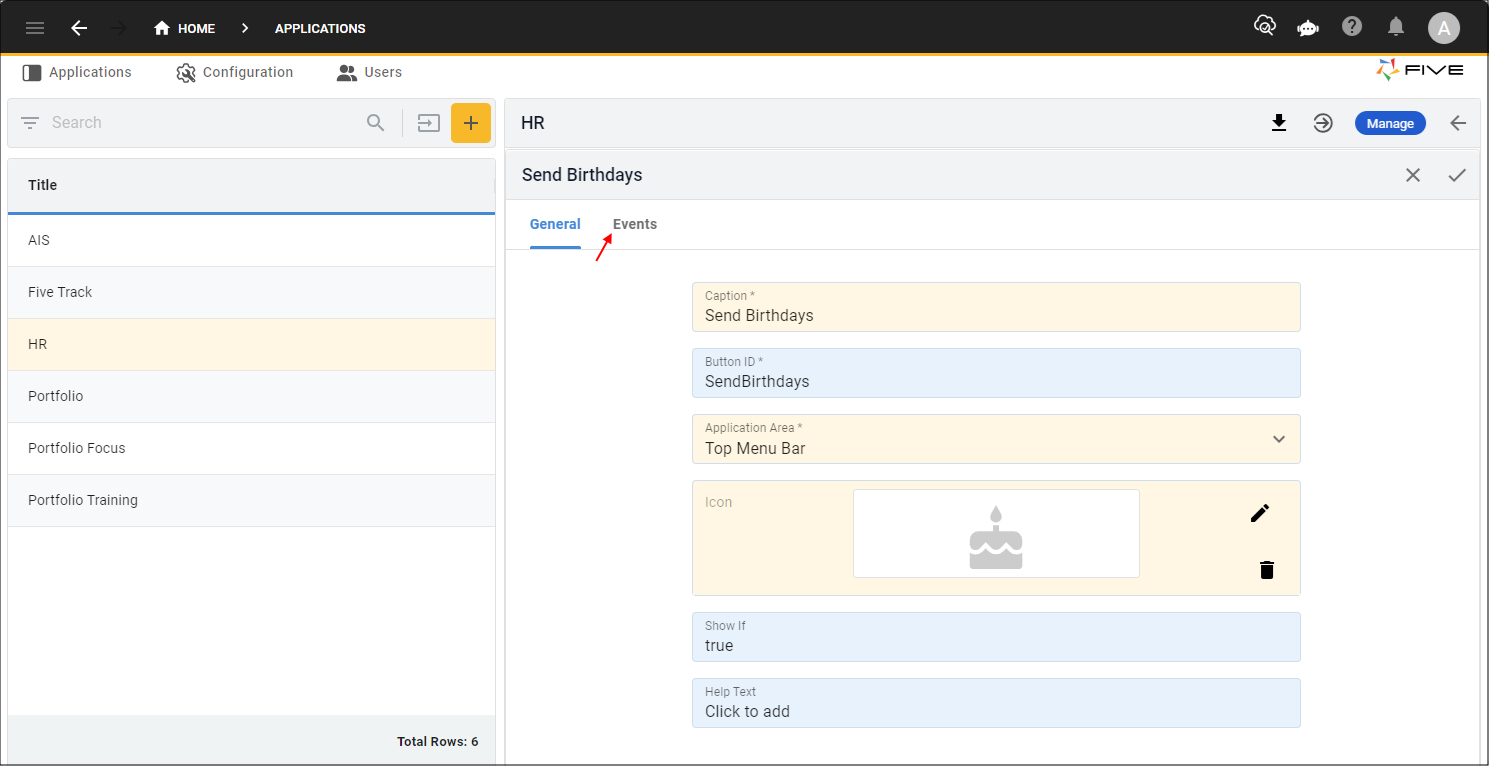
Figure 14 - Events tab
10. Click the lookup icon in the Do Press field and select the function ID.

Figure 15 - Do Press field
11. Click the Save button in the form app bar.
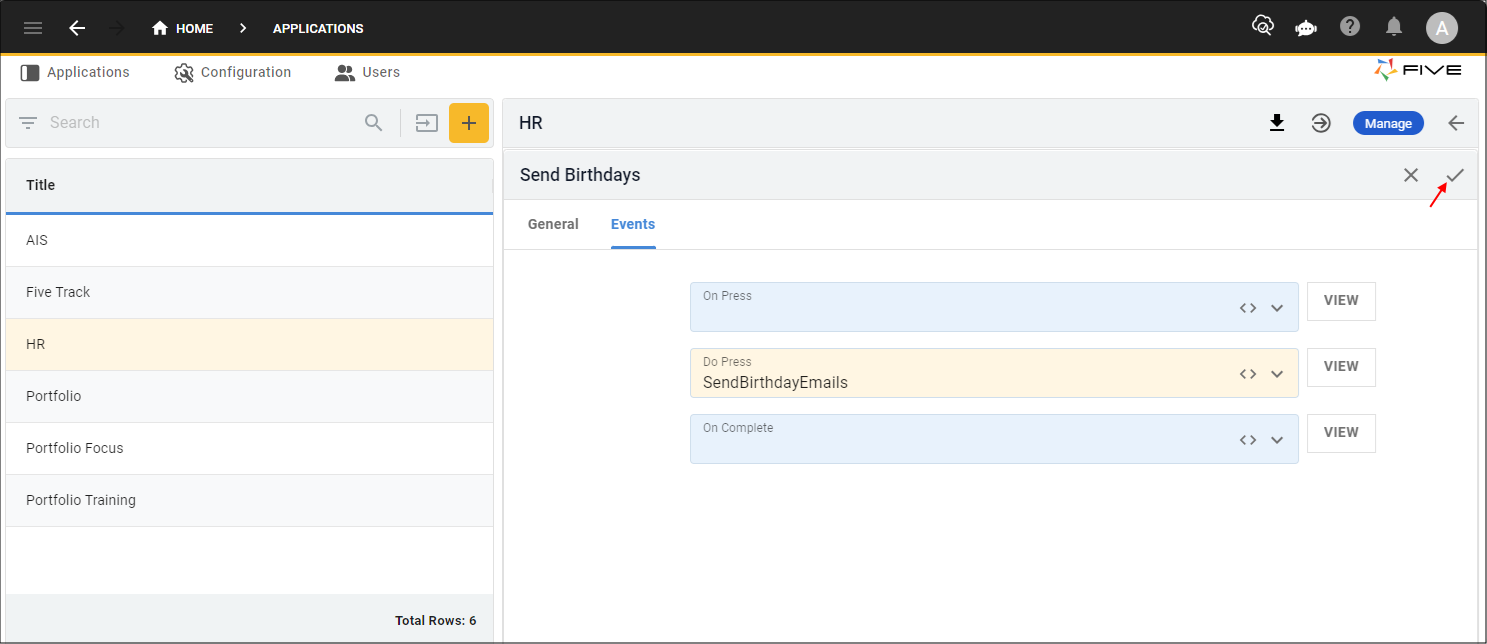
Figure 16 - Save button
12. Click the Save button in the form app bar above the list.
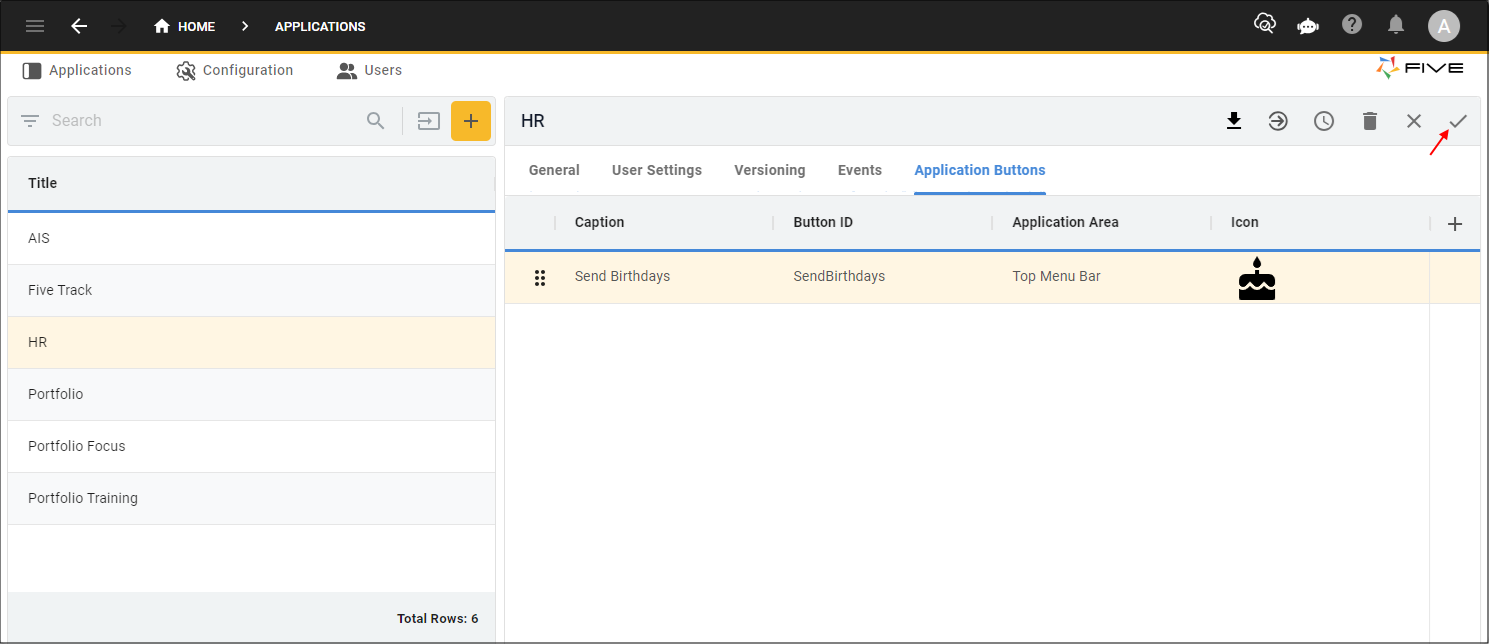
Figure 17 - Save button
How This Will Work in Your Application
1. Click the application button in the toolbar.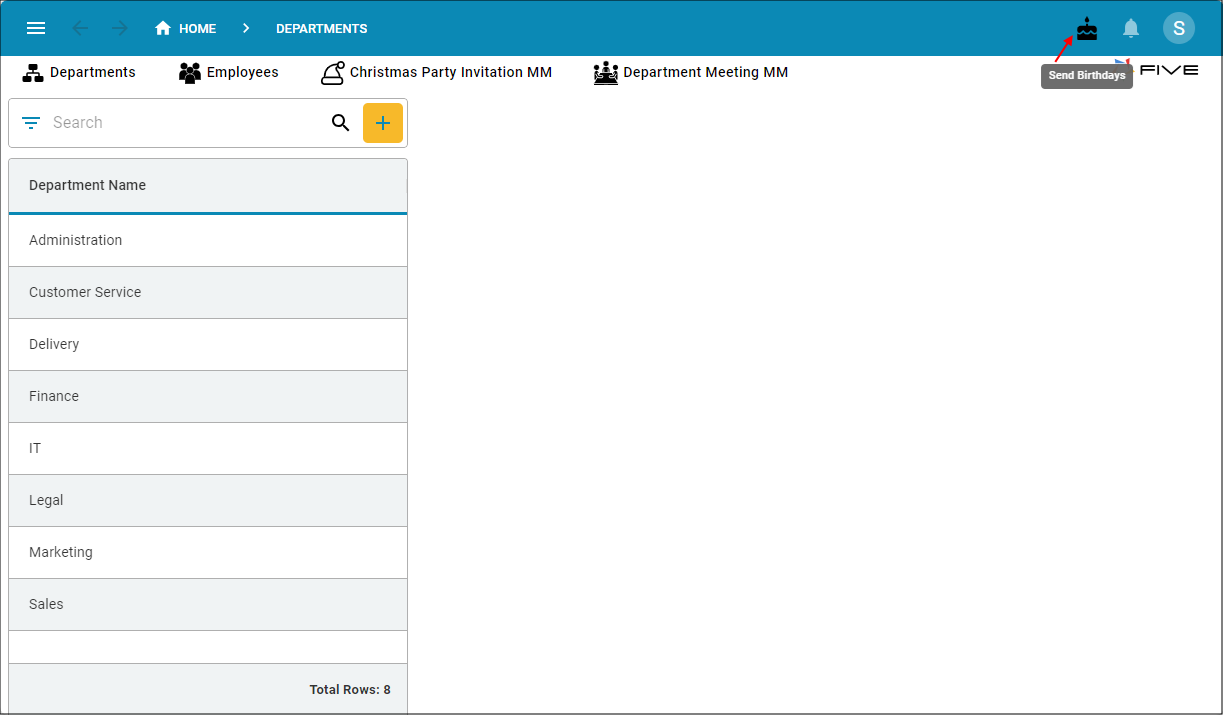
Figure 18 - Send Birthdays button
info
All employees with birthdays that match the current date will have the mail merge sent to them. If there are no birthdays for a particular date, an optional
message can be returned shown in the image below.
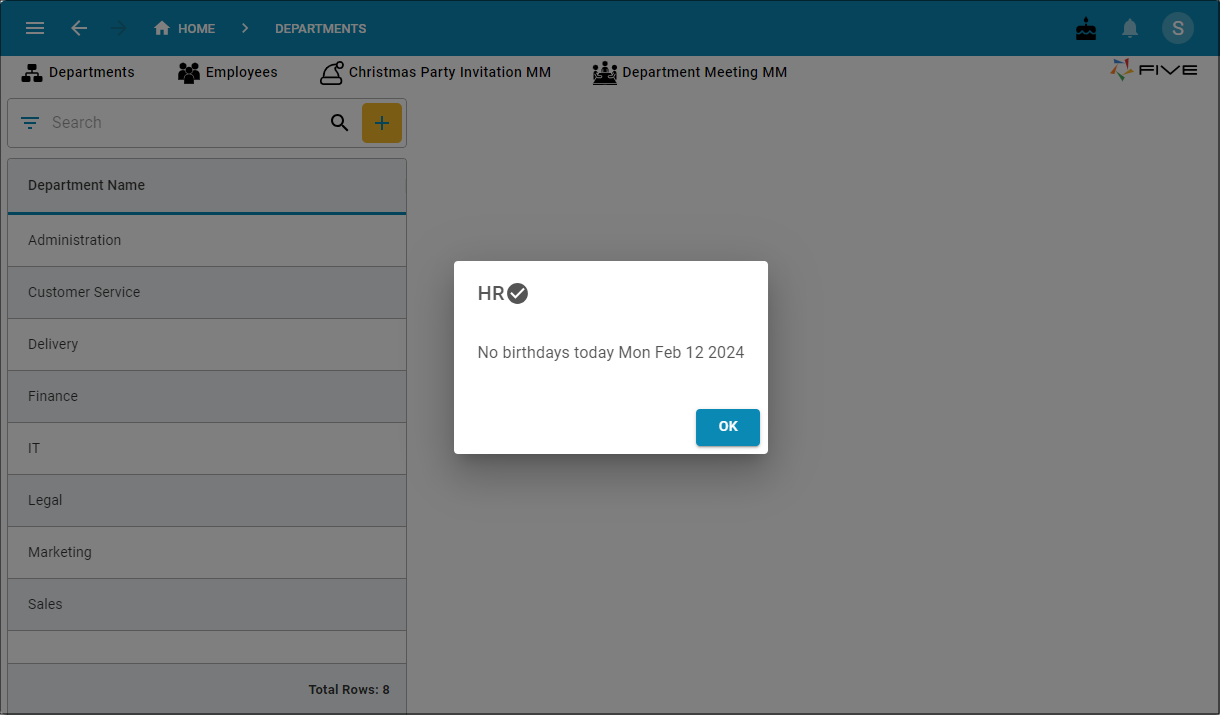
Figure 19 - No Birthdays message
tip
You can add a job to automate this mail merge so you do not need to click the button!