Screen Fields
Last updated 17/01/2024
What Are Screen Fields?
Screen fields are fields that are not attached to a database. When you add screen fields to your mail merge, they can become placeholders in your template.The screen fields will be available on your mail merge and when data is entered, this data will be populated in your mail merge.
Let's take a look at the Christmas Party Invitation mail merge that was added in the Add a Mail Merge chapter.
As it currently stands the venue, date, and time are hard-coded in the mail merge. The following example will demonstrate how you can use screen fields to populate these values in the mail merge template.
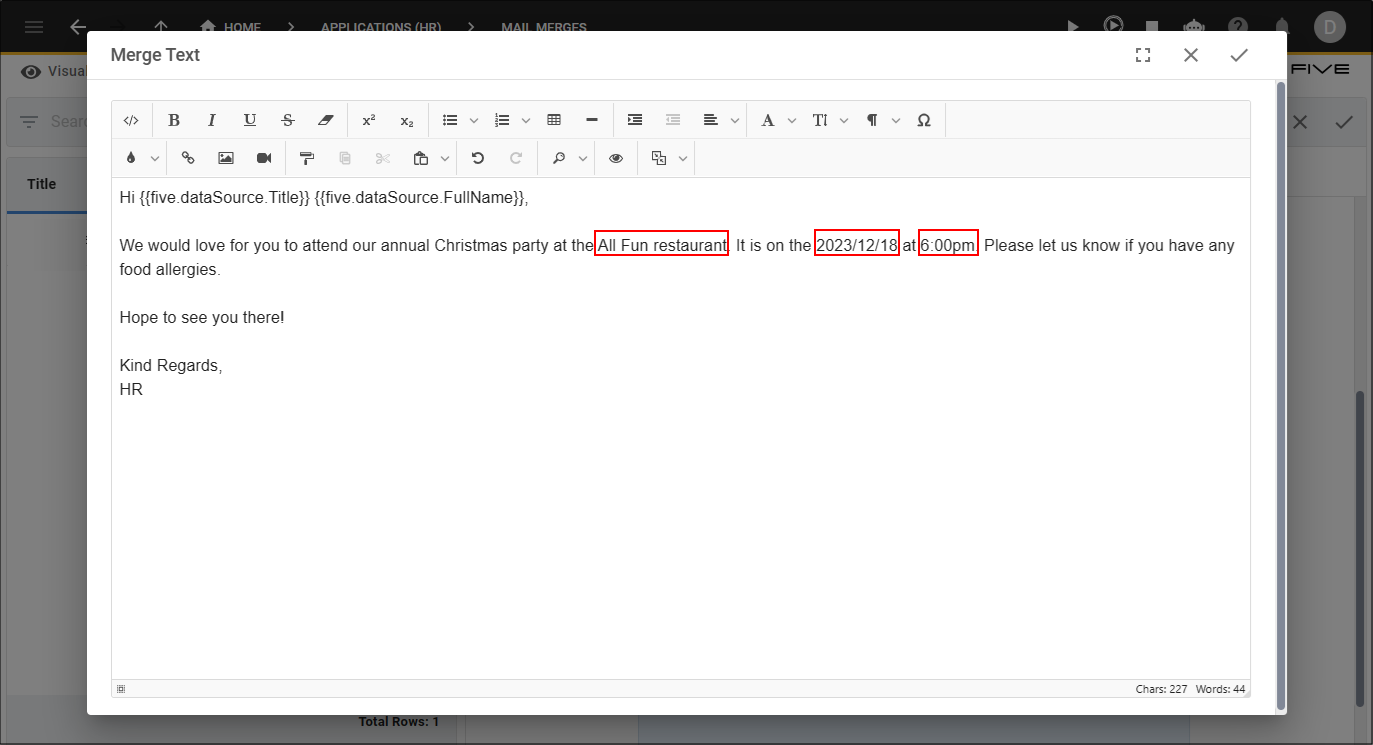
Figure 1 - Christmas Party Invitation template
Add Screen Fields to a Mail Merge
1. Click the Screen Fields tab.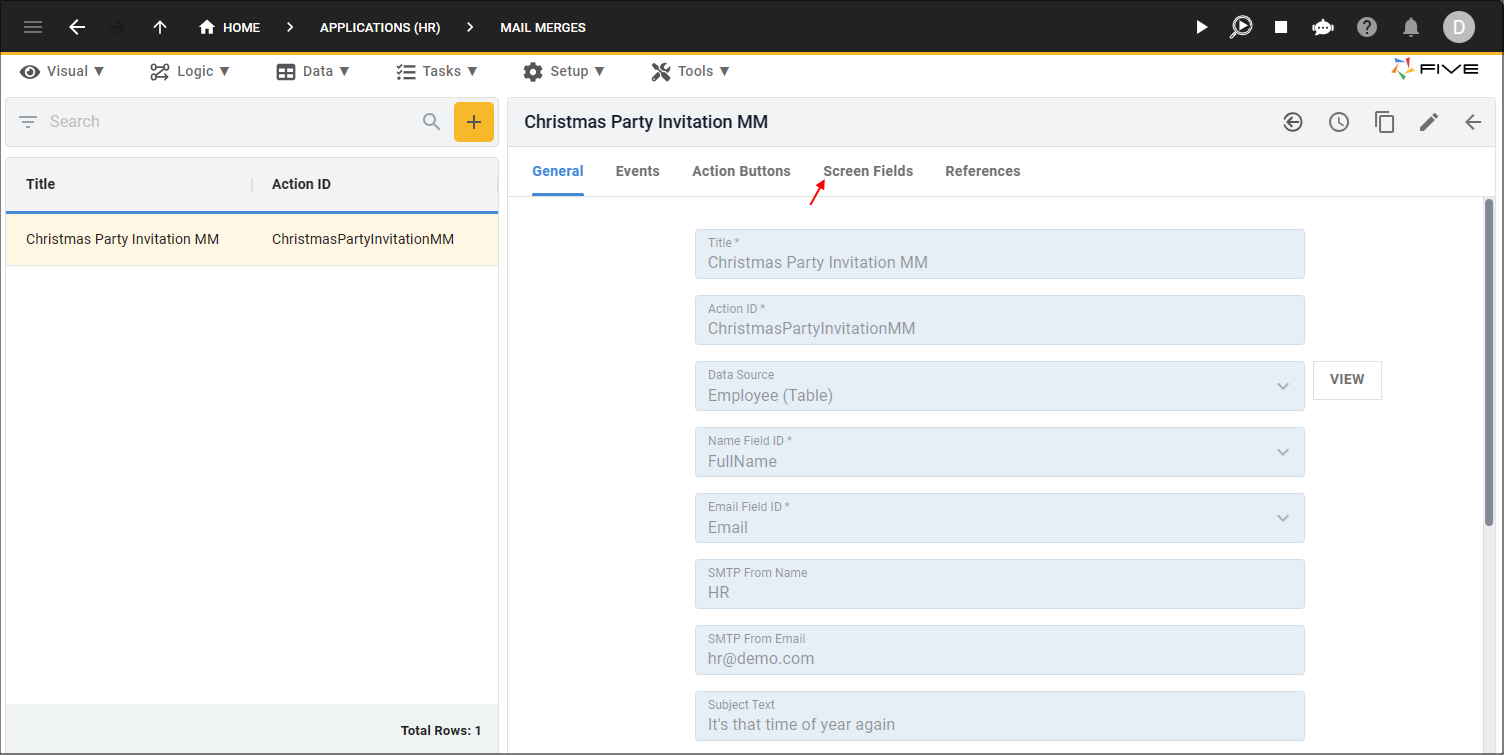
Figure 2 - Screen Fields tab
2. Click the Add Screen Fields button.
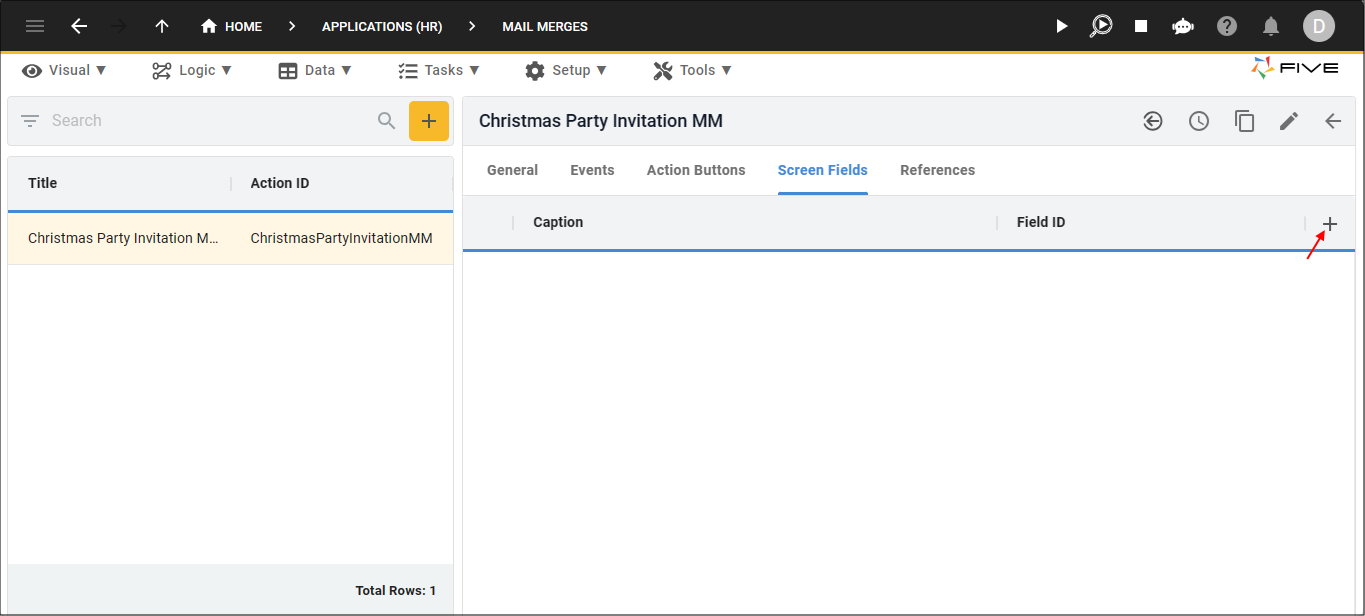
Figure 3 - Add Screen Fields button
3. Type a caption in the Caption field.
4. Click the lookup icon in the Display Type field and select a type.
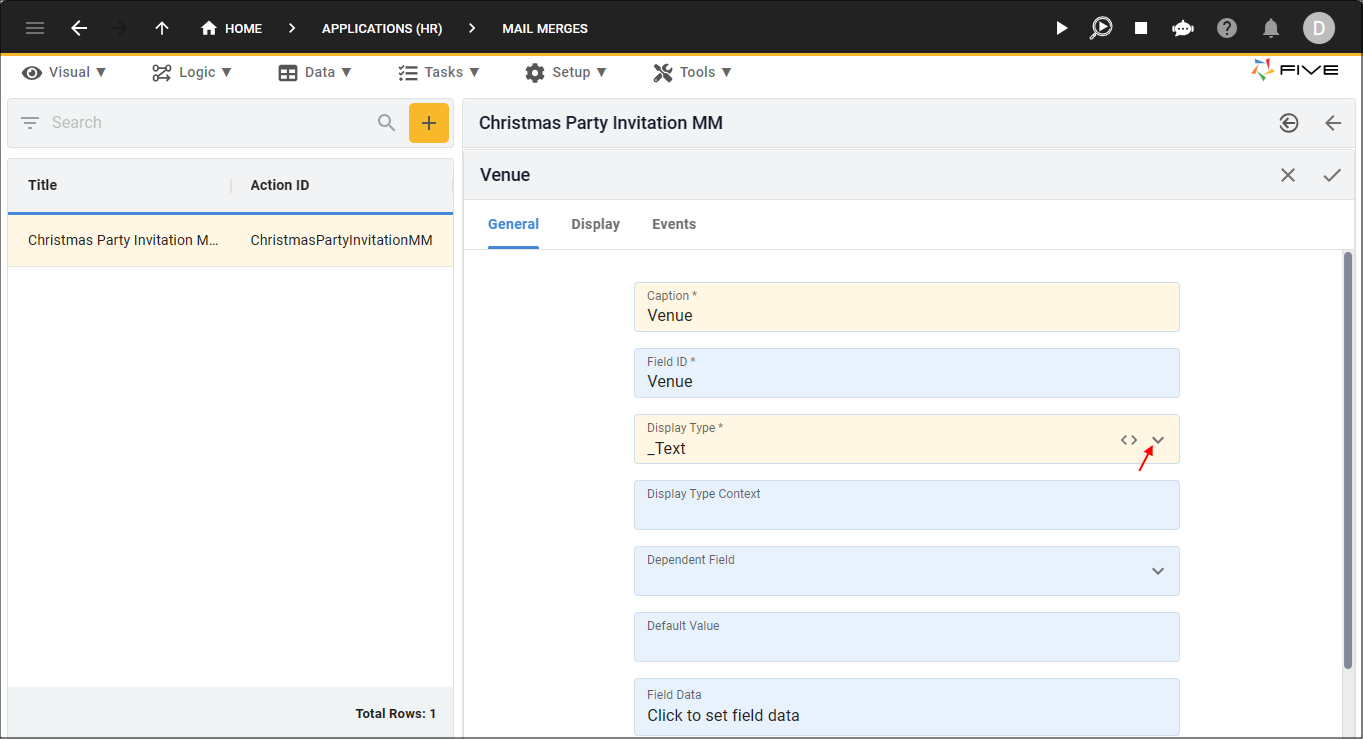
Figure 4 - Add a screen field
5. Click the Save button in the form app bar.
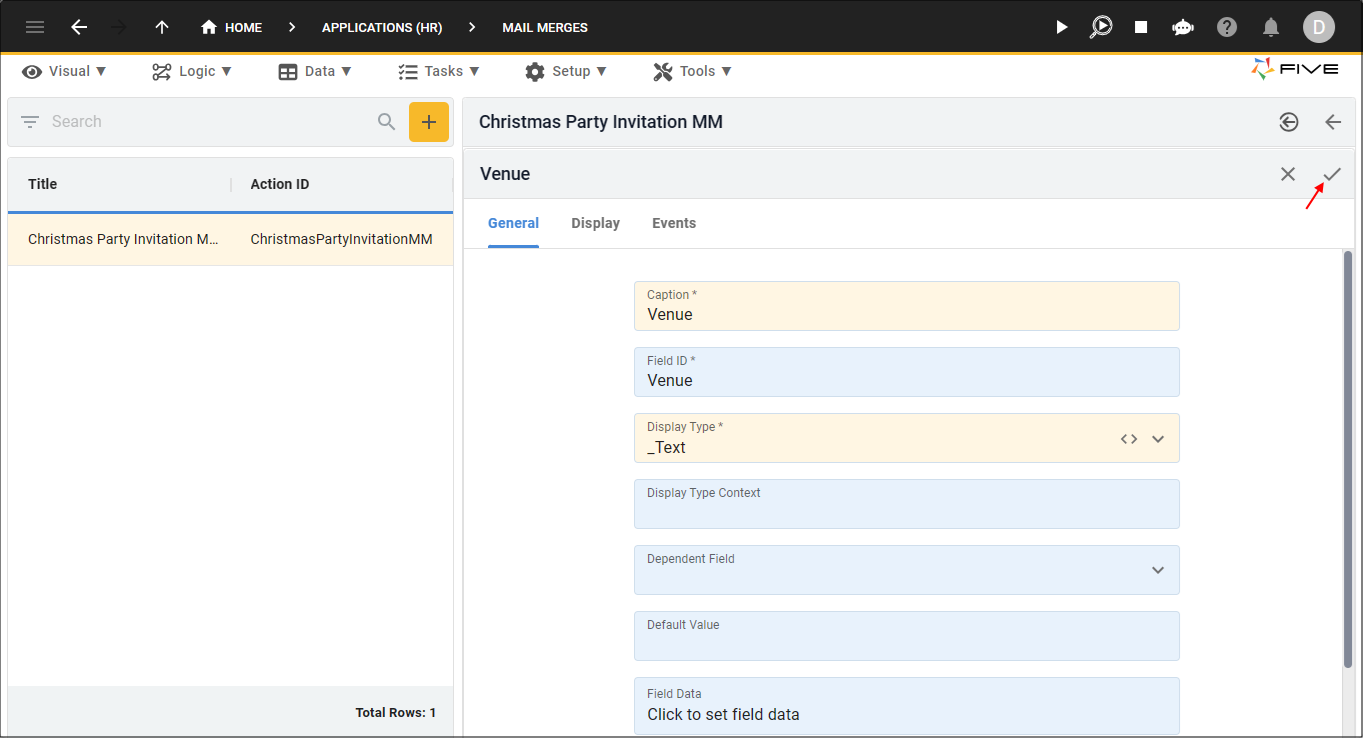
Figure 5 - Save button
info
Continue to add as many screen fields as you require. For this example, two more screen fields were added, a Date field with a display type of _Date, and a Time field with a display type of _Time.
6. Click the General tab.
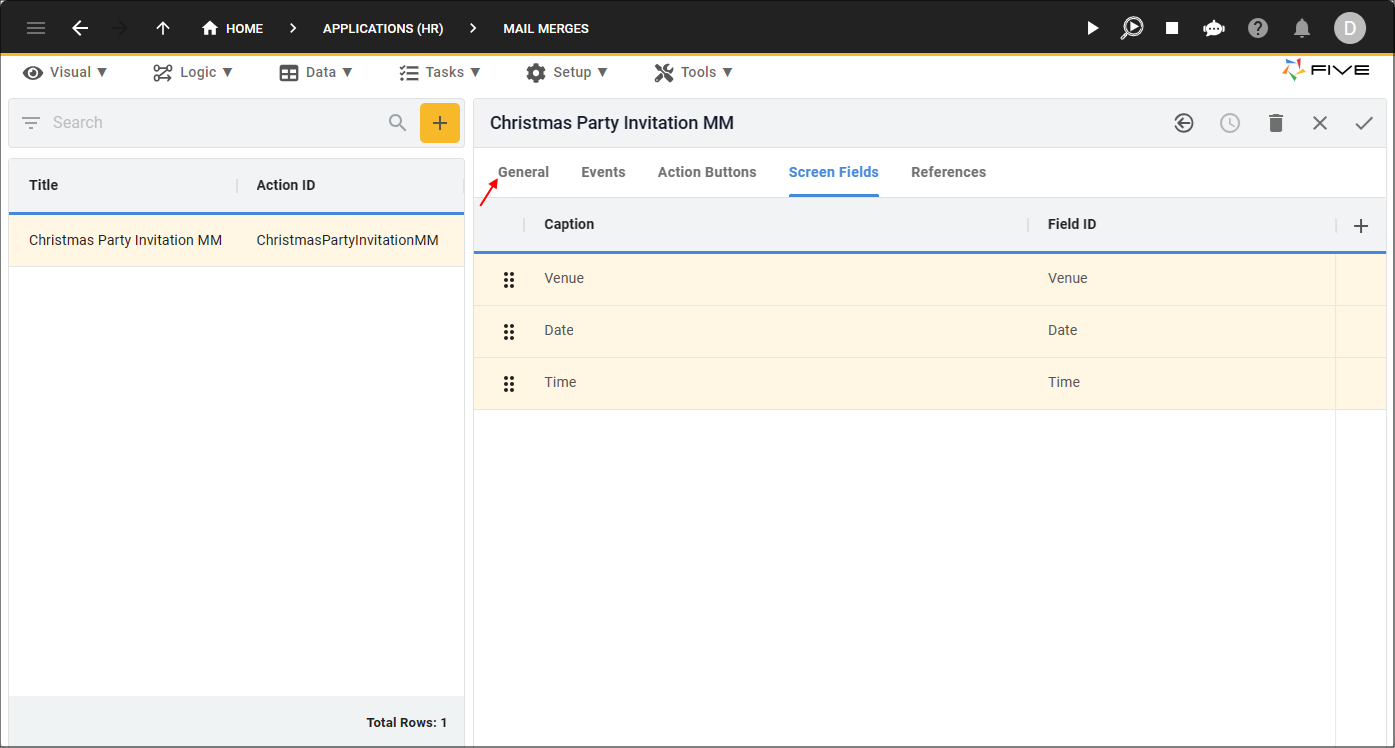
Figure 6 - General tab
7. Click in the Merge Text field.
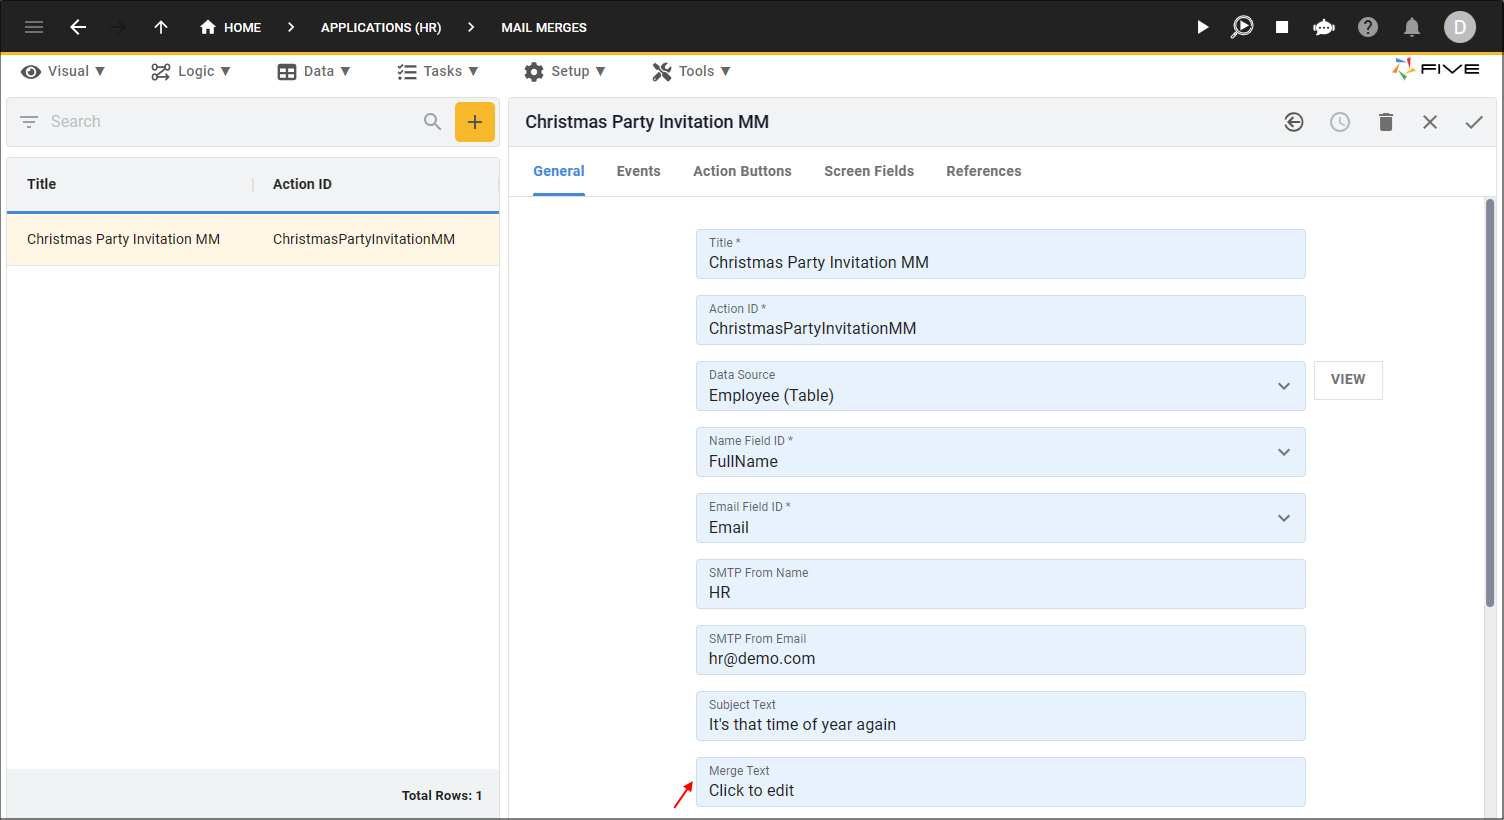
Figure 7 - Merge Text field
8. Position your cursor where you want the placeholder.
9. Click the Tags icon.
info
All screen fields are available by clicking the Tags icon. When added to your template the placeholders will be available
as
{{five.variable.<fieldID>}}
.10. Select the placeholder (screen field).
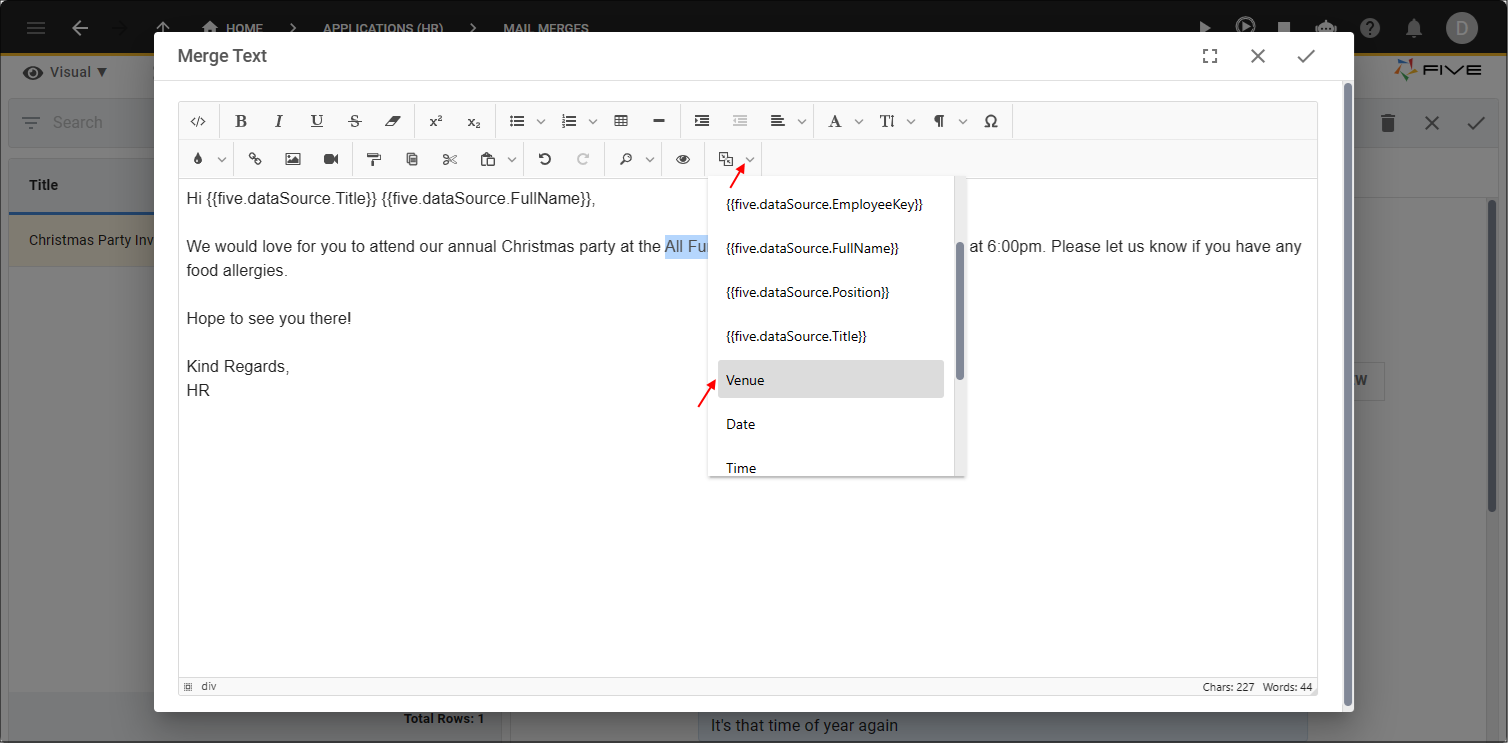
Figure 8 - Tags
11. Continue to select all the placeholders you need.
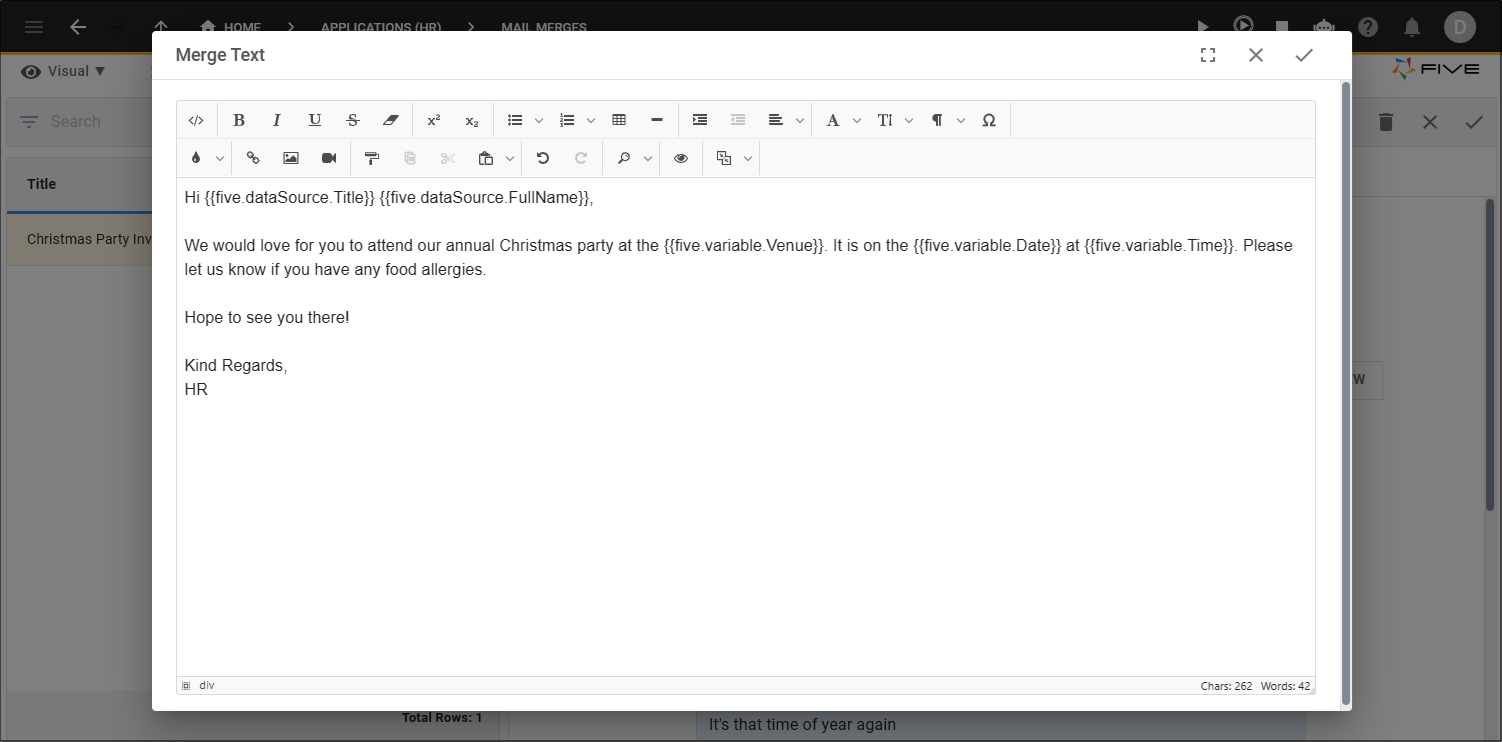
Figure 9 - Christmas Party Invitation template
12. Click the Save button in the editor app bar.
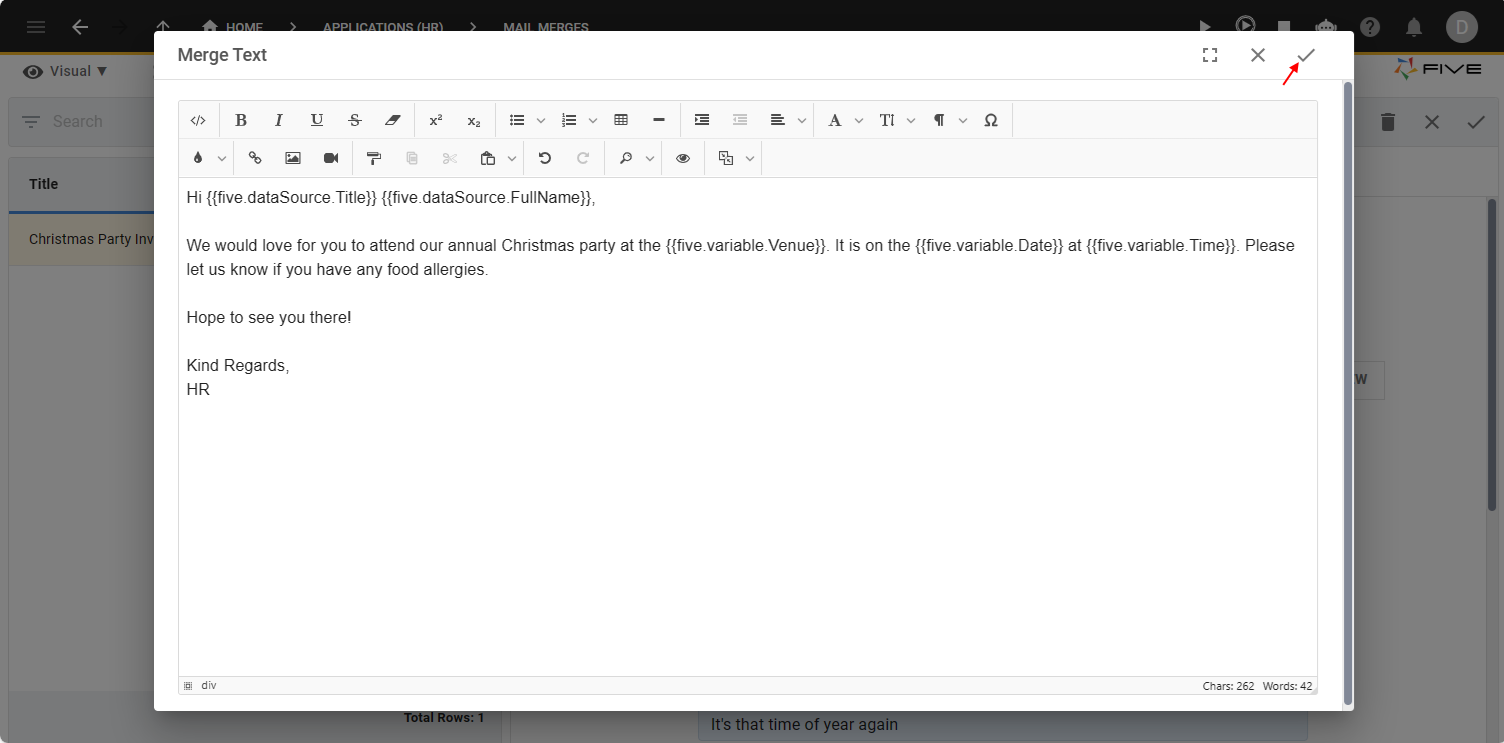
Figure 10 - Save button
13. Click the Save button in the form app bar.
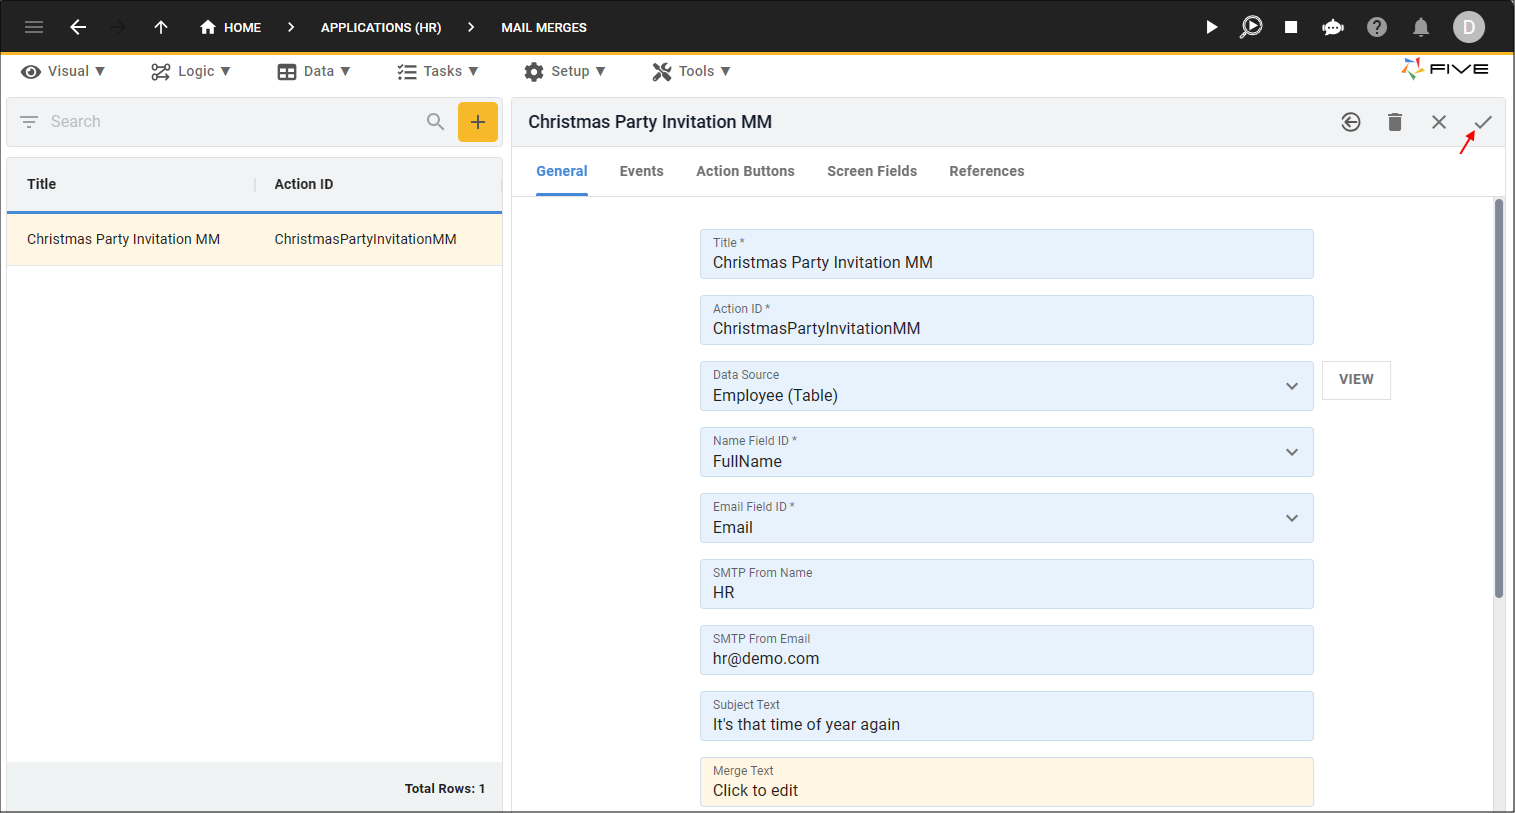
Figure 11 - Save button
How This Will Work in Your Application
1. Select the menu item holding your mail merge.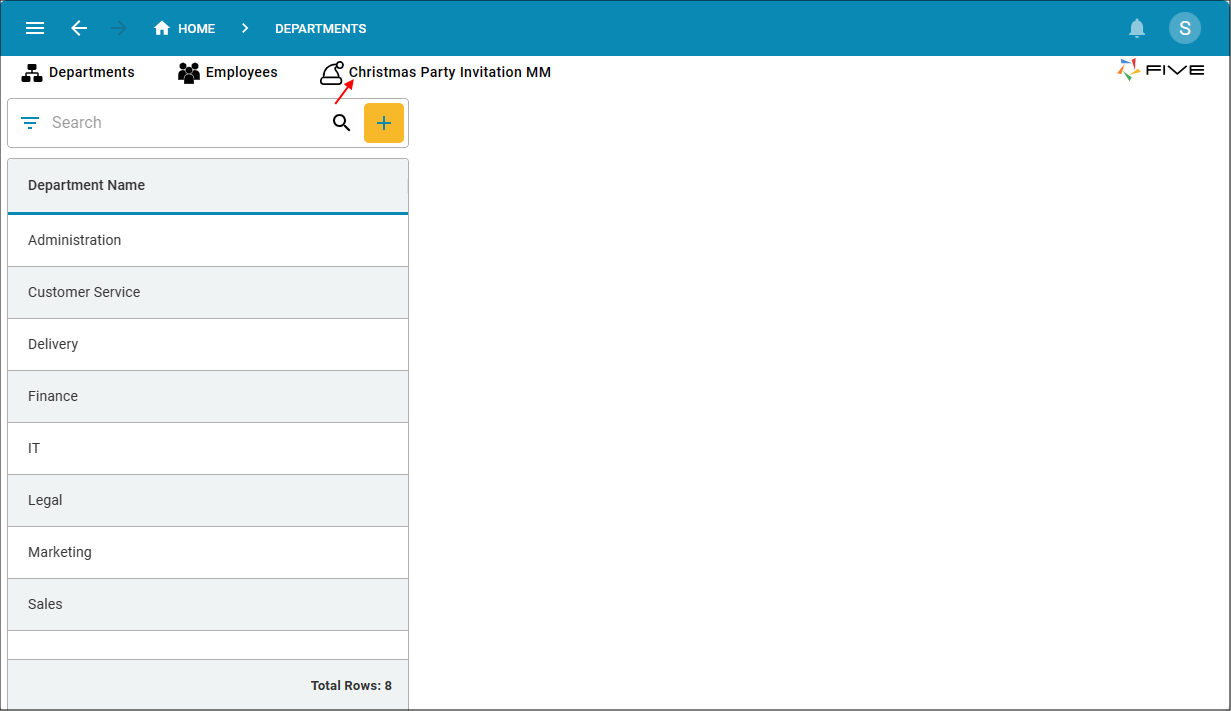
Figure 12 - Mail merge menu item
2. Type or select a value in each of the screen fields.
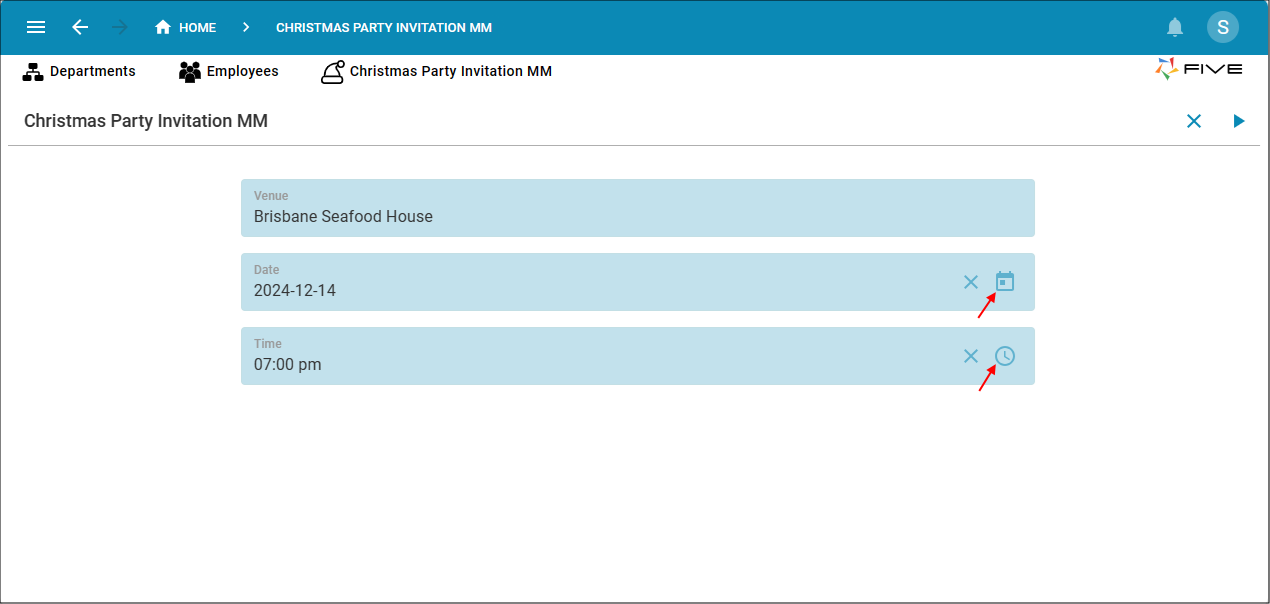
Figure 13 - Screen fields
3. Click the Run button.
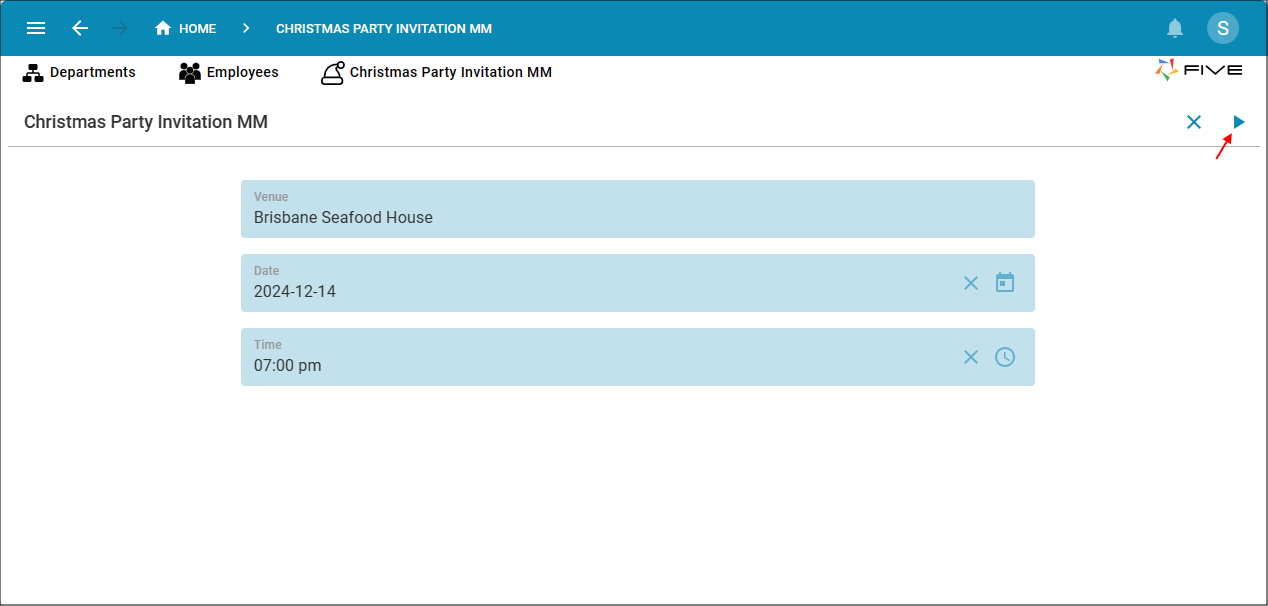
Figure 14 - Run button
info
Your parameters will be displayed on the screen.
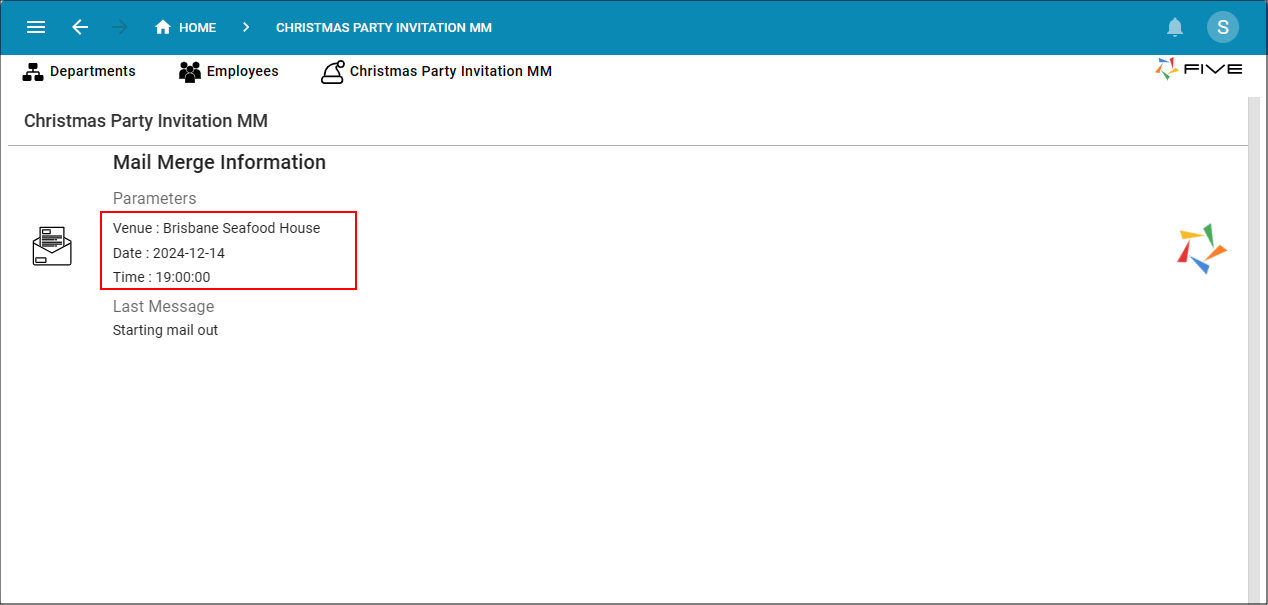
Figure 15 - Parameters
info
Your mail merge will hold the values entered into the screen fields.
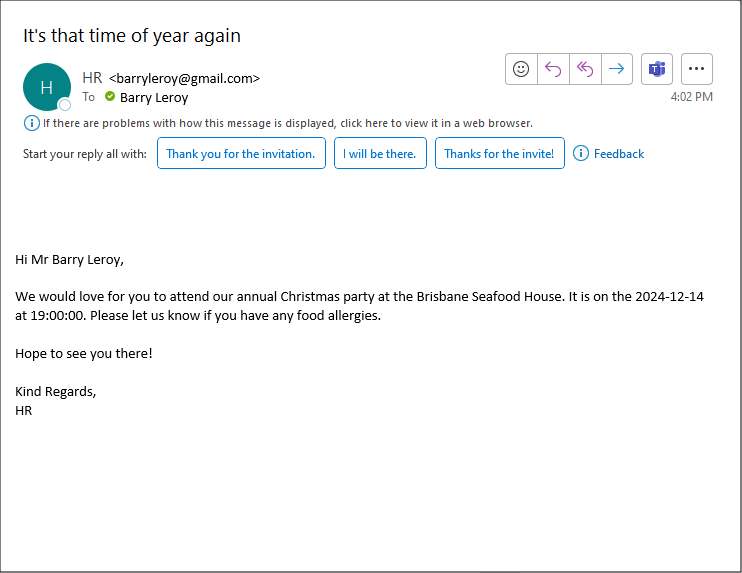
Figure 16 - Christmas Party Invitation email
Filter Data Using Screen Fields
Screen fields can be used to filter data. The screen field gets passed in as a parameter to the query as a variable and then a _Lookup display type on the screen field can be used to filter who the mail merge is to be sent to.The HR application will be used to demonstrate this. The HR application has several departments, as shown in the image below.
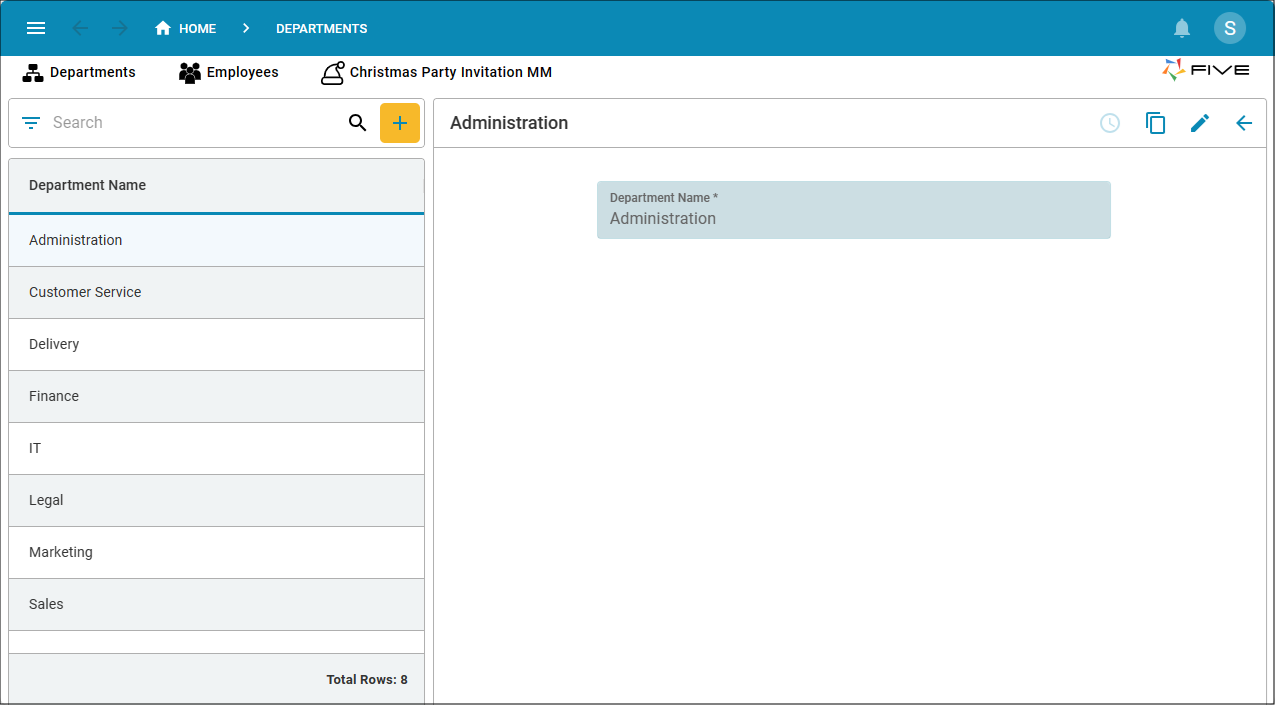
Figure 17 - Departments
Employees belong to a department, as shown in the image below.
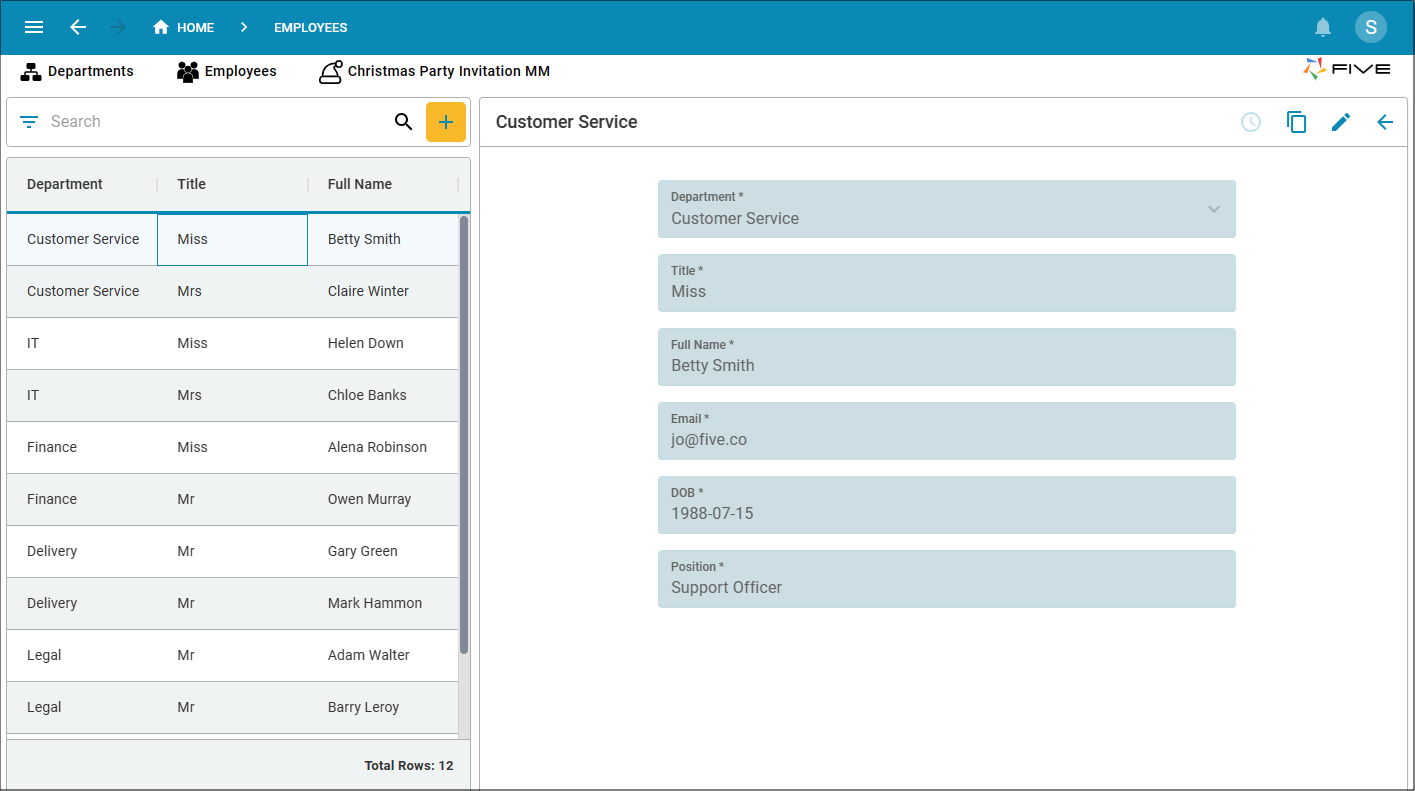
Figure 18 - Employees
To demonstrate how this works, we will create a Department Meeting mail merge and select a department, the mail merge will only be sent to the employees belonging to the selected department.
This will require the following steps:
- Add a query selecting a Name, Email, and the other fields required for your results.
- Pass a parameter to filter the query, this needs to be named the same as the screen field ID and will be available on the variableproperty on theFiveobject.
- Create your mail merge with a screen field that has the display type of _Lookup.
- Create a menu item for the mail merge.
This documentation will explain how to filter the employees for a selected department. Only the employees belonging to the selected department will receive the mail merge.
Navigate to Queries
info
Step one is to create your query with a parameter to pass in the screen field ID.
1. Select Data in the menu.
2. Select Queries in the sub-menu.
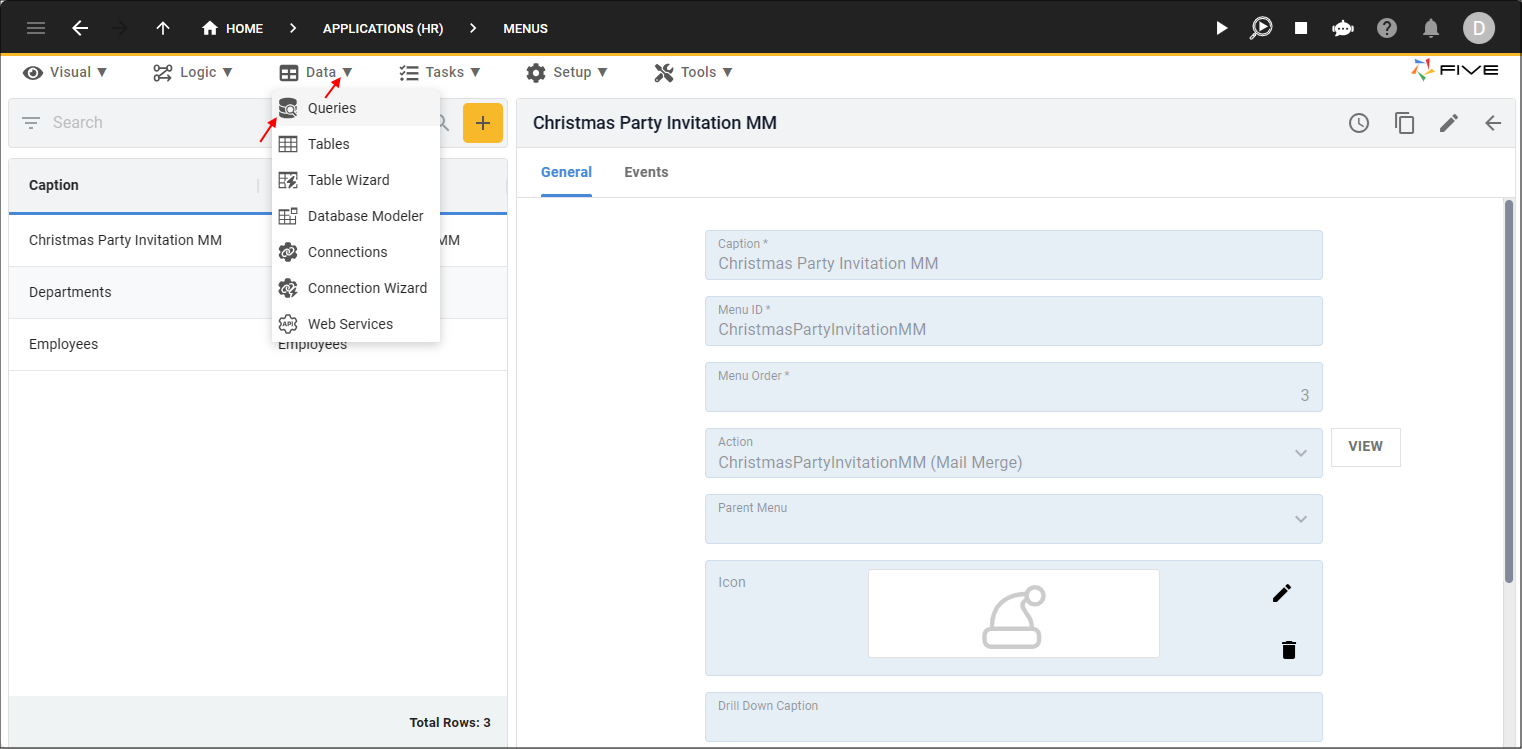
Figure 19 - Queries menu item
Add Your Query
1. Click the Add Item button.2. Type an ID in the Data Source ID field.
3. Click in the Query field to open Five's Query Builder.

Figure 20 - Add your query
4. Click the SQL tab
tip
You can use the Query Builder to create your query!
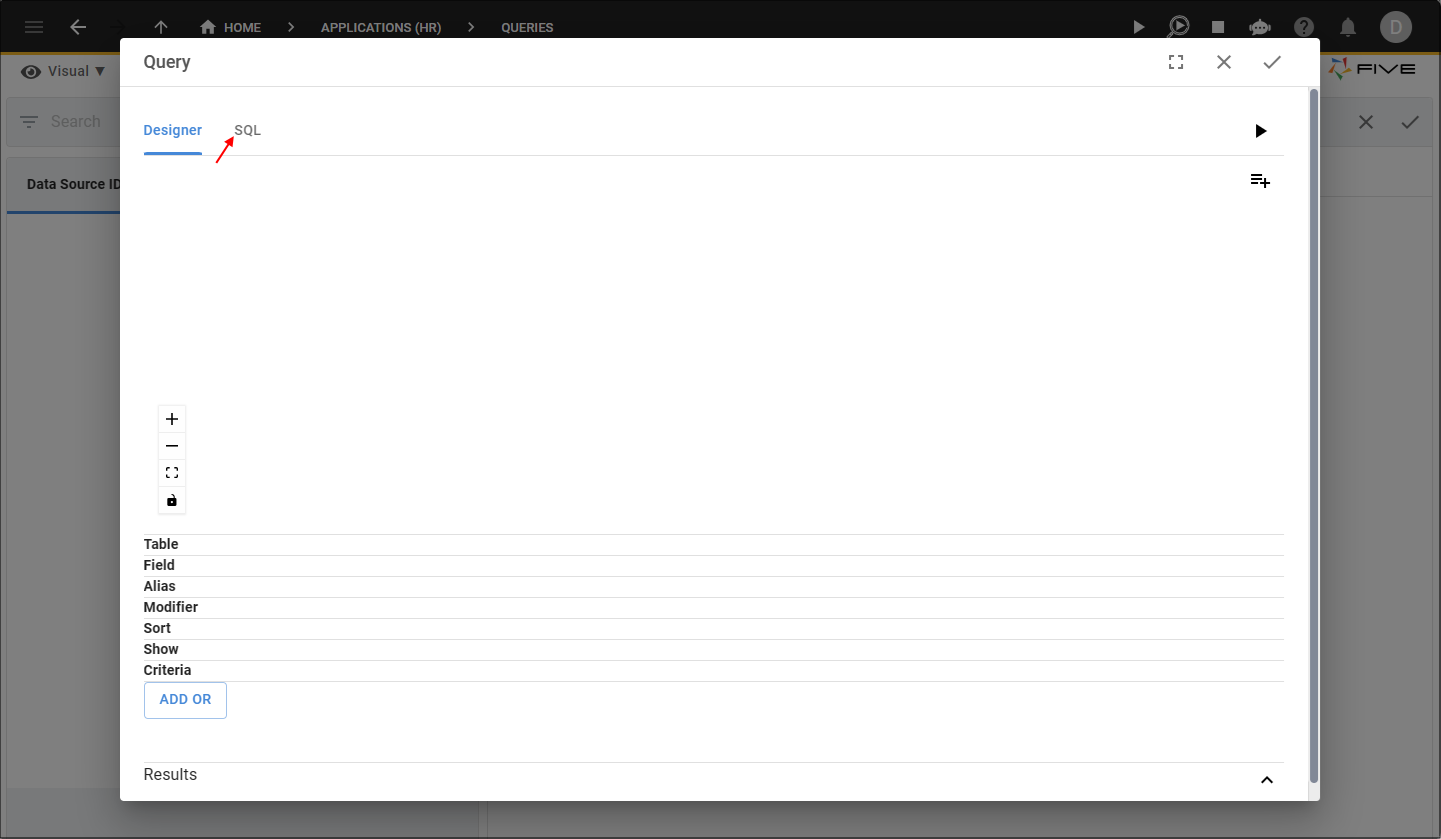
Figure 21 - SQL tab
5. Add your SQL.
info
The below syntax is the example being used.
- The DepartmentKey field from the Employee table is selected to know what department the employee belongs to.
- The FullName field from the Employee table is selected to have the recipient names.
- The Email field from the Employee table is selected to have the recipient email addresses.
- The DepartmentName field from the Department table is selected to display the department name in the email template.
- The WHEREclause is used to filter the employees belonging to the department. The?parameter will hold the the screen field ID on thevariableproperty on theFiveobject to filter the employees that belong to the selected department.

Department Meeting
SELECT
    Employee.DepartmentKey,
    Employee.FullName,
    Employee.Email,
    Department.DepartmentName
FROM
    Employee
INNER JOIN Department ON Employee.DepartmentKey = Department.DepartmentKey
WHERE Employee.DepartmentKey = ?
6. Click the Save button in the SQL Editor app bar.
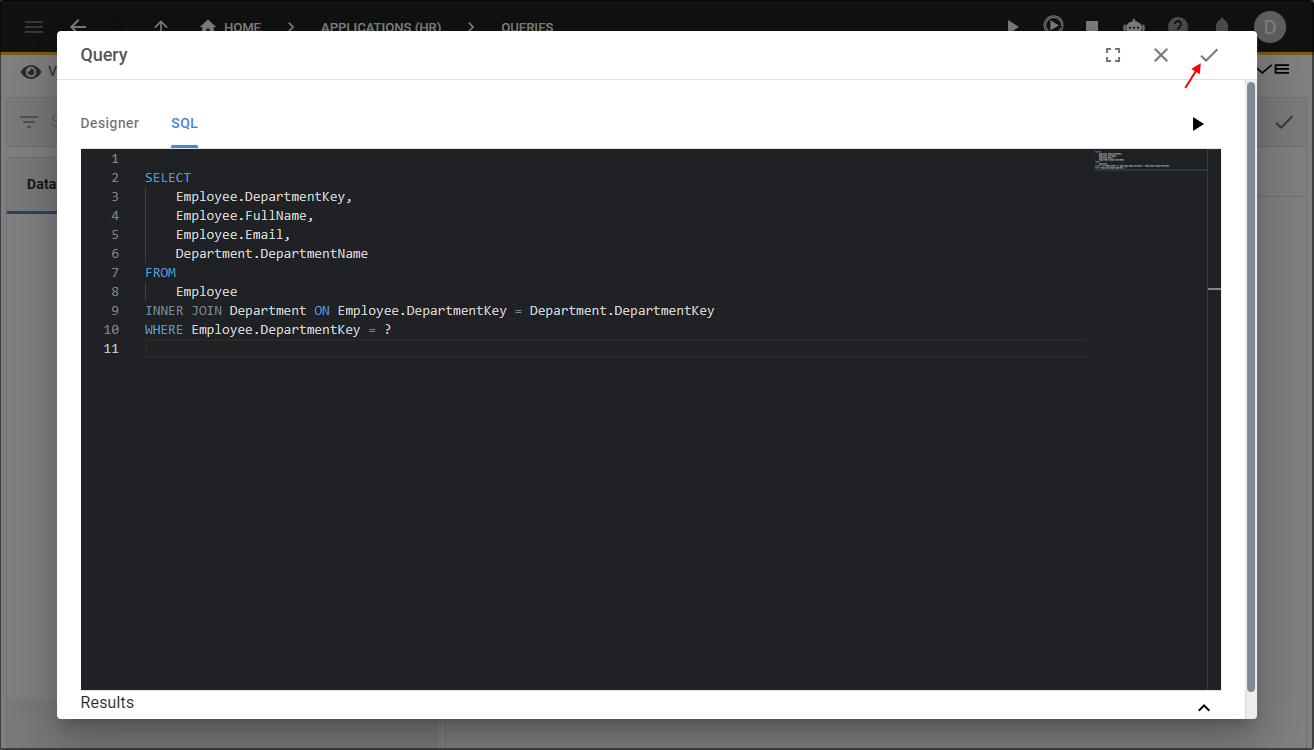
Figure 22 - Save button
7. Click the Parameters tab.
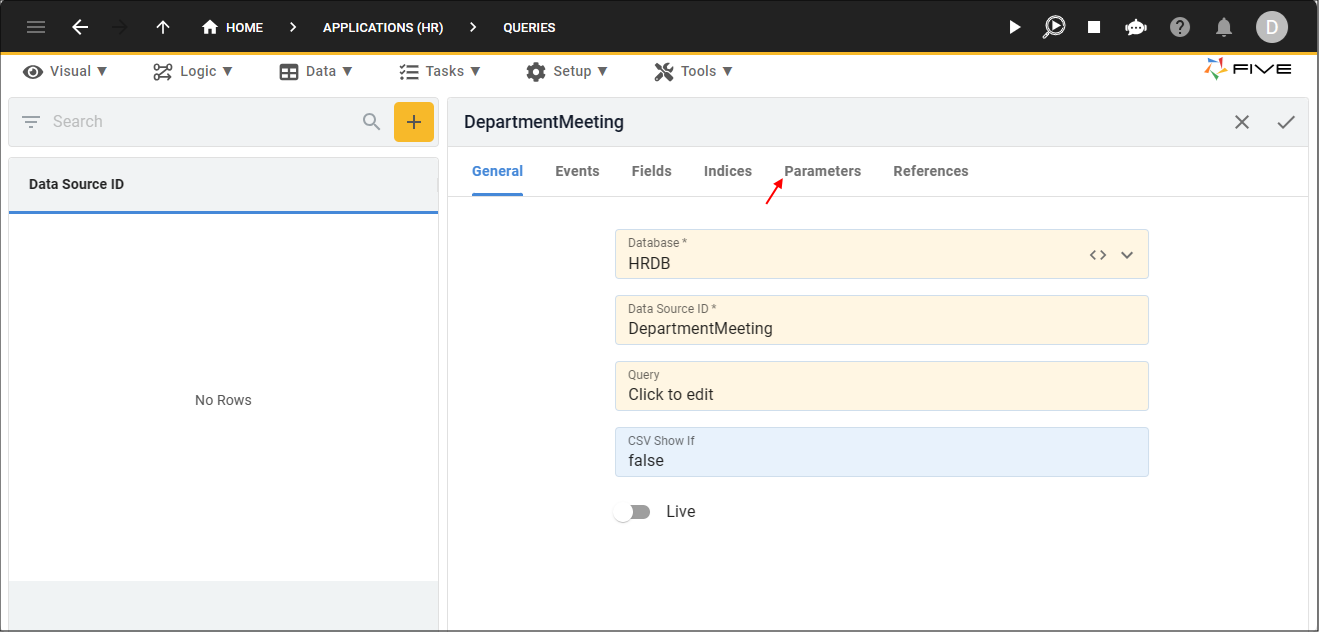
Figure 23 - Parameters tab
8. Click the Add Parameters button.
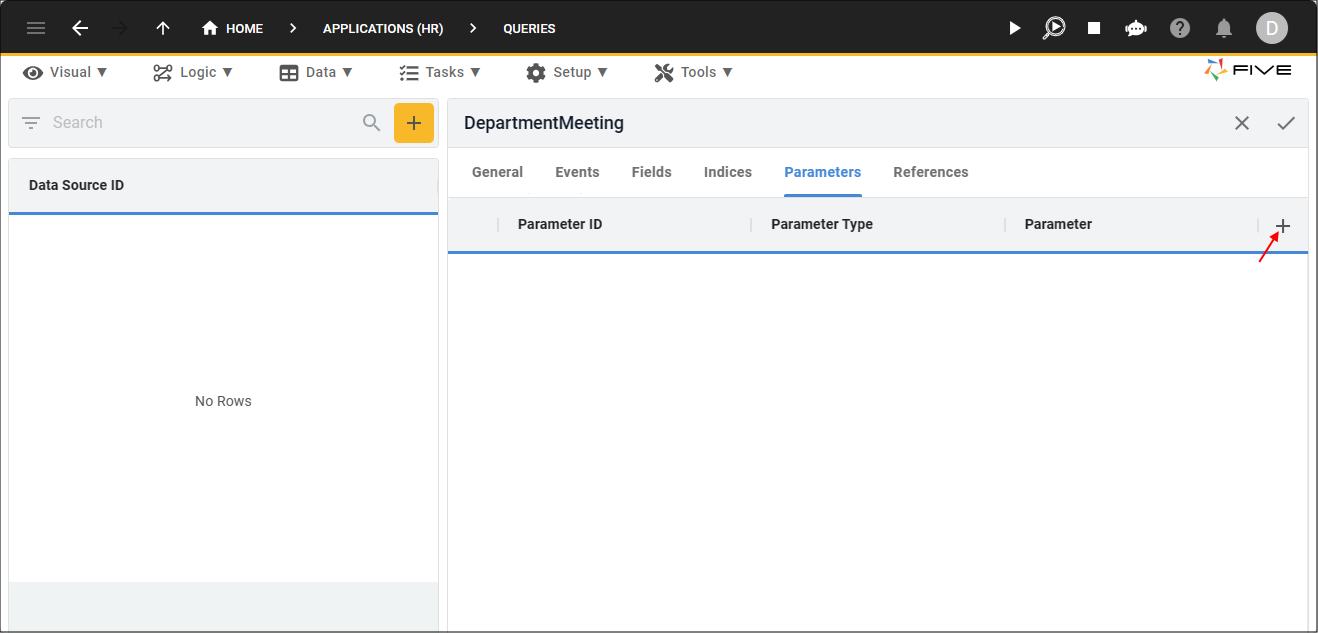
Figure 24 - Add Parameters button
9. Type an ID in the Parameter ID field.
10. Type the parameter in the Parameter field, example
{{five.variable.DepartmentKey}}
.
info
{{five.variable.<screenFieldID>}}
must be used to pass in the screen field ID into the parameter.
Figure 25 - Add a parameter
11. Click the Save button in the form app bar.
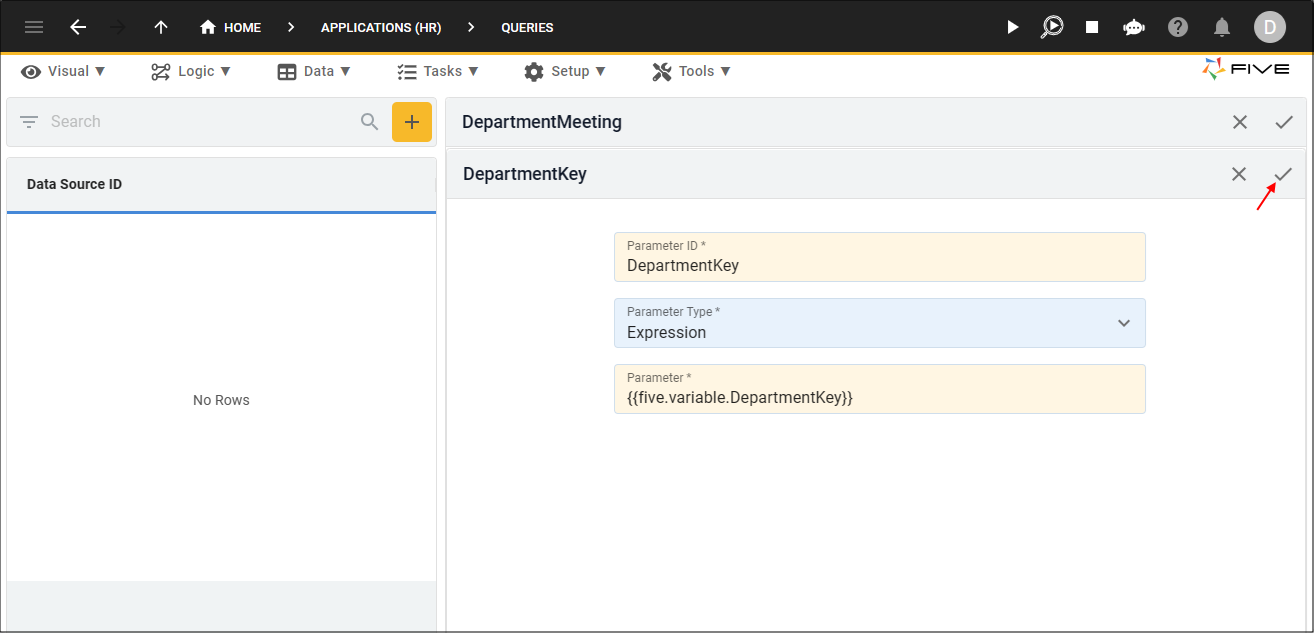
Figure 26 - Save button
12. Click the Save button in the form app bar above the list.
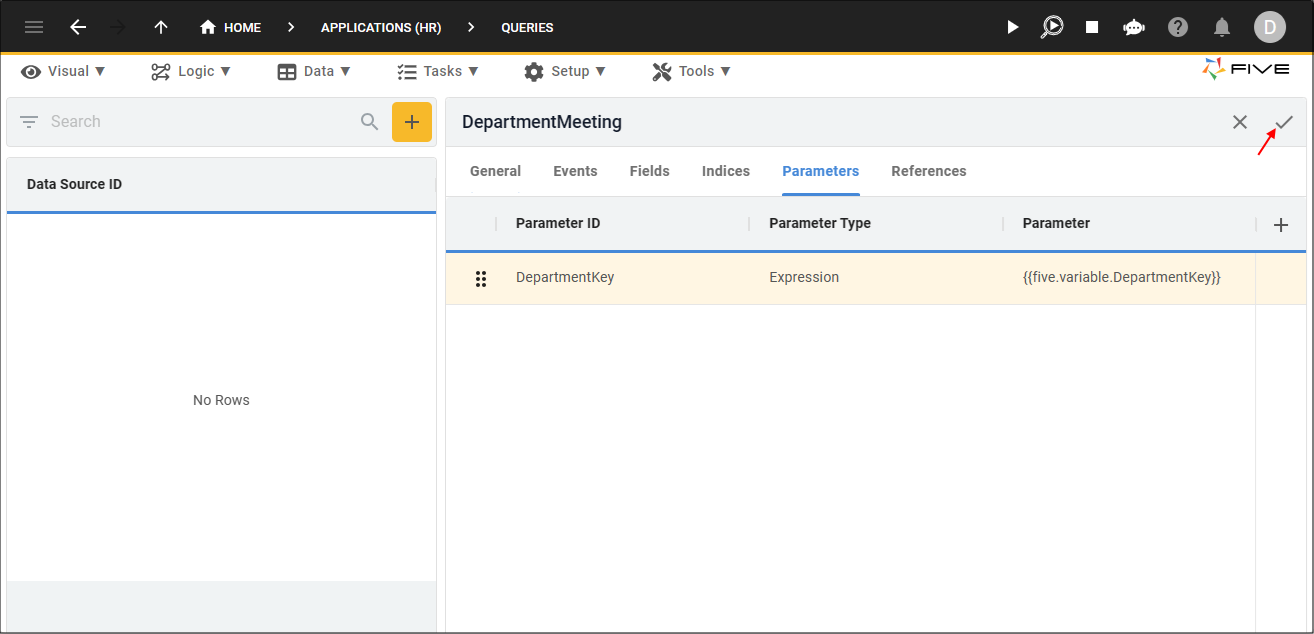
Figure 27 - Save button
Navigate to Mail Merges
info
Step two is to create your mail merge with a screen field to pass in your parameter.
1. Select Tasks in the menu.
2. Select Mail Merges in the sub-menu.
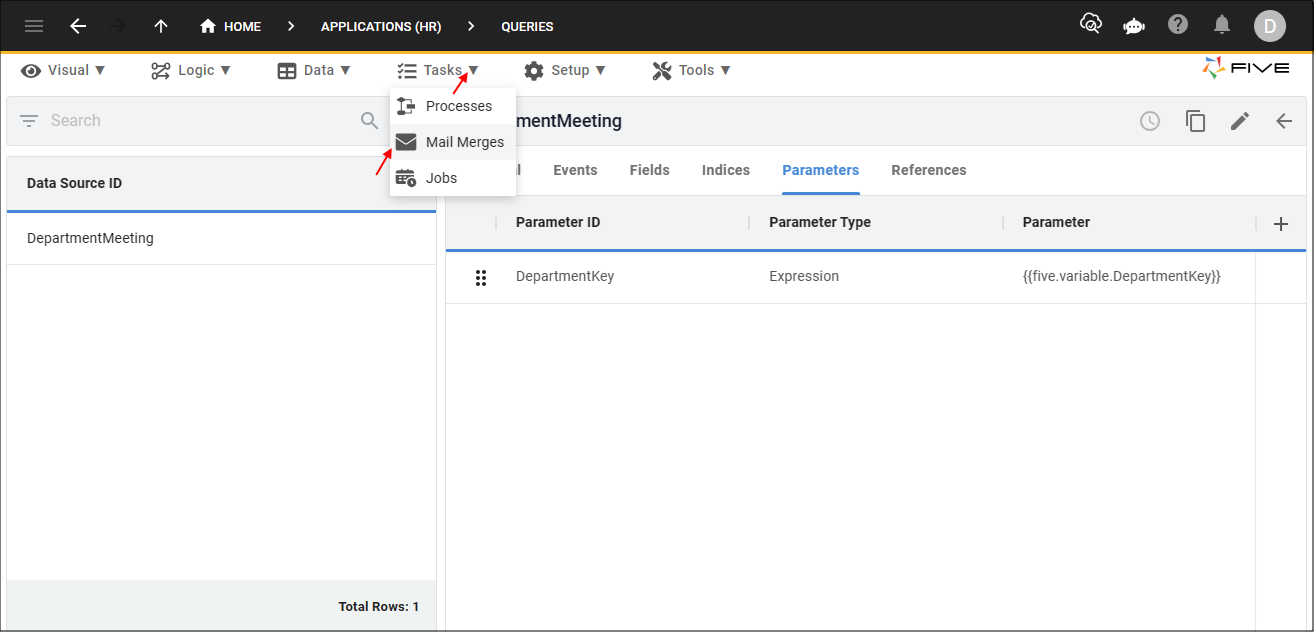
Figure 28 - Mail Merges menu item
Add Your Mail Merge
1. Click the Add Item button2. Type a title in the Title field.
3. Click the lookup icon in the Data Source field and select your query.
4. Click the lookup icon in the Name Field ID and select your name field.
5. Click the lookup icon in the Email Field ID and select your email field.
info
For this example, the SMTP From Name and SMTP From Email fields are not used as the mail merge will use the values in these fields on the
Instances form.
6. Type a subject line in the Subject Text field.
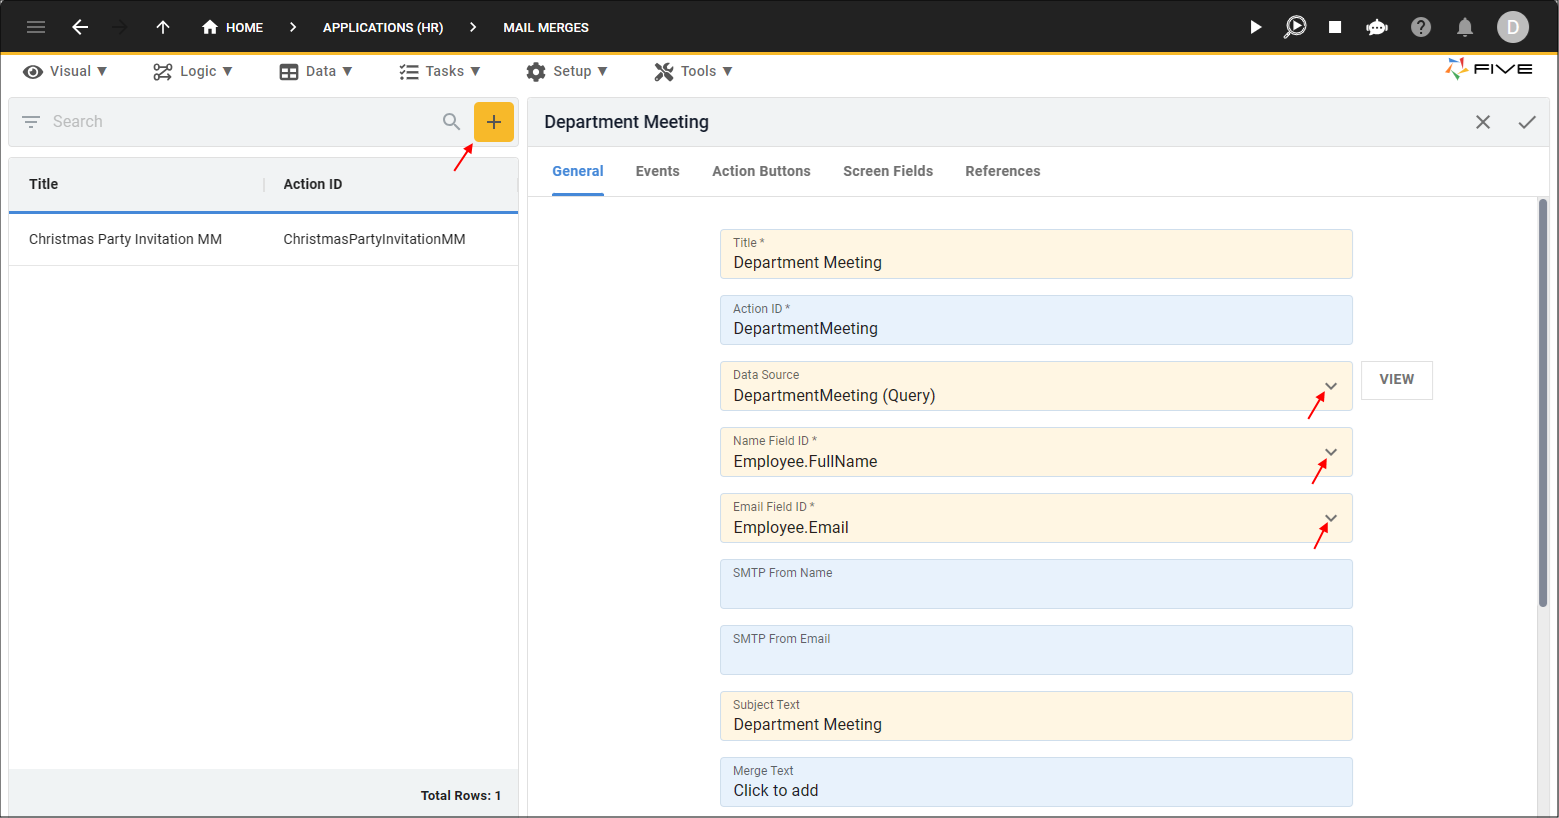
Figure 29 - Add your mail merge
7. Click the Screen Fields tab.
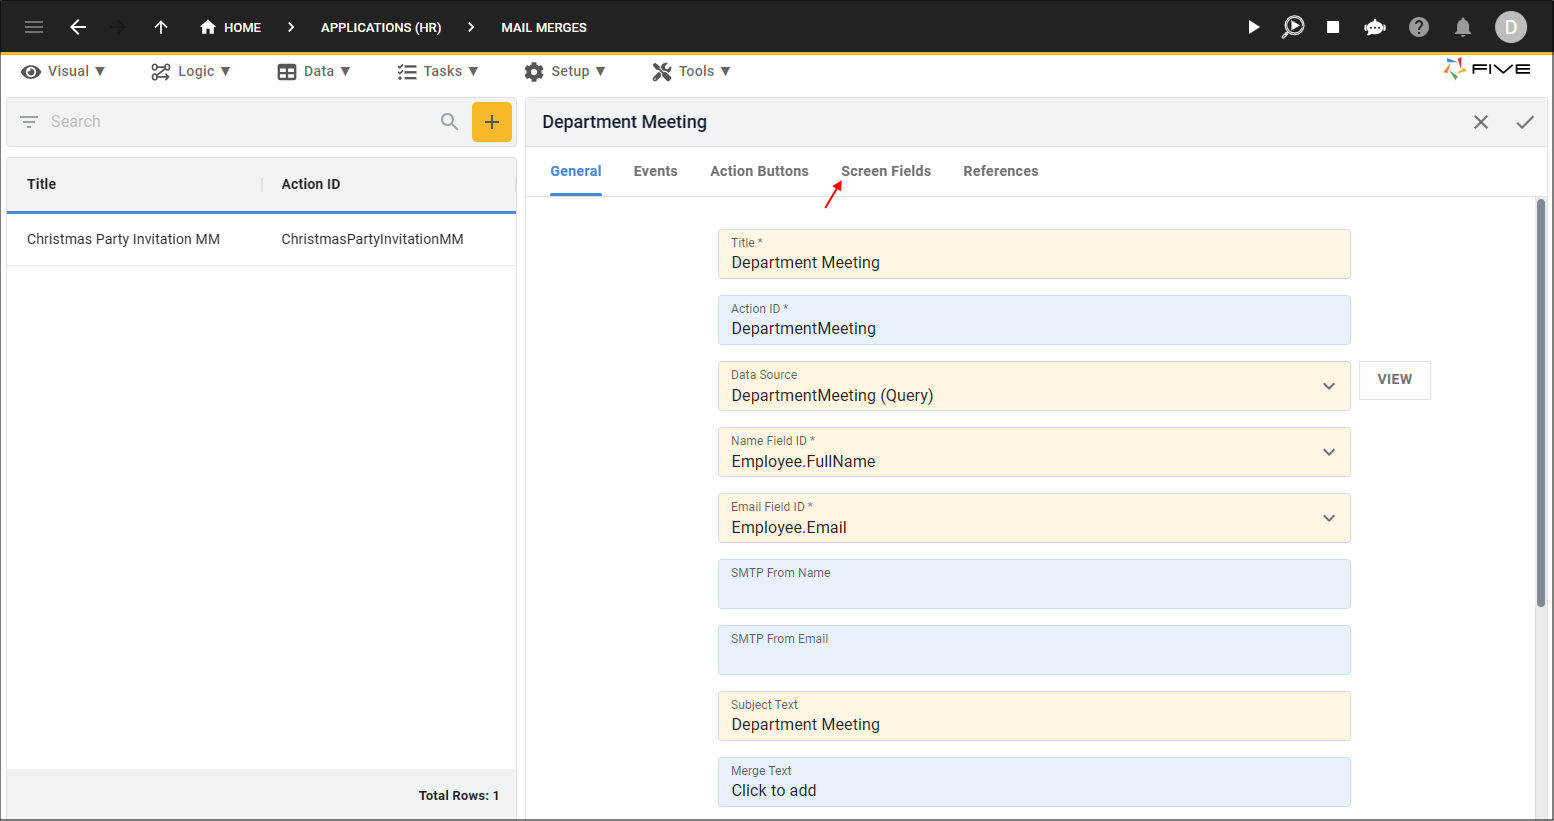
Figure 30 - Screen Fields tab
8. Click the Add Screen Fields button.
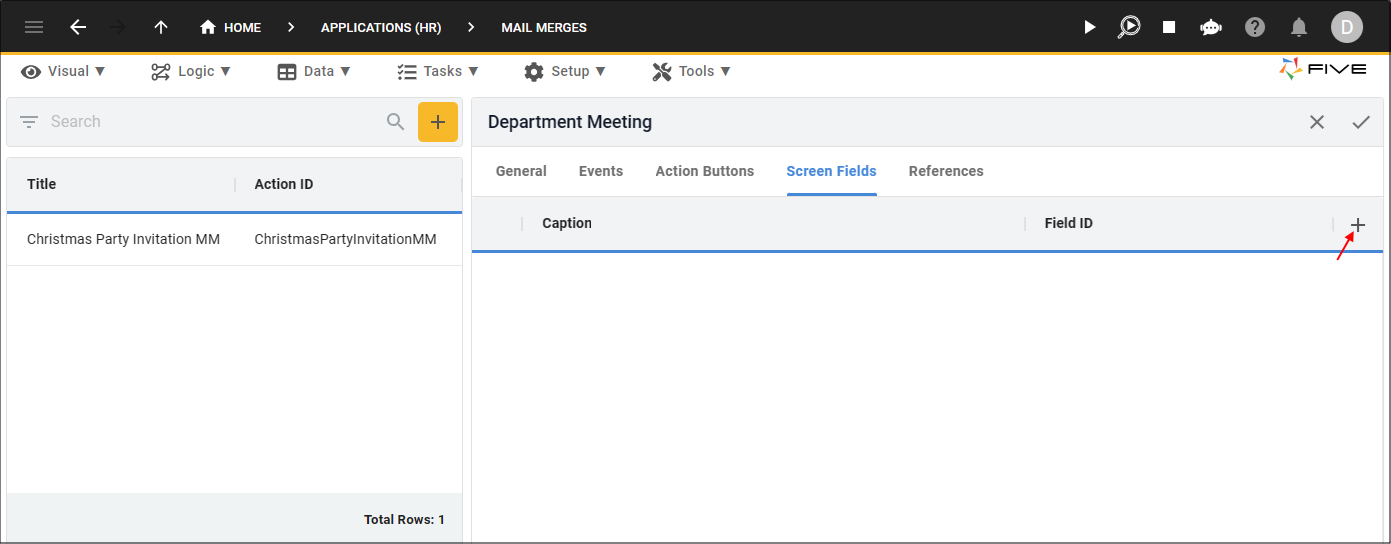
Figure 31 - Add Screen Fields button
9. Type a caption in the Caption field.
caution
The value in the Field ID must match the value on the
Example
The Parameter field on the Queries form holds the value:
This means the Field ID for the screen field must hold DepartmentKey.
variable
property in your parameter.Example
The Parameter field on the Queries form holds the value:
{{five.variable.DepartmentKey}}
.This means the Field ID for the screen field must hold DepartmentKey.
10. If required, change the value in the Field ID field to match the value on the
variable
property in your parameter.
11. Click the lookup icon in the Display Type field and select _Lookup.
12. Click the lookup icon in the Reference Form field and select a form to reference.
info
A _Lookup display type must reference a form that you have saved in Five. For this example, the Departments form is used. When in the HR application
all the department names will be available to select in the mail merge screen field enabling you to filter by a department.
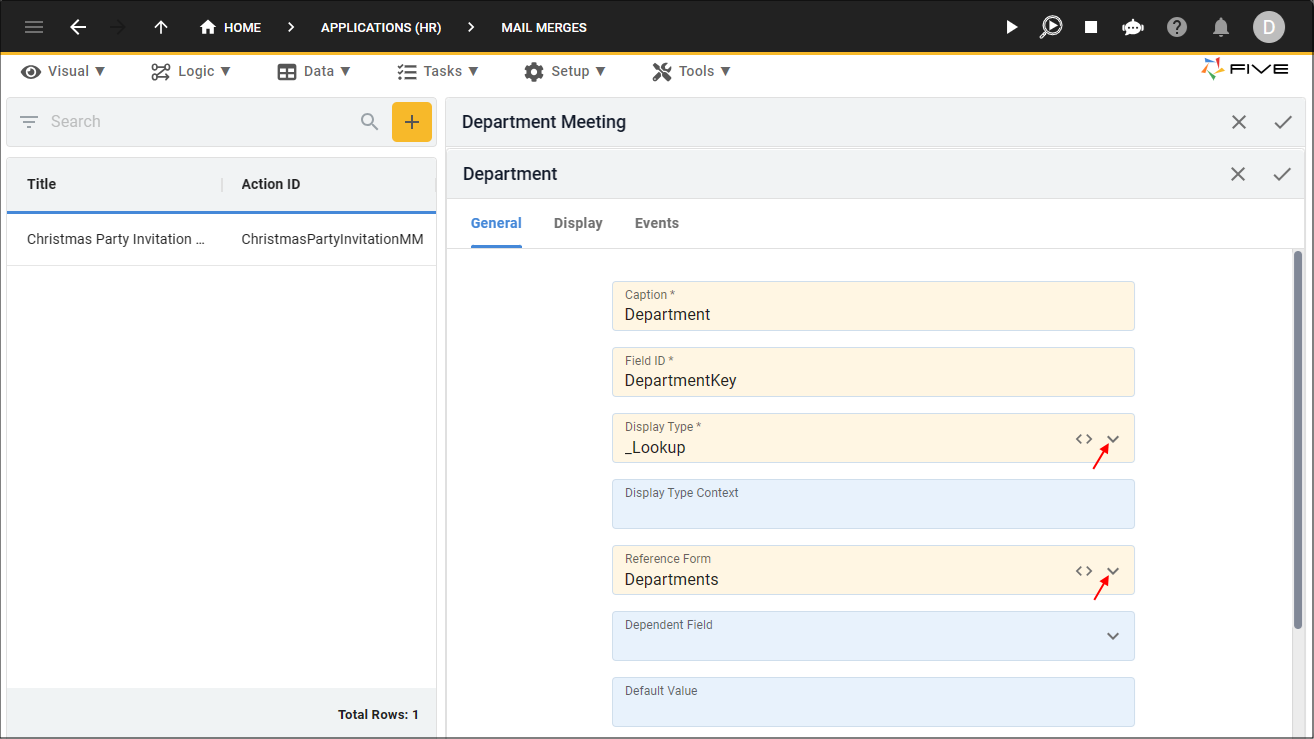
Figure 32 - Add a screen field
13. Click the Save button in the form app bar.
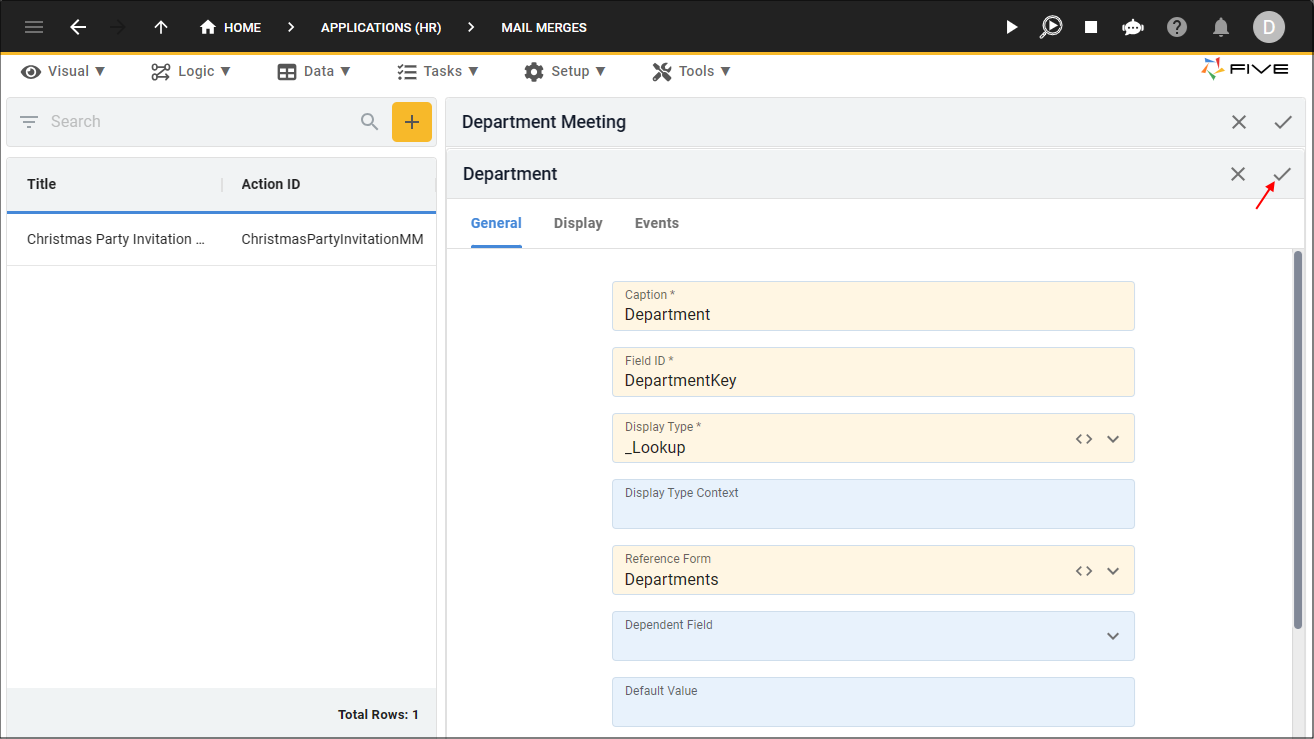
Figure 33 - Save button
14. Click the General tab.
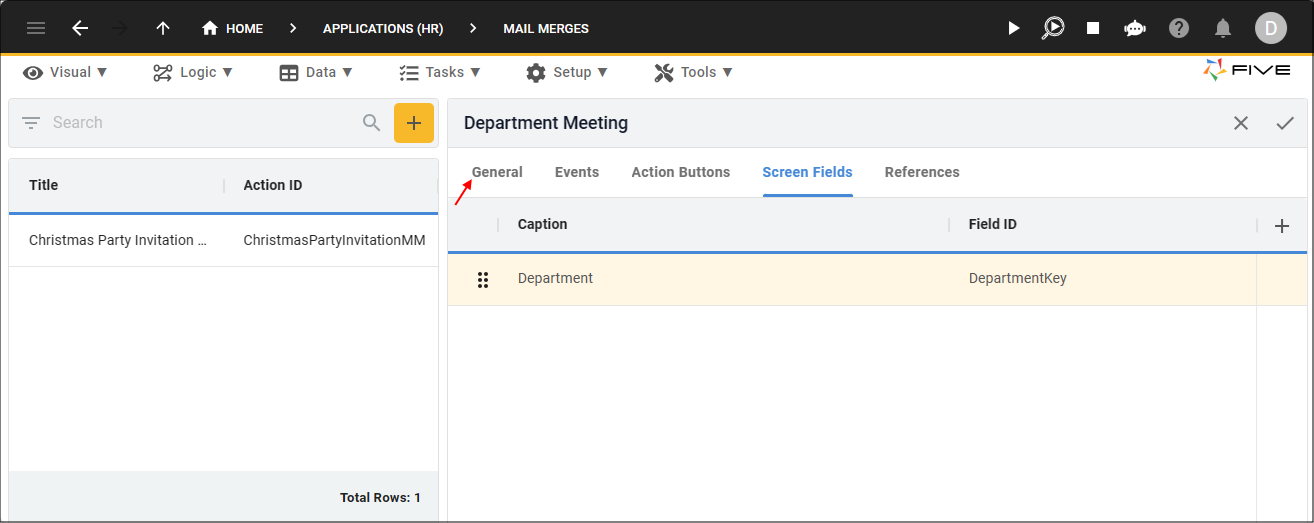
Figure 34 - General tab
15. Click in the Merge Text field.
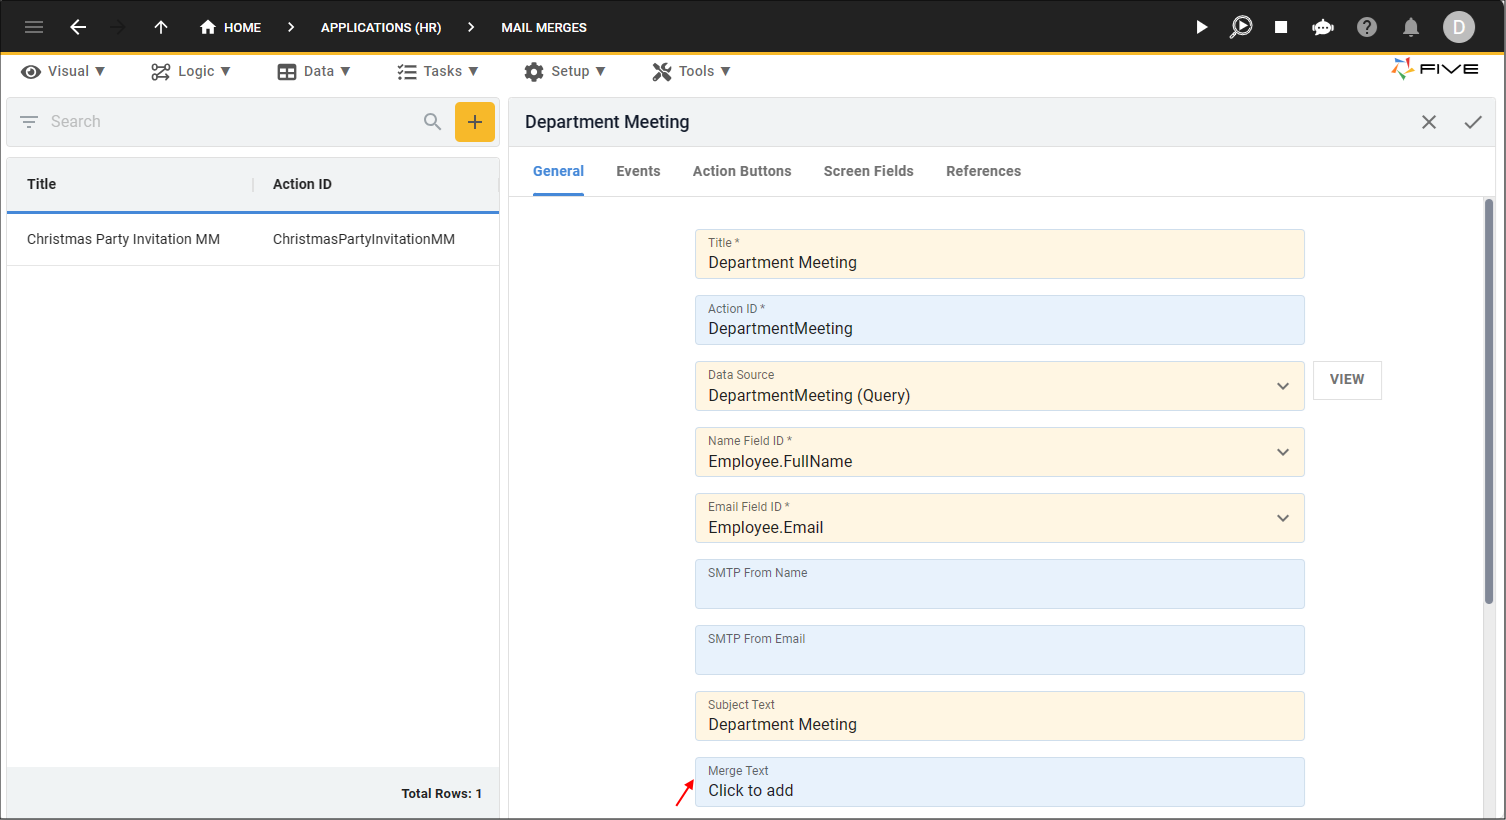
Figure 35 - Merge Text field
16. Use the icons in the toolbar to select your fields and design your template.
info
All your screen fields will be listed here with your data source fields.
Once you insert a screen field into your template, the placeholder will be available as
Once you insert a screen field into your template, the placeholder will be available as
{{five.variable.<fieldID>}}
Figure 36 - Tags icon
17. Click the Save button in the editor app bar.
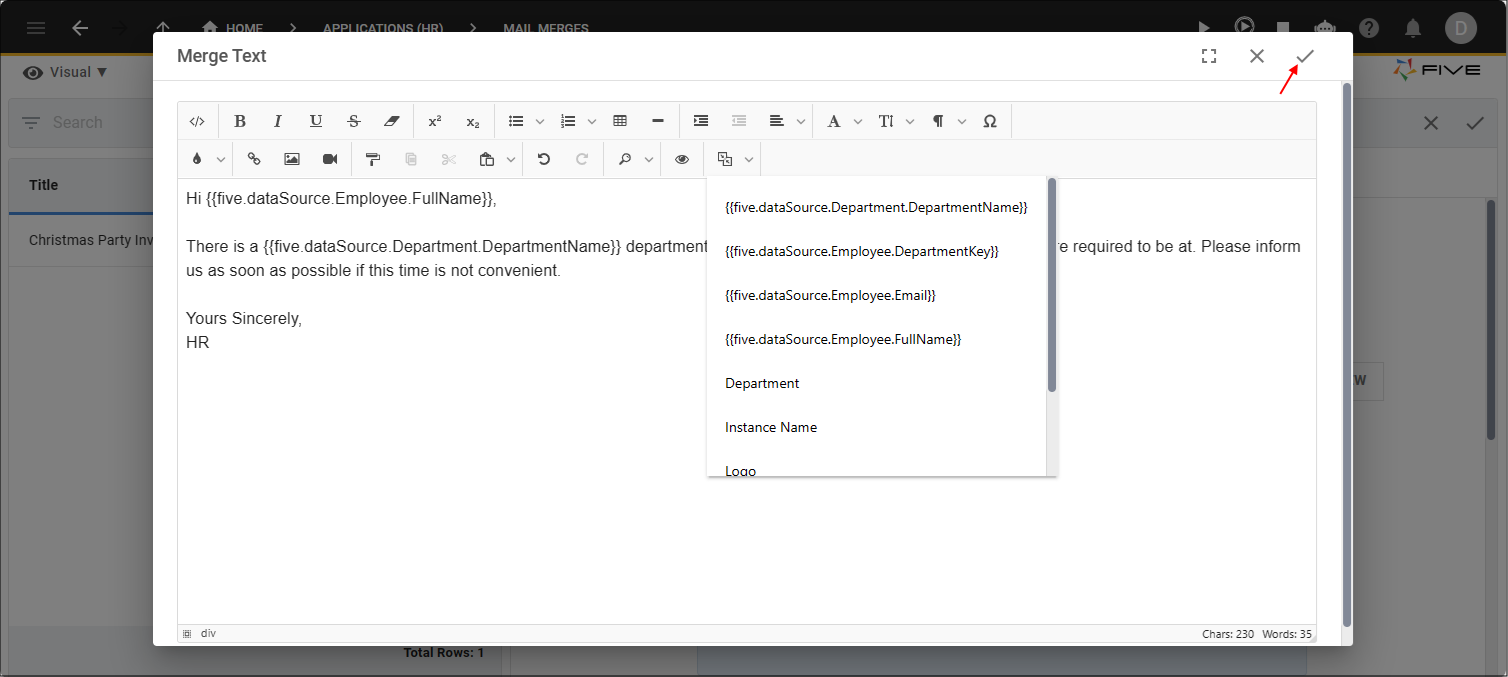
Figure 37 - Save button
18. Click the Save button in the form app bar.
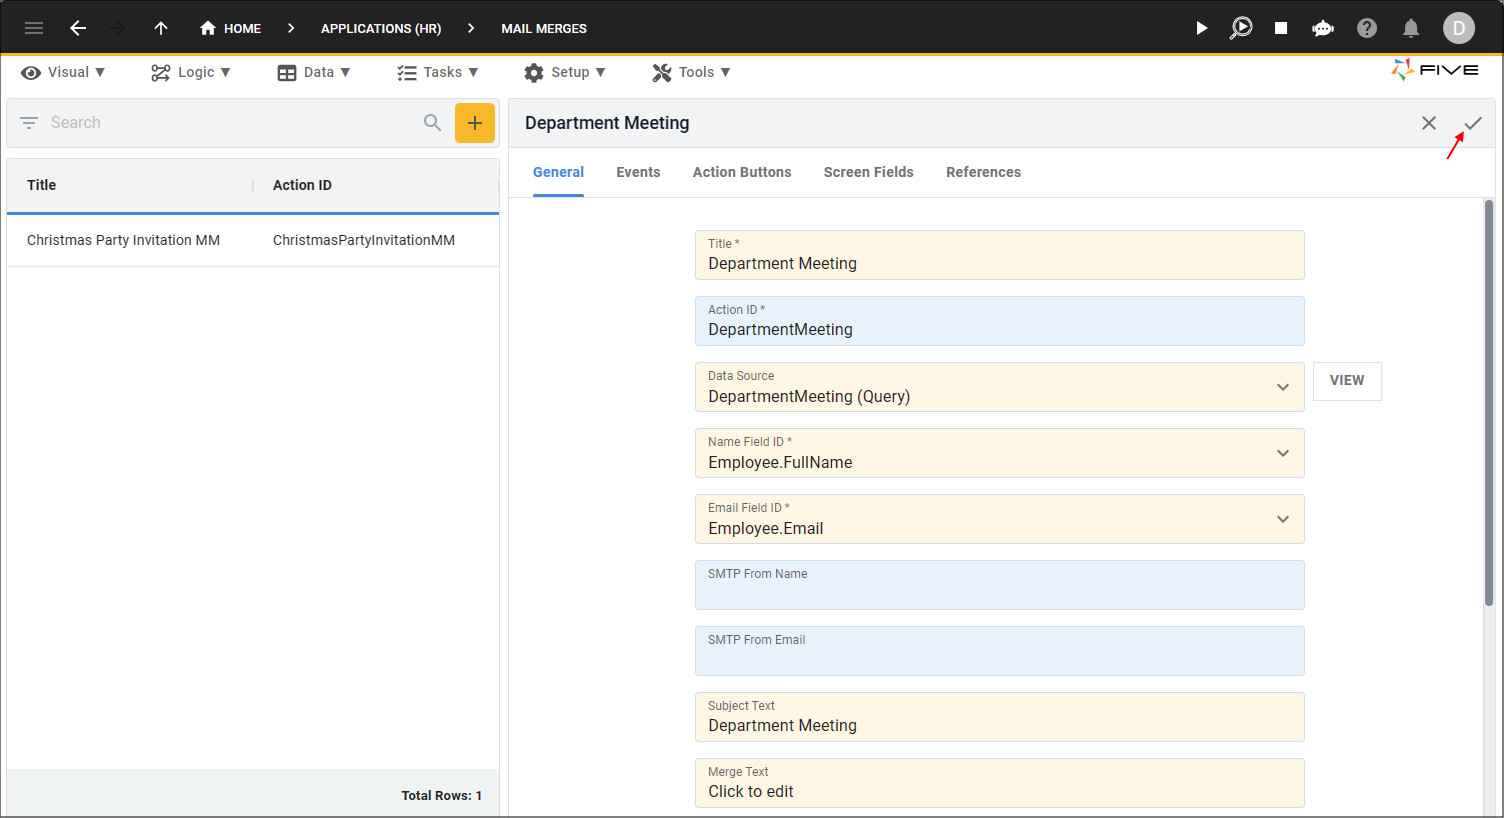
Figure 38 - Save button
How This Will Work in Your Application
1. Select the menu item holding your mail merge.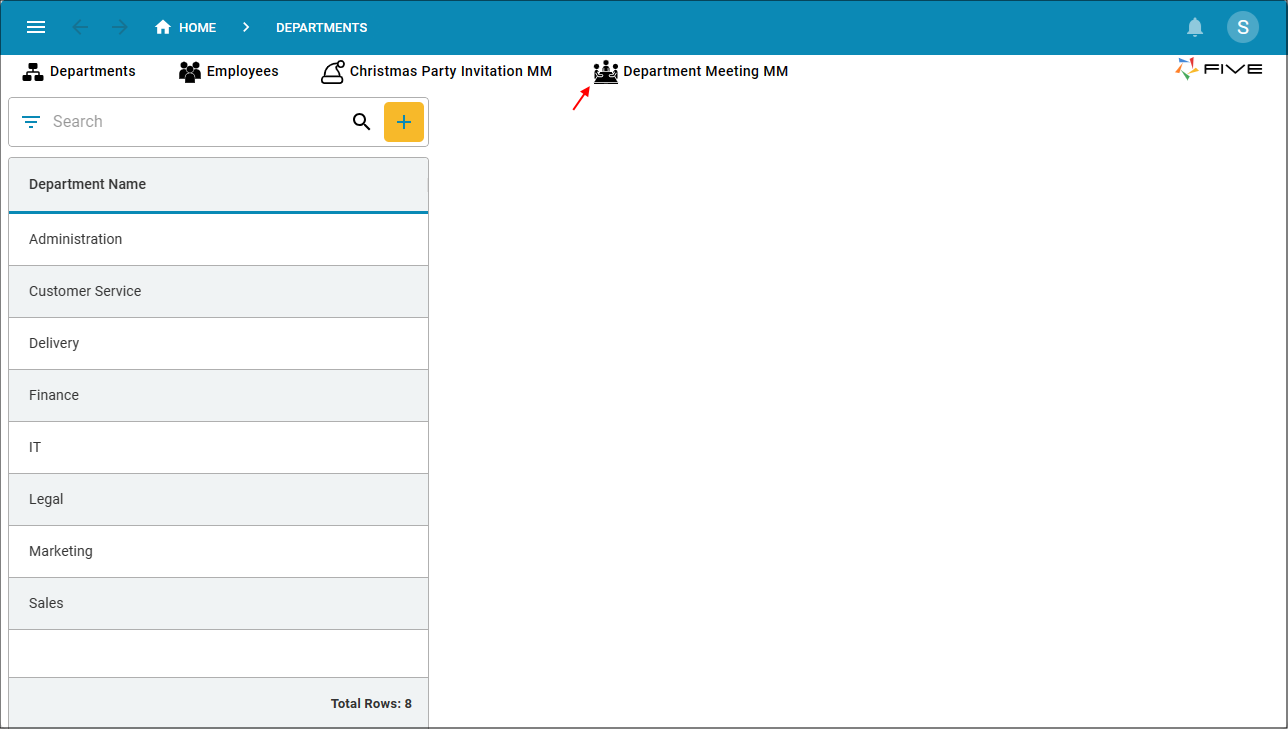
Figure 39 - Mail merge menu item
2. Click the lookup icon in the screen field and select an option.
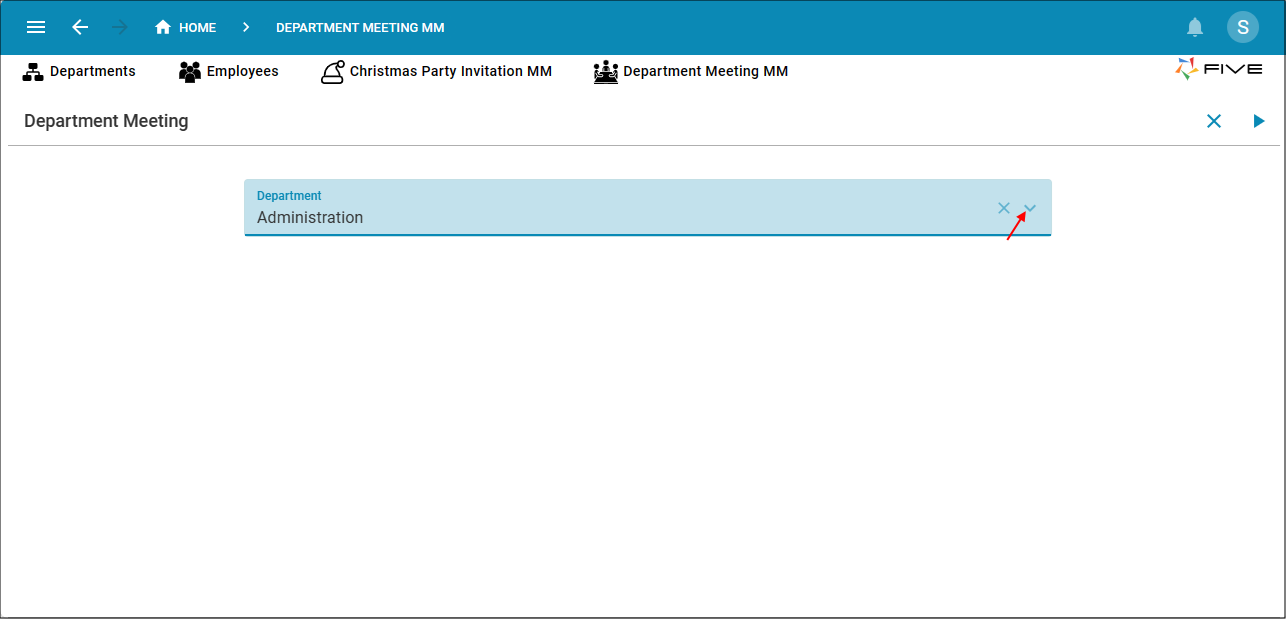
Figure 40 - Screen field
3. Click the Run button
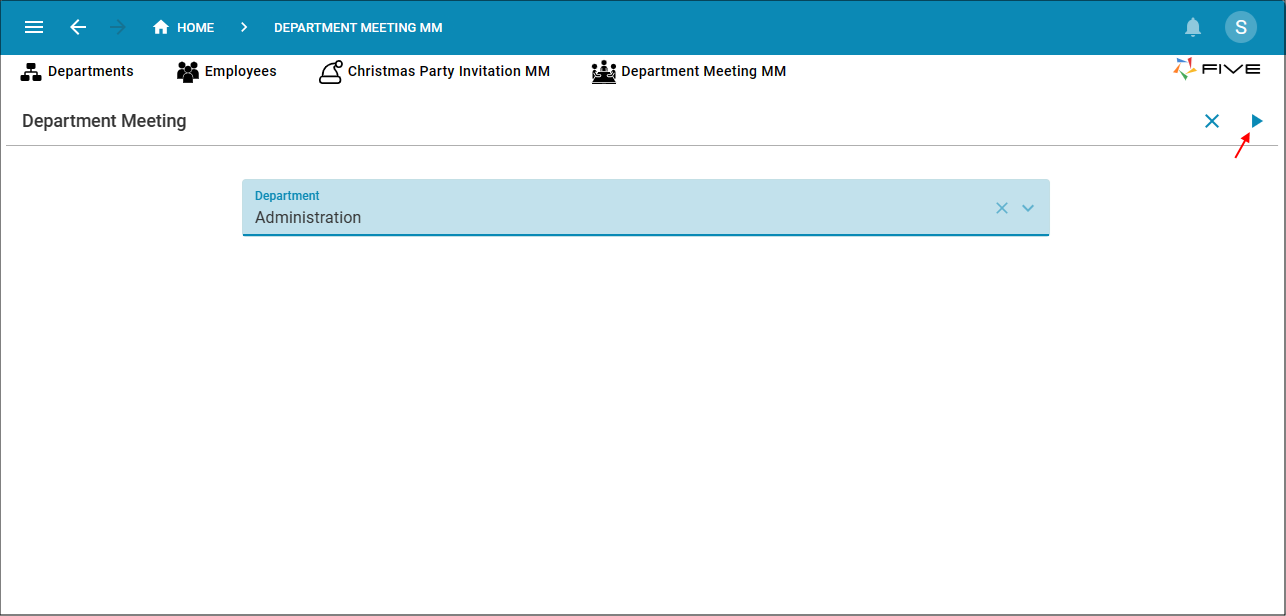
Figure 41 - Run button
info
The mail merge will only be sent to the users that belong to the option selected. For this scenario, only the employees from the Administration department.