Configuring SSO with OpenID
Last updated 6/03/2024
Working with OpenID
If you have not added an Authentication record before, please refer to the introduction on Authentications to have an understanding of the fields on the Authentications form.With an authentication type of OpenID, the following fields will be shown:
- Client ID
- Client Secret
- Provider URL
The Client ID value is the client ID for the registered application with the SSO provider, available from the provider's website.
The Client Secret value is the client secret for the registered application with the SSO provider, available from the provider's website.
The Provider URL value is the provider's endpoint for the OpenID Connect metadata document, available from your provider's website or documentation.
Examplehttps://login.microsoftonline.com/2abcdef34-11x8-1234-f02e-a4111e222aa0/v2.0
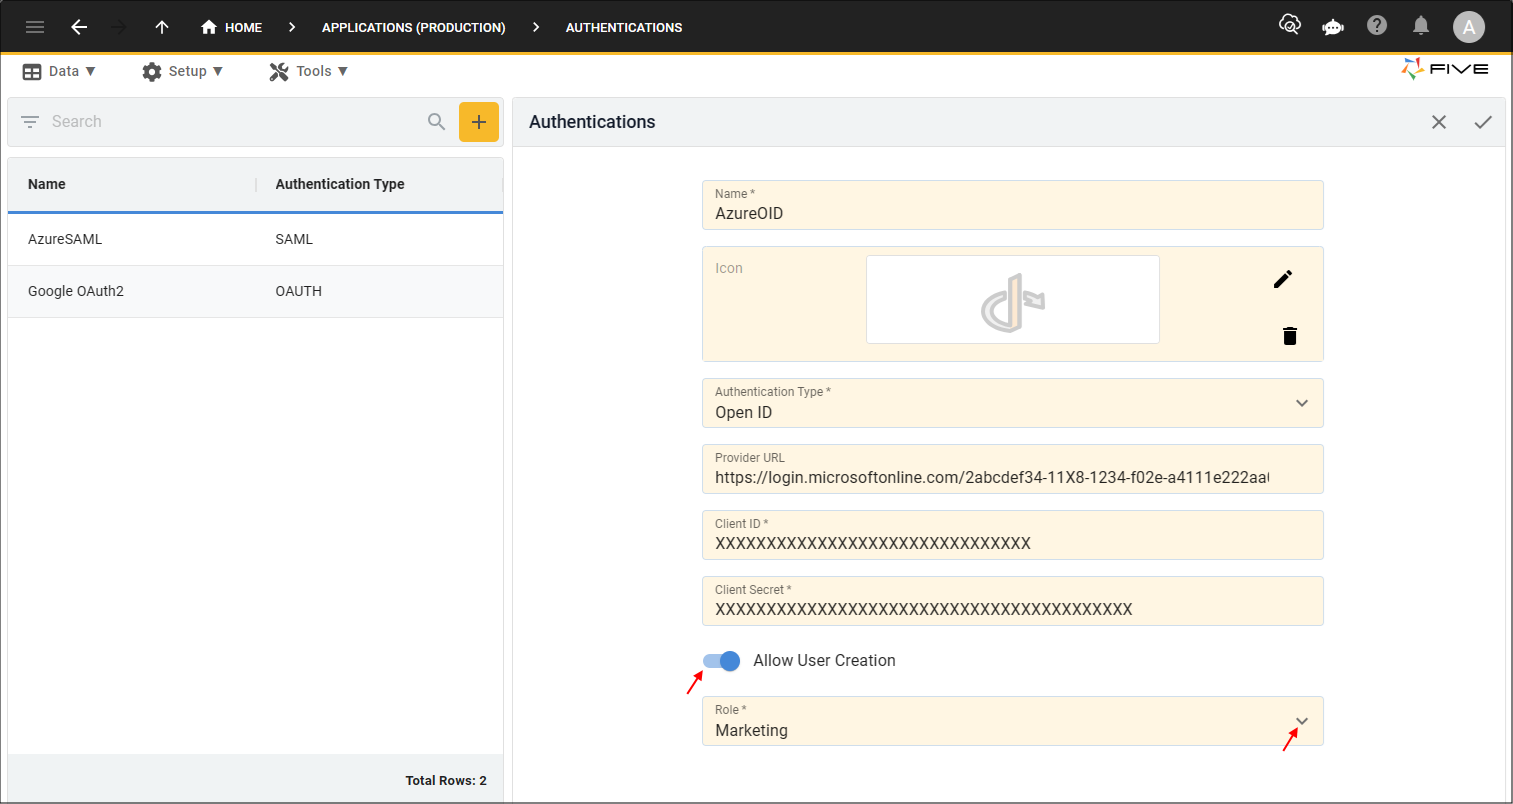
Add an Authentication Using OpenID
1. Click the Add Item button.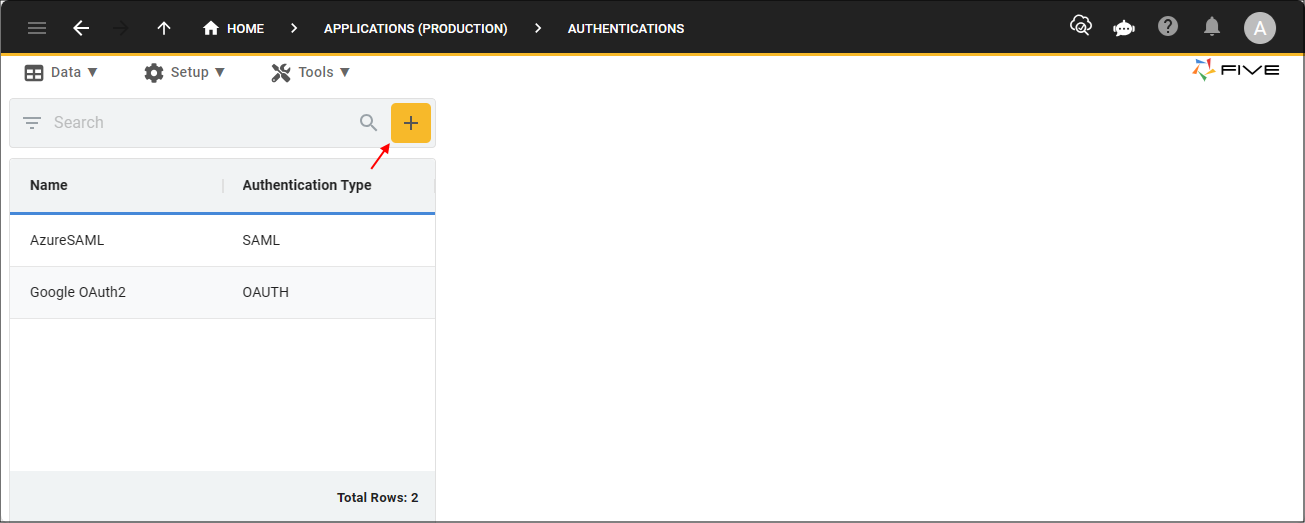
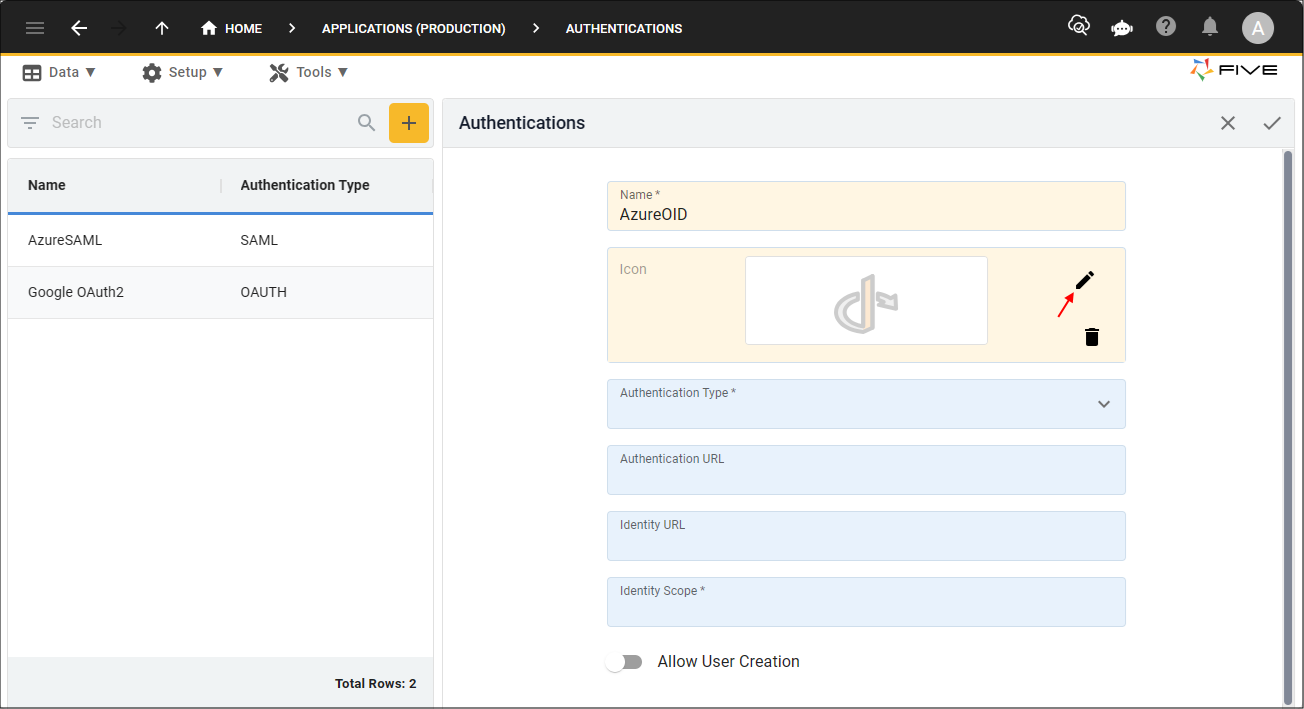
2. Type a name in the Name field.
3. Optional: Click the lookup icon in the Icon field, navigate your files and open an image file.
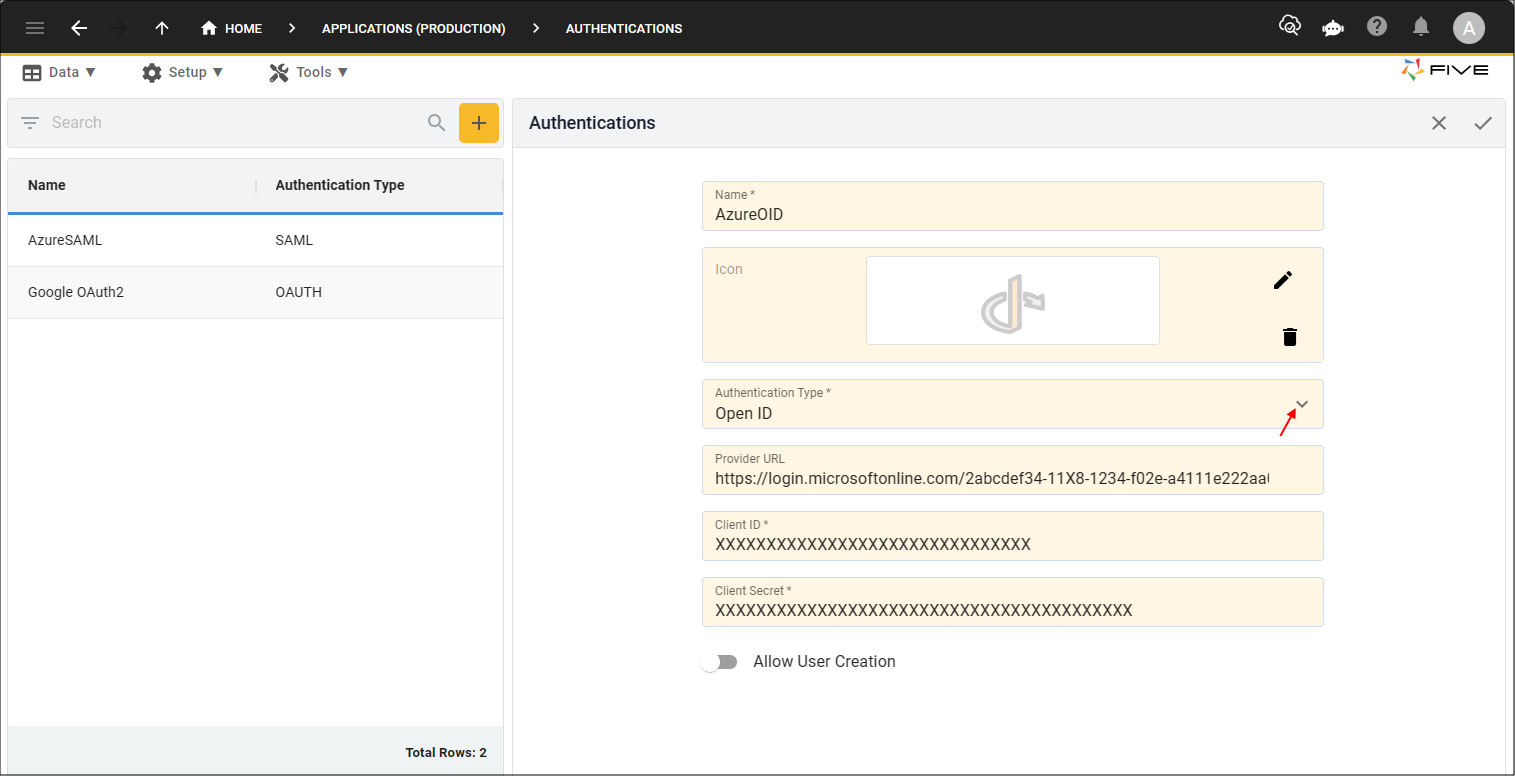
4. Click the lookup icon in the Authentication Type field and select Open ID.
5. Type your Provider URL endpoint in the Provider URL field.
6. Type in the client ID that you created with your provider for your application in the Client ID field.
7. Type in the client secret that you created with your provider for your application in the Client Secret field.
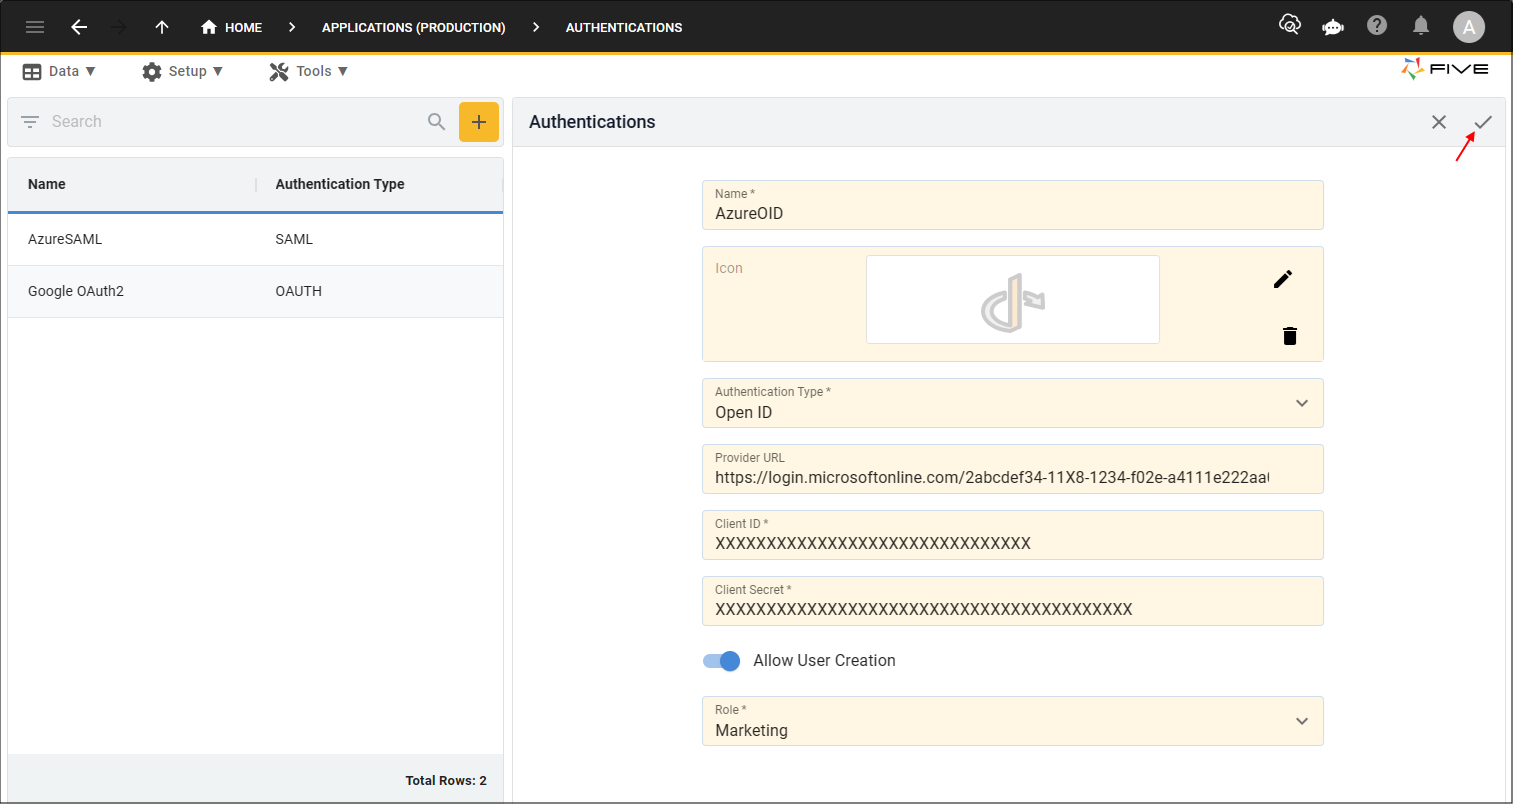
8. Optional: Click the Allow User Creation switch.
If you have the Allow User Creation switched to false, you will need to ensure the user exists in your application before the provider can verify the user, otherwise if the switch is true, the provider can verify the user for you and if the user does not already exist in your application, they will be created automatically.
9. Click the lookup icon in the Role field and select the role you want the users to be created with.
- You will need to have the Application View switch turned on in the Roles form for the role to be available in the Role field!
- The Role field is only available when the Allow User Creation switch is on. If the switch is off the user will need to be created manually in your application.
10. Click the Save button in the form app bar.