Create the Form and Menu for the Dispatch Login
Last updated 10/01/2023
This chapter will explain how to edit the Orders form and create the menu for the Dispatch login.Edit the Orders Form
info
The Orders form used for the Administration login will also be used for the Dispatch login, a few conditions just need to be added that will be applied to a Dispatch user log in.
1. Select Forms in the menu.
2. Select the Orders record in the list.
3. Click the Pages tab.
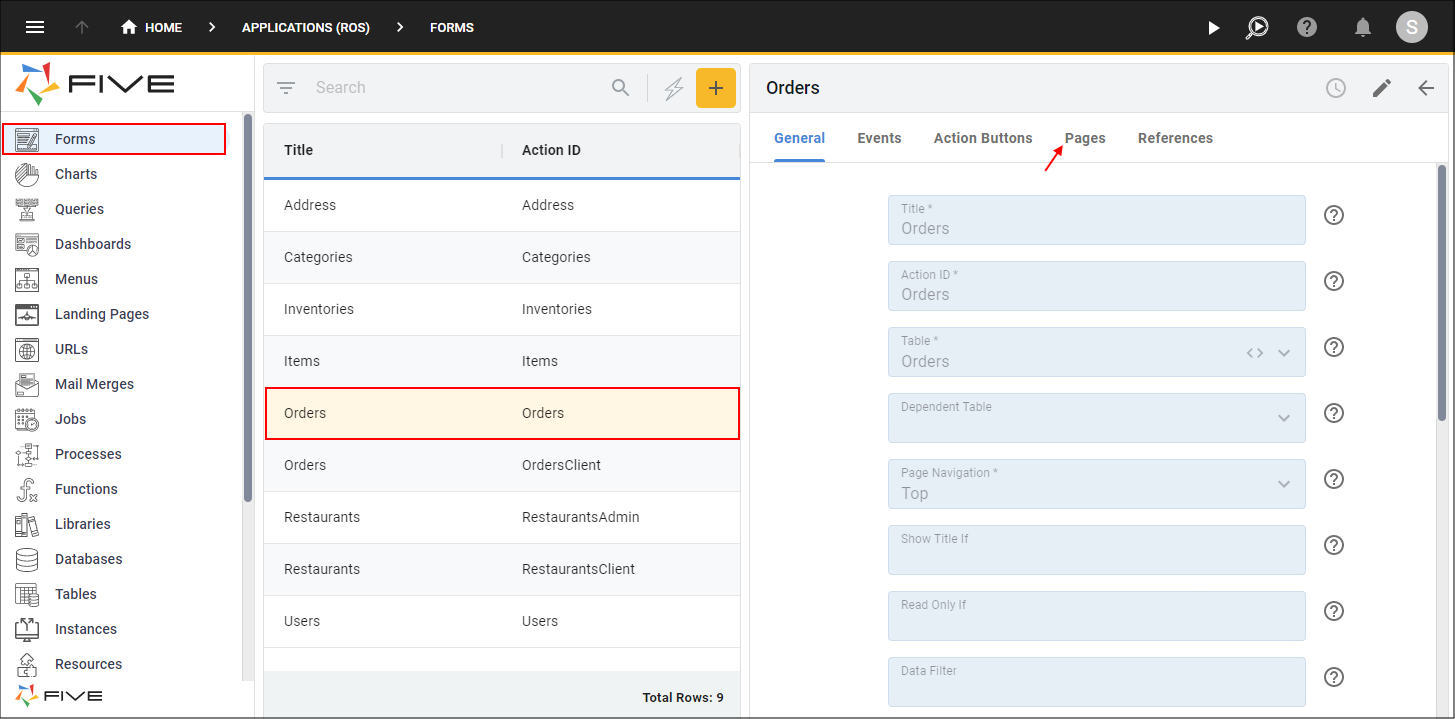
Figure 1 - Edit the Orders form
4. Select the General record
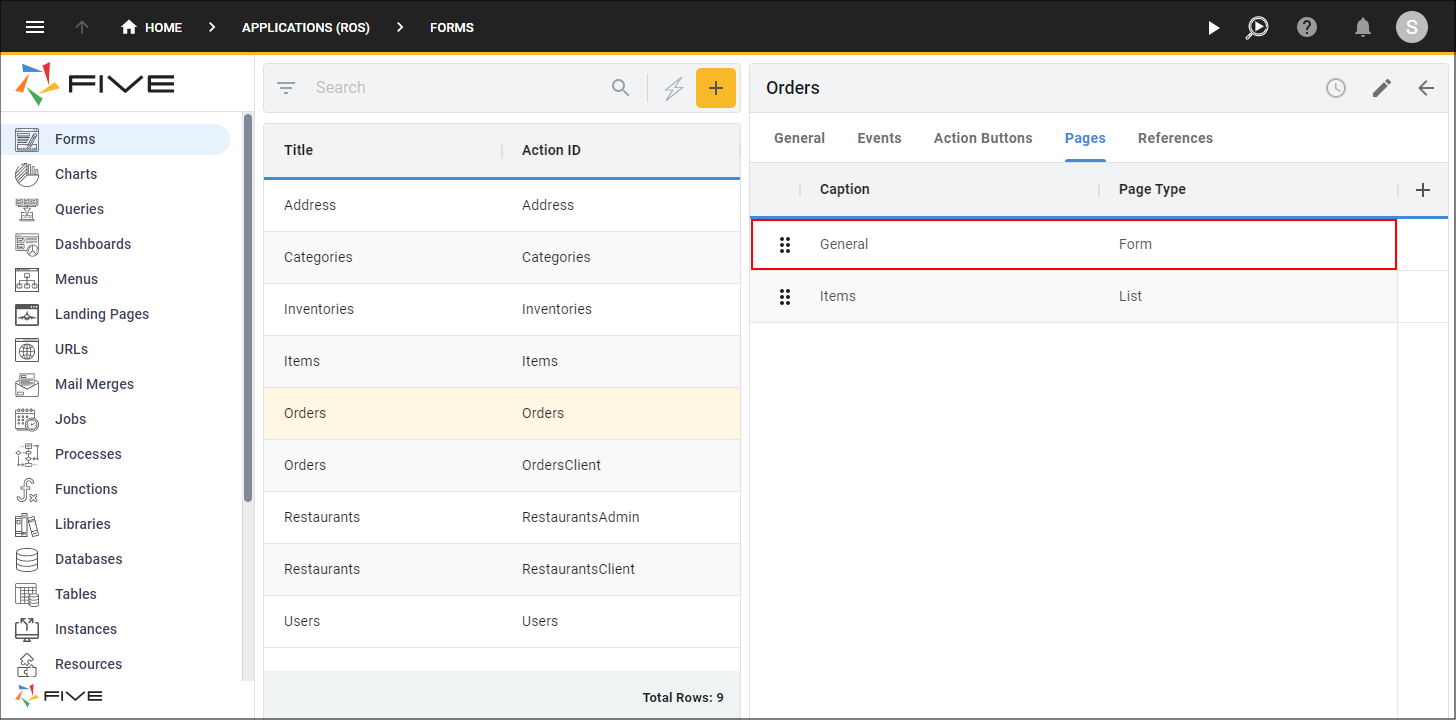
Figure 2 - General record
5. Click the Fields tab.
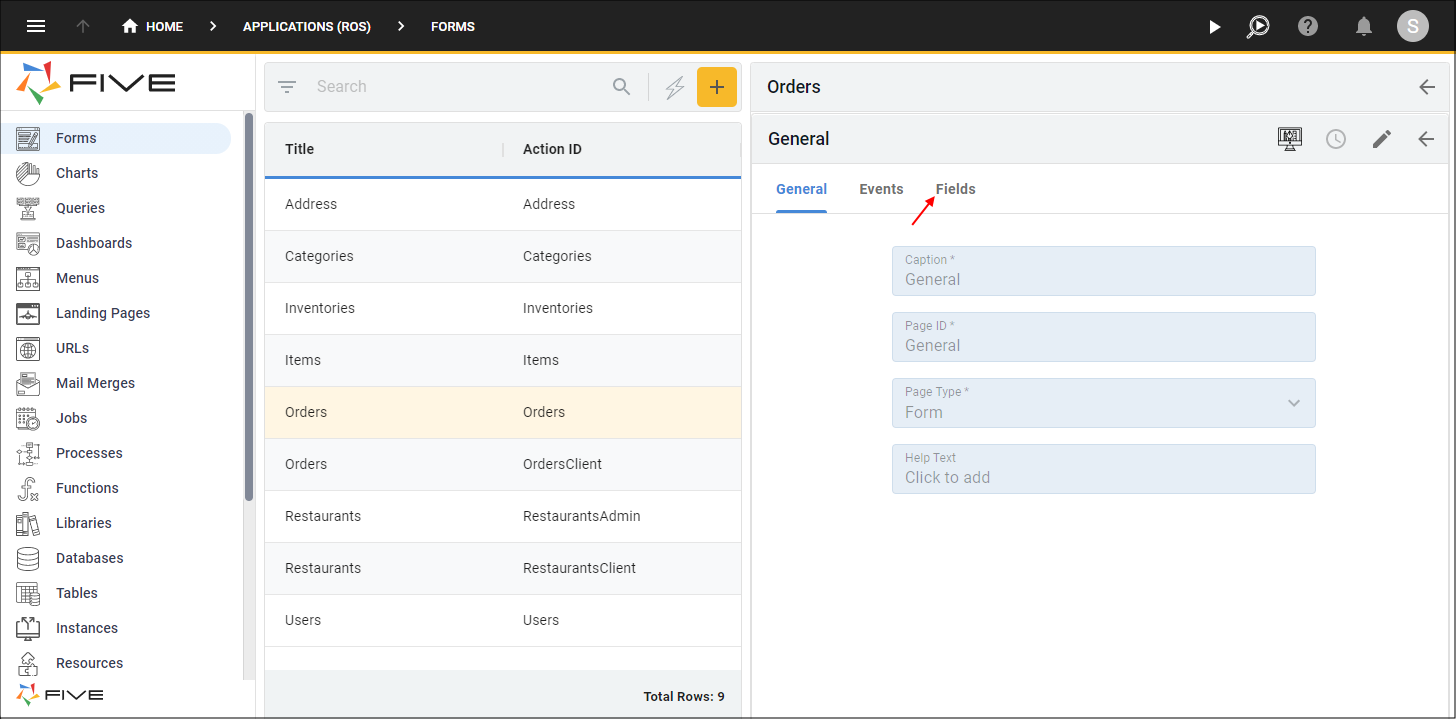
Figure 3 - Fields tab
6. Select the Completed record.
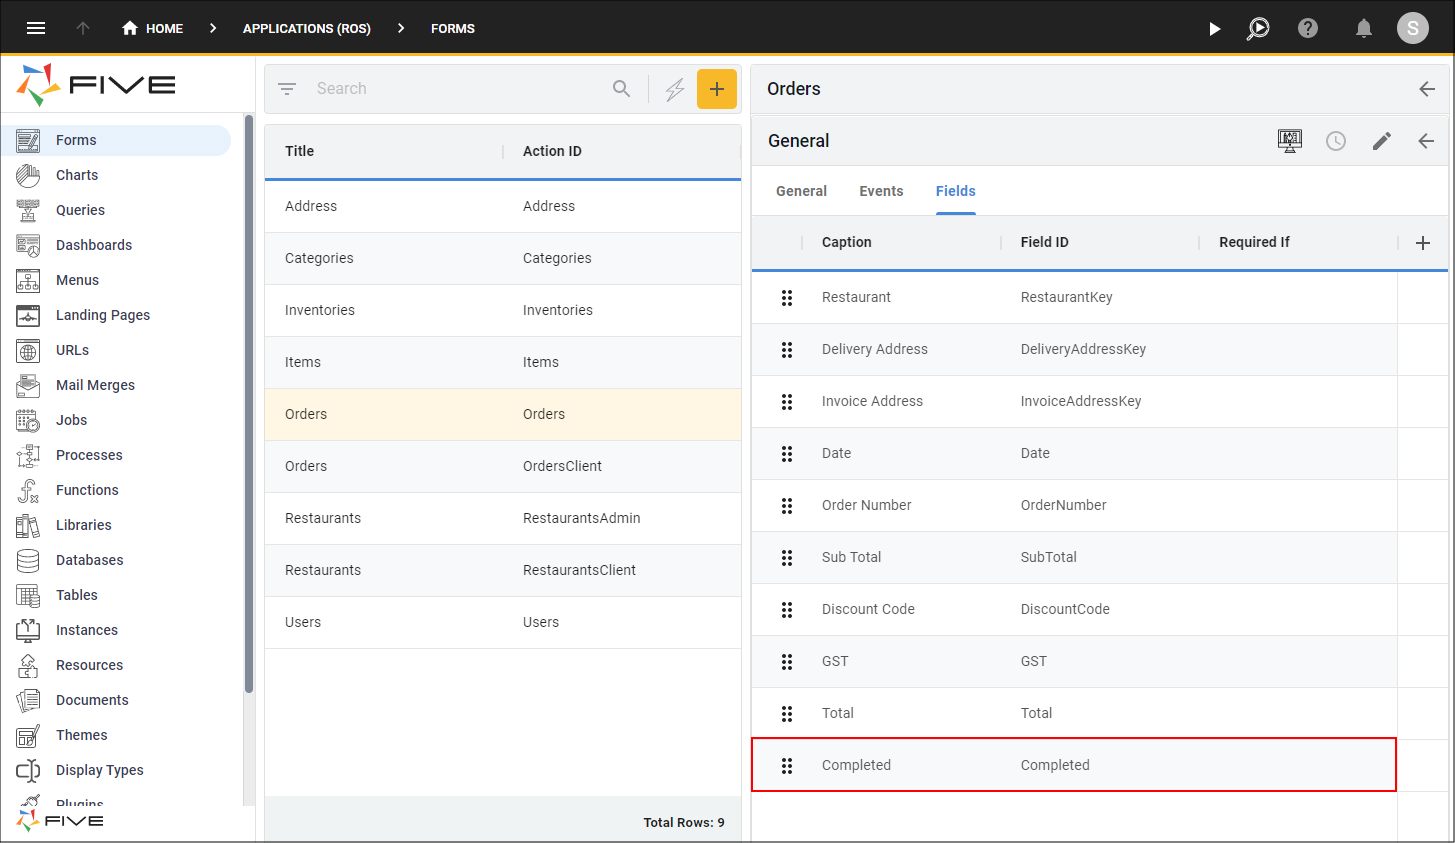
Figure 4 - Completed record
7. Click the Display tab.
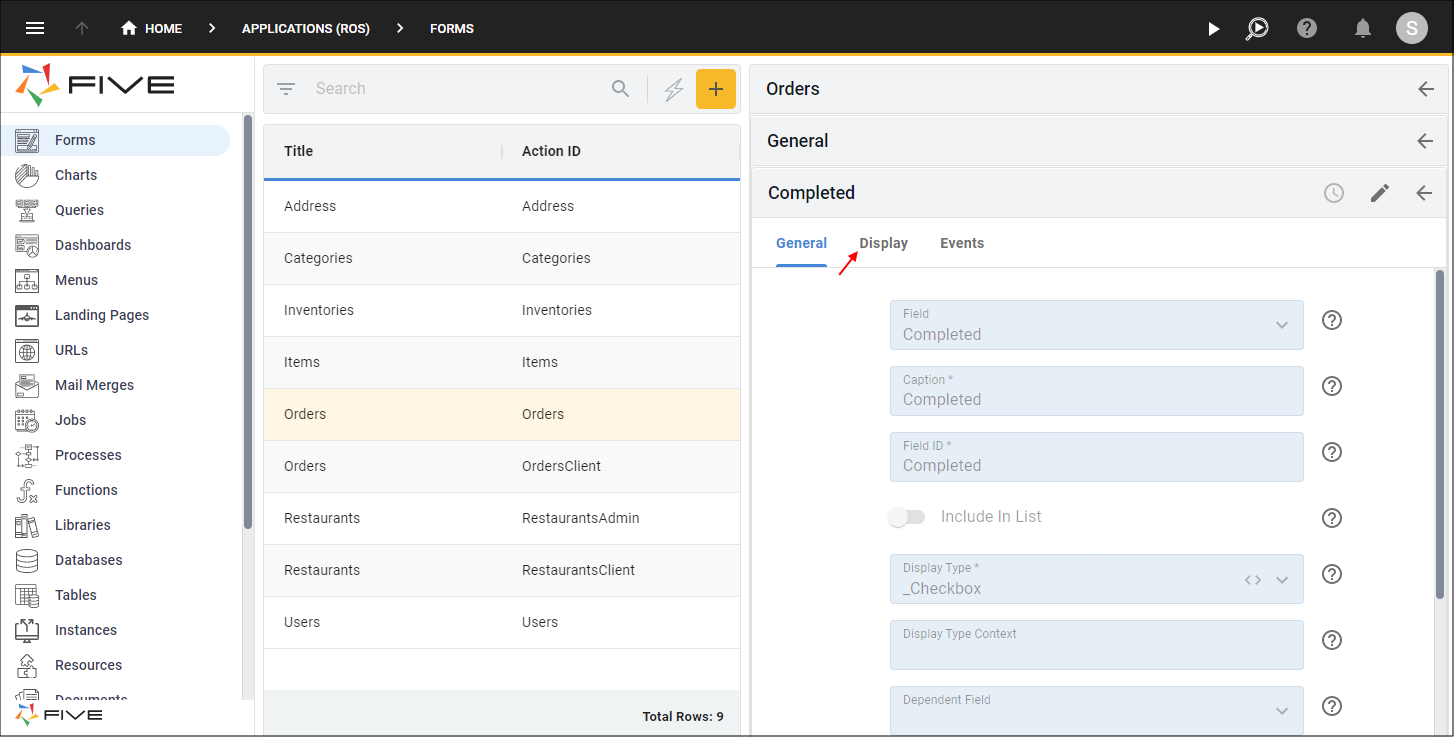
Figure 5 - Display tab
8. Type (five.variable.Role === 'Dispatch') in the Show If field.
info
Based on the condition entered in the Show If field, the Completed field will now only show on the Orders form if a Dispatch user logs in to the system, and they will be able to set the switch to true once the order has been completed.
9. Click the Save button in the form app bar.
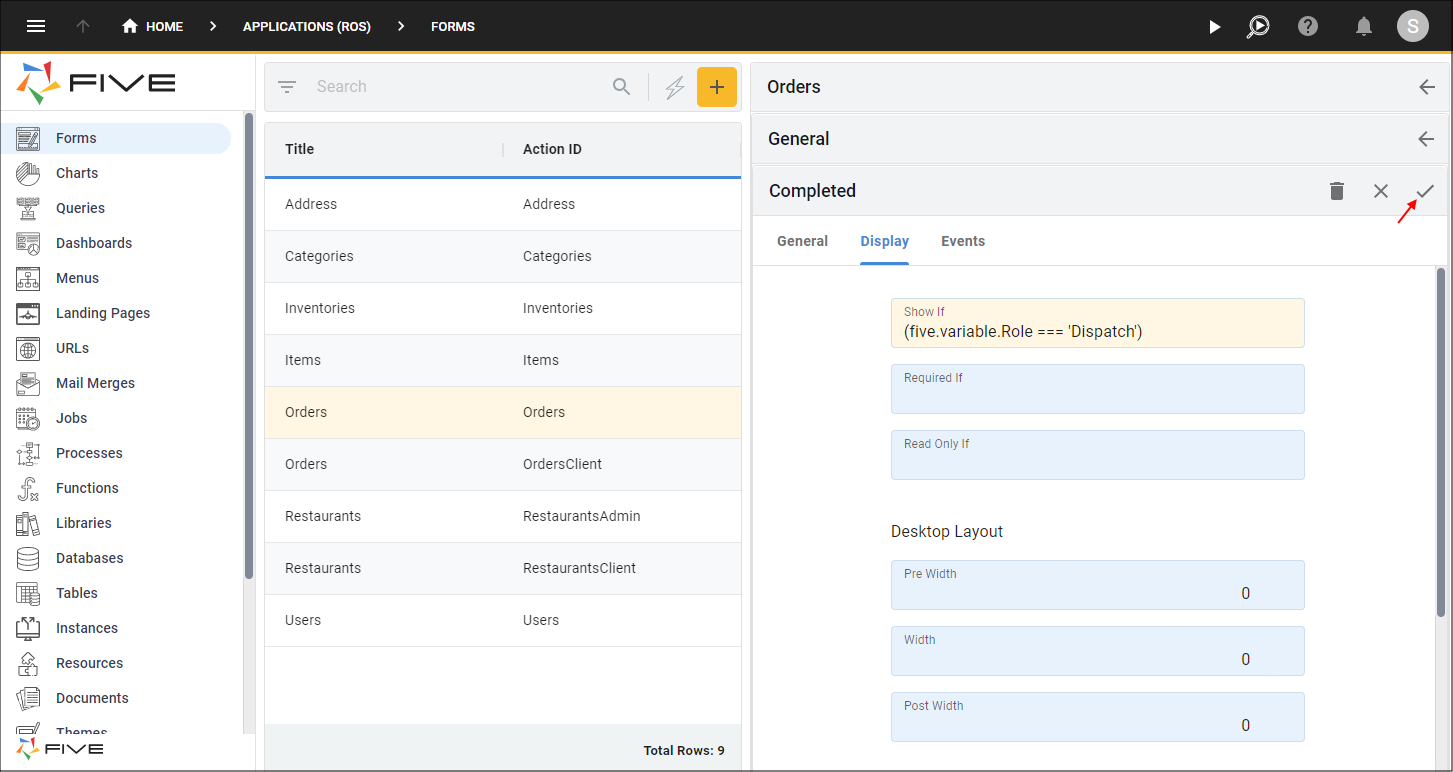
Figure 6 - Edit the Completed field
10. Select the Restaurant record.
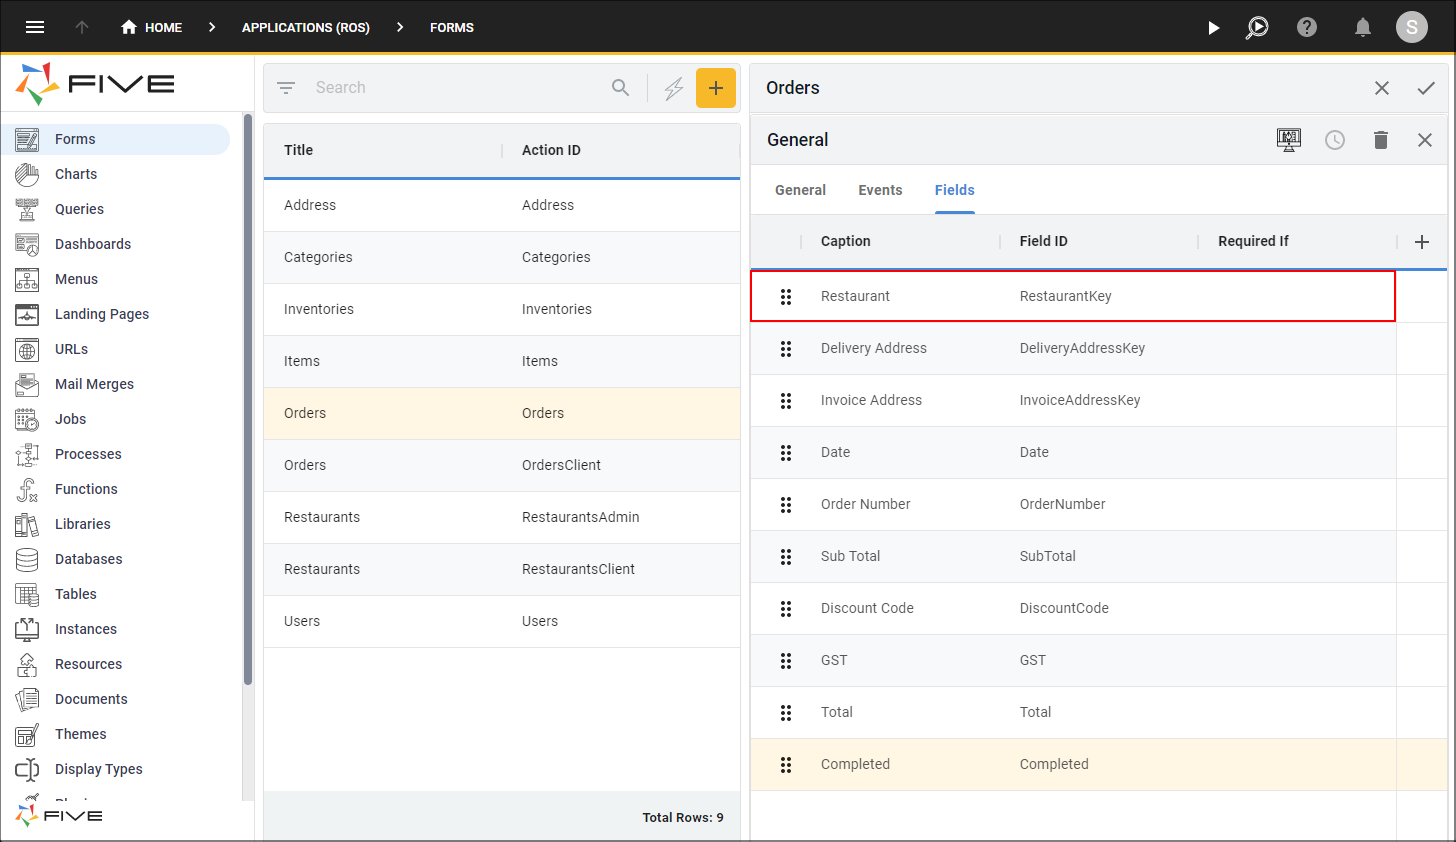
Figure 7 - Restaurant record
11. Click the Display tab.
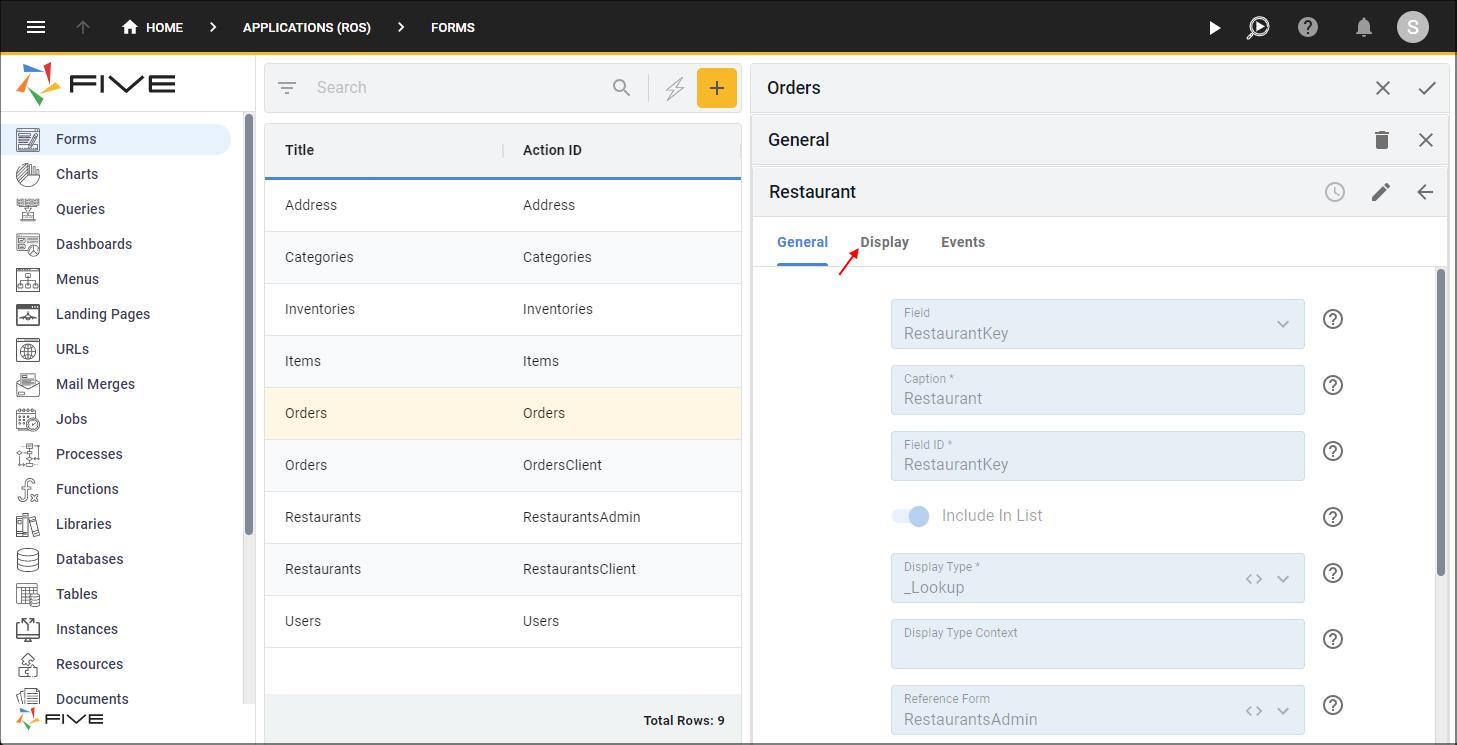
Figure 8 - Display tab
12. Type (five.variable.Role === 'Dispatch') in the Read Only If field.
13. Click the Save button in the form app bar.
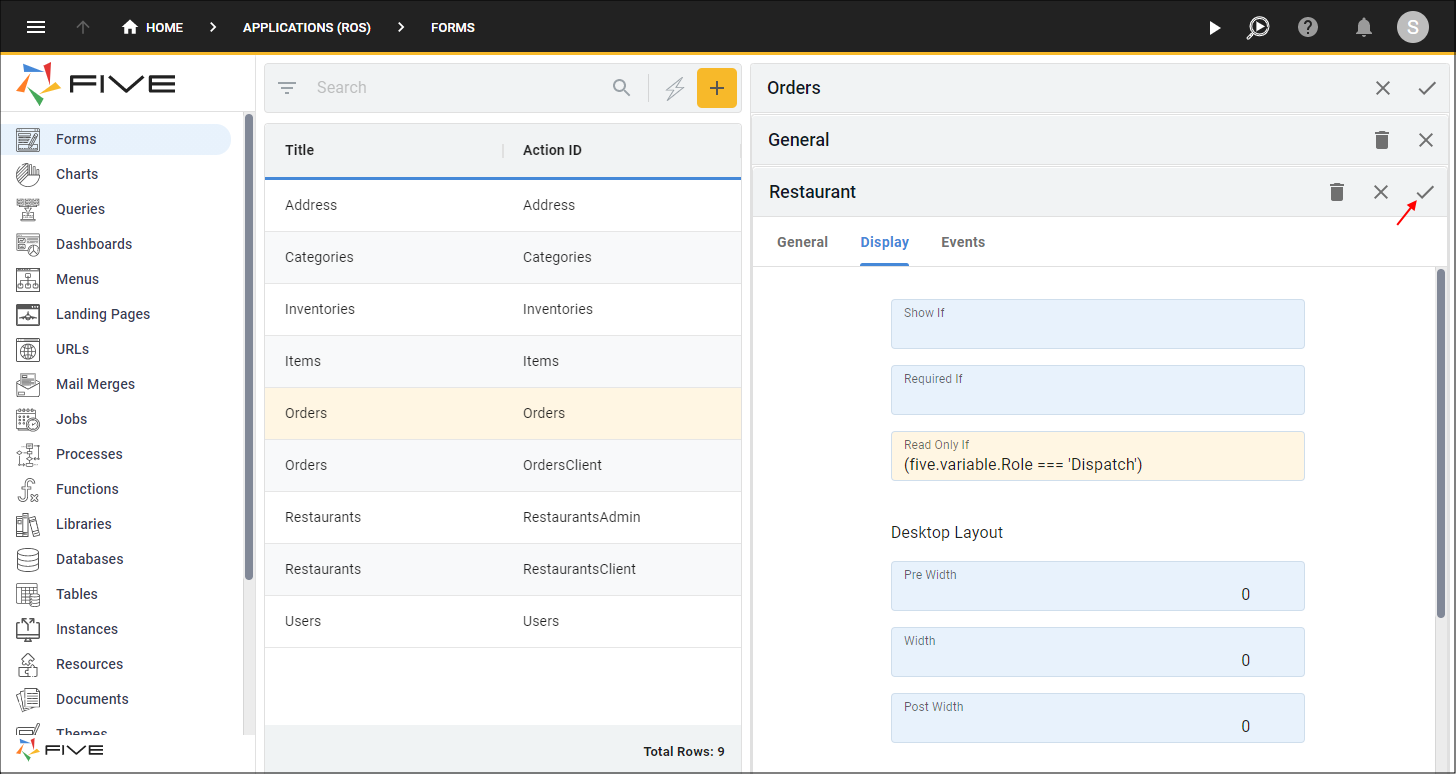
Figure 9 - Edit the Restaurant record
14. Repeat steps 10 to 14 for every field on the Orders form except the Completed field.
info
Based on the condition entered in the Read Only If fields, all the fields on the Orders form except for the Completed field will be in a read only state when a Dispatch user logs in.
15. Click the Save button in the form app bar above the list.
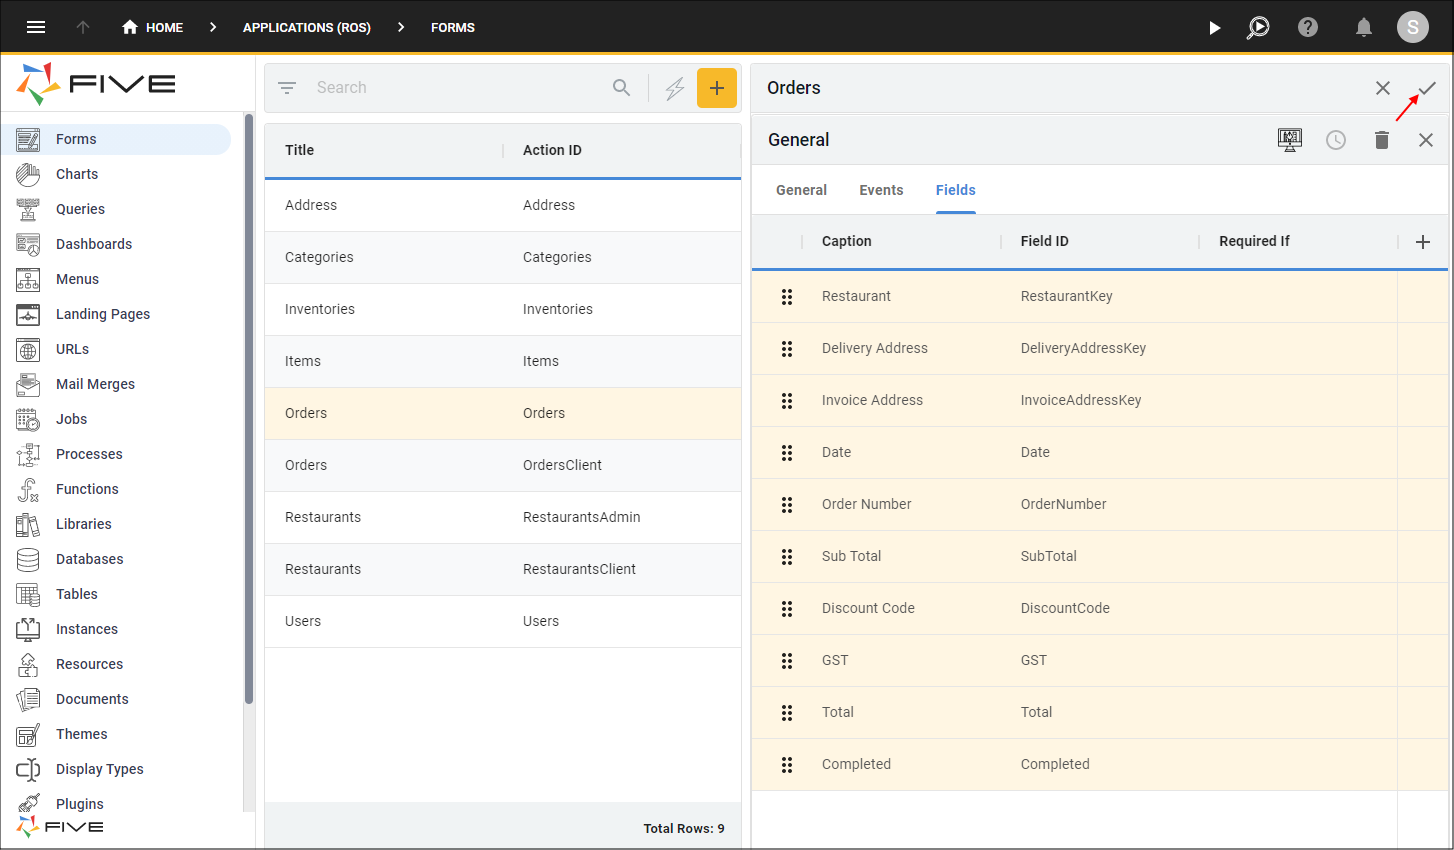
Figure 10 - Save the Orders form
Create the Order Menu Item for the Dispatch Menu
tip
You can create another menu item for the Orders form and give it a different parent. This prevents duplication and when you get to creating the roles, you can assign different permissions dependent on the user login.
1. Select Menus in the menu.
2. Click the Add Item button in the list app bar.
3. Type Orders in the Caption field.
4. Click the Cancel button in the Menu ID field and type 30100Orders.
5. Type 30100 in the Menu ID field.
6. Click the lookup icon in the Action field and select Orders (Form).
7. Click the lookup icon in the Parent menu field and select 30000Dispatch (Dispatch).
8. Click the Save button in the form app bar.
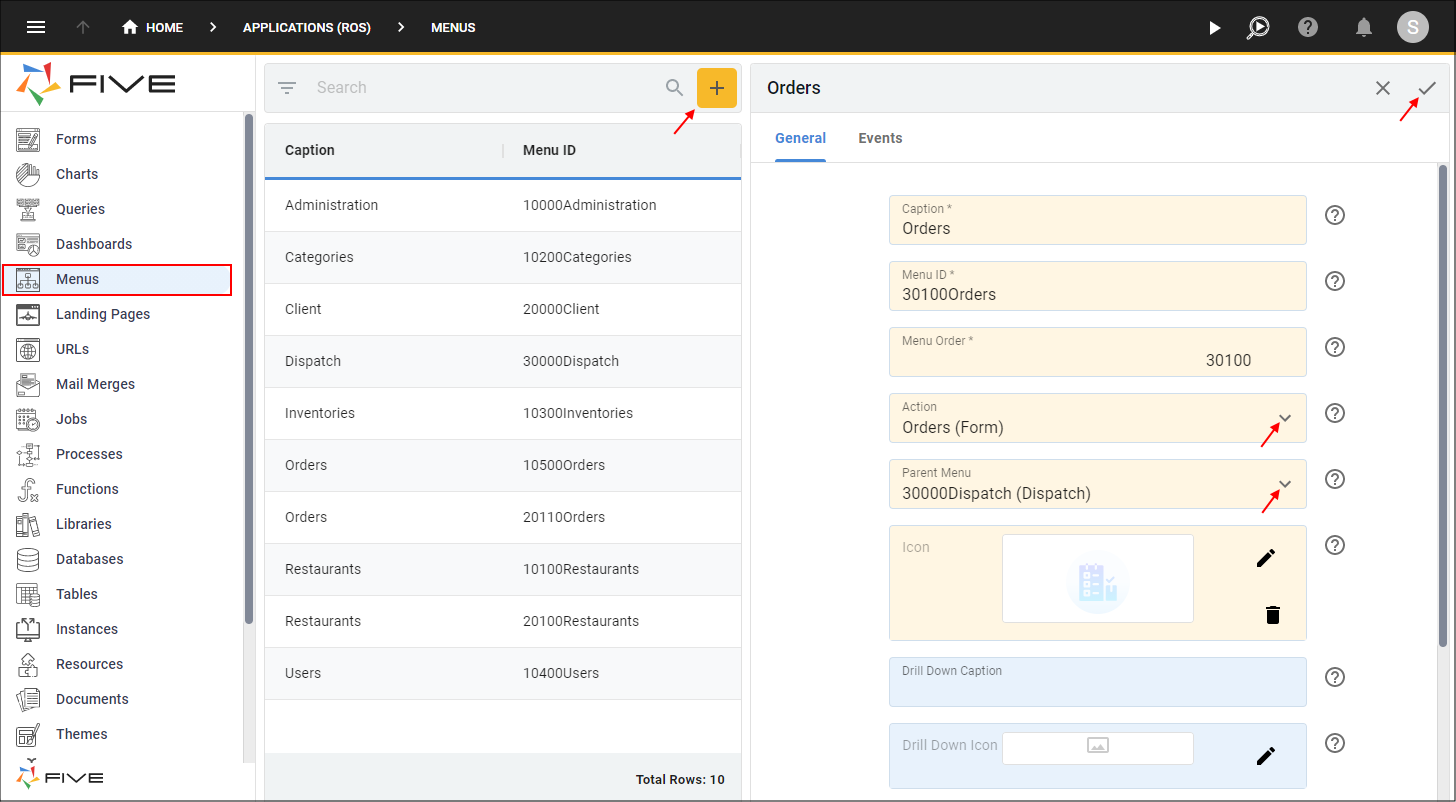
Figure 11 - Orders menu item for the Dispatch menu