Single Table Security
Last updated 30/05/2024
This documentation aims to inform and demonstrate how to use a single table as security to filter records specific to the logged in user. You will see how the Roles form works in conjunction with the Users form in your application. A three table application based around customers will be used to demonstrate this.
We will cover the following:
- Establish the relationships between the tables in the database.
- How to use the iUser table and Users form that Five provides for you.
- How to create a role with an associated menu.
- How to add a security table to automatically filter data.
- How to grant permissions.
- Demonstrate how a logged in user for your end-user application will have the data filtered.
Scenario
A three table database is established that holds the Customer, Product, and iUser tables. The iUser table is injected by Five into your database when you create a multiuser application. This enables you to add users into your application immediately. To create a multiuser application the Multiuser switch on the Application form needs to be turned on.
The Customer table will be used as the security table on the Roles form. Any table can be used as the security table, including the iUser table, as long as it makes logical sense in your database. The iUser table and Customer relationship is calculated by the definition from the User Table, the User Table Key Field, and the User Table Name Field on the Roles form. Effectively Five establishes the relationship between the Customer table and the iUser tables behind the scenes.

Form and Menu Setup
A Customers form sits at the top-level and from here you can drill down to purchase a product. To have the drill down the Customers menu is the parent for the Products menu.
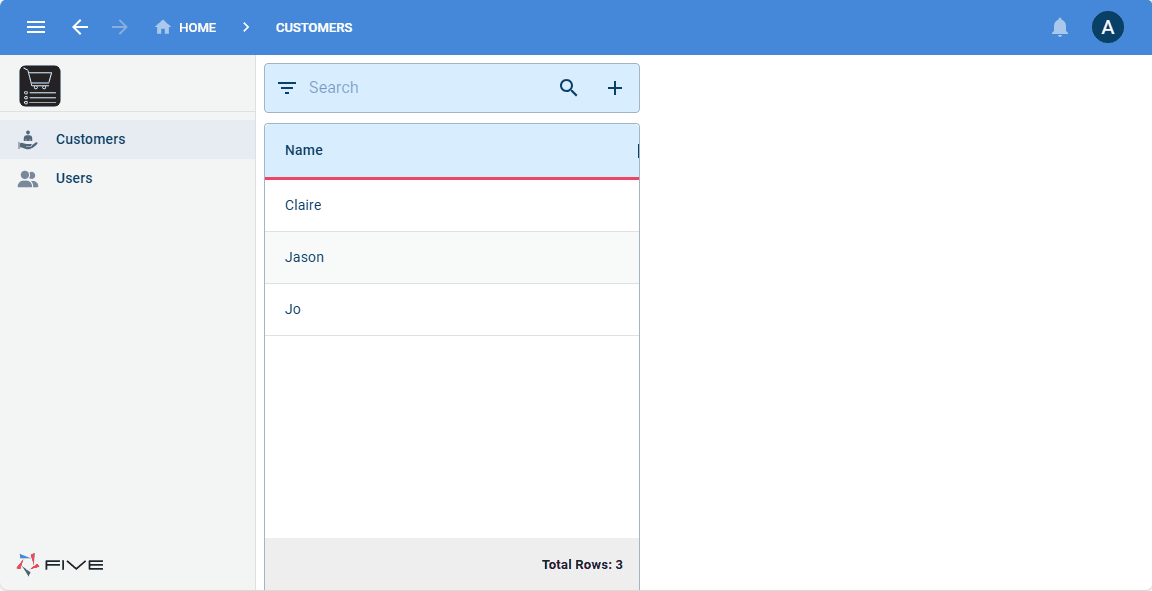
The image below shows when signed in as admin, all the customers are visible in the list, selecting one and clicking the Down button will show their products.
Add a Role with Security
We are going to add a role and associate the Customer menu and apply security. With the Customer menu associated to the role, when a customer logs in the Customer menu will be removed as it is their account, this will make it that they land straight on their products. With security applied to the role, a customer will only see their products.
1. Navigate to the Roles view by selecting Setup in the menu and Roles in the sub-menu.2. Click the Add Item button and give your role a name.
3. Select a menu (Customers) in the Menu field.
4. Select a table (Customer) in the Security Table field.
5. Select a table in the User table (Customer) field.
6. Select a key field