2 - Create Forms
Last updated 13/12/2023
This documentation will explain the forms you will need to create using the new tables you added in the Portfolio application. With these forms, you will see how to position the forms under a parent menu to understand how Five filters the data for you.Navigate to the Form Wizard
1. Click Visual in the menu.2. Click Form Wizard in the sub-menu.
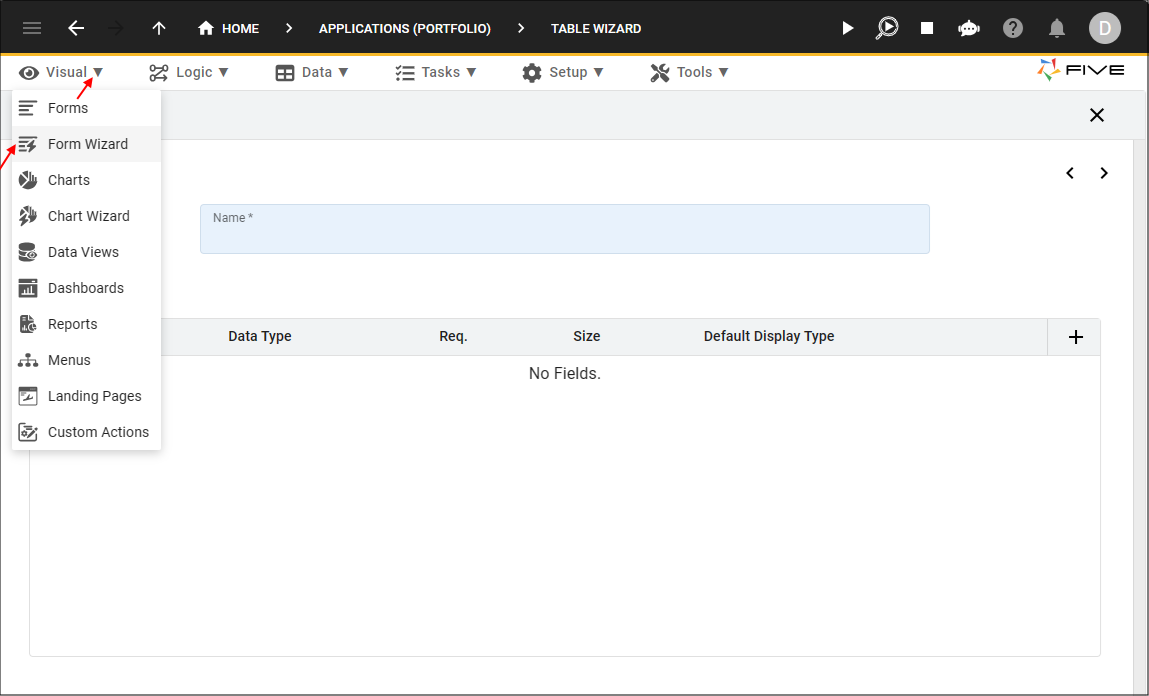
Figure 1 - Form Wizard menu item
Add the Buys Form
1. Click the lookup icon in the Main Data Source field and select Buy.2. Click the lookup icon in the Parent Menu field and select Portfolios.
info
By making Portfolios the parent menu for the Buys record, the Buys menu item will be accessed in the Portfolio application under a selected Portfolio record.
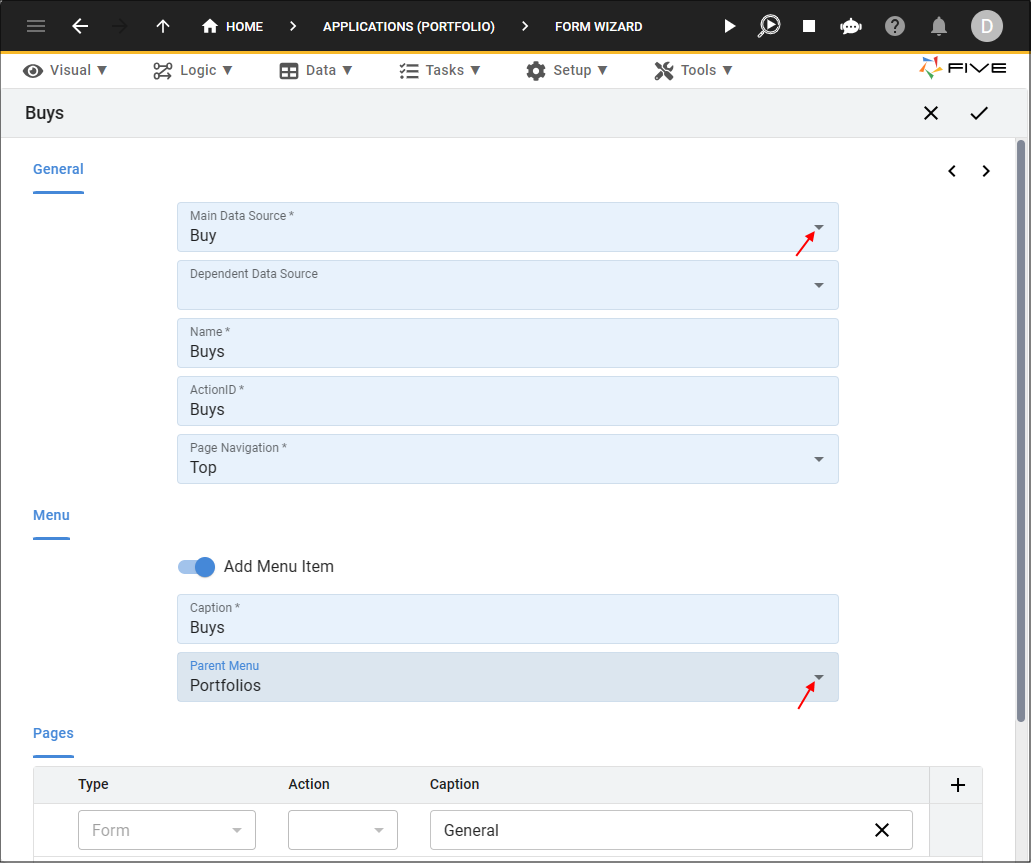
Figure 2 - Add the Buys form
3. Click the Next button.
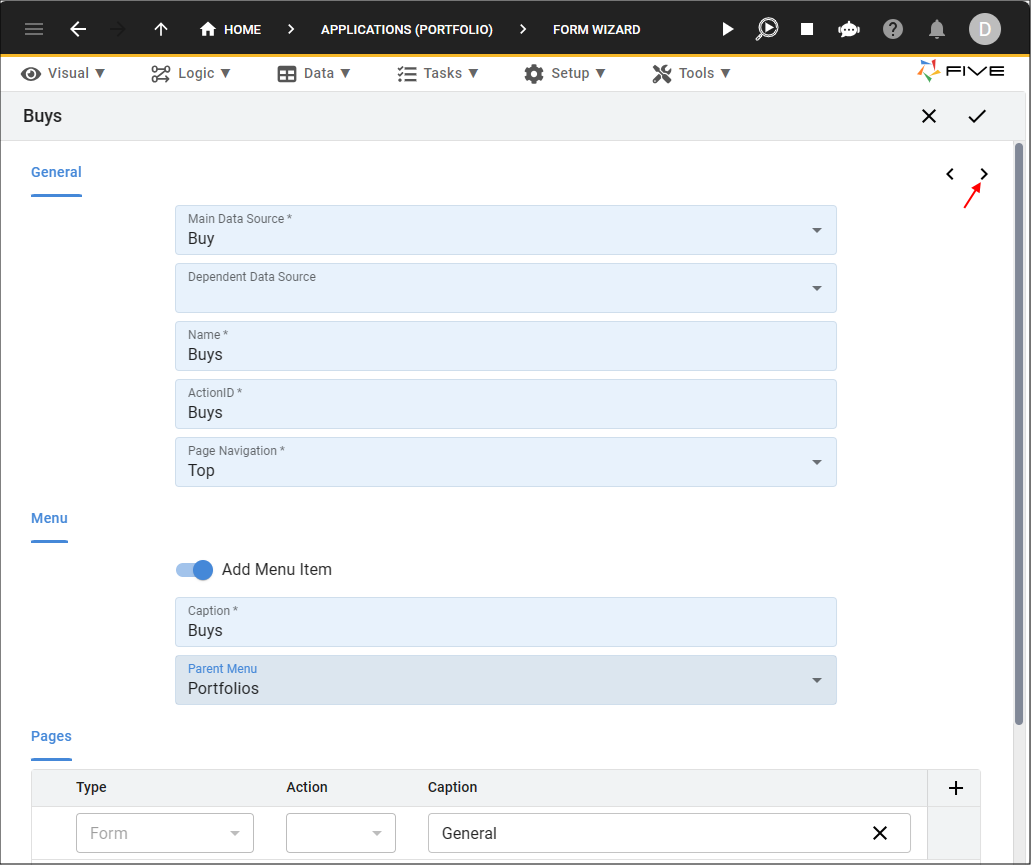
Figure 3 - Next button
4. Click the List checkbox for the StockKey field.
5. Click the List checkbox for the TransactionDate field.
6. Click the List checkbox for the Quantity field.
7. Click the List checkbox for the Total field.
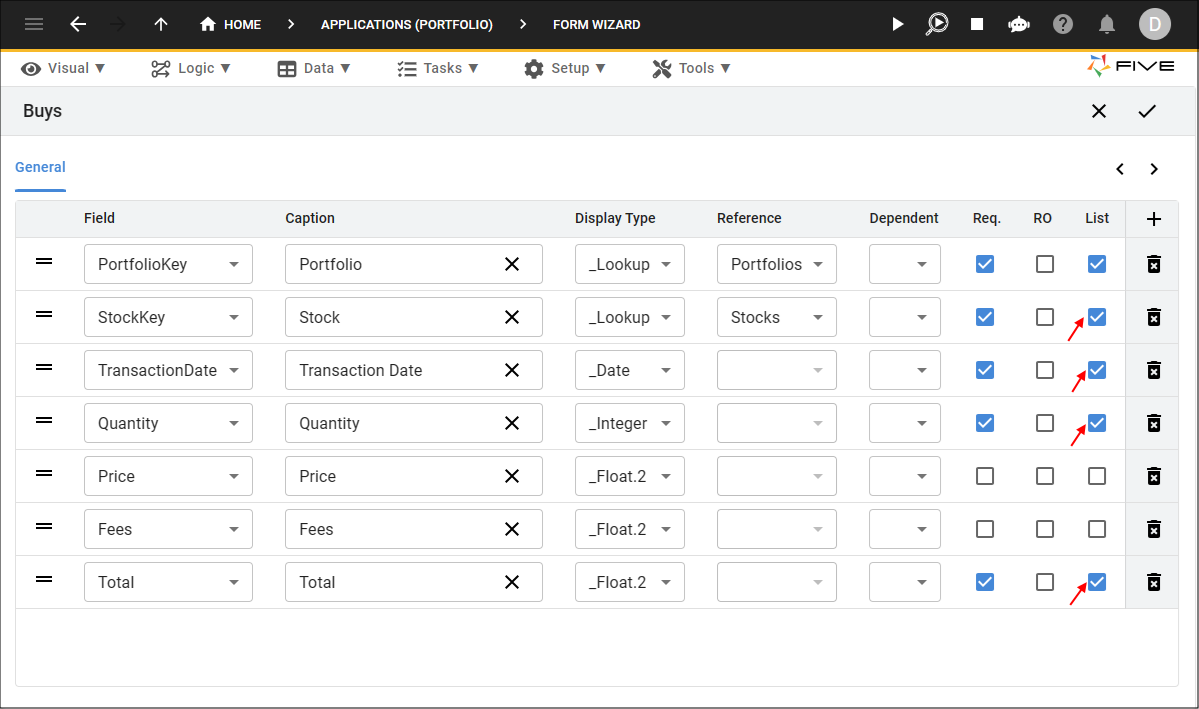
Figure 4 - Buys fields
8. Click the Save button in the Form Wizard app bar.
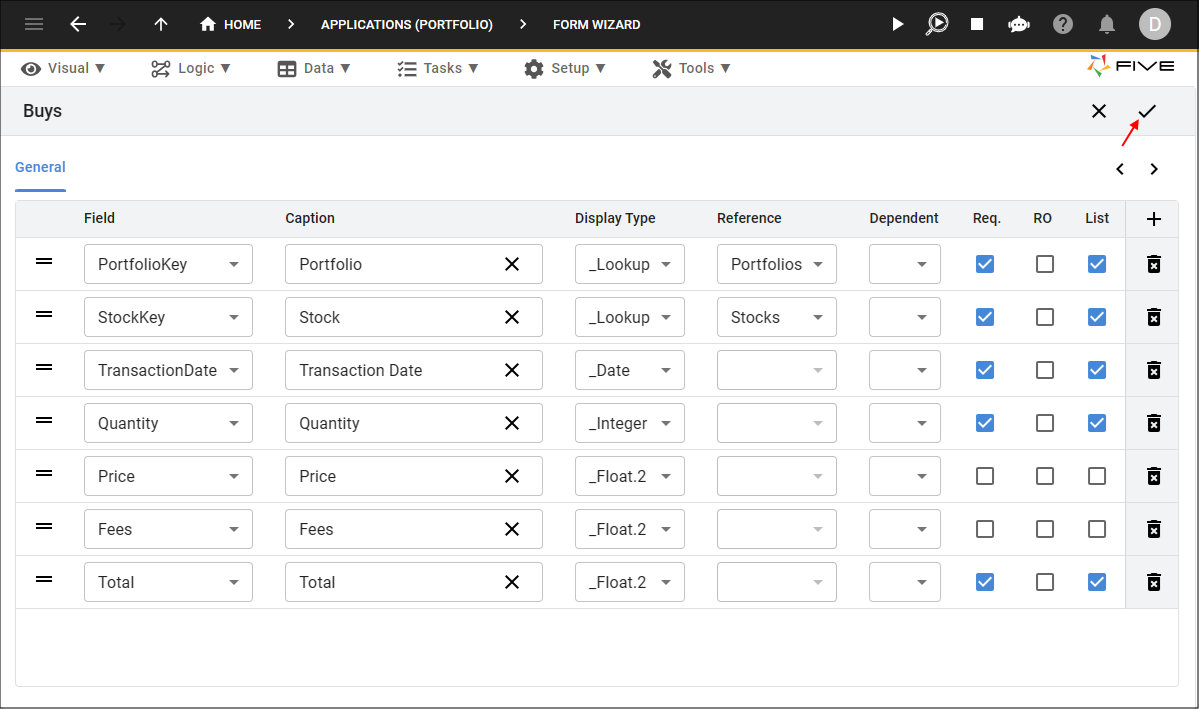
Figure 5 - Save button
Add the Sells Form
tip
You could use Five's copy feature here just the same as we did at the table-level, however, for this particular scenario the Form Wizard will
be quicker as the wizard will create the Sells menu item as well!
1. Click the lookup icon in the Main Data Source field and select Sell.
2. Click the lookup icon in the Parent Menu field and select Portfolios.
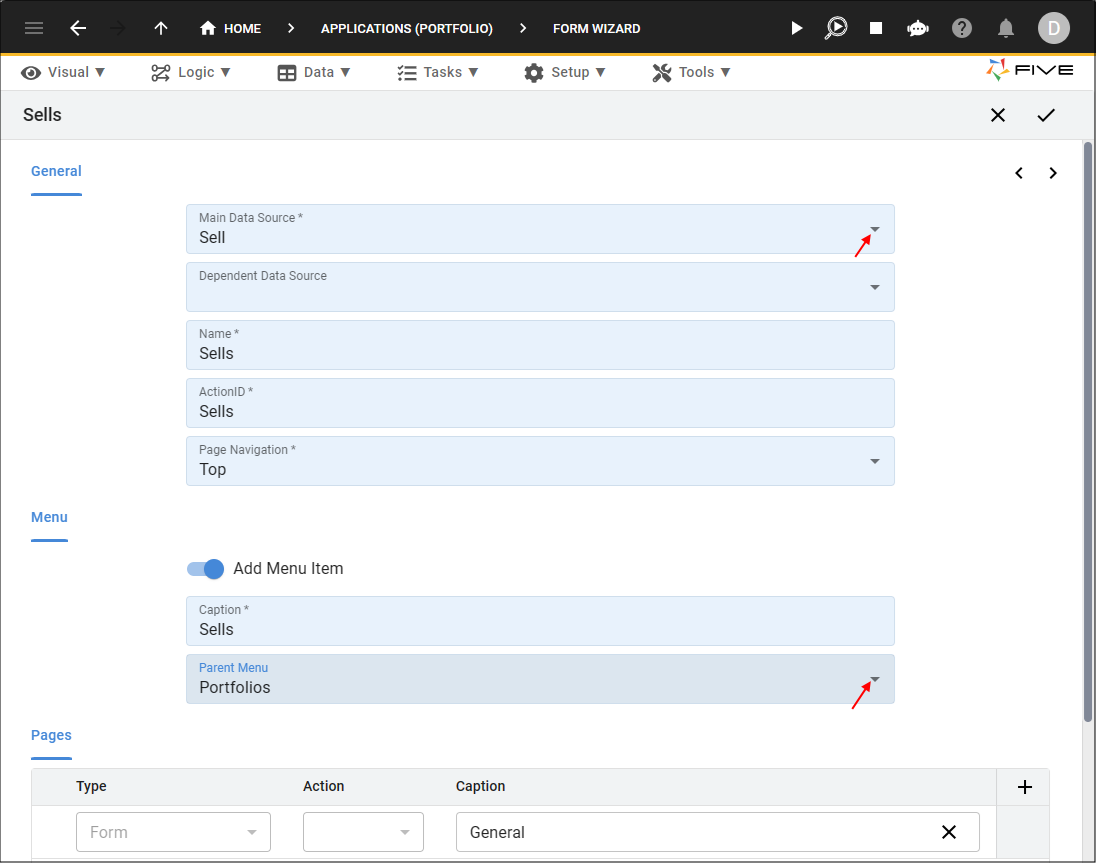
Figure 6 - Add the Sells form
3. Click the Next button.
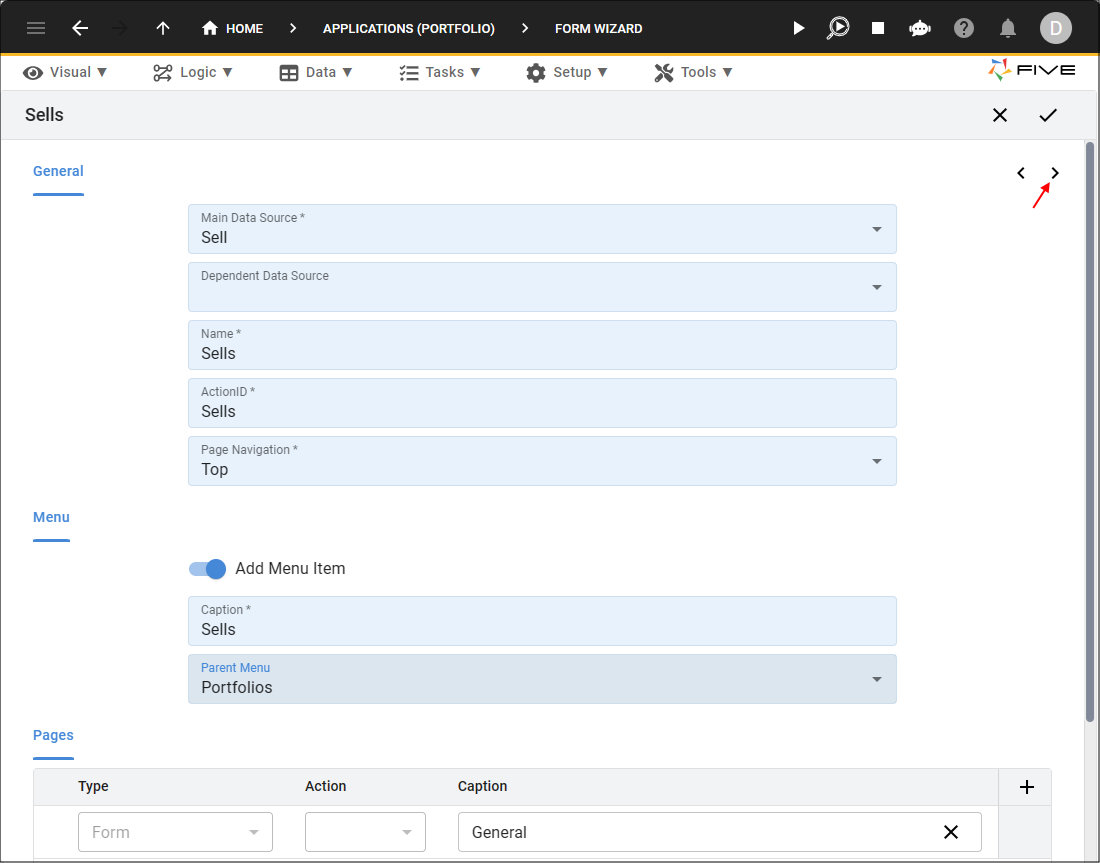
Figure 7 - Next button
4. Click the List checkbox for the StockKey field.
5. Click the List checkbox for the TransactionDate field.
6. Click the List checkbox for the Quantity field.
7. Click the List checkbox for the Total field.
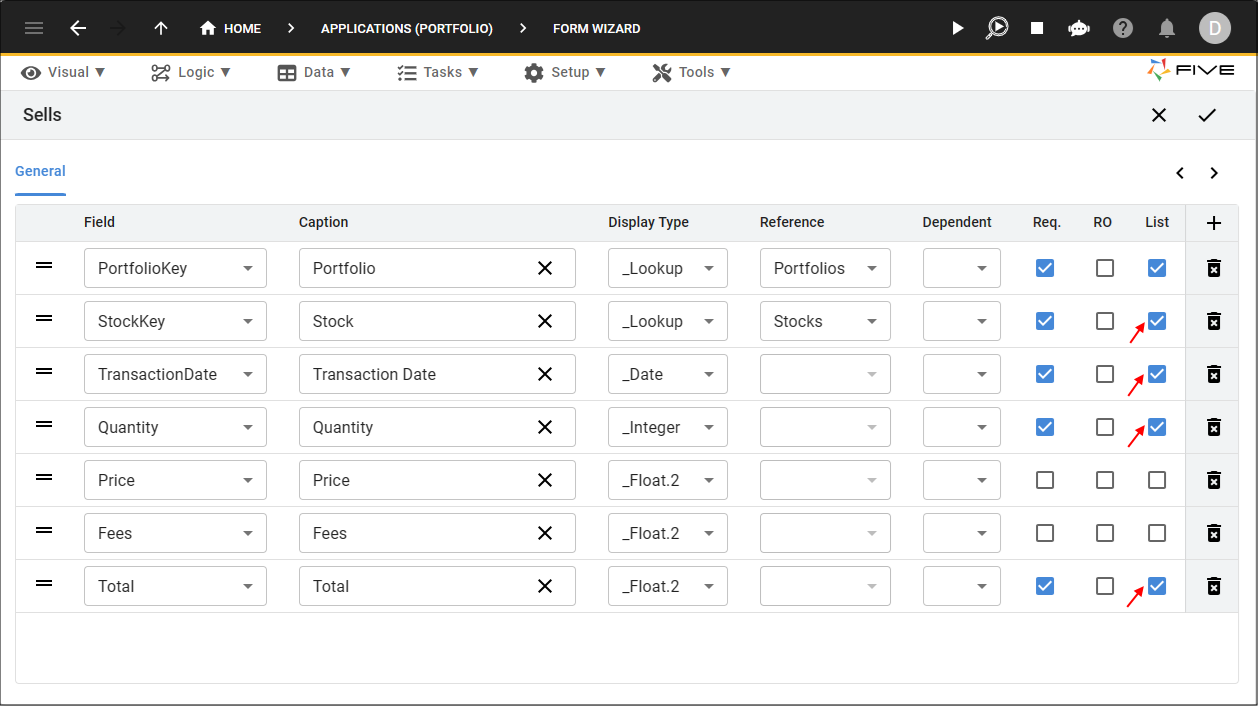
Figure 8 - Sells fields
8. Click the Save button in the Form Wizard app bar.
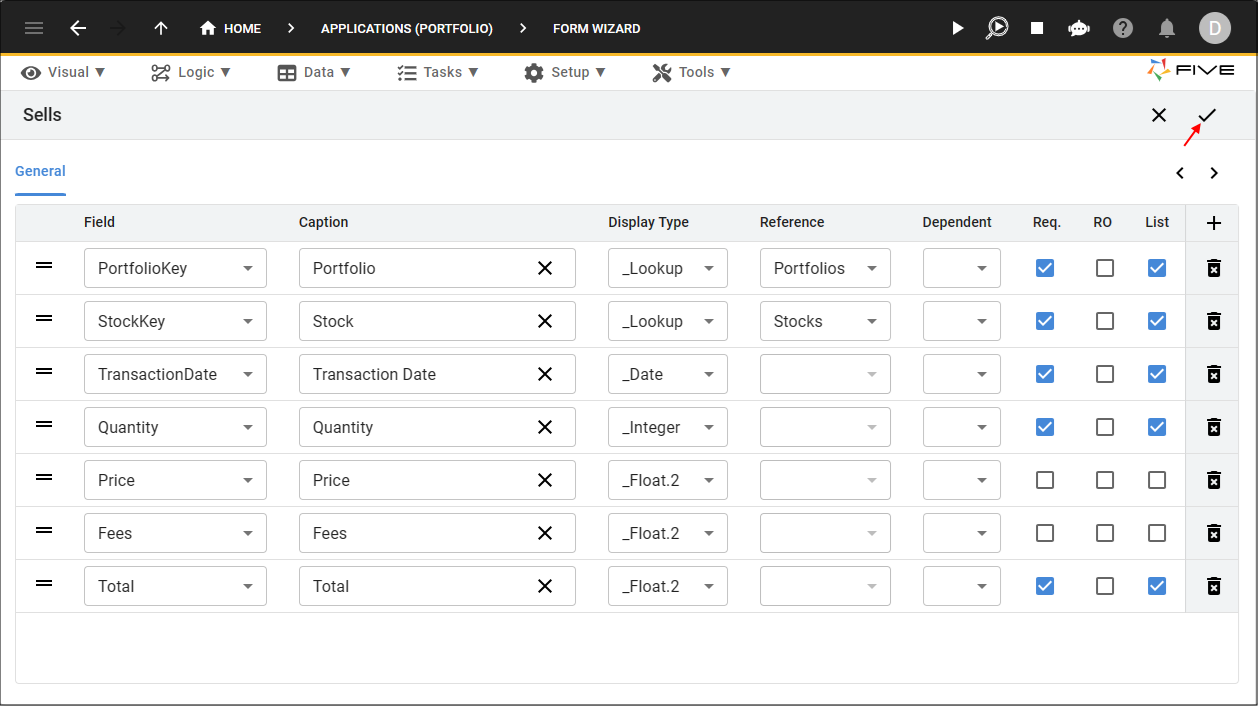
Figure 9 - Save button
Add the Allocations Form
1. Click the lookup icon in the Main Data Source field and select Allocation.2. Click the Add Menu Item switch.
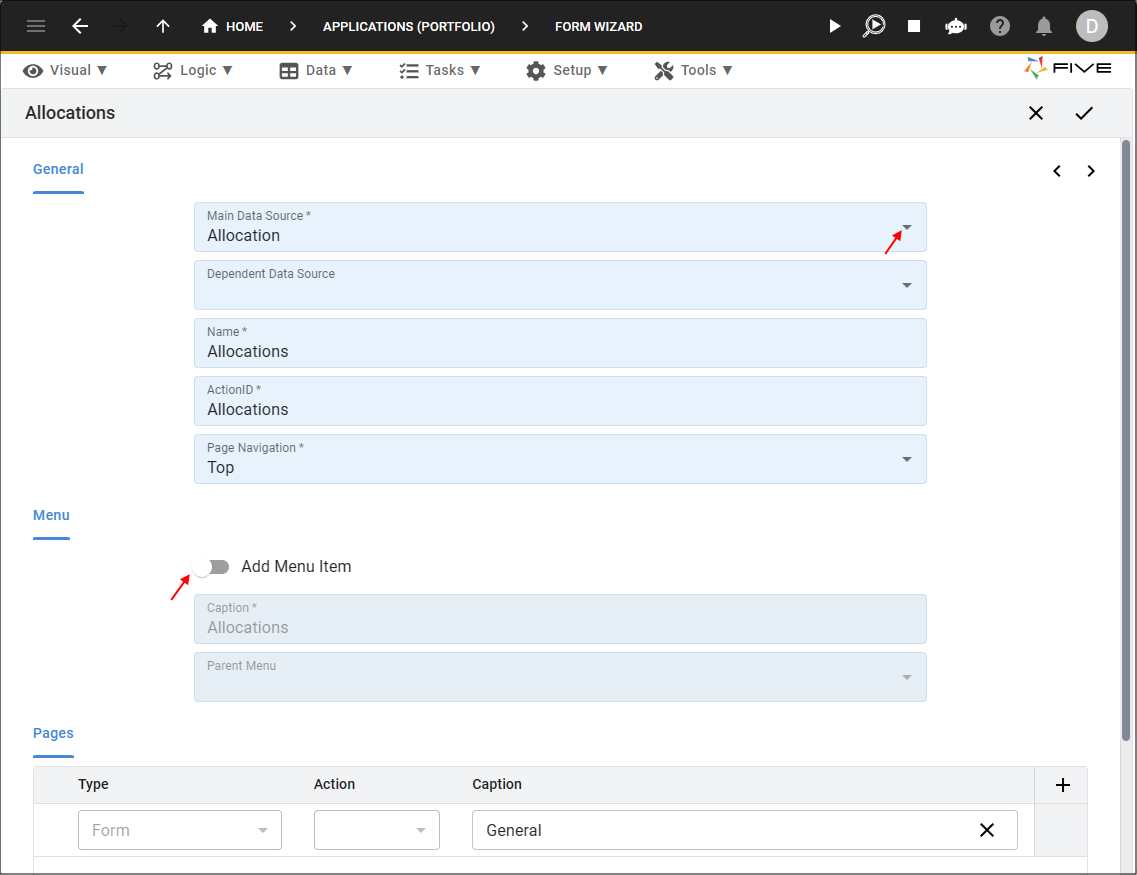
Figure 10 - Add the Allocations form
3. Click the Next button.
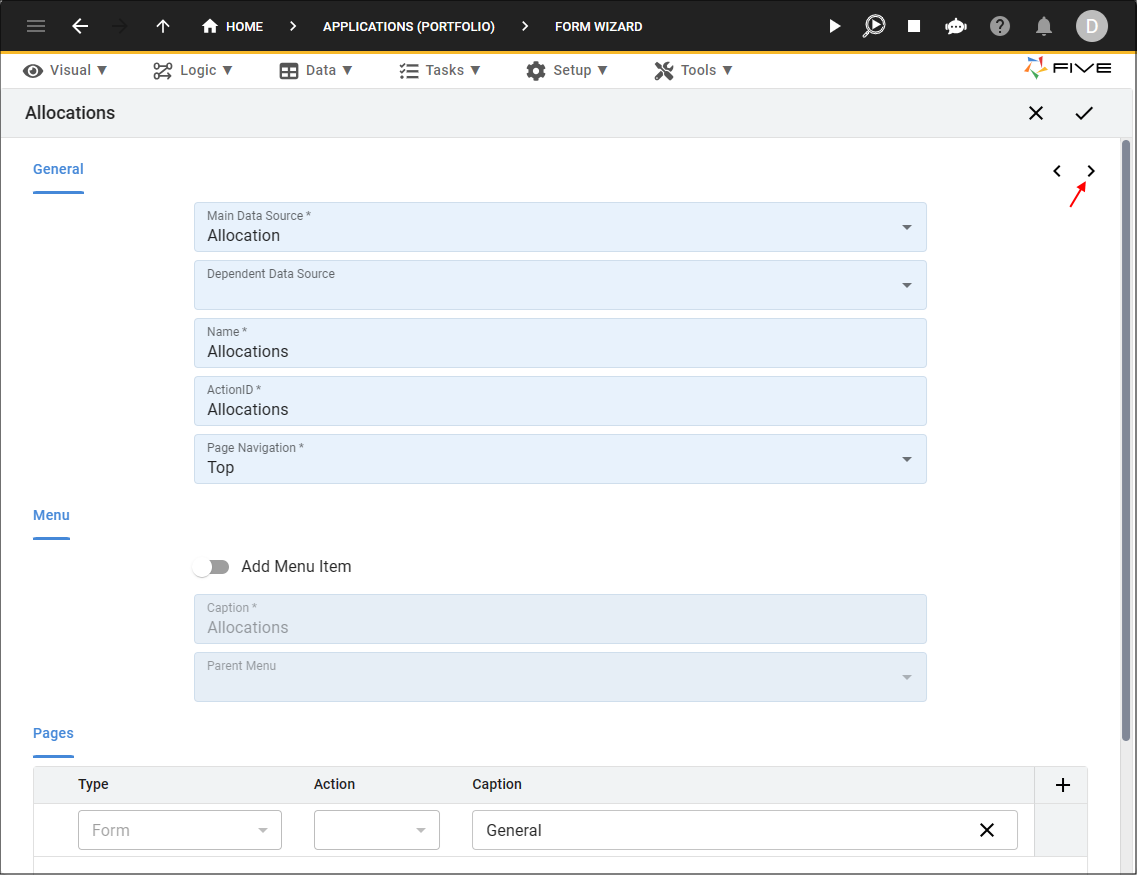
Figure 11 - Next button
4. Click the List checkbox for the BuyKey field.
5. Click the List checkbox for the Quantity field.
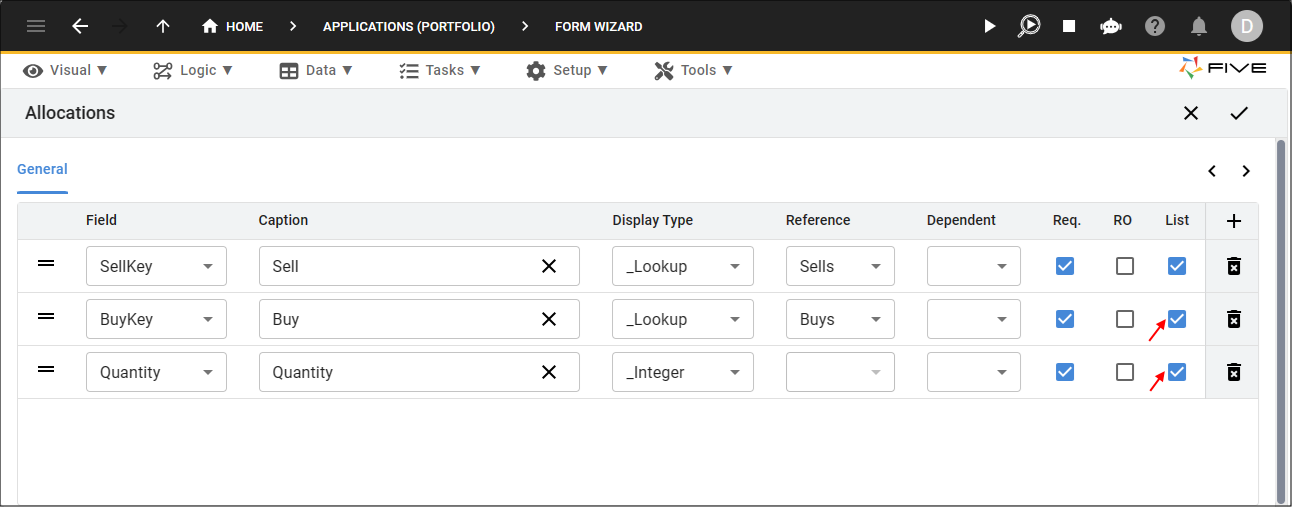
Figure 12 - Allocations fields
6. Click the Save button in the Form Wizard app bar.
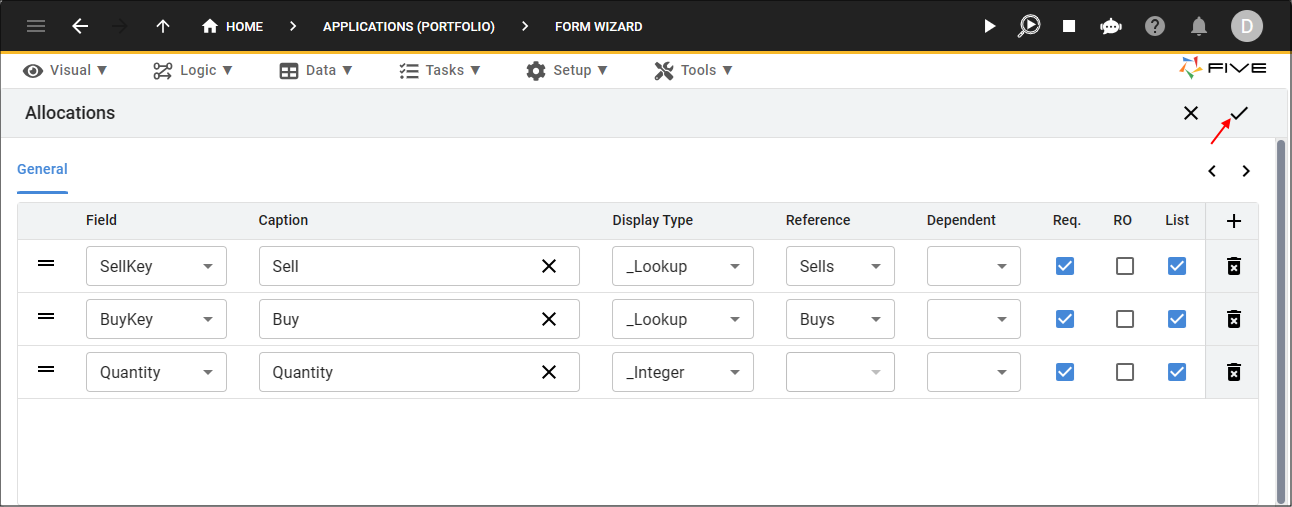
Figure 13 - Save button
Navigate to Forms
info
We will need to go to the Forms view so that we can edit the Sells form to add an Allocations page. This will enable us to allocate
shares for a sale.
1. Click Visual in the menu.
2. Click Forms in the sub-menu.
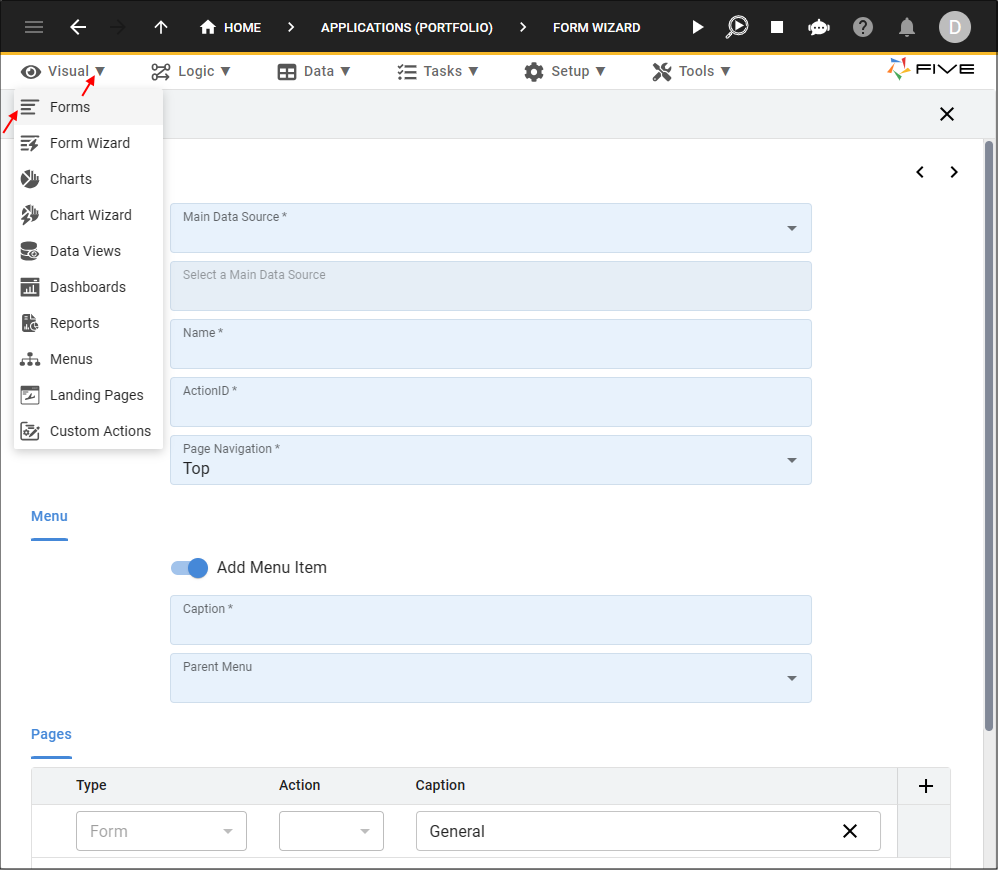
Figure 14 - Forms menu item
Add the Allocations Page to the Sells Form
1. Select the Sells record in the list.2. Either click the Edit button in the form app bar, or click directly in the Page Navigation field.
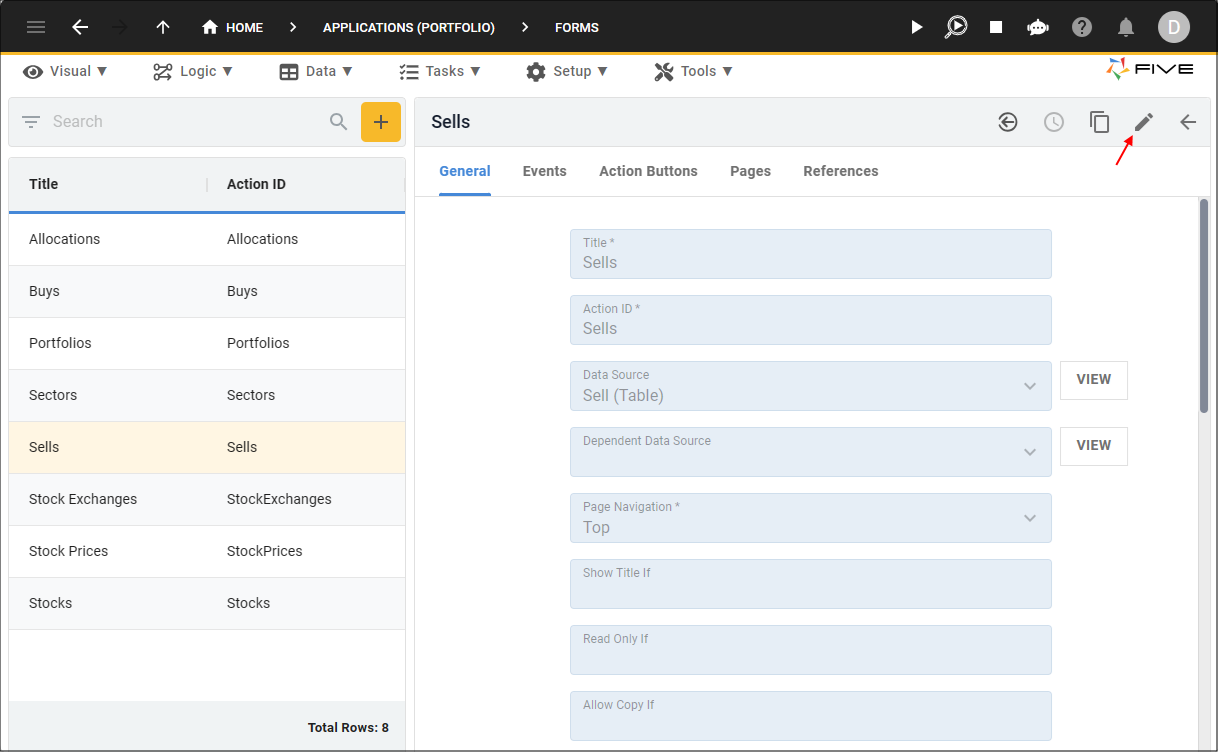
Figure 15 - Edit button
3. Click the lookup icon in the Page Navigation field and select Continuous.
info
Selecting Continuous as our page navigation will give the Sells form a different look from the previous forms we have made. Tabs will not be displayed
across the top of the form, the form will flow in a continuous manner instead.

Figure 16 - Page Navigation field
4. Click the Pages tab.
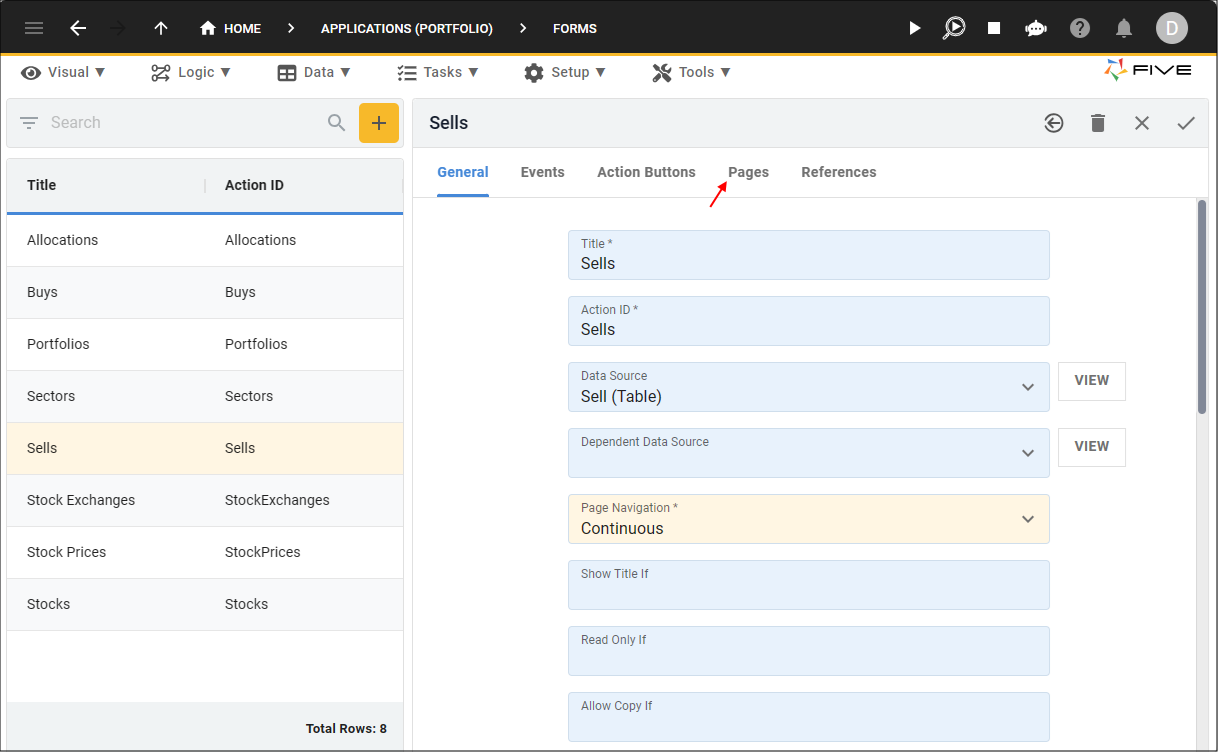
Figure 17 - Pages tab
5. Click the Add Pages button.
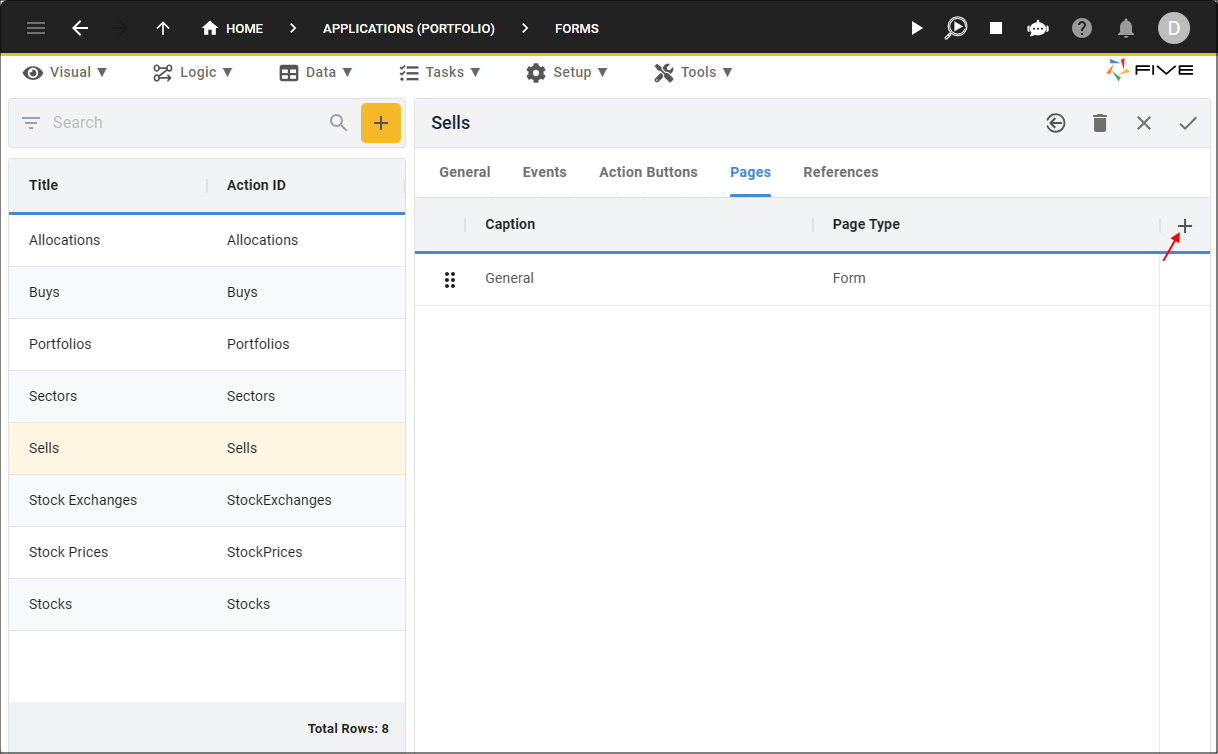
Figure 18 - Add Pages button
6. Type Allocations in the Caption field.
7. Click the lookup icon in the Page Type field and select List.
8. Click the lookup icon in the Action field and select Allocations (Form).
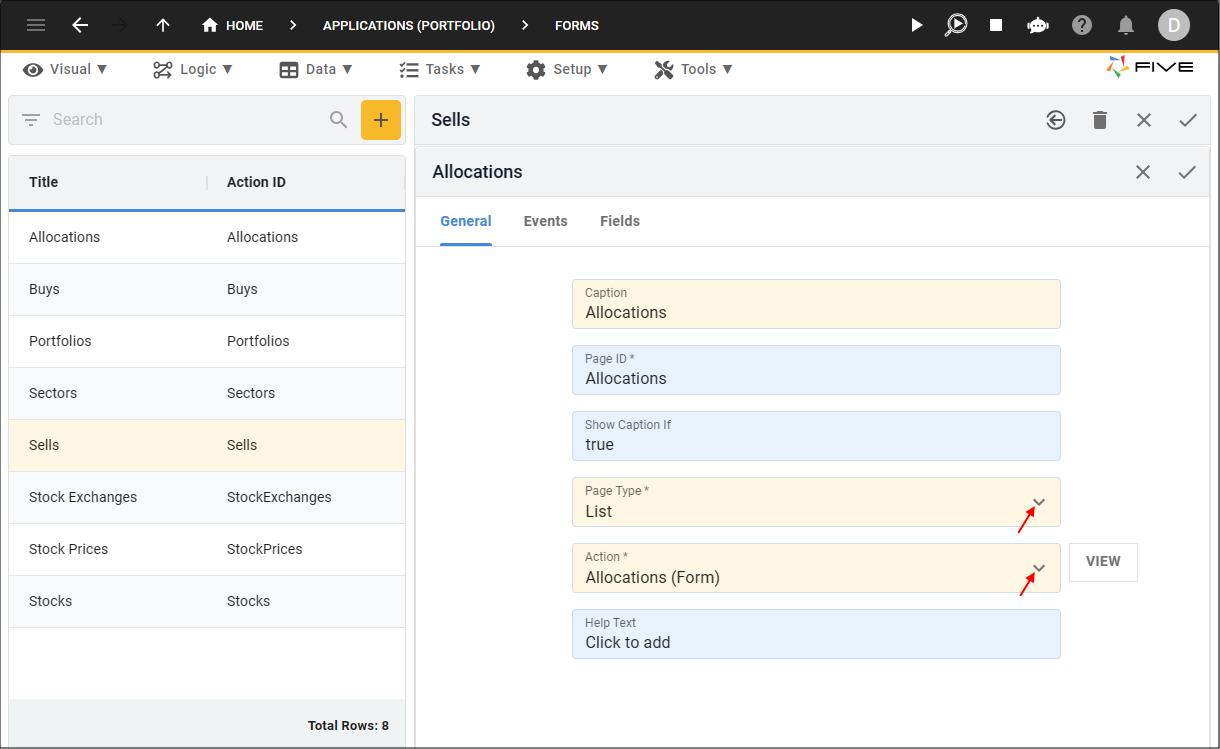
Figure 19 - Add the Allocations page
9. Click the Save button in the form app bar.

Figure 20 - Save button
10. Click the Save button in the form app bar above the list.
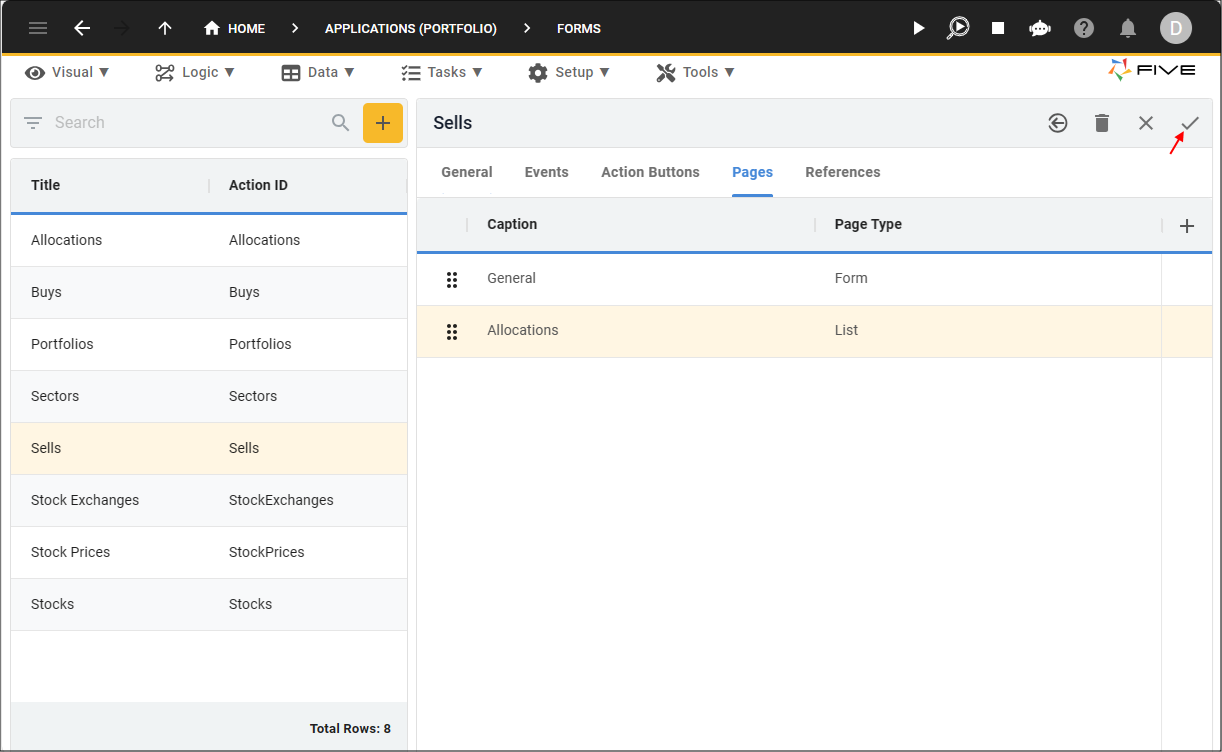
Figure 21 - Save button
Run the Portfolio Application
tip
This is a good time to run the Portfolio Application to see the changes and what we can improve.
1. Click the Run button in Five's toolbar.
caution
If you are working in the Cloud and have not ran the Portfolio application for over an hour, your development deployment may have dropped out. You
will need to click the Remove from Development button and deploy the application again.
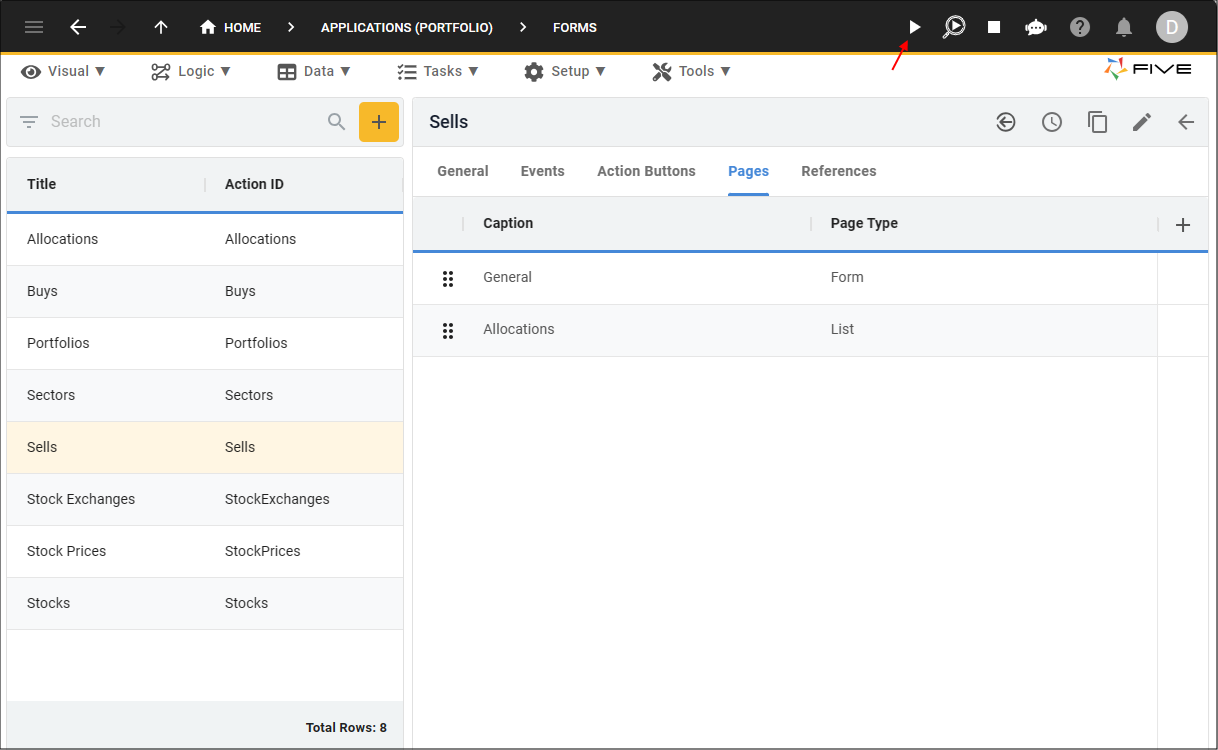
Figure 22 - Run button
Drill Down From the Growth Portfolio Record
1. Select the Growth Portfolio record.2. Click the Down button in the form app bar.
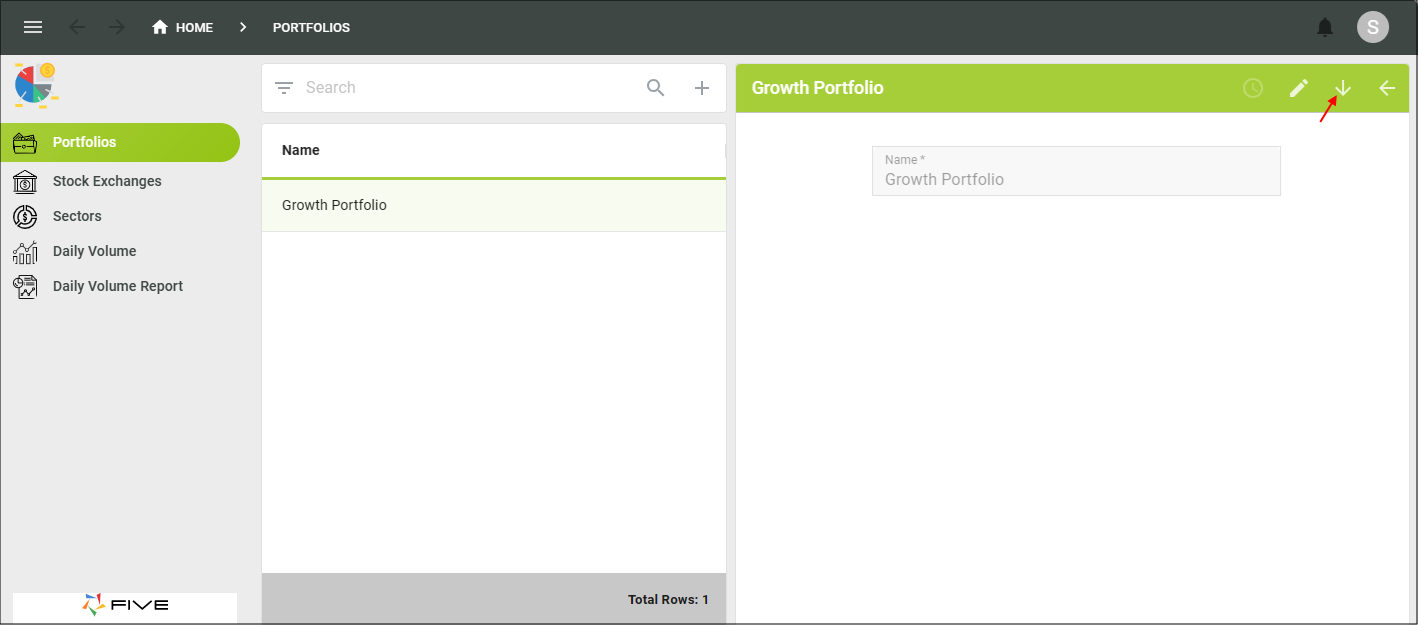
Figure 23 - Down button
tip
You can customize the Down button!
Test the Buys Form
info
You will be positioned on the Buys form. Lets add some test data and see what we can improve!
As the Portfolios menu was set as the parent for the Buys and Sells menus, you will only see the data related to the selected Portfolio record when drilling down.
As the Portfolios menu was set as the parent for the Buys and Sells menus, you will only see the data related to the selected Portfolio record when drilling down.
1. Click the Add Item button.
2. Click the lookup icon in the Stock field and select AEI.
3. Click the calendar icon in the Transaction Date field and select today's date.
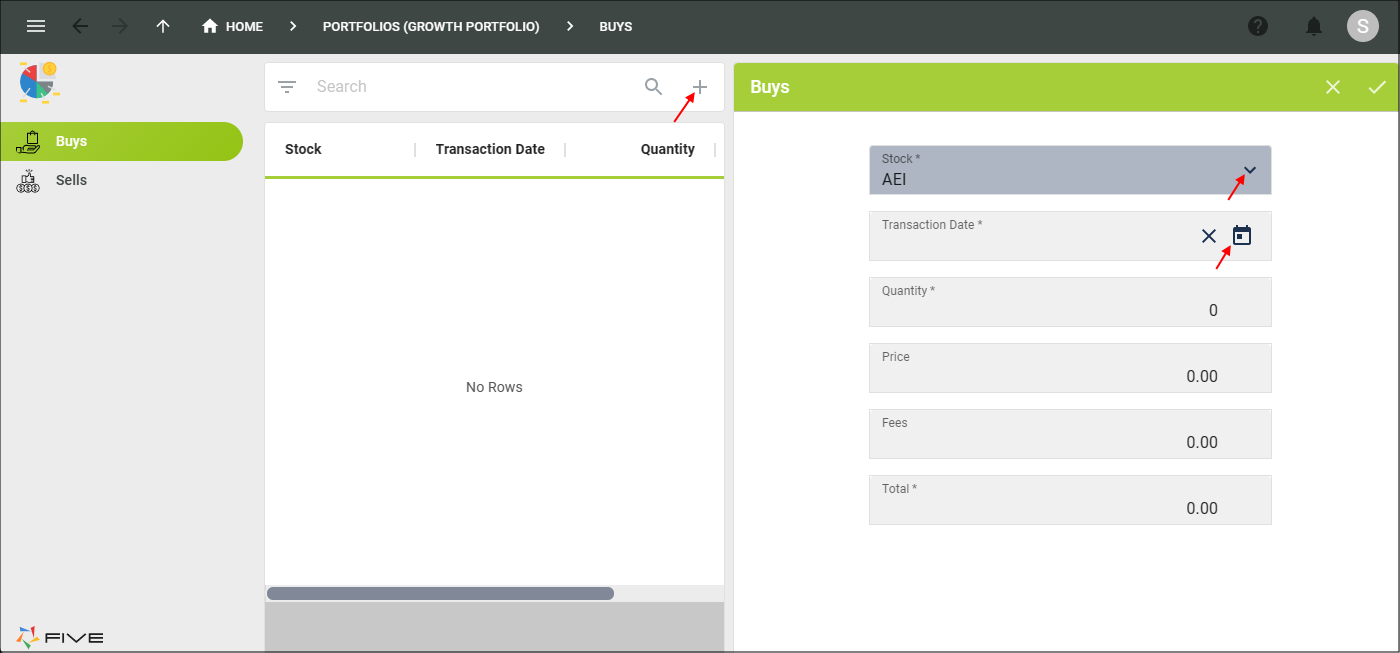
Figure 24 - Add a Buys record
4. Click the OK button.
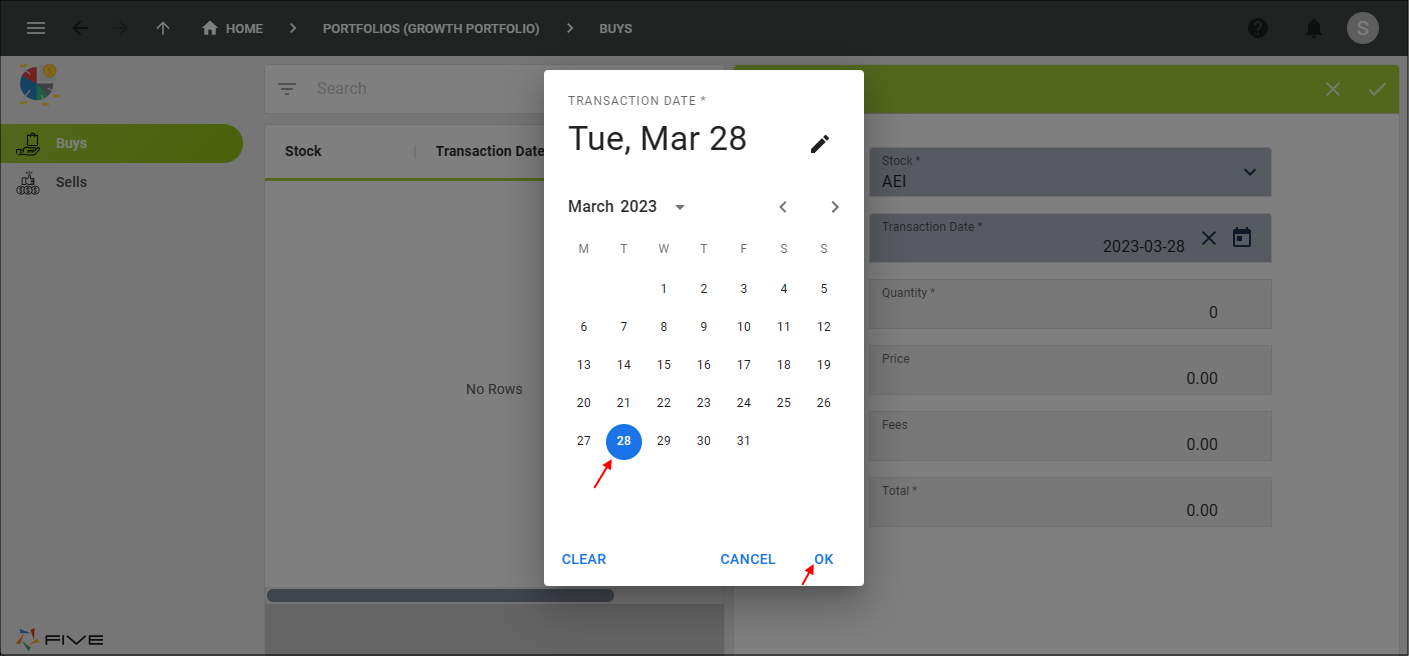
Figure 25 - Select current date
5. Type 100 in the Quantity field.
6. Type .50 in the Price field.
7. Type 10.00 in the Fees field, press Tab.
Problem
The Total field does not automatically calculate the total, this is not ideal! In Five, we can add a function to fix this.

Figure 26 - Total field
8. Click the Cancel button in the form app bar.

Figure 27 - Cancel button
9. Close the browser tab and return to Five.