8 - Add a Server-Side Function
Last updated 18/12/2023
To date we have just been using client-side functions. This documentation is to demonstrate how to add a server-side function.There are two types of events in Five:
- On Event - executes on the client
- Do Event - executes on the server
When we ran the Portfolio application, we saw that we could save a Sell record without the Quantity fields having equal values. We will add a function and attach it to the Do Complete event on the Sells form. The function will execute when the Save button is clicked on the Sells form and will verify that the single or multiple allocation records equal the quantity value on the Sells form before committing to the database.
This functionality can be performed on the client-side using the On Complete event, however, it would require extra code as Five assembles the data from all the forms into a single transaction array, this simplifies your code as you can iterate over all forms in one array. Essentially, when the Save button is clicked it sends the current data on the forms to the backend, and the backend will call the function with the transactions being saved.
When in Five's Code Editor you will be interacting with Five's API. In the
CheckValidSell()
function you will be using the following functions and properties:
Transactions
- is an array of transactions sent to the server containing all the records that the user either
wants to create, update, or delete. Each transaction will contain an Action ID
for the action it is manipulating.
- is a function used on the
Five
object that returns an error with an optional message and notification parameters.
- is a function used on the
Five
object that returns a indicating success.
Navigate to the Code Editor
1. Click Logic in the menu.2. Click Code Editor in the sub-menu.
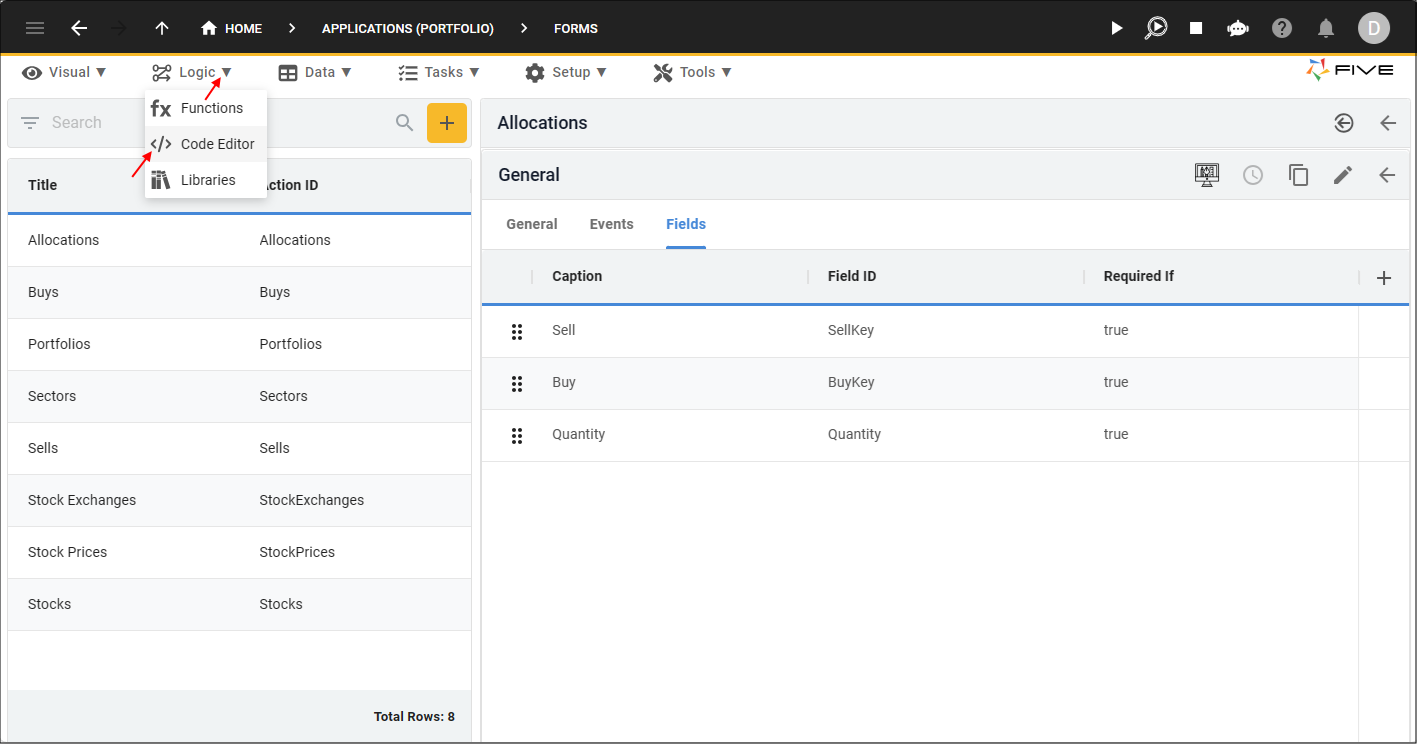
Figure 1 - Code Editor menu item
Add the CheckValidSell Function
1. Click the Add New Code button.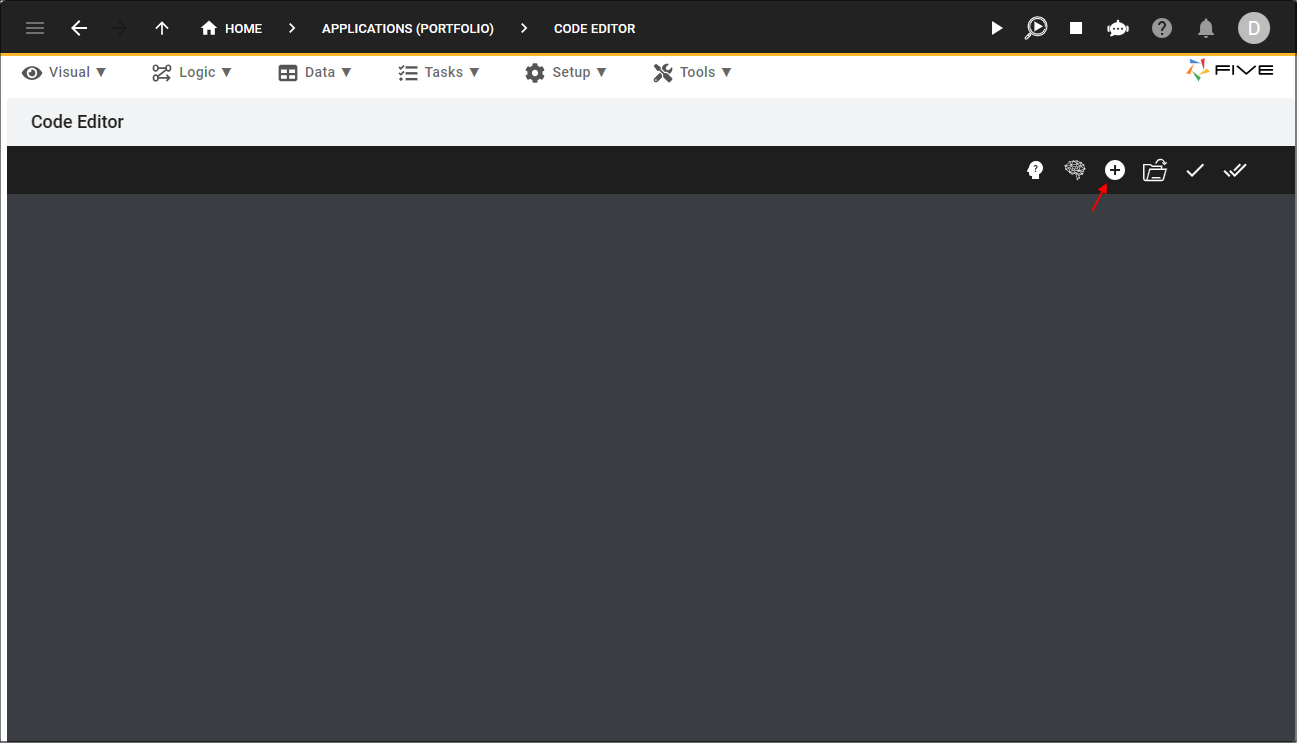
Figure 2 - Add New Code button
2. Type CheckValidSell in the Function ID field.
3. Click the lookup icon in the Language field and select TypeScript.
4. Click the OKAY button
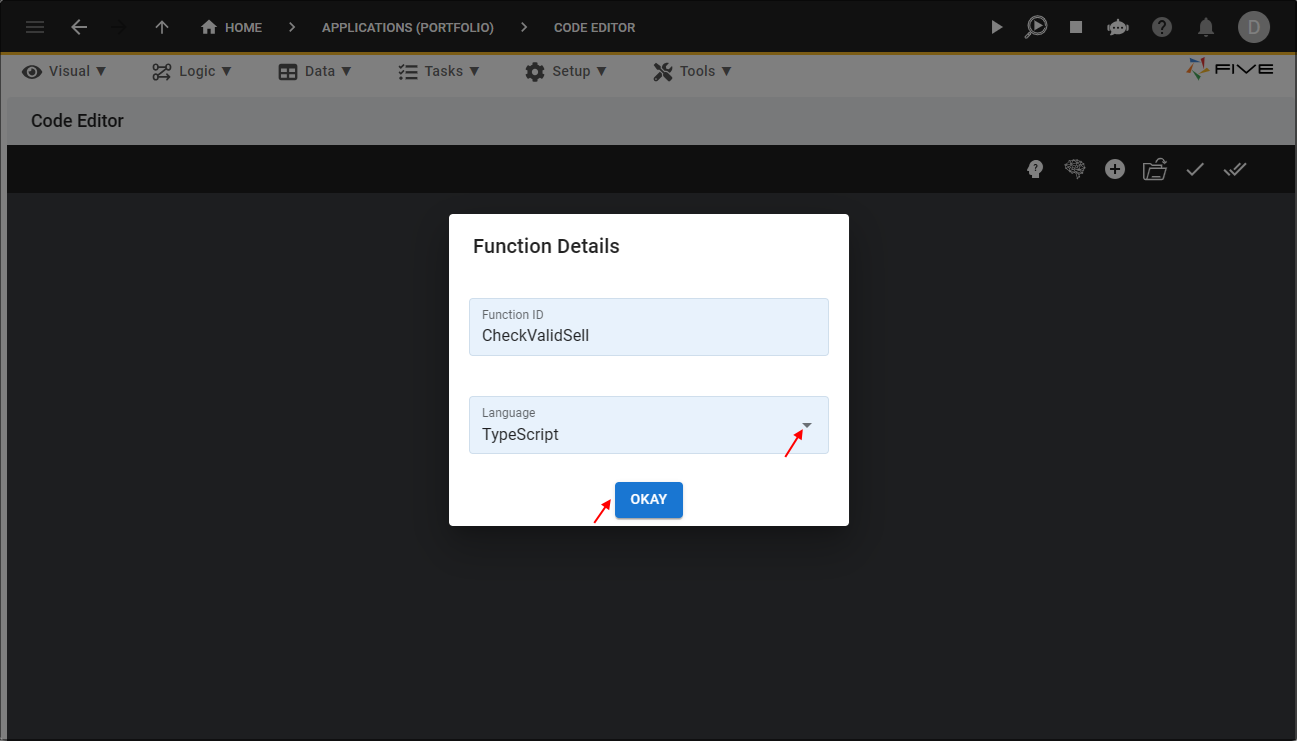
Figure 3 - Add the CheckValidSell function
5. Click the Copy button on the below code block.

CheckValidSell
function CheckValidSell(five: Five, context: any, result: FiveError) : FiveError {

    if (!context.Transactions) {
        return five.success(result);
    }

    let soldQuantity: number = 0;
    let totalAllocated: number = 0;

    for (let i = 0; i < context.Transactions.length; i++) {
        const record = context.Transactions[i];
        if (record.ActionID === 'Sells') {
            soldQuantity = Number(record.Values.Quantity);
        } else if (record.ActionID === 'Allocations') {
            totalAllocated = totalAllocated + Number(record.Values.Quantity);
        }
    }

    if (totalAllocated !== soldQuantity) {
        return five.createError(result, 'Total allocations do not match sold quantity');
    }

    return five.success(result);
}
6. Paste the code block over the template in the Code Editor.
7. Click the Save Current Tab button.
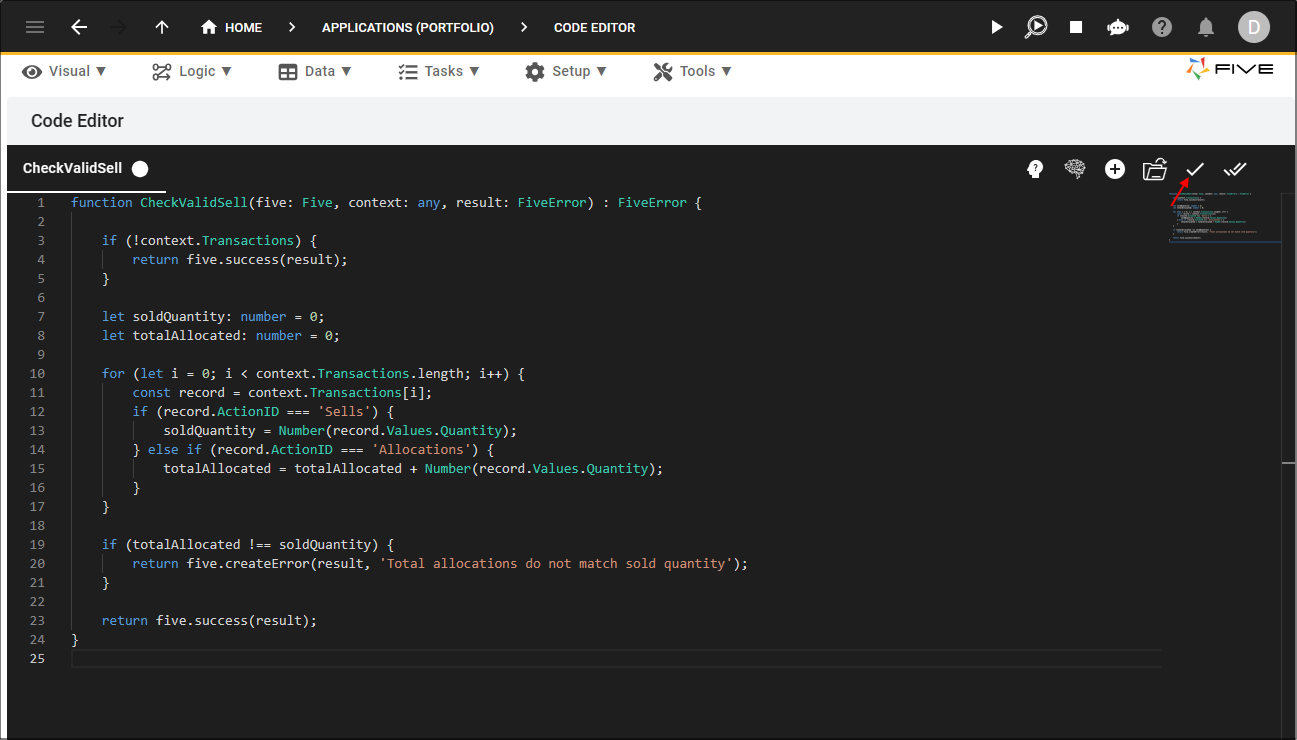
Figure 4 - Save Current Tab button
Navigate to Forms
info
The CheckValidSell function needs to be attached to the Do Complete event on the Sells form. When the Save button is clicked on the Sells form, the current data on the Sells and Allocations forms
are sent to the server, and the backend will call the function with the transactions being saved. If the Quantity fields do not match, an error will be returned and the data will not be
saved in the database.
1. Click Visual in the menu.
2. Click Forms in the sub-menu.
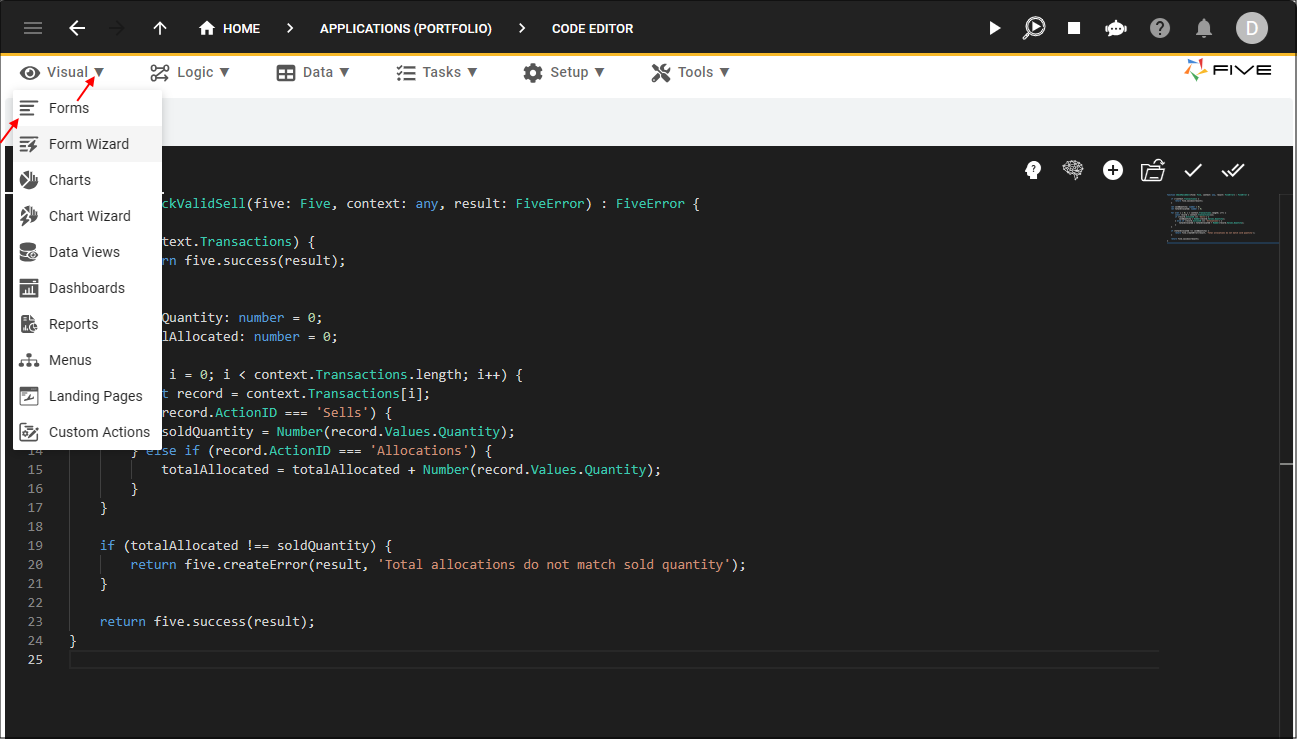
Figure 5 - Forms menu item
Attach the CheckValidSell Function
Path: Sells form > Do Complete event1. Select the Sells record in the list.
2. Click the Events tab.
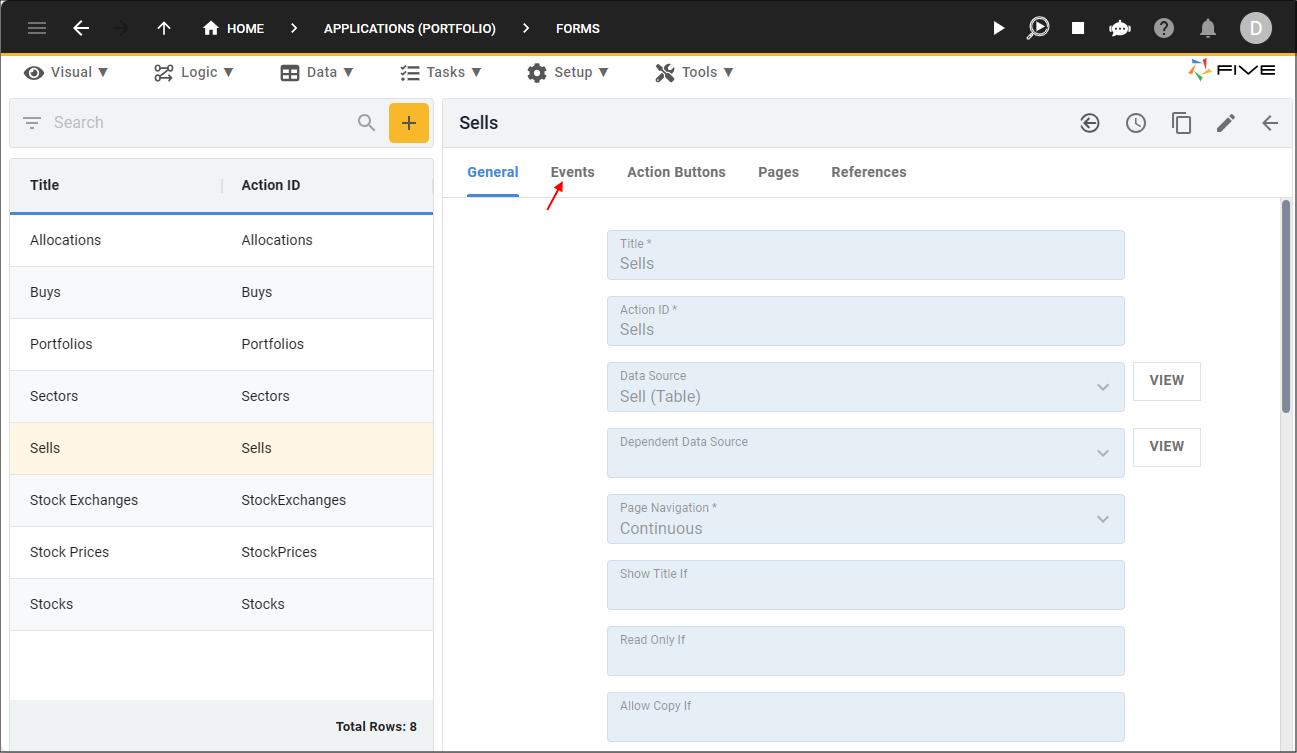
Figure 6 - Events tab
3. Either click the Edit button in the form app bar, or click directly in the Do Complete field.
4. Click the lookup icon in the Do Complete field and select CheckValidSell.
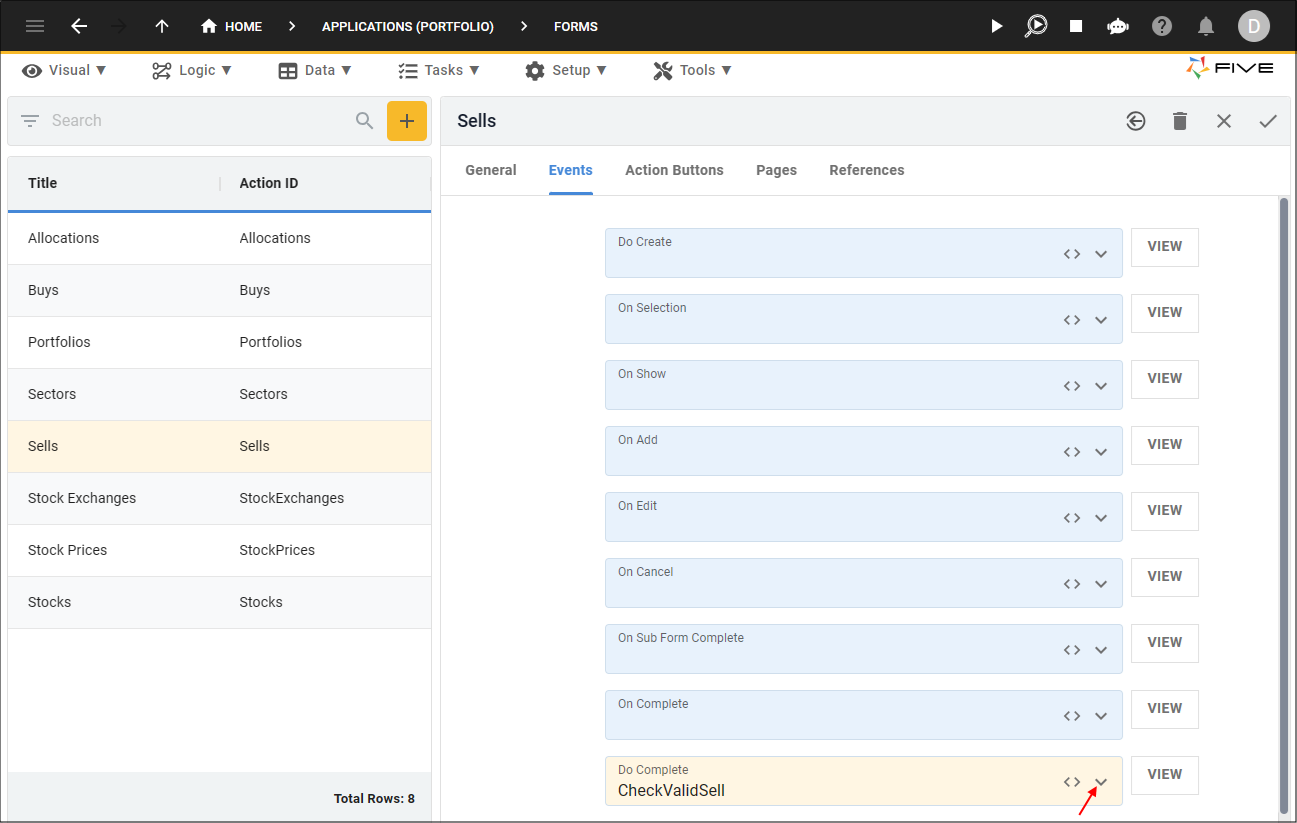
Figure 7 - Do Complete field
5. Click the Save button in the form app bar.
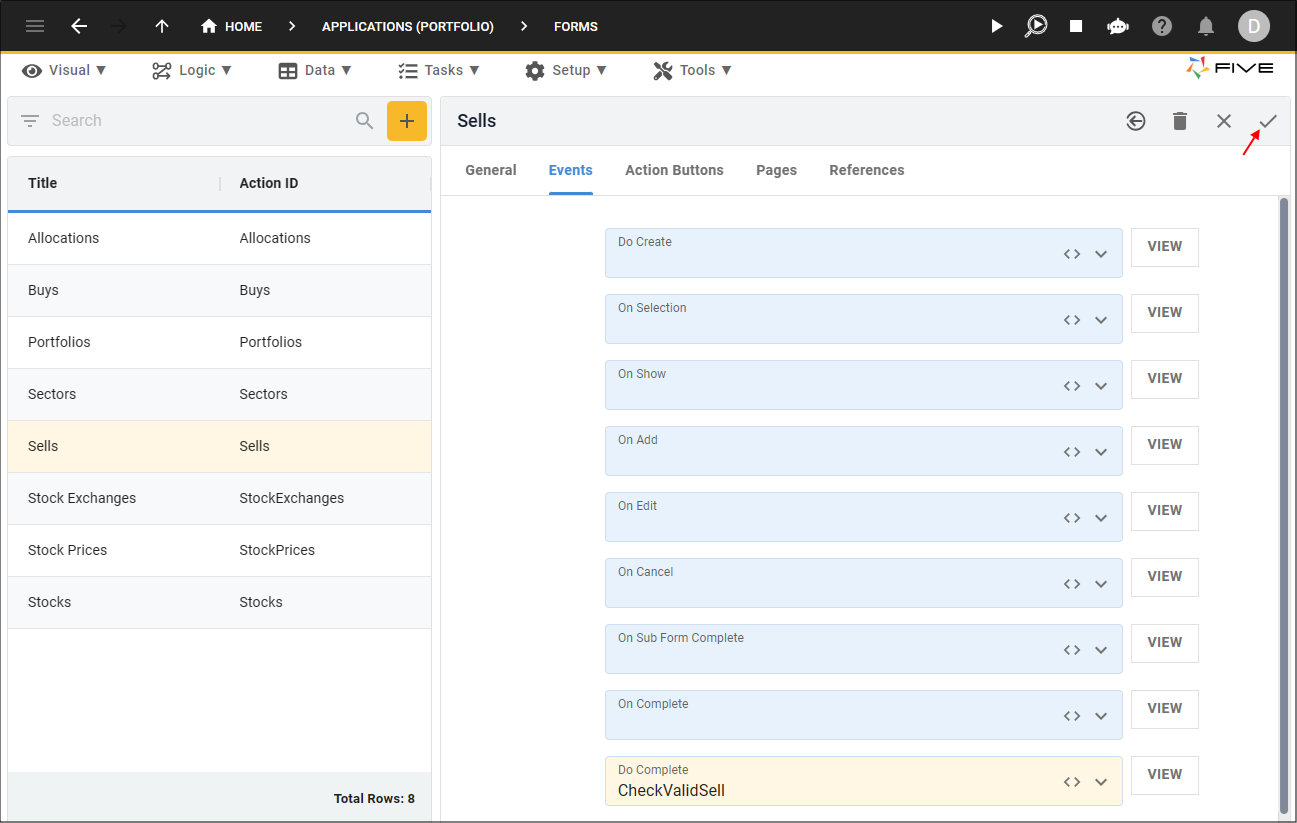
Figure 8 - Save button
Run the Portfolio Application
tip
This is a good time to run the Portfolio application to see how the CheckValidSell function works!
1. Click the Run button in Five's toolbar.
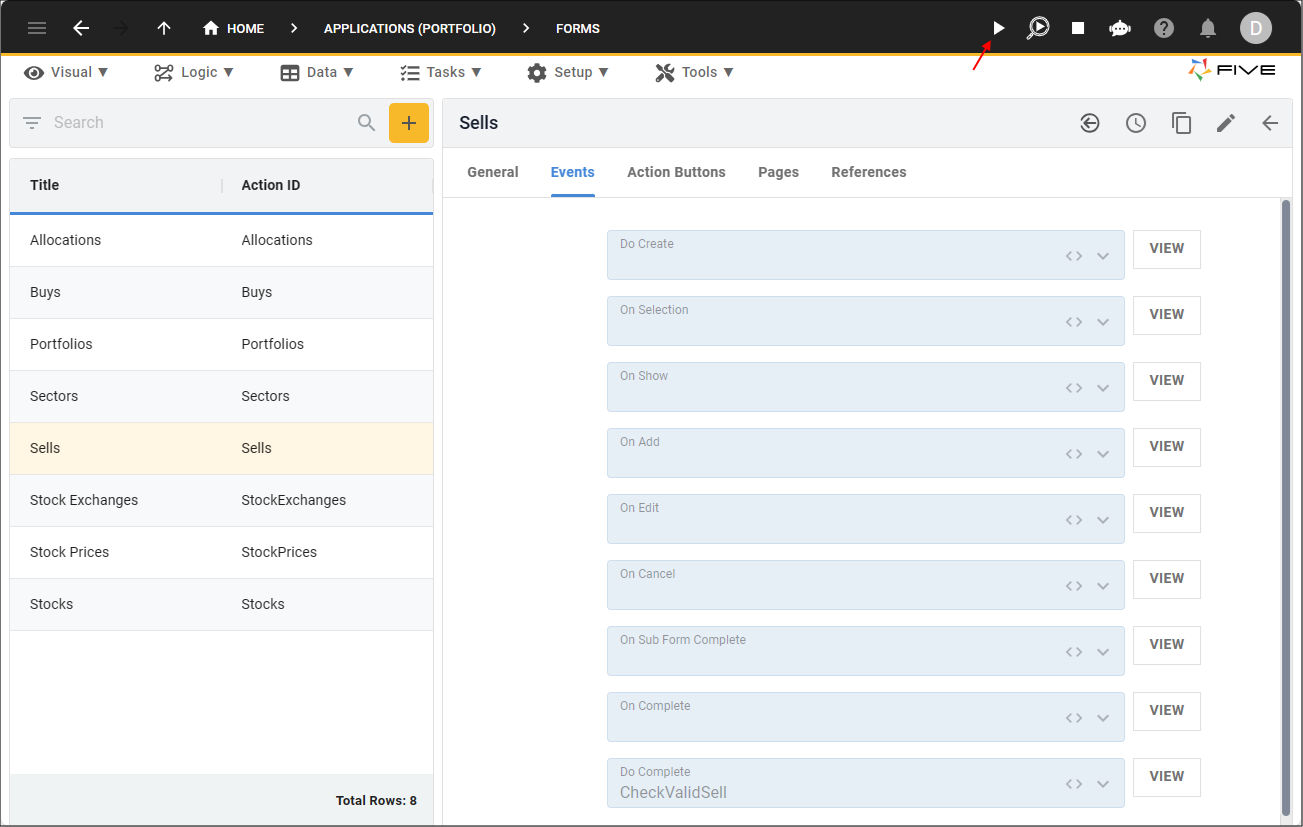
Figure 9 - Run button
2. Select the Growth Portfolio record.
3. Click the Down button in the form app bar.
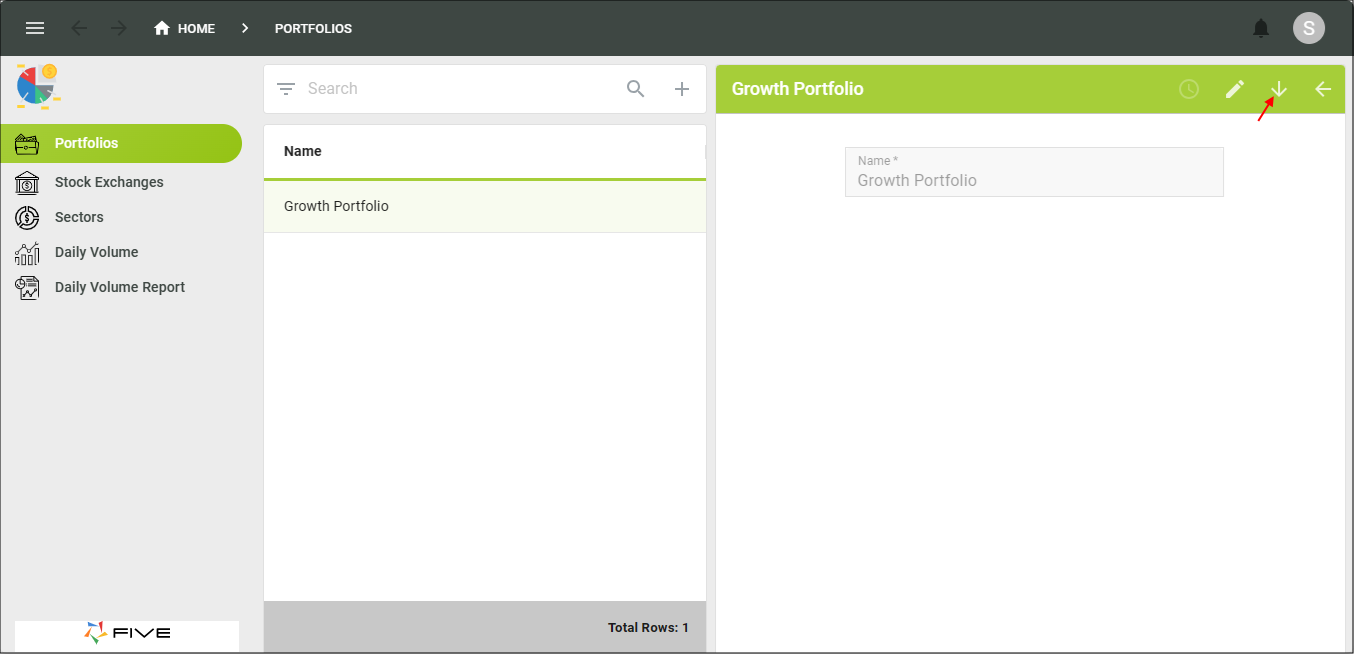
Figure 10 - Down button
Test the CheckValidSell Function
info
- 2023-12-13 has a purchase of 1000 shares
- 2023-12-14 has a purchase of 200 shares
We will still be working with the two buy NAB records:
1. Select Sells in the menu.
2. Click the Add Item button.
3. Click the lookup icon in the Stock field and select NAB.
4. Click the calendar icon in the Transaction Date field and select today's date, click the OK button.
5. Type 1100 in the Quantity field.
6. Type 1.00 in the Price field.
7. Type 10.00 in the Fees field, press tab.

Figure 11 - Add a NAB sell transaction
8. Click the Add Allocations button.
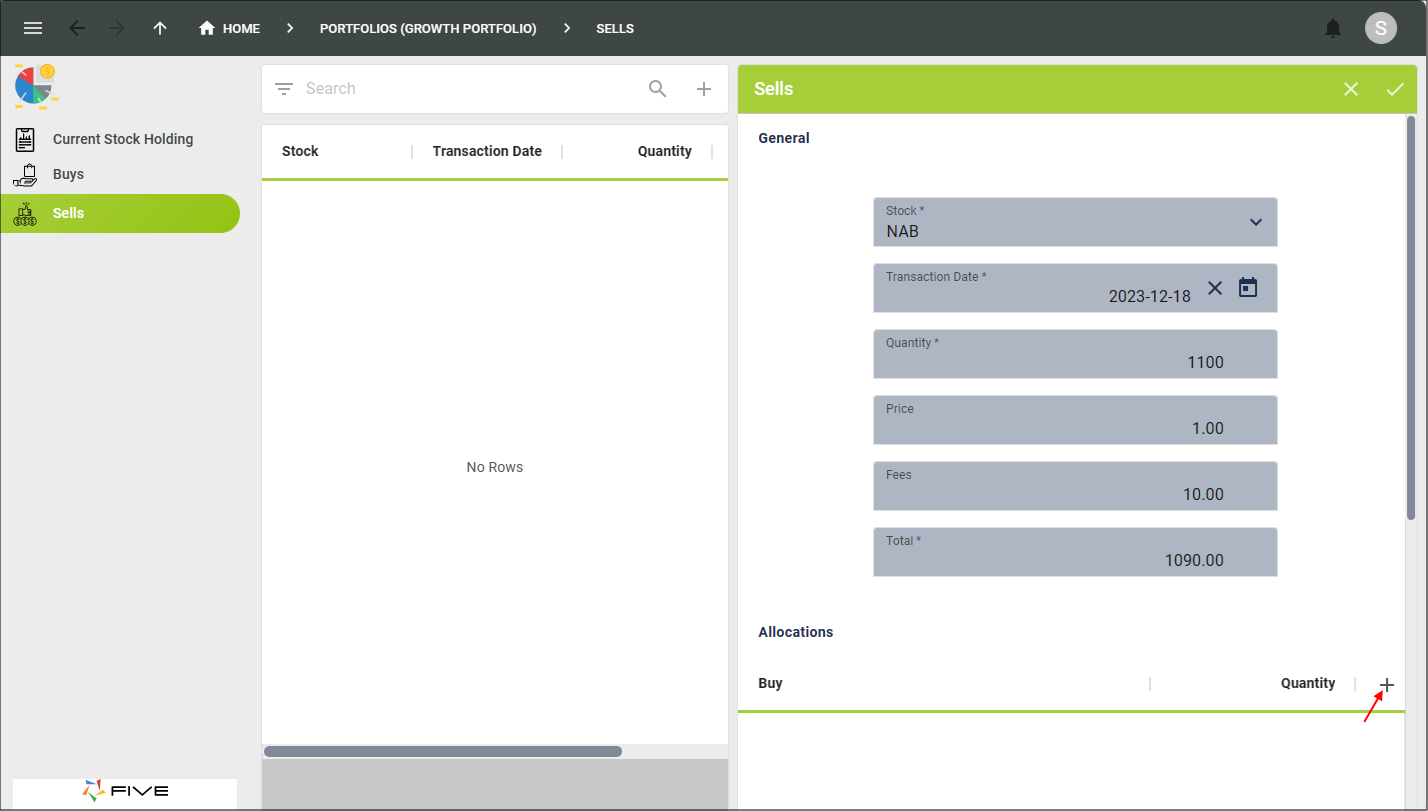
Figure 12 - Add Allocations button
9. Click the lookup icon in the Buy field and select 2023-12-13.
10. Type 1000 in the Quantity field.

Figure 13 - Add an Allocation record
11. Click the Save button in the form app bar.
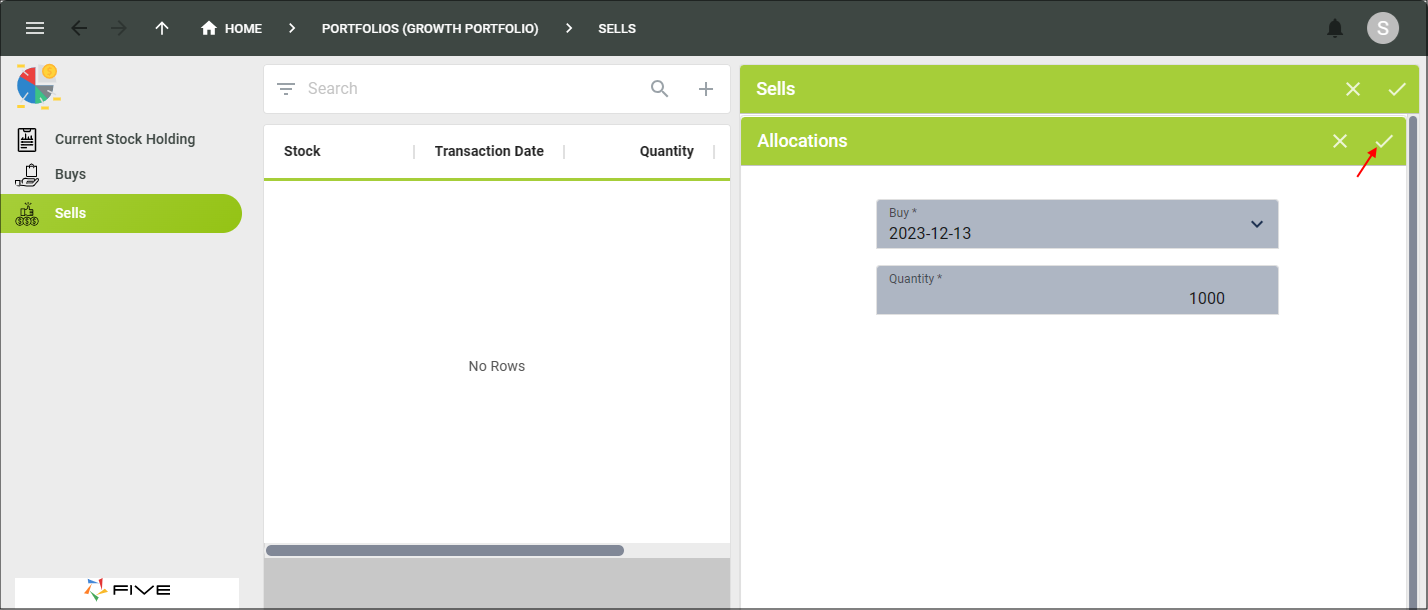
Figure 14 - Save button
12. Click the Save button in the form app bar for the Sells form.
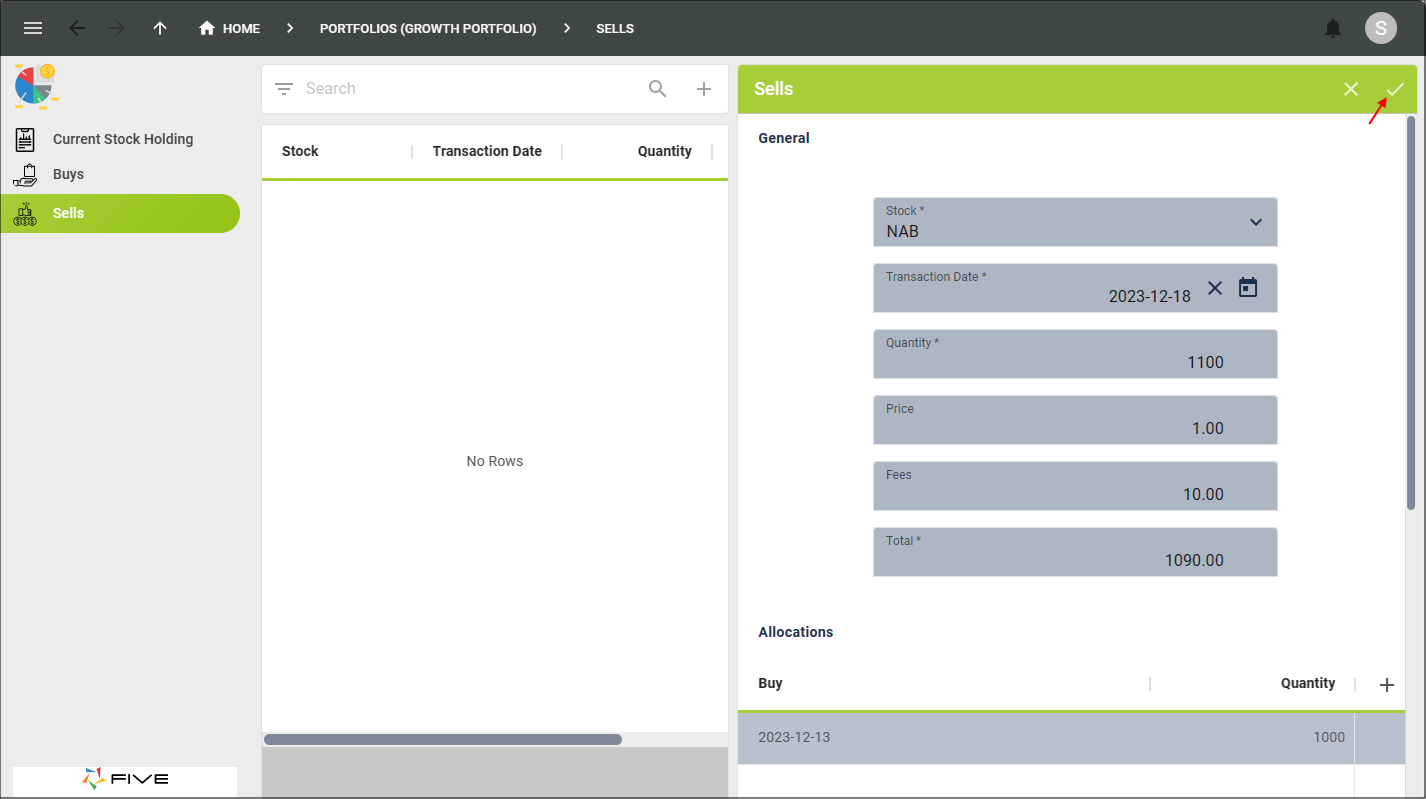
Figure 15 - Save button
info
An error message is returned letting us know the total allocations does not match the sold quantity. This is because the two quantity fields do not equal.
13. Click the OK button.
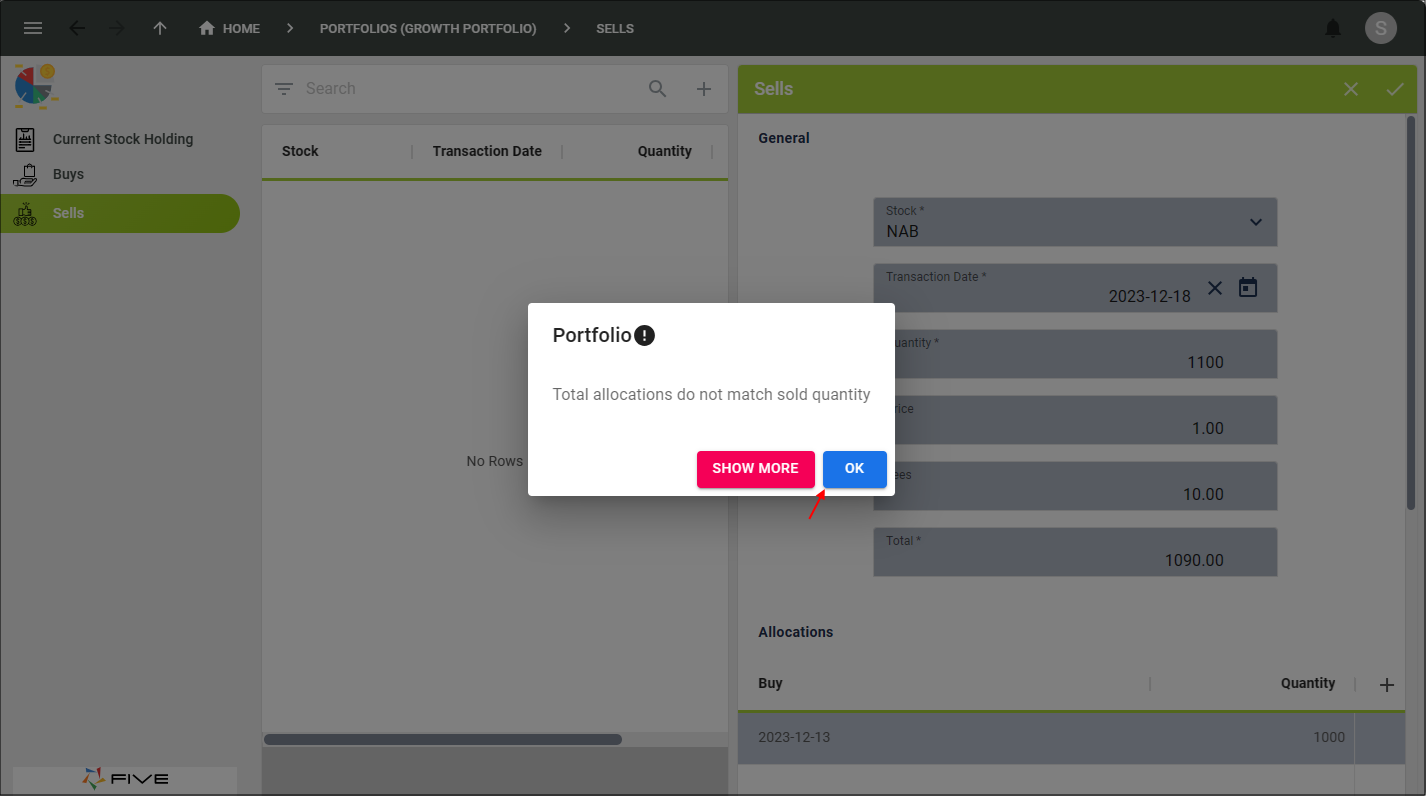
Figure 16 - OK button
14. Click the Add Allocations button.
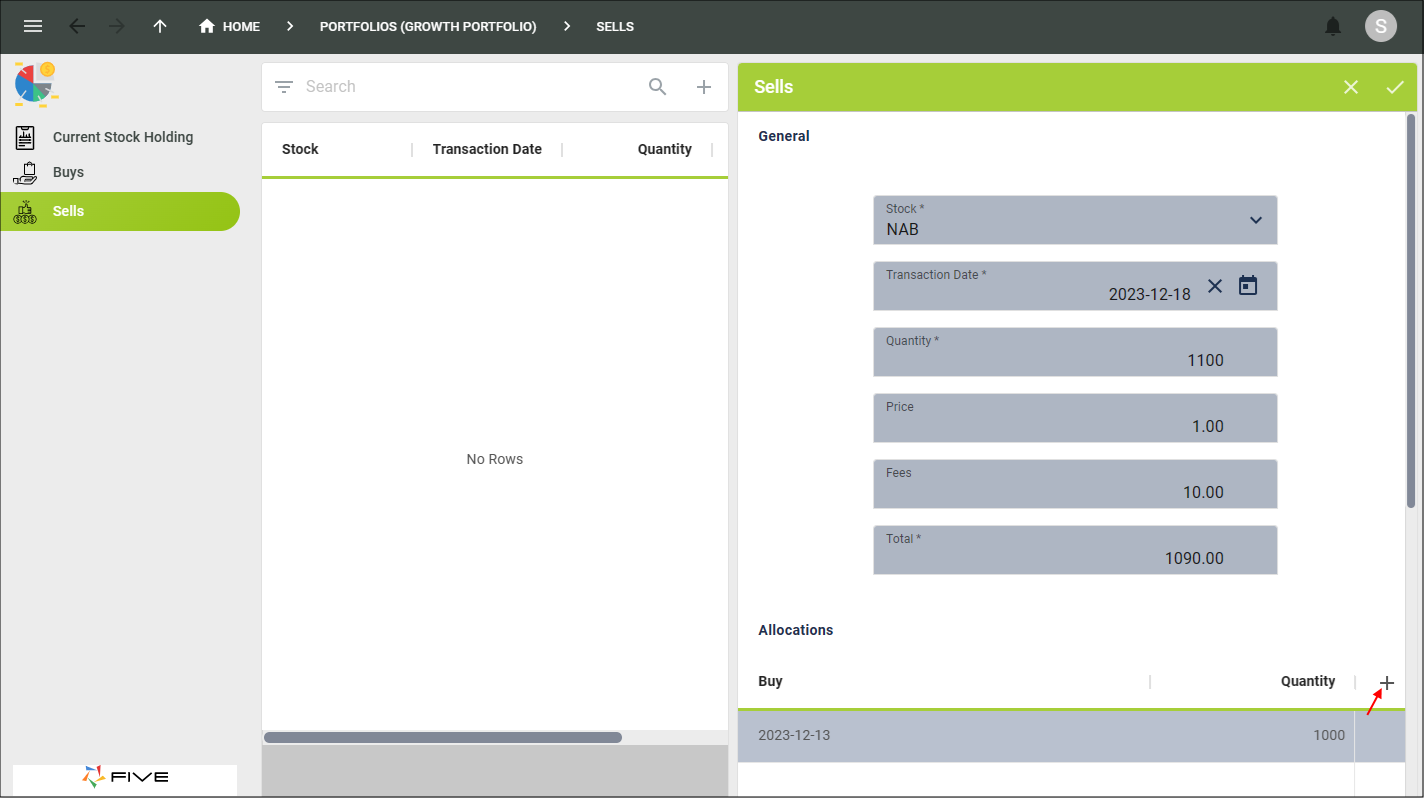
Figure 17 - Add Allocations button
15. Click the lookup icon in the Buy field and select 2023-12-14.
16. Type 100 in the Quantity field.

Figure 18 - Add an Allocation record
17. Click the Save button in the form app bar.
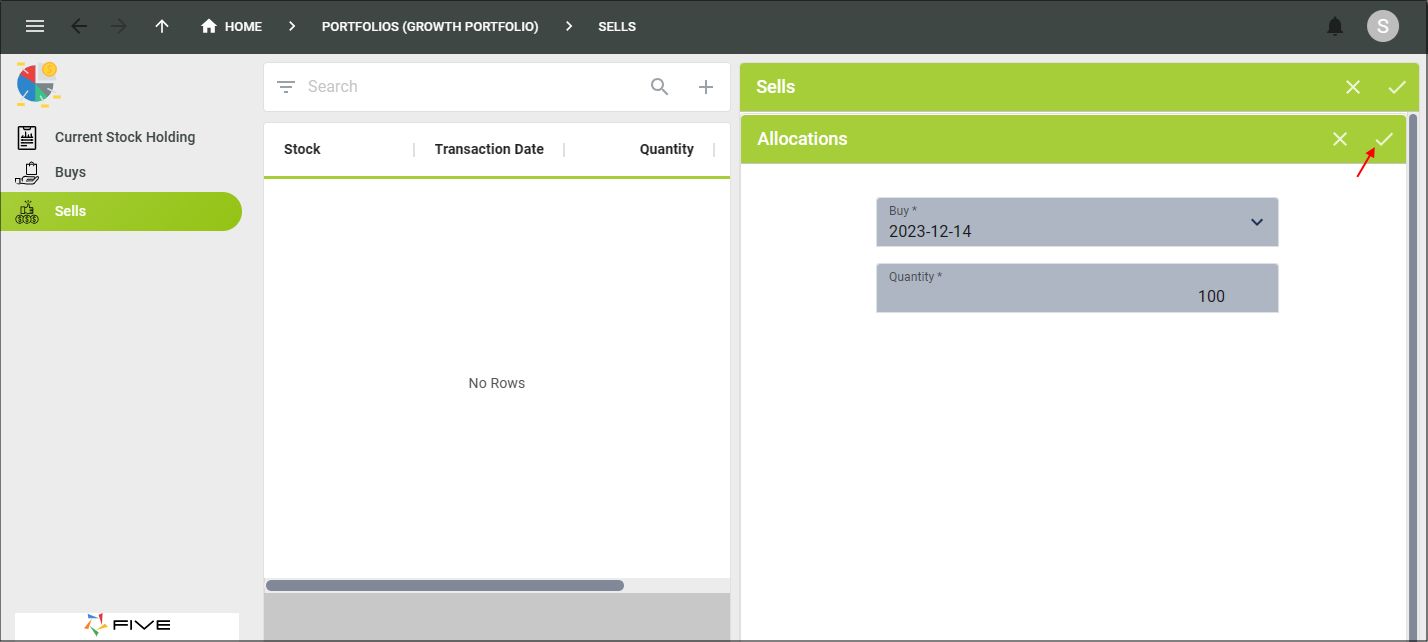
Figure 19 - Save button
18. Click the Save button in the form app bar.
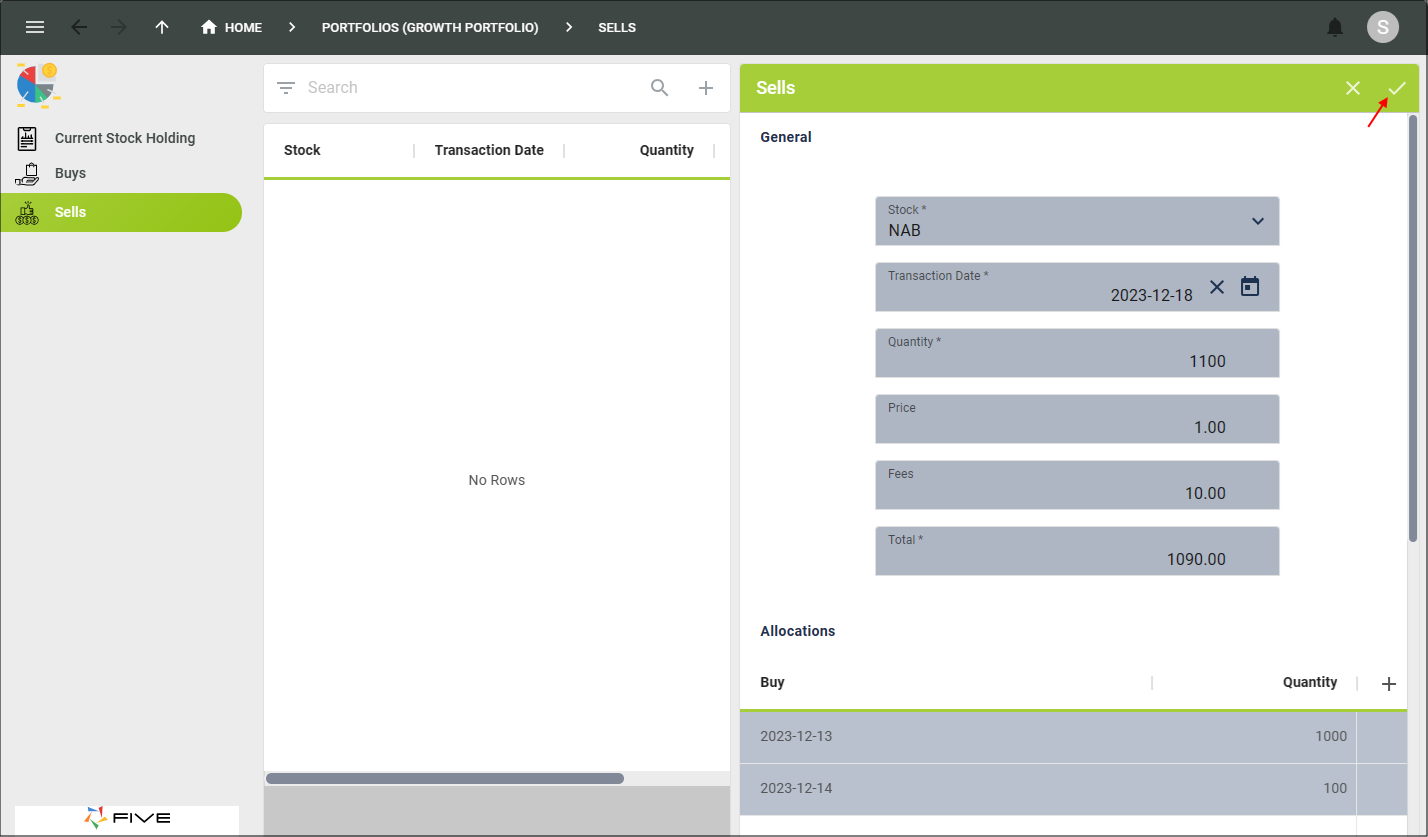
Figure 20 - Save button
19. Close the browser tab and return to Five.