Import and Export CSV Files
Last updated 19/03/2024
By using Five's import functionality, you can import data in a CSV file. This is a text file format that uses commas to separate values. If the column headings in your CSV file are exactly the same as the fields in your table that you have saved in Five, Five will map the fields for you and ensure all your data is imported into your table.Import a CSV File
1. Click the Import CSV into Table button.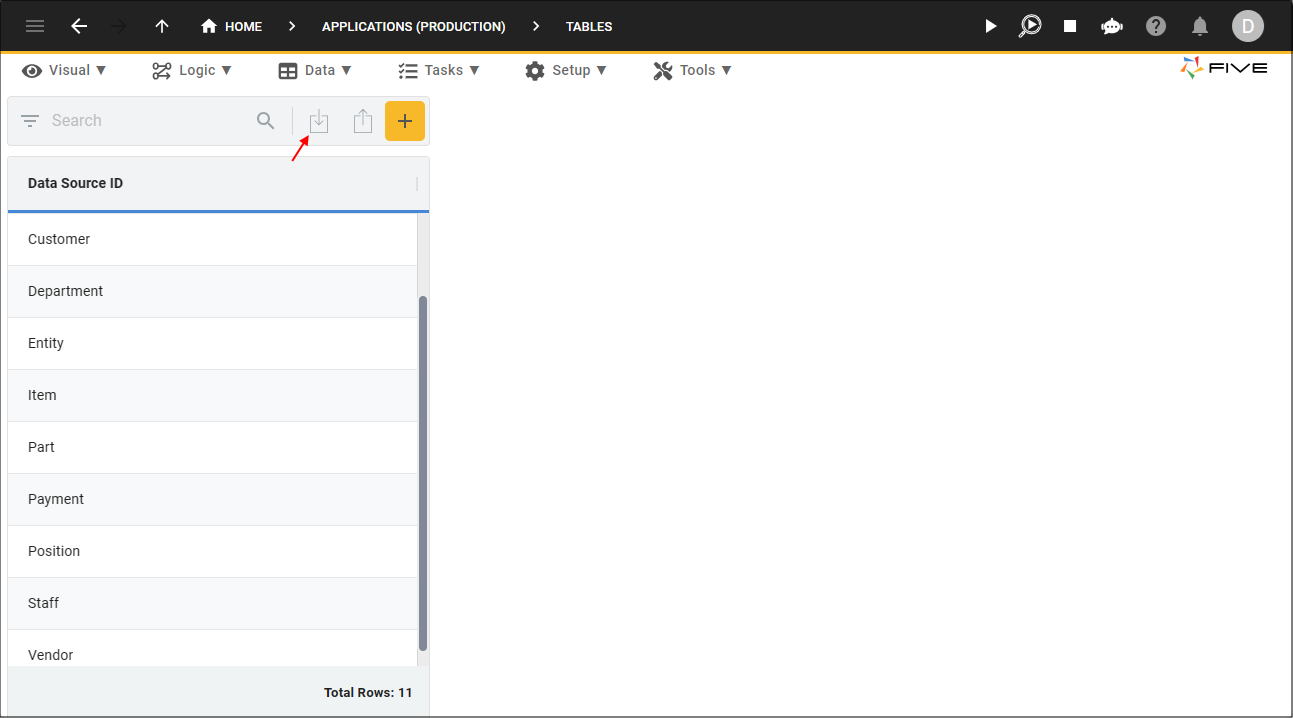
Figure 1 - Import CSV into Table button
2. Click the lookup icon in the Table field and select the required table.
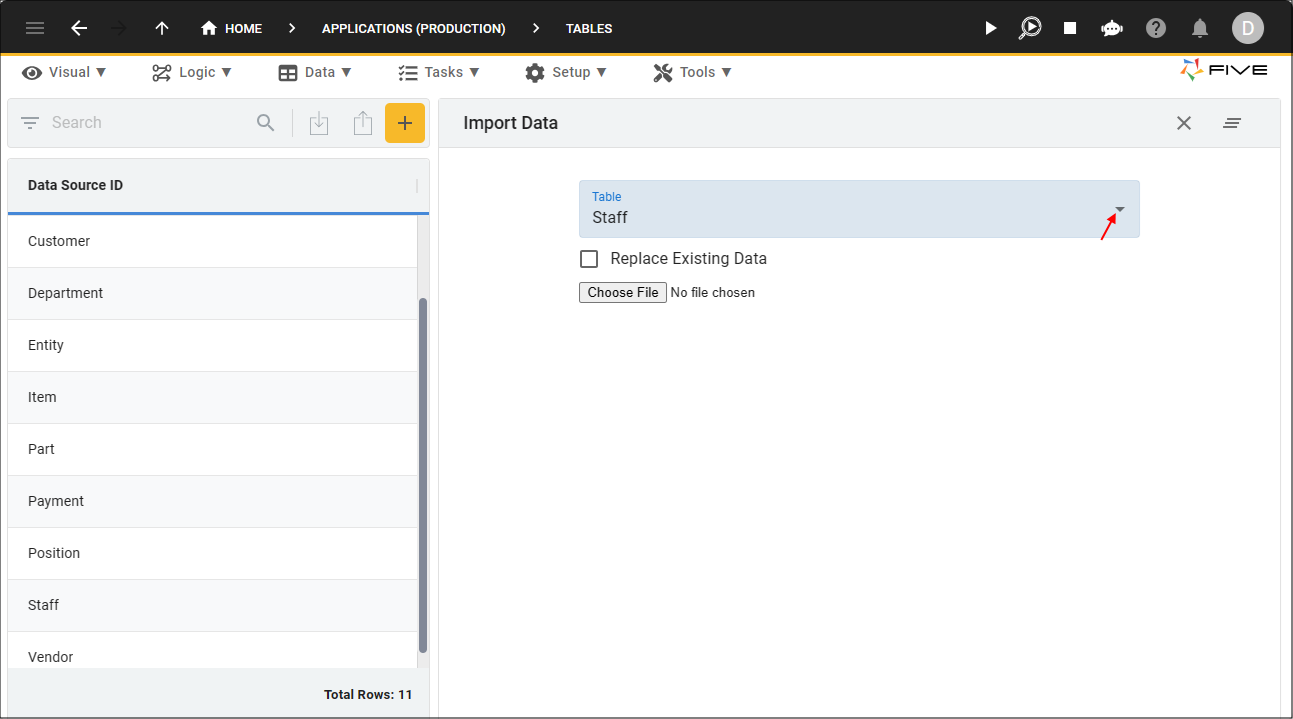
Figure 2 - Table field
info
By default, the Replace Existing Data checkbox is false, if you select to replace the existing data, it will overwrite any data that you currently
have in the table.
3. Click the Choose File button.

Figure 3 - Choose File button
4. Navigate your files and open the required file.
5. Click the Save button in the form app bar.
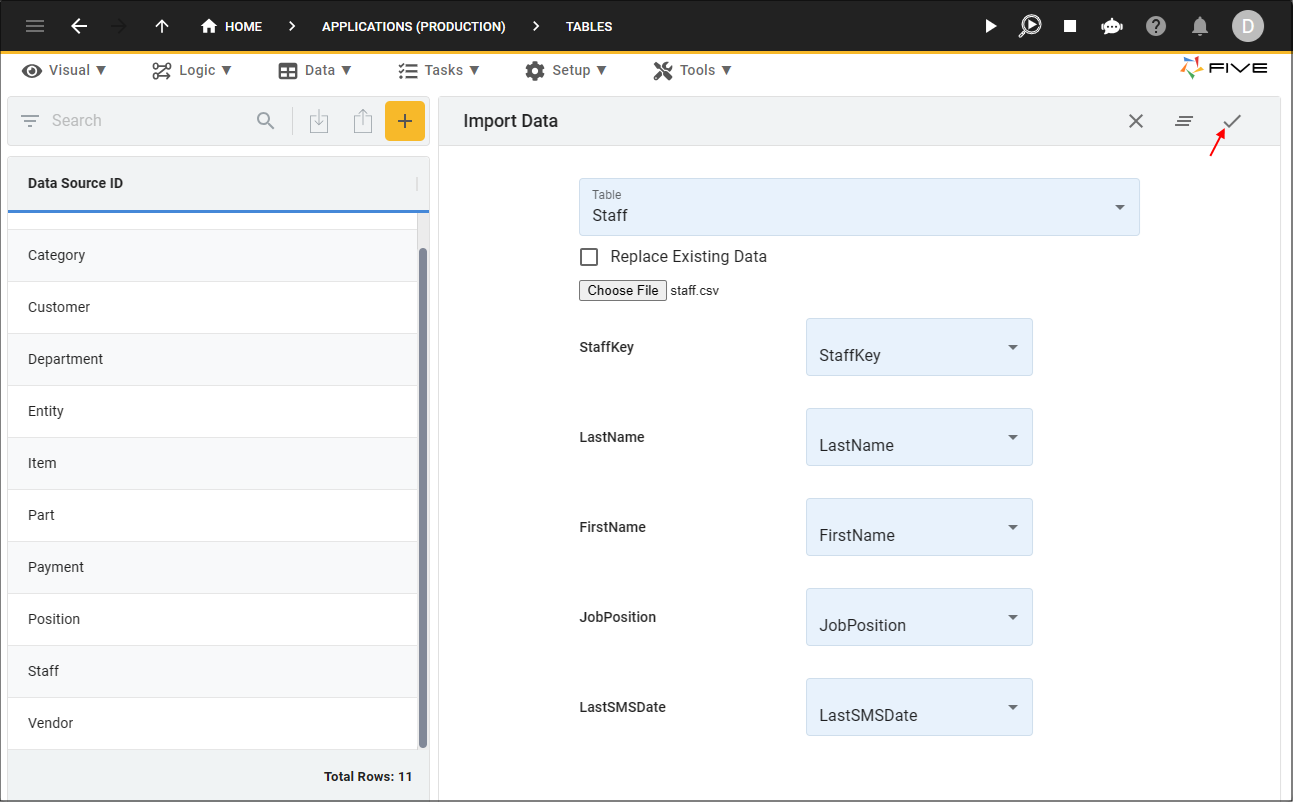
Figure 4 - Save button
6. Click the OK button.
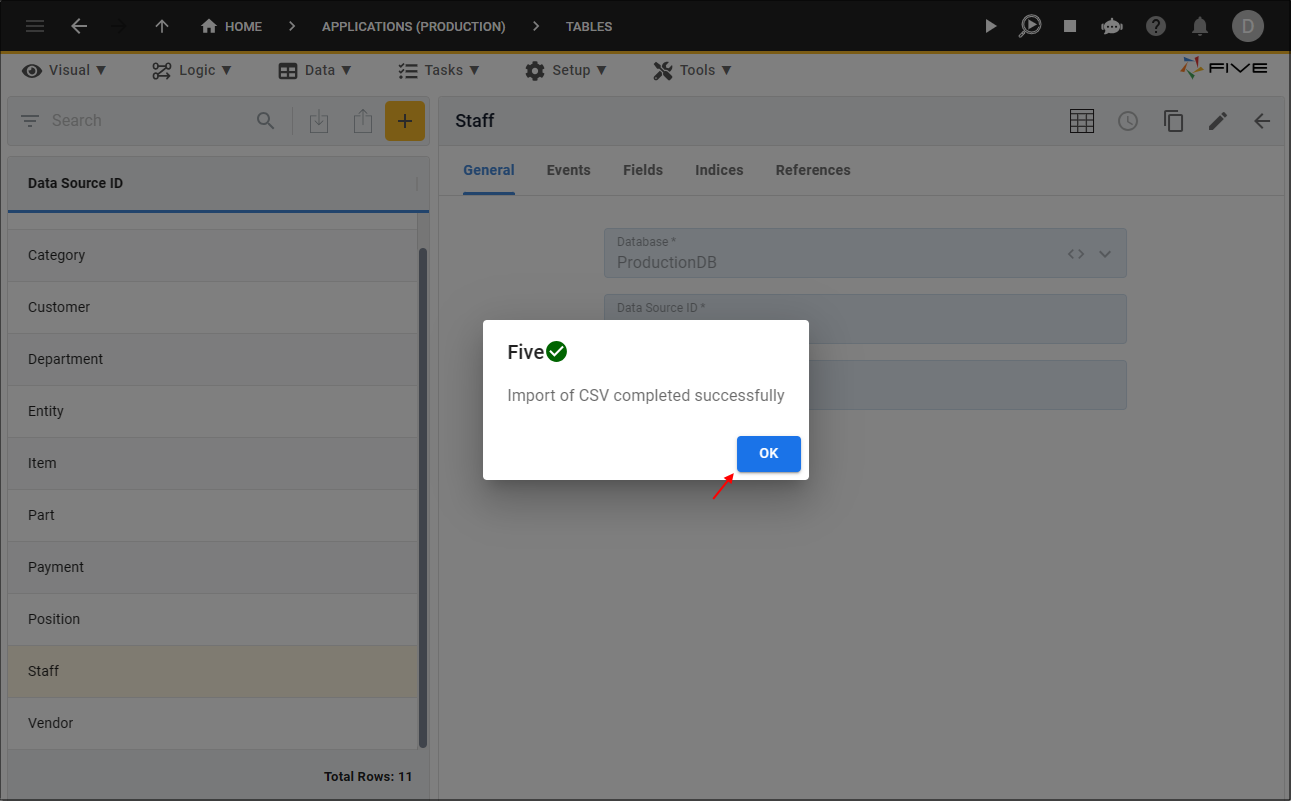
Figure 5 - OK button
Generate a Primary Key
In Five, your table is required to have a primary key to uniquely identify each row. If your data does not have a primary key field, you can select Generated and Five will generate a GUID (globally unique identifier) to uniquely identify each row in your table.To do this, you must first add your primary key field and index to your table in Five.
1. Click the Import CSV into Table button.
Figure 6 - Import CSV into Table button
2. Click the lookup icon in the Table field and select the required table.
Figure 7 - Table field
3. Click the Choose File button.
Figure 8 - Choose File button
4. Navigate your files and open the required file.
info
As shown in the image below, Five can't map the primary key field as this column does not exist in the data file.

Figure 9 - Unmapped field
5. Click the lookup icon in the primary key field and select Generated.
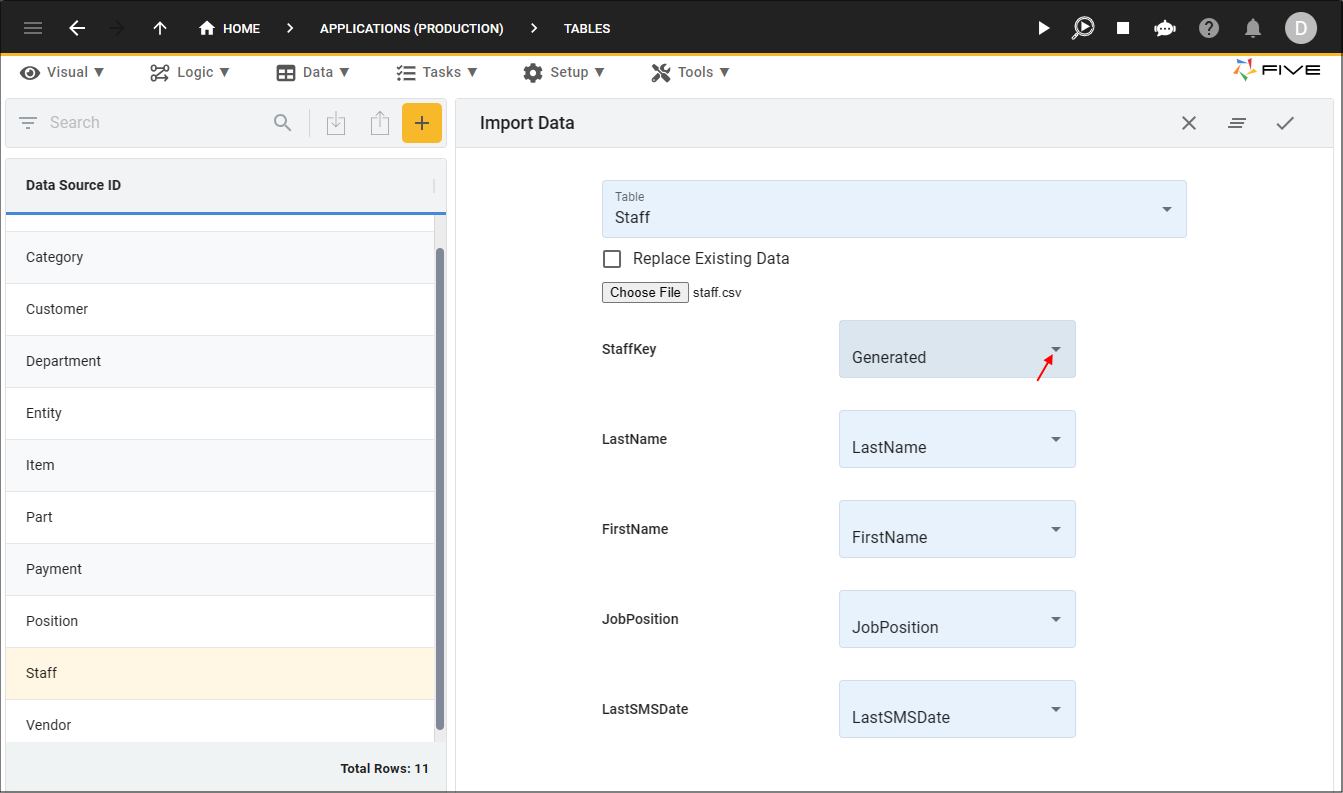
Figure 10 - Select Generated
6. Click the Save button in the form app bar.

Figure 11 - Save button
7. Click the OK button.
Figure 12 - OK button
Import Data with Different Column Headings
If your column headings are different to what you have called your fields in Five, you can still import the data into a field as long as the data types match.1. Click the Import CSV into Table button.
Figure 13 - Import CSV into Table button
2. Click the lookup icon in the Table field and select the required table.
Figure 14 - Table field
3. Click the Choose File button.
Figure 15 - Choose File button
4. Navigate your files and open the required file.
info
As shown in the image below, Five can't map a field that has a different name, however, all the fields that are in your file are listed in the lookups,
you will need to select the field.
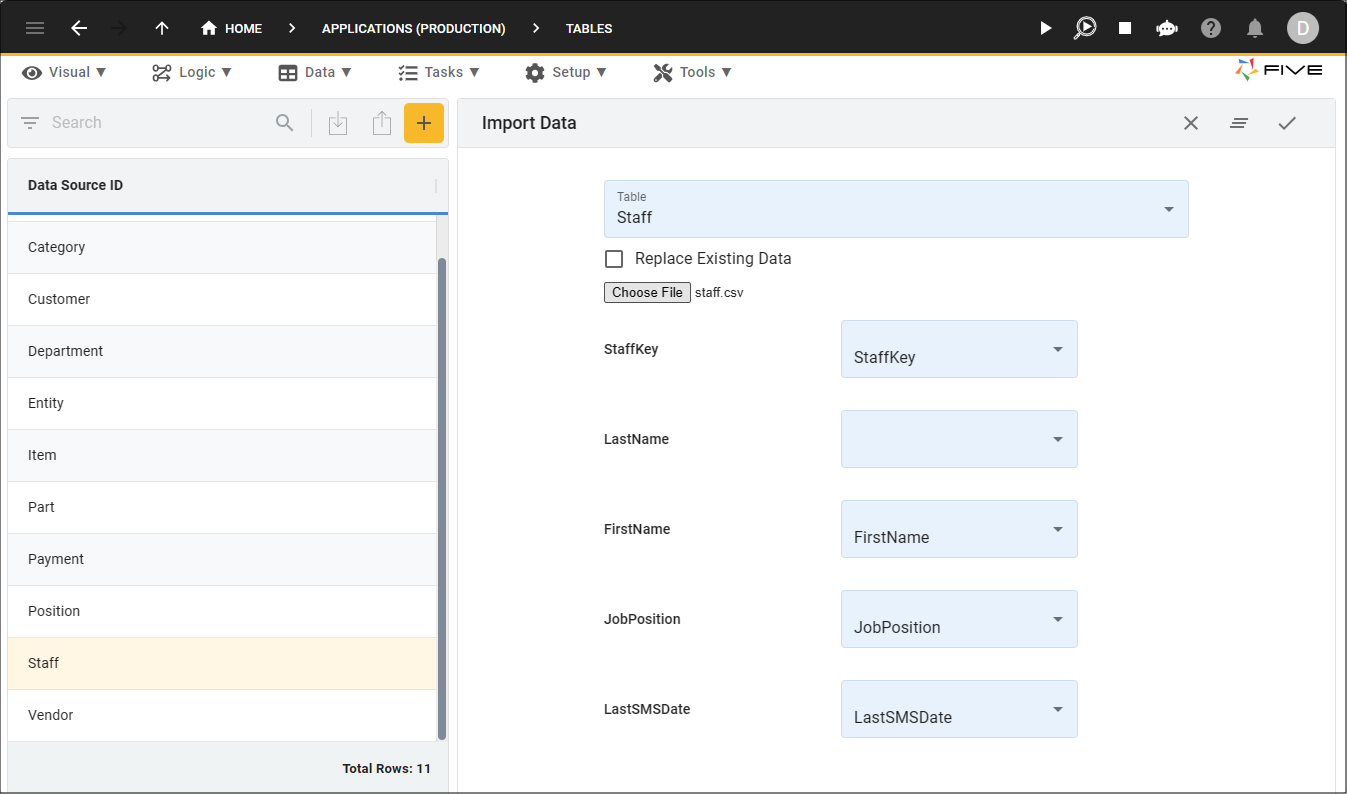
Figure 16 - Unmapped field
5. Click the lookup icon in the field that has no match and select the required field.
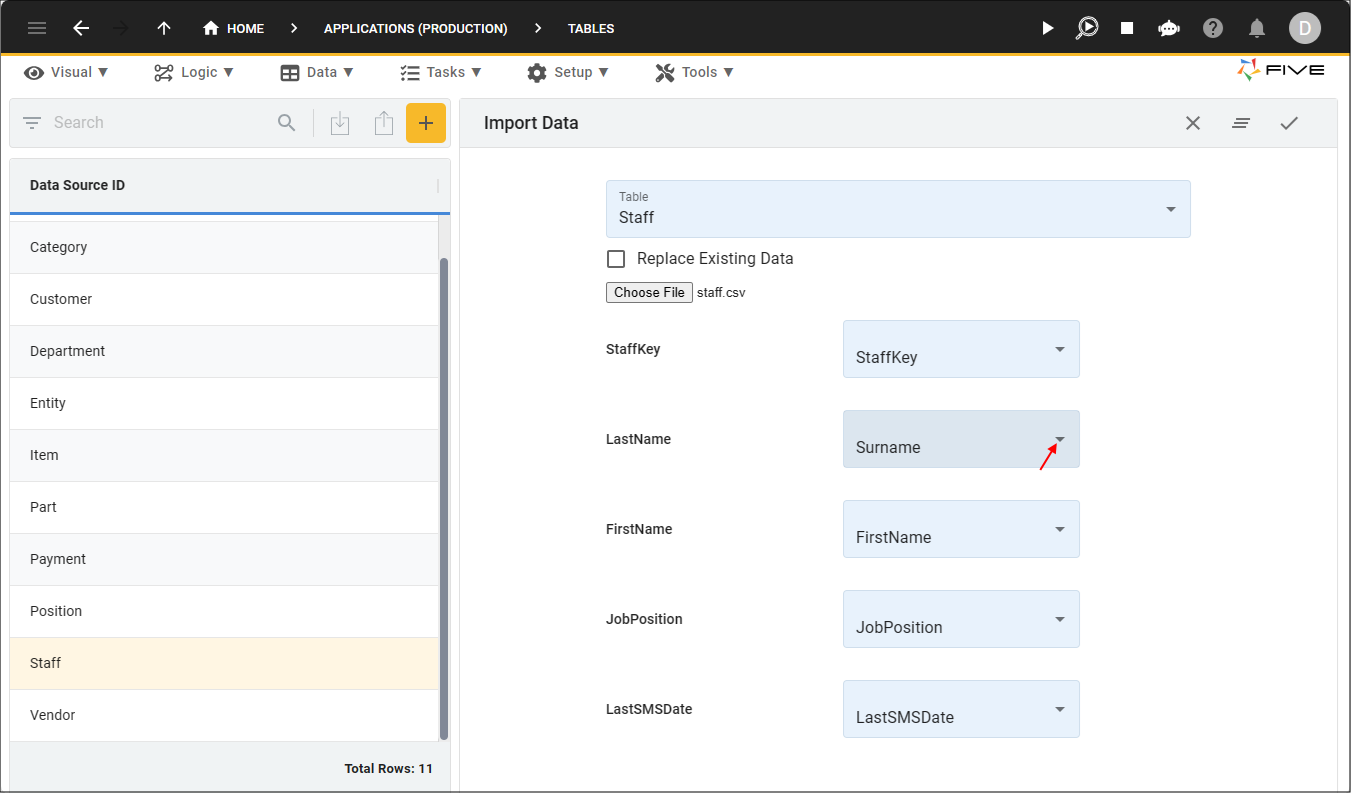
Figure 17 - Select field
6. Click the Save button in the form app bar.
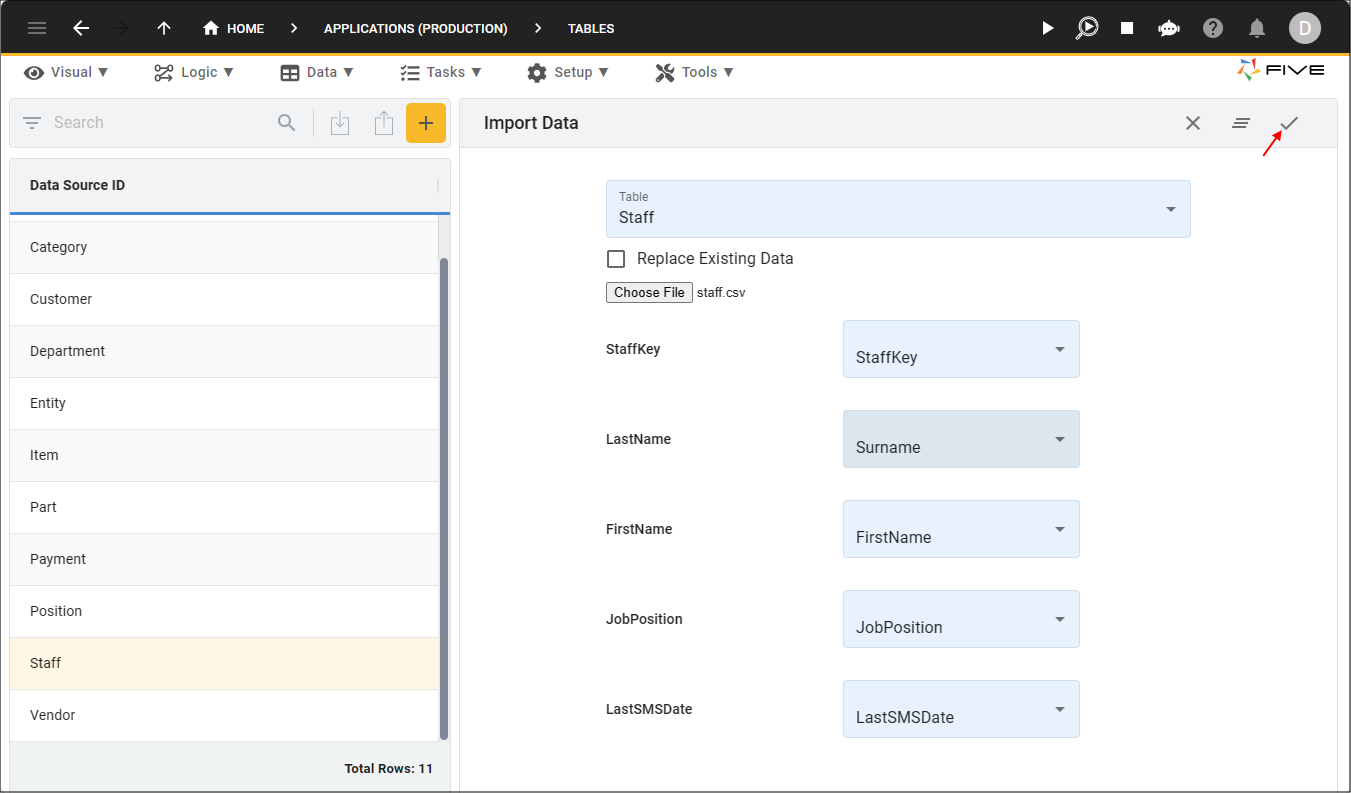
Figure 18 - Save button
7. Click the OK button.
Figure 19 - OK button
Exclude Data on Import
If you have data in a column that you do not want to import into your table, you can choose Not Imported and the data in the column will not be imported into your table.1. Click the Import CSV into Table button.
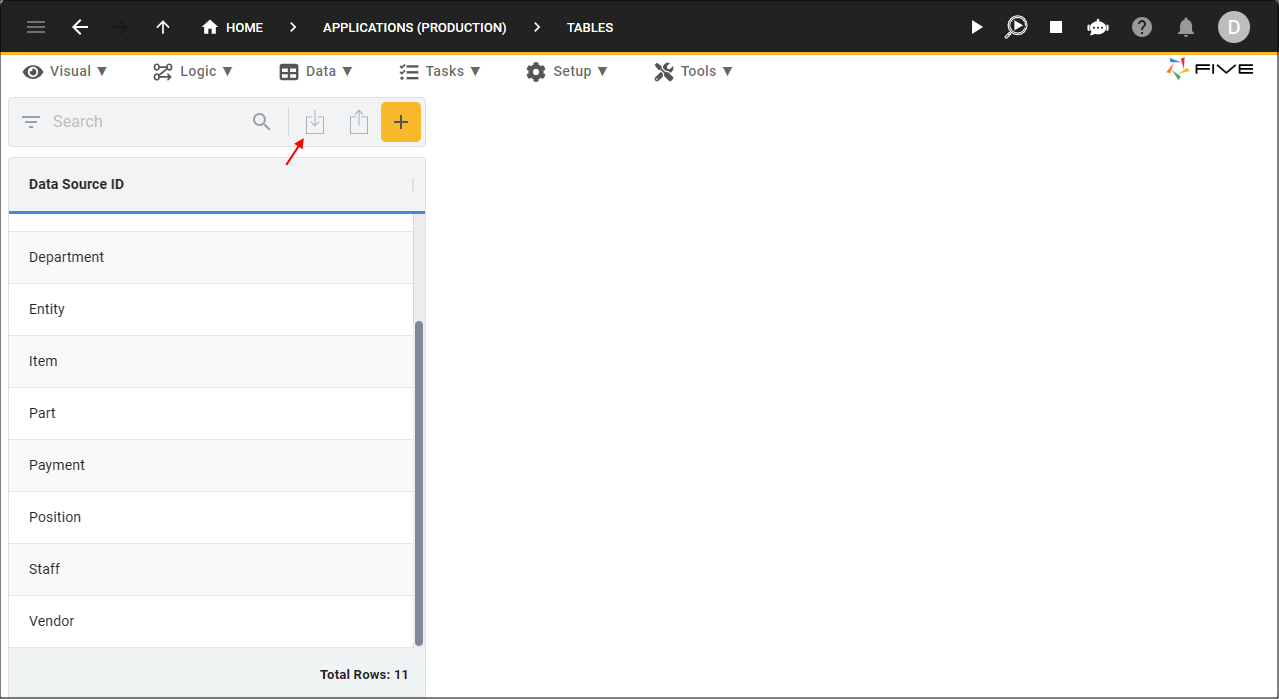
Figure 20 - Import CSV into Table button
2. Click the lookup icon in the Table field and select the required table.

Figure 21 - Table field
3. Click the Choose File button.
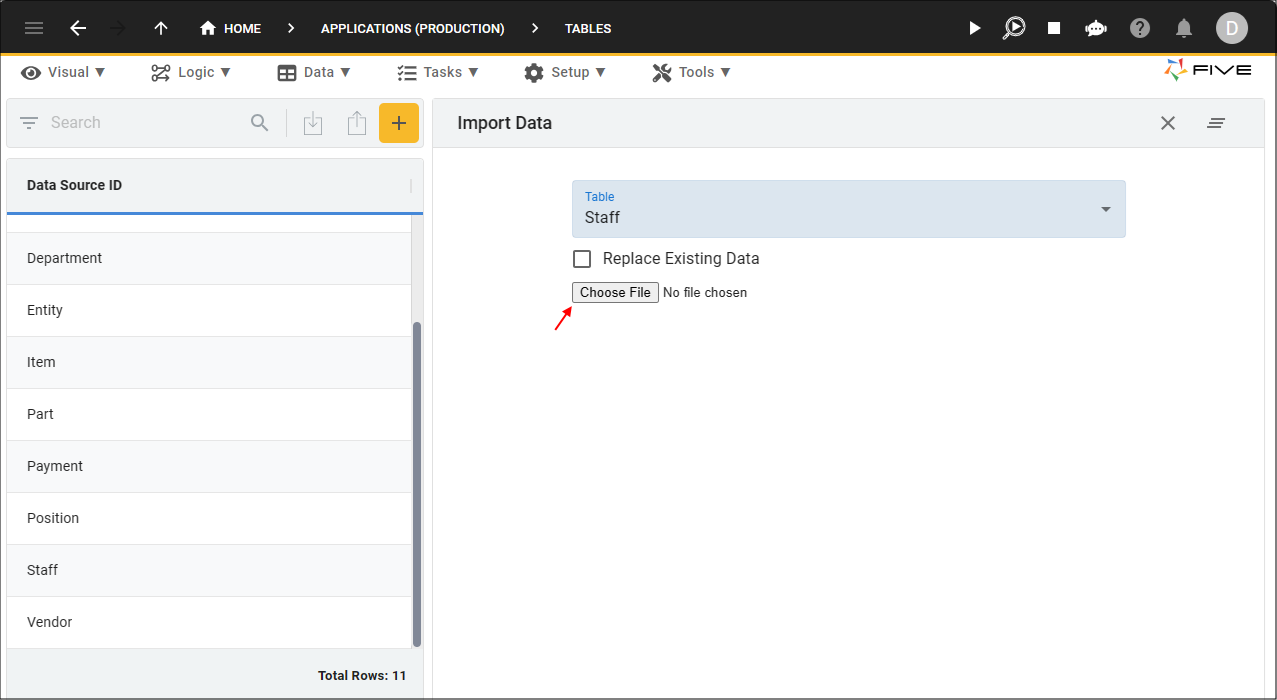
Figure 22 - Choose File button
4. Navigate your files and open the required file.
5. For a field that you do not require to import the data, click the lookup icon and select Not Imported.
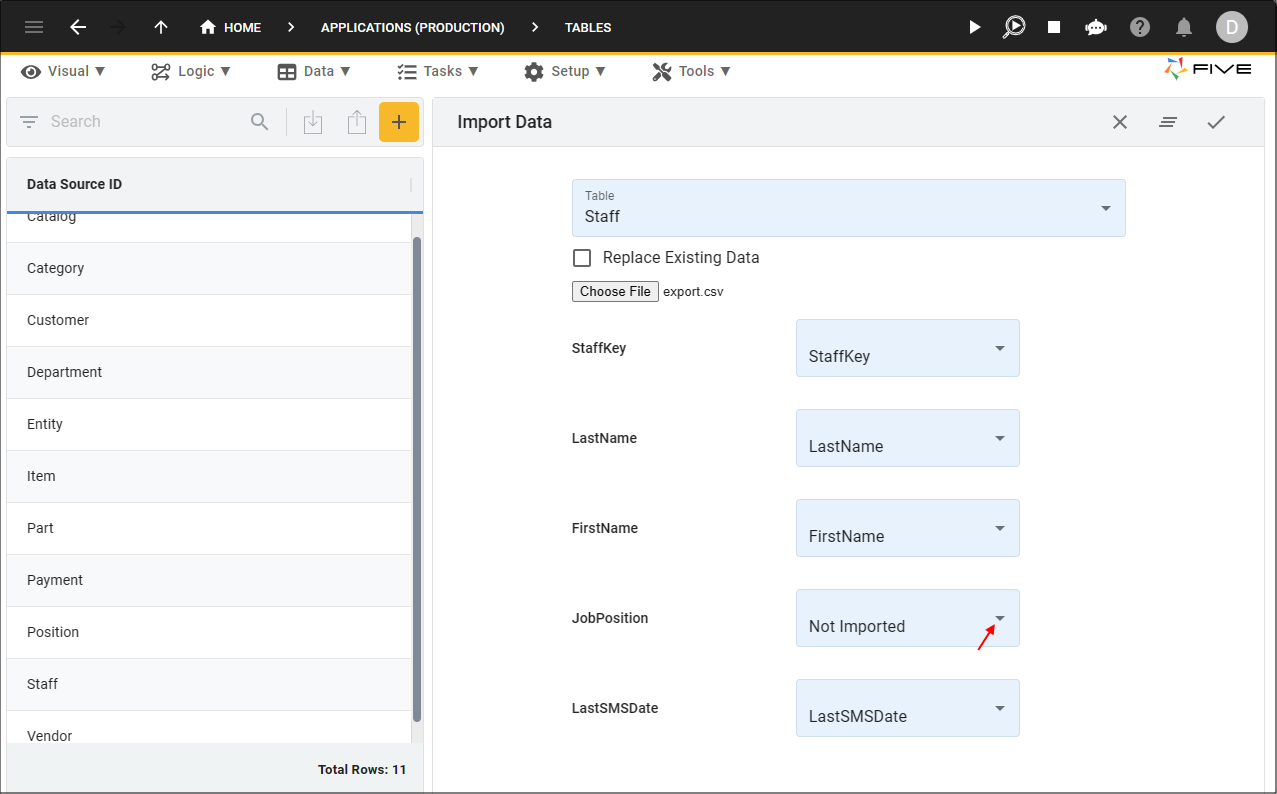
Figure 23 - Not imported
6. Click the Save button.

Figure 24 - Save button
7. Click the OK button.
Export a CSV File
By using the export functionality, you can export all your data from a table into a CSV file and then select your preferred method to open the file.1. Click the Export Table to CSV button.
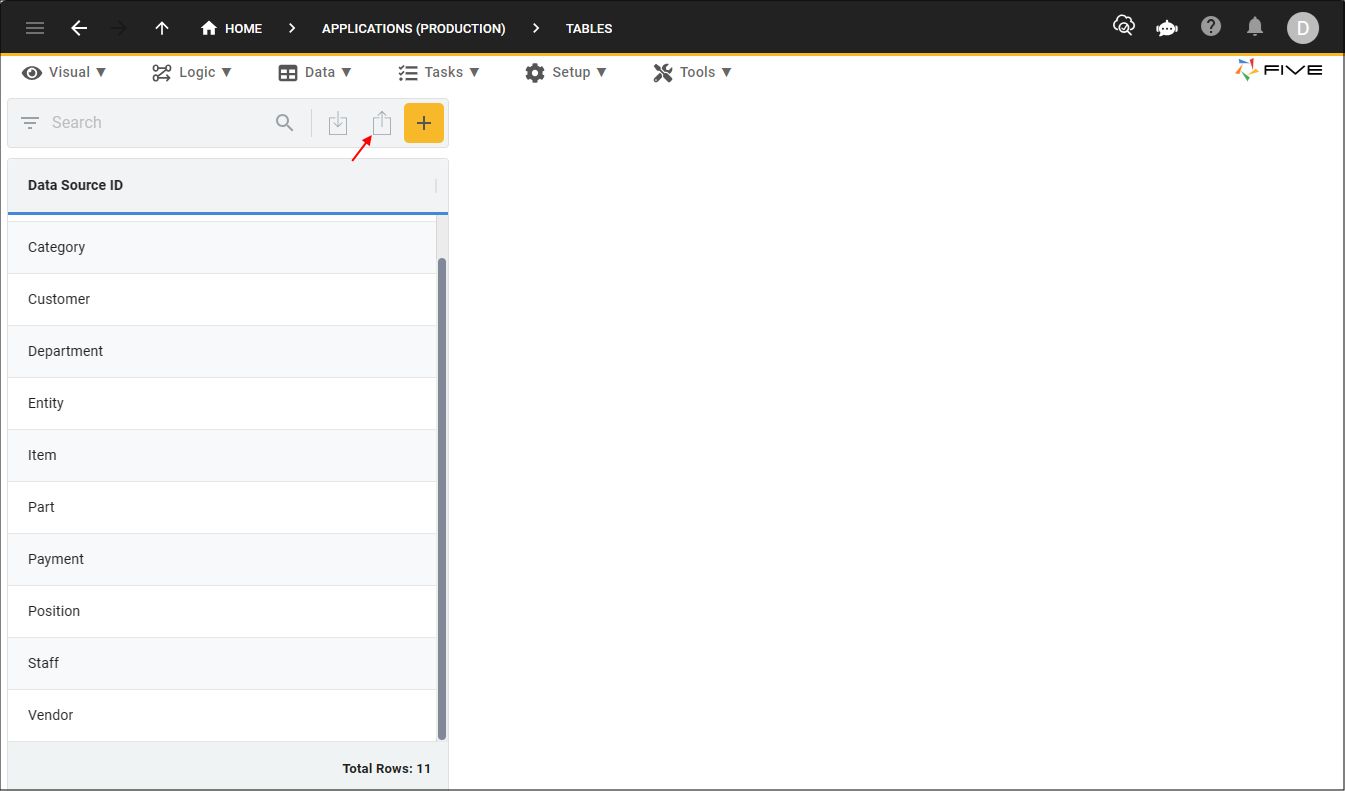
Figure 25 - Export Table to CSV button
2. Click the lookup icon in the Table field and select the required table.
info
By default, Five will check all fields to be exported.
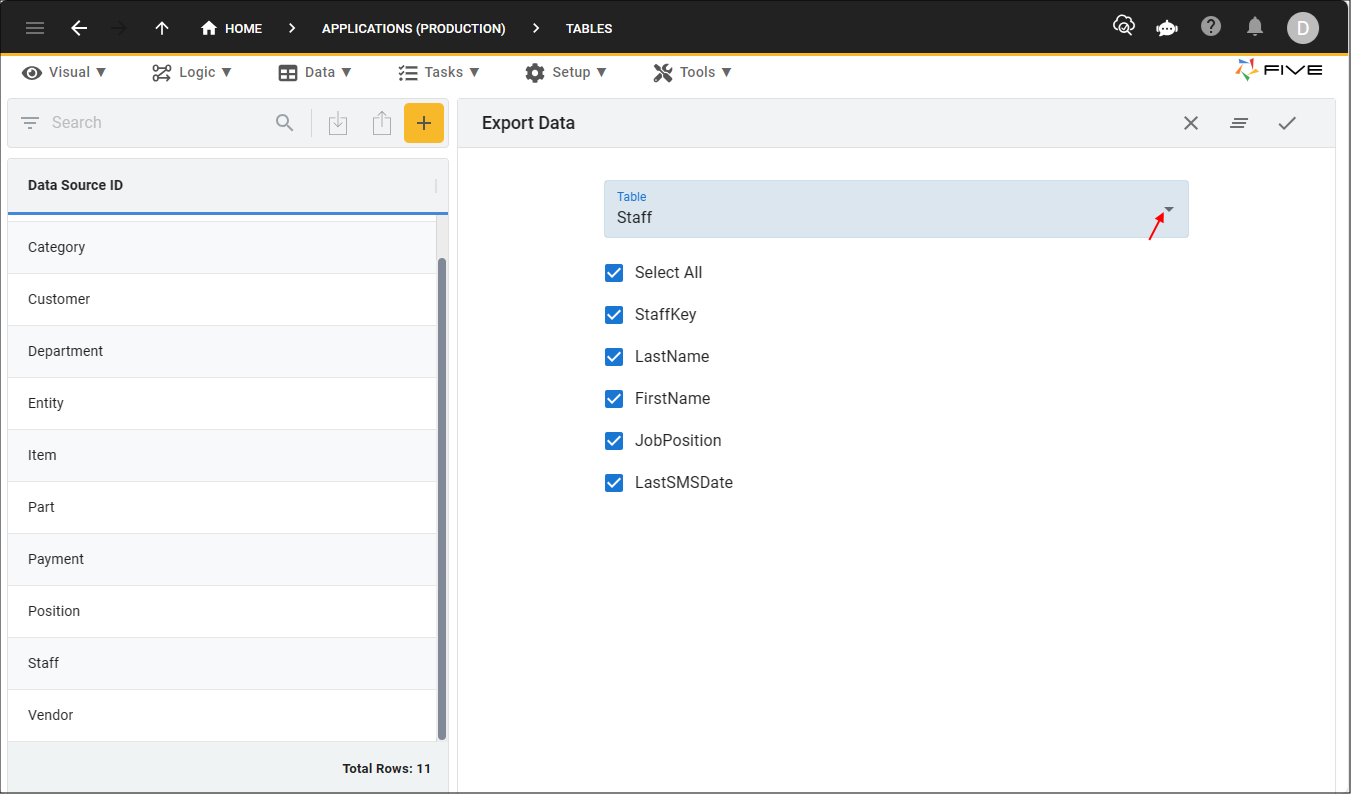
Figure 26 - Table field
3. Click the Save button in the form app bar.
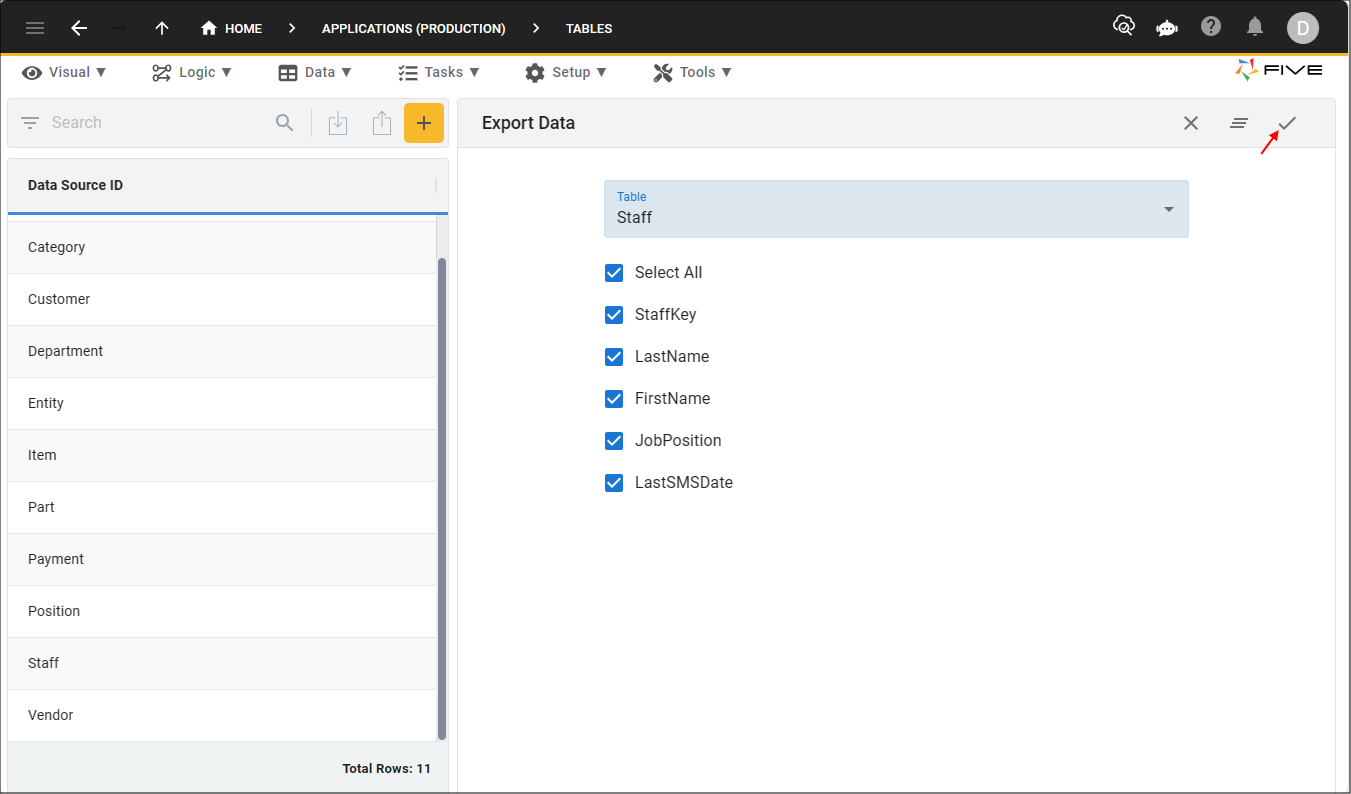
Figure 27 - Save button
Exclude Data on Export
1. Click the Export Table to CSV button.Figure 28 - Export Table to CSV button
2. Click the lookup icon in the Table field and select the required table.
Figure 29 - Table field
3. Click the checkbox next to any field/s that you do not require to export.
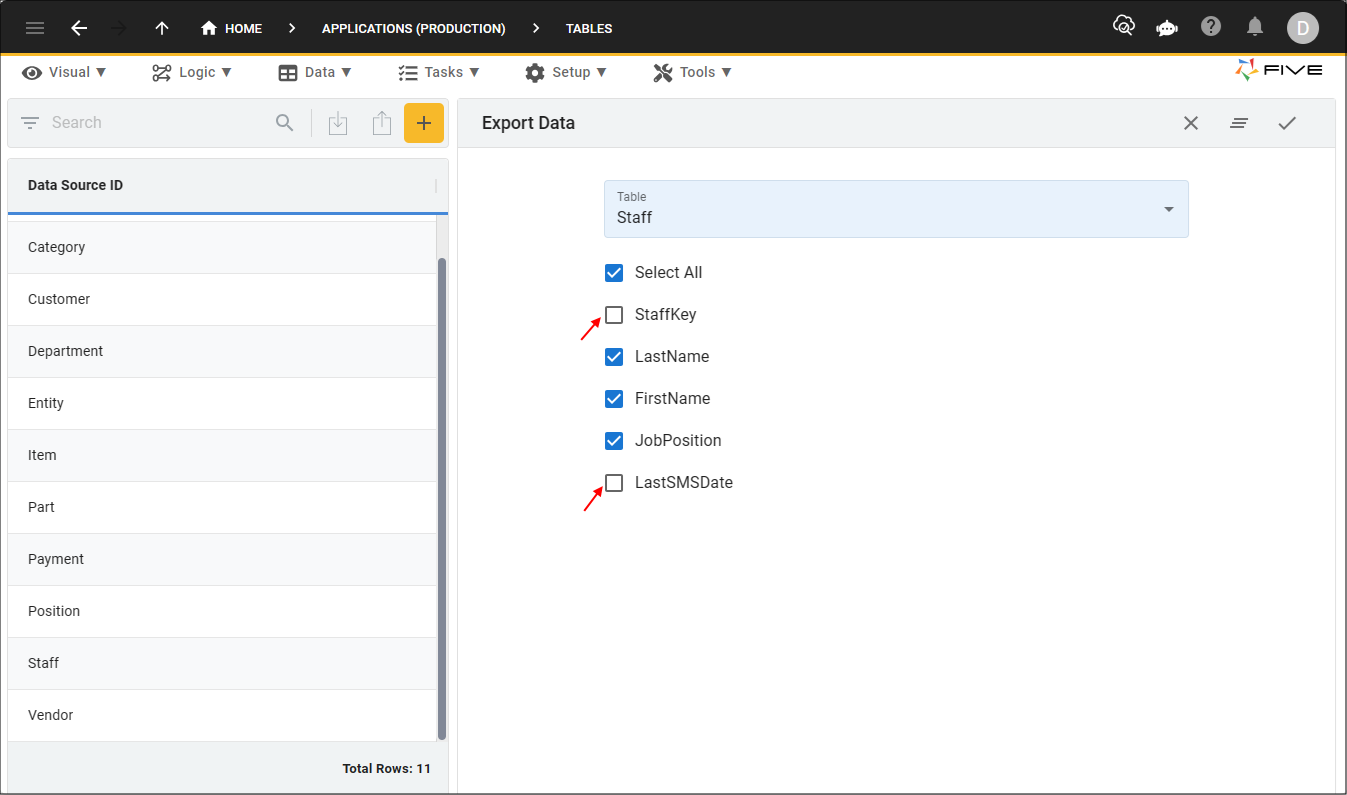
Figure 30 - Uncheck fields
4. Click the Save button in the form app bar.
Figure 31 - Save button
tip
You can also uncheck the Select All box and add the fields you require to export!
Date Format
When importing date and time values into Five you will need to format them to Five's standard date and time formats. The table below demonstrates this.| Data Type | Format |
|---|---|
| TimeStamp | 2023-11-14 15:15:00.000000 |
| DateTime | 2023-11-15 01:15:00 |
| Time | 01:15:00 |
| Date | 2023-11-15 |