7 - Filter Data
Last updated 12/12/2023
There are two ways to build queries to filter the results you require in Five, you can use:- Five's Query Builder; or
- Five's SQL Editor
Navigate to Queries
1. Click Data in the menu.2. Click Queries in the sub-menu.
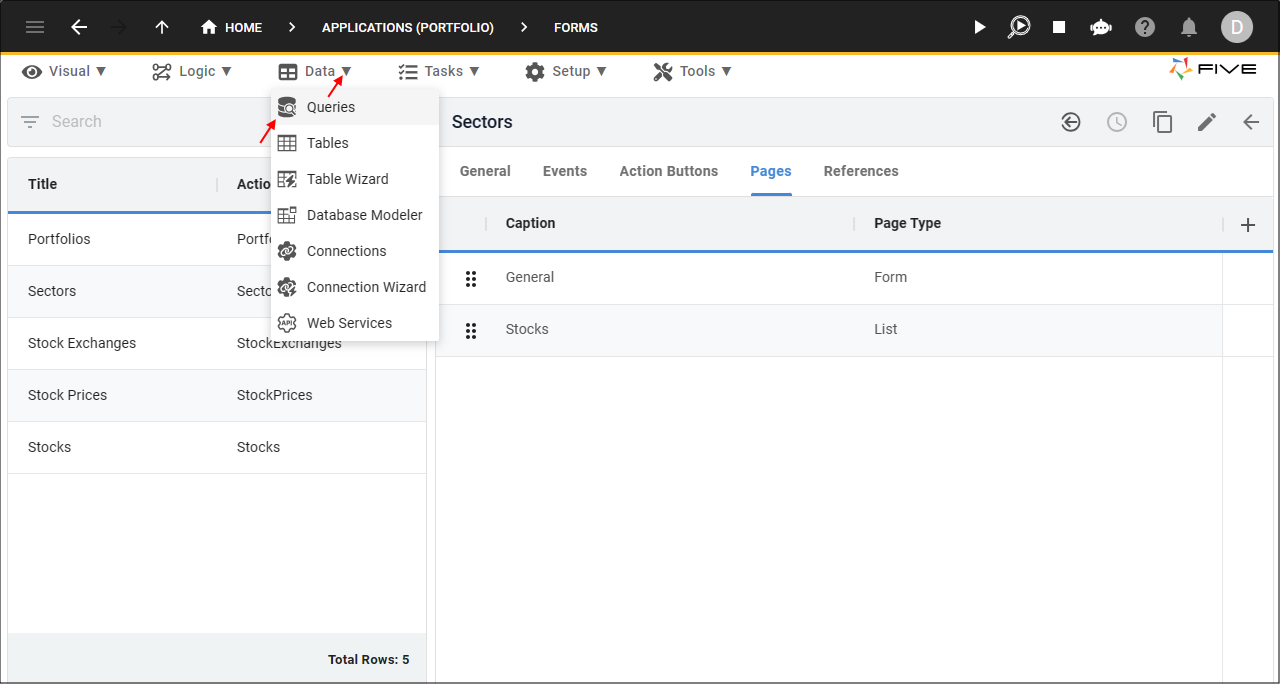
Figure 1 - Queries menu item
Add the DailyVolumeQuery
1. Click the Add Item button.2. Type DailyVolumeQuery in the Data Source ID field.
info
All data source IDs in Five need to be unique.
3. Click in the Query field to open Five's Query Builder.
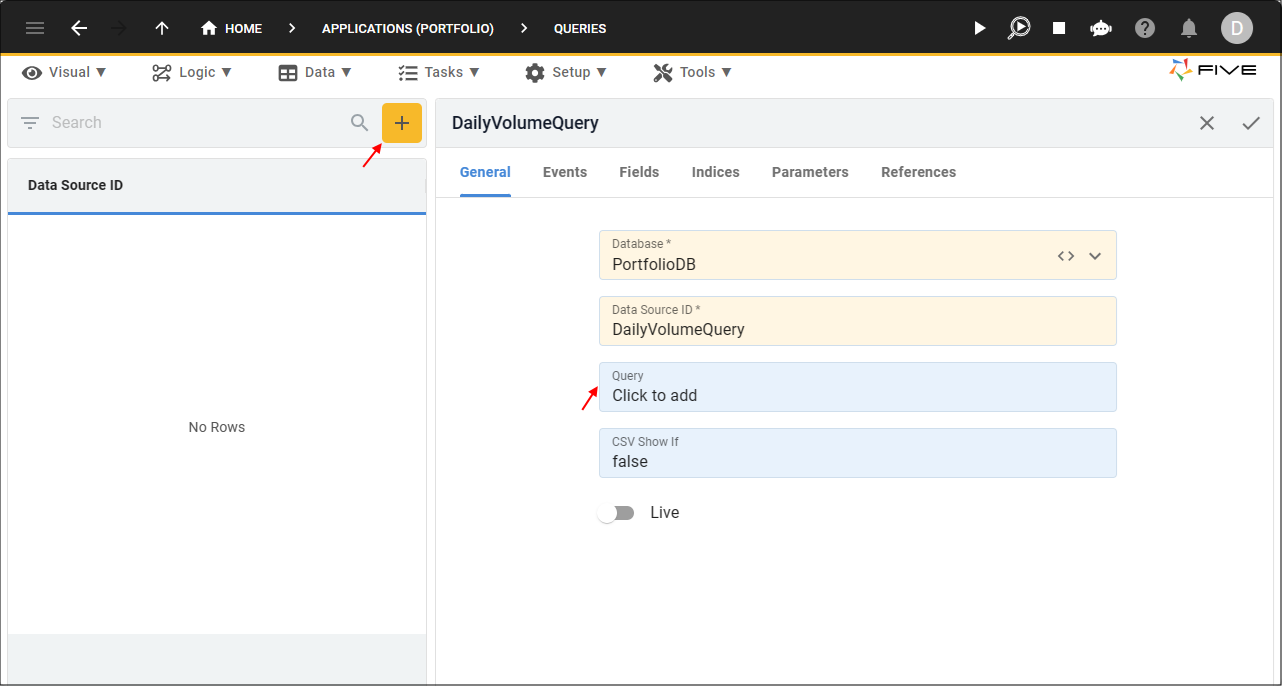
Figure 2 - Add the DailyVolumeQuery
4. Click the Add Table button.
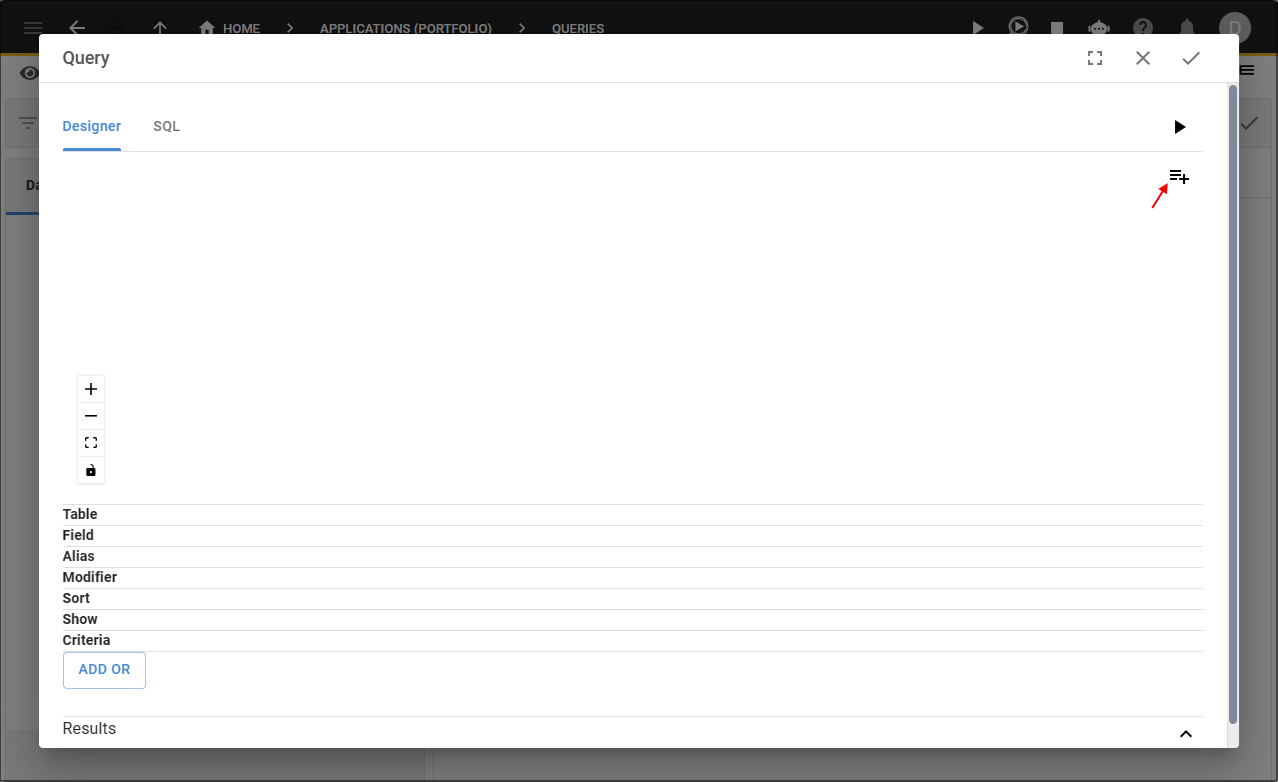
Figure 3 - Add Table button
5. Click on Stock.
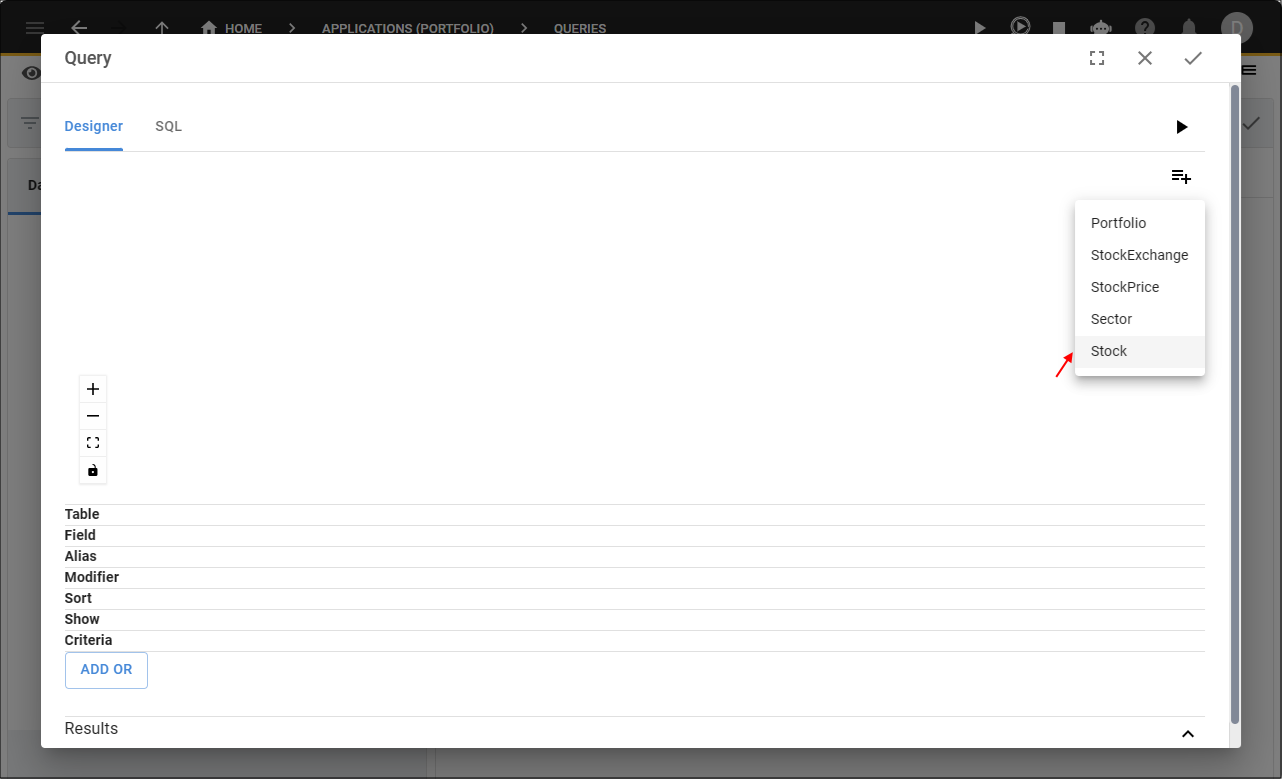
Figure 4 - Add the Stock table
6. Click the Add Table button.
7. Click on StockPrice.
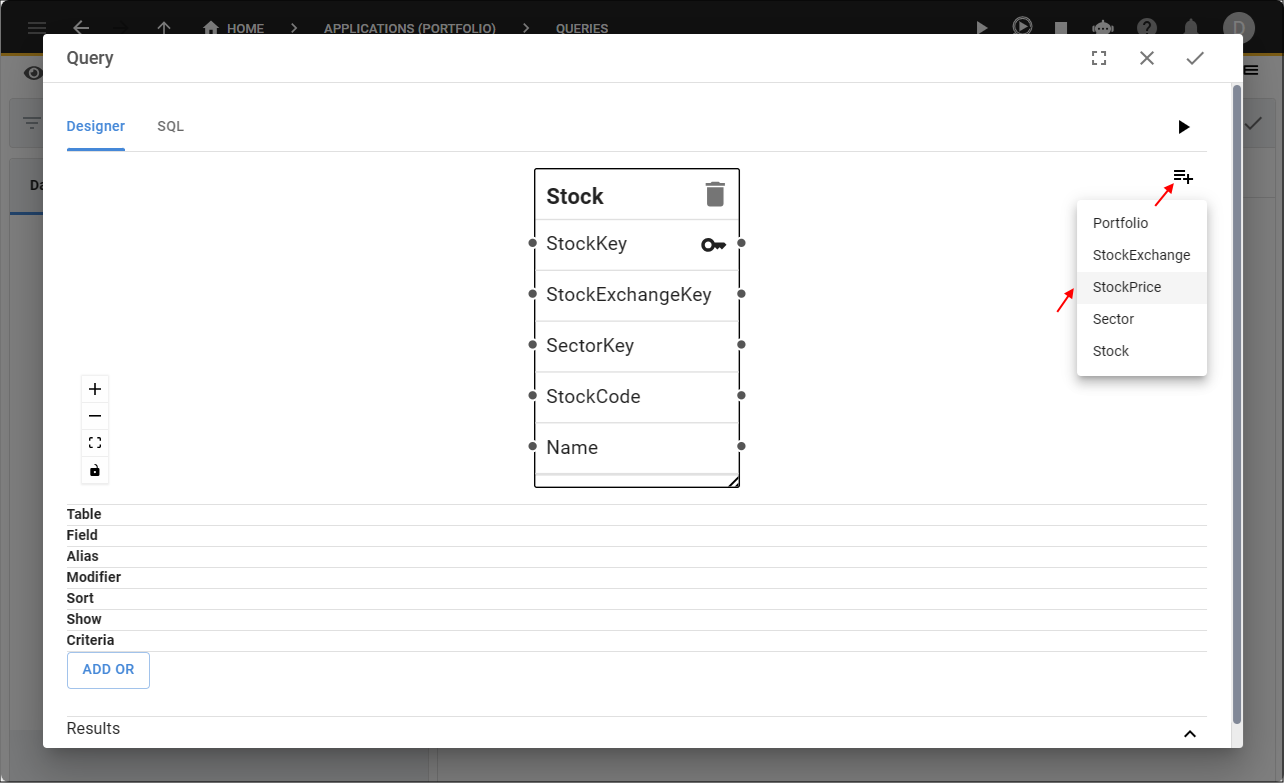
Figure 5 - Add the StockPrice table
8. Drag both tables to be positioned on the builder.
9. Double click the PriceDate field in the StockPrice table.
10. Double click the StockCode and Name fields in the Stock table.
11. Double click the Volume field in the StockPrice table.
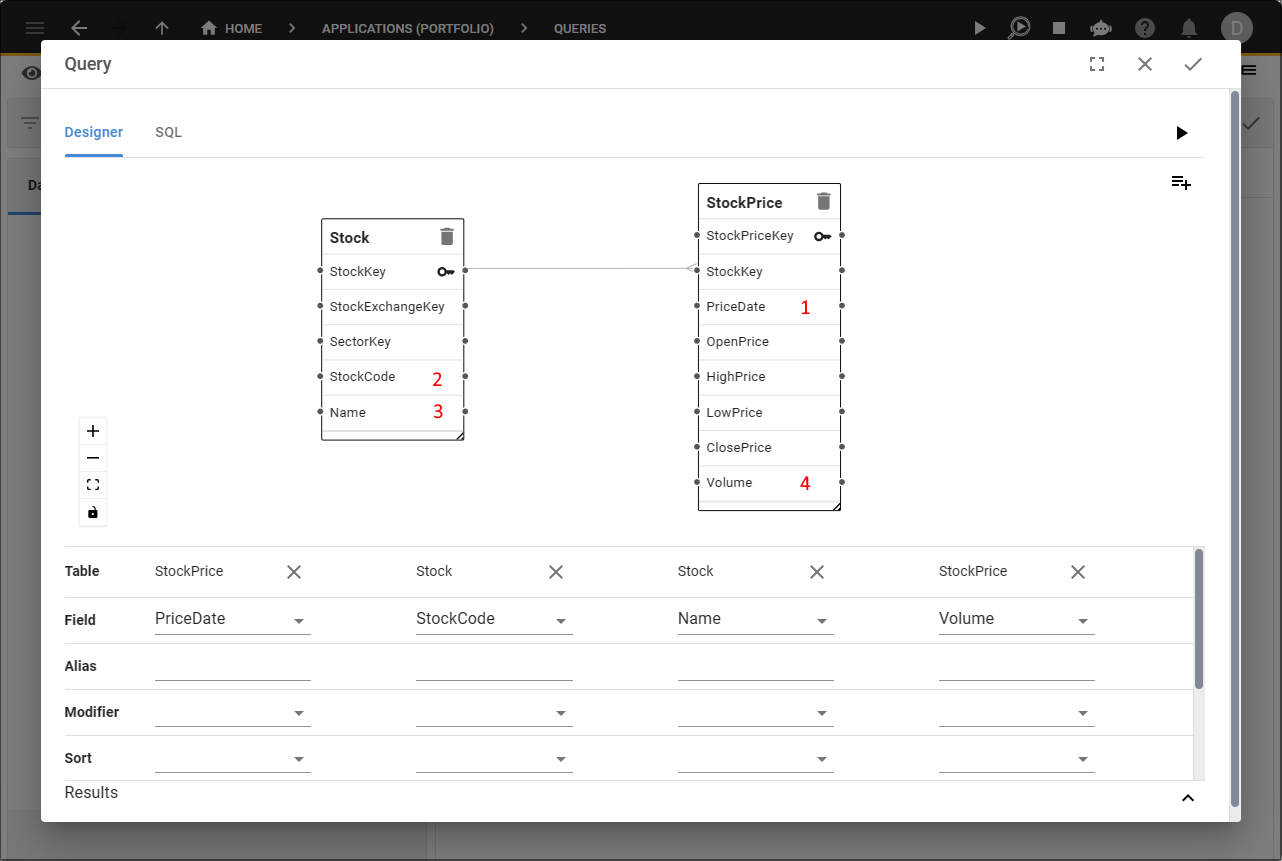
Figure 6 - Add the PriceDate, StockCode, Name, and Volume fields
12. Click the lookup icon in the Sort field for the PriceDate field and select Ascending.
13. Click the lookup icon in the Sort field for the StockCode field and select Ascending.

Figure 7 - Sort field
14. Type BETWEEN '2020-01-01' AND '2020-01-31' in the Criteria field, for the PriceDate field.
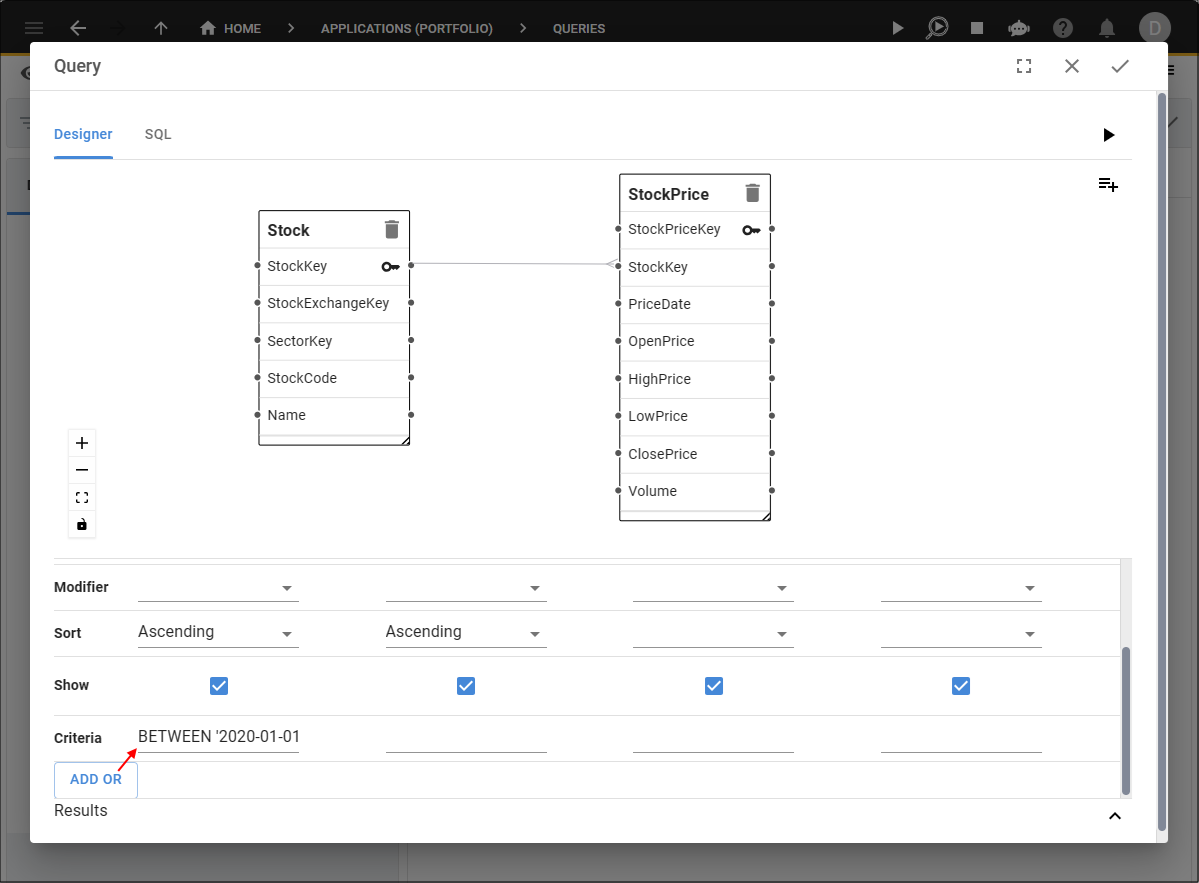
Figure 8 - Criteria field
info
The criteria you add is effectively your WHERE clause in SQL.
tip
You can click the Run button, located under the Save button, in the Query Builder to see the results of the query!
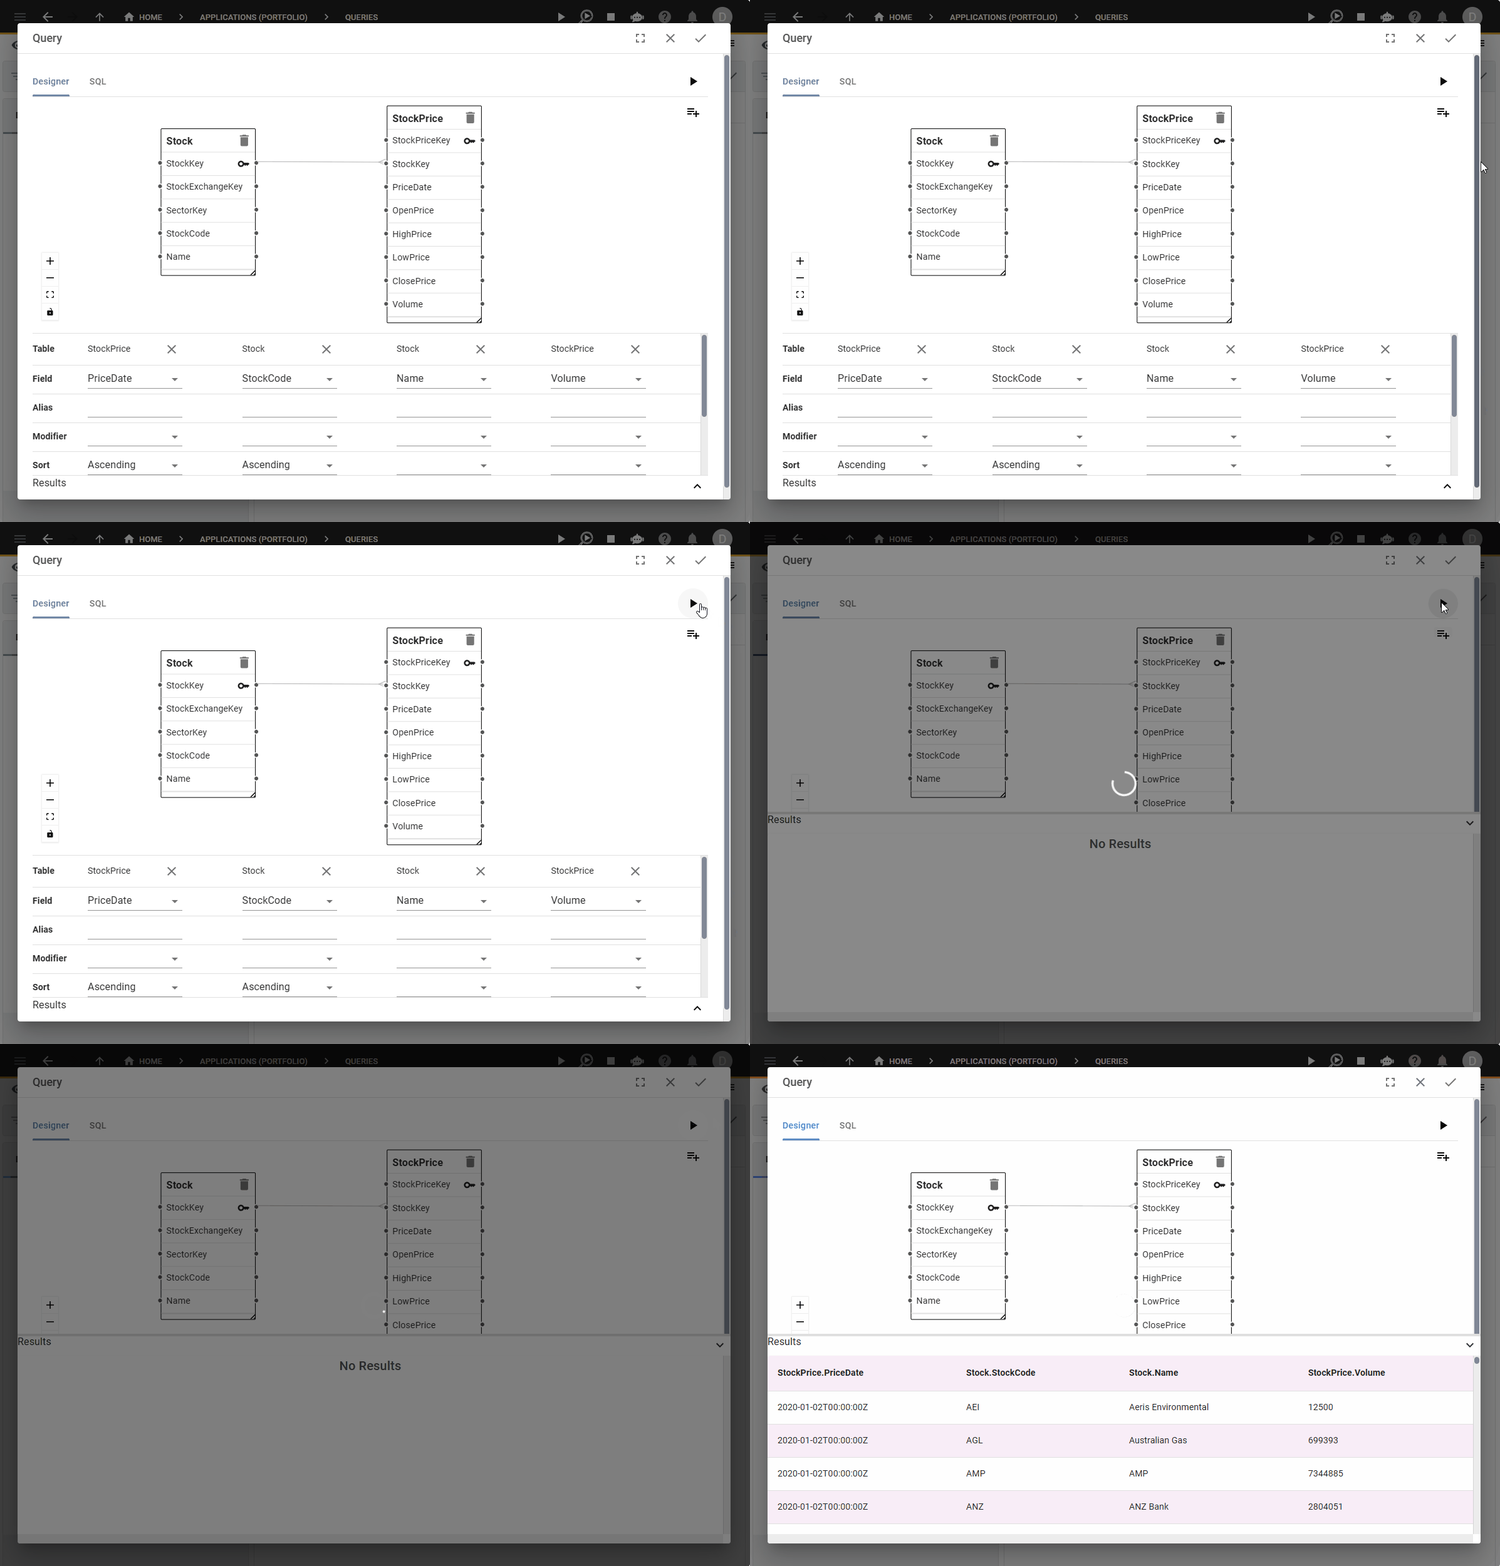
Figure 9 - Run button
15. Click the Save button in the Query Builder app bar.

Figure 10 - Save button
16. Click the Fields tab.
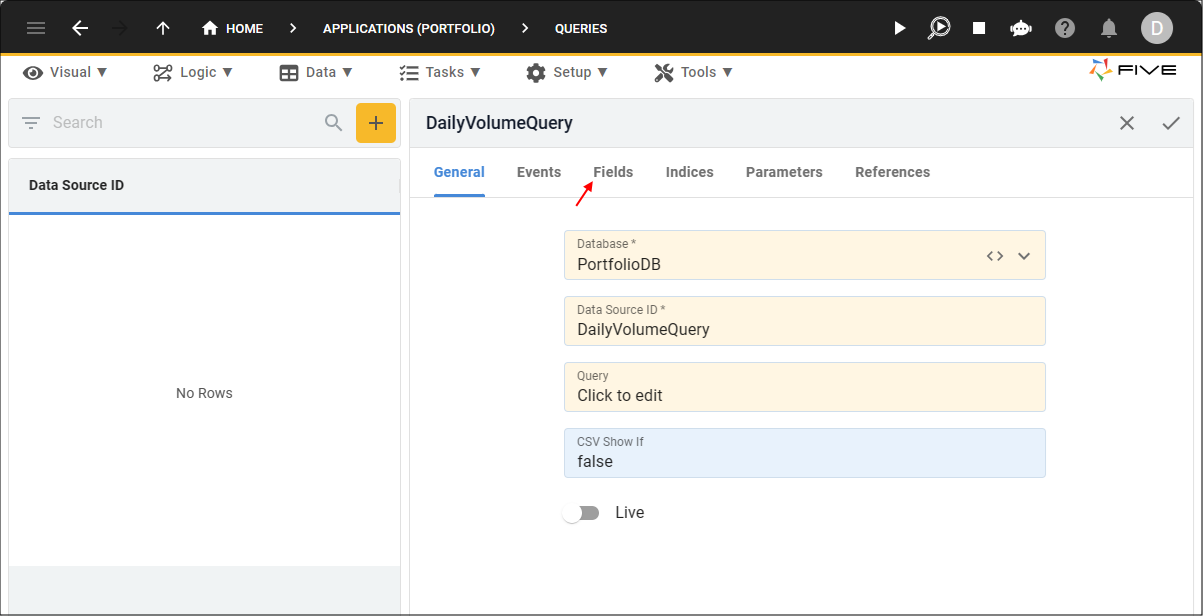
Figure 11 - Fields tab
info
The fields used in your query will be listed here. Defaults are set for query fields, however, you can edit these and provide the definitions you need. We are going to edit the fields in our query and these definitions will be set when we select the DailyVolumeQuery as the data source.
17. Select the StockPrice.PriceDate record.
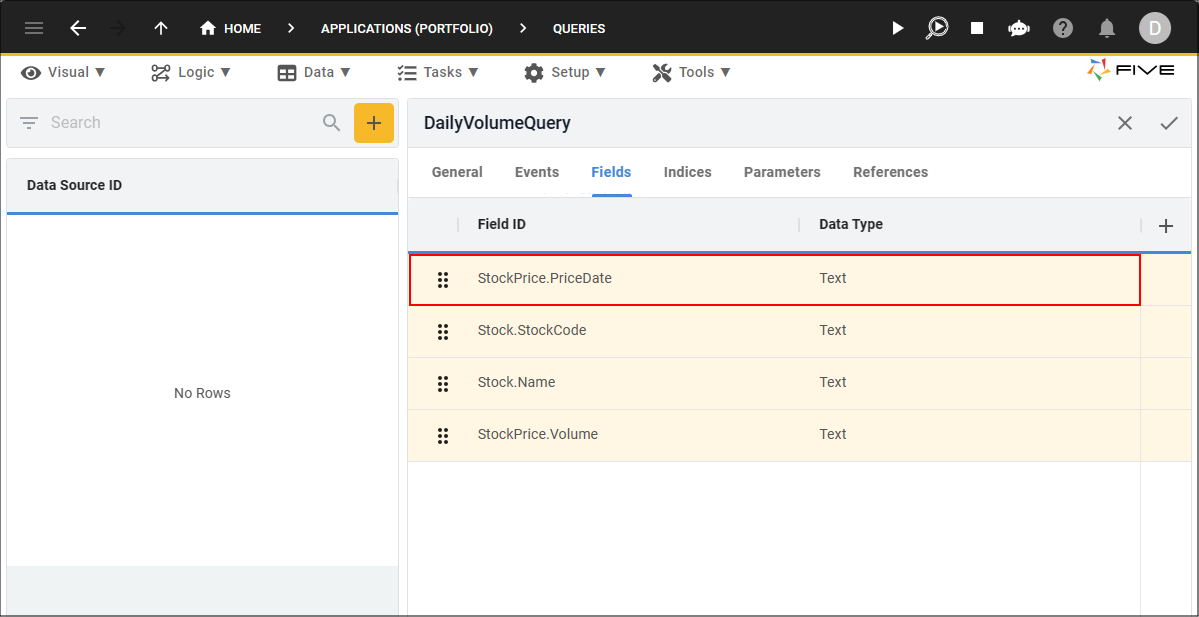
Figure 12 - StockPrice.PriceDate record
18. Either click the Edit button in the form app bar, or click directly in the Data Type field.
19. Click the lookup icon in the Data Type field and select Date.
20. Type 8 in the Size field.
21. Click the Cancel button in the Default Caption field and type Price Date.
22. Click the lookup icon in the Default Display Type field and select _Date.
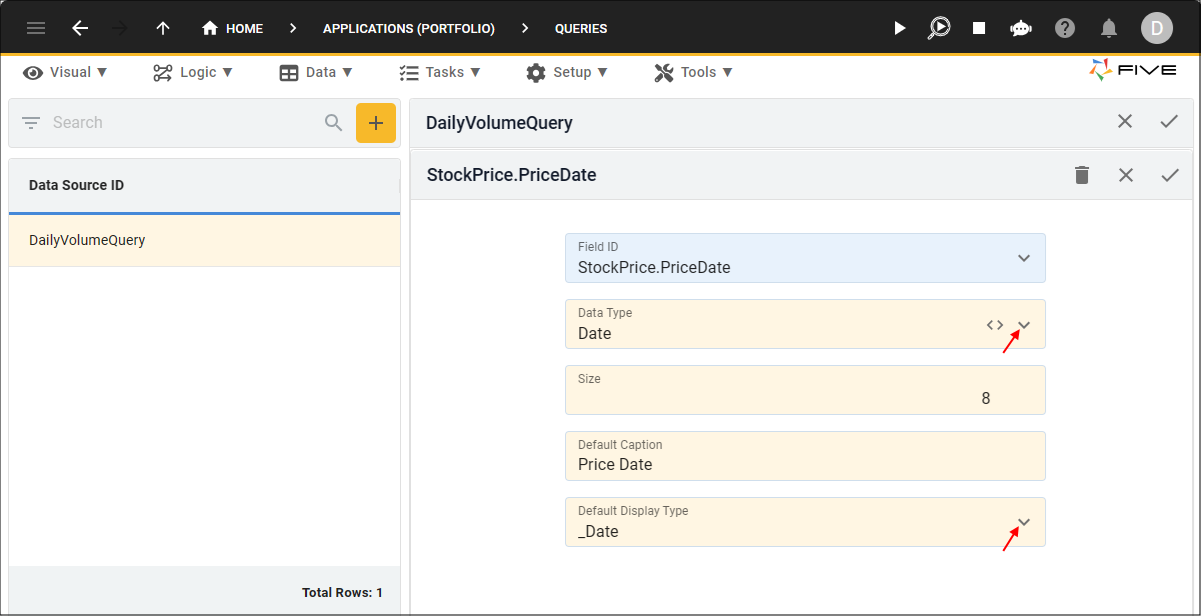
Figure 13 - Edit the StockPrice.PriceDate field
23. Click the Save button in the form app bar.
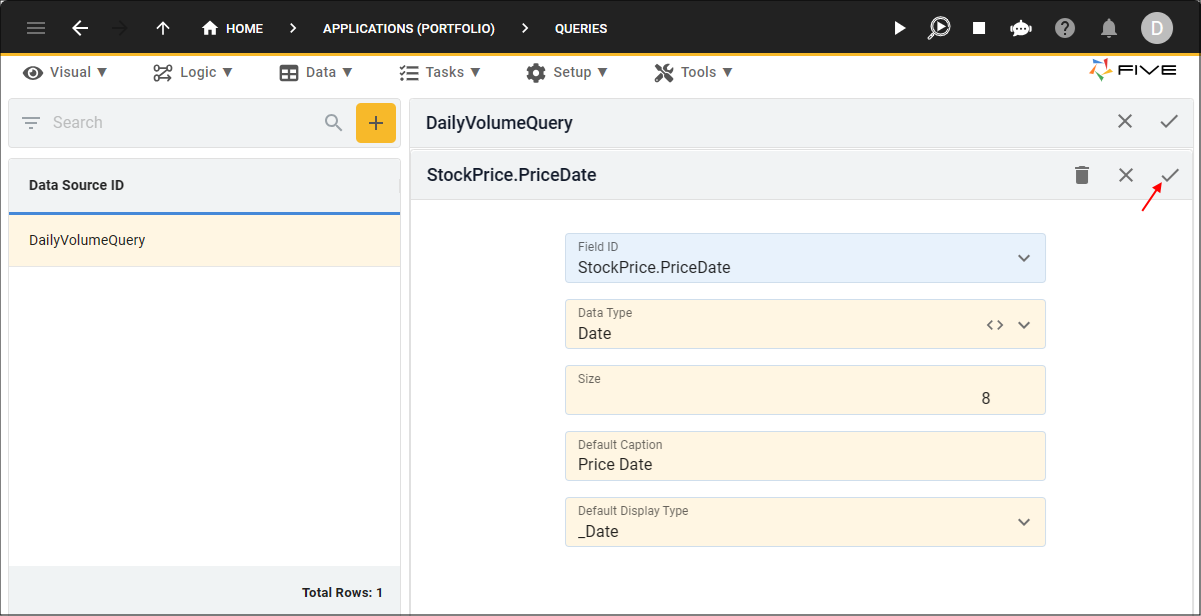
Figure 14 - Save button
24. Select the Stock.StockCode record.
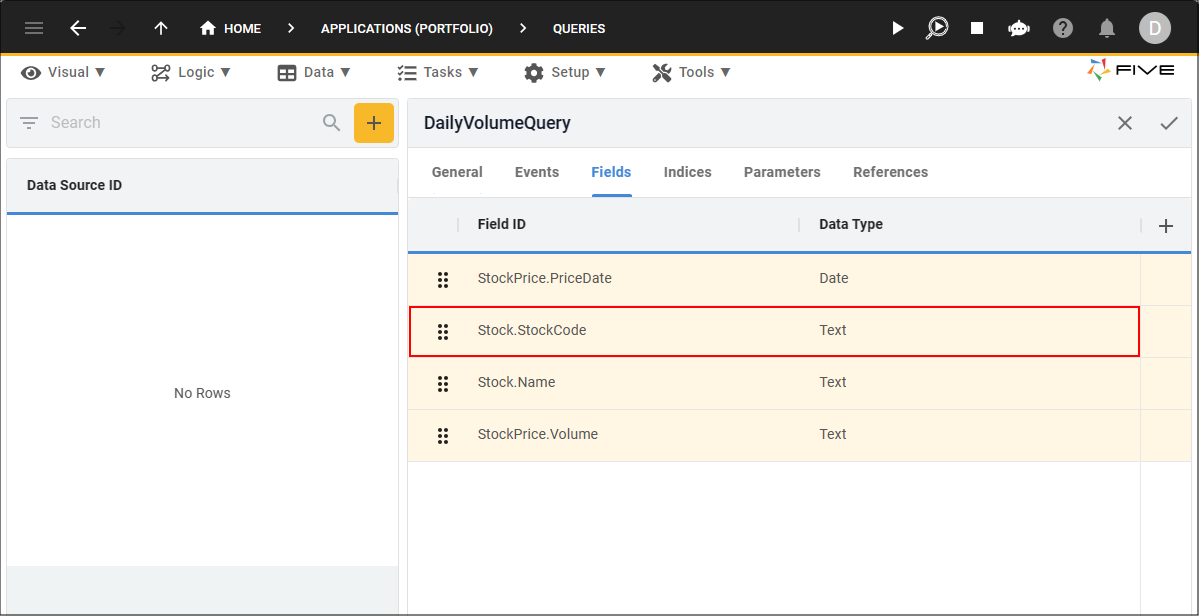
Figure 15 - Stock.StockCode record
25. Either click the Edit button in the form app bar, or click directly in the Default Caption field.
26. Click the Cancel button in the Default Caption field and type Stock Code.
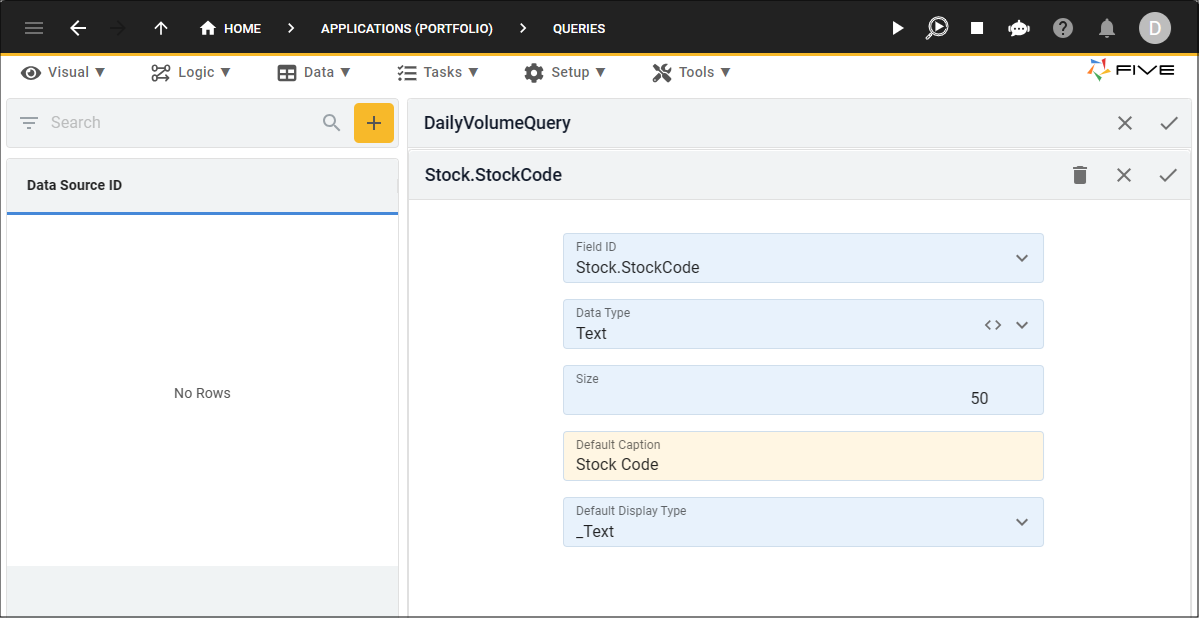
Figure 16 - Edit the Stock.StockCode field
27. Click the Save button in the form app bar.
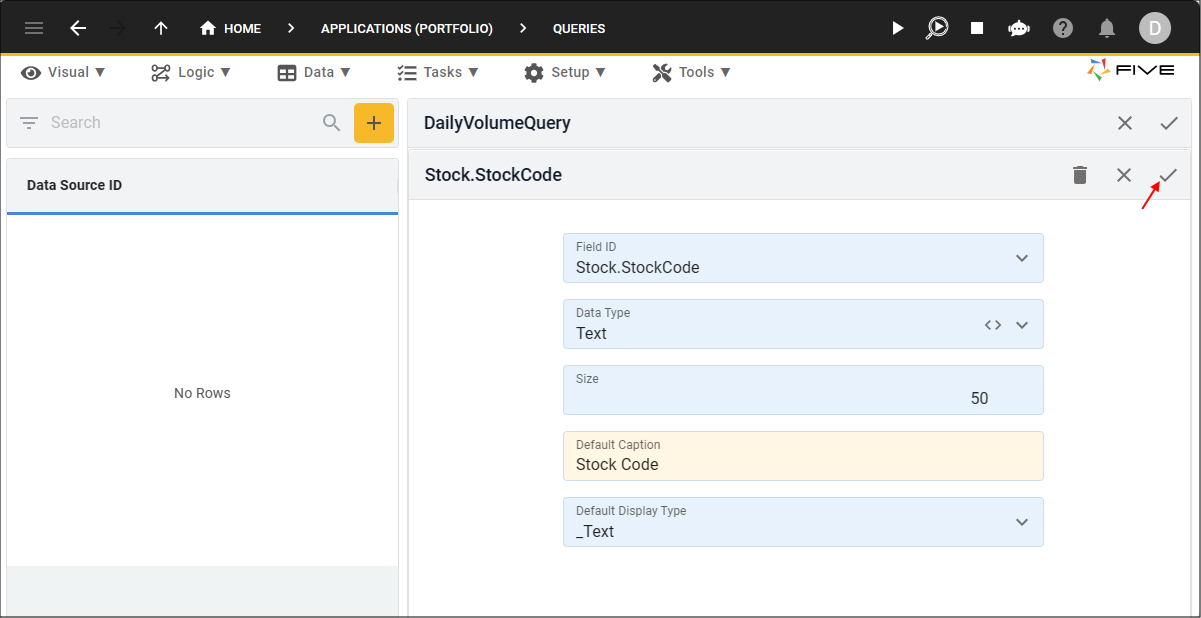
Figure 17 - Save button
28. Select the Stock.Name record.
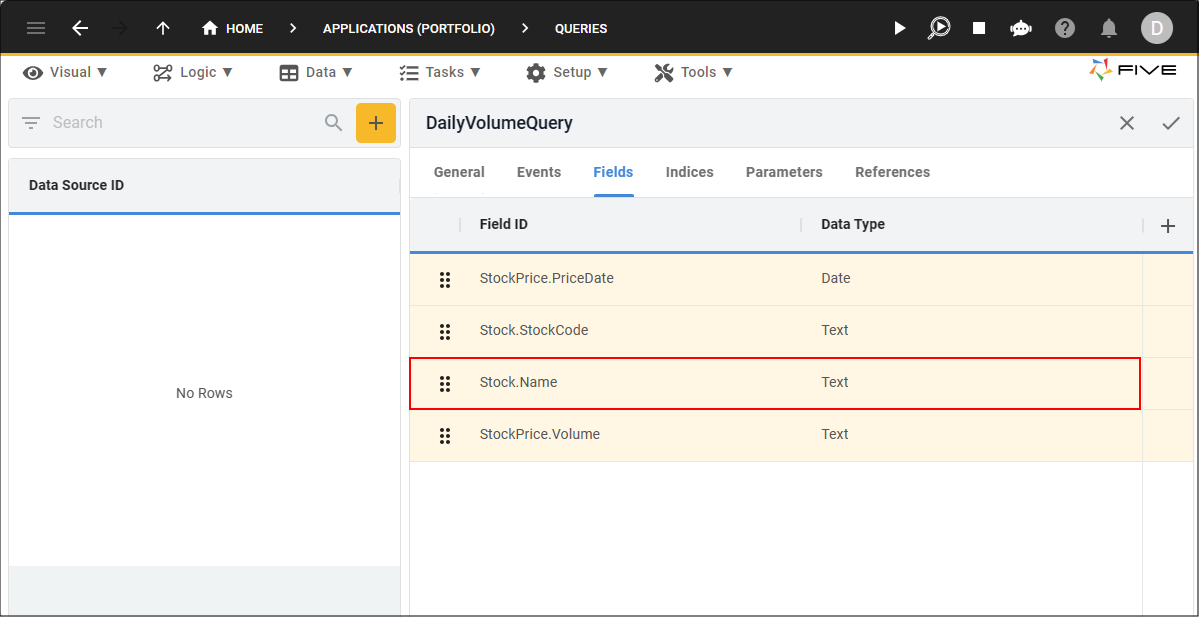
Figure 18 - Stock.Name record
29. Either click the Edit button in the form app bar, or click directly in the Default Caption field.
30. Click the Cancel button in the Default Caption field and type Name.
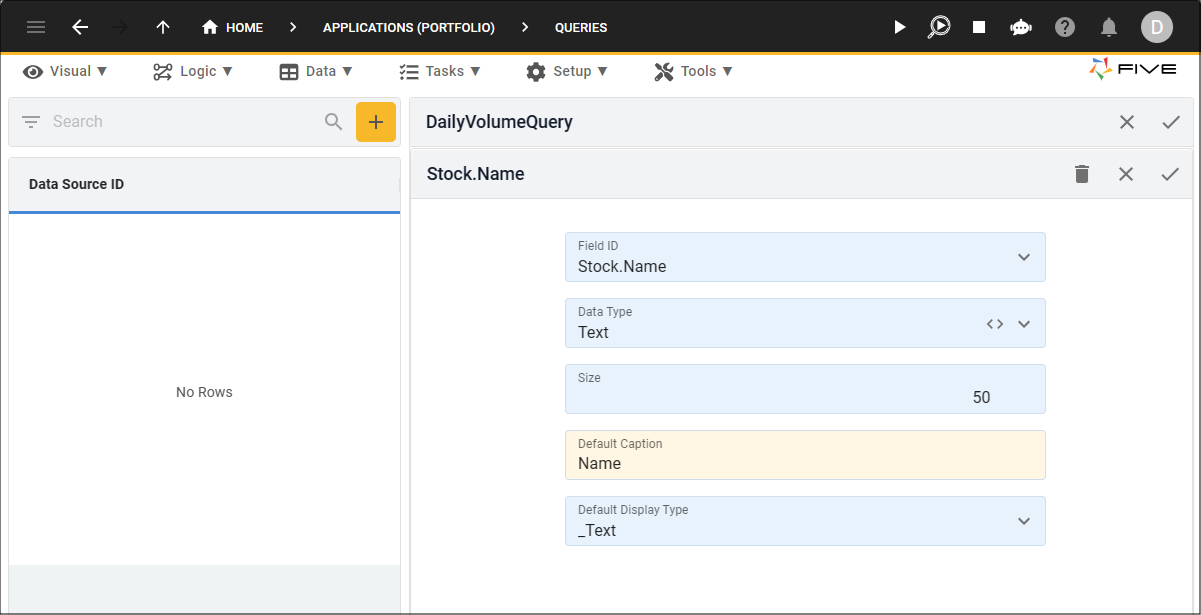
Figure 19 - Edit the Stock.Name field
31. Click the Save button in the form app bar.
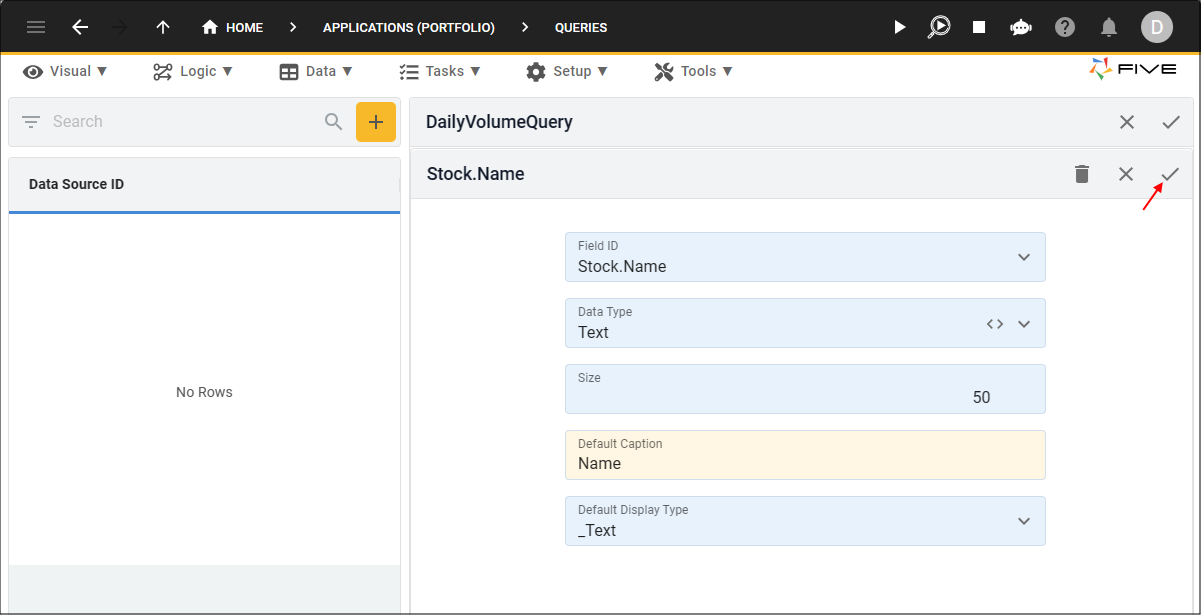
Figure 20 - Save button
32. Select the StockPrice.Volume record.
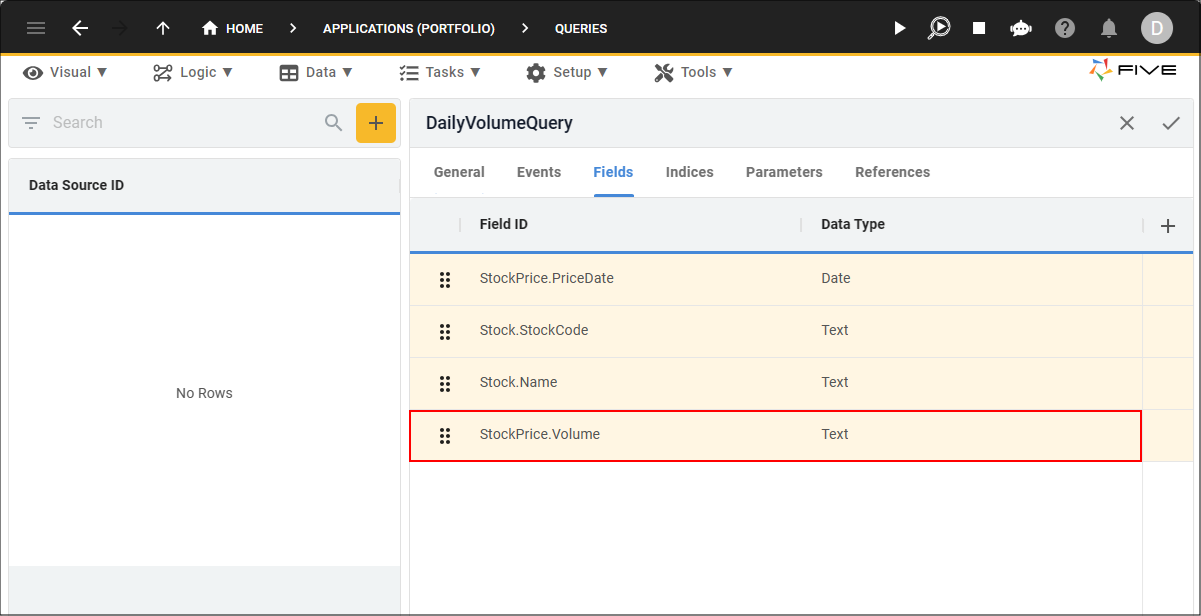
Figure 21 - StockPrice.Volume record
33. Either click the Edit button in the form app bar, or click directly in the Data Type field.
34. Click the lookup icon in the Data Type field and select Integer.
35. Type 4 in the Size field.
36. Click the Cancel button in the Default Caption field and type Volume .
37. Click the lookup icon in the Default Display Type field and select _Integer.
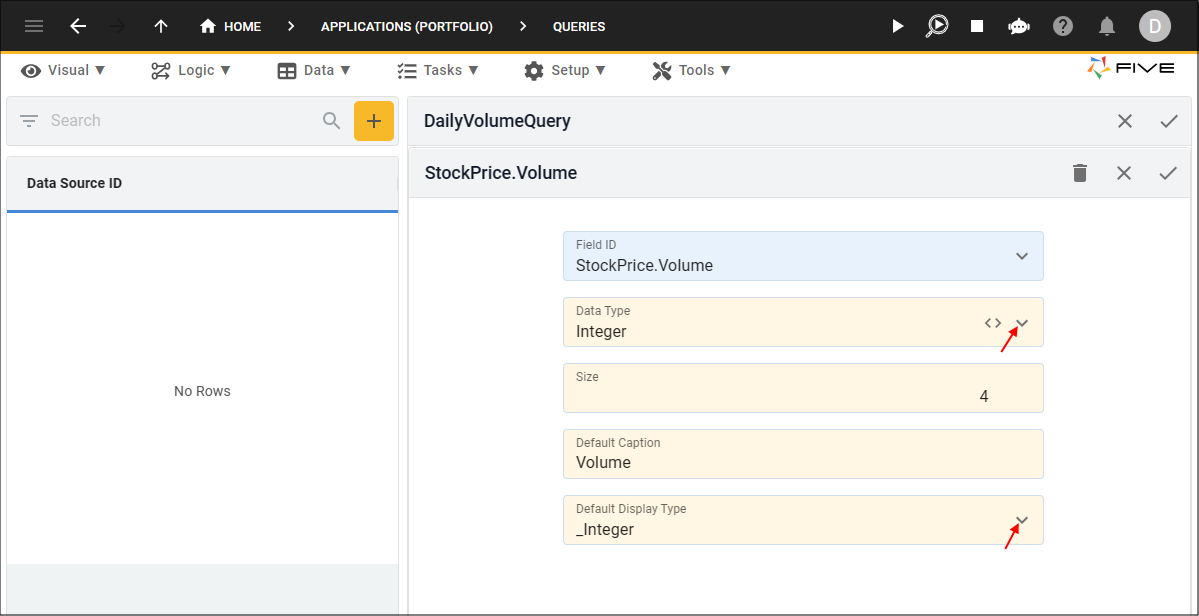
Figure 22 - Edit the StockPrice.Volume field
38. Click the Save button in the form app bar.
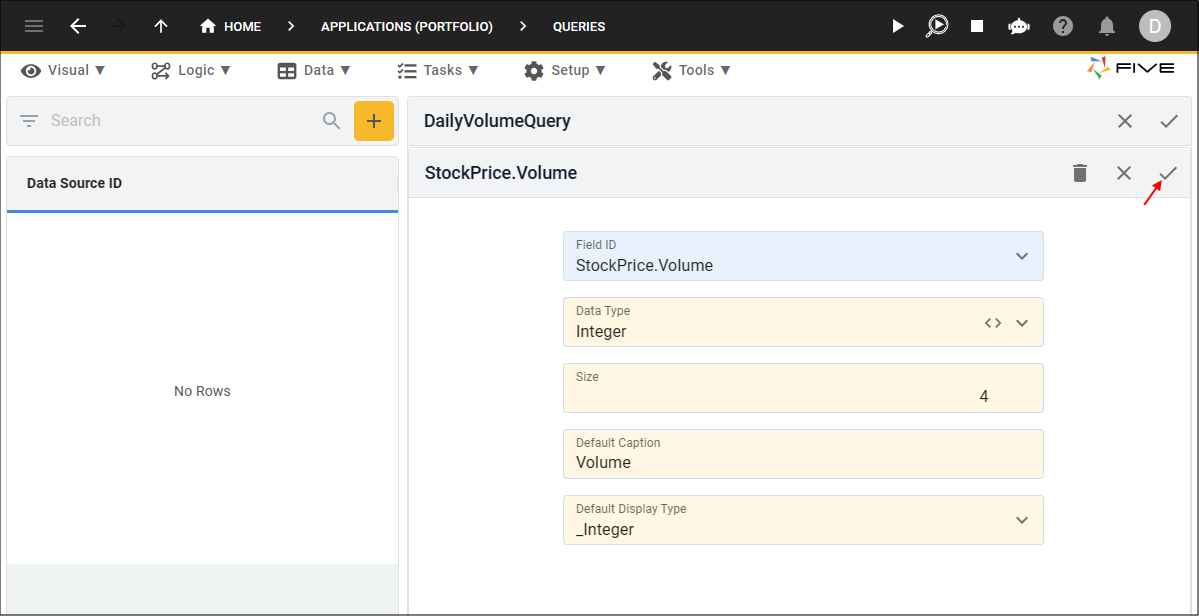
Figure 23 - Save button
39. Click the Save button in the form app bar above the list.
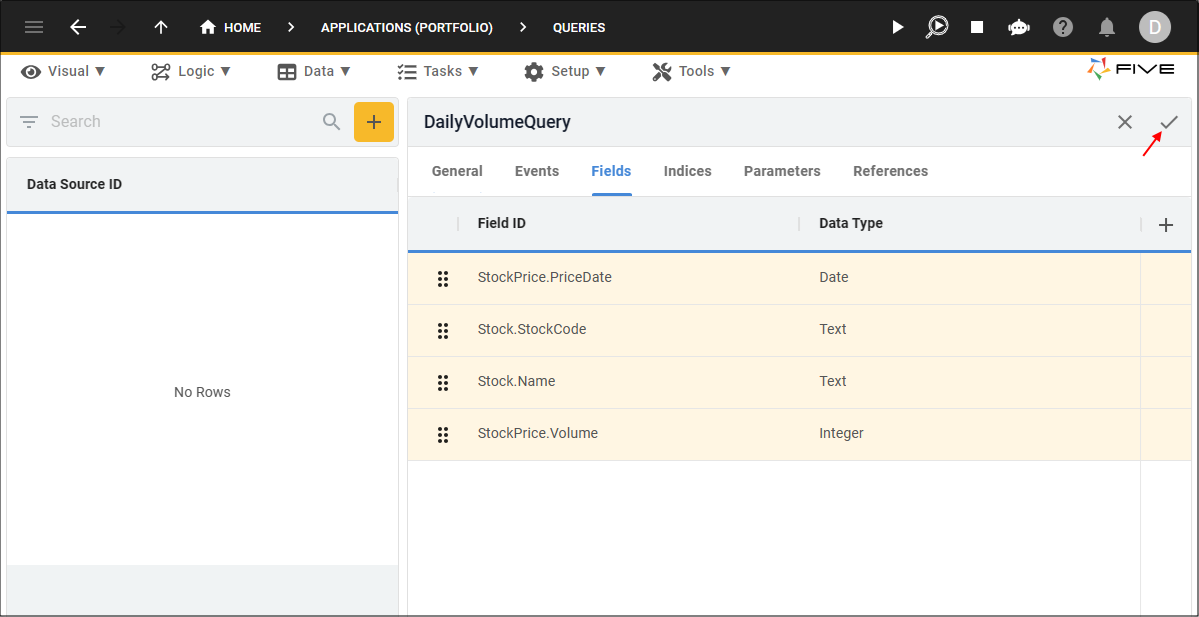
Figure 24 - Save button