Add and Manage Applications
Last updated 21/10/2025
The Applications view is where you create and maintain your applications. All the application-specific configurations are managed here. Five defaults several configurations for your application enabling you to start building your application as soon as you have given your application a title and saved the record.
The application record has been designed so that you can come back and edit definitions as they are required such as, adding your license agreement before you make your application live to your end-users.
All applications built in Five are built on a MySQL database and Five establishes the connection with MySQL's database management system (DBMS) to enable you to start developing your application immediately.
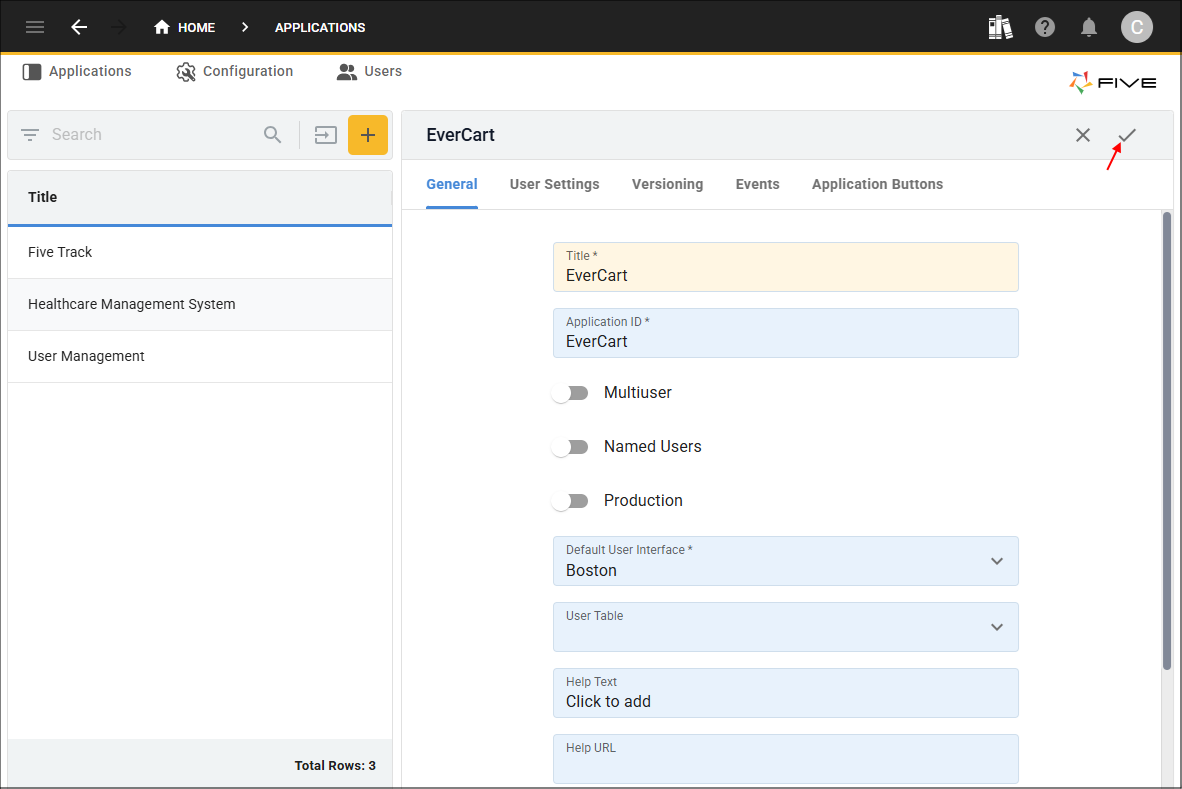
Add an Application
1. Click the Add Item button and give your application a title.
2. Click the Save button in the form app bar.
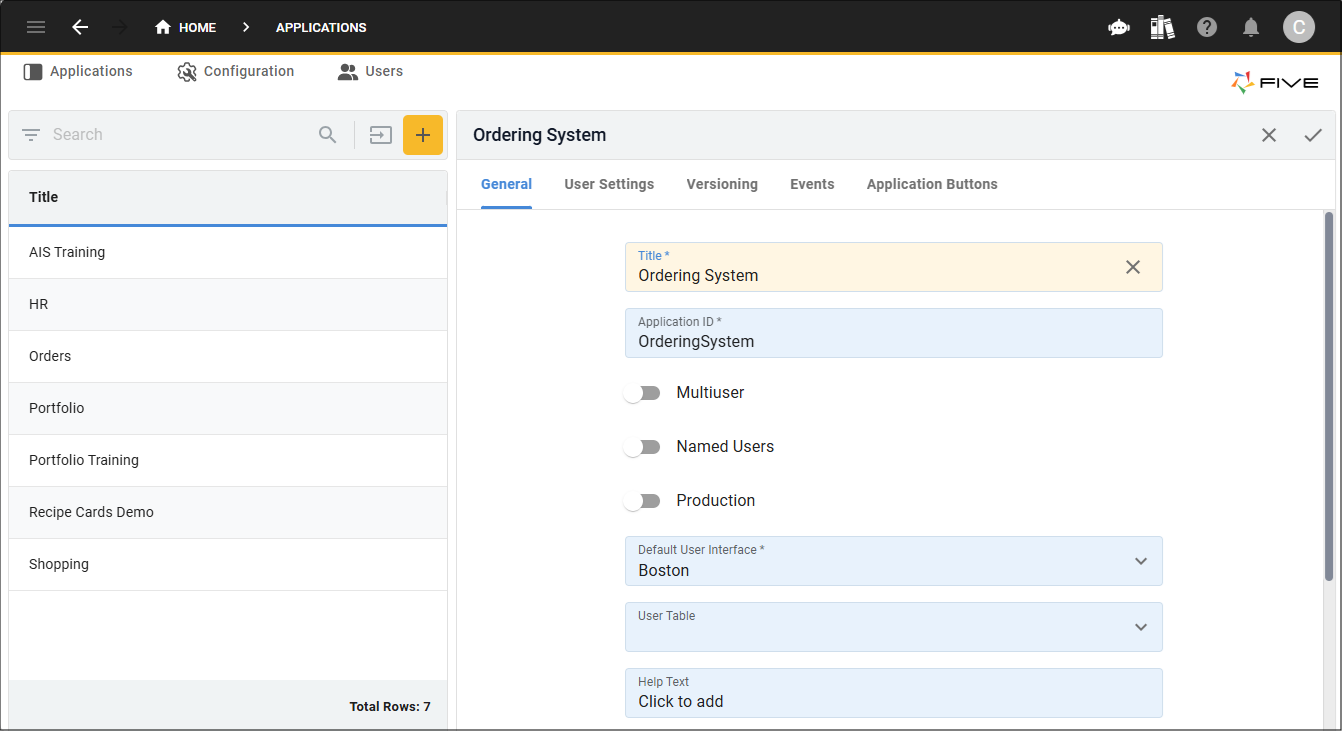
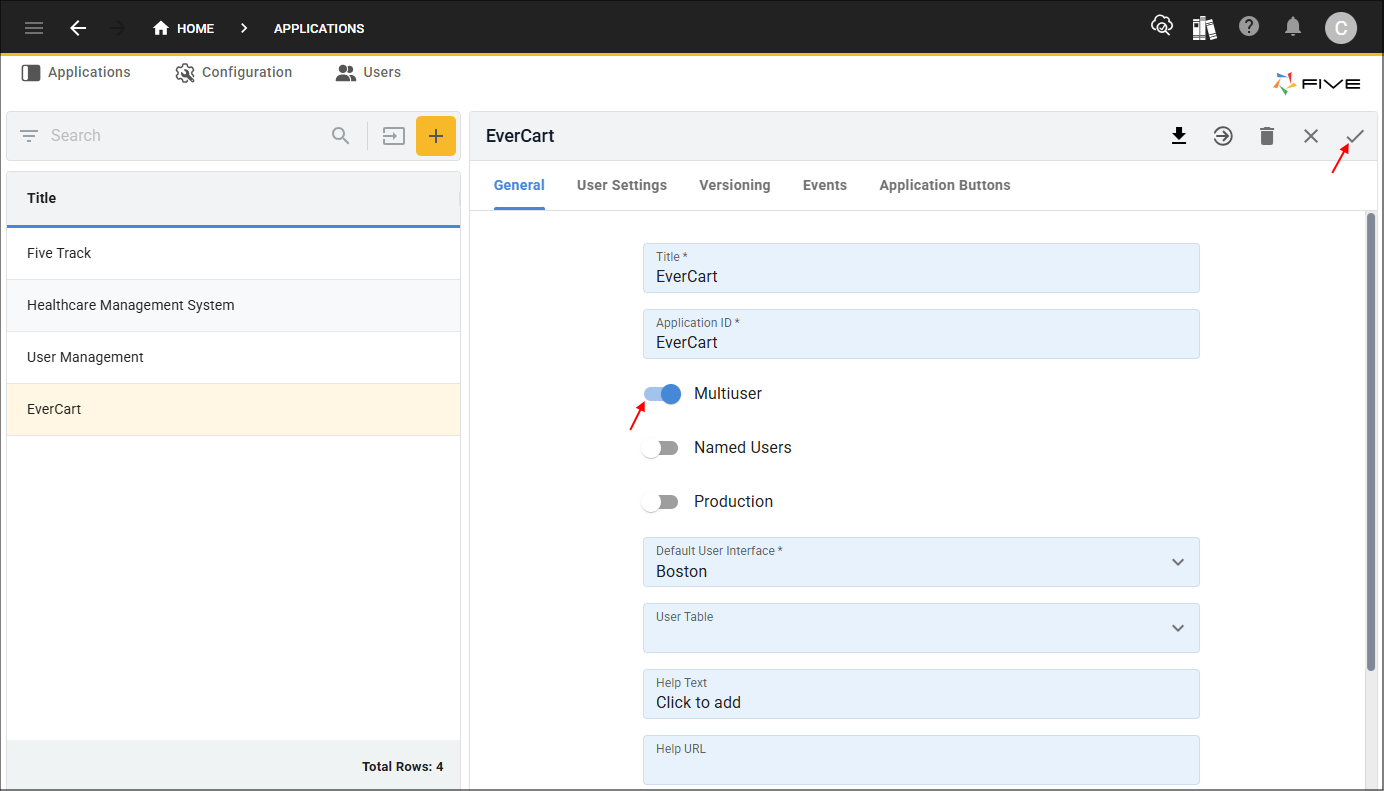
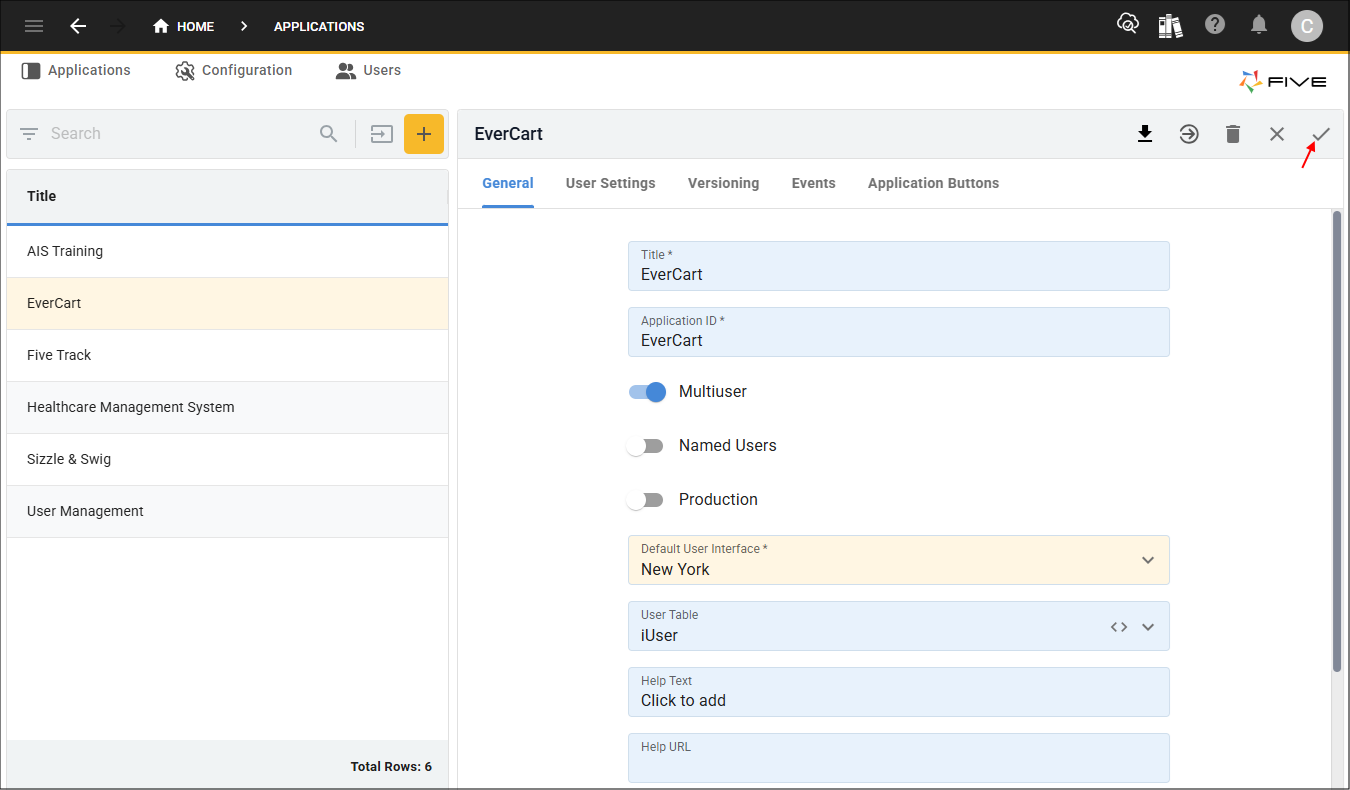
Add a Multiuser Application
1. Either click the Edit button in the form app bar or click directly on the Multiuser switch.

2. Click the Multiuser switch, followed by the Save button.
What Five Creates When an Application is Saved
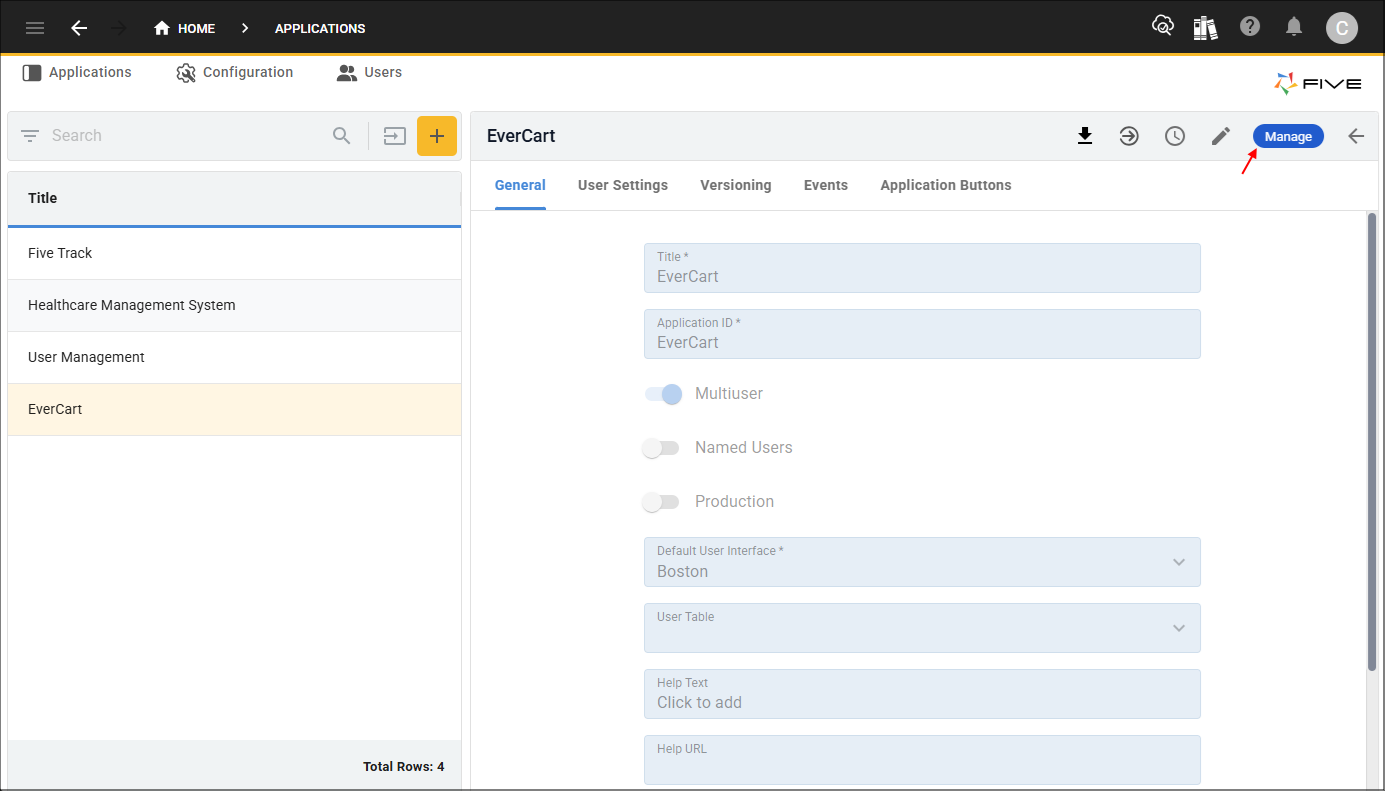
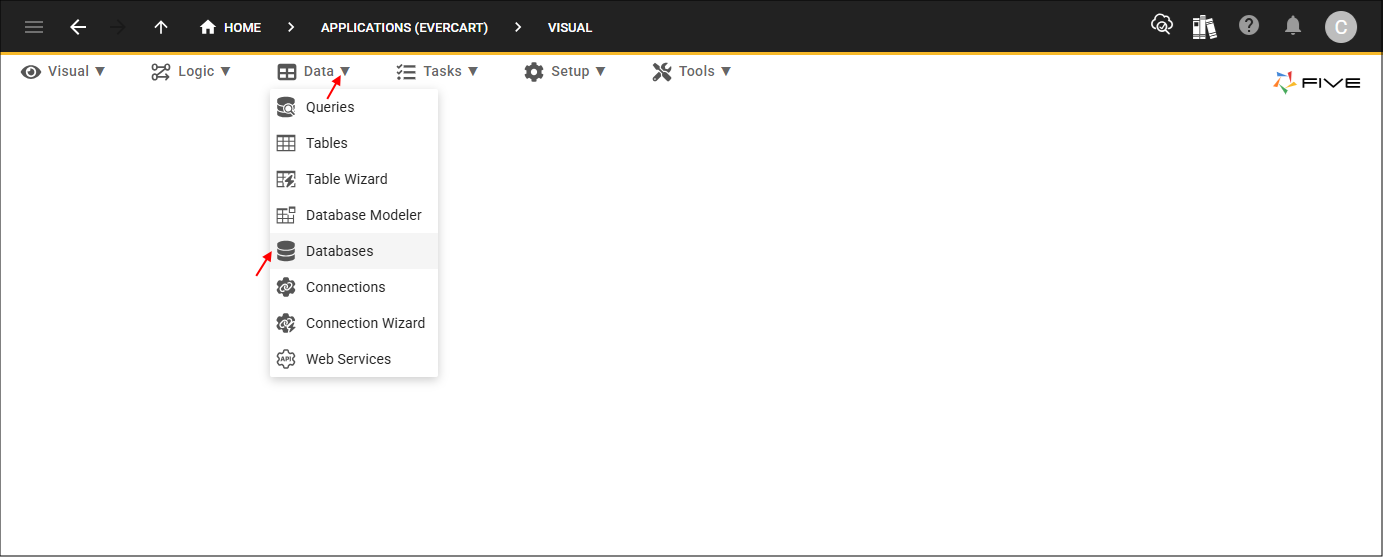
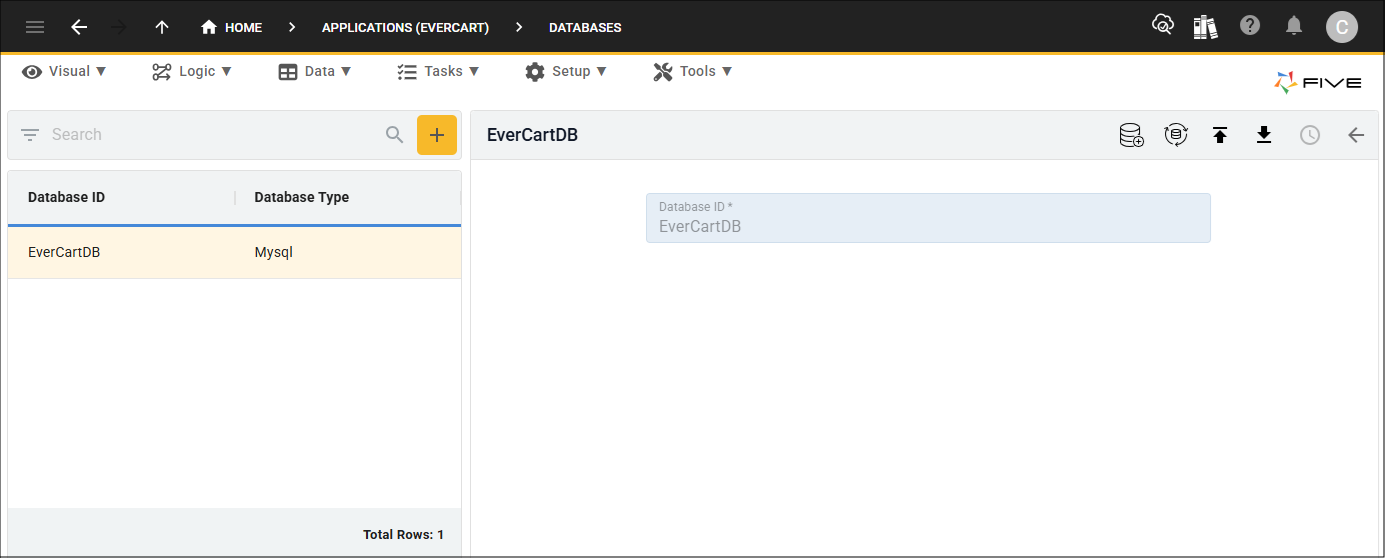
When an application is saved, Five creates a database and establishes the connection with MySQL. Five will take your application's ID and append DB to the end. You can see this by clicking the Manage button, selecting Data in the menu followed by Databases in the sub-menu, and selecting the record in the list.
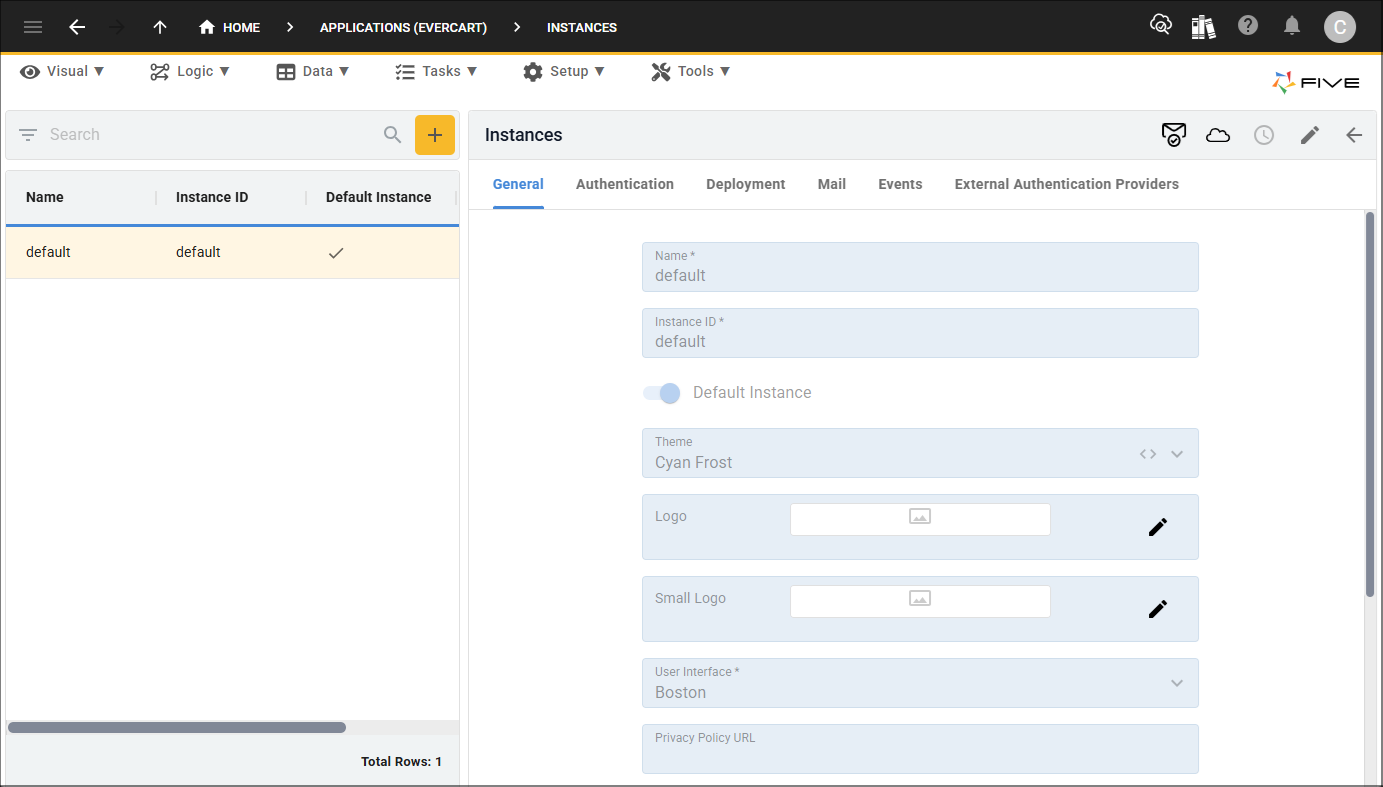
Five will also create an instance for your application. An instance is an instance of your application and you can have multiple instances for your application depending on your subscription. The instance that Five creates enables you to deploy your application to the development environment from any view in Five by clicking the Deploy to Development button in Five's toolbar. You can see the instance record by selecting Setup in the menu followed by Instances in the sub-menu, and selecting the default record.

What Five Creates When an Application Becomes Multiuser
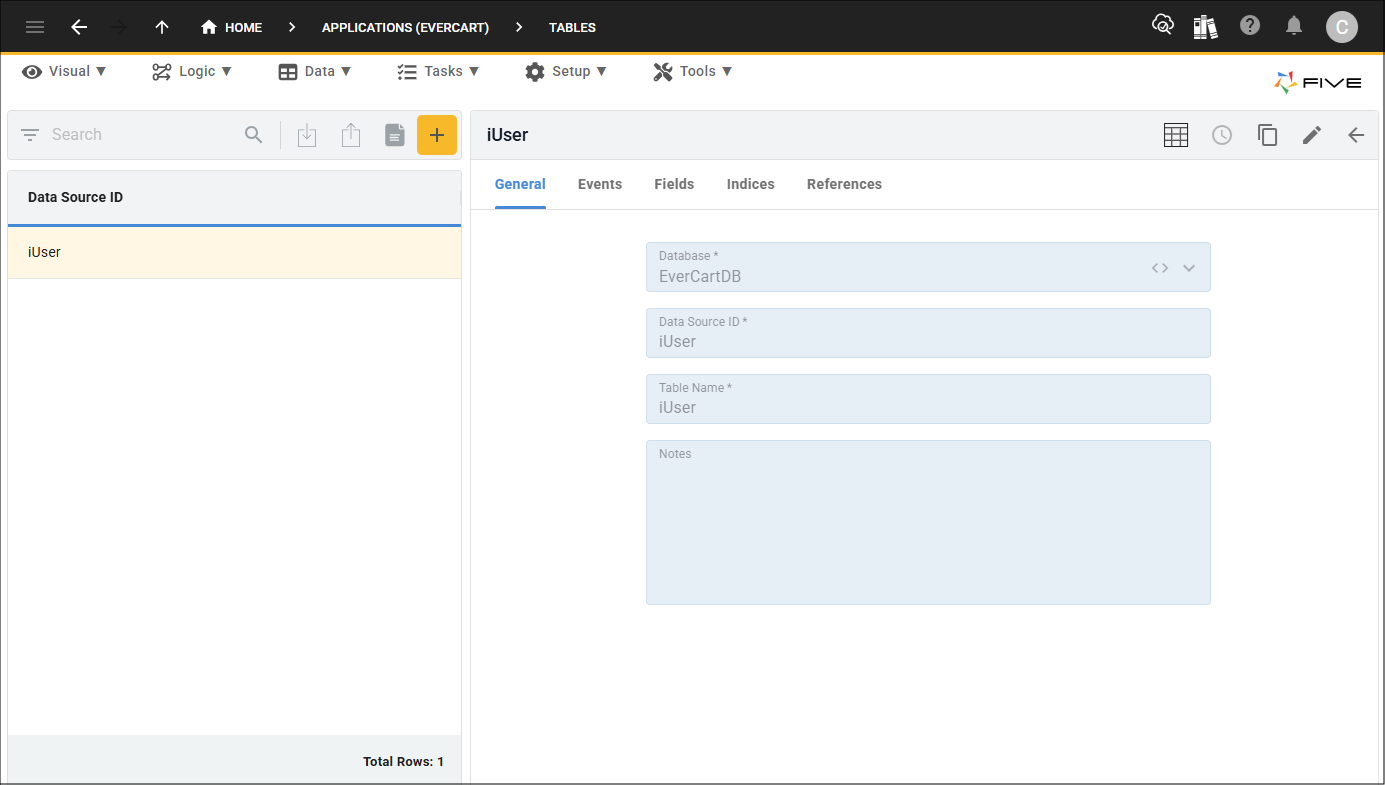
When an application becomes multiuser, Five creates a table called iUser in the application's database. This table is used to store all the users of your application. You can see the iUser table record by selecting Data in the menu followed by Tables in the sub-menu, and selecting the iUser table record.

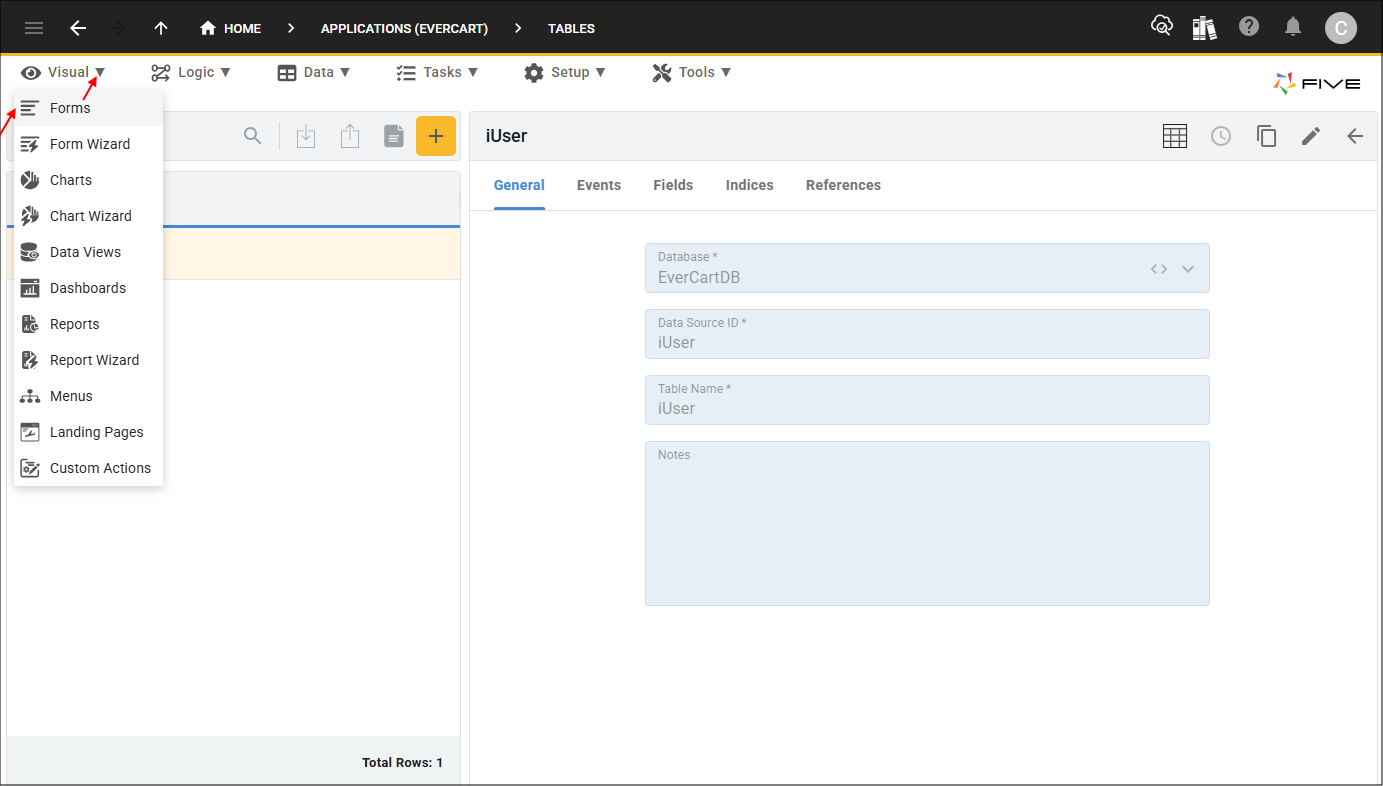
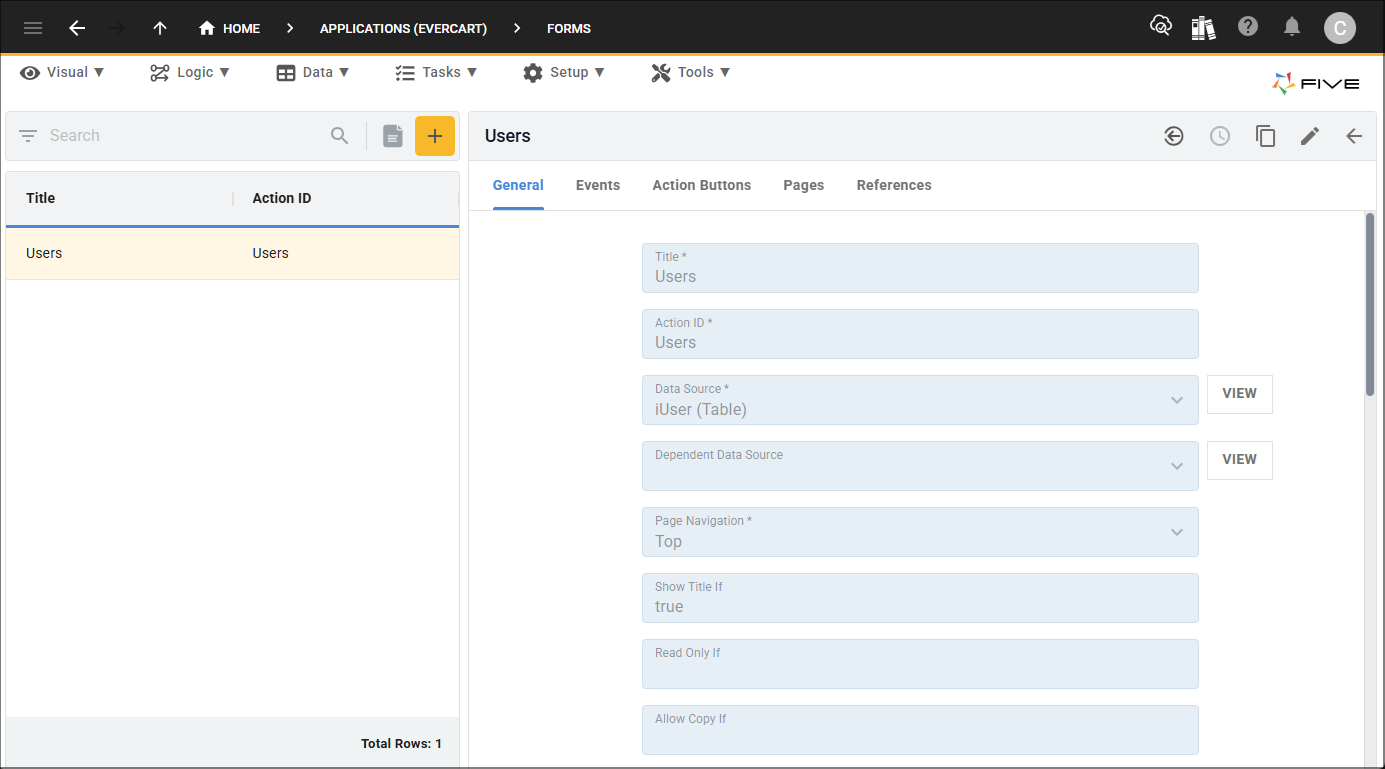
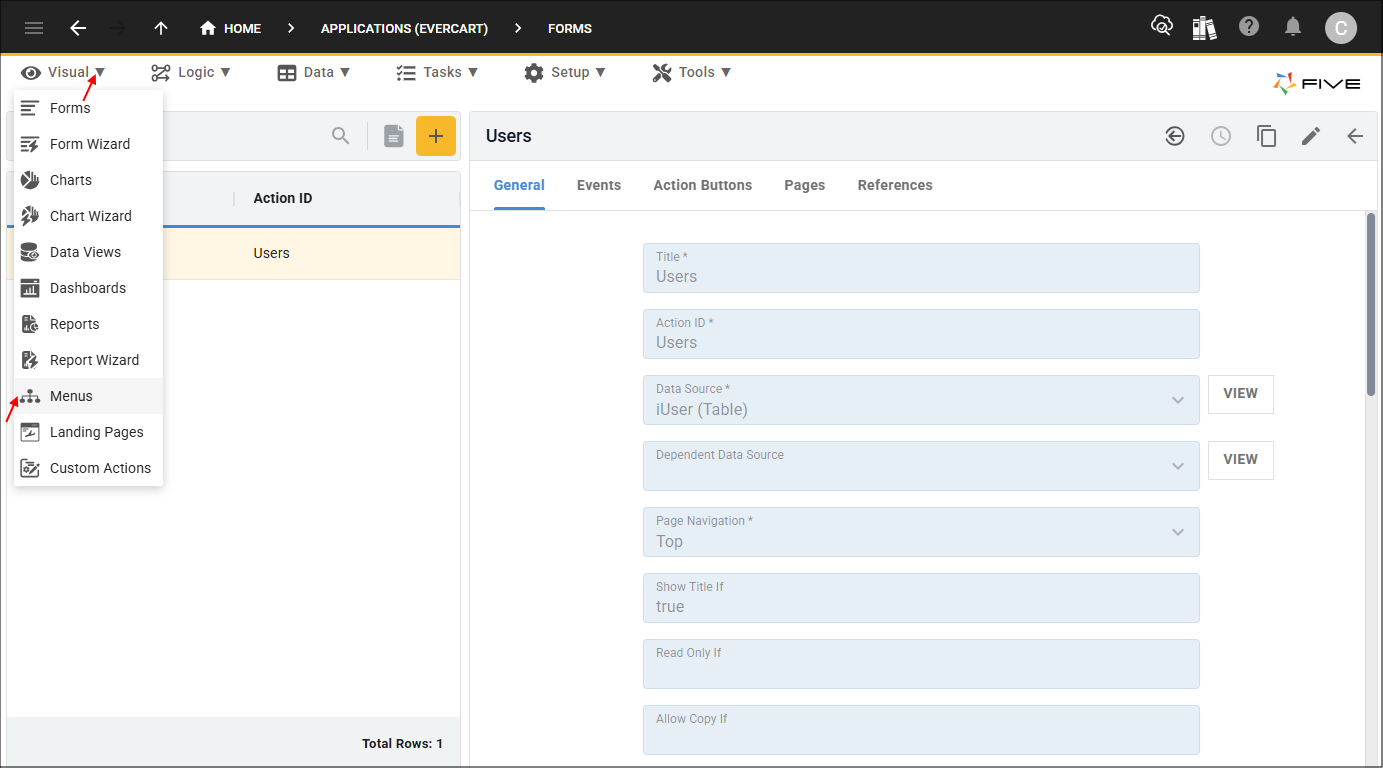
Five creates the Users form which uses the iUser table as its data source. You can see the Users form record by selecting Visual in the menu followed by Forms in the sub-menu, and selecting the Users form record.
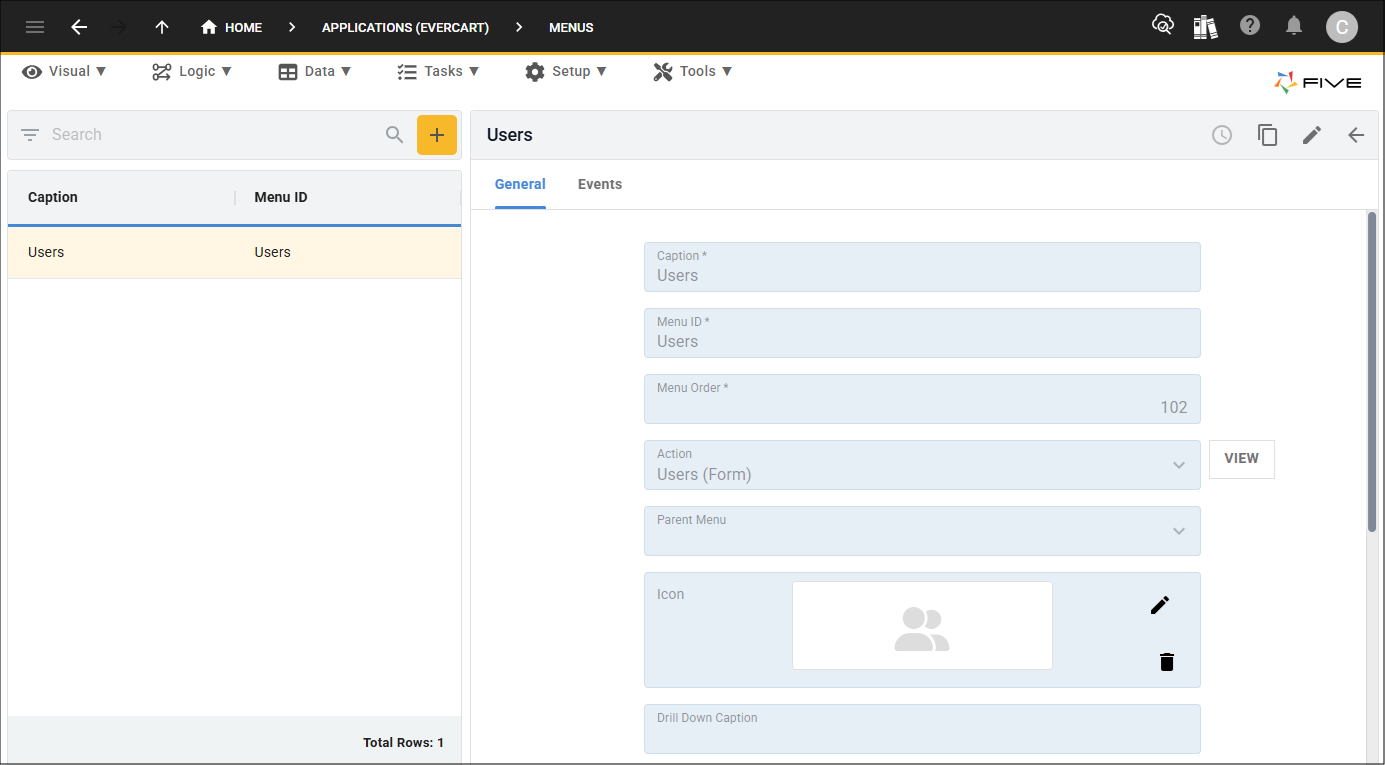
Five creates the Users menu which references the Users form. You can see the Users menu record by selecting Visual in the menu followed by Menus in the sub-menu, and selecting the Users menu record.
Please refer to the following chapters to know how to deploy your application and how to initially login into your application:
Please refer to the following chapter if you are on a Basic subscription:
Managing Applications
Through your development, you will find you may need to come back and maintain your application record to add new definitions such as adding your license agreement or attaching a function to an event.
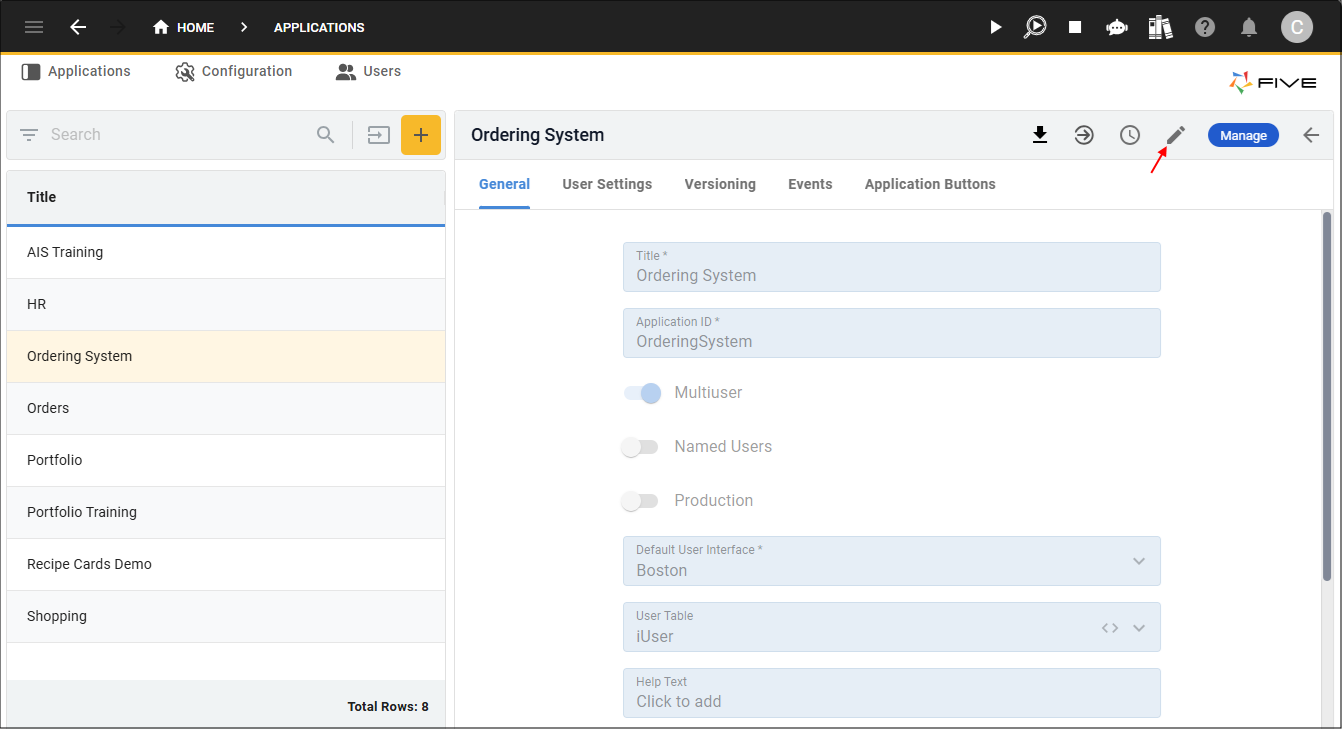
Edit an Application
1. Select the application record in the list.2. Either click the Edit button in the form app bar or click in any field.
3. Make your changes and click the Save button in the form app bar.
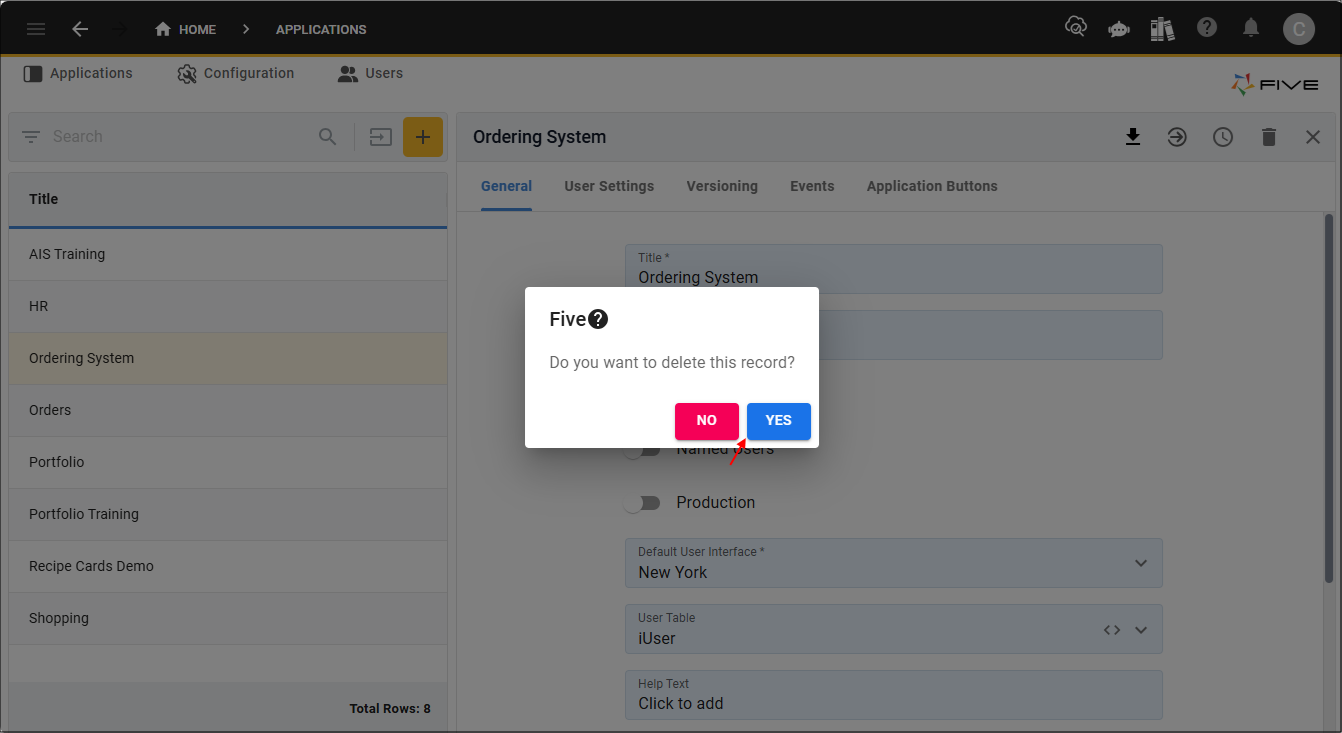
Delete an Application
You cannot delete an application while it is deployed, you will need to remove the application from all deployment environments in order to delete the record.
1. Select the application record in the list and click the Edit button in the form app bar.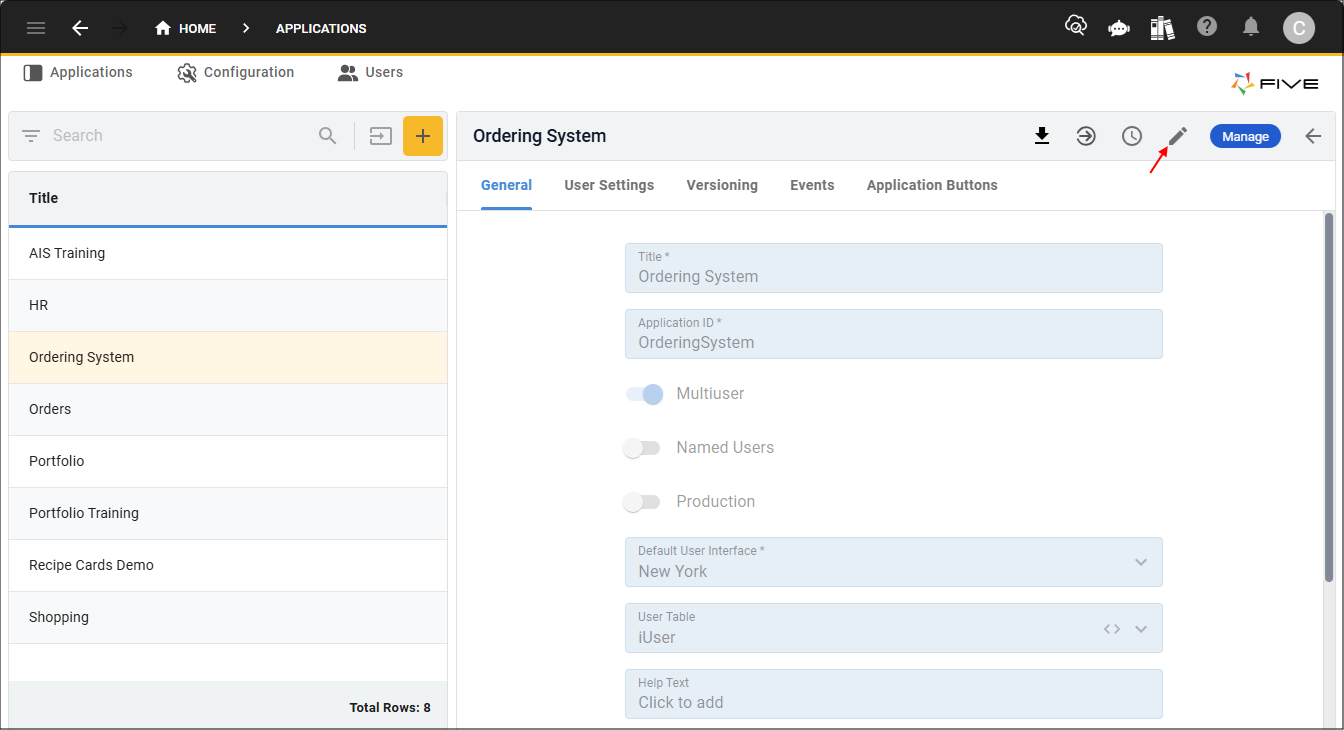
2. Click the Delete button in the form app bar.
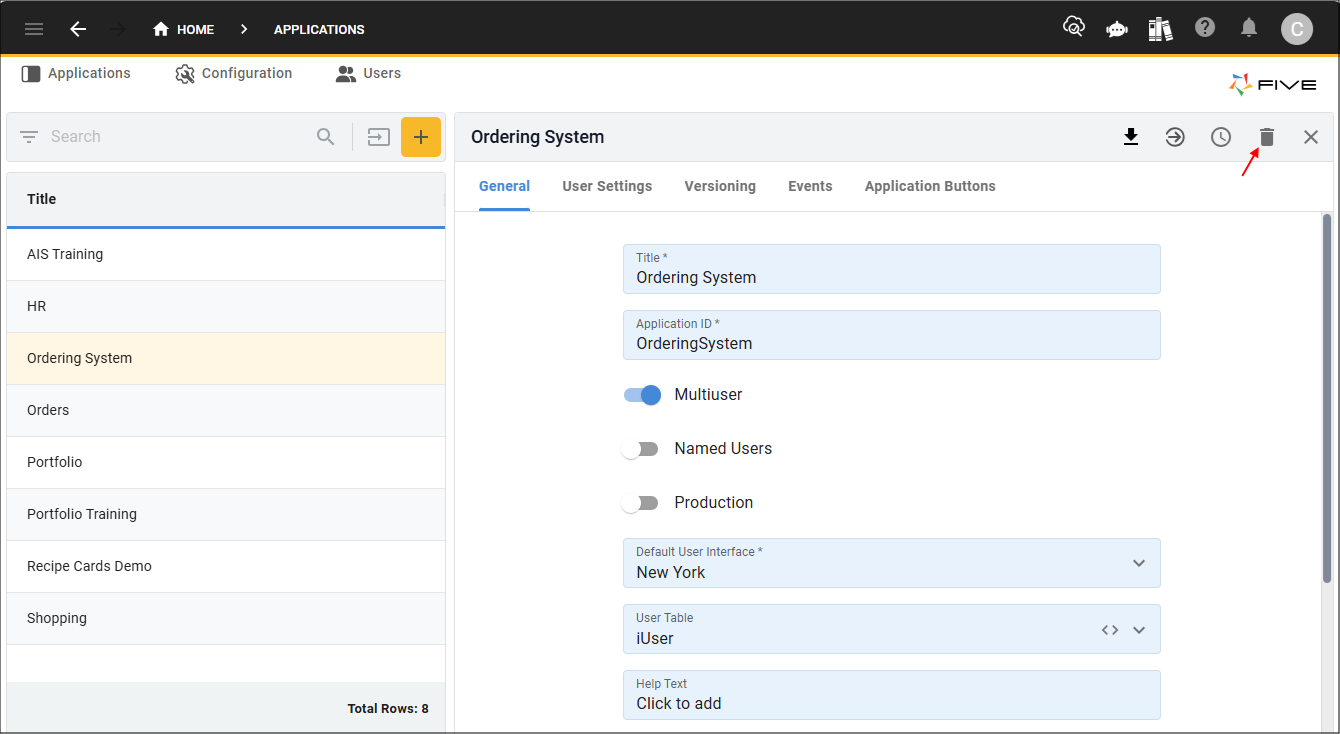
3. Click the Yes button.