Create A Parent-Menu
Last updated 14/08/2024
A parent-menu will be at the top-level and the child-menu items will be available under it. The customizable Down button on a saved form record will automatically appear in the app bar to drill down to the child-menu items. The data will be filtered by the record selected in the parent-menu and only show the relatable data.Navigate to Menus
1. Select Visual in the menu.2. Select Menus in the sub-menu.
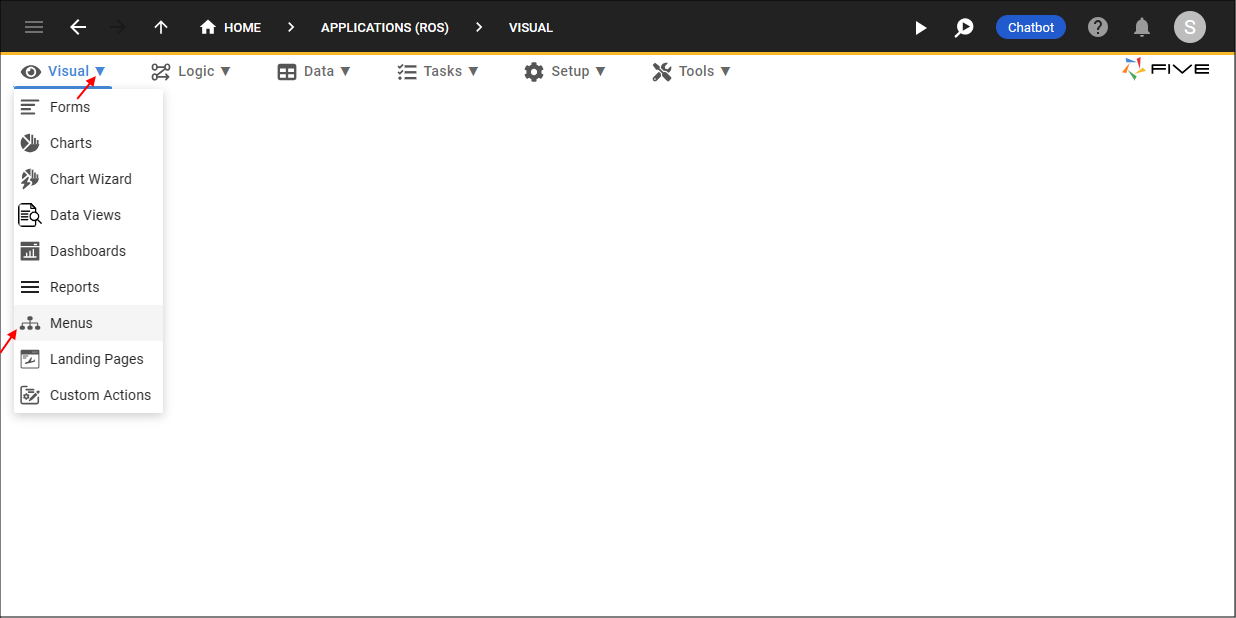
Figure 1 - Menus menu item
Add a Parent-Menu Item
info
A menu item referencing an action type of Form must be created first and this menu item can then become a parent-menu to other menu items.
1. Click the Add Item button.
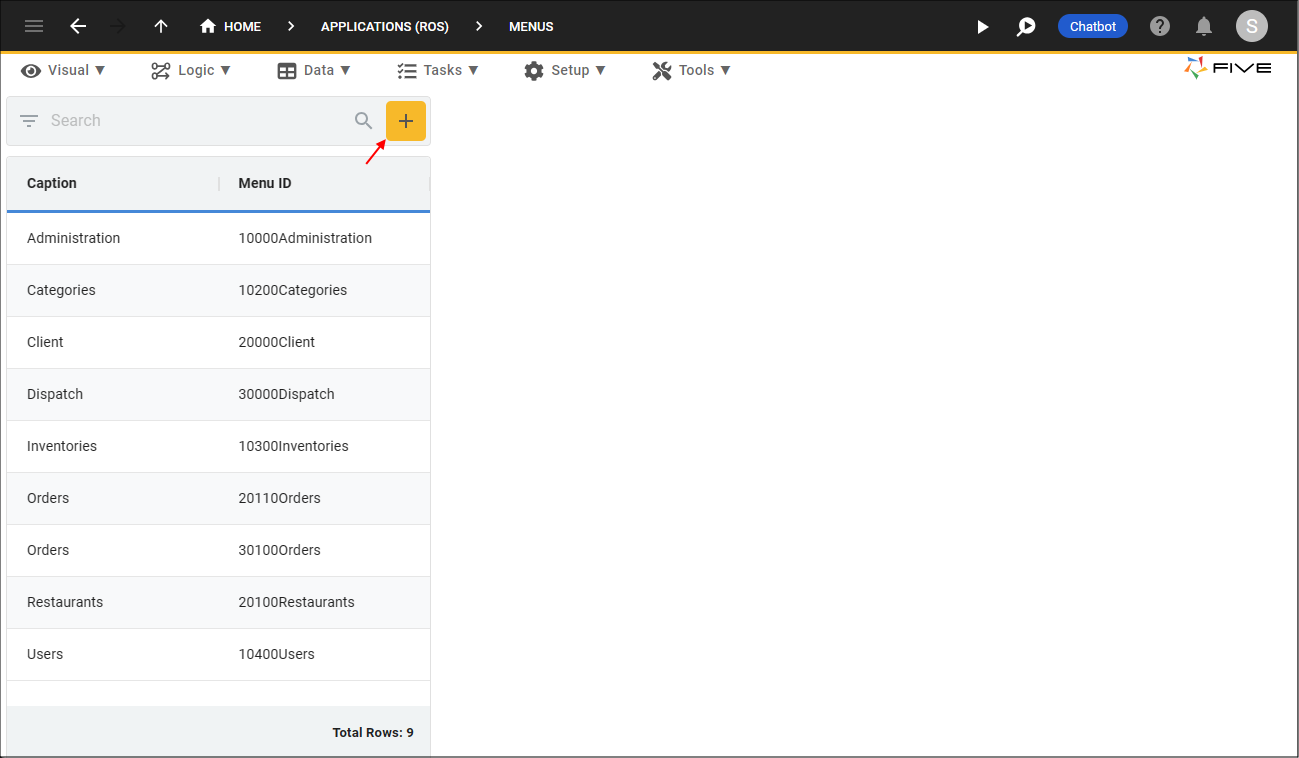
Figure 2 - Add Item button
2. Type a caption in the Caption field.
3. Type a number in the Menu Order field.
4. Click the lookup icon in the Action field and select a Form action to reference.
5. Optional: Click the Edit button in the Icon field and open an image file.

Figure 3 - Add a parent-menu
6. Click the Save button in the form app bar.
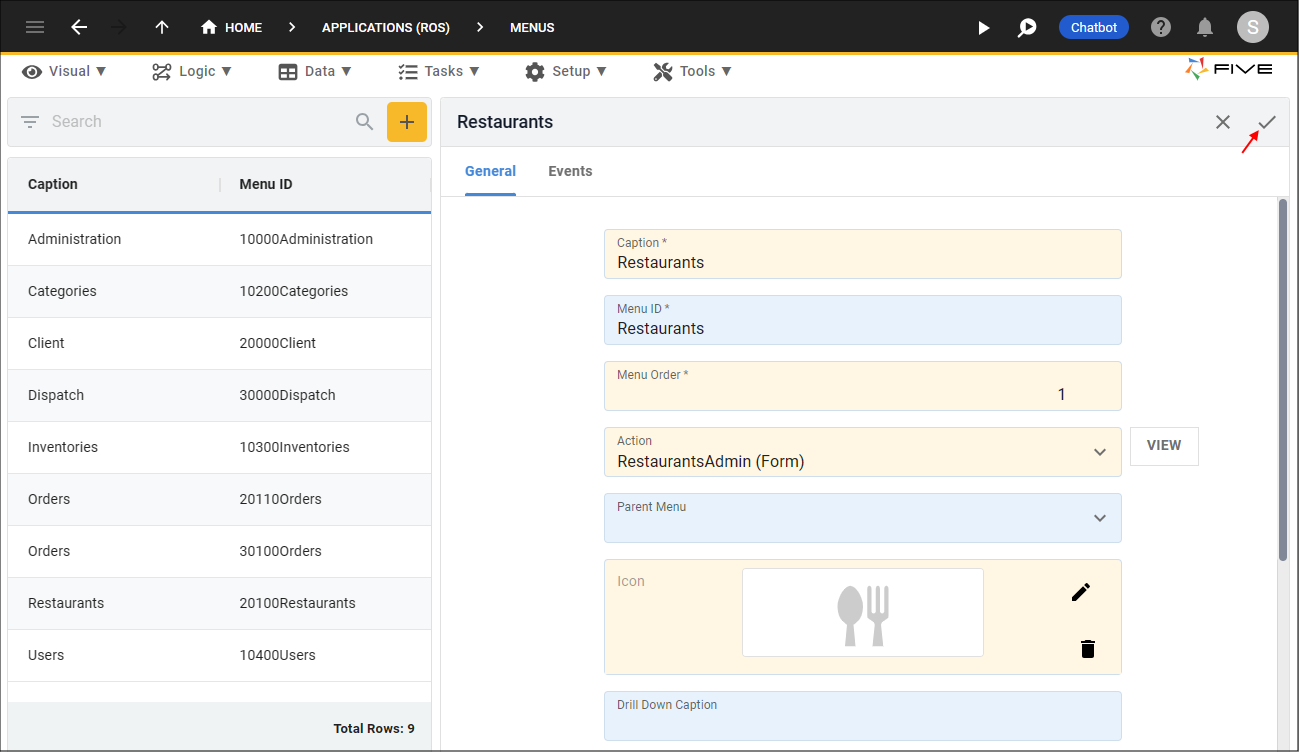
Figure 4 - Save a parent-menu
Add a Child-Menu Item
info
This menu item will be the child-menu under the parent-menu just created.
1. Click the Add Item button.
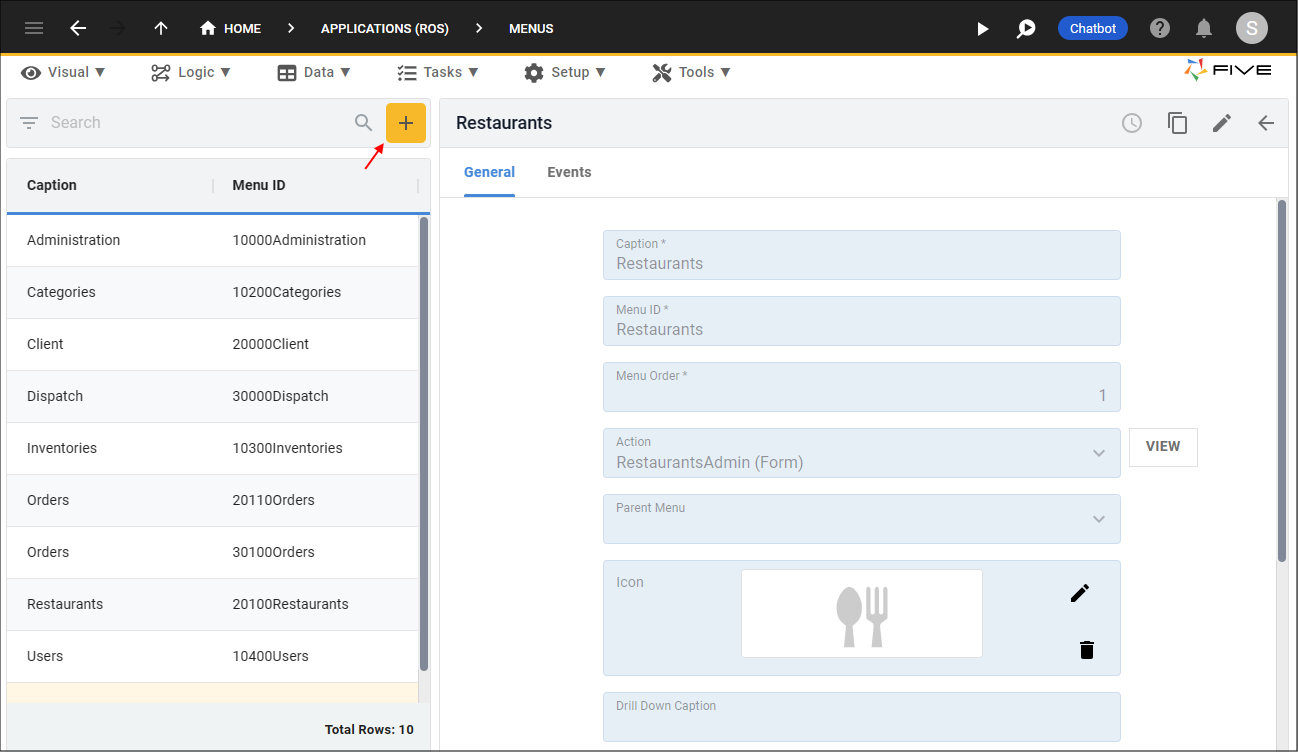
Figure 5 - Add Item button
2. Type a caption in the Caption field.
3. Type a number in the Menu Order field.
4. Click the lookup icon in the Action field and select an action to reference.
tip
This can be any type of action!
5. Click the lookup icon in the Parent Menu field and select the parent-menu item.
6. Optional: Click the Edit button in the Icon field and open an image file.

Figure 6 - Add a child-menu item
7. Click the Save button in the form app bar.
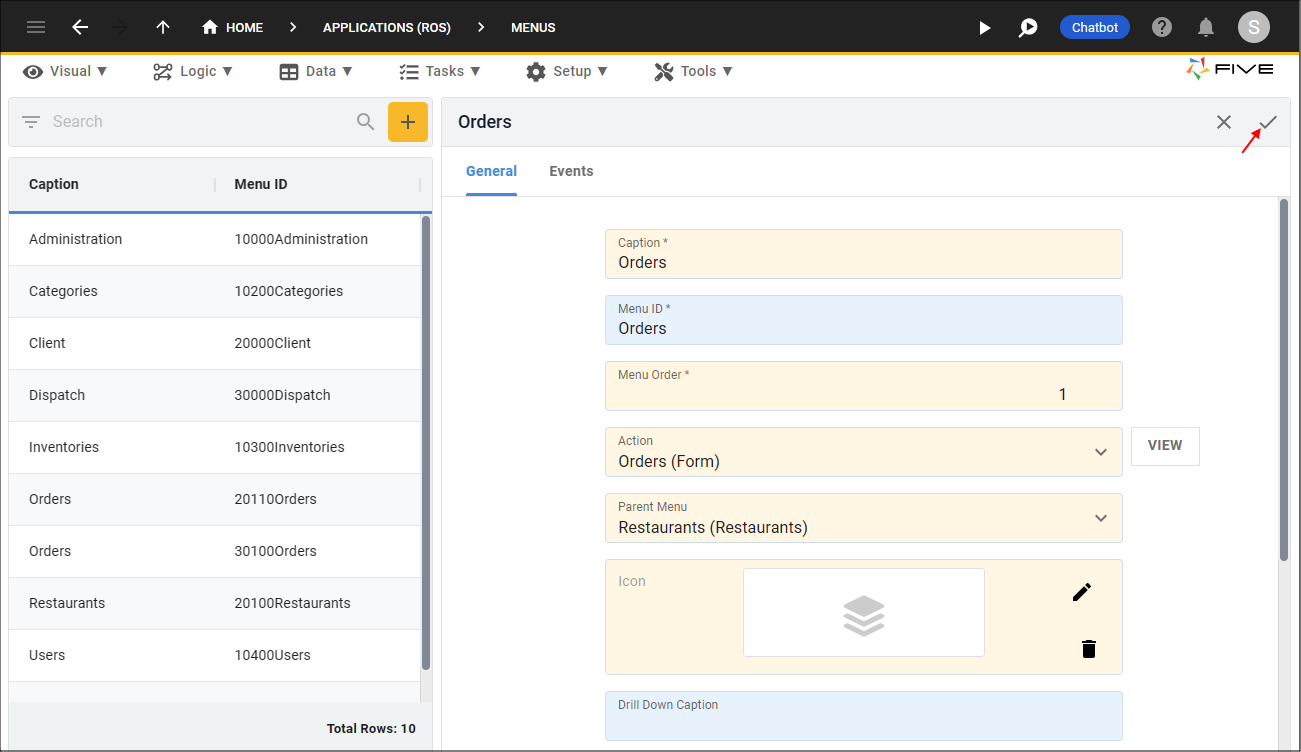
Figure 7 - Save the child-menu item
In an End-User Application
Figure 8 - Parent-menu