Create Key Index Fields
Last updated 19/03/2023
How to Create Key Index Fields with Five's Table Wizard
Learn how to create key index fields with Five's Table Wizard. This is the final tutorial in a series of four videos.info
Key Fields are used to find rows with specific column values quickly. Without a key field, each entire row starting from the first row needs to be
read in the table to find the relevant rows. If your table has a key field, Five can quickly determine the position to seek to without having to look
at all the data. This makes performing a query on the table much faster than reading every row sequentially. You can also use the Key Fields section to make a field unique.
Create a Key Index Field
1. Type a name in the Name field.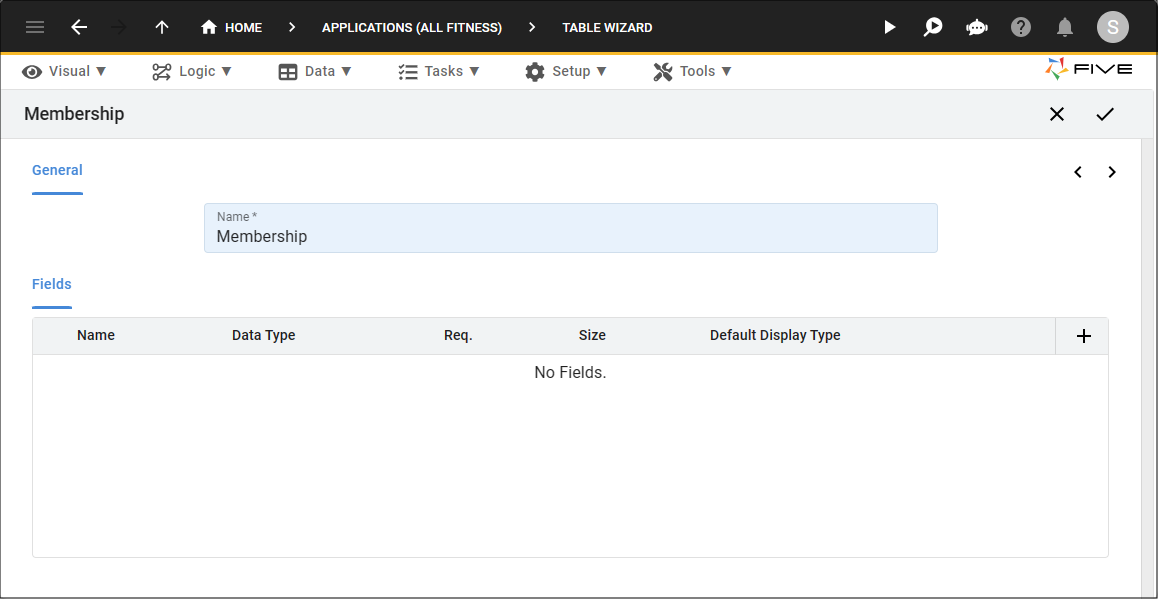
Figure 1 - Add a table
2. Click the Add Fields button and add fields to your table.
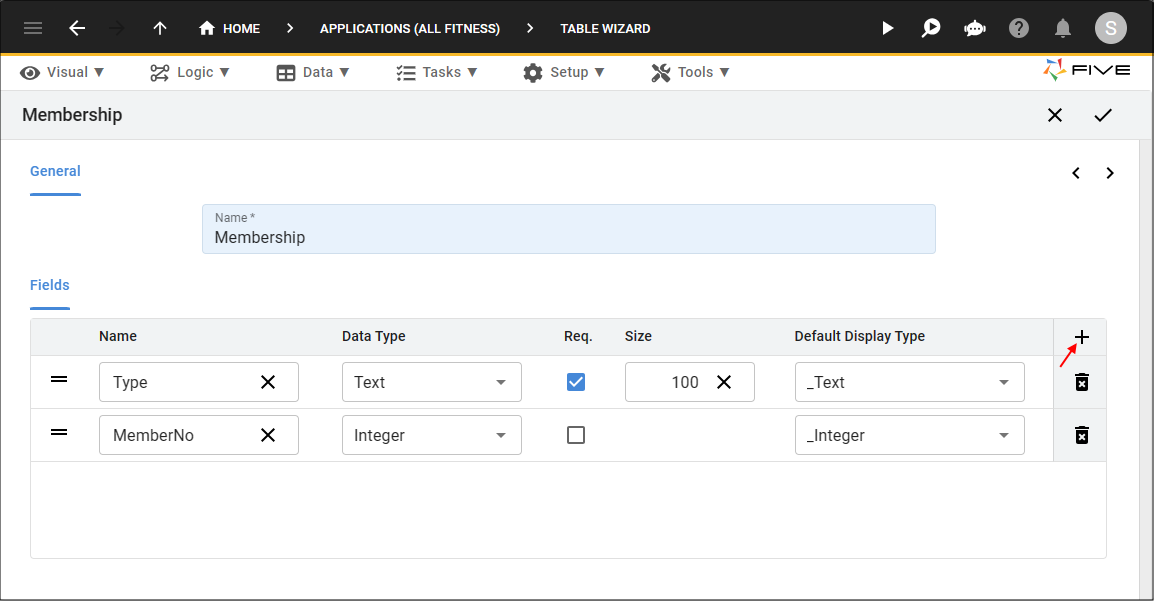
Figure 2 - Add fields
3. Click the Next button.
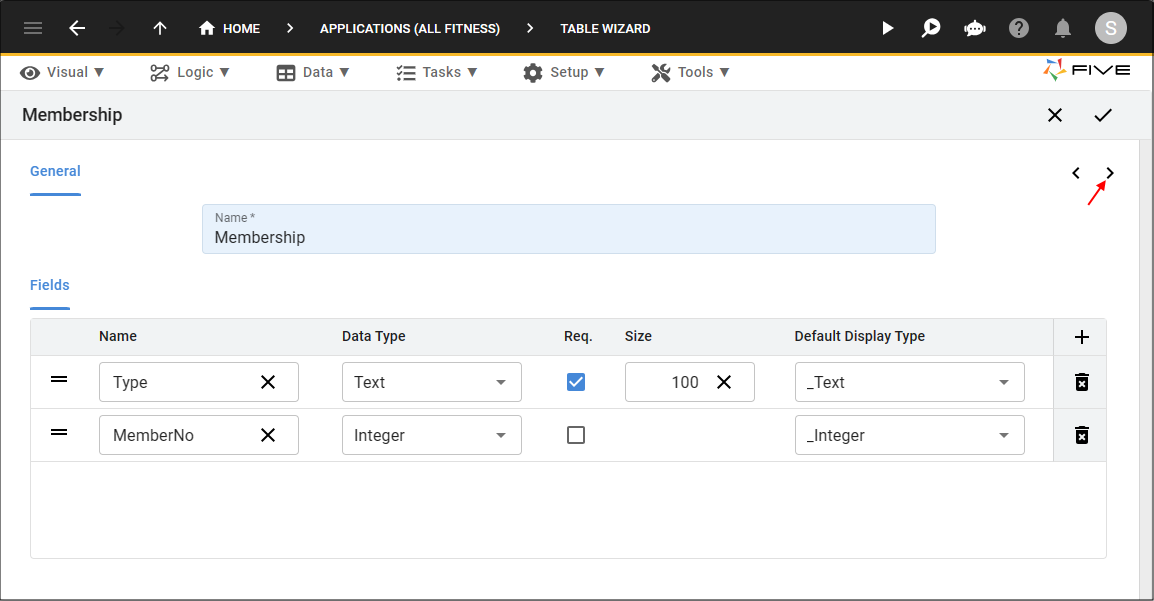
Figure 3 - Next button
4. Click the Add Key Fields button.
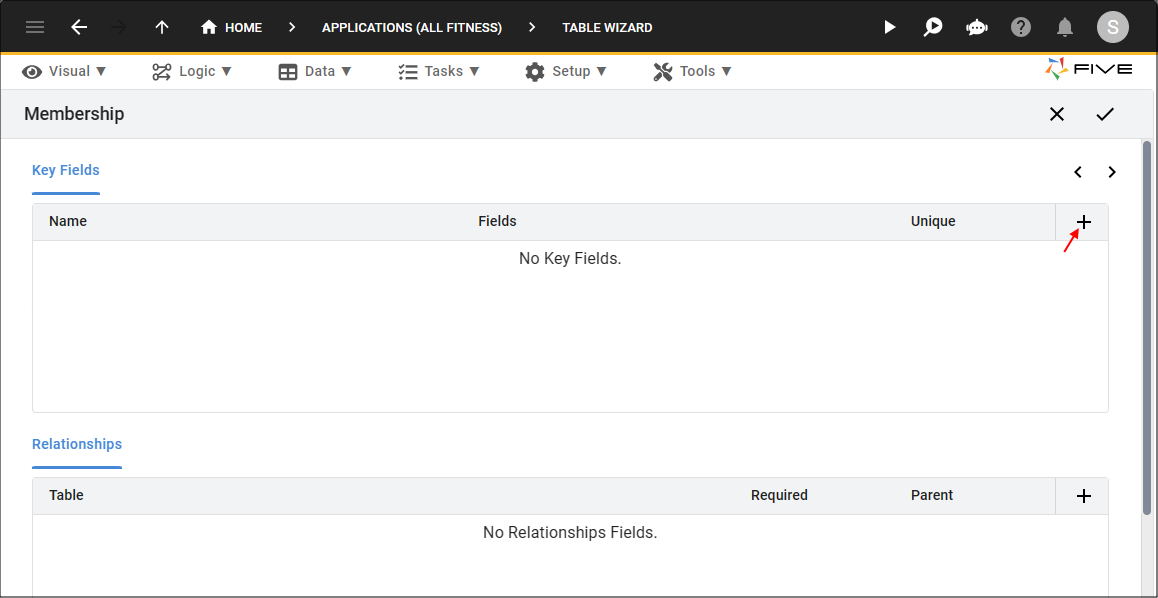
Figure 4 - Add Key Fields button
5. Click the lookup icon in the Fields field and select the required field.
tip
Multiple fields can be selected to form a key field!
6. Click the Unique checkbox.
tip
The Unique checkbox is only necessary if you want to make the field unique!
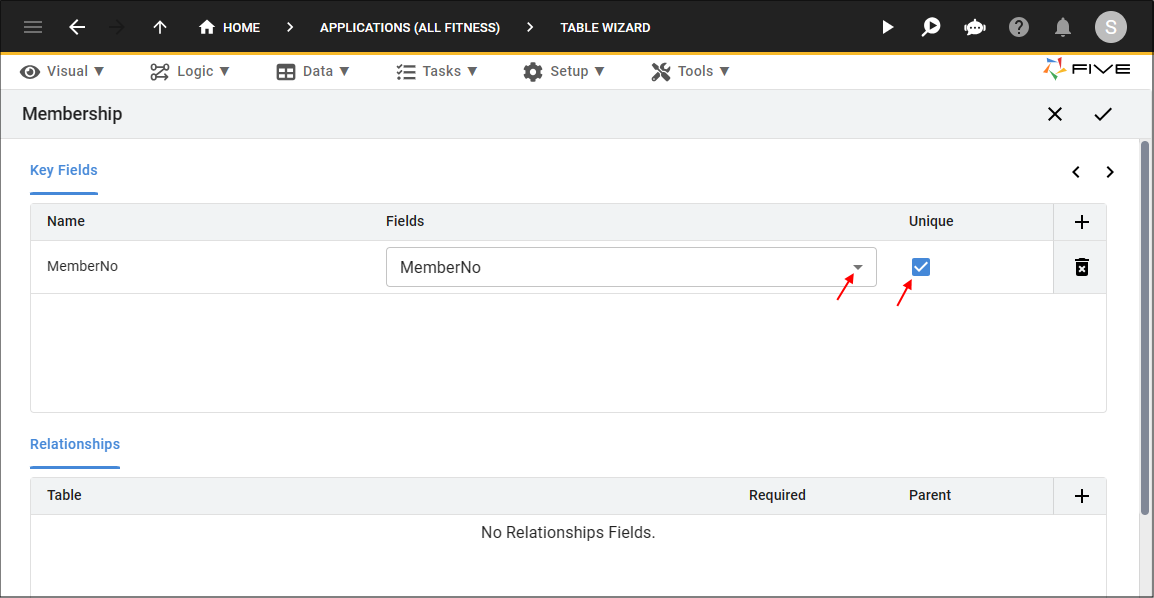
Figure 5 - Add a key field
7. Click the Save button.
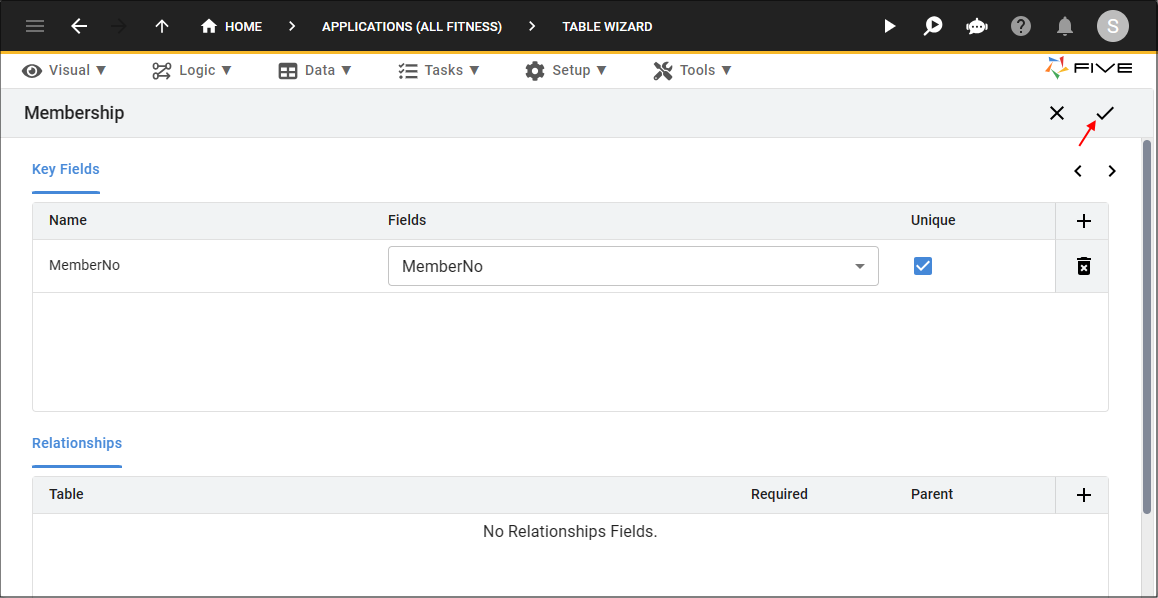
Figure 6 - Save button