7 - Create Roles for User Logins
Last updated 7/05/2023
Roles and permissions help to keep your business information secure. This documentation is to explain how to make sure only those who need it get access to areas in your application and the applicable data is represented.Before we begin to make our first role in Five, lets take a look at some of the fields on the Roles form to help you understand how to use each field.
| Field | Description |
|---|---|
| Menu | Optional: Select a menu and the user logging in will only have access to this menu and its sub-menus. |
| Security Table | Optional: Five will filter the data for the user logging in, so the user will only see their entities and not another user's entities. |
| User Table | Optional: This table can be mapped to a user either in a one-to-one or one-to-many relationship with the entities in the application by using the User Record field on the Users form in the application. |
| User Table Key Field | Optional: This table is used to map a user to an application's entity. |
| User Table Name Field | Optional: User friendly name to be used from the entity in the user table. |
Navigate to Roles
1. Select Setup in the menu.2. Select Roles in the sub-menu.
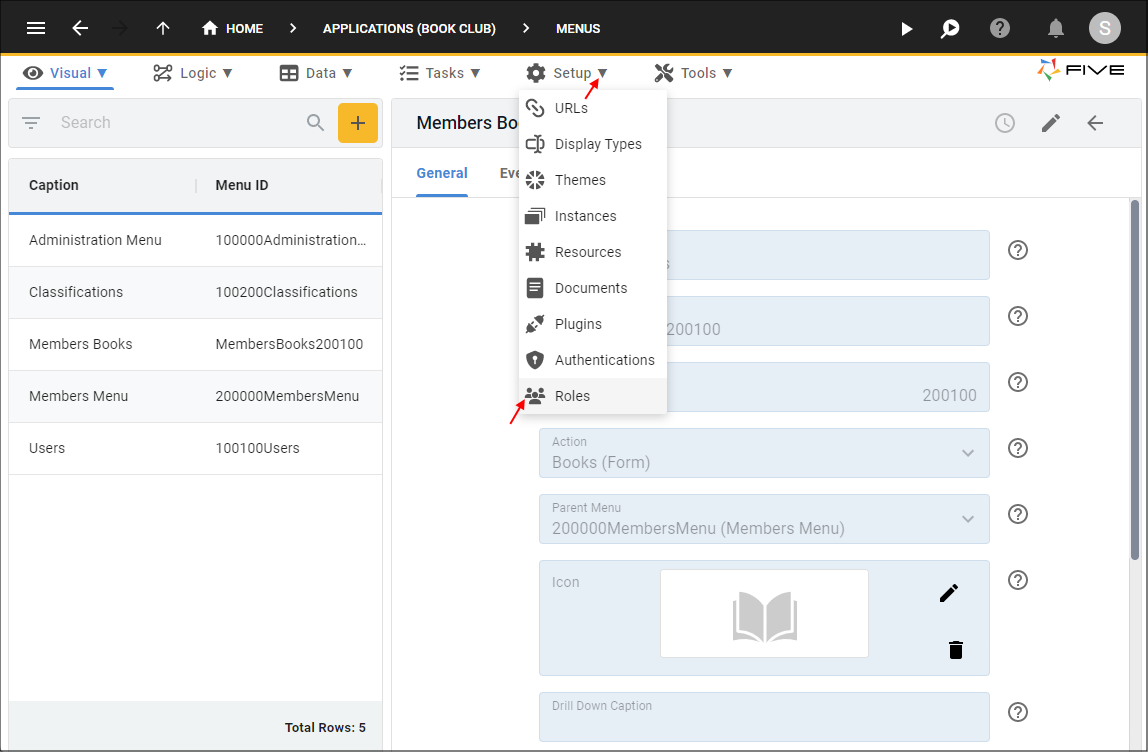
Figure 1 - Roles menu item
Create the Member Role
1. Click the Add Item button.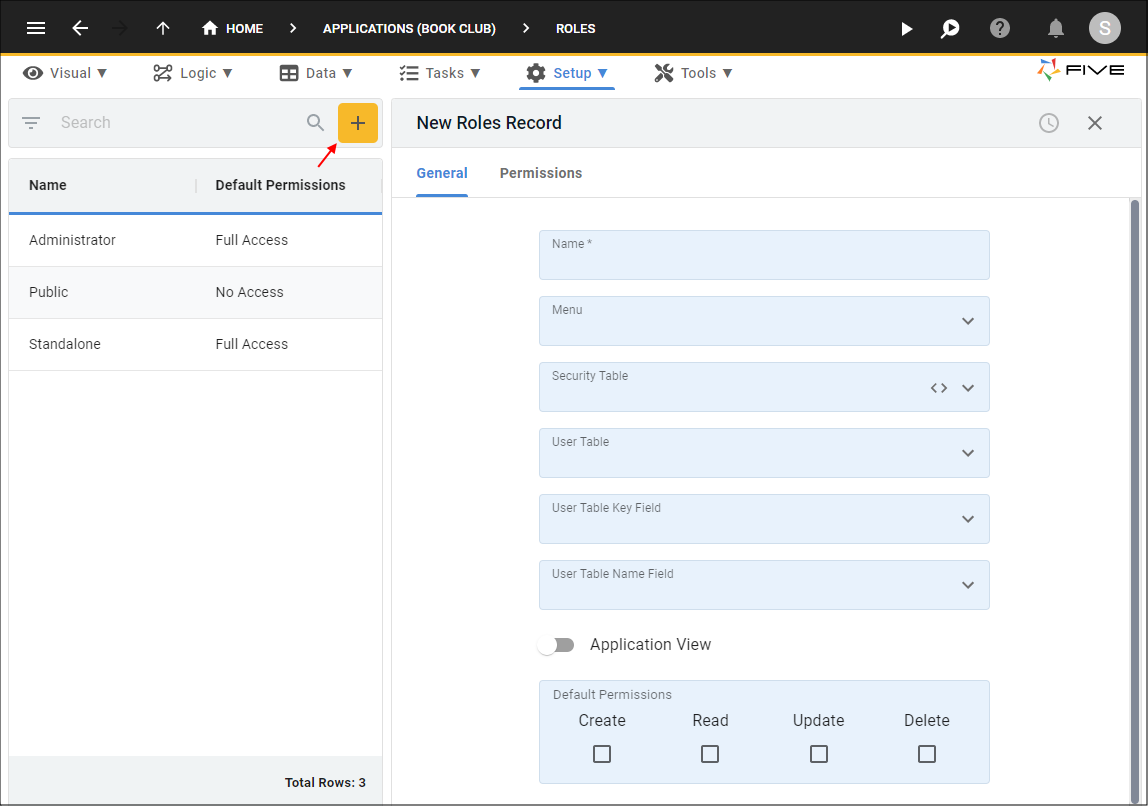
Figure 2 - Add Item button
2. Type Member in the Name field.
3. Click the lookup icon in the Menu field and select 200000MembersMenu (Members Menu)
info
This role will only have access to the menu items we placed under the parent menu 200000MembersMenu (Members Menu).
4. Click the lookup icon in the Security Table field and select iUser.
5. Click the lookup icon in the User Table field and select iUser.
6. Click the lookup icon in the User Table Key Field field and select iUser.iUserKey.
7. Click the lookup icon in the User Table Name Field field and select iUser.FullName.
8. Click the checkboxes Create, Read, Update, and Delete in the Default Permissions field.
info
The default permissions set the permissions for all the tables in your database. You can individually set permissions per table by clicking the Permissions tab followed by the Add Permissions button and selecting the tables individually. Permissions that are set for a table will take precedence over the default permissions.

Figure 3 - Add the Member role
9. Click the Save button in the form app bar.
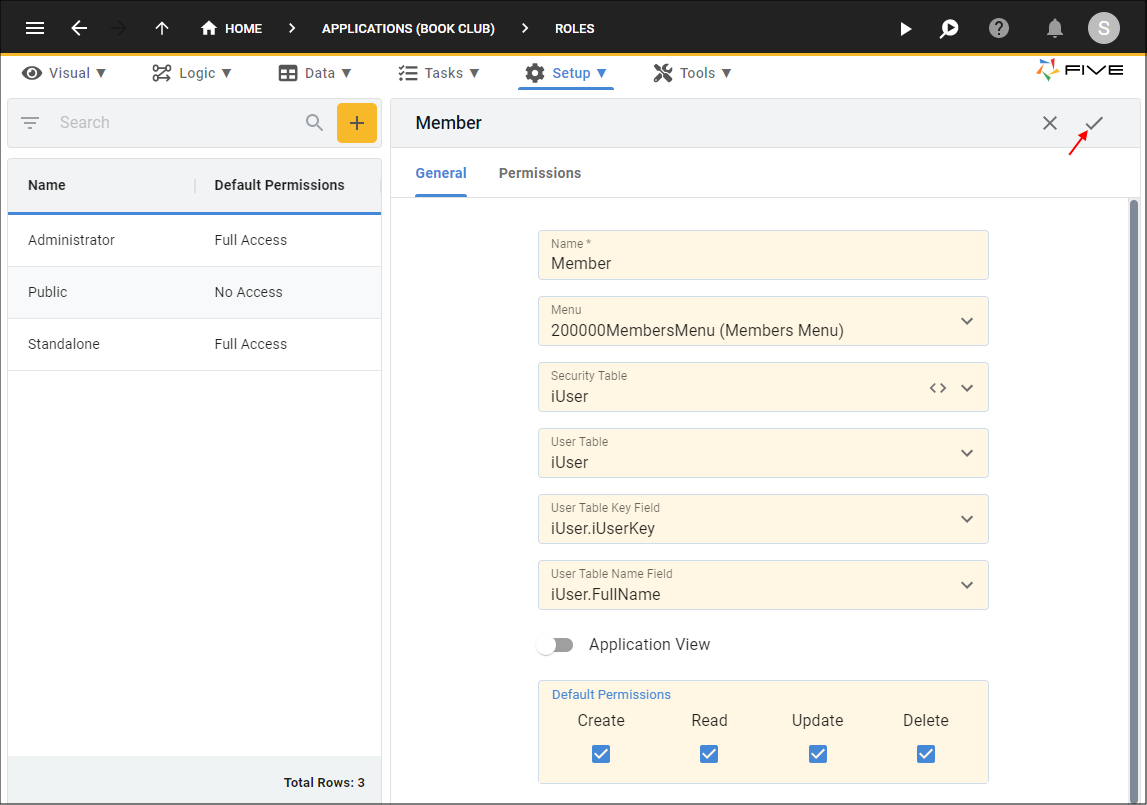
Figure 4 - Save the Member role
Administrator Role
By default, Five has an Administrator role created for you. This role is for the admin of the system to log into your application and have full access to the system.View the Administrator Role
1. Select the Administrator record in the list.info
You can see here that the Administrator role has no specific menu assigned and full permissions are set in the Default Permissions field, this allows the administrator to have access to all menus and all tables with full permissions in your application.
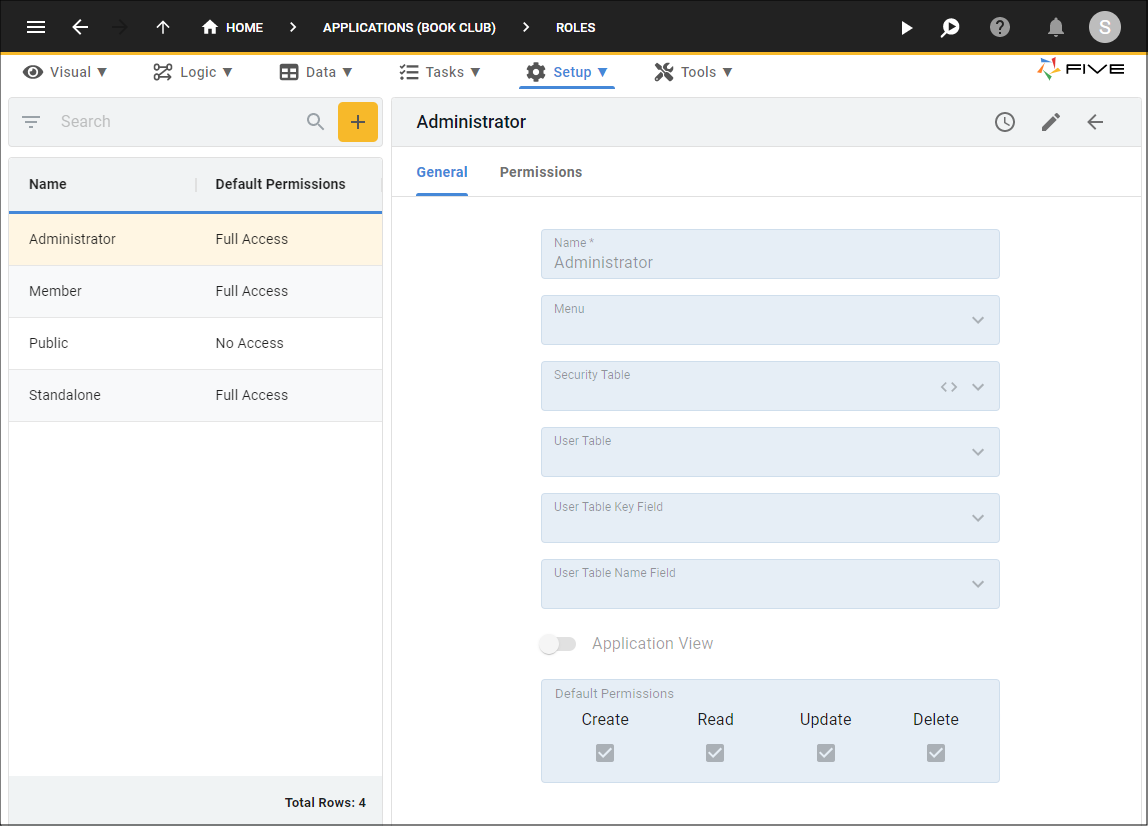
Figure 5 - Administrator record