3 - Create Custom Display Types
Last updated 5/06/2023
Five has numerous display types for you to use, however, you can create your own custom display types and attach them to your form, query, and process fields. All definitions can be created with no coding. The list below shows you some of the features you can add to your own display types:- Increase the number of lines
- Change the justification
- Set a minimum and maximum length the field can hold
- Add padding
- Set a minimum and maximum value the field can hold
- Set decimal places
- Add regular expressions and masks
- Create field data
- Create your own error messages
Navigate to Display Types
1. Select Setup in the menu.2. Select Display Types in the sub-menu.
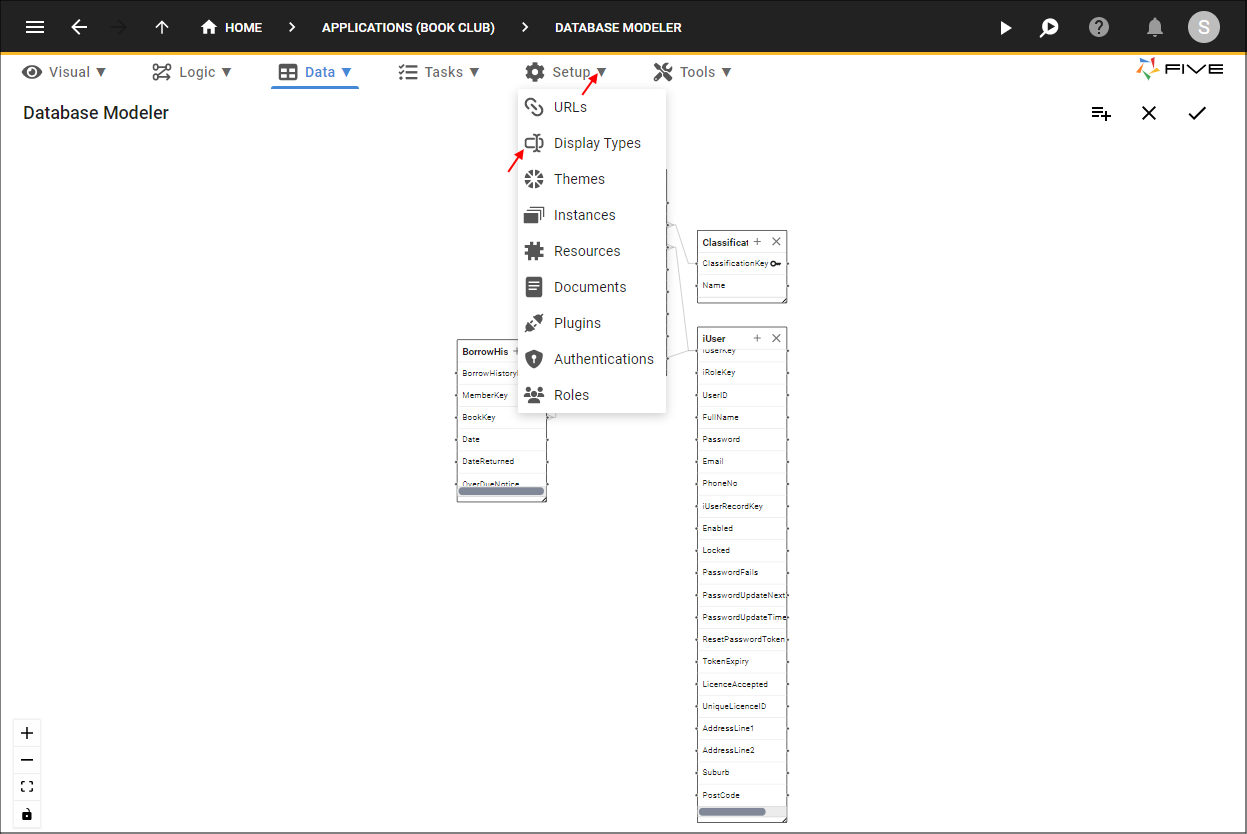
Figure 1 - Display Types menu item
Create the BookTitle Display Type
info
The BookTitle display type will be an expanding text field. Six text lines within the control will display by default and if the value is longer than six text lines, the field will expand and a scroll will become available in the field.
1. Click the Add Item button.
2. Type BookTitle in the Name field.
3. Click the lookup icon in the Display Type field and select Text.
4. Type 6 in the Minimum Lines field.
5. Type 6 in the Maximum Lines field.
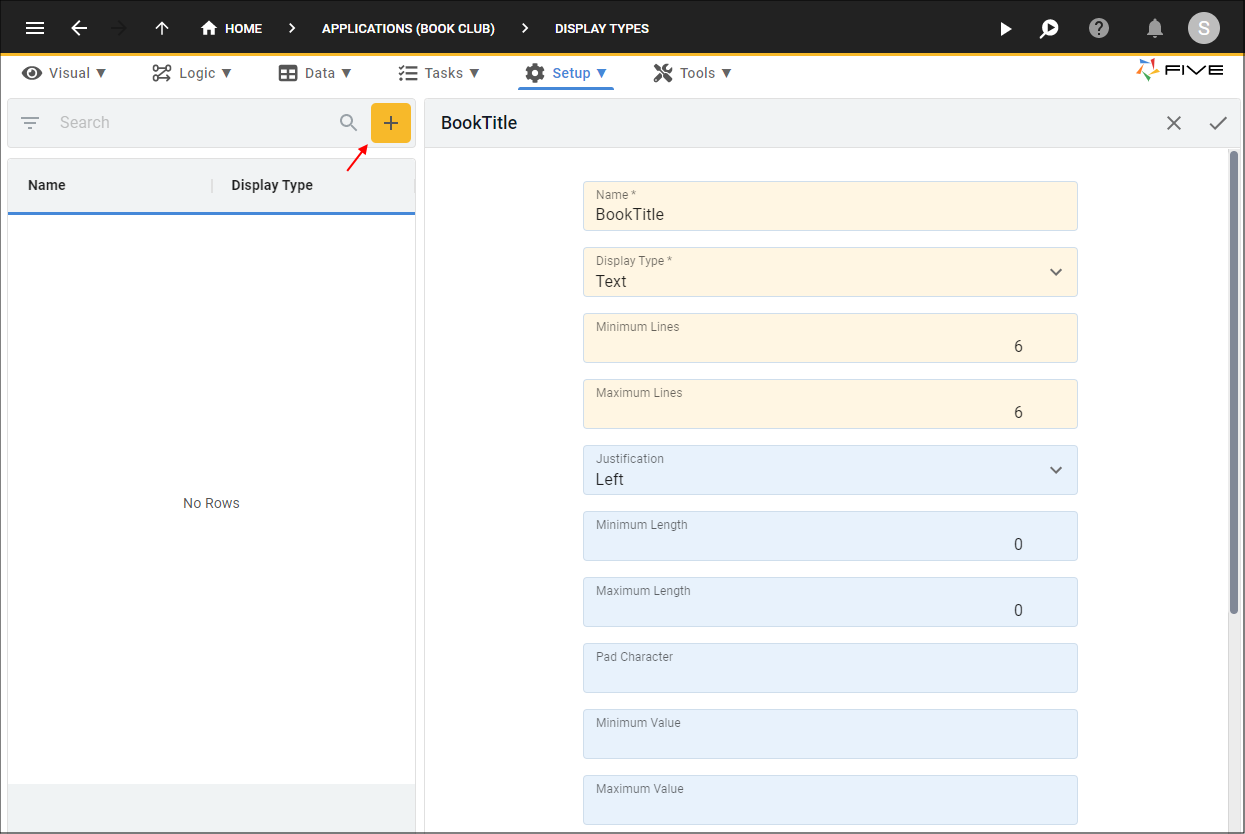
Figure 2 - Add the BookTitle display type
6. Click the Save button in the form app bar.
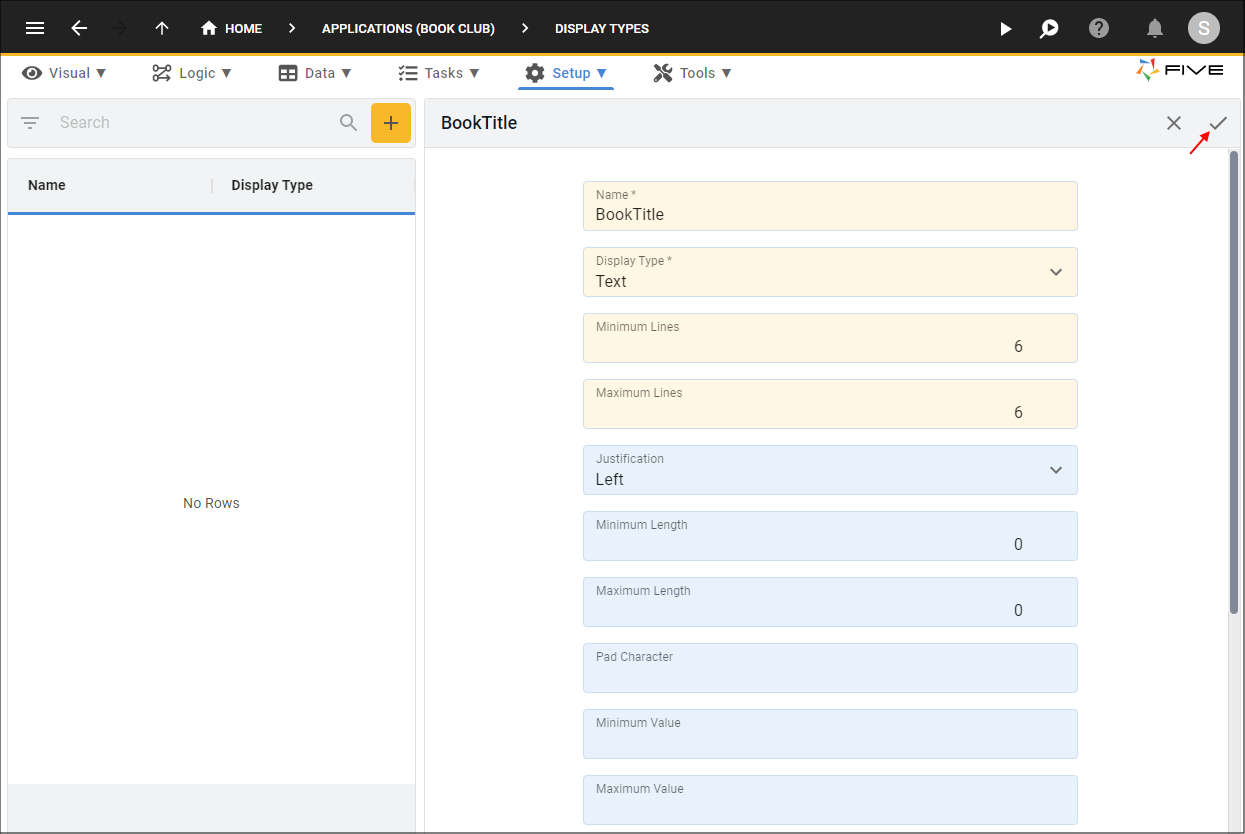
Figure 3 - Save the BookTitle display type
Create the Image Display Type
info
The Image display type uses the _Picture display type, this means in the database it will be stored with a Binary data type, because of this the minimum and maximum lines will be the size of the field control. (Not lines of text in a field).
1. Click the Add Item button.
2. Type Image in the Name field.
3. Click the lookup icon in the Display Type field and select Picture.
4. Type 2 in the Minimum Lines field.
5. Type 6 in the Maximum Lines field.
6. Click the lookup icon in the Justification field and select Centre.
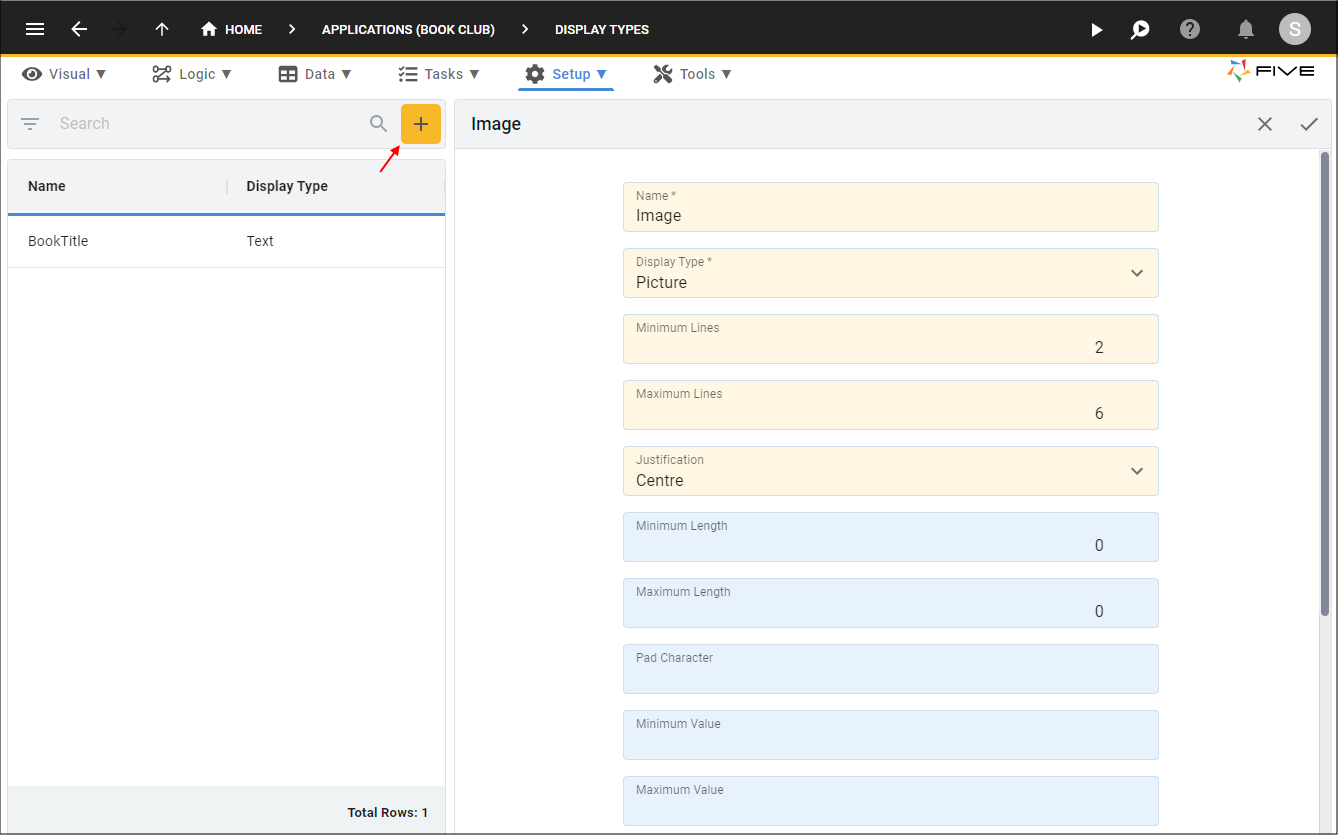
Figure 4 - Add the Image display type
7. Click the Save button in the form app bar.
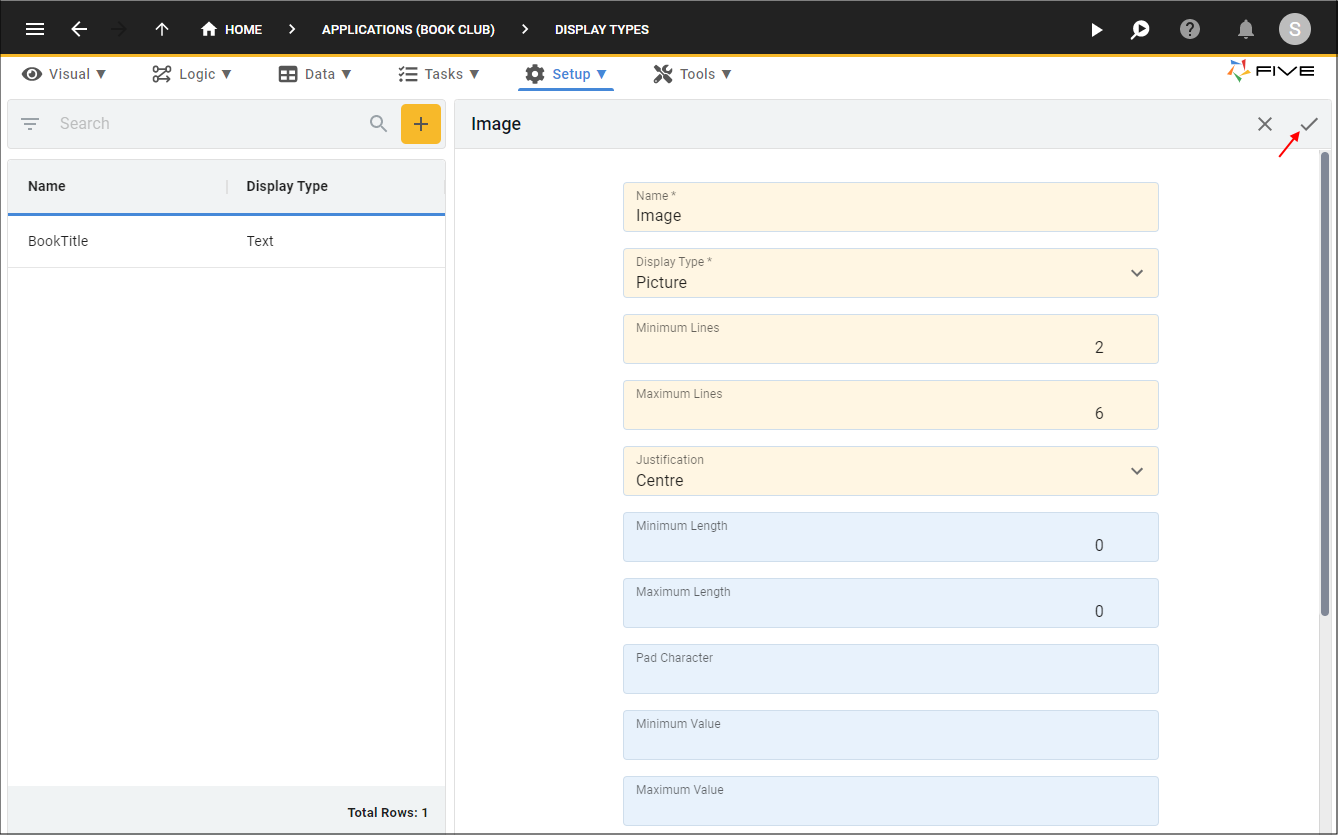
Figure 5 - Save the Image display type
Create the State Display Type
info
The State display type will be a combo. A lookup icon will become available in the field for the user to select an option.
1. Click the Add Item button.
2. Type State in the Name field.
3. Click the lookup icon in the Display Type field and select Combo.
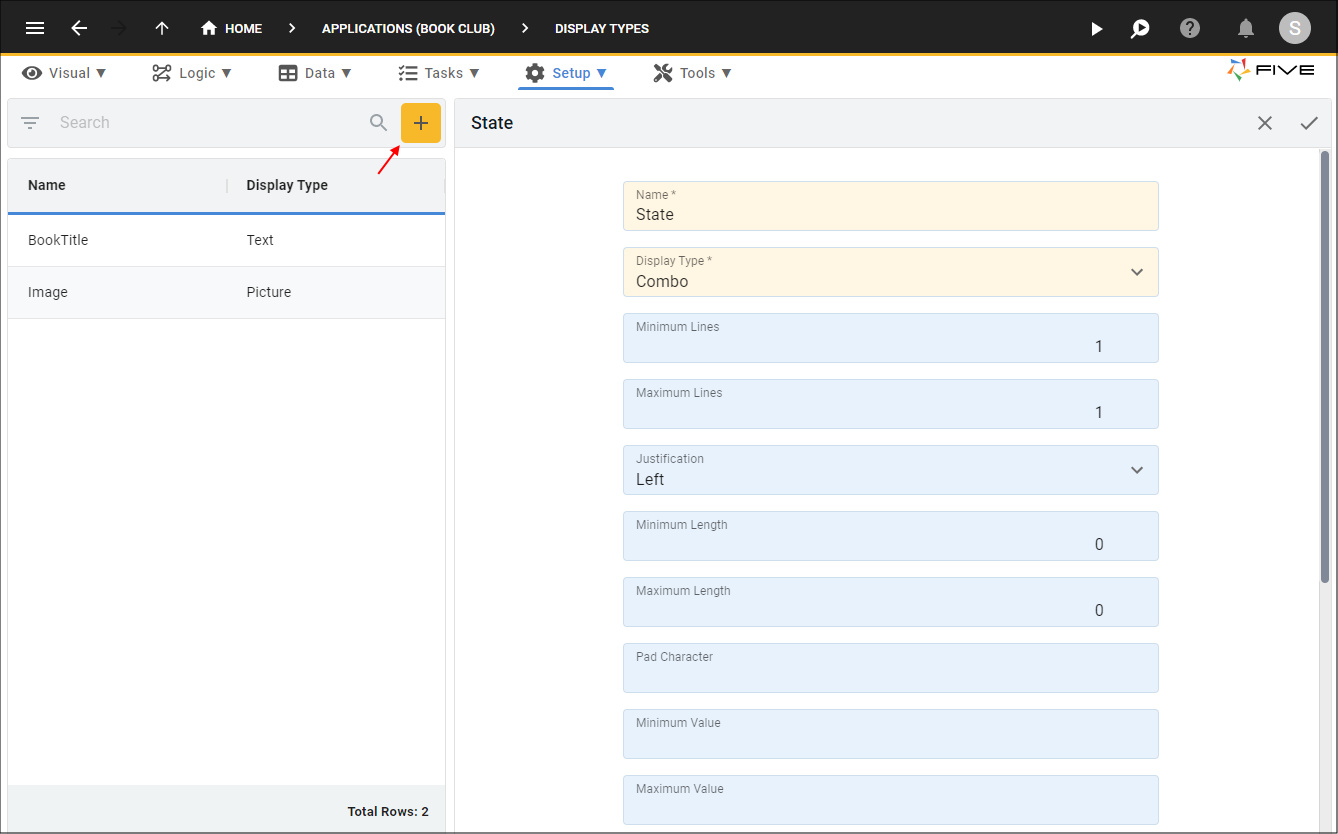
Figure 6 - Add the State display type
4. Click in the Edit button in the Field Data field.

Figure 7 - Field Data field
5. Click the Add Field Data button.
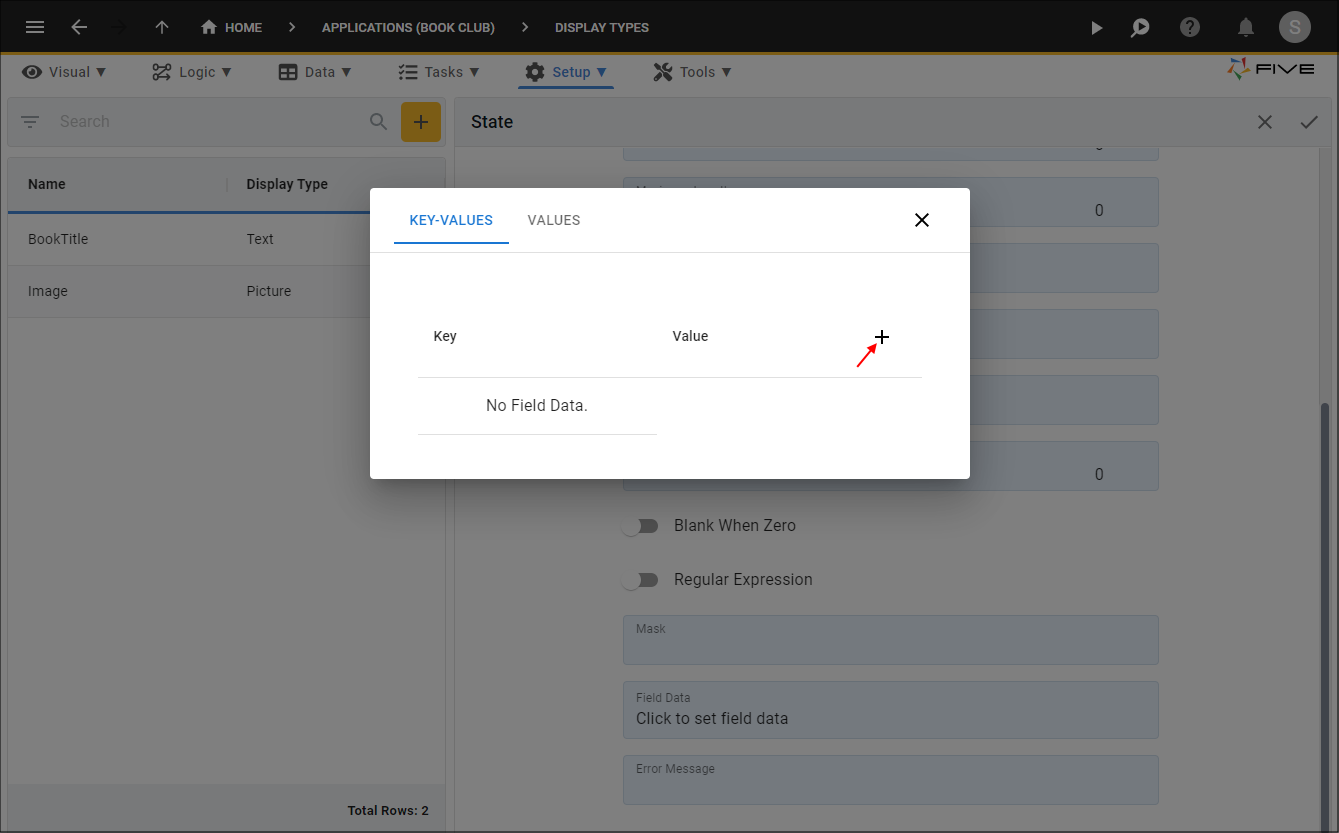
Figure 8 - Add Field Data button
6. Type QLD in the Key field.
7. Type Queensland in the Value field.
8. Click the Add Field Data button.
9. Type NSW in the Key field.
10. Type New South Wales in the Value field.
11. Click the Add Field Data button.
12. Type VIC in the Key field.
13. Type Victoria in the Value field.
14. Click the Add Field Data button.
15. Type SA in the Key field.
16. Type South Australia in the Value field.
17. Click the Add Field Data button.
18. Type WA in the Key field.
19. Type Western Australia in the Value field.
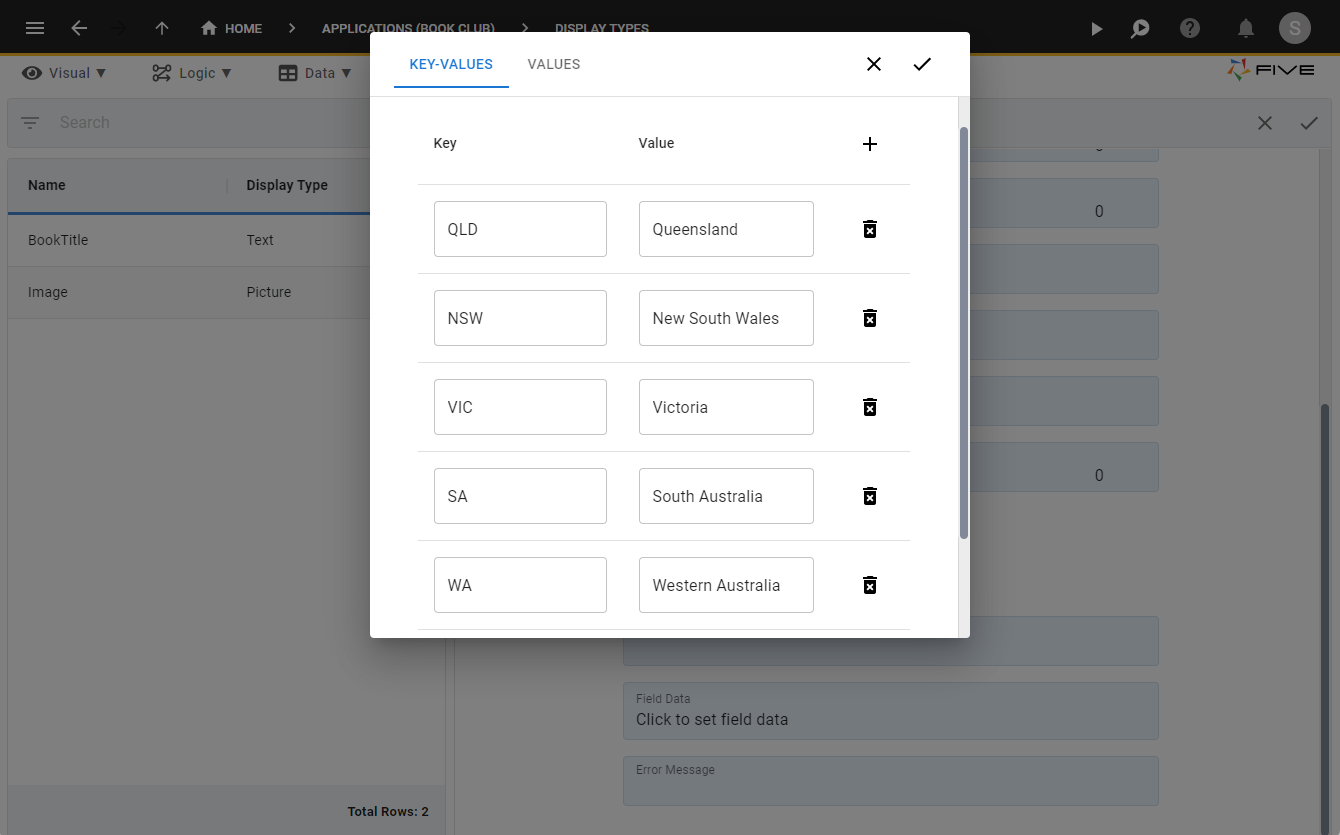
Figure 9 - Add key and value pairs
20. Click the Add Field Data button.
21. Type TAS in the Key field.
22. Type Tasmania in the Value field.
23. Click the Add Field Data button.
24. Type NT in the Key field.
25. Type Northern Territory in the Value field.
26. Click the Save button.
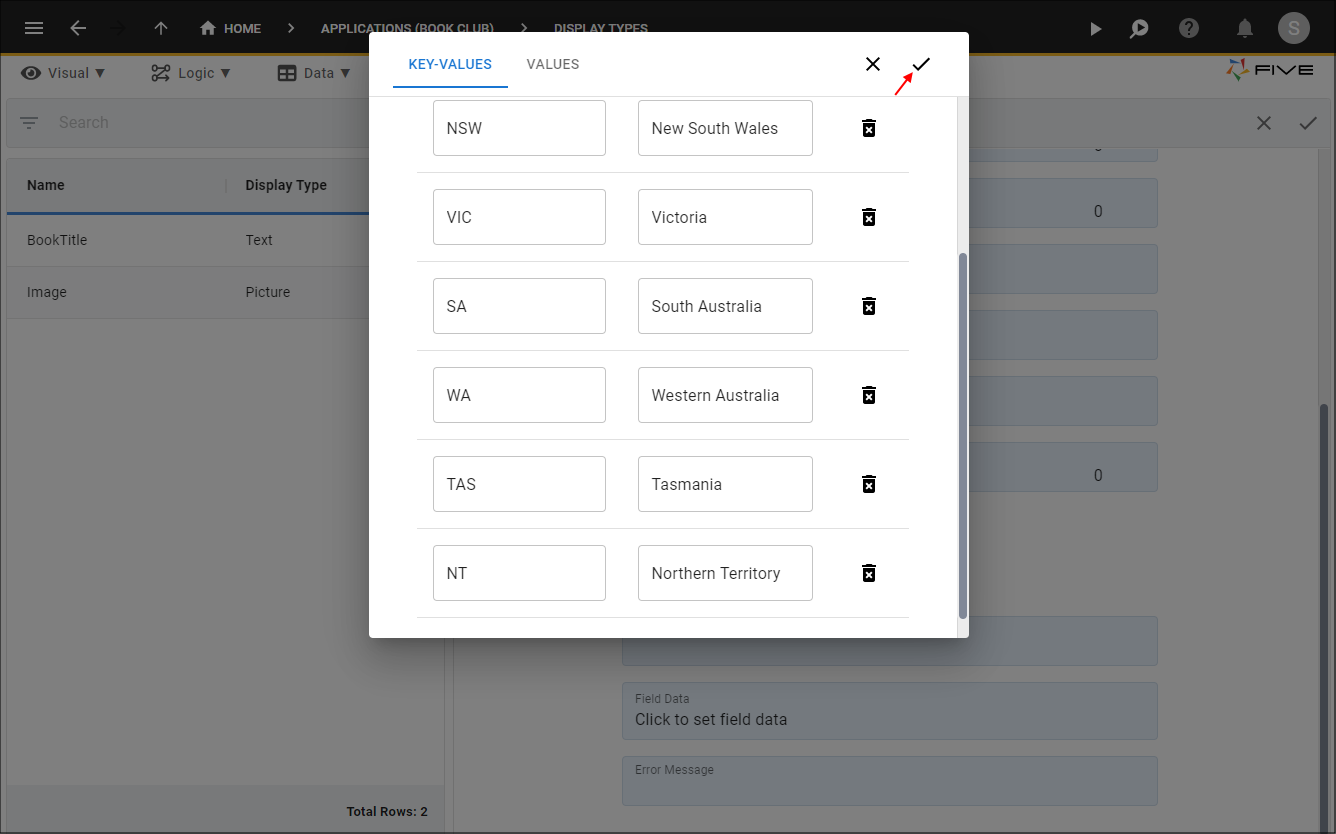
Figure 10 - Save the key and value pairs
27. Click the Save button in the form app bar.
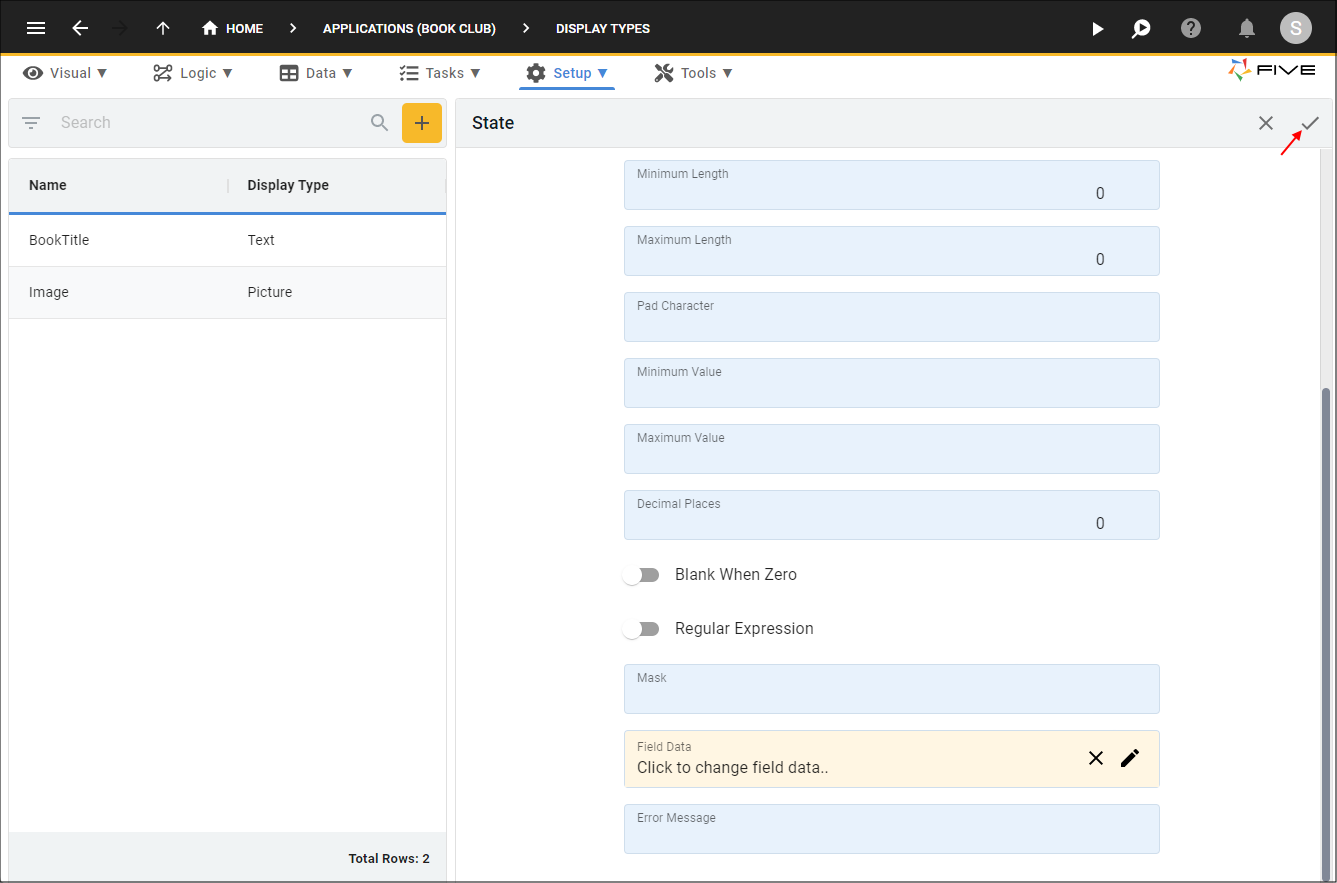
Figure 11 - Save the State display type