6 - Create Menu Structures to Assign to Roles
Last updated 7/05/2023
Before we create our roles, we need to organize our menu structure because we can assign a menu to a role. By doing this when a user logs in with their role they will only see this menu and its sub-menus.Navigate to Menus
1. Select Visual in the menu.2. Select Menus in the sub-menu.
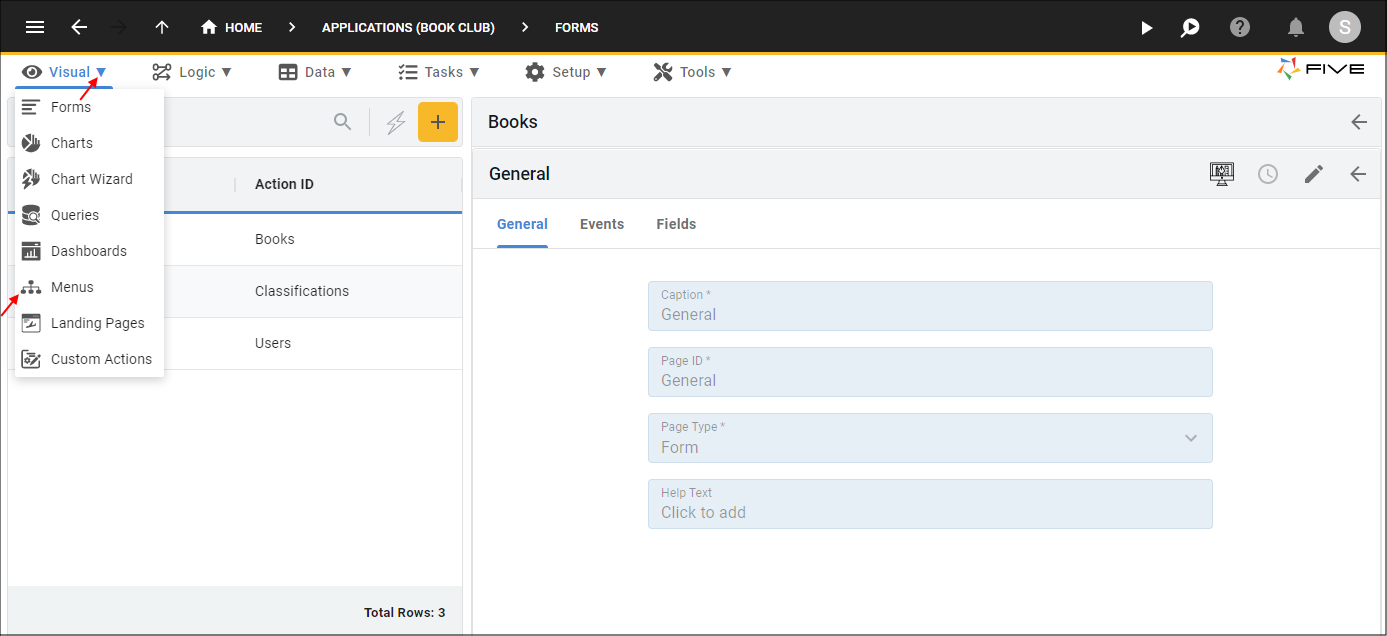
Figure 1 - Menus menu item
Create the Administration Menu
The Administration Menu will hold the Users and the Classifications menu items. On their login, they can add new users to the Book Club application and create the Classifications so a member can select what classification their book falls under.As the Administrator of the system they will also have access to the Members Menu when we create it, this is so they can maintain the entire system.
info
In the image below, you can see in the list that we have three menu items, the Books and Classifications menu items were created by the Form Wizard and the Users menu item is a default in Five when creating a multiuser application. This gives you access to the Users form as soon as you log into your application to enable you to add users to your application.
1. Click the Add Item button.
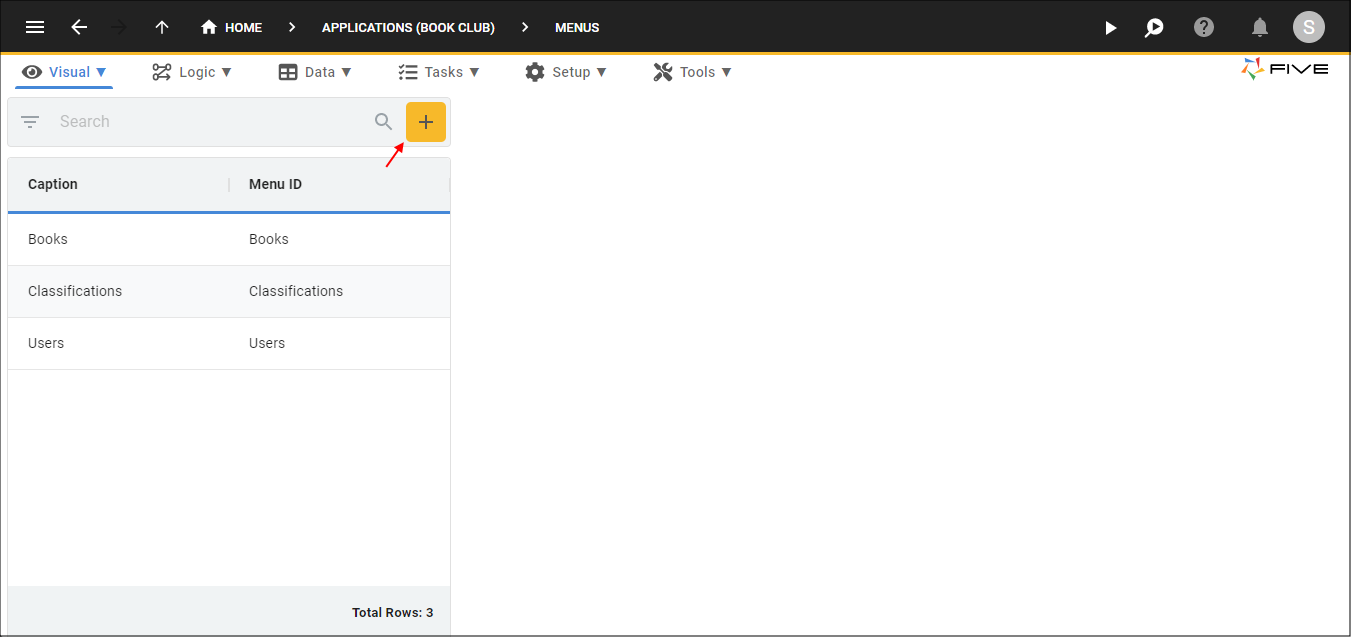
Figure 2 - Add Item button
2. Type Administration Menu in the Caption field.
3. Type 100000 before AdministrationMenu in the Menu ID field.
tip
The numbering system will help you locate your menus quickly by clicking the Sort button located next to the Menu ID header! Everything belonging in the Administration Menu will start with 100.
4. Type 100000 in the Menu Order field.
5. Optional: Click the Edit button in the Icon field and navigate your files to open an icon in the Icon field.
note
No menu icons have been supplied, you will need to provide your own.
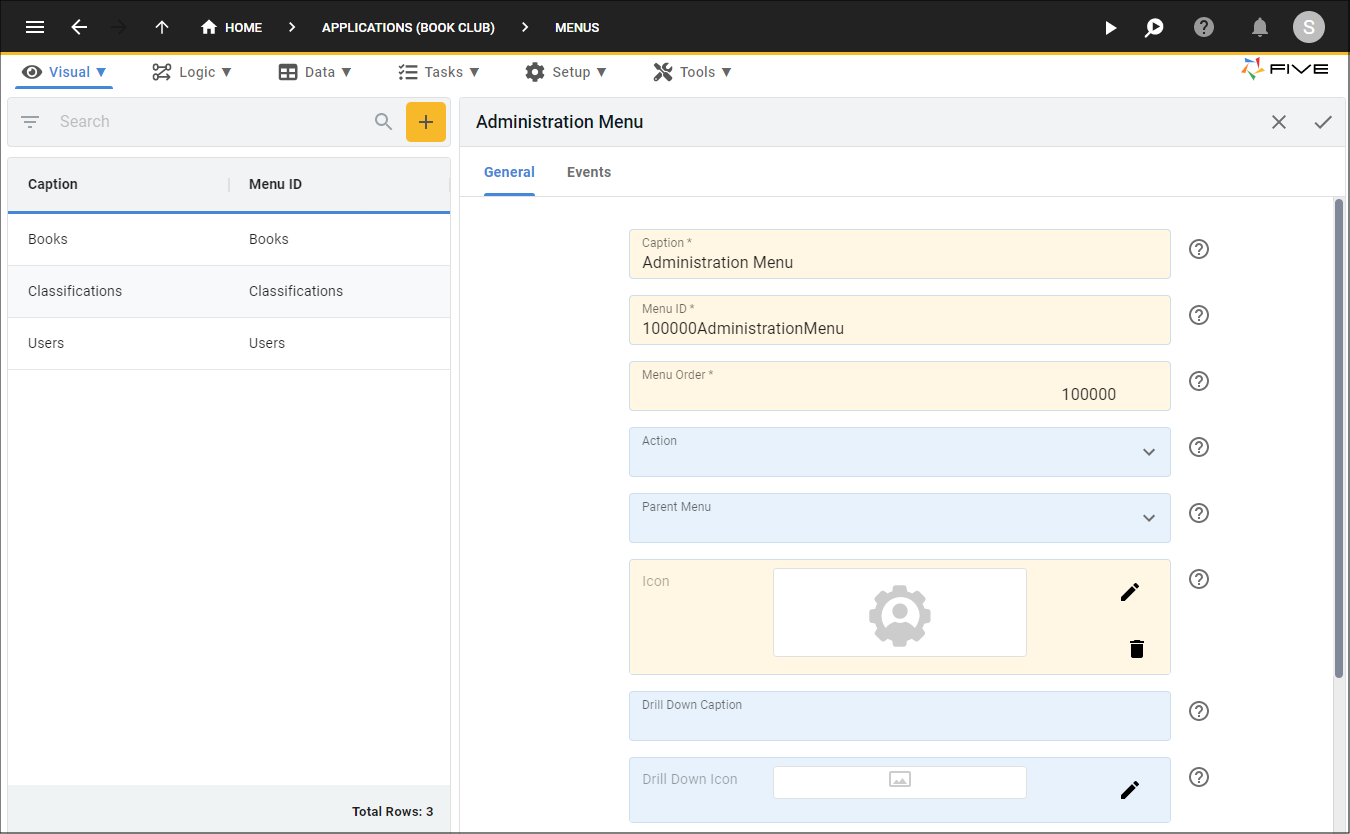
Figure 3 - Add the Administration Menu
6. Click the Save button in the form app bar.

Figure 4 - Save the Administration Menu
Edit the Users Menu Item
1. Select the Users record in the list.2. Either click the Edit button in the form app bar or click directly in the Menu ID field.
3. Type 100100 before Users in the Menu ID field.
4. Click the Cancel button in the Menu Order field and type 100100.
5. Click the lookup icon in the Parent Menu field and select 100000AdminstrationMenu (Administration Menu) in the Parent Menu field.
info
By making the Administration Menu the parent, the Users menu item will be nested under the Administration Menu.
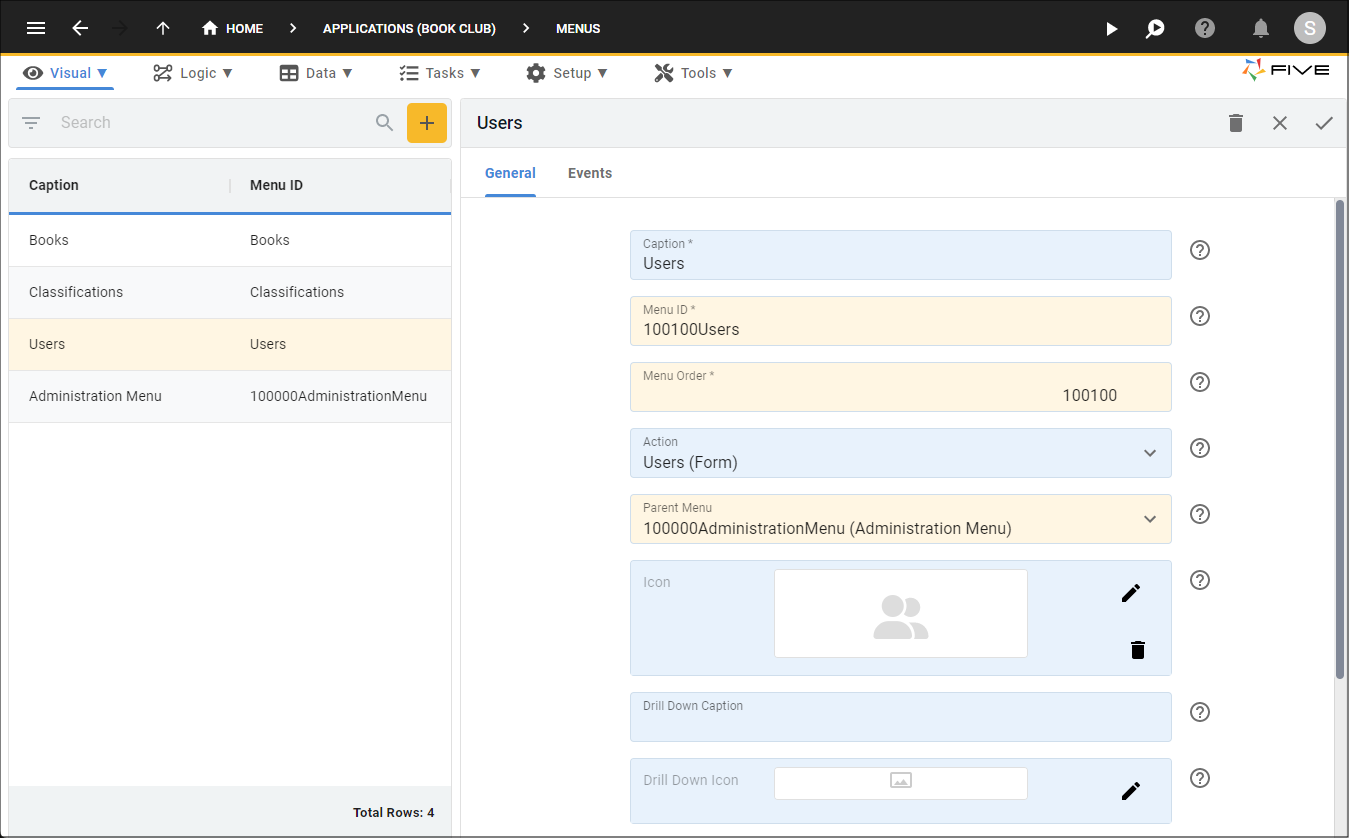
Figure 5 - Edit the Users menu
6. Click the Save button in the form app bar.

Figure 6 - Save the Users menu
Edit the Classifications Menu Item
1. Select the Classifications record in the list.2. Either click the Edit button in the form app bar, or click directly in the Menu ID field.
3. Type 100200 before Classifications in the Menu ID field.
4. Click the Cancel button in the Menu Order field and type 100200.
5. Click the lookup icon in the Parent Menu field and select 100000AdminstrationMenu (Administration Menu) in the Parent Menu field.
6. Optional: Click the Edit button in the Icon field and navigate your files to open an icon in the Icon field.

Figure 7 - Edit the Classifications menu
7. Click the Save button in the form app bar.

Figure 8 - Save the Classifications menu
Create the Members Menu
The Members Menu will just hold the Books menu item for now. On a member's initial login they can add their books into the system that they want to lend out.1. Click the Add Item button.
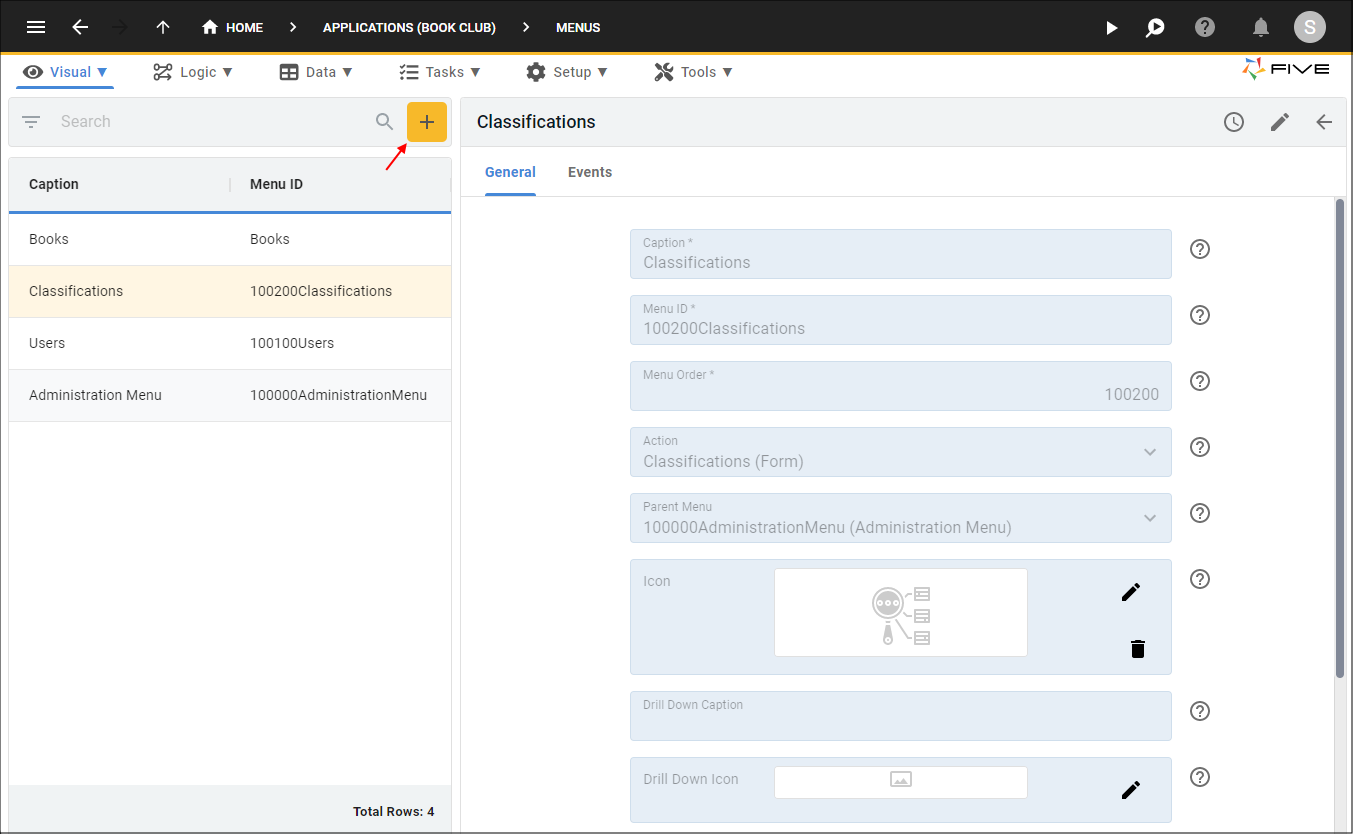
Figure 9 - Add Item button
2. Type Members Menu in the Caption field.
3. Type 200000 before MembersMenu in the Menu ID field.
4. Type 200000 in the Menu Order field.
5. Optional: Click the Edit button in the Icon field and navigate your files to open an icon in the Icon field.

Figure 10 - Add the Members Menu
6. Click the Save button in the form app bar.
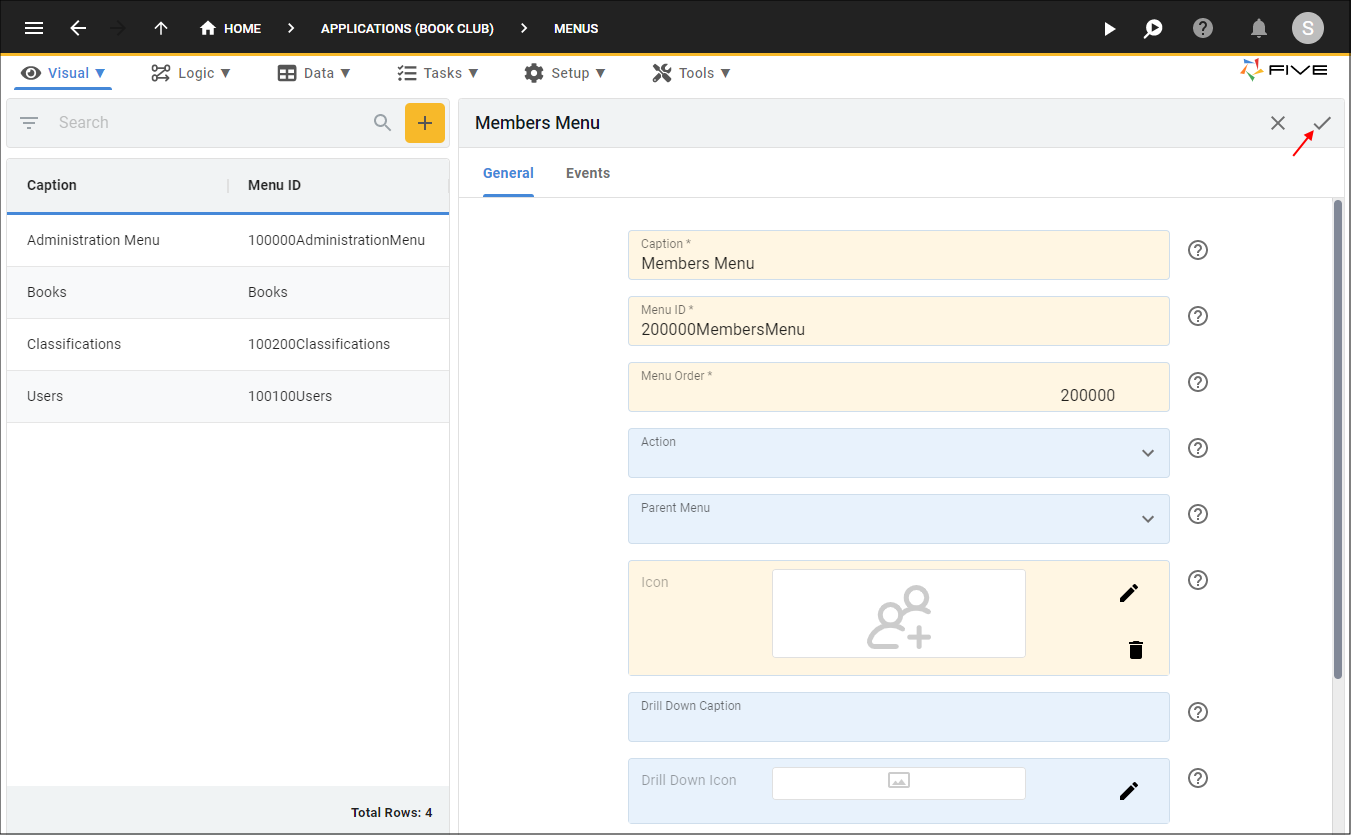
Figure 11 - Save the Members Menu
Edit the Books Menu Item
1. Select the Books record in the list.2. Either click the Edit button in the form app bar, or click directly in the Caption field.
3. Click the Cancel button and type Member Books.
4. Click the Cancel button in the Menu ID field and type 200100MemberBooks.
5. Click the Cancel button in the Menu Order field and type 200100.
6. Click the lookup icon in the Parent Menu field and select 200000MembersMenu (Members Menu).
7. Optional: Click the Edit button in the Icon field and navigate your files to open an icon in the Icon field.
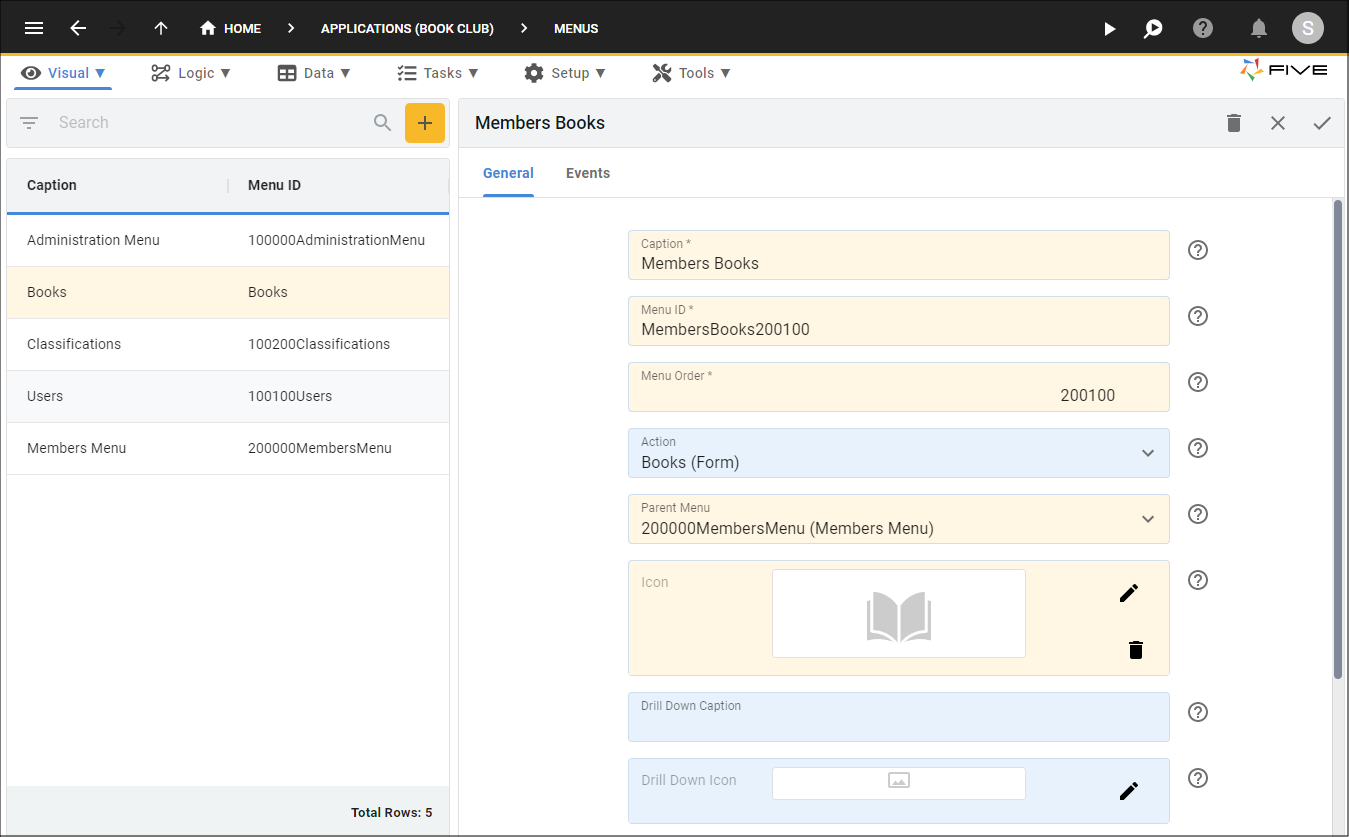
Figure 12 - Edit the Books menu
8. Click the Save button in the form app bar.
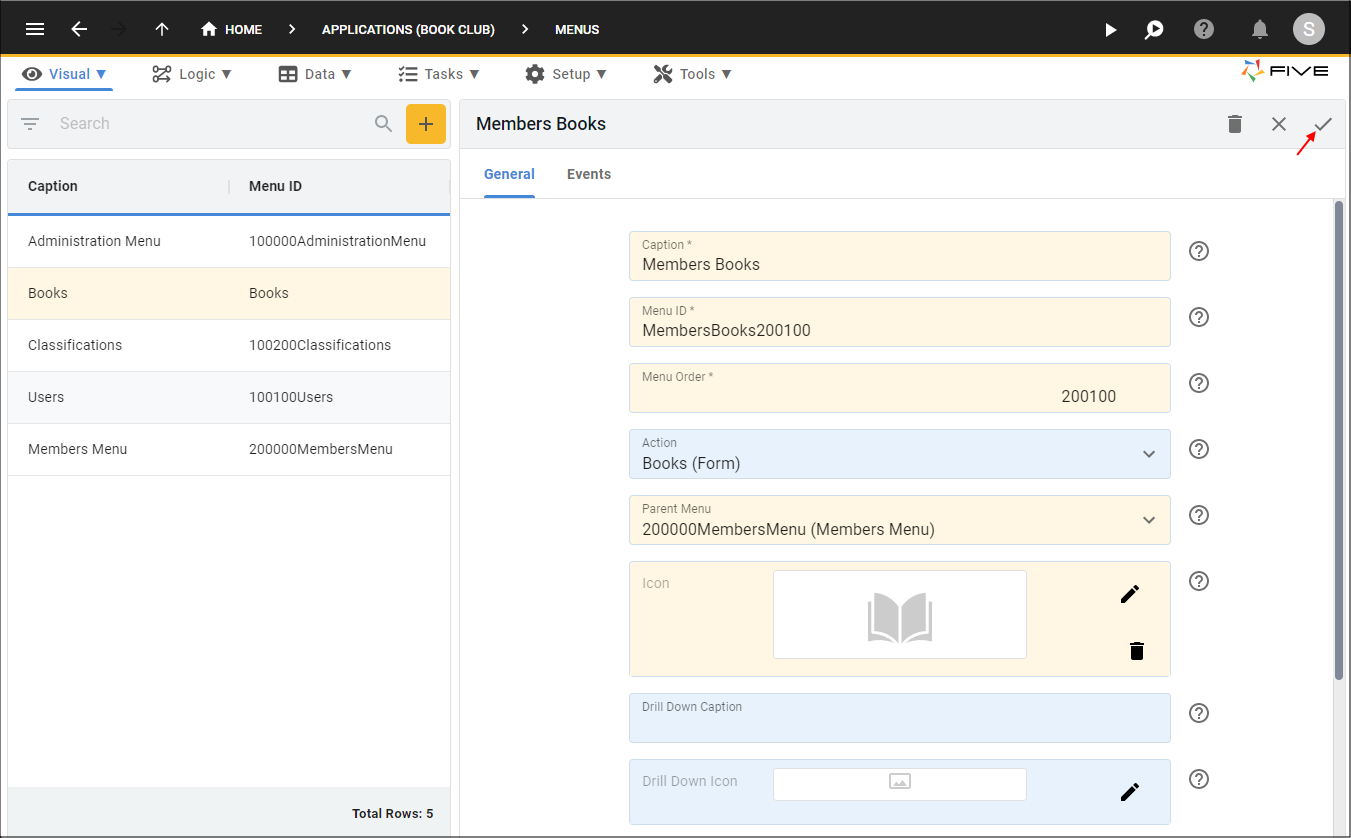
Figure 13 - Save the Books menu