4 - Create Forms
Last updated 6/05/2023
This documentation will teach you how to add the forms for the Book Club application. There are only two forms that we need to add to the application, however, we will also be updating the Users form that Five has ready for us to use.tip
The Users form was created automatically when we made the Book Club application a multi-user application.
While building the forms for the Book Club application, you will learn the following:
- How to add forms with Five's Form Wizard;
- How to edit forms using Five's forms;
- How to use Five's Form Designer.
Navigate to Forms
1. Select Visual in the menu.2. Select Forms in the sub-menu.

Figure 1 - Forms menu item
Add the Classifications Form
1. Click the New Form Wizard button.
Figure 2 - New Form Wizard button
2. Click the lookup icon in the Main Table field and select Classification.
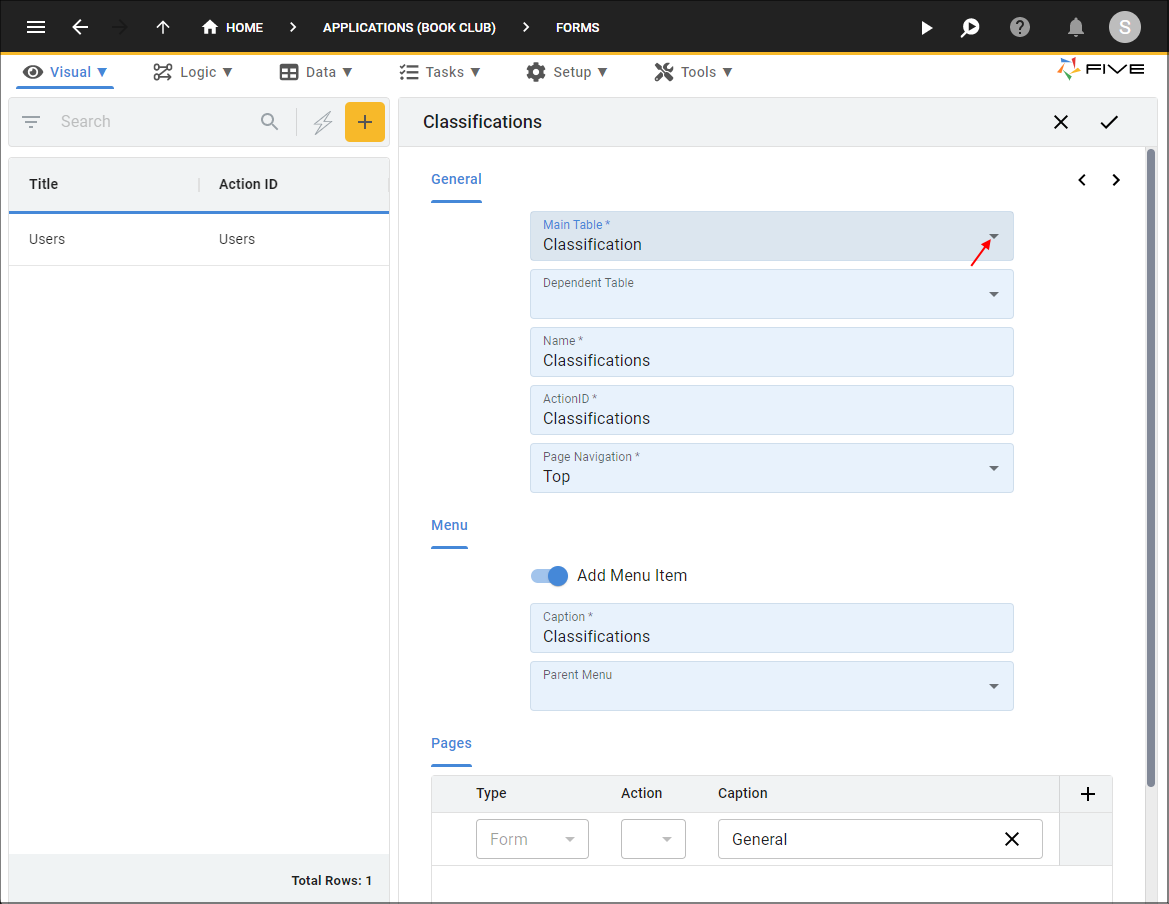
Figure 3 - Add the Classifications form
info
- Five will give your form a name, an action ID, and a menu item, they are all the same as your table name in a plural format.
- There is only one field in the Classifications form, so the form can be saved now without going to the second page of the Form Wizard.
3. Click the Save button in the Form Wizard app bar.
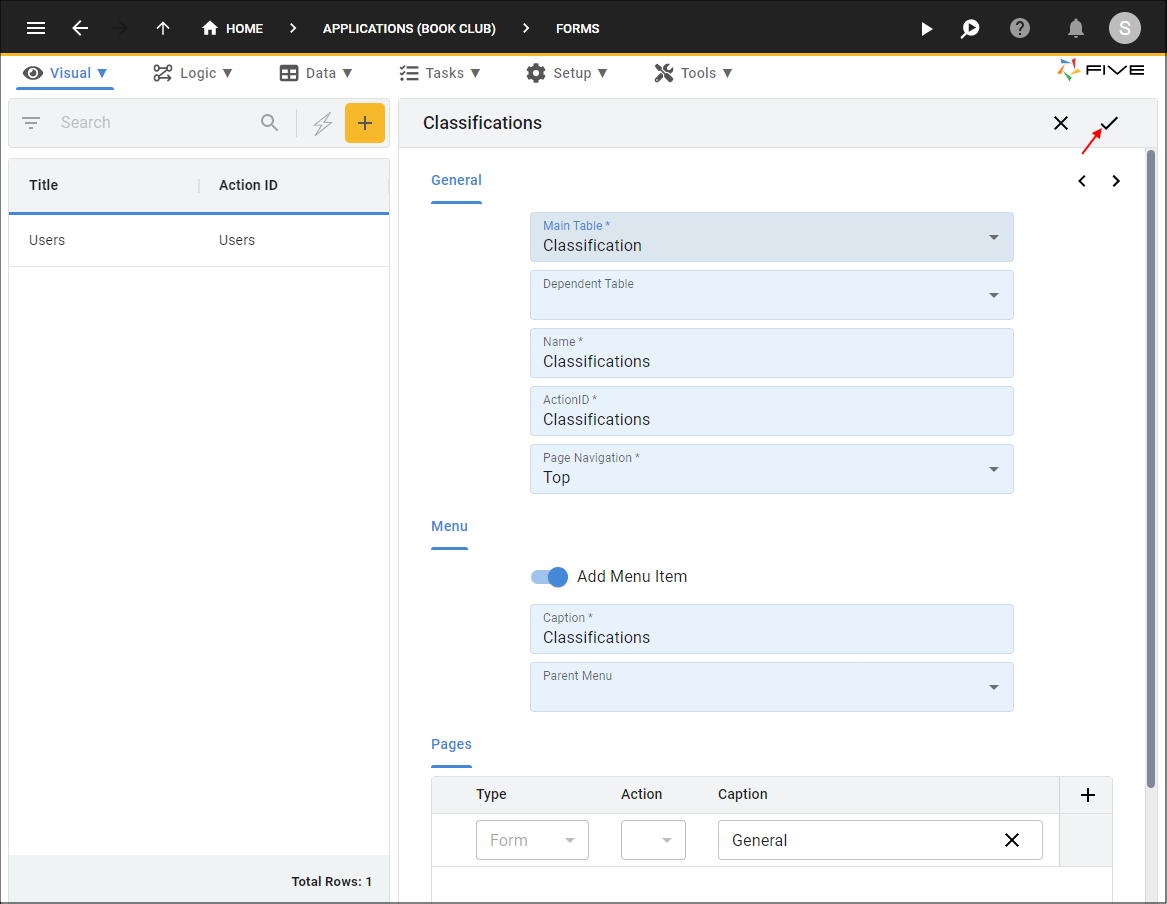
Figure 4 - Save the Classifications form
Add the Books Form
1. Click the New Form Wizard button.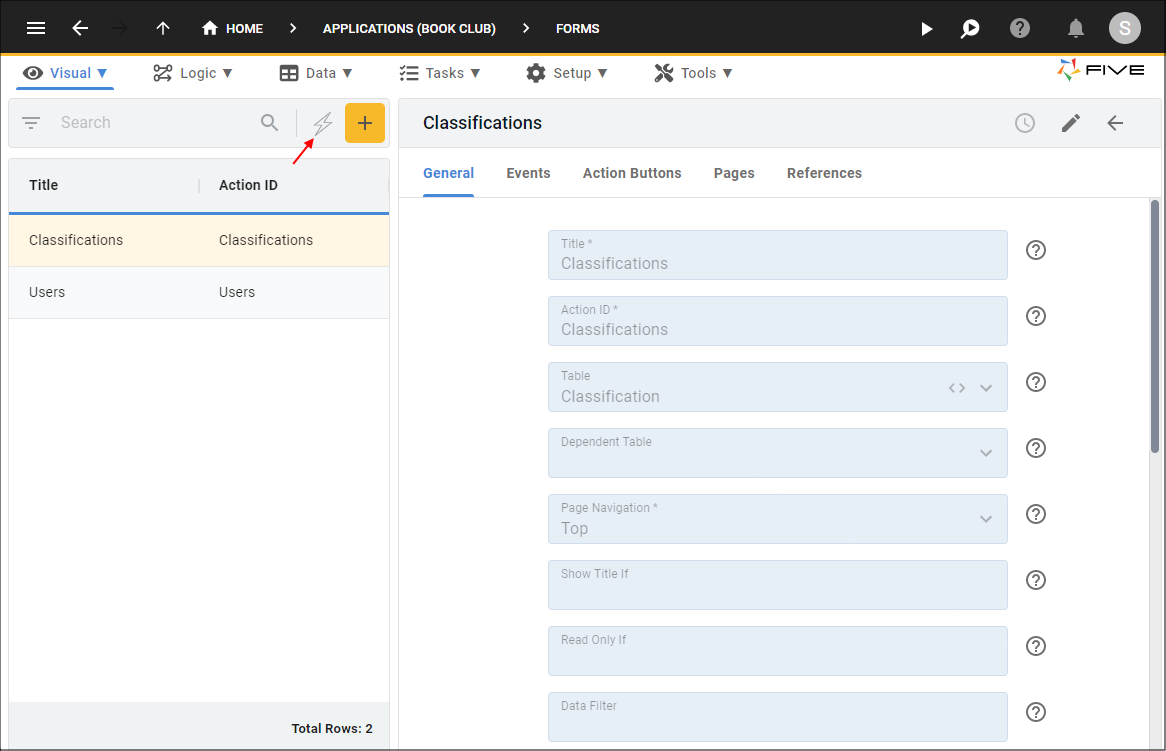
Figure 5 - New Form Wizard button
2. Click the lookup icon in the Main Table field and select Book.

Figure 6 - Add the Books form
3. Click the Next button.
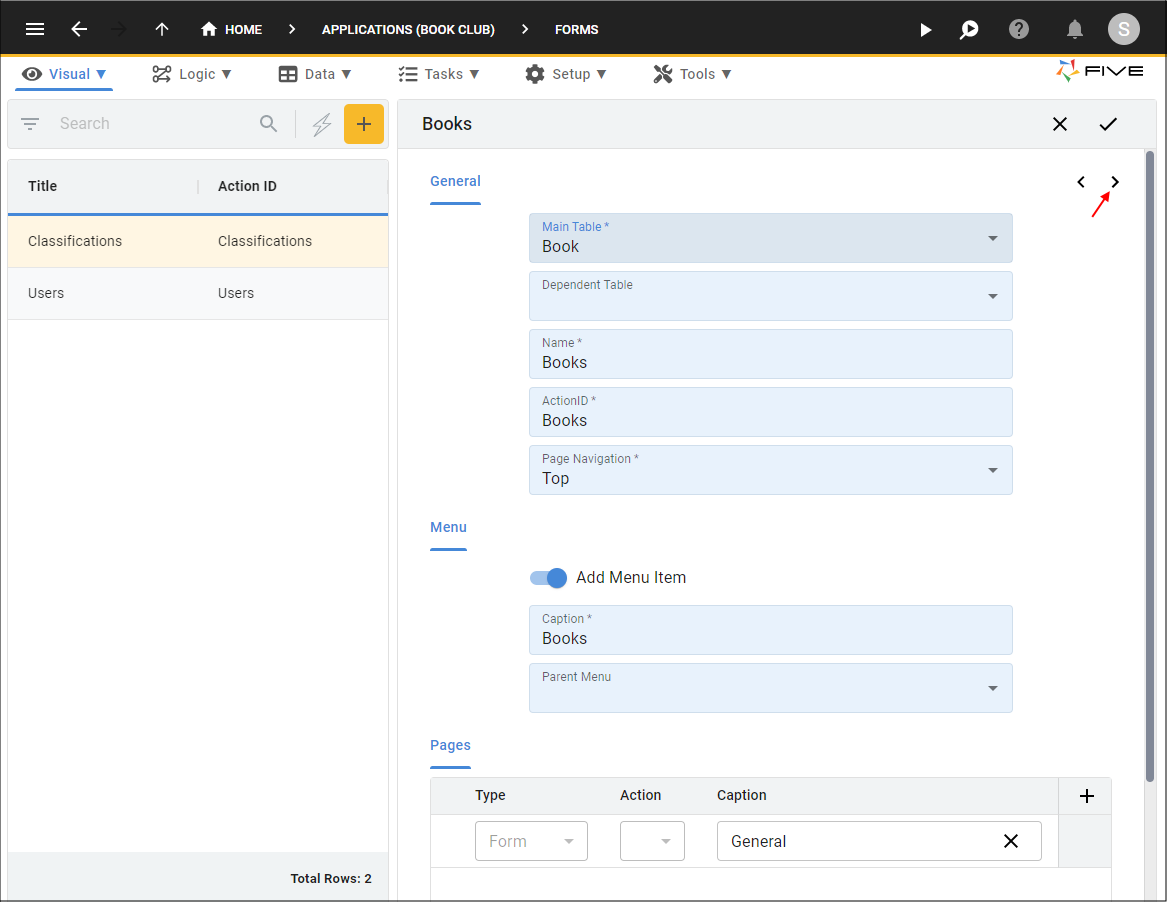
Figure 7 - Next button
info
- On the second page of the Form Wizard is the Reference field, you can see Five has already made reference to the Users and Classifications forms, this is because the foreign relationships were created at the table-level and the Users and Classifications forms are already saved in Five.
- Any fields that were configured at the table-level as required will automatically be set to required at the form-level.
tip
A required field at table-level will take precedence over a required field at form-level. This means if you have a field set as required at table-level but not form-level, the field will still be required to have a value.
4. Click the Cancel button in the Caption field for the Borrow Member field and type Borrowed By.
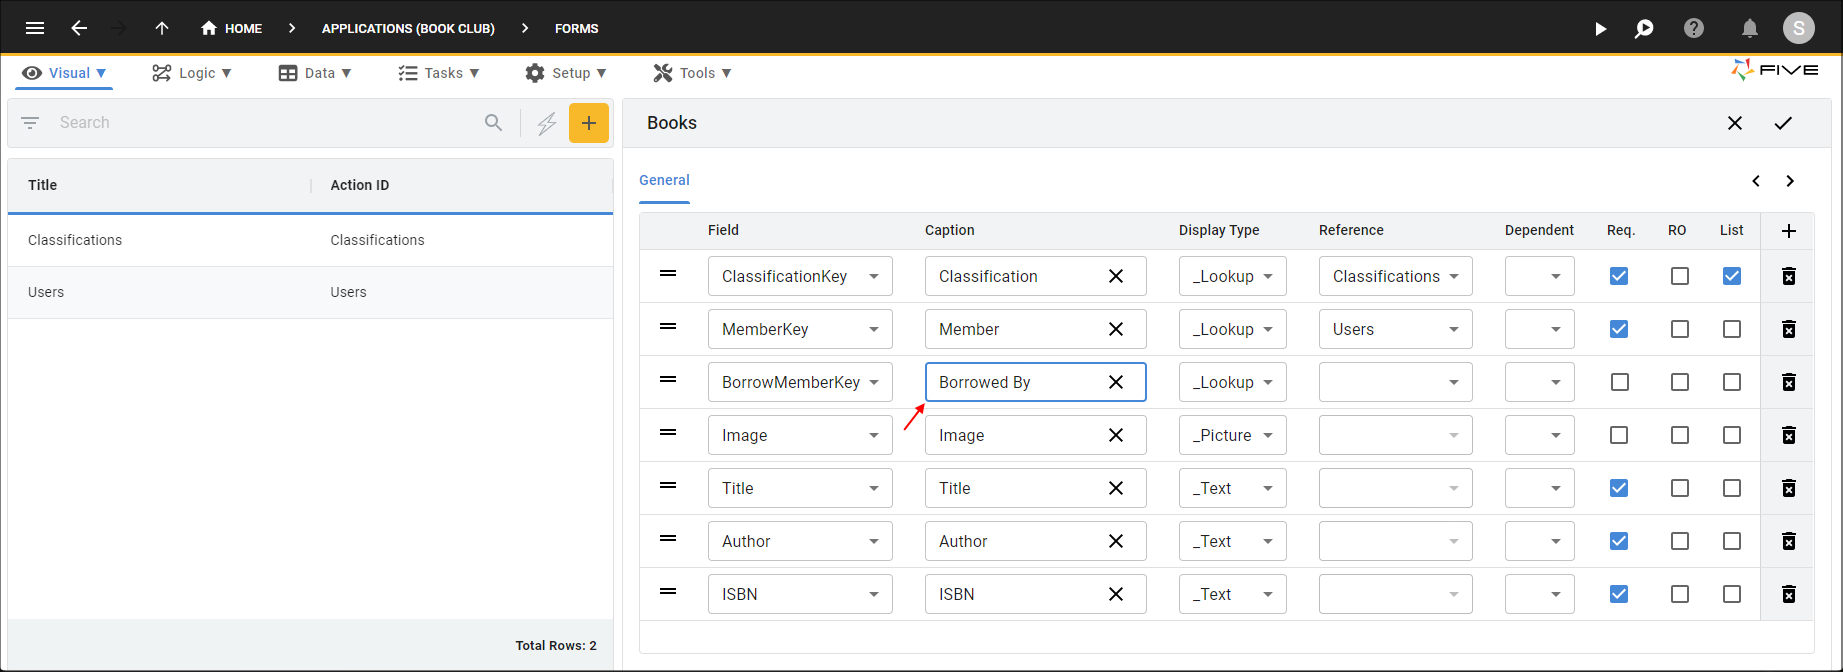
Figure 8 - Edit the Borrow Member Caption field
5. Click the lookup icon in the Display Type field for the Image field and select Image.
6. Click the lookup icon in the Display Type field for the Title field and select BookTitle.
info
These are the custom display types you created earlier.
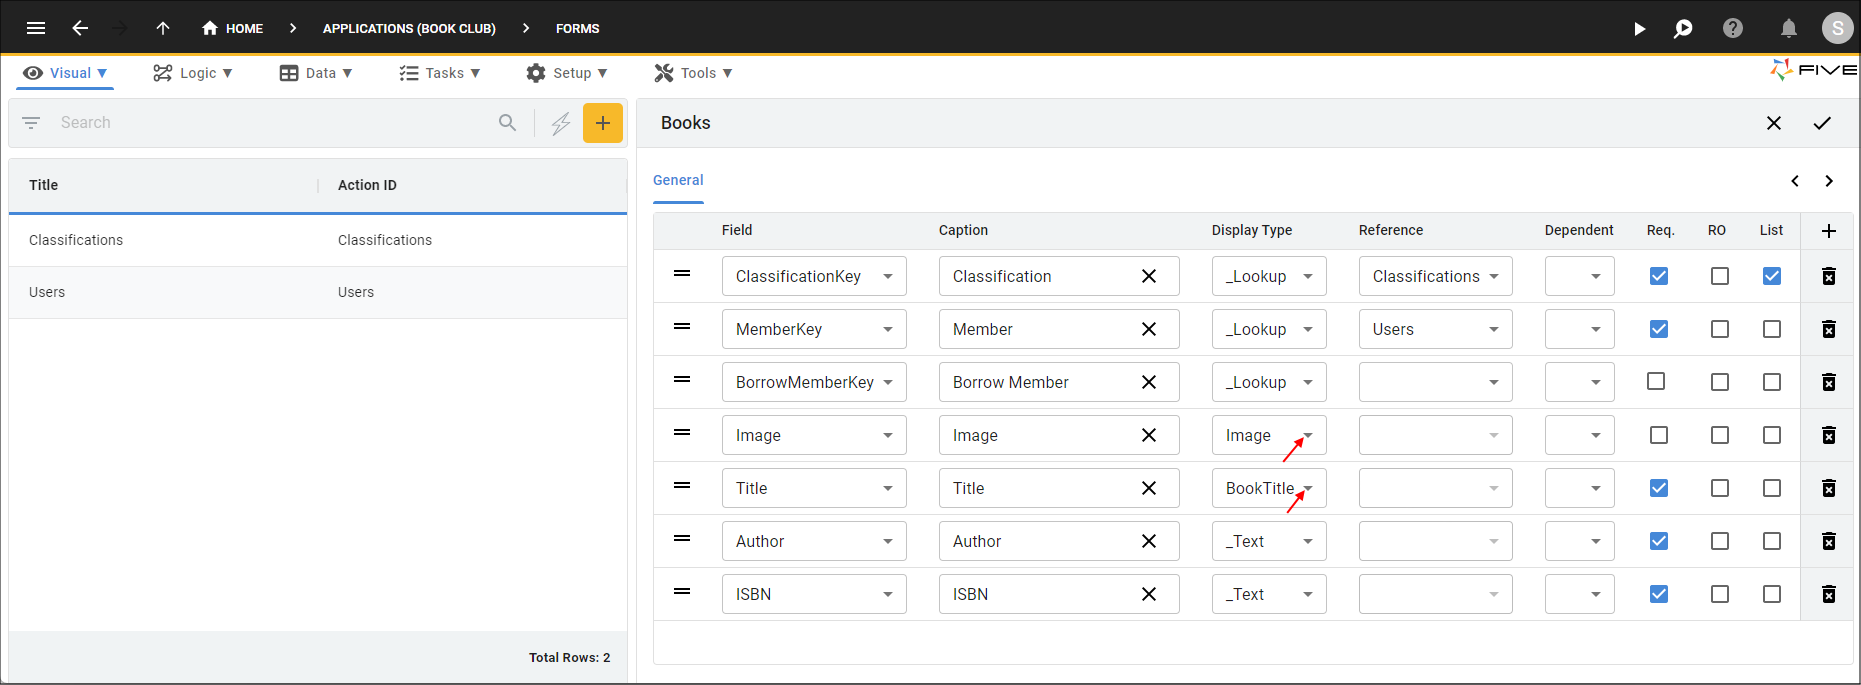
Figure 9 - Edit the Display Type fields
7. Click the List checkbox for the fields Member, Image, Title, and ISBN.
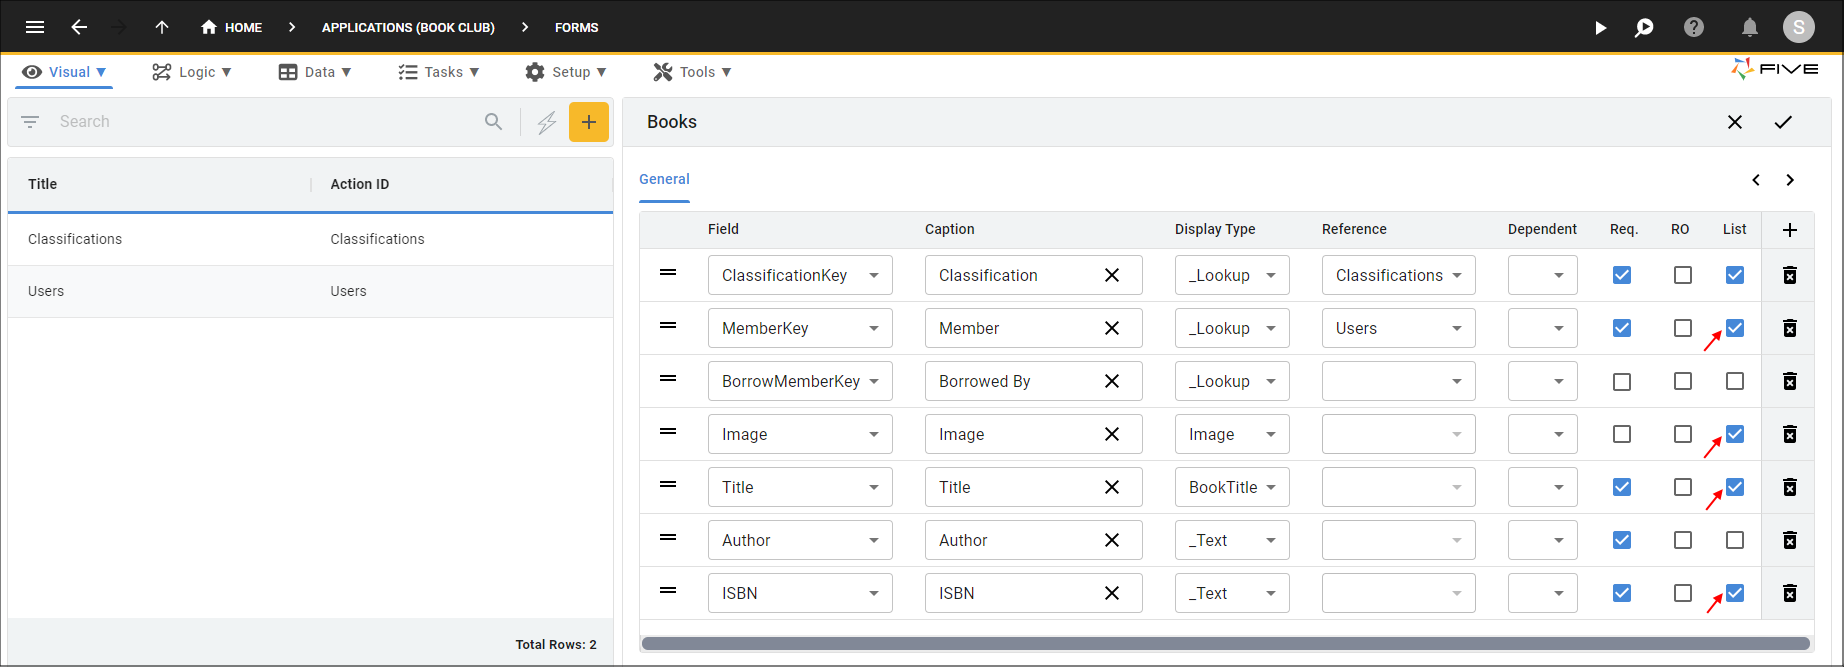
Figure 10 - List checkboxes
tip
The fields with their List checkboxes checked will now appear in the list in the Book Club application.
8. Click the Save button in the Form Wizard app bar.
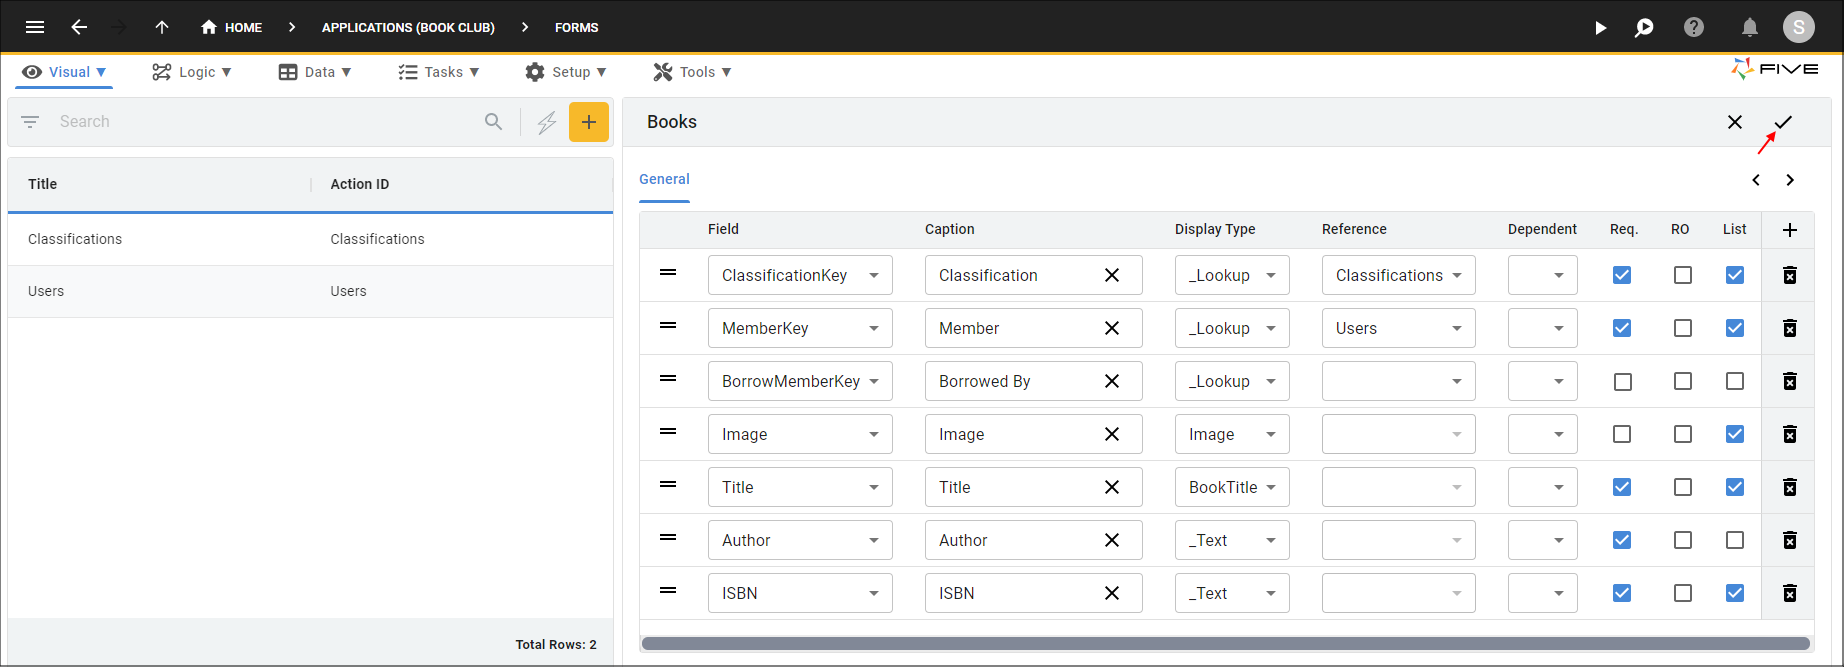
Figure 11 - Save the Books form
Edit the Books Form
info
While in the Form Wizard, you can only reference a form once because after you reference a form record, it is removed from the lookup in the Reference field. We need to edit the Books record and make the Borrowed By field reference the Users form so we can get the names of our borrowing members automatically.
tip
You can reference a form even without a relationship set at the table-level.
1. Select the Books record in the list.
2. Click the Pages tab.
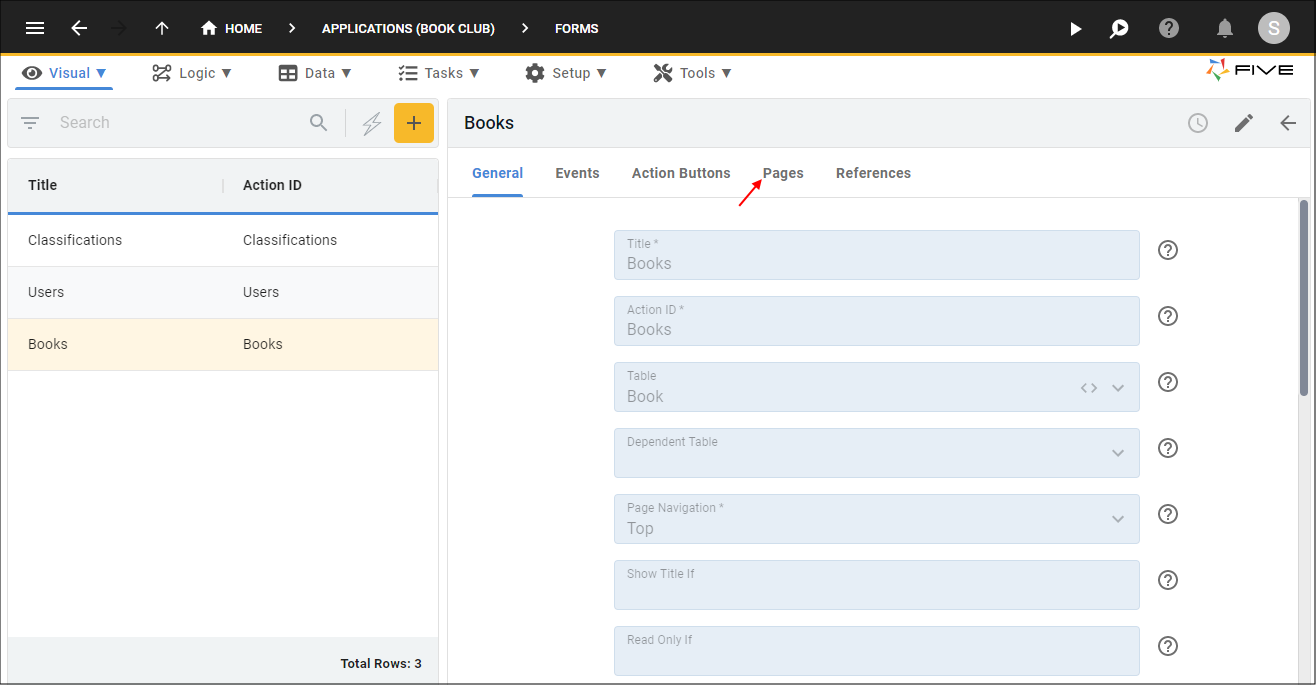
Figure 12 - Pages tab
3. Select the General record.
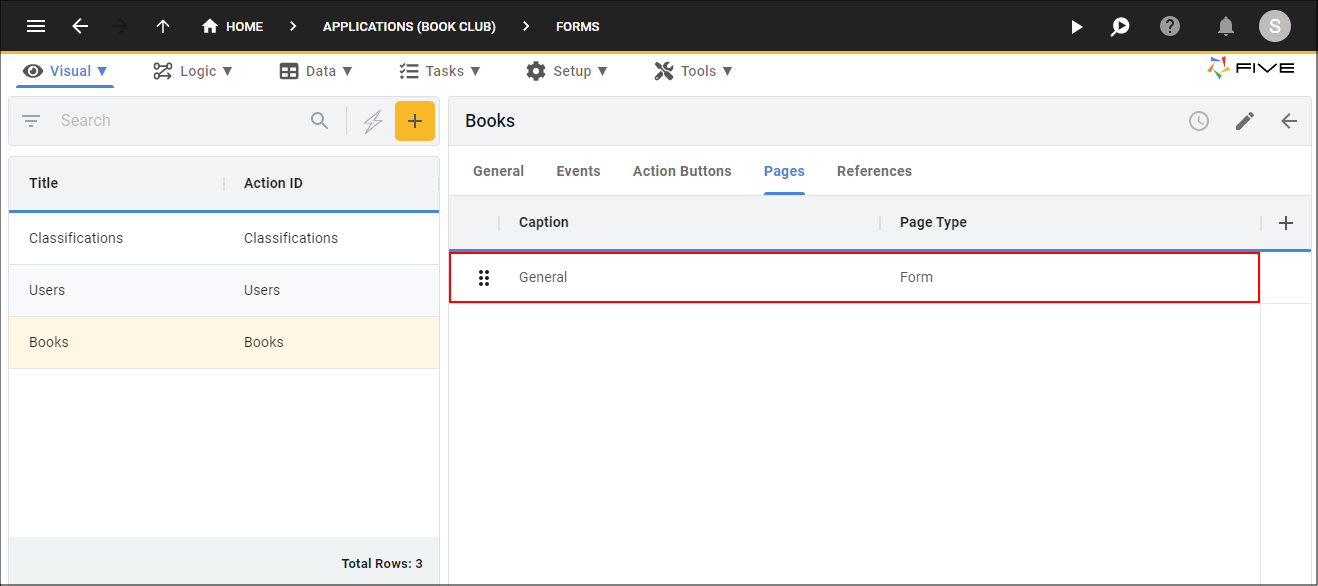
Figure 13 - General record
4. Click the Fields tab.

Figure 14 - Fields tab
5. Select the Borrowed By record.
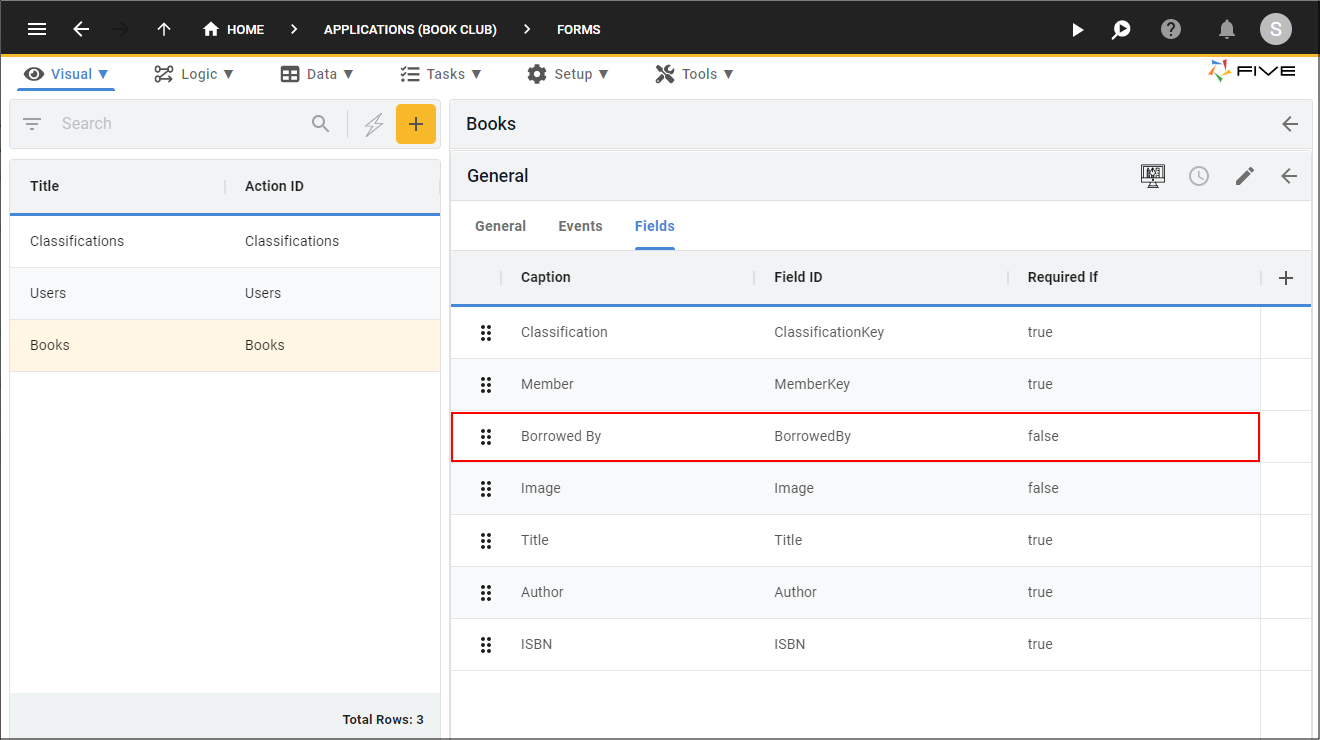
Figure 15 - Borrowed By record
6. Either click the Edit button in the form app bar, or click directly in the Reference Form field.
7. Click the lookup icon in the Reference Form field and select Users.
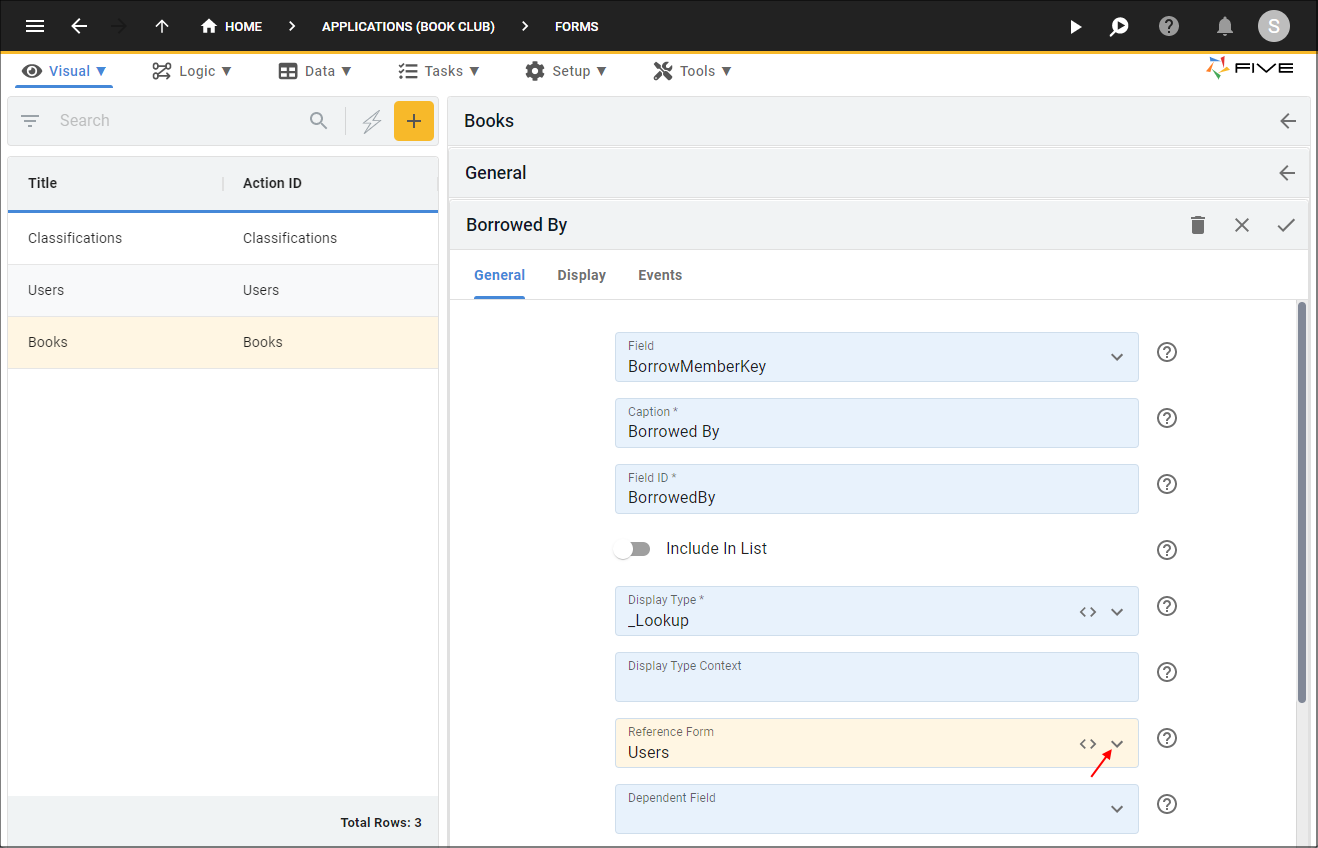
Figure 16 - Reference the Users form
8. Click the Save button in the form app bar.
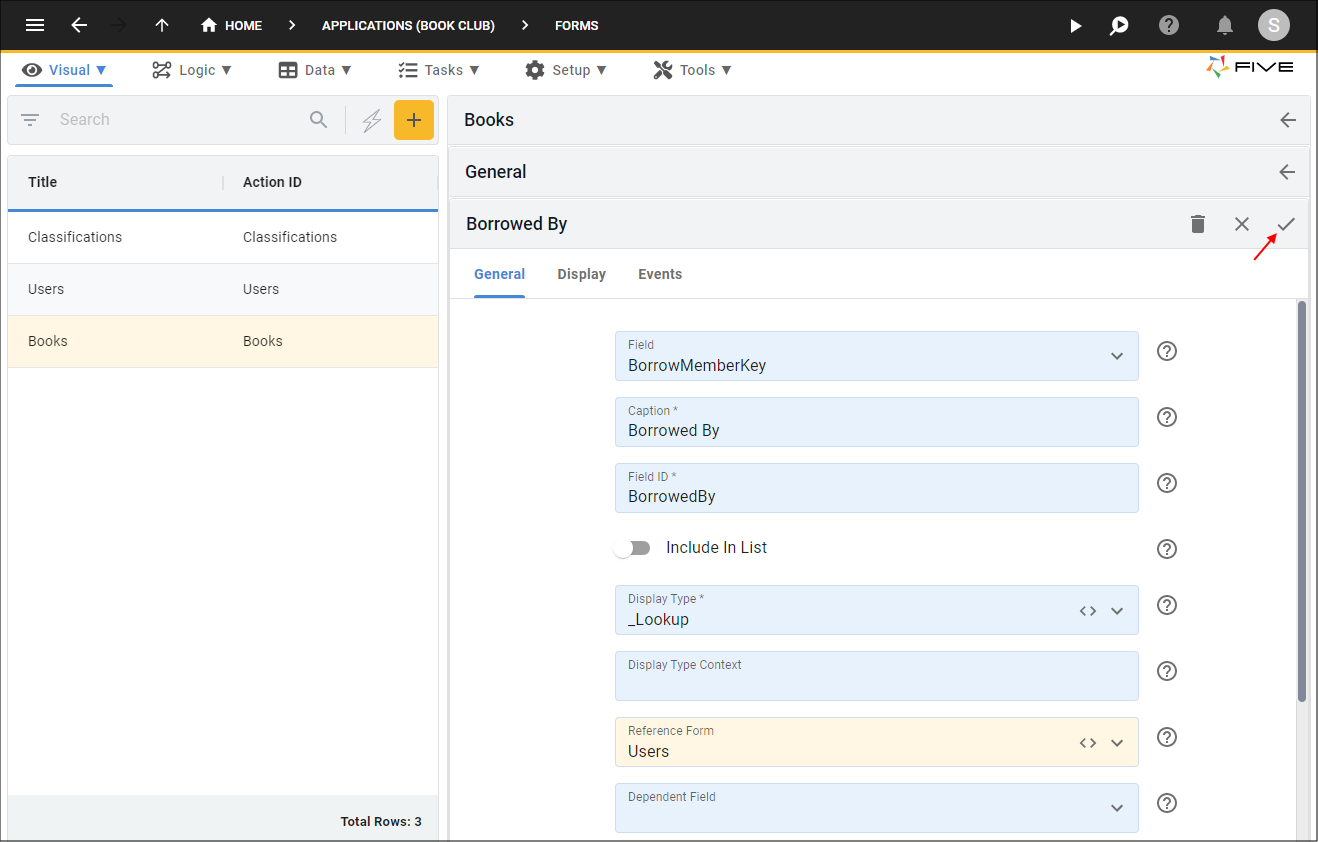
Figure 17 - Save the Borrowed By field
9. Click the Save button in the form app bar above the list.
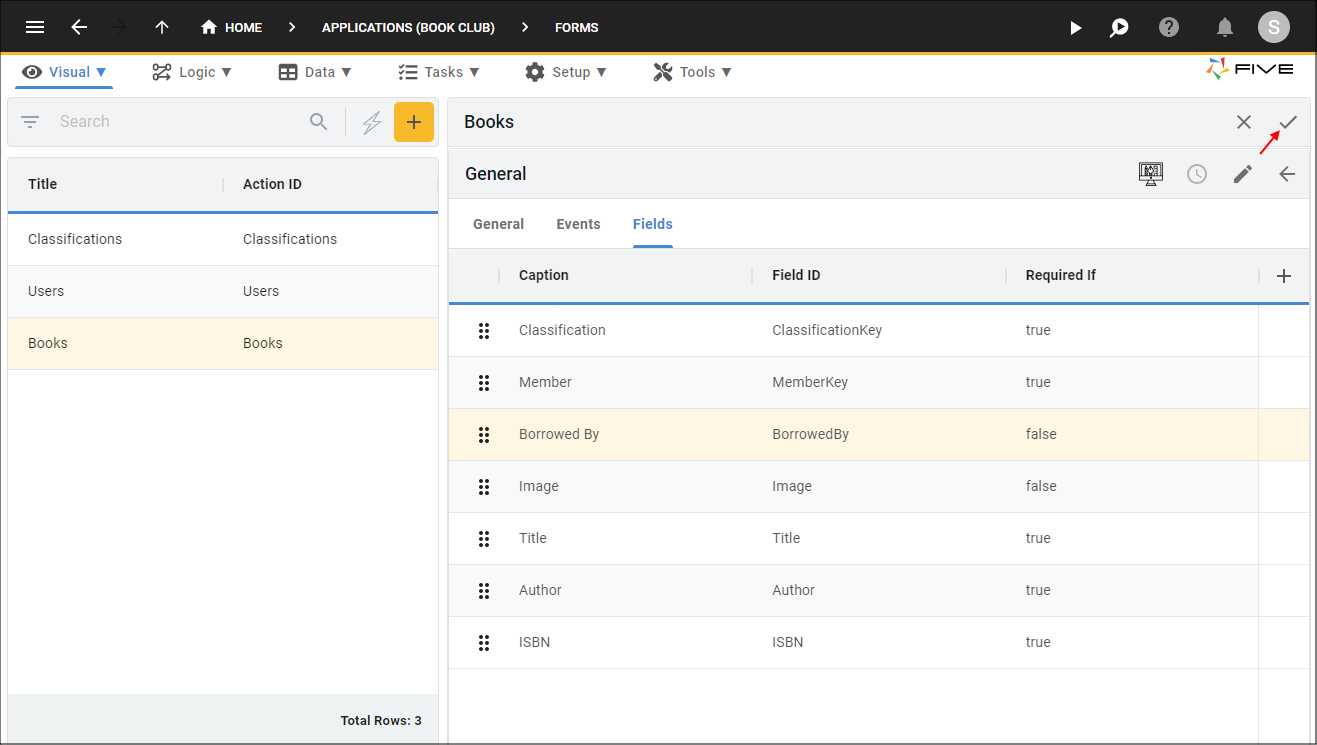
Figure 18 - Save the Books form
Edit the Users Form
info
We can edit the Users form supplied by Five just the same as we did for the iUser table.
warning
Just the same as the iUser table, it is strongly recommended not to delete any fields on the Users form but to hide the field if you do not want it shown in your application. To do this, simply click the Display tab on the Form Fields form and type false in the Show If field.
1. Select the Users record in the list.
2. Click the Pages tab.
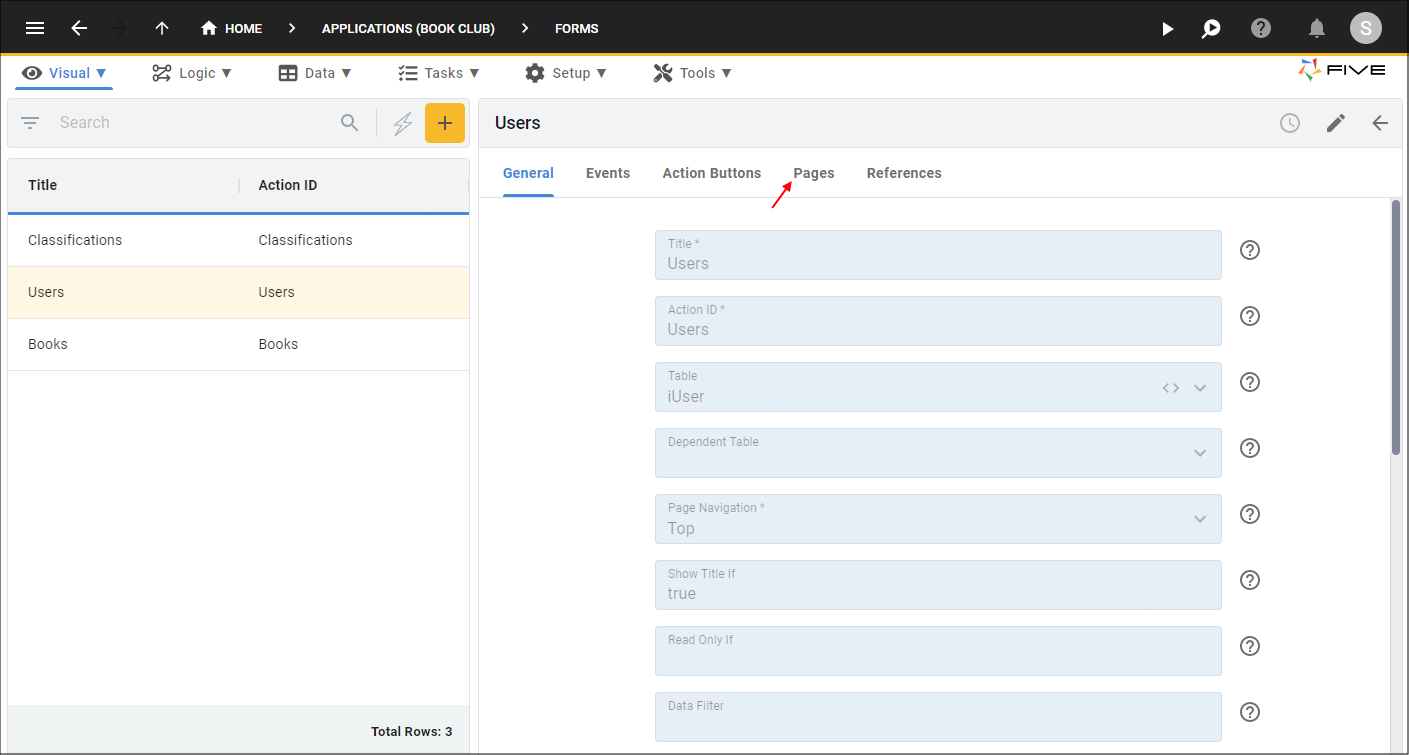
Figure 19 - Pages tab
3. Select the General record.
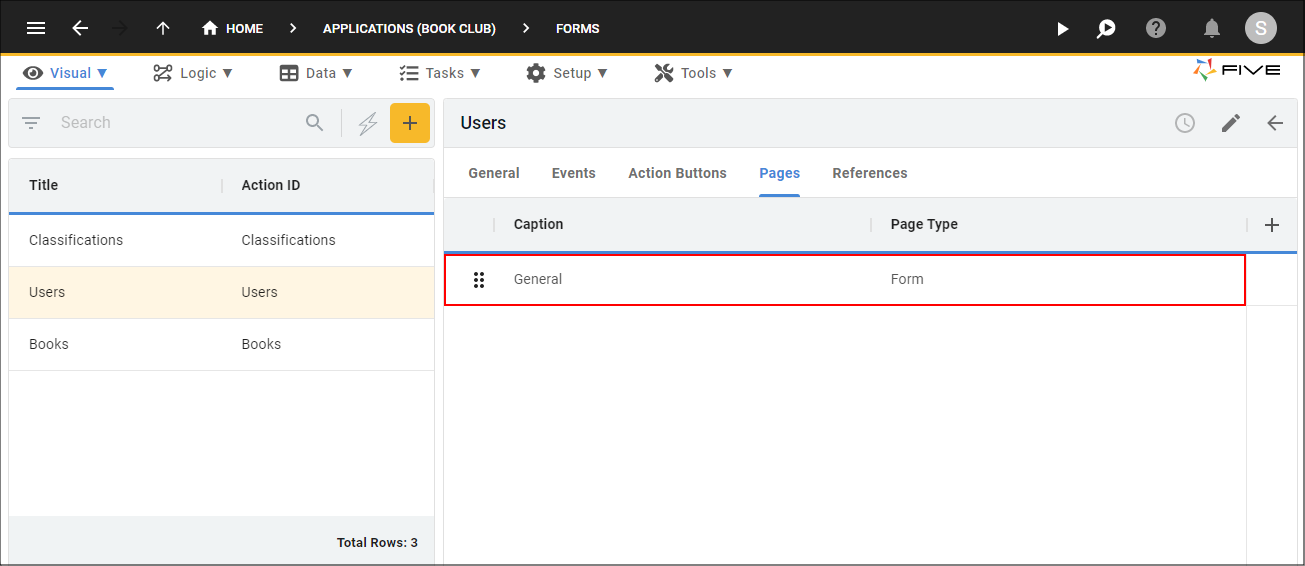
Figure 20 - General record
4. Click the Fields tab.
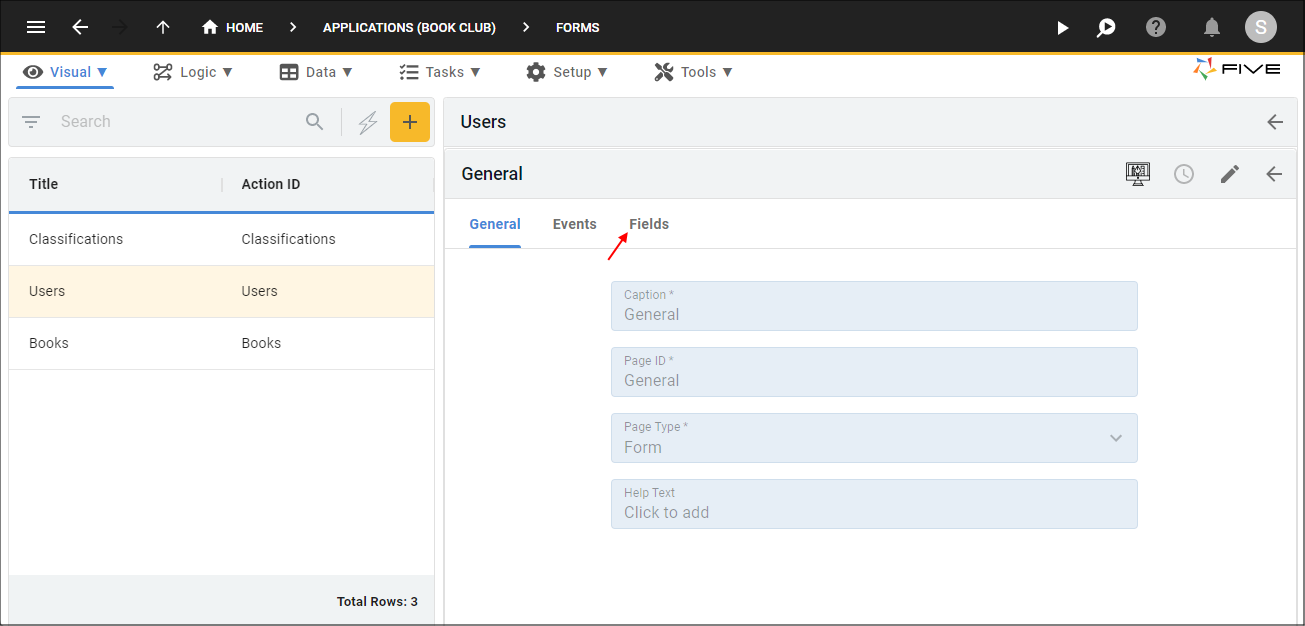
Figure 21 - Fields tab
5. Click the Add Fields button.

Figure 22 - Add Fields button
6. Click the lookup in the Field field and select AddressLine1.
Upgrade Information
There was an update to Version 2.1, if you are working on an earlier version before this update you will need to do the following extra step:
- Type Address Line 1 in the Caption field.
7. Click the lookup icon in the Display Type field and select _Text.

Figure 23 - Add the AddressLine1 field
8. Click the Save button in the form app bar.

Figure 24 - Save the AddressLine1 field
9. Click the Add Fields button.
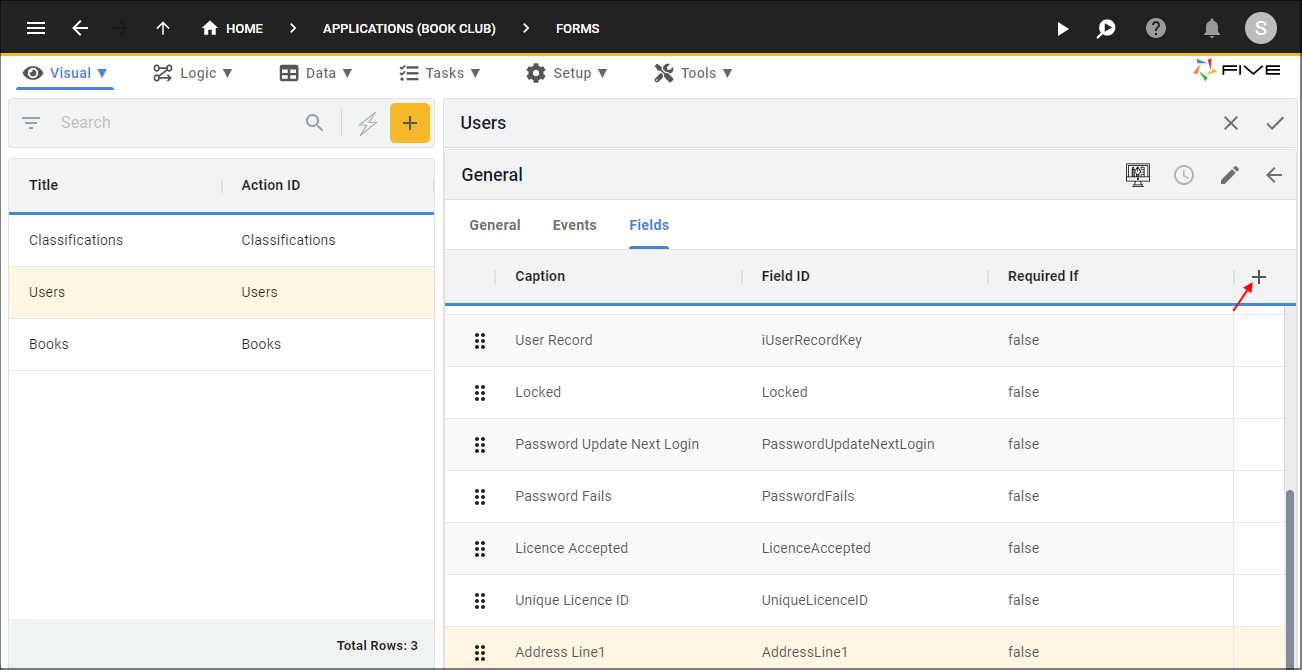
Figure 25 - Add Fields button
10. Click the lookup icon in the Field field and select AddressLine2.
11. Click the lookup icon in the Display Type field and select _Text.

Figure 26 - Add the AddressLine2 field
12. Click the Save button in the form app bar.

Figure 27 - Save the AddressLine2 field
13. Click the Add Fields button.
Figure 28 - Add Fields button
14. Click the lookup icon in the Field field and select Suburb.
15. Click the Include In List switch.
16. Click the lookup icon in the Display type field and select _Text.

Figure 29 - Add the Suburb field
17. Click the Save button in the form app bar.

Figure 30 - Save the Suburb field
18. Click the Add Fields button.
Figure 31 - Add Fields Button
19. Click the lookup icon in the Field field and select State.
20. Click the Include In List switch.
21. Click the lookup icon in the Display Type field and select State.
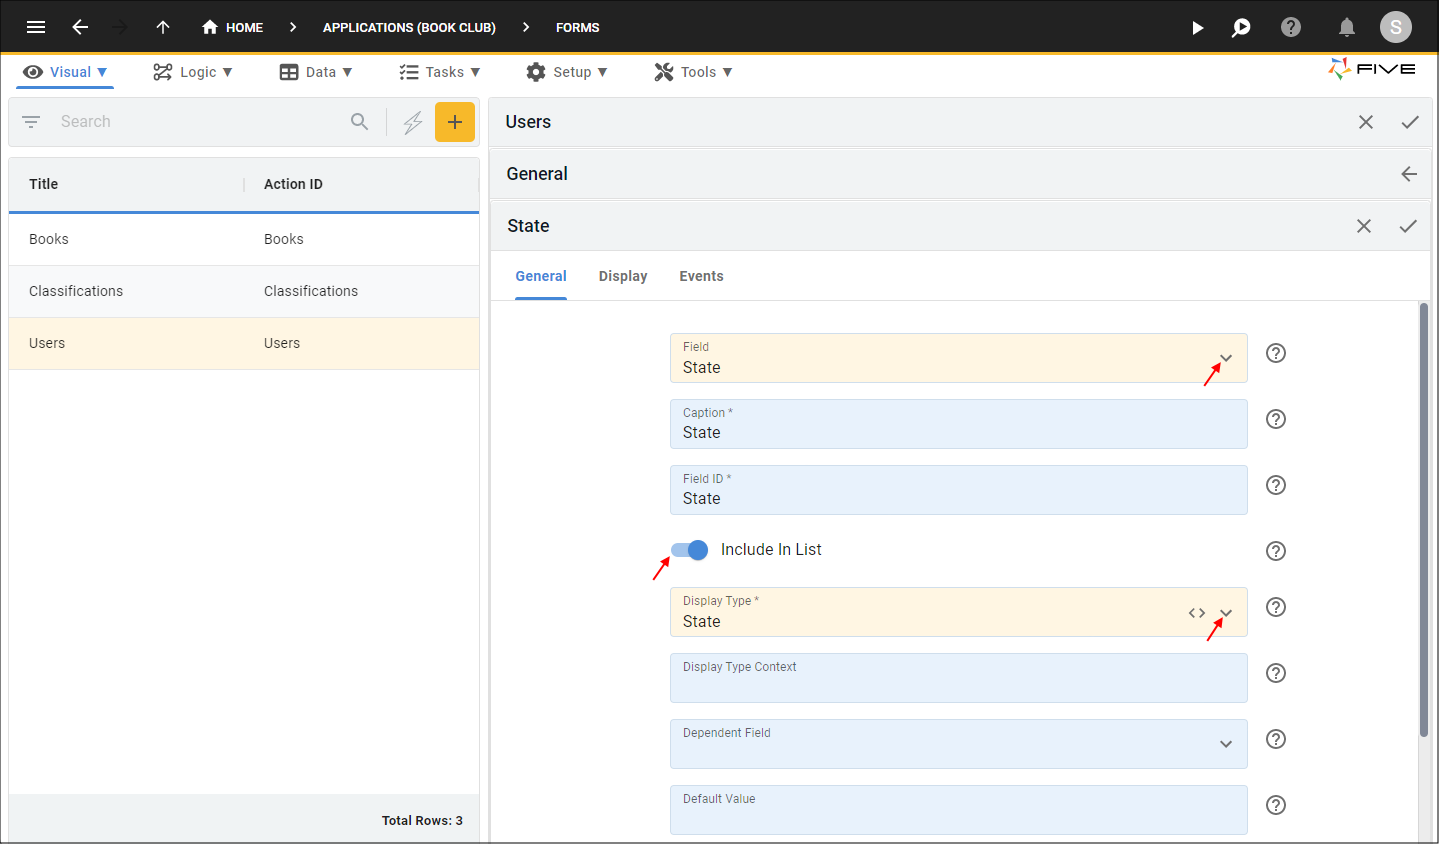
Figure 32 - Add the State field
22. Click the Save button in the form app bar.
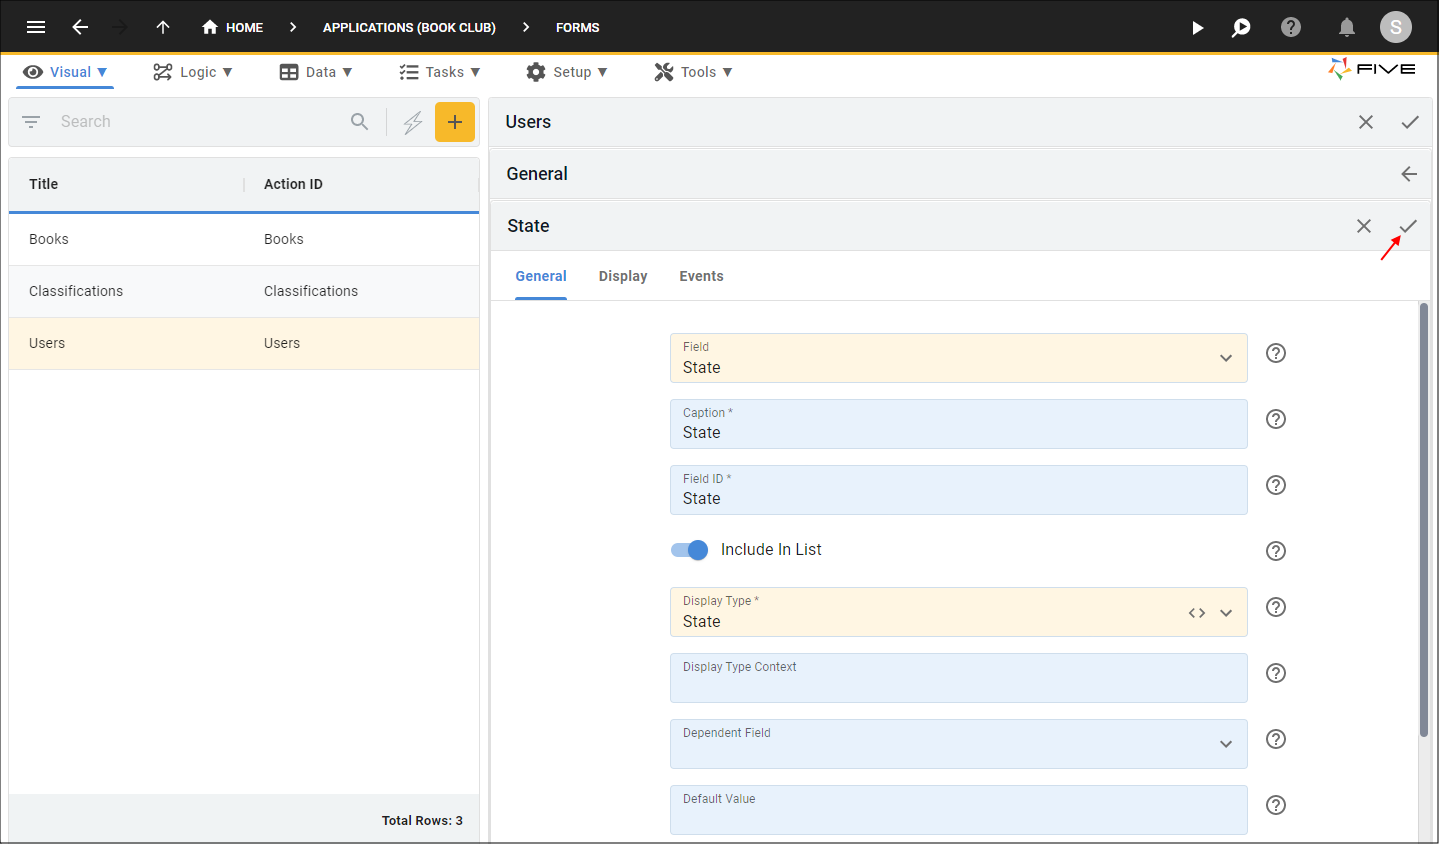
Figure 33 - Save the State field
23. Click the Add Fields button.
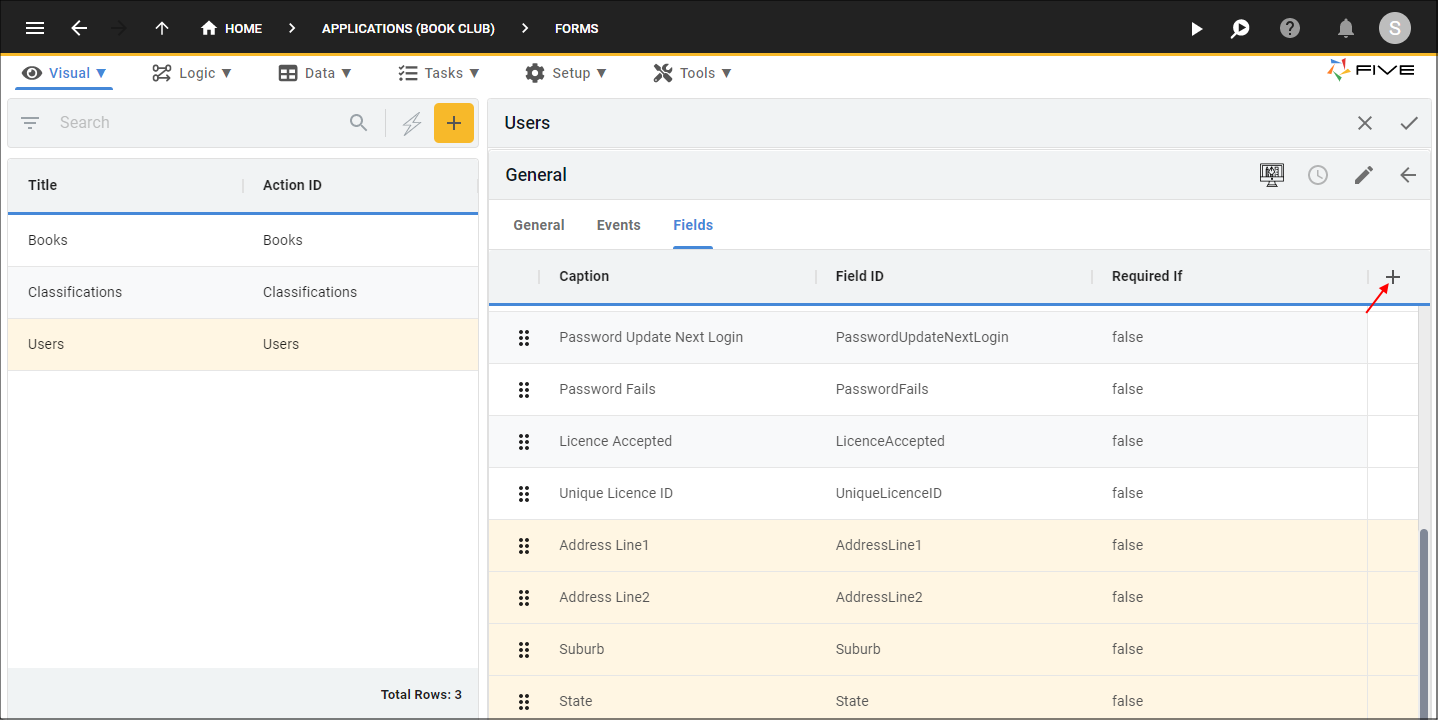
Figure 34 - Add Fields button
24. Click the lookup icon in the Field field and select PostCode.
25. Click the Include In List switch.
26. Click the lookup icon in the Display Type field and select _Integer.
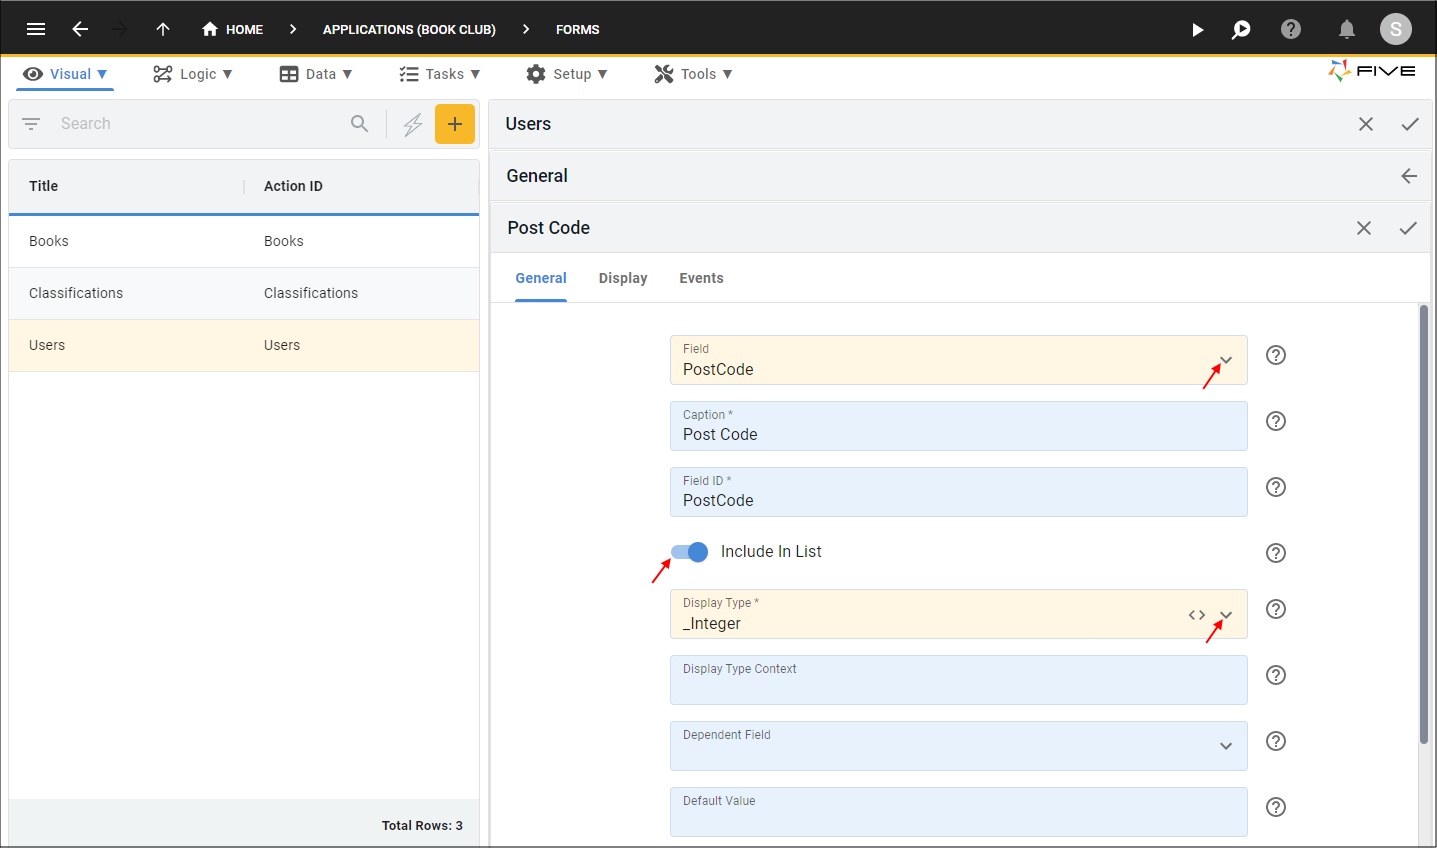
Figure 35 - Add the PostCode field
27. Click the Save button in the form app bar.
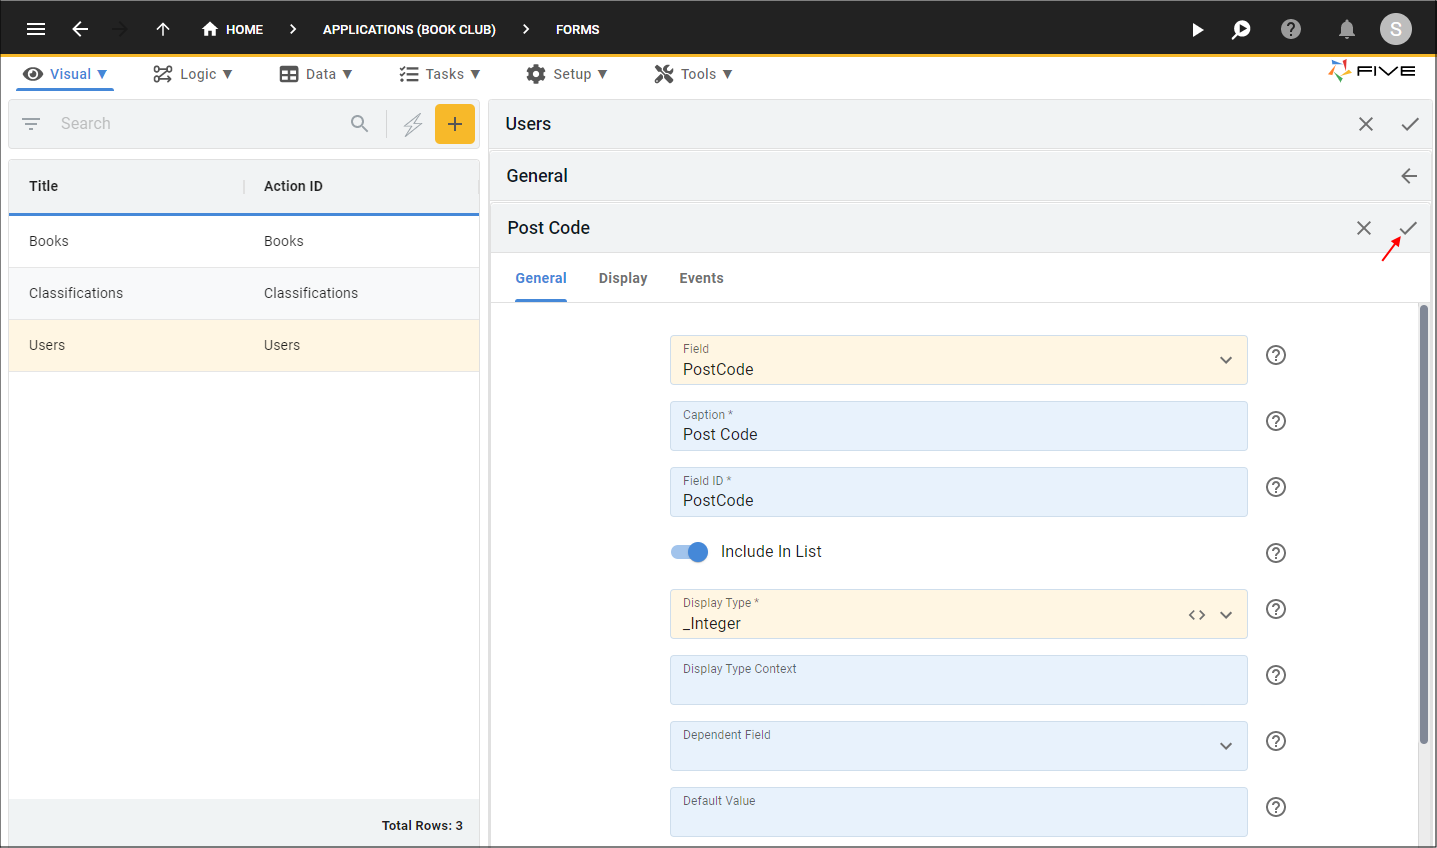
Figure 36 - Save the PostCode field
tip
You can reorder the records in the list!
28. Click, hold, and drag the handler for the AddressLine1 to be positioned under the Role field.
29. Repeat this for the fields: AddressLine2, Suburb, State, and PostCode so they are positioned consecutively under each other.
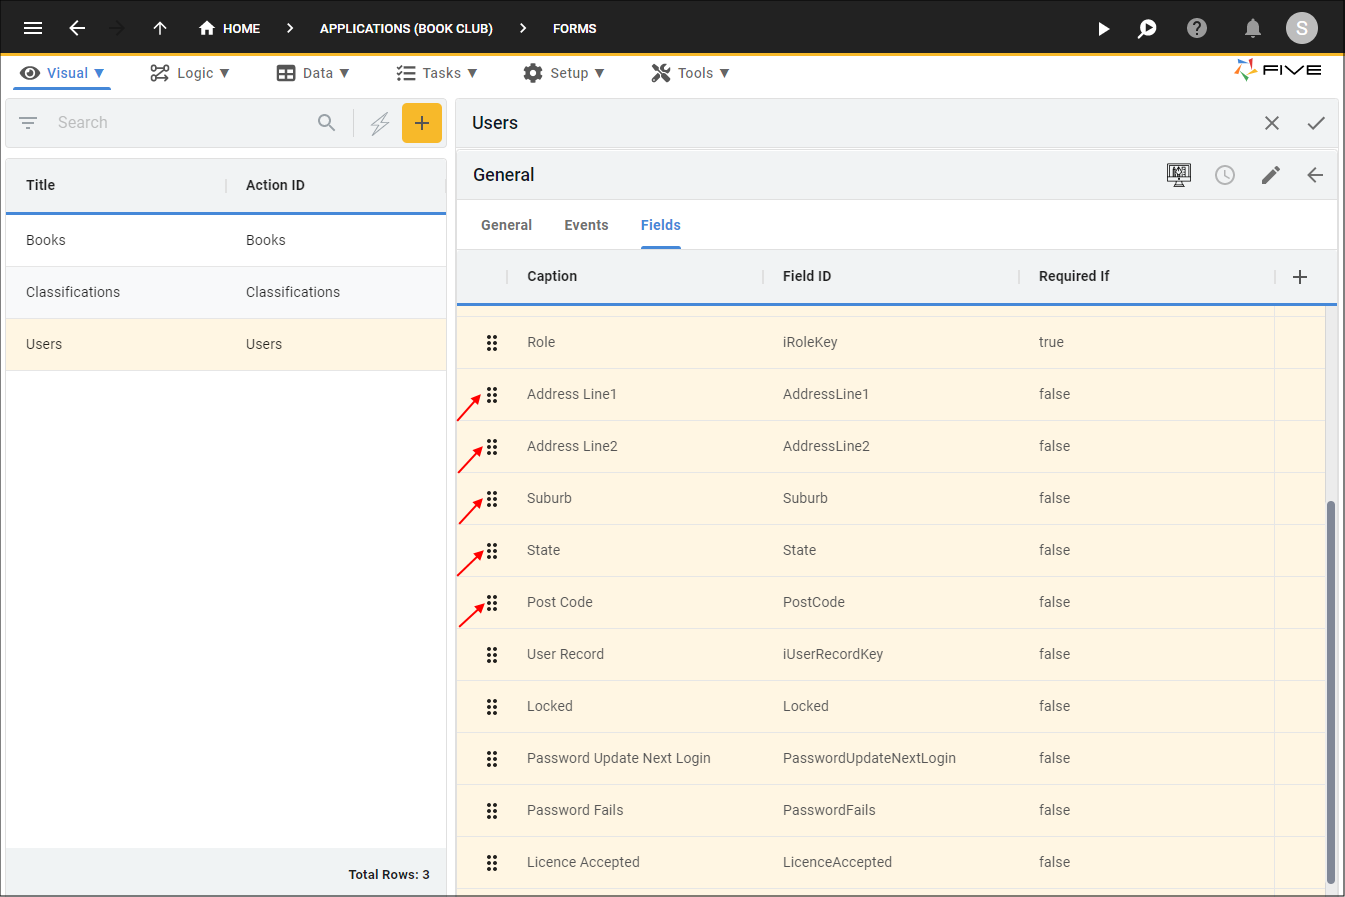
Figure 37 - Reorder field records
30. Click the Save button in the form app bar above the list.
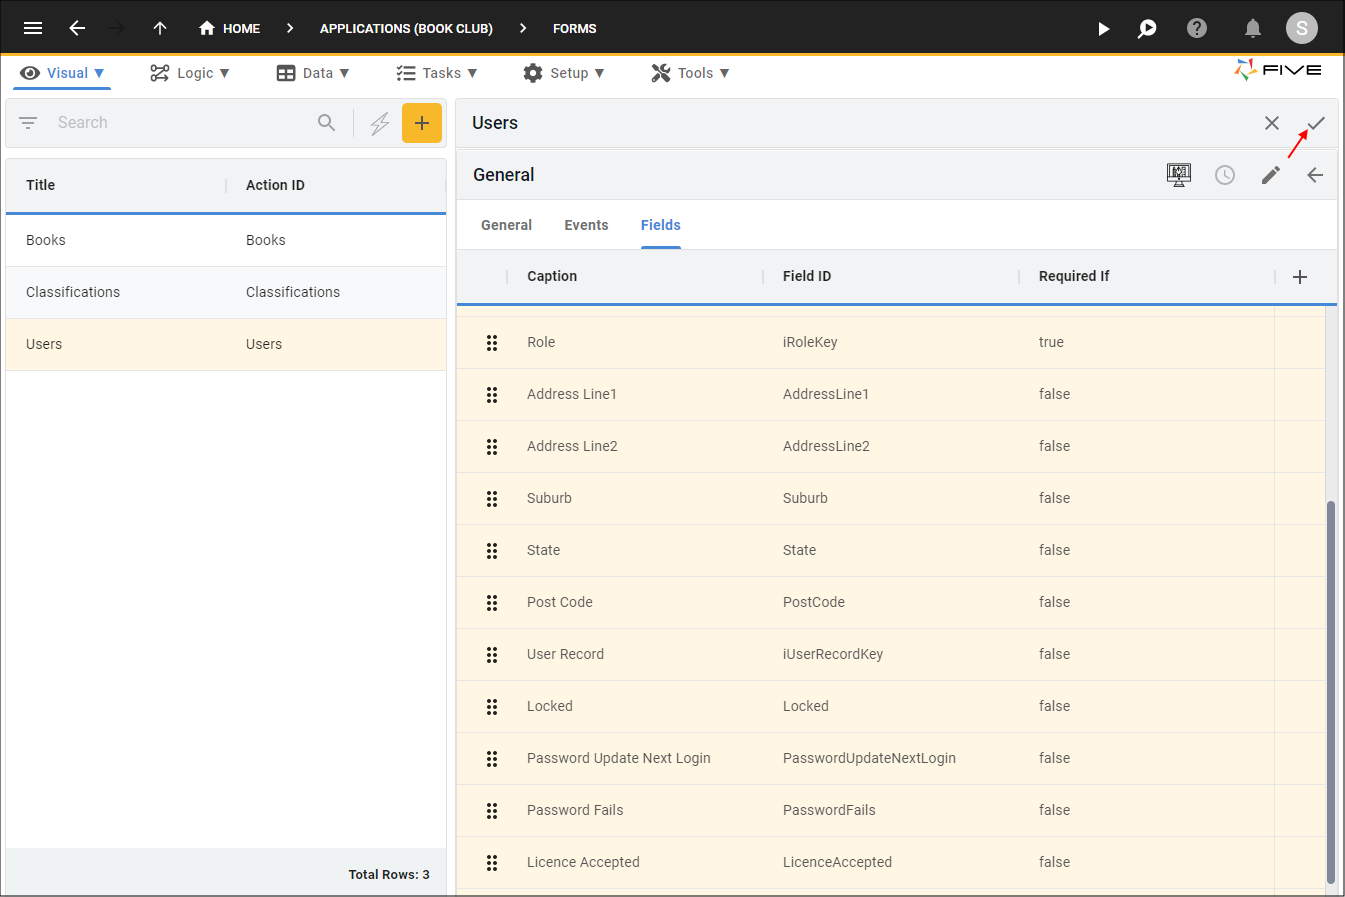
Figure 38 - Save the Users form
Design the Layout of the Books Form
Five has its own Form Designer that gives you the ability to redesign the layout of your form by repositioning and resizing fields. The Form Designer requires no code and you can create a different layout for a form for desktop and mobile.Tips
Guidelines to help you in the Form Designer:
- When dragging a field up or down, wait for the yellow line to appear below the field before dropping into position.
- When dragging a field to resize, position your mouse just on the inside of the field and wait until it changes to a drag handler before dragging.
1. Select the Books record in the list.
2. Click the Pages tab.
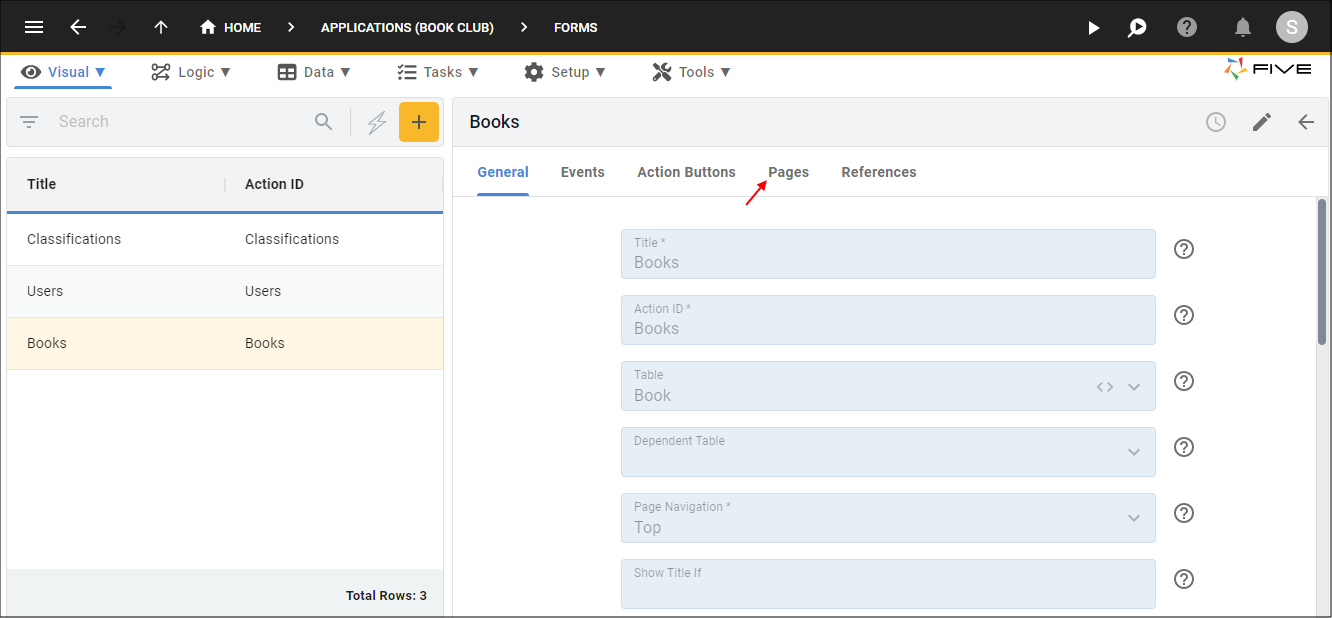
Figure 39 - Pages tab
3. Select the General record.
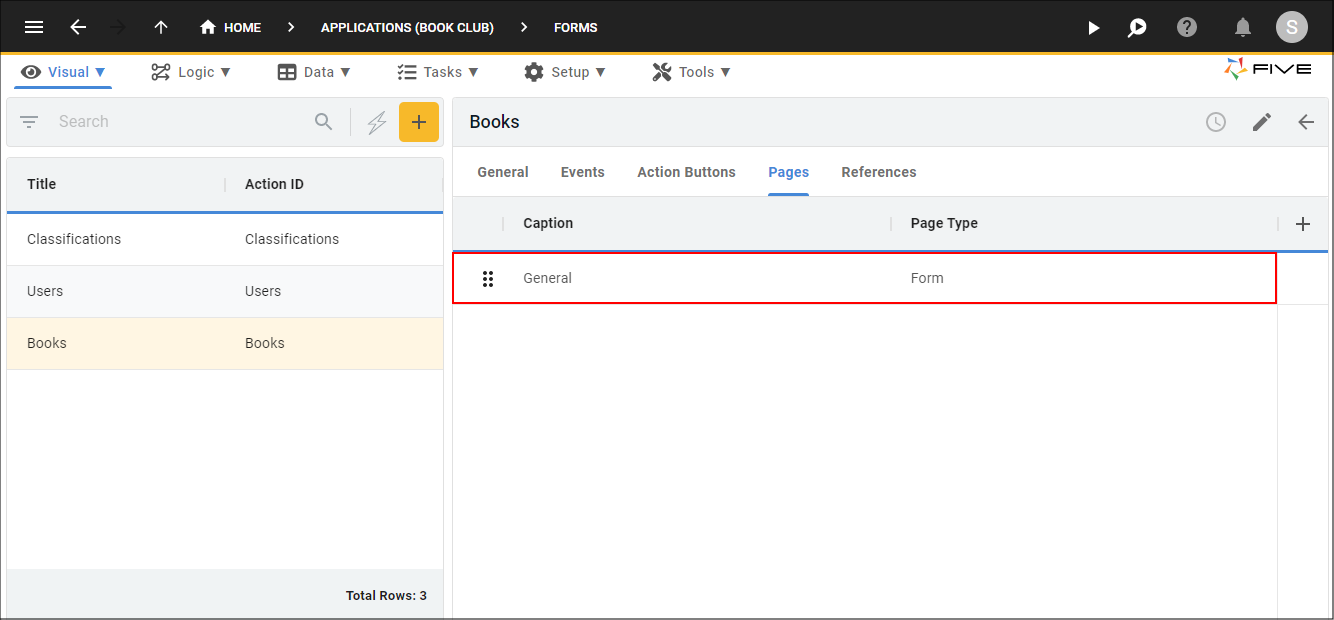
Figure 40 - General record
4. Click the Open Form Designer button.
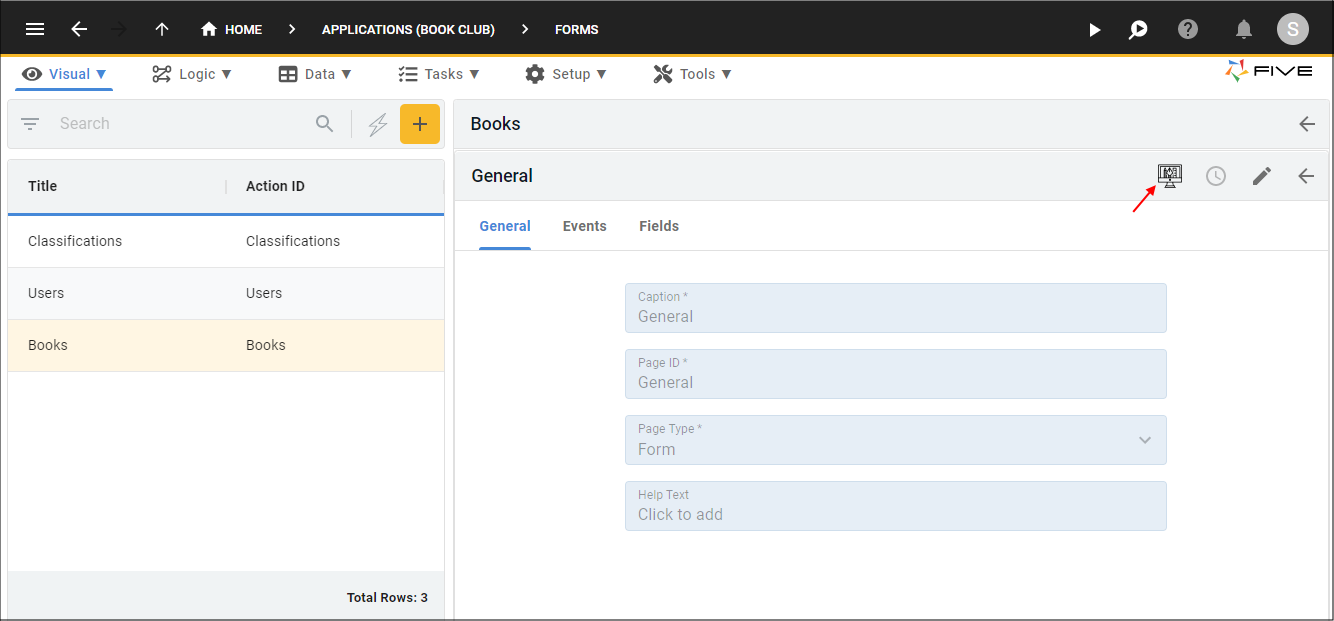
Figure 41 - Open Form Designer button
5. Click, hold, and drag the Classification field below the Member field.
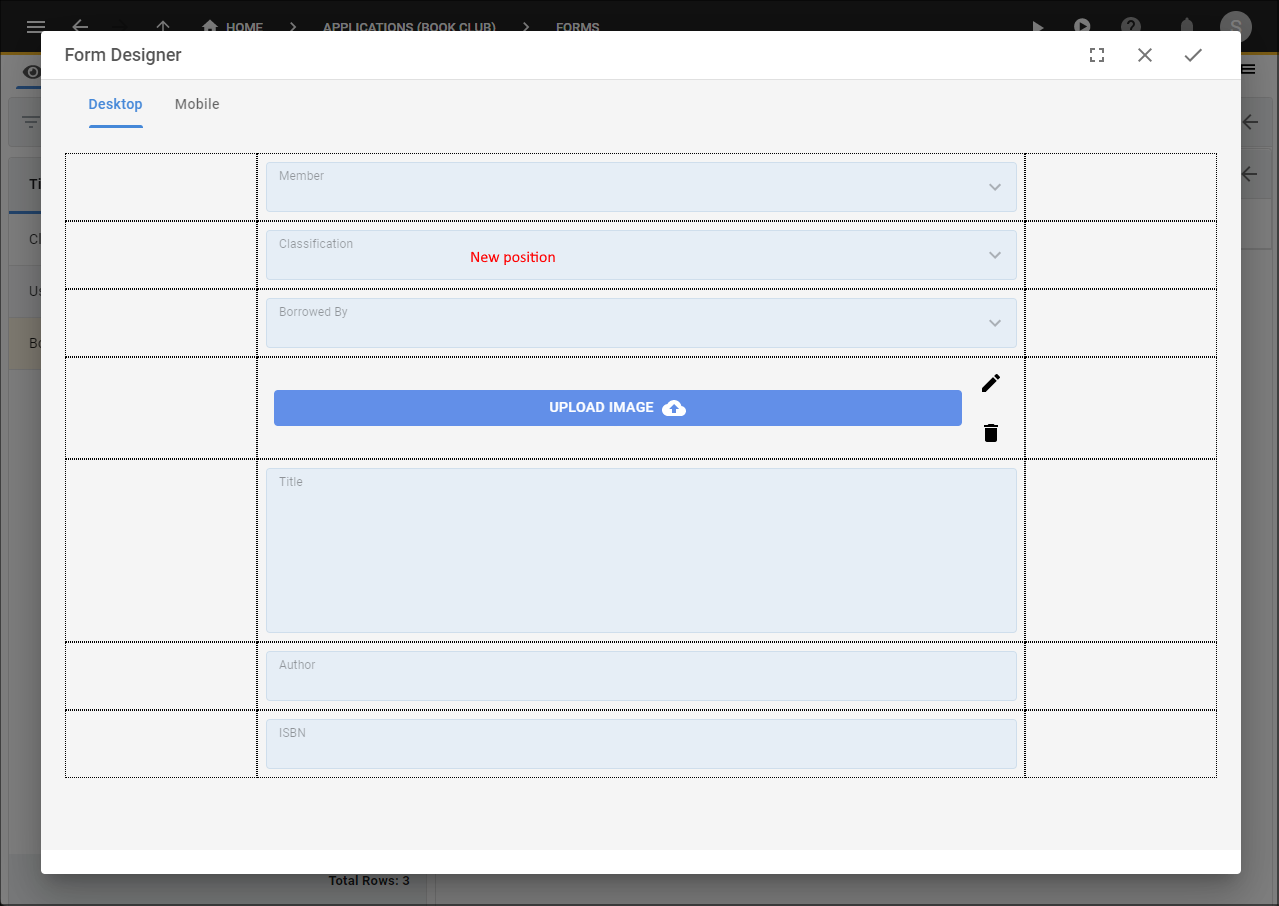
Figure 42 - Reposition the Classification field
6. Drag the edges of the Member and Classification fields to take the full width of the row.
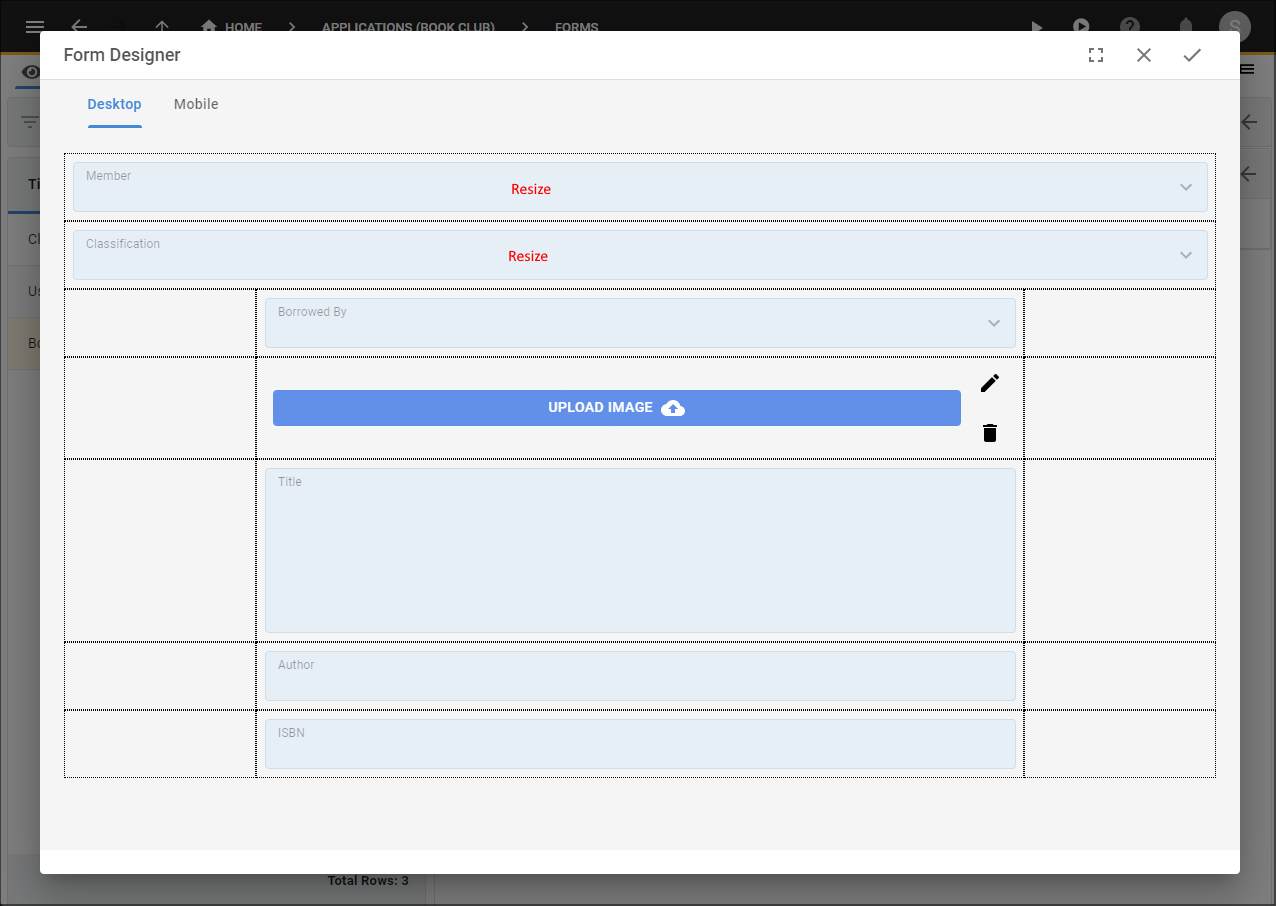
Figure 43 - Resize the Member and Classification fields
7. Drag the Borrowed By field below the ISBN field.
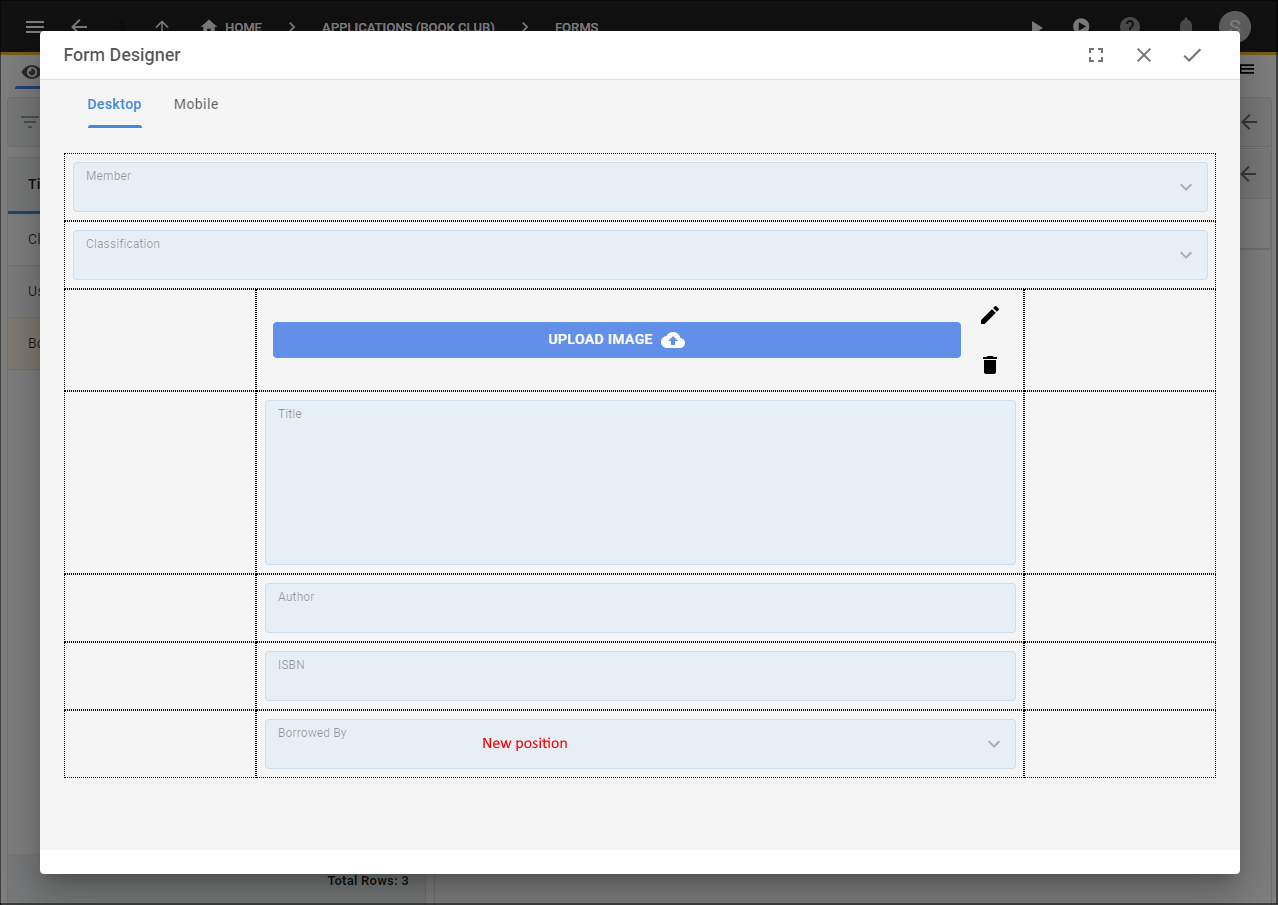
Figure 44 - Reposition the Borrowed By field
8. Drag the Title field next to the field holding the UPLOAD IMAGE button.
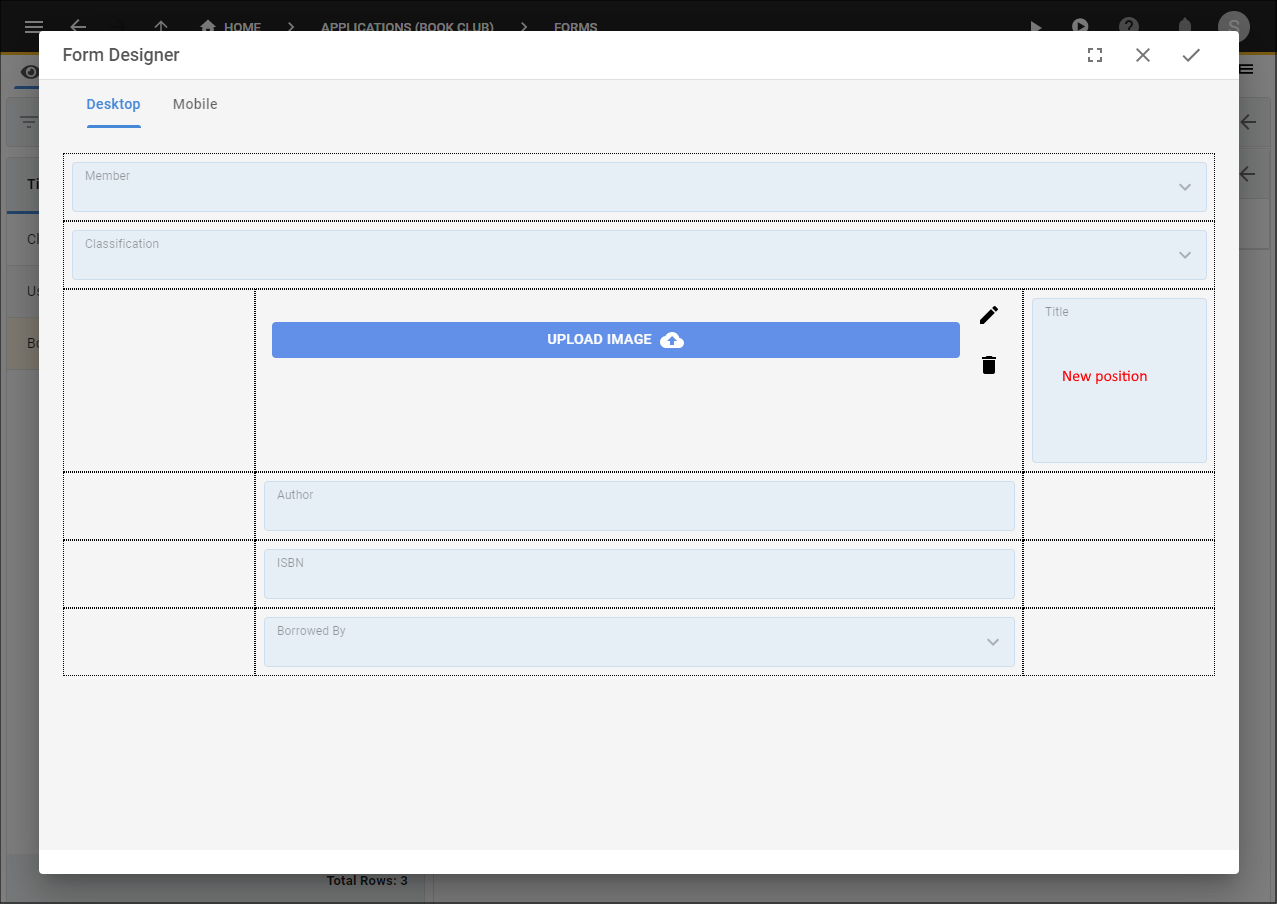
Figure 45 - Reposition the Title field
9. Drag and resize the field holding the UPLOAD IMAGE button to take the first five grid positions of the row.
10. Drag and resize the Title field to take the rest of the row.
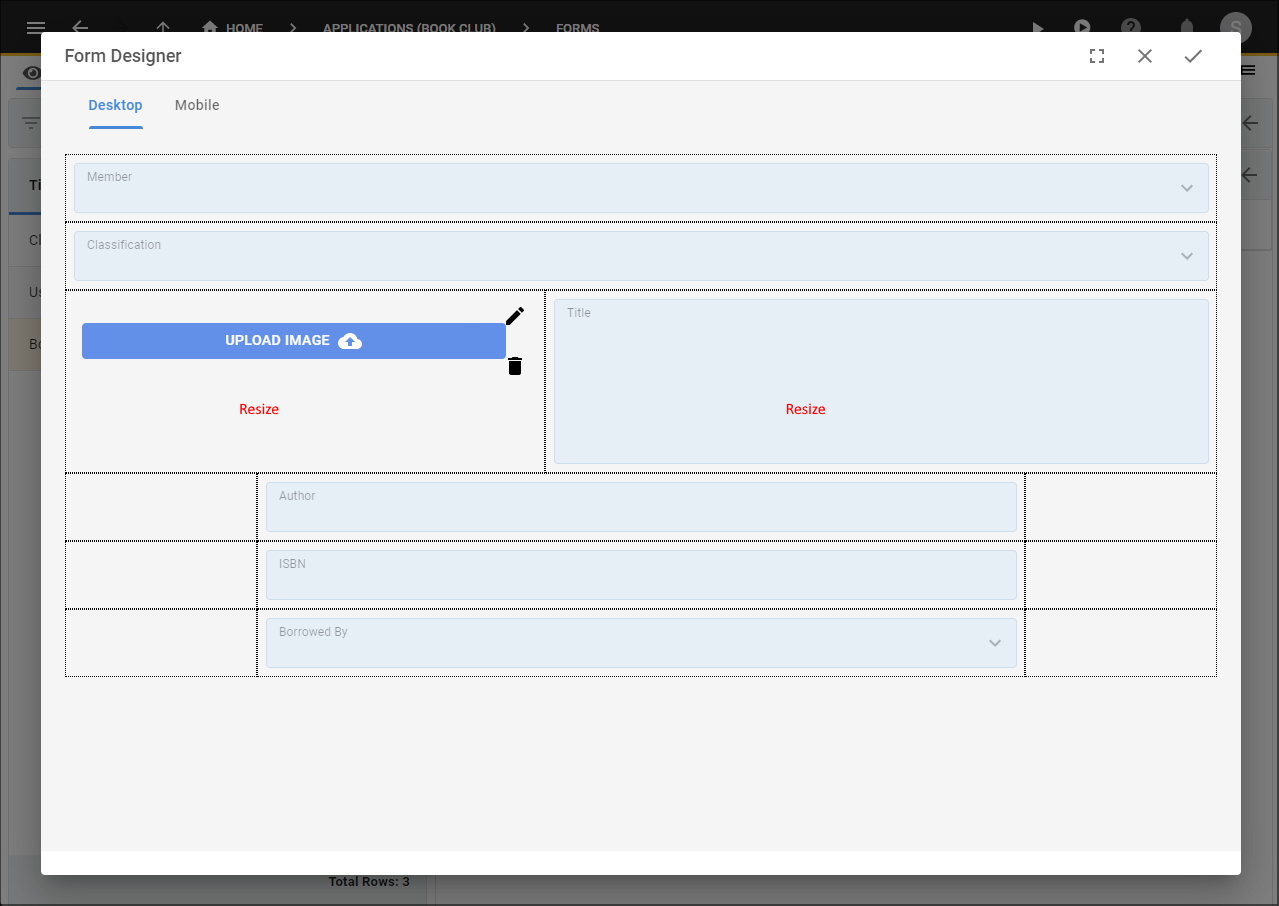
Figure 46 - Resize the Title and Image fields
11. Drag the edges of the Author, ISBN, and Borrowed By fields to take the full width of the row.

Figure 47 - Resize the Author, ISBN, and Borrowed By fields
12. Click the Save button in the Form Designer.
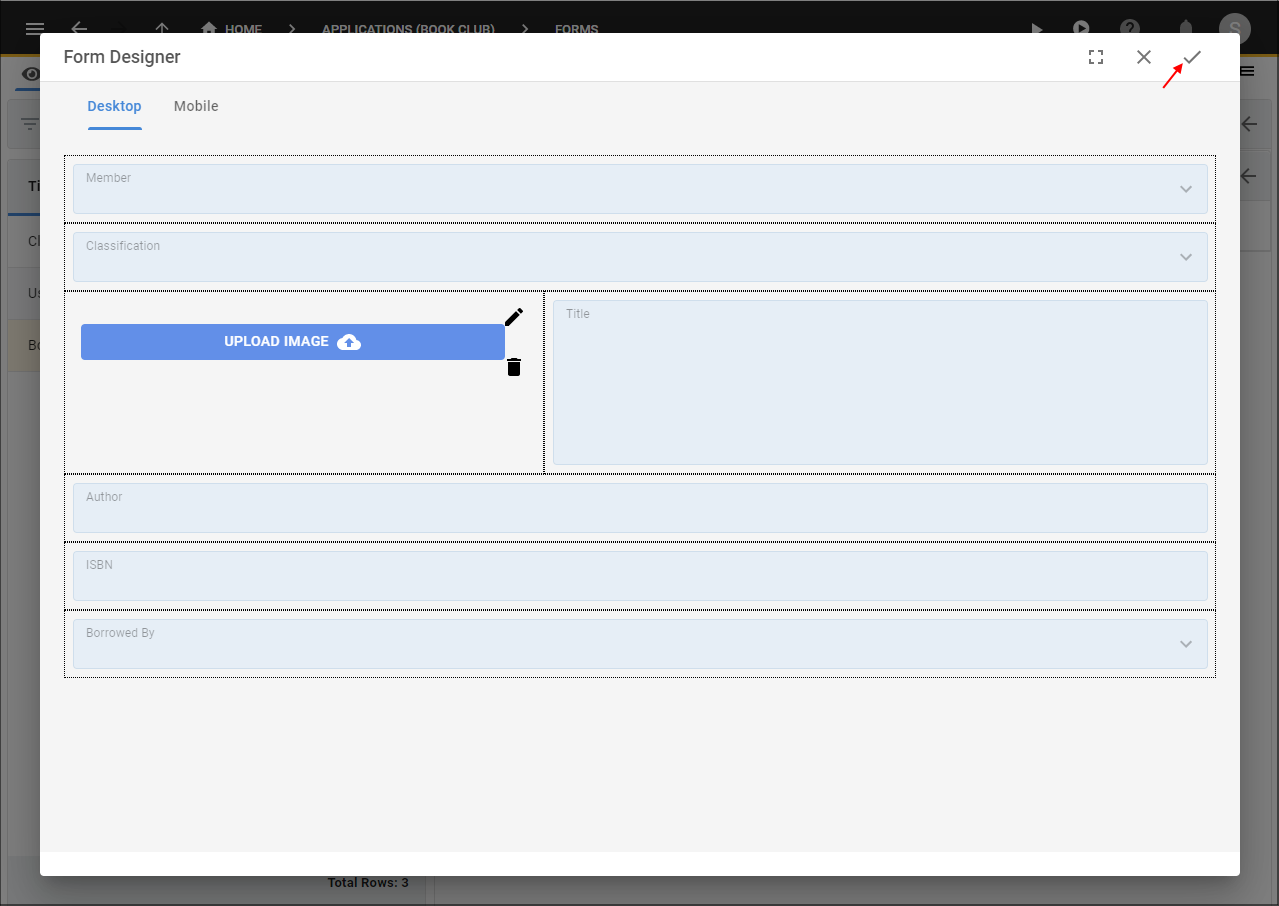
Figure 48 - Save button
13. Click the Save button in the form app bar above the list.
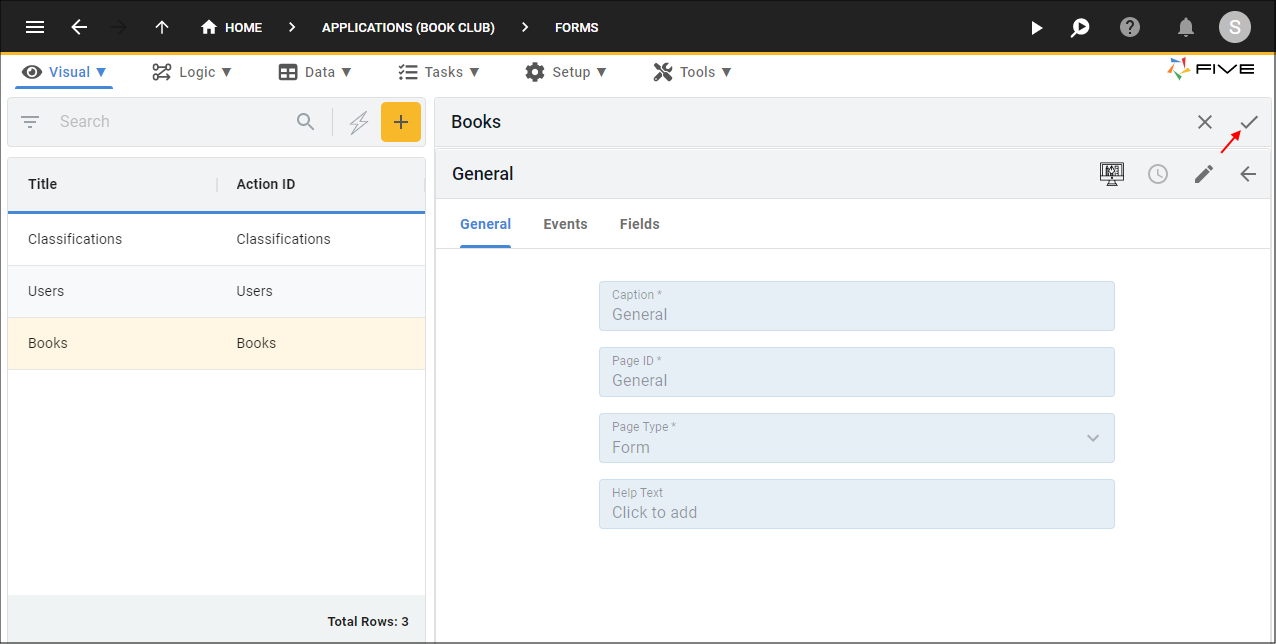
Figure 49 - Save the Books form