Secondary Authentication
Last updated 18/06/2025
Secondary authentication, also known as two factor authentication (2FA), is an additional layer of security used to verify a user's identity after the primary method. It ensures that even if the primary method is compromised, unauthorized access is still prevented.
2FA is our recommended way to secure access to your application, as if helps prevent unauthorized access from compromised credentials.
How it Works
- User initiates login: Enters a logon identifier, this can be a username, email, or phone number and a password (secret), email, or text message providing a one time password (OTP).
- Five validates the credentials: Five compares the entered credentials to those stored as a securely hashed password in the database or the OTP.
- Primary authentication decision: If credentials match, the user will move onto the secondary authentication. If they don't match, access is denied.
- Five validates the credentials: If the primary authentication matches, Five compares the secondary entered credentials to those stored as a securely hashed password in the database or the OTP.
- Secondary authentication decision: If the credentials match, the user will be redirected back to the logon screen to re-authenticate and then the user is granted access. If they don't match, access is denied.
Secondary Authentication Methods
Your secondary authentication can be:
- Password - Requires a password as the secondary method to log into your application.
- Email - This requires SMTP settings to be configured in Five and the Authentication Email configured with the One Time Password (OTP) tag.
- Text Message - This requires you to have a Twilio account, the values supplied from Twilio need to be configured in Five and the Authentication Message template configured with the One Time Password (OTP) tag.
- Authenticator - Your users are required to have an Authenticator app such as Google Authenticator to receive their code.
How an Authenticator App Works
- Setup: When you enable 2FA with the Authenticator option for your application, on the initial logon, a QR code is provided on the screen. Scanning this code with your authenticator app links the app to your application.
- Shared Secret: The authenticator app and your app now share a secret key, which is never transmitted over the internet, ensuring privacy.
- Code Generation: The authenticator app uses the shared secret and the current time to generate a 6 digit code that refreshes every 30 to 60 seconds using the One Time Password (OTP) algorithem.
- Login Process: Upon logging in, you enter your logon identifier, your primary authentication, and the current code from the authenticator app.
- Server Verification: Five uses the same secret key and time to generate its own code. If your code matches, access is granted, otherwise, it's denied.
Add Secondary Authentication
1. Select your instance record in the list.2. Click the Authentication tab.
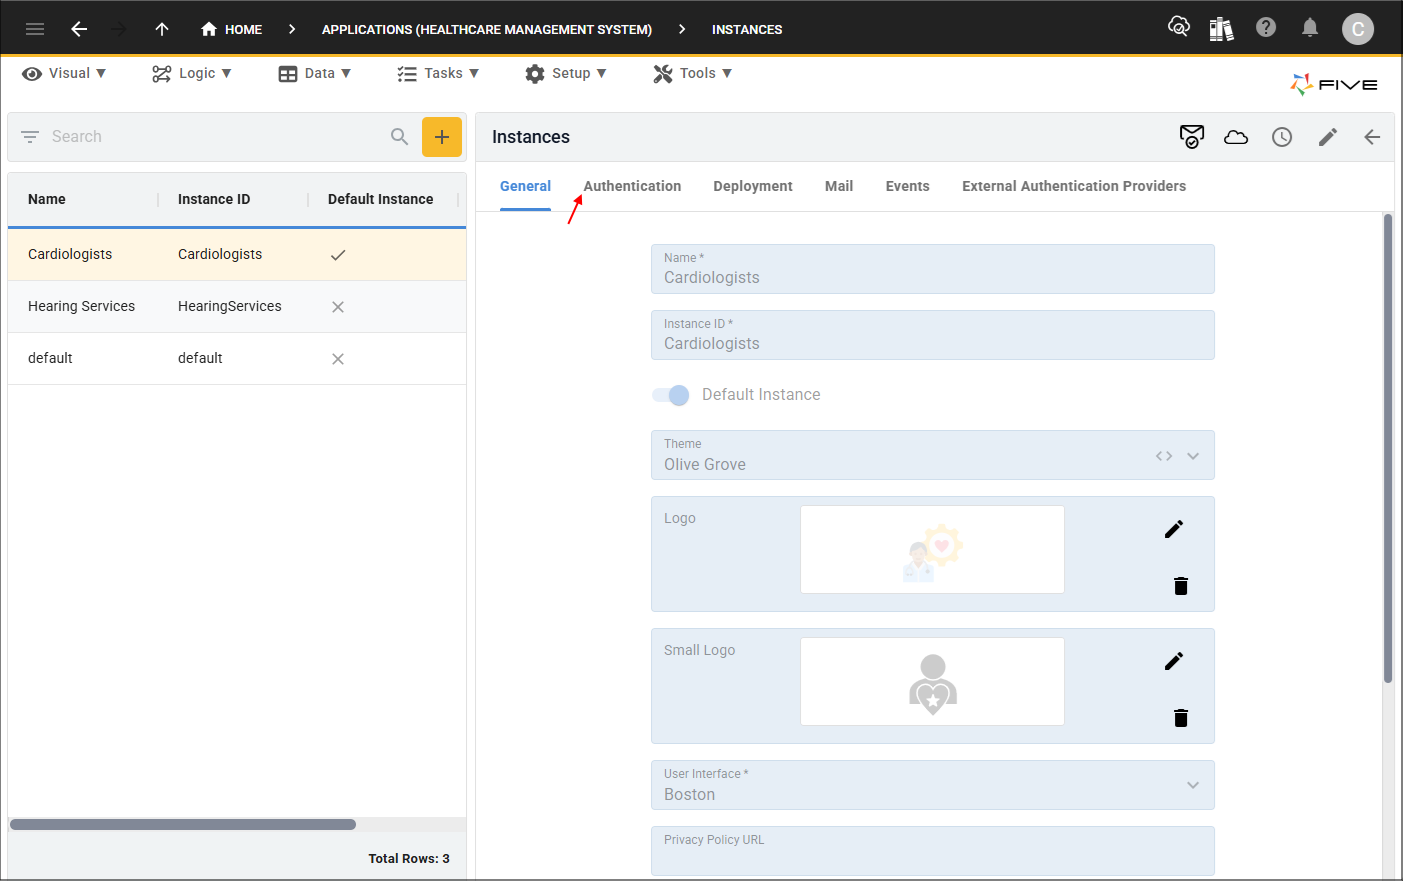
Figure 1 - Authentication tab
3. Either click the Edit button in the form app bar or click directly in any field.
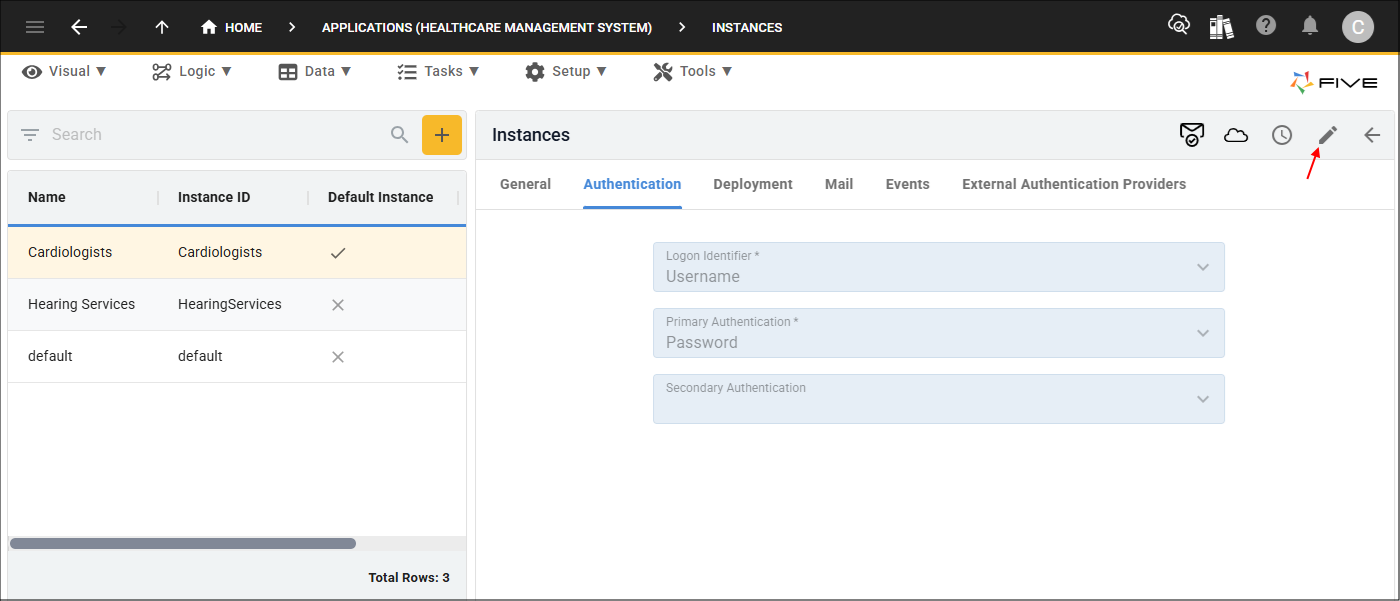
Figure 2 - Edit button
4. Click the lookup icon in the Logon Identifier field and select how you want your users to be identified.
5. Click the lookup icon in the Primary Authentication field and select your preferred primary authentication method.
6. Click the lookup icon in the Secondary Authentication field and select your preferred secondary authentication method.
info
If you select Email or Text Message as your primary or secondary authentication, you will need to configure the Authentication Message and the Authentication Email templates.
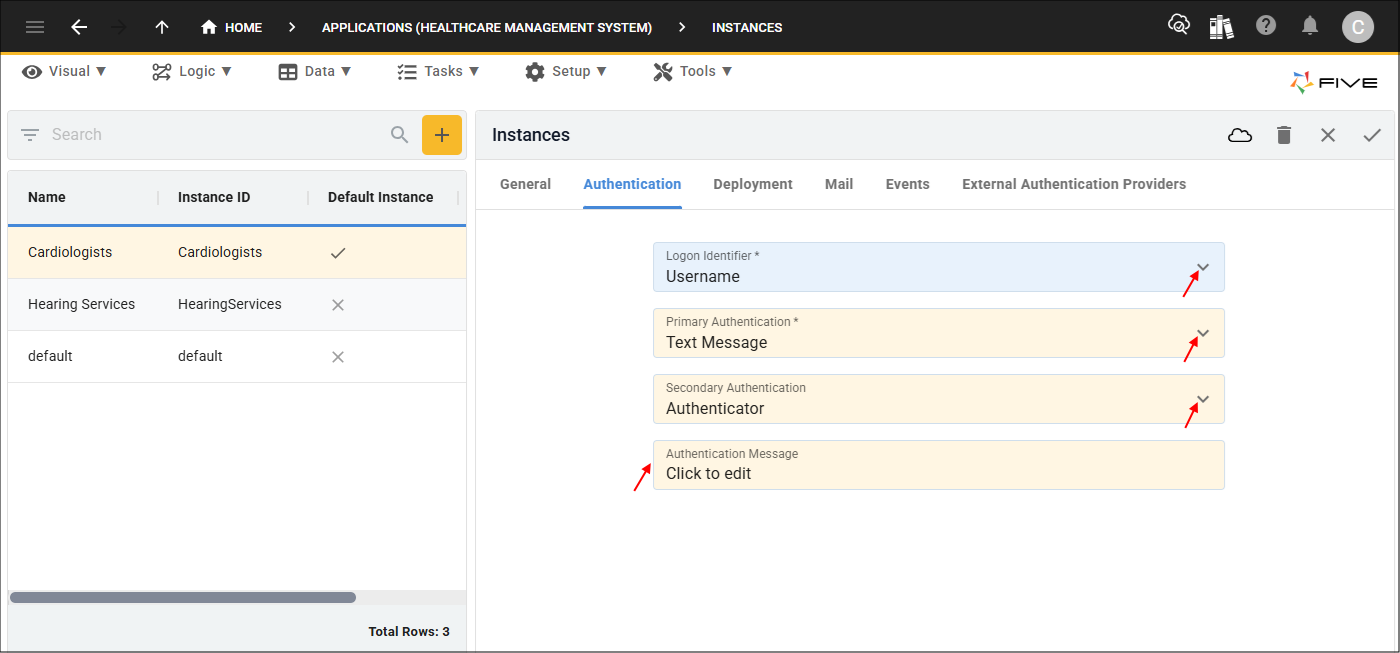
Figure 3 - Add secondary authentication
7. Click the Save button in the form app bar.
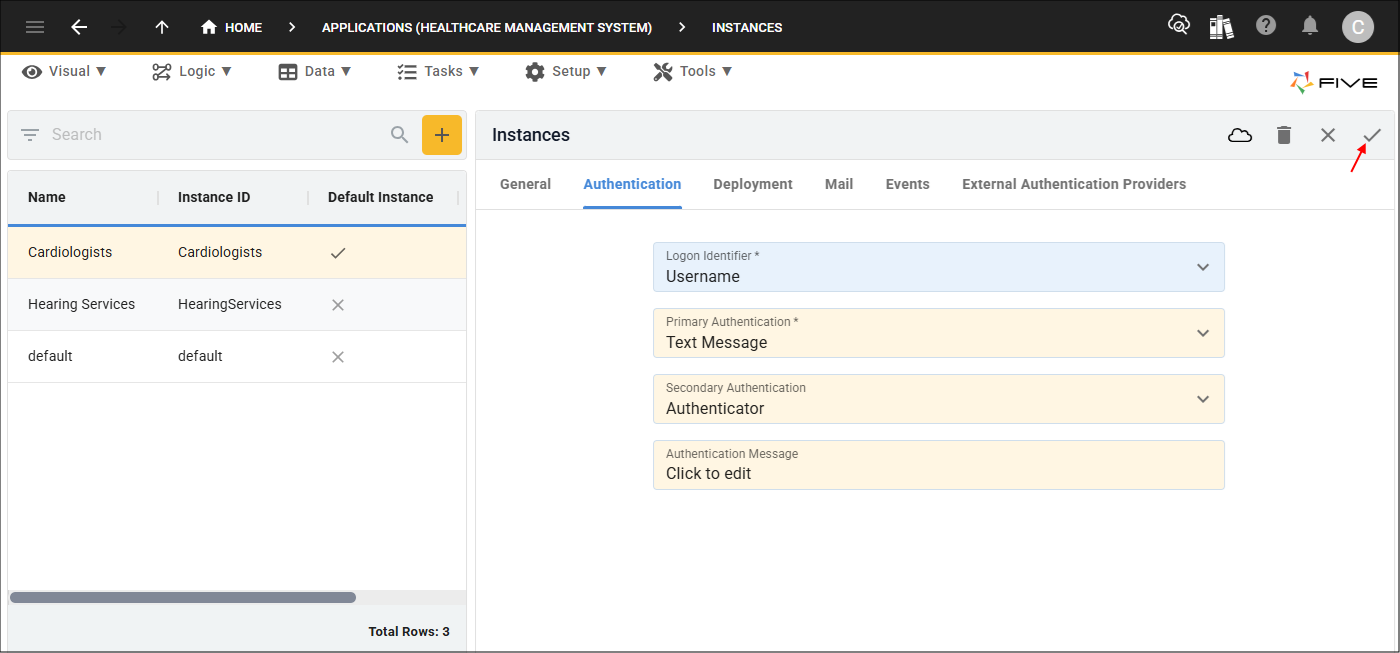
Figure 4 - Save button
Initial Authenticator Example Workflow
For this example, the following authentication is used:
- Logon Identifier - Username
- Primary Authentication - Text Message
- Secondary Authentication - Authenticator
- User enters their logon identifier in the Sign In window and clicks the Sign In button.

Figure 5 - Sign In window
- User will receive a message letting them know that a code has been sent as a text message to them and clicks the Enter Code button.
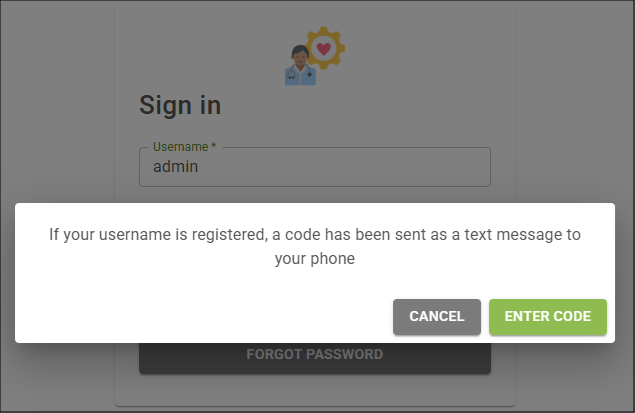
Figure 6 - Enter Code button
- User needs to get the code from their text messages.
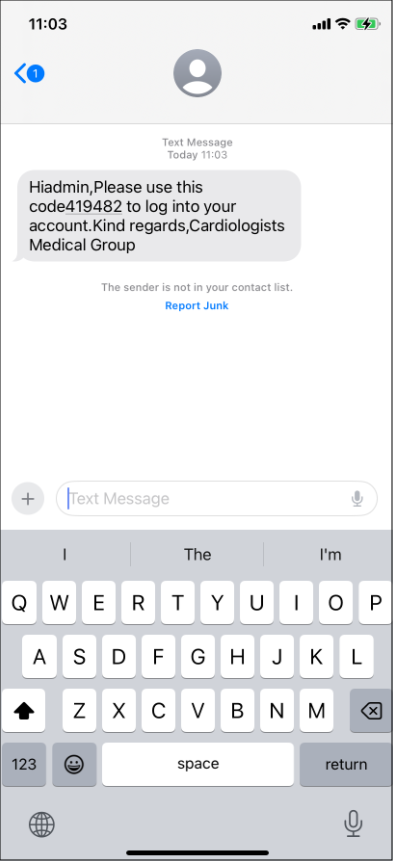
Figure 7 - Text message with code
- User needs to add the code and click the Verify Code button.
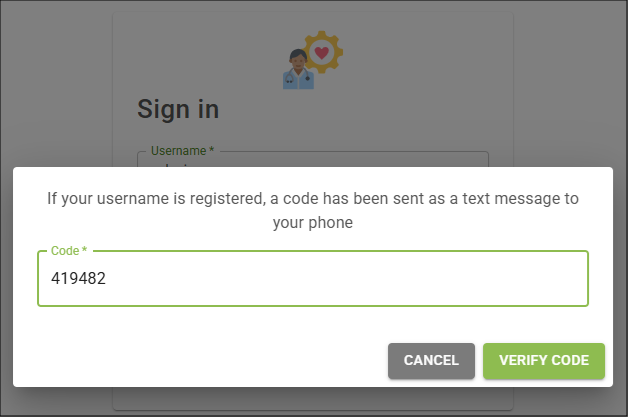
Figure 8 - Verify Code button
- User will need to configure the two factor configuration by using their Authenticator app and scan the QR code.
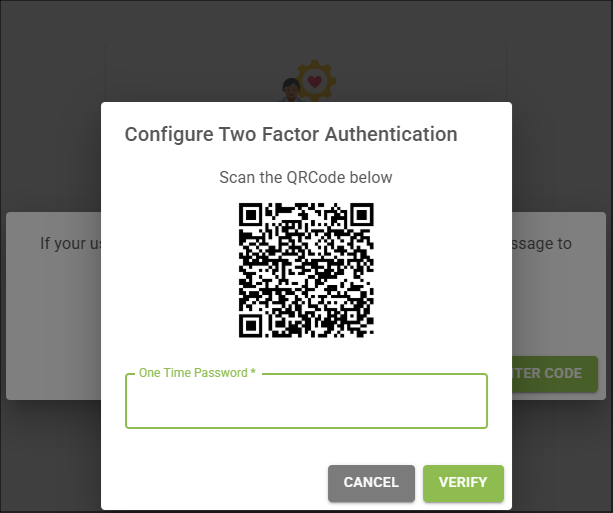
Figure 9 - QR code
- A 6-digit code will generate in their Authenticator app.
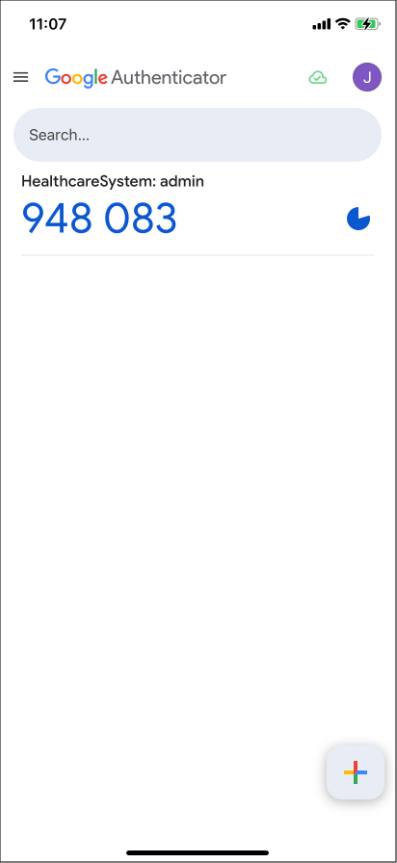
Figure 10 - Google Authenticator app
- The code needs to be entered into the Configure Two Factor Authentication window and click the Verify button.
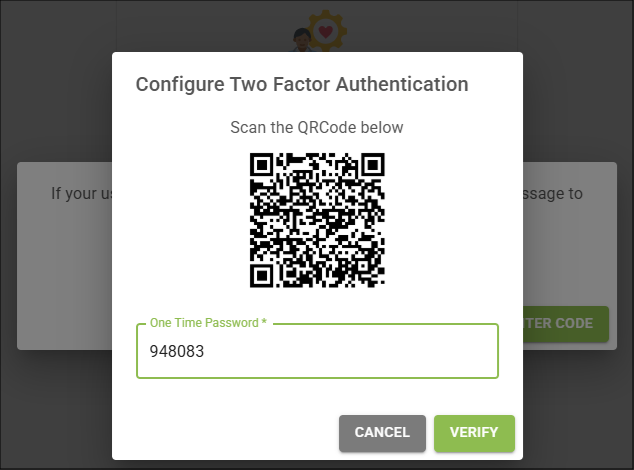
Figure 11 - Configure Two Factor Authentication window
- User will be notified their Authenticator device has been registered and they will be redirected back to the logon screen to re-authenticate.
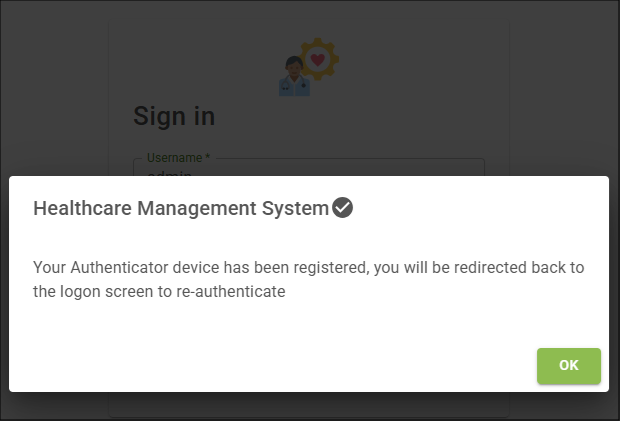
Figure 12 - Authenticator registered message
- User will need to enter their logon identifier again in the Sign In window and click the Sign In button.

Figure 13 - Sign In window
- User will receive another message letting them know a code has been emailed to them and clicks the Enter Code button.
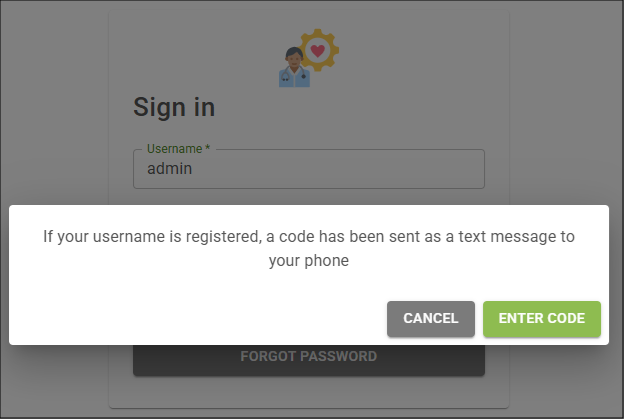
Figure 14 - Enter Code button
- User needs to get the code from their phone messages.
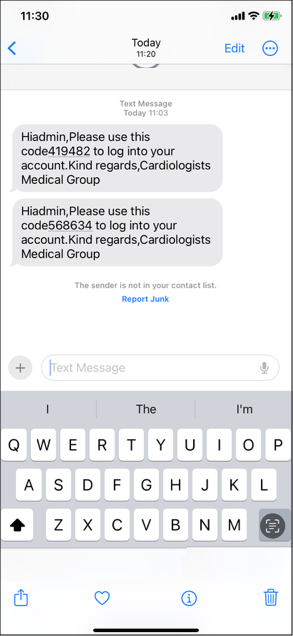
Figure 15 - Text message with code
- User needs to add the code and click the Verify Code button.

Figure 16 - Verify Code button
- User will need to get the code from their Authenticator app and click the Enter Code button.
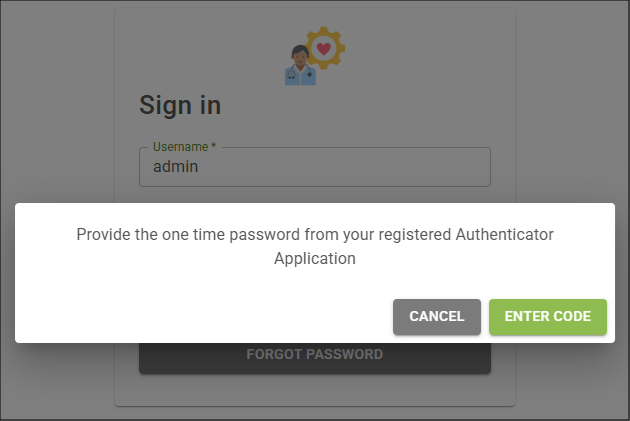
Figure 17 - Enter Code button
- A 6-digit code will generate in their Authenticator app.
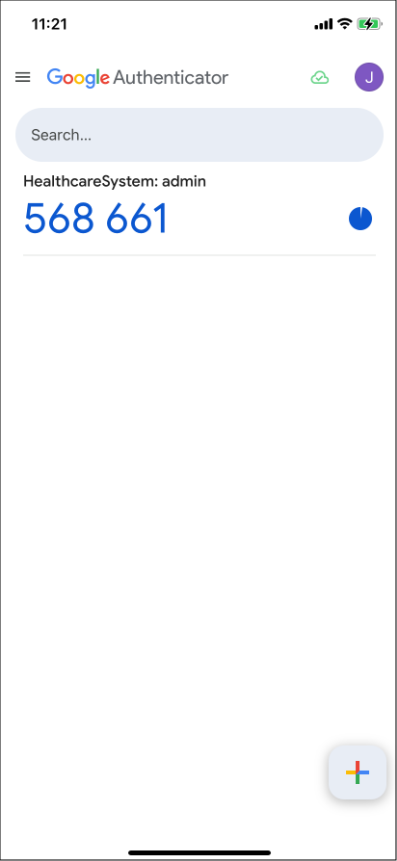
Figure 18 - Google Authenticator app
- The code needs to be entered and click the Verify Code button.

Figure 19 - Verify Code button
Future Logins Example Workflow
- User enters their logon identifier in the Sign In window and clicks the Sign In button.
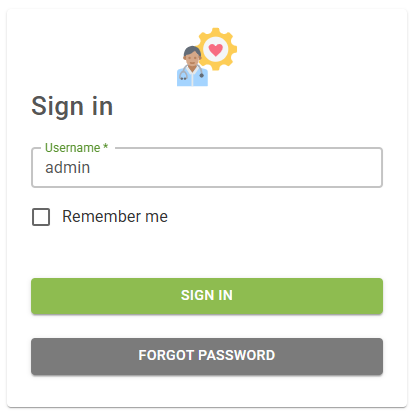
Figure 20 - Sign In window
- User will receive a message letting them know a code has been sent as a text message to them and clicks the Enter Code button.
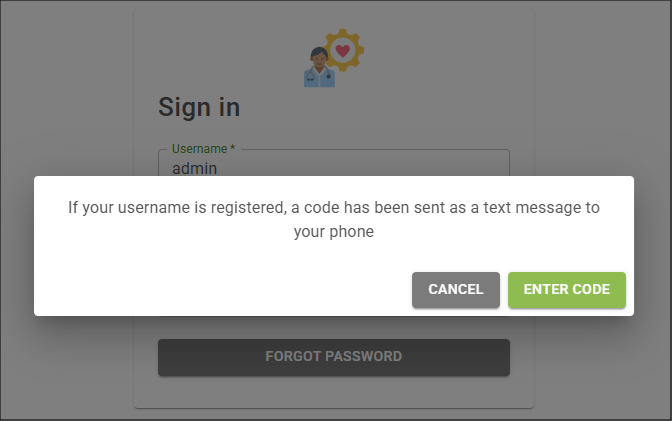
Figure 21 - Enter Code button
- User needs to add the code from their phone messages.

Figure 22 - Text message with code
- User needs to add the code and click the Verify Code button.

Figure 23 - Verify Code button
- User will be asked to provide their code from their Authenticator App and click the Enter Code button.
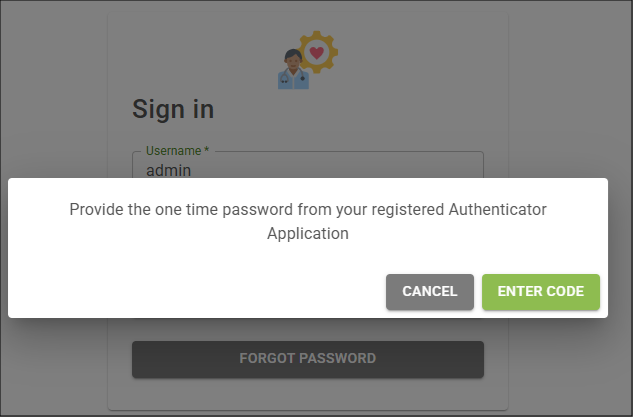
Figure 24 - Enter Code button
- A 6-digit code will generate in their Authenticator app.
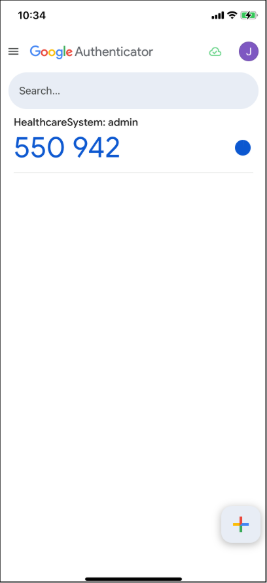
Figure 25 - Google Authenticator app
- The code needs to be entered and click the Verify Code button.

Figure 26 - Verify Code button