End-User Configuring Authenticator
Last updated 18/06/2025
After their initial login, an end-user of your application can remove their Authenticator app configuration with Five as they may change the Authenticator app they are using.
Remove Authenticator
1. Click the Profile button.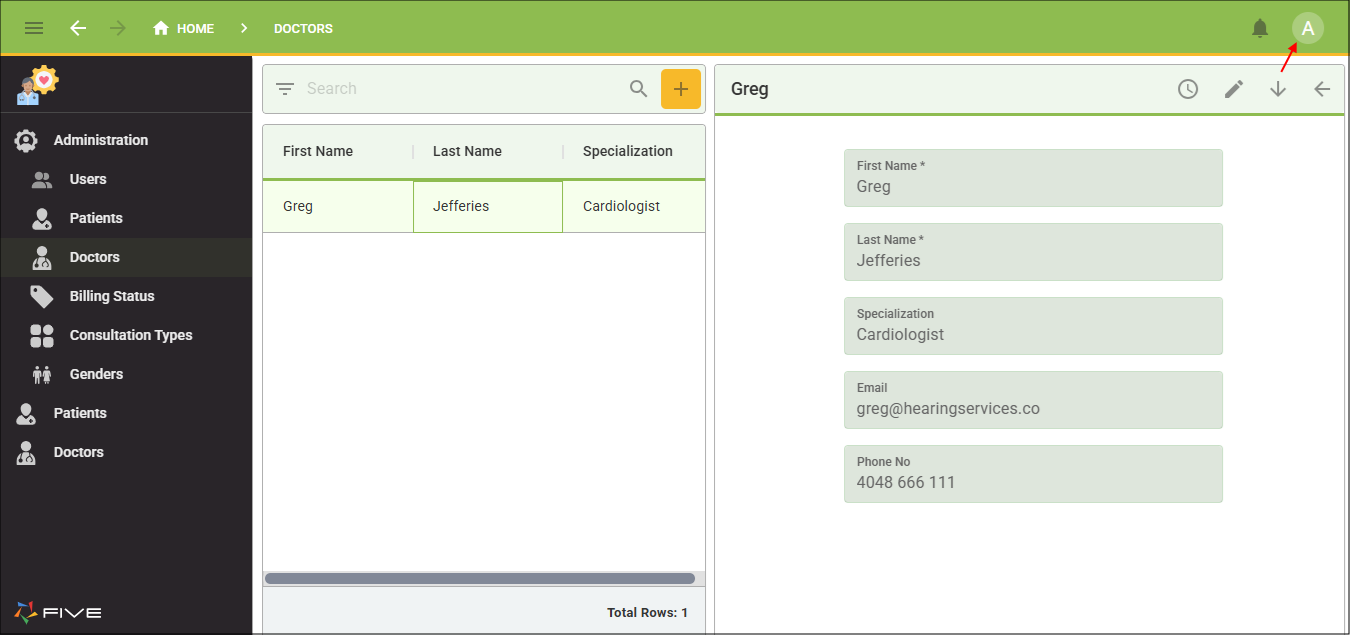
Figure 1 - Profile button
2. Click the Remove Authenticator button.
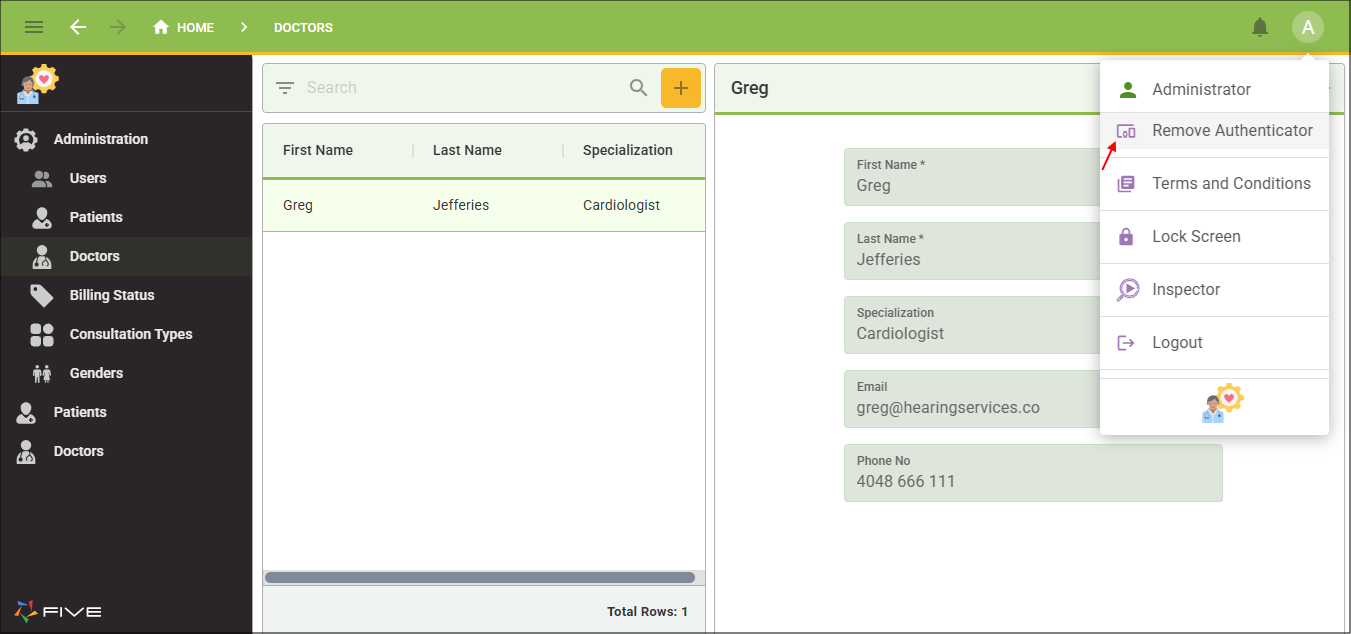
Figure 2 - Remove Authenticator button
info
Your user will receive a message letting them know their Authenticator device has been unregistered.
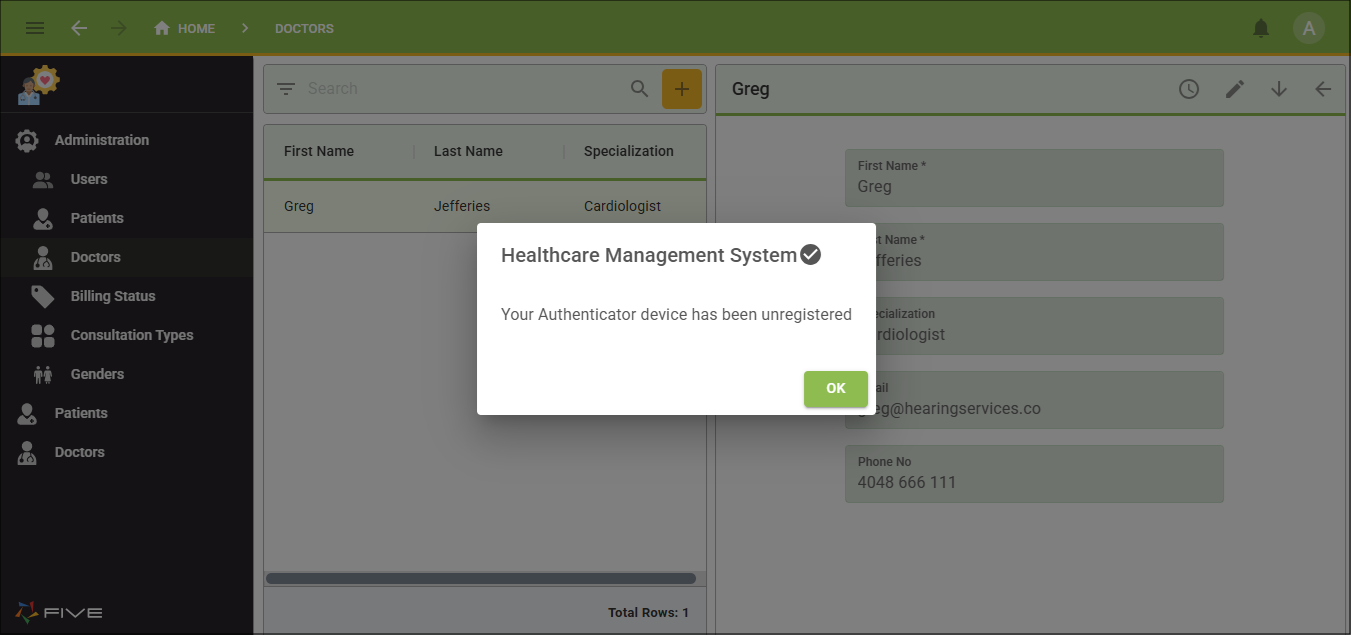
Figure 3 - Authenticator unregistered message
Configure Authenticator
1. Click the Profile button.2. Click the Configure Authenticator button.
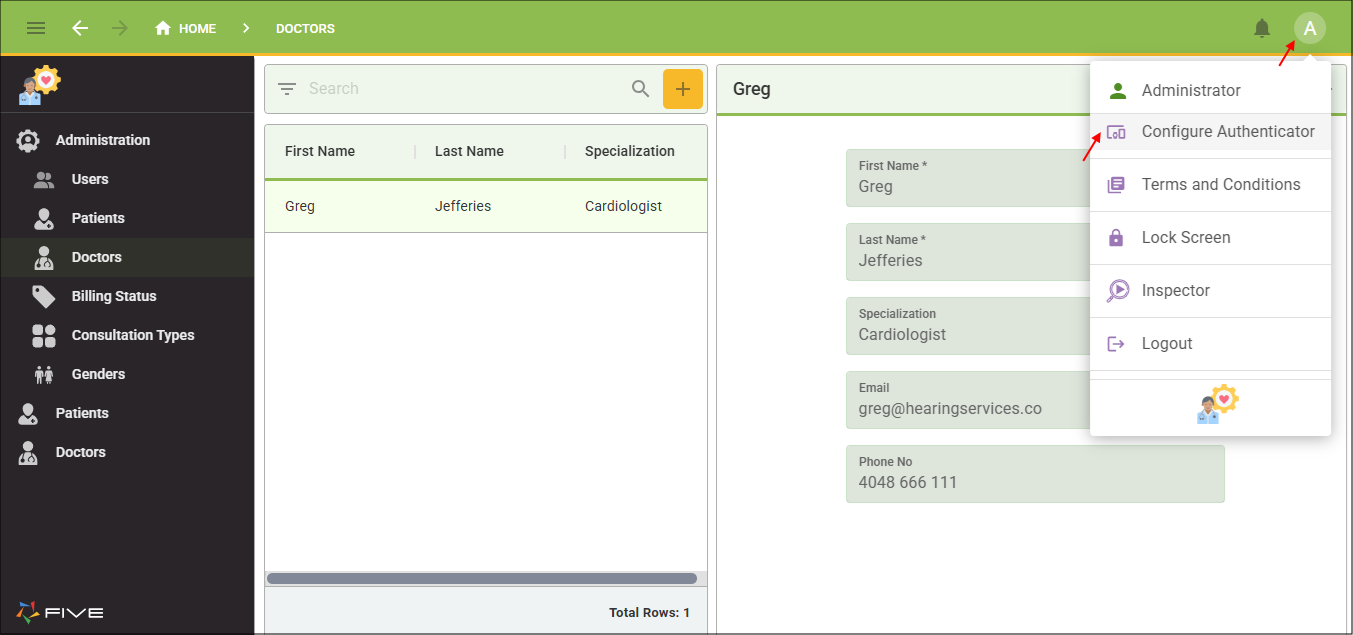
Figure 4 - Configure Authenticator button
3. Your user needs to configure the two factor configuration by using their Authenticator app to scan the QR code.

Figure 5 - QR code
info
A 6-digit code will generate in their Authenticator app.
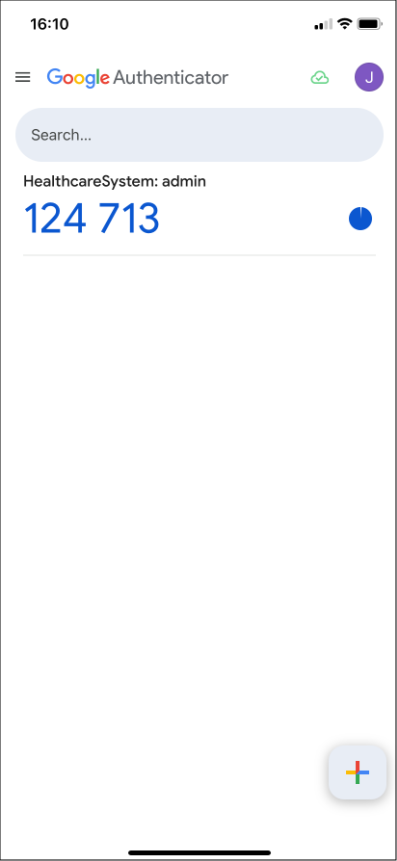
Figure 6 - Authenticator app
4. Your user needs to enter the code in the Configure Two Factor Authentication window and click the Verify button.
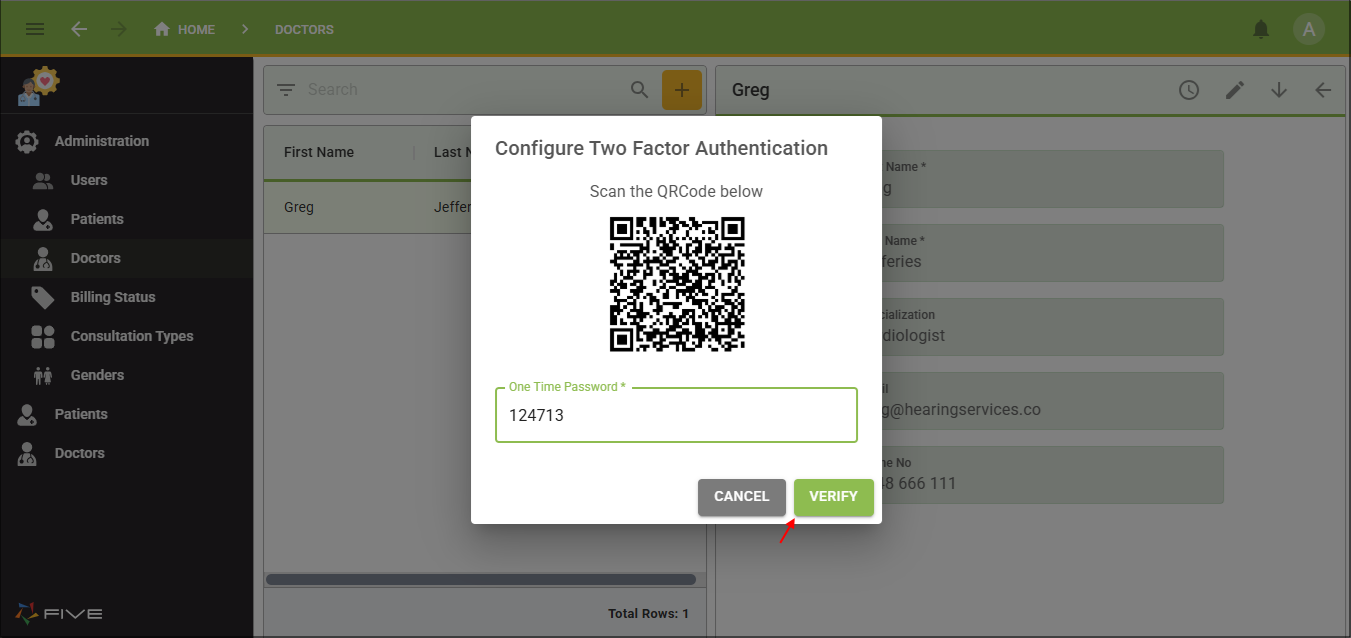
Figure 7 - Configure Two Factor Authentication window
info
Your user will receive a message that their Authenticator device has been registered and they will be redirected back to the logon screen to re-authenticate.
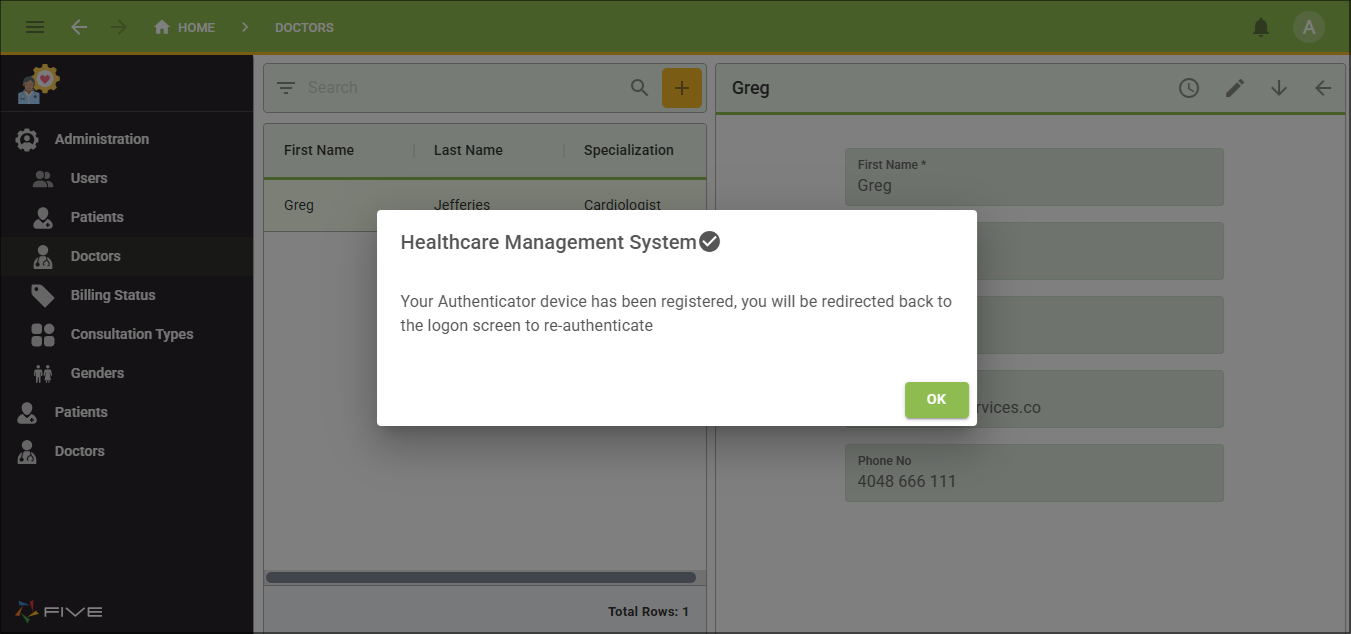
Figure 8 - Authenticator registered message
5. They can login into their account with their authenticator setup.
Register Authenticator After Deleting Account
In the event a user of your application deletes their authentication configuration in their Authenticator app, they can setup the configuration again through the Forgot Password functionality. For your user to receive a Password Reset email, you need to have your SMTP settings configured and your Password Reset Email template configured in Five.
1. Your user types their logon identifier in the Sign In window and clicks the Forgot Password button.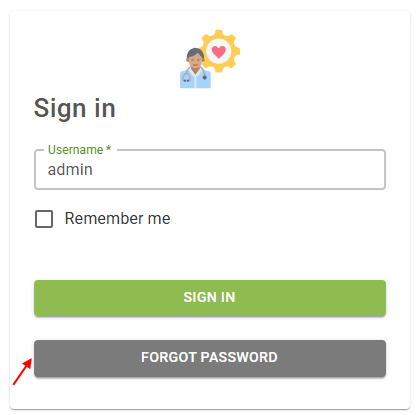
Figure 9 - Sign In window
2. Your user clicks the Reset button on the Reset Password window.
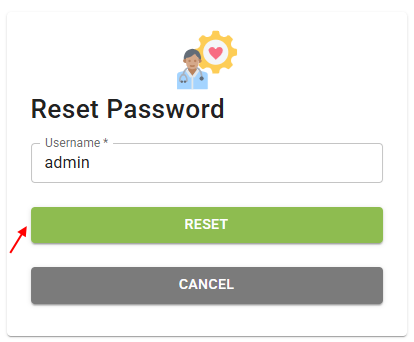
Figure 10 - Reset Password window
info
Your user will receive a message saying a password reset link has been emailed.
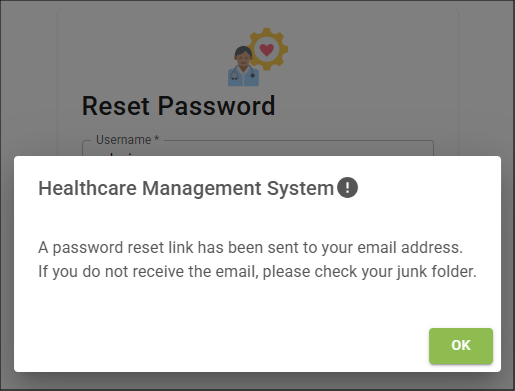
Figure 11 - Password reset link message
3. Your user clicks the password reset link in the email.
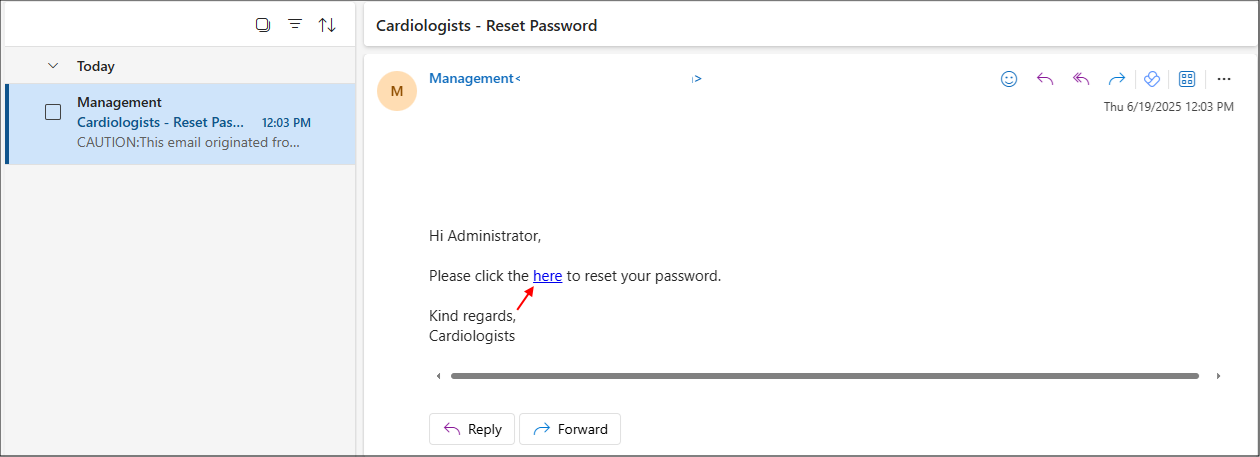
Figure 12 - Reset Password email
4. Your user enters and confirms their password in the Reset Password window and clicks the Reset button.
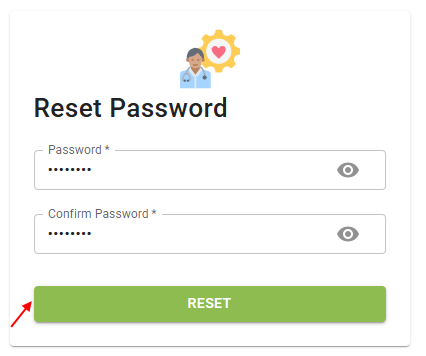
Figure 13 - Reset Password window
5. Your user can now follow the intial procedure for logging in with their authenticator configuration.