Add SMTP Settings
Last updated 4/06/2025
Your SMTP settings need to be provided by your mail provider. SMTP settings are added to an instance record.
You need to be a user of Five with the Administrator or Control role assigned to be able to add your SMTP settings for your application.
Add Your SMTP Settings for Your Application
1. Select your instance record in the list.2. Click the Mail tab.
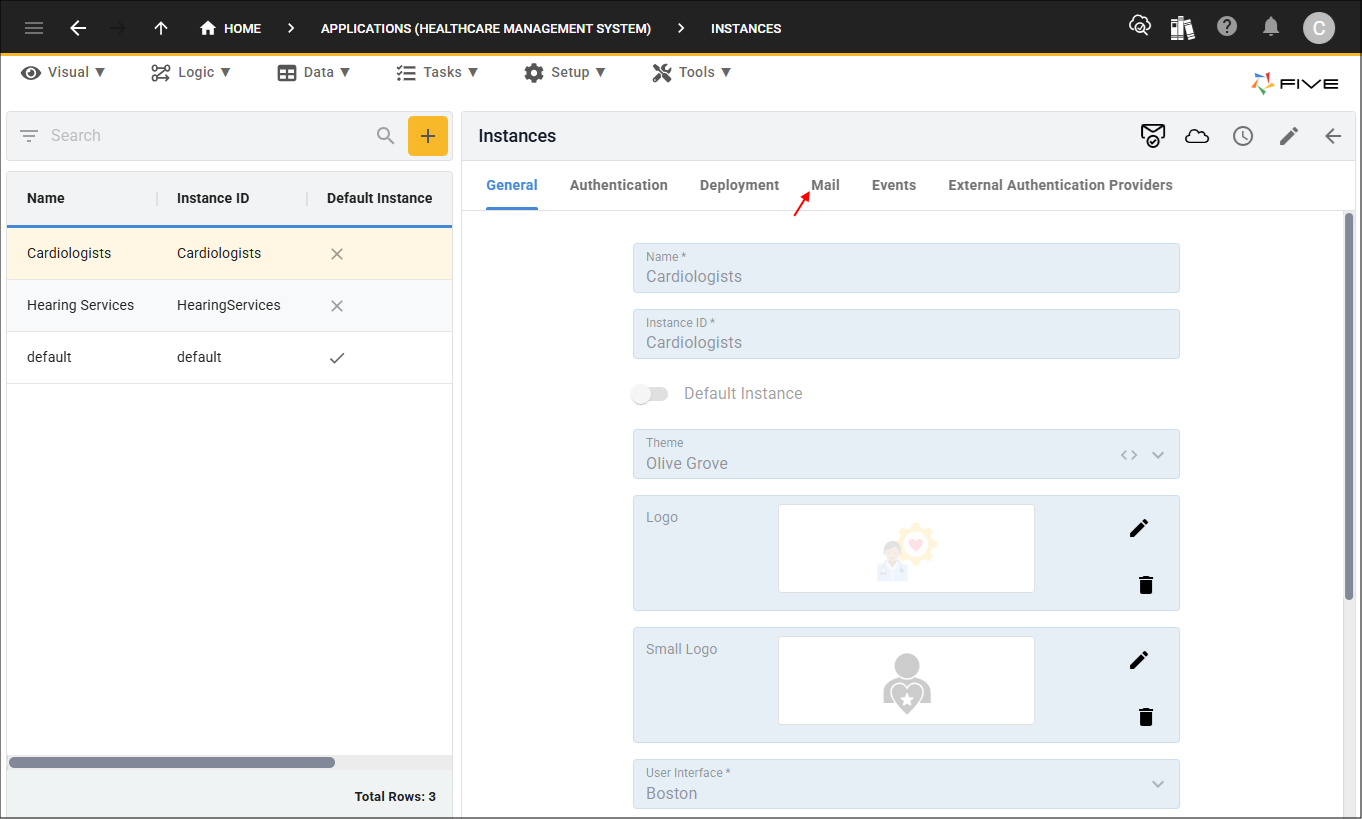
Figure 1 - Mail tab
3. Either click the Edit button in the form app bar or click directly in the SMTP Server field.

Figure 2 - Edit button
4. Type your provider's SMTP server address in the SMTP Server field.
Example:
smtp.gmail.com
5. Type your provider's SMTP port number in the SMTP Port field.
Example:
587
6. Type your username in the SMTP Username field.
Example:
five.demo@gmail.com
7. Type your password in the SMTP Password field.
Example: opiujkuiolkplhnm
8. Type the from name in the SMTP From Name field.
Example: Management
9. Type the from email in the SMTP From Email field.
Example:
five.demo@gmail.com
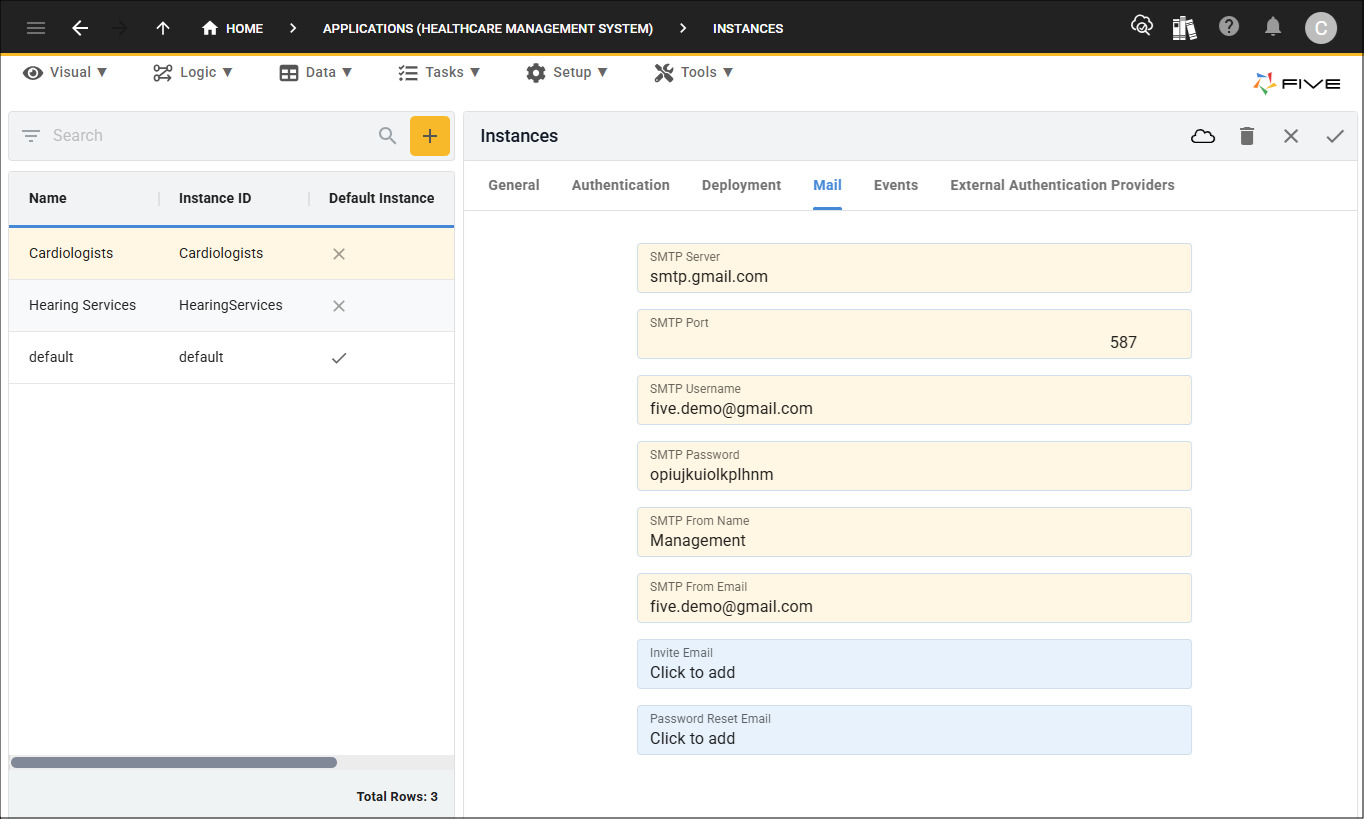
Figure 3 - Add SMTP Settings
10. Click the Save button in the form app bar.

Figure 4 - Save SMTP settings
Test Your Email Settings
Five has a Test Email Settings button in the Instance form app bar. This button will detect if your SMTP settings are correct. After saving your SMTP settings, click the Test Email Settings button.
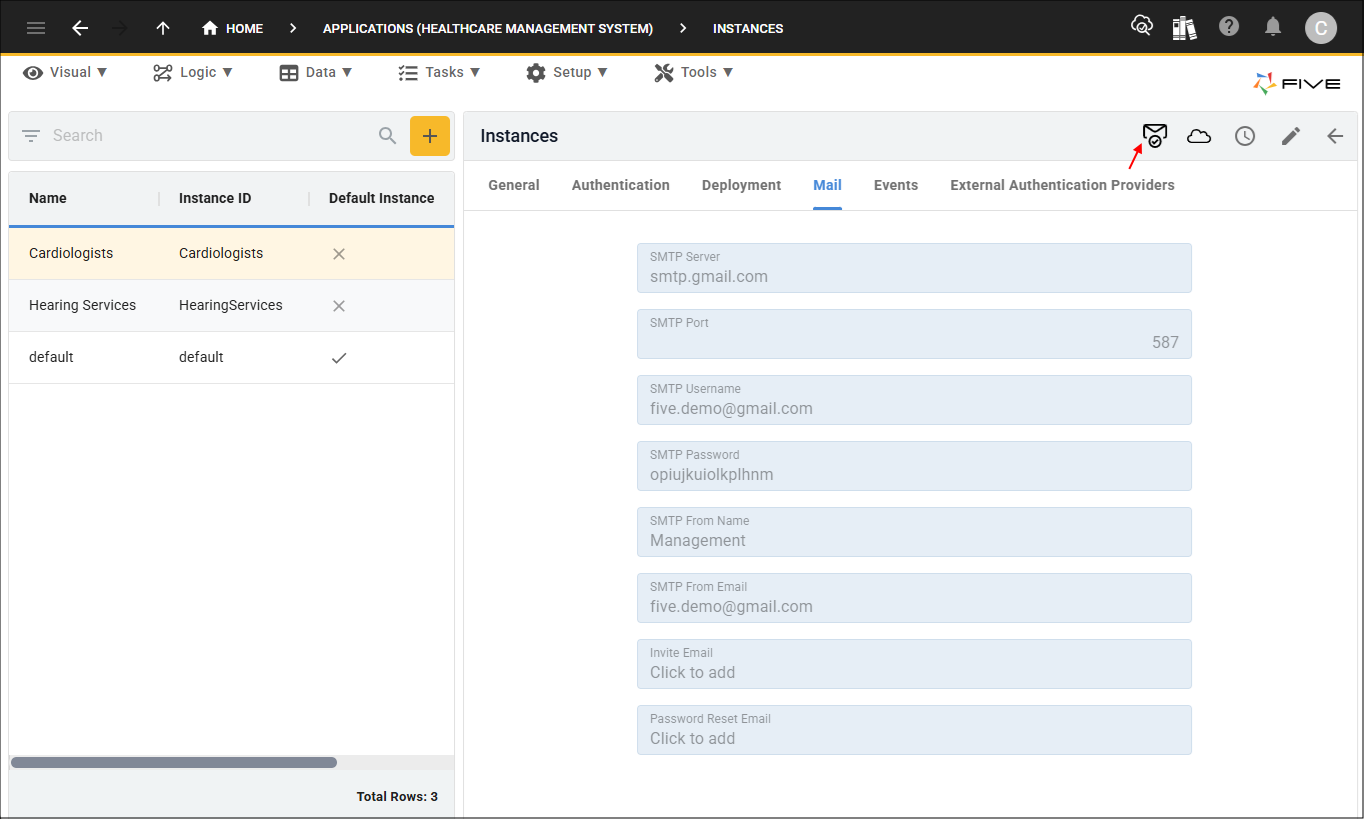
Figure 5 - Test Email Settings button
If Five cannot connect with your mail provider, an error will be returned letting you know that the connection could not be made.
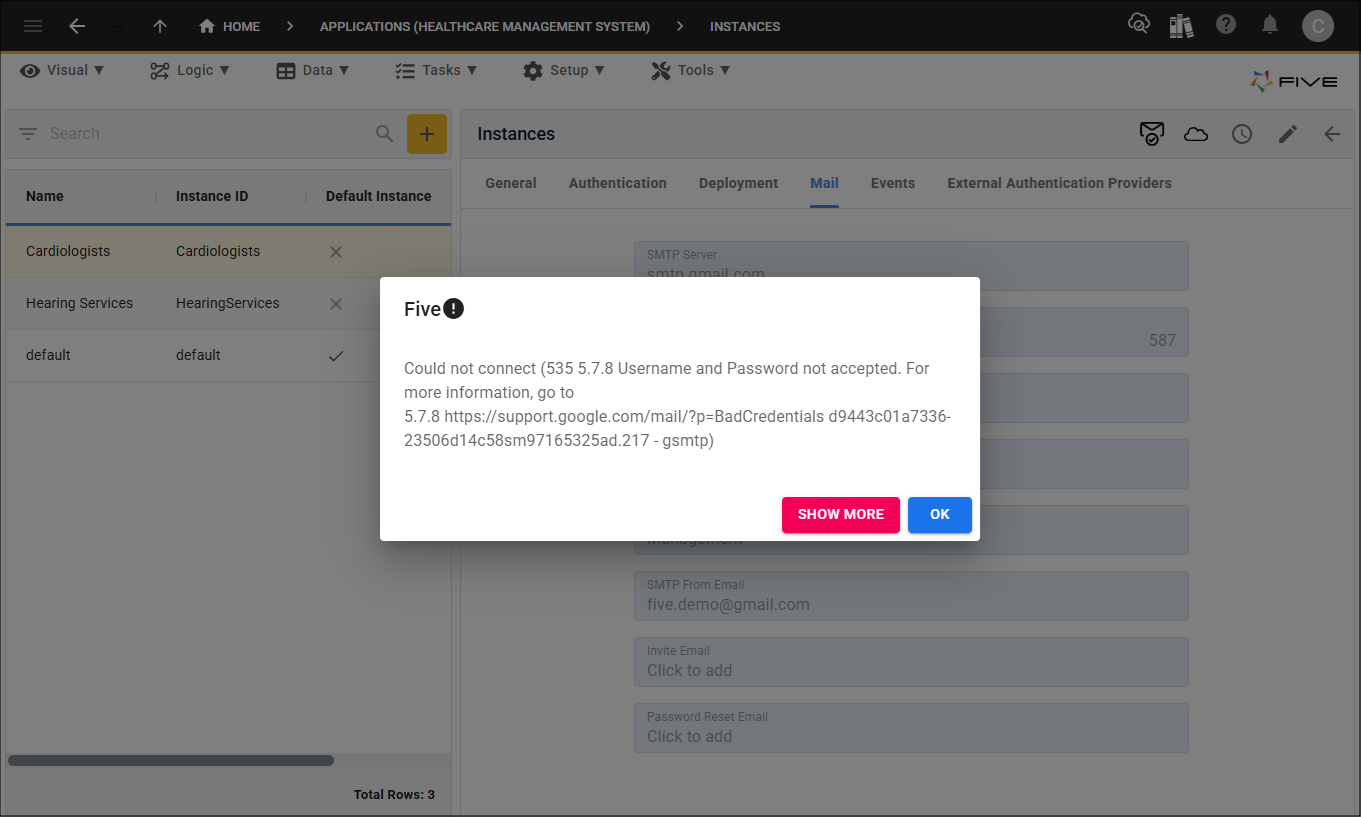
Figure 6 - Could not connect message
If your SMTP settings are correct and Five can connect to your mail provider, a successful message will be returned.
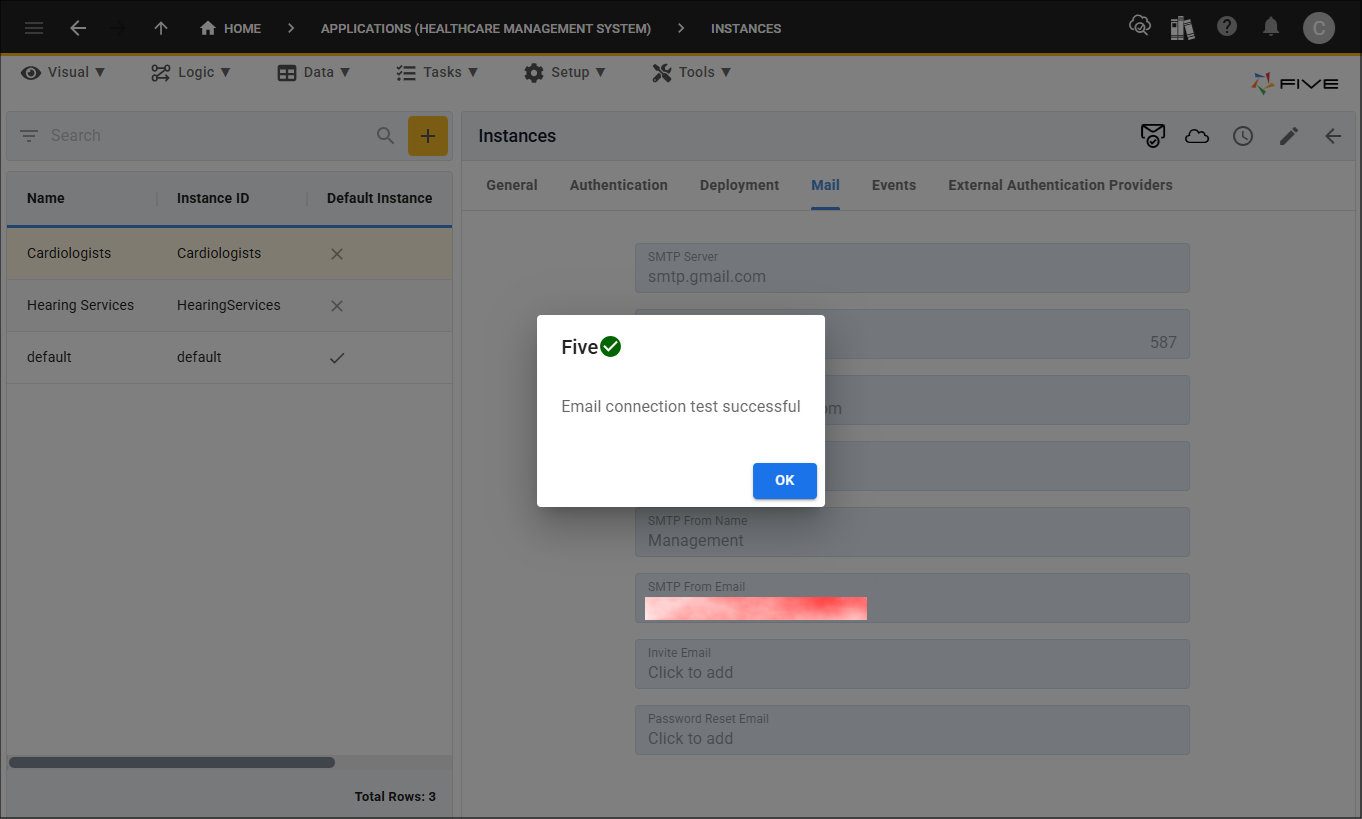
Figure 7 - Connection successful message