Versioning FileMaker Applications
Last updated 18/10/2023
When you create a new application in Five, Five will automatically create a full set of history tables for you to track changes. Because you are importing your FileMaker database, you will need to perform the following steps to have this feature.How to Activate Version Control
1. Click the Add Item button.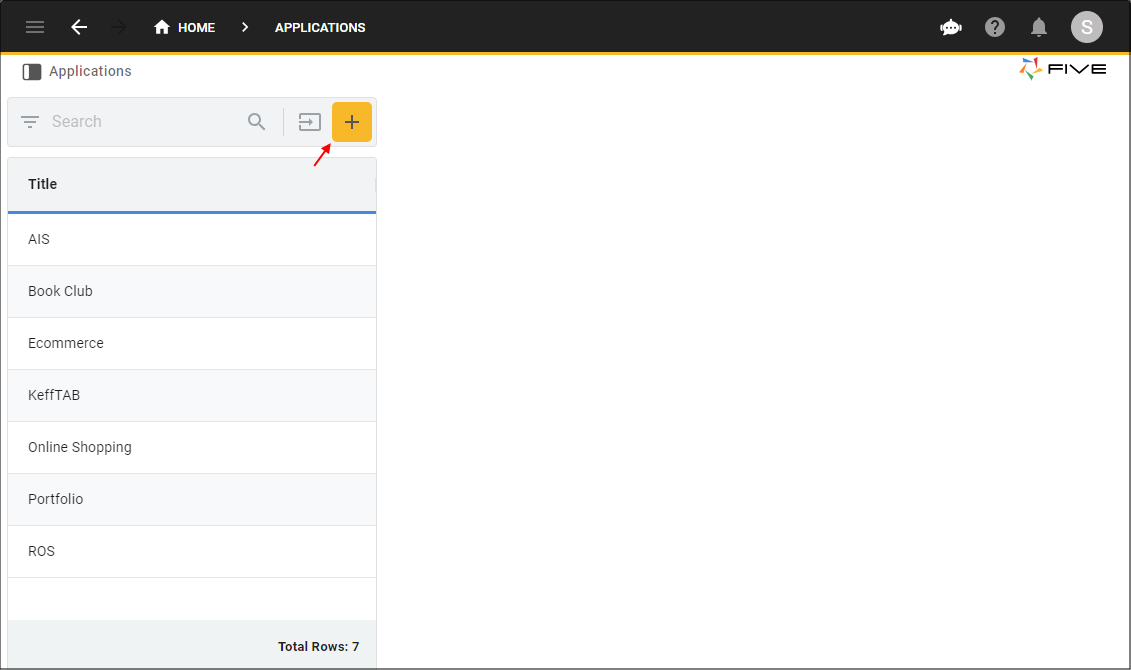
Figure 1 - Add Item button
2. Type a title in the Title field.

Figure 2 - Add an application
3. Click the Versioning tab.

Figure 3 - Versioning tab
4. Click the Enable Versioning switch to turn off.
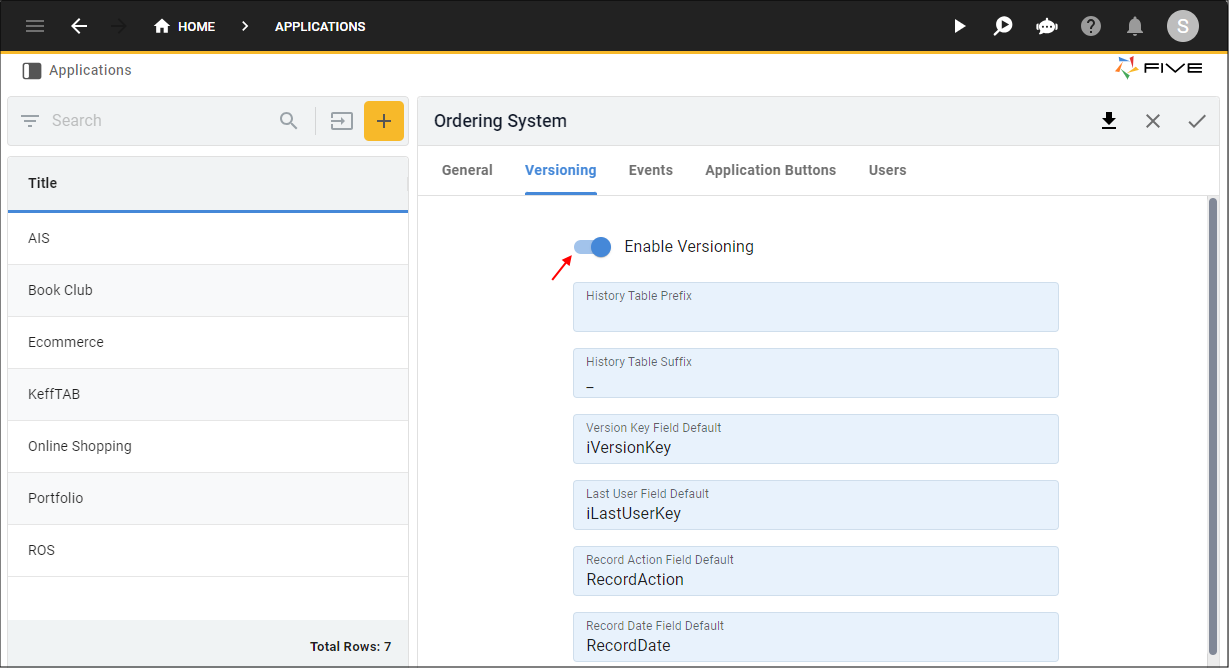
Figure 4 - Enable Versioning switch
5. Click the Save button.
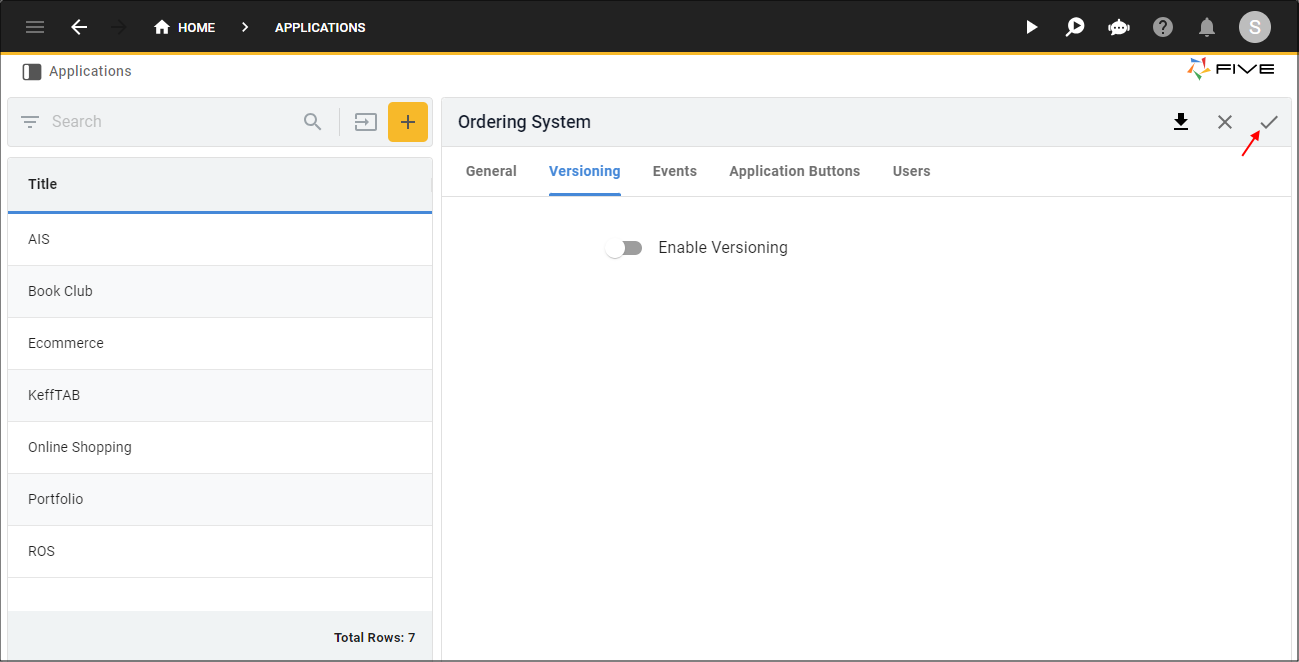
Figure 5 - Save button
6. If you are working locally follow these steps to import, or if you are working in the cloud, follow these steps to import your database schema and data.
info
You will need to navigate back to Applications view to enable versioning. You do not need to enable versioning if this is not a feature you are after.
7. Click the Up button in the toolbar.
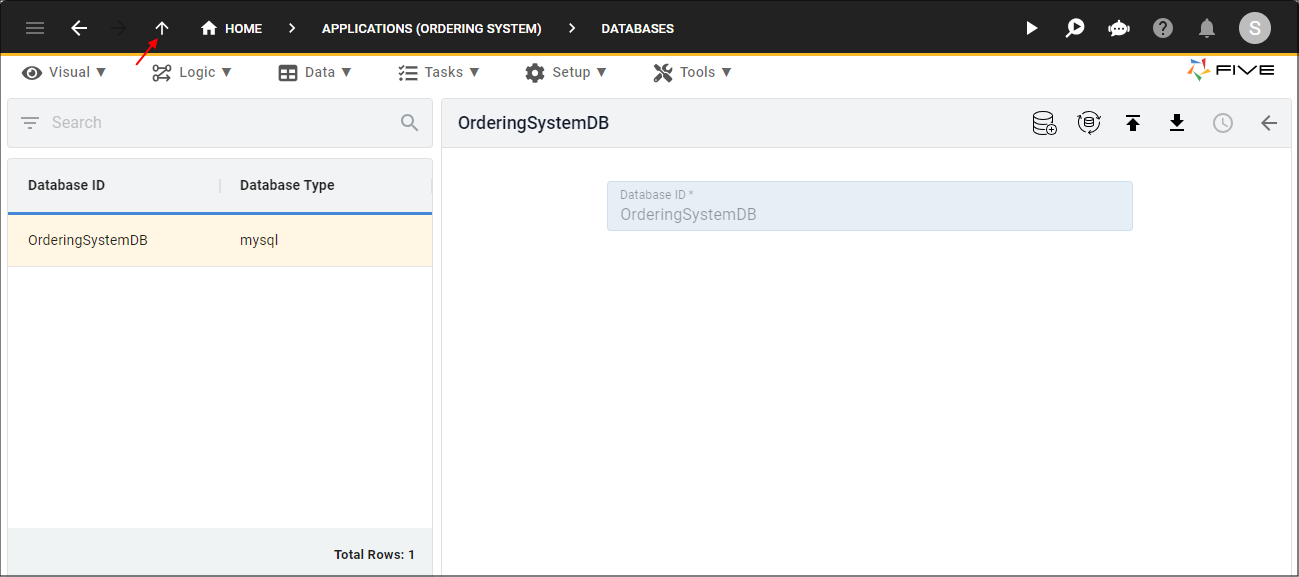
Figure 6 - Up button
8. Click the Versioning tab.
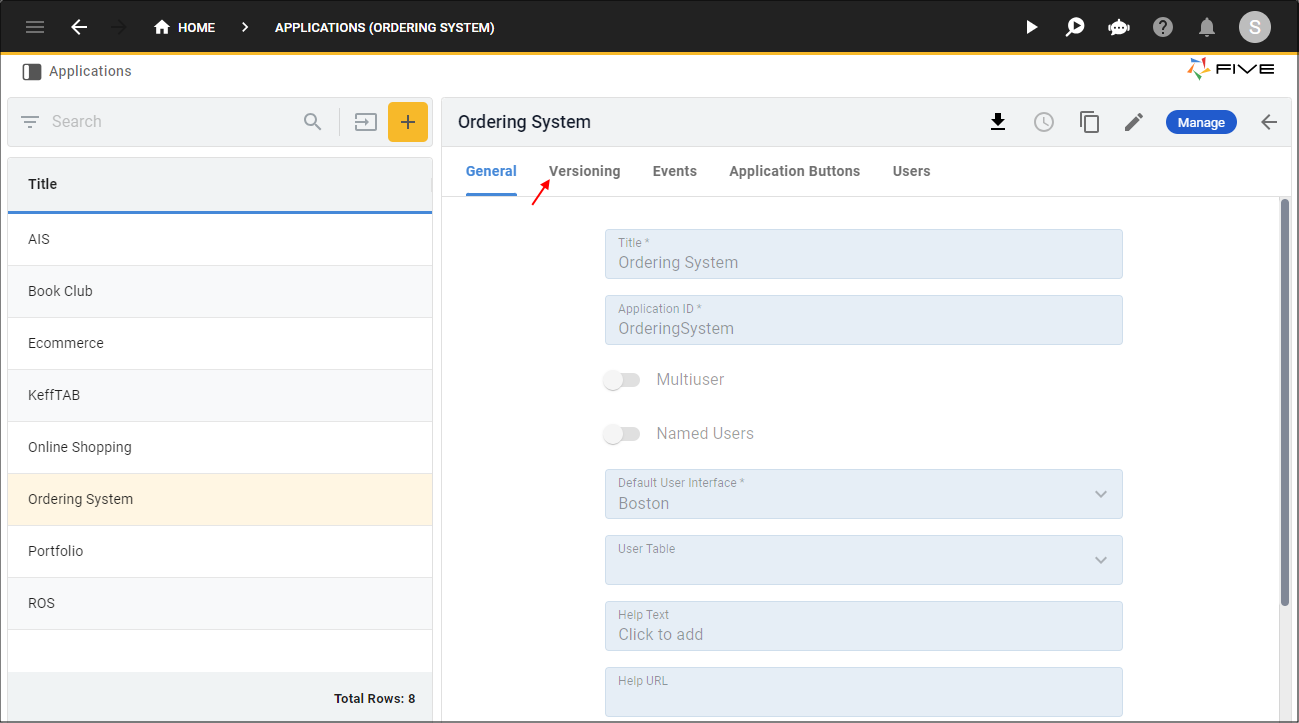
Figure 7 - Versioning tab
9. Either click the Edit button in the form app bar, or click directly on the Enable Versioning switch.
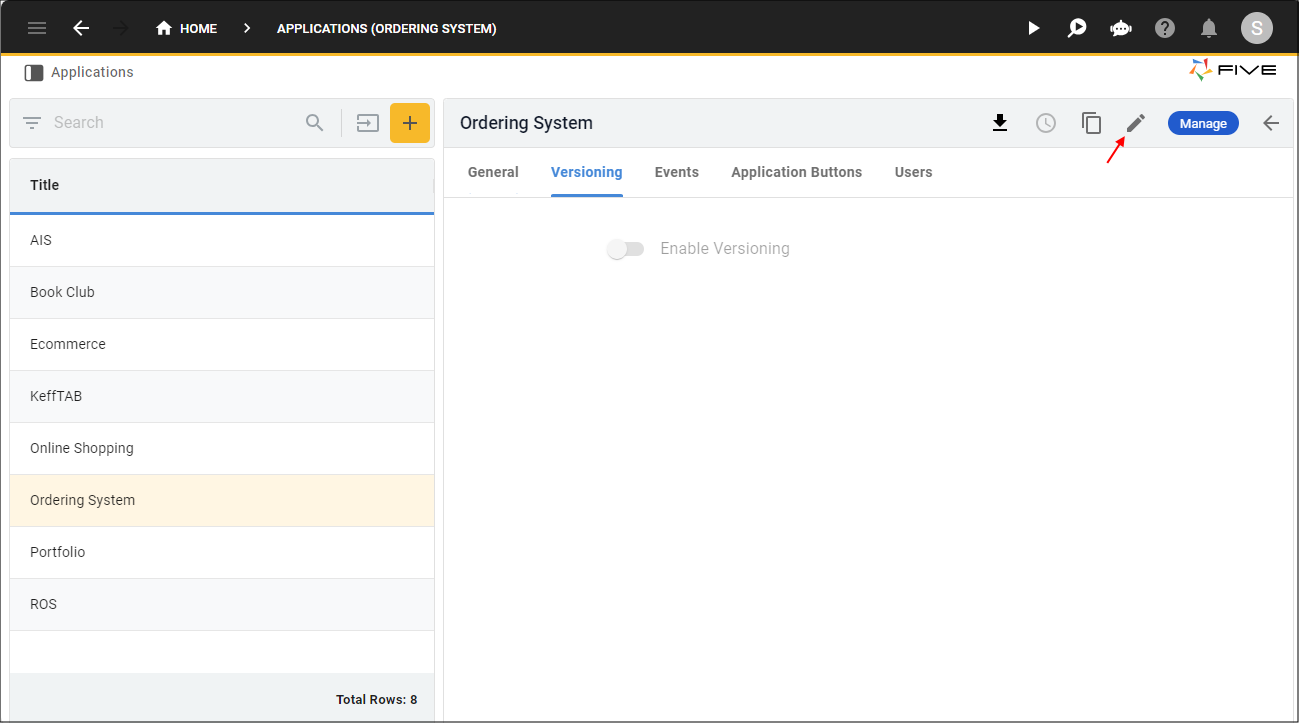
Figure 8 - Edit button
10. Click the Enable Versioning switch.
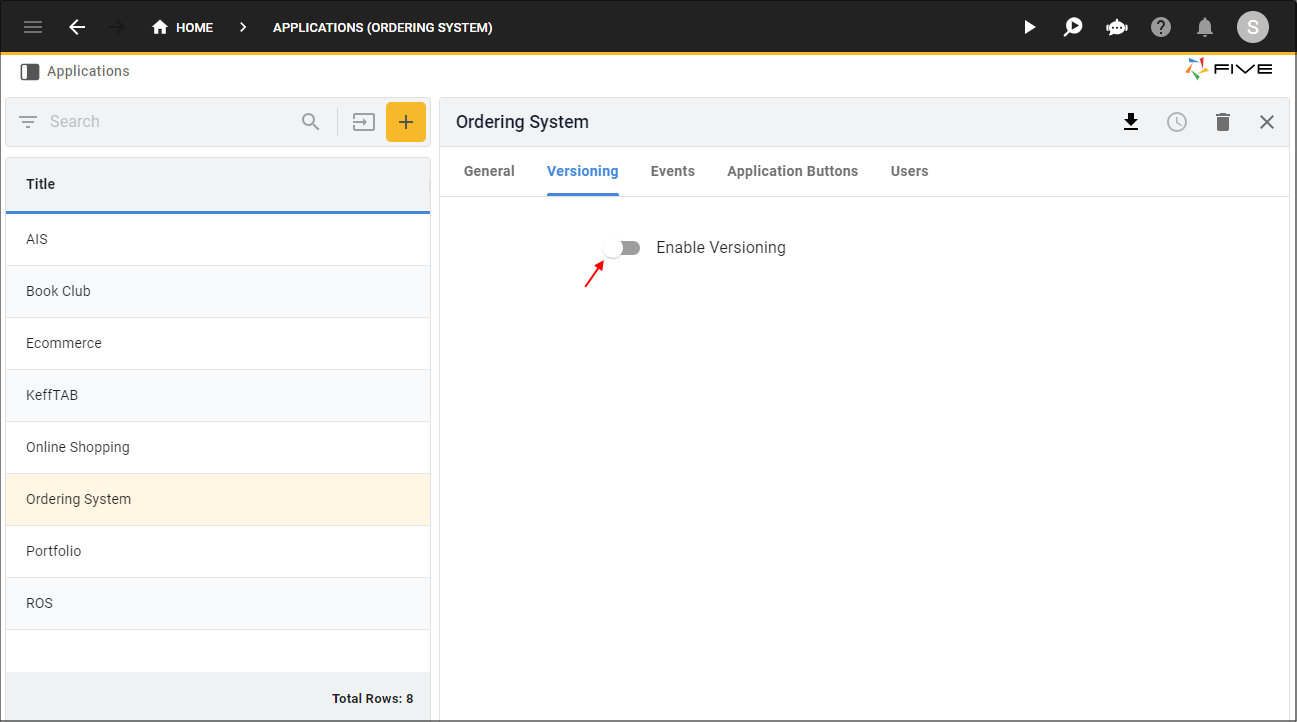
Figure 9 - Enable Versioning switch
11. Click the Save button in the form app bar.
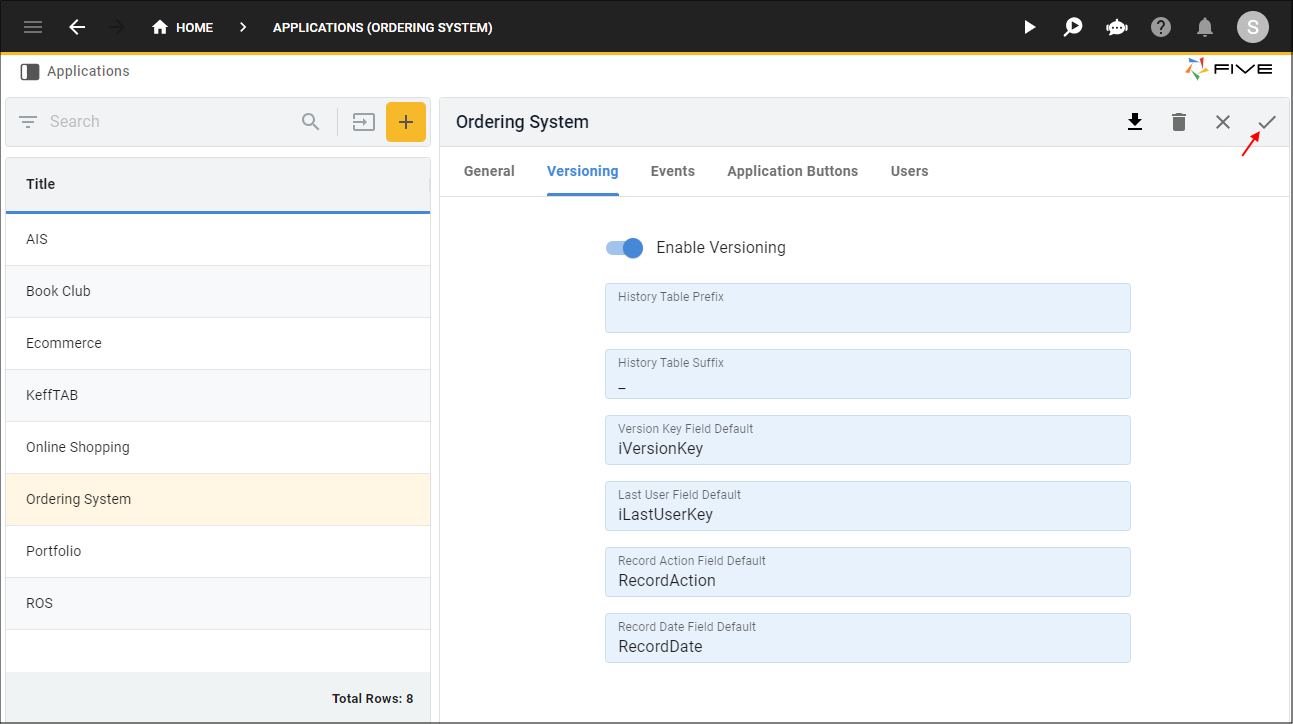
Figure 10 - Save button