Import MySQL Data Dump Into Five (Cloud)
Last updated 8/02/2024
How to Import Your MySQL Dump
When working in the Cloud, you will need to use multiple logins due to permissions that are different from working as a standalone user in a local version of Five. The first thing you will need to do is create your application to import your FileMaker's data and schema. The role of Administrator is required to do this.When you create an application, Five will automatically create and establish the connection with your database in MySQL. You can either use this database to import your FileMaker database schema or add a new database. If your application has already been created and you are an Administrator user, click the Manage button and proceed to the section below, Edit Your MySQL file.
Create Your Application
Prerequisite: The role of Administrator.1. Click the Add Item button.
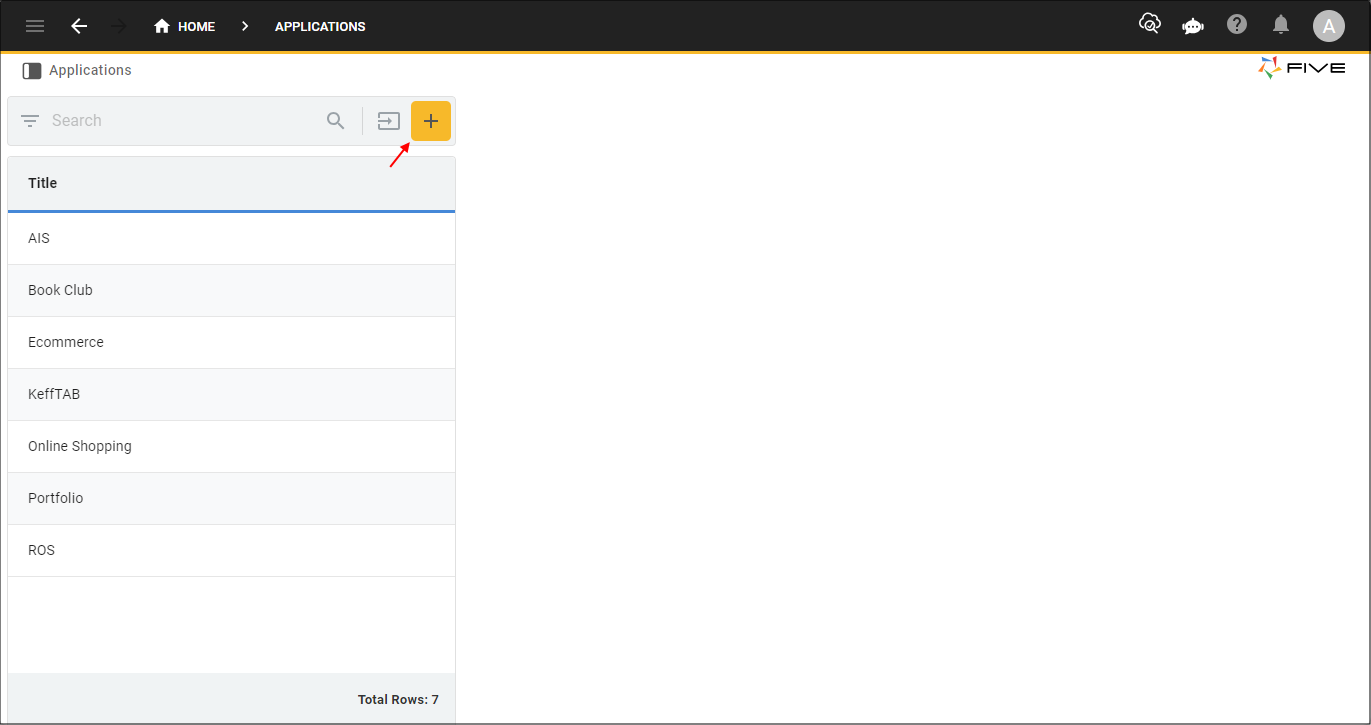
Figure 1 - Add Item button
2. Type a title in the Title field.
3. Click the Save button in the form app bar.
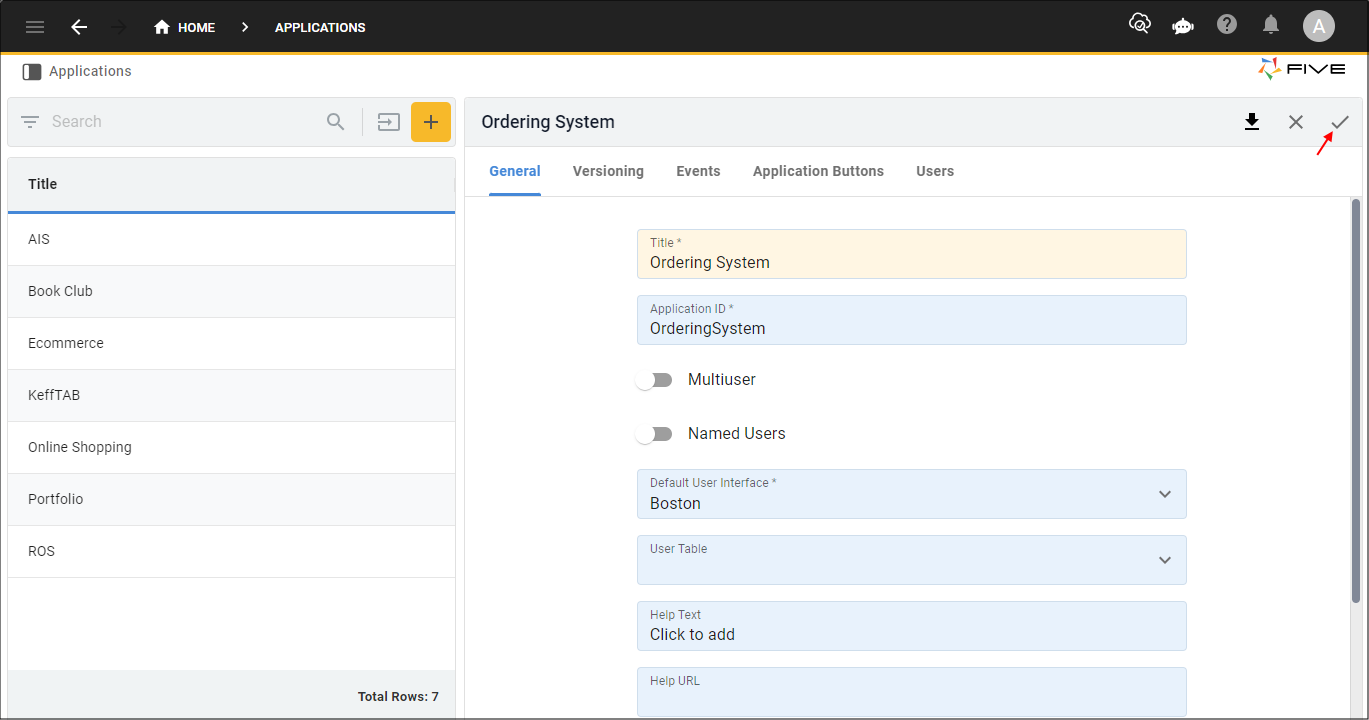
Figure 2 - Add an application
4. Click the Manage button in the form app bar.
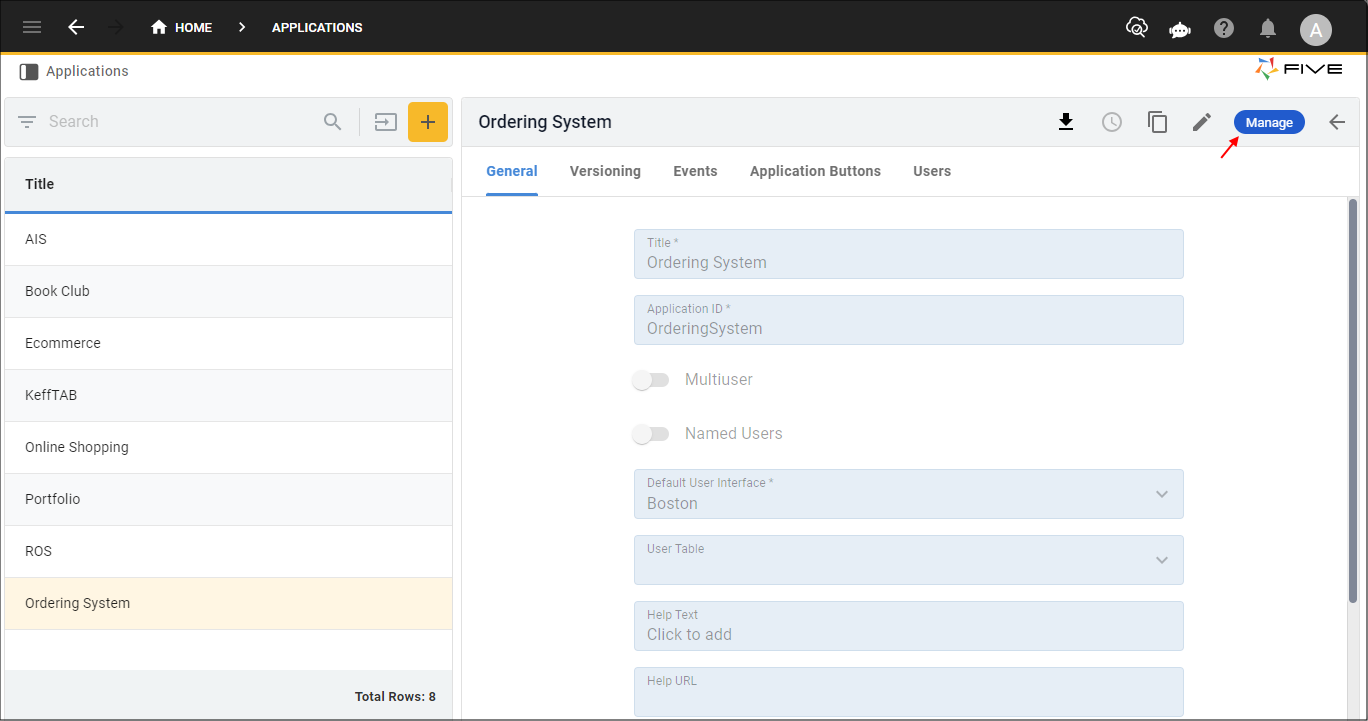
Figure 3 - Manage button
Edit Your MySQL File
note
The name of your database must exactly match the name in the Database ID field as Five uses this in the connection string to connect to your database
in MySQL. Five appends DB to the end of the application name, you will need to open your MySQL script either in Workbench or your preferred text editor and edit the name in two places.
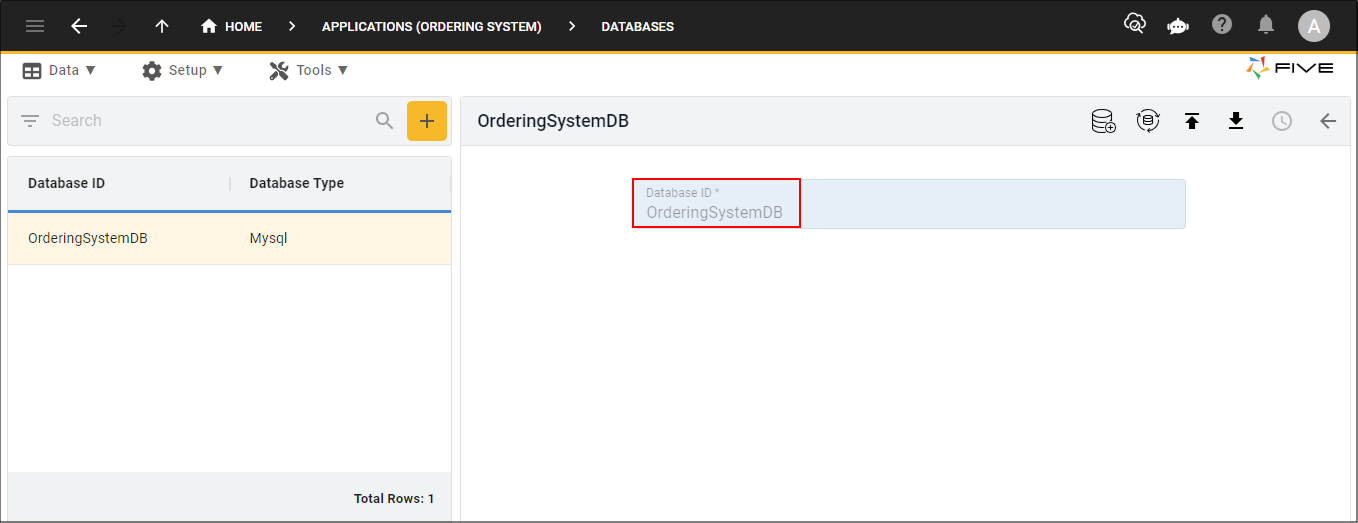
Figure 4 - Database ID must match database name in the script
1. Navigate your files and open your MySQL script.
2. Edit the name of the database in the lines shown below.
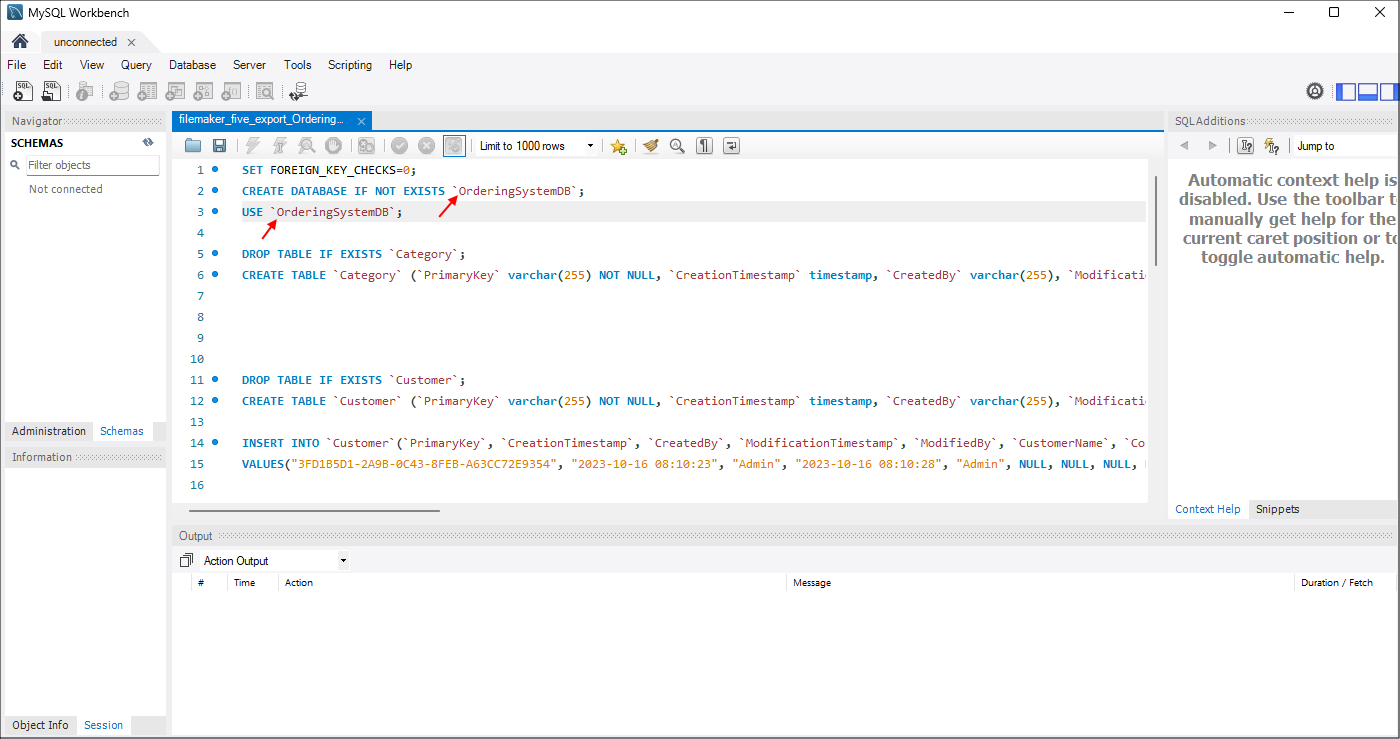
Figure 5 - Edit the database name
3. Save your MySQL script.
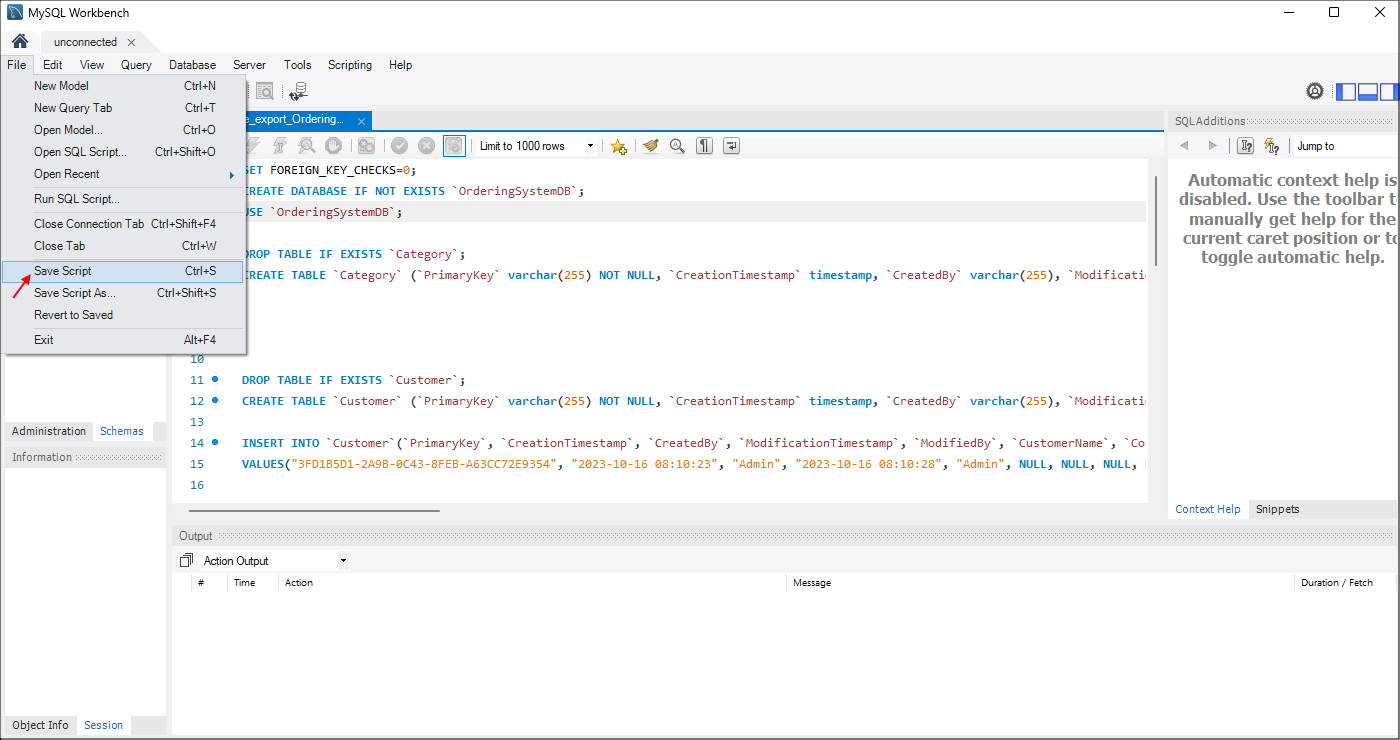
Figure 6 - Save the script
Import Your Database
Prerequisite: The role of Administrator.info
Performing the steps below will import the structure of your database as well as all the data from your FileMaker application.
1. Select Data in the menu.
2. Select Databases in the sub-menu.
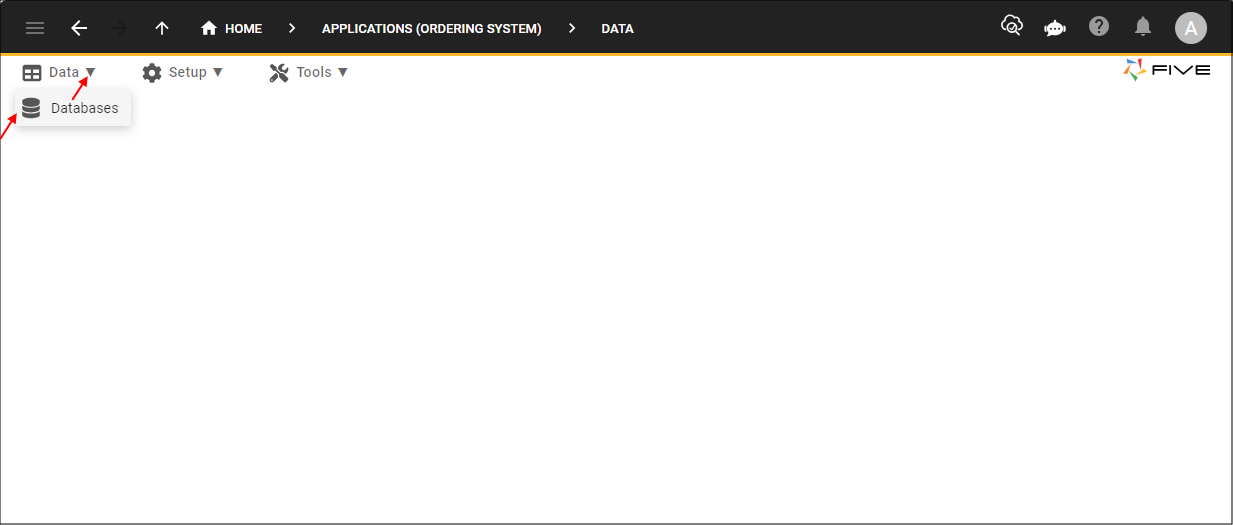
Figure 7 - Databases menu item
3. Select your database record in the list.
4. Click the Import Database button.

Figure 8 - Import Database button
5. Click the OK button in the alert box.
caution
When you click the OK button you will erase all the data in the database in Five.
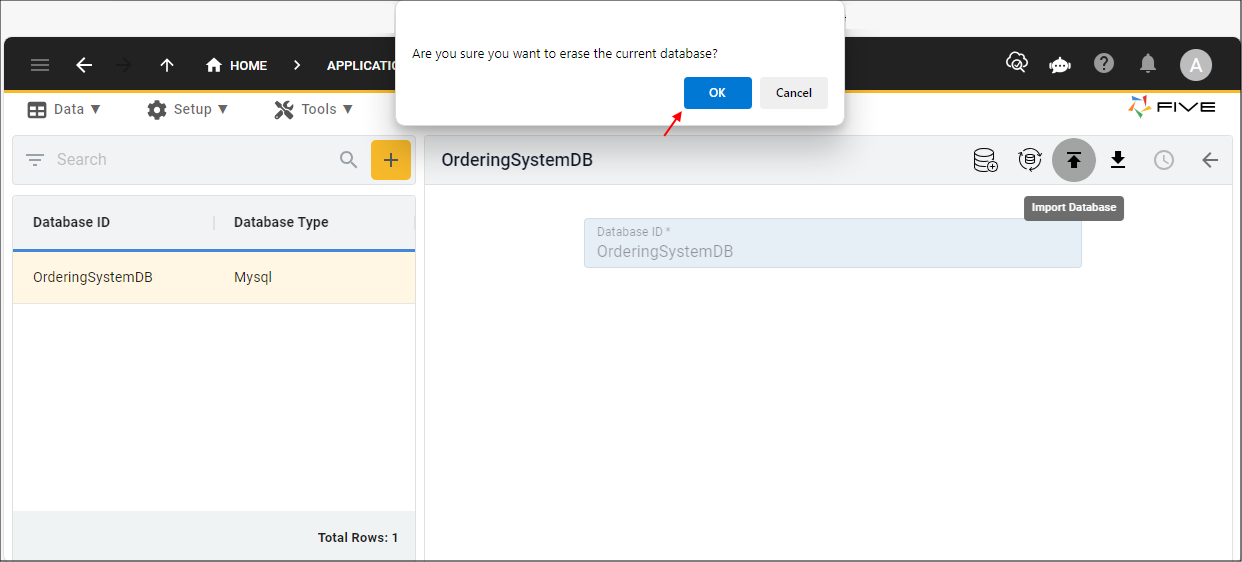
Figure 9 - OK button
6. Navigate and open your extracted MySQL file.
7. Click the OK button.
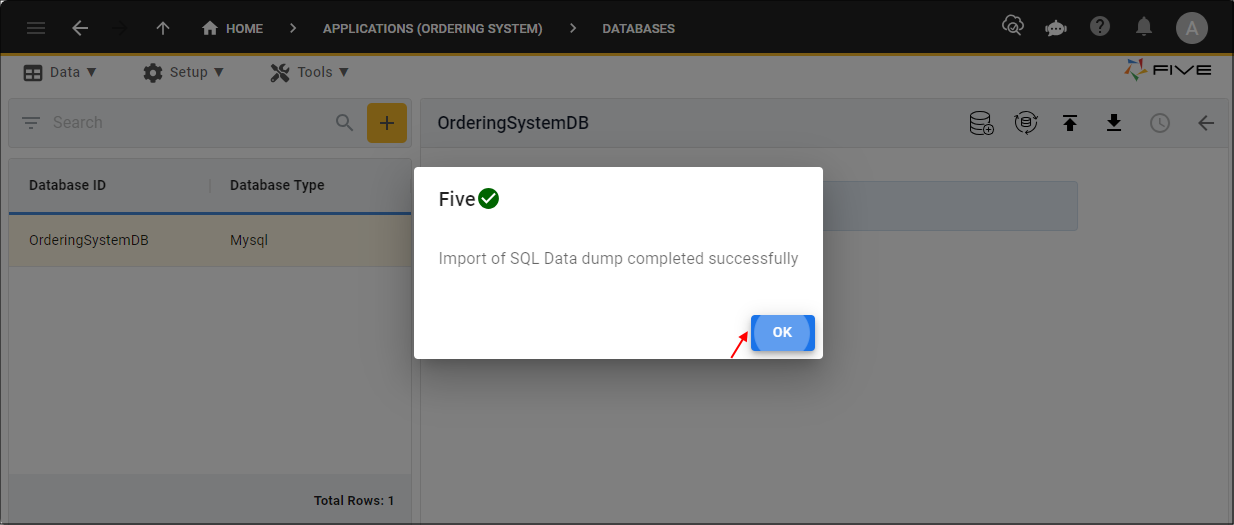
Figure 10 - OK button
info
Performing the steps below will read the structure of the database and automatically create the table definitions for you inside your Five application.
8. Click the Import Database Schema button.
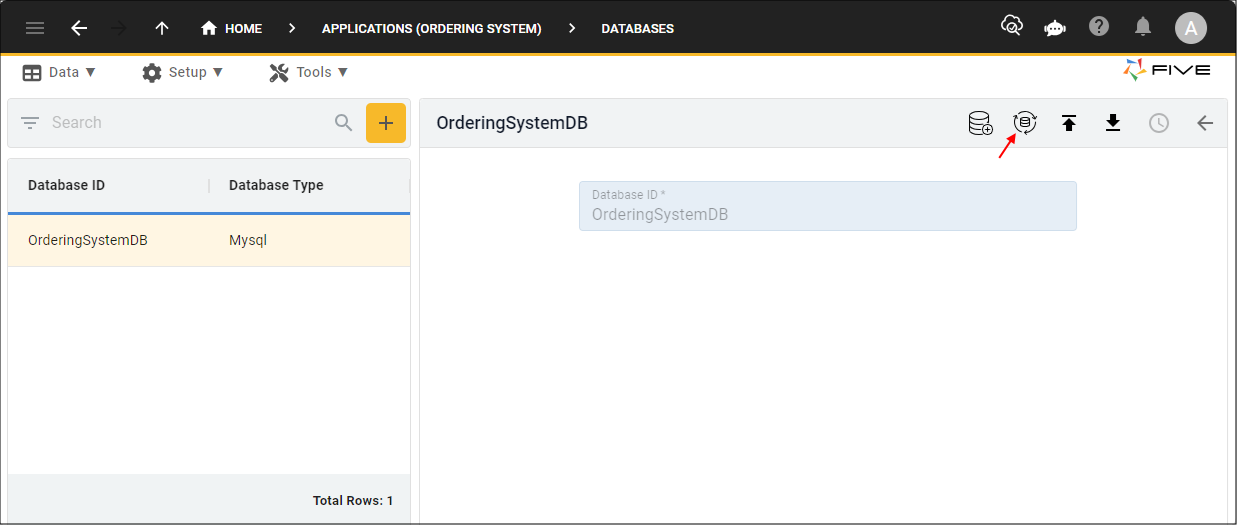
Figure 11 - Import Database Schema button
9. Click the Ok button in the alert box.
caution
When you click the OK button you will erase the current definition in Five.
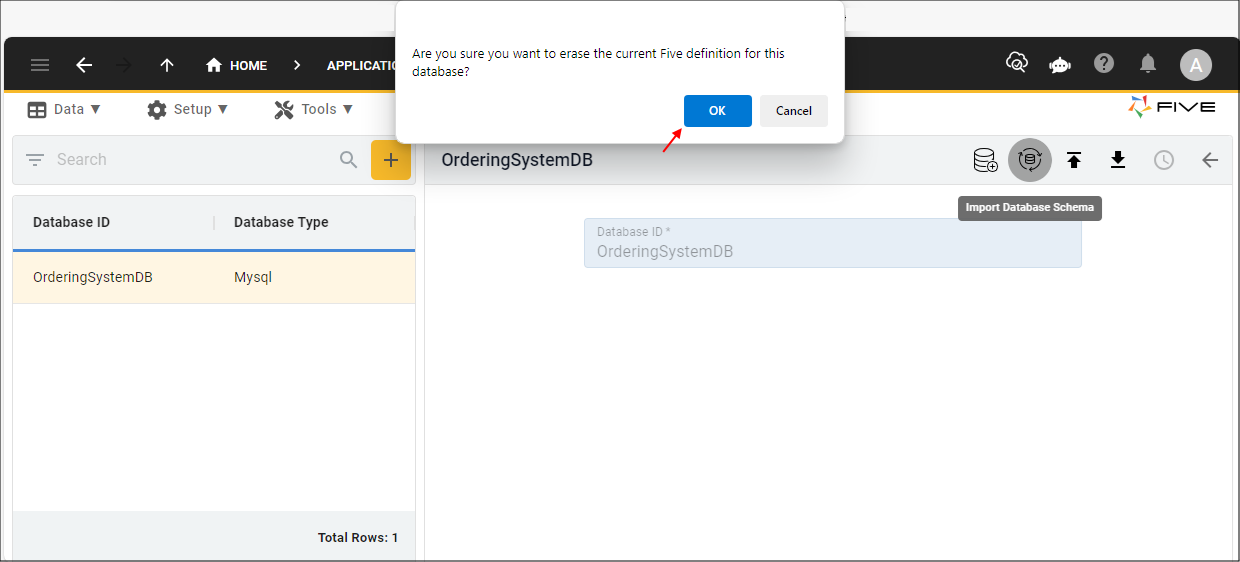
Figure 12 - OK button
10. Click the Ok button.
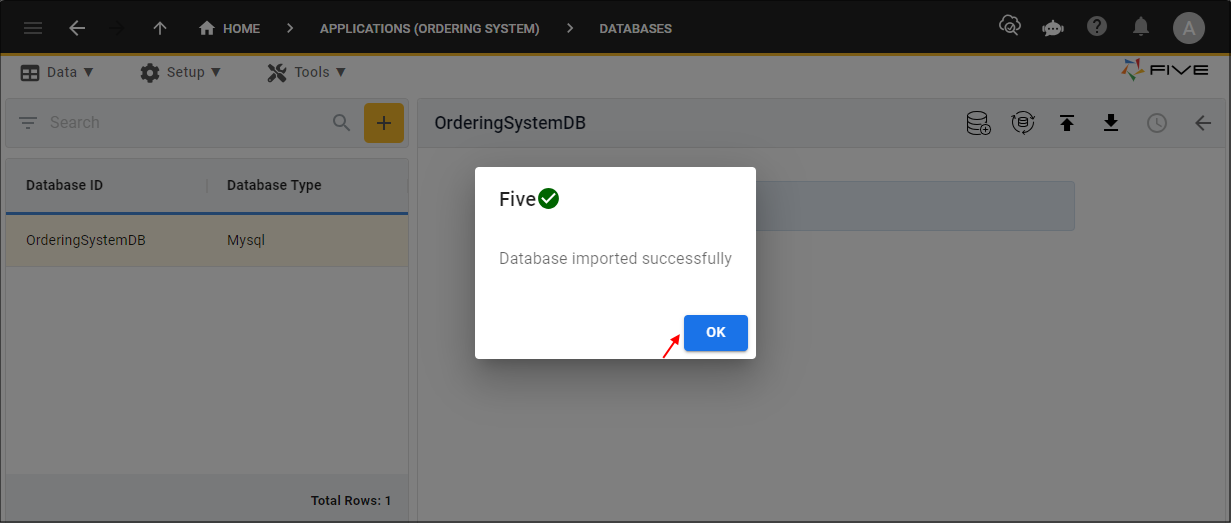
Figure 13 - OK button
View Your Tables
Prerequisite: The role of Developer or Control.info
Performing the steps below verifies all your tables with their fields and definitions were created.
1. Log in with your Developer or Control account.
2. Select the application record in the list.
3. Click the Manage button.
4. Select Data in the menu.
5. Select Tables in the sub-menu.
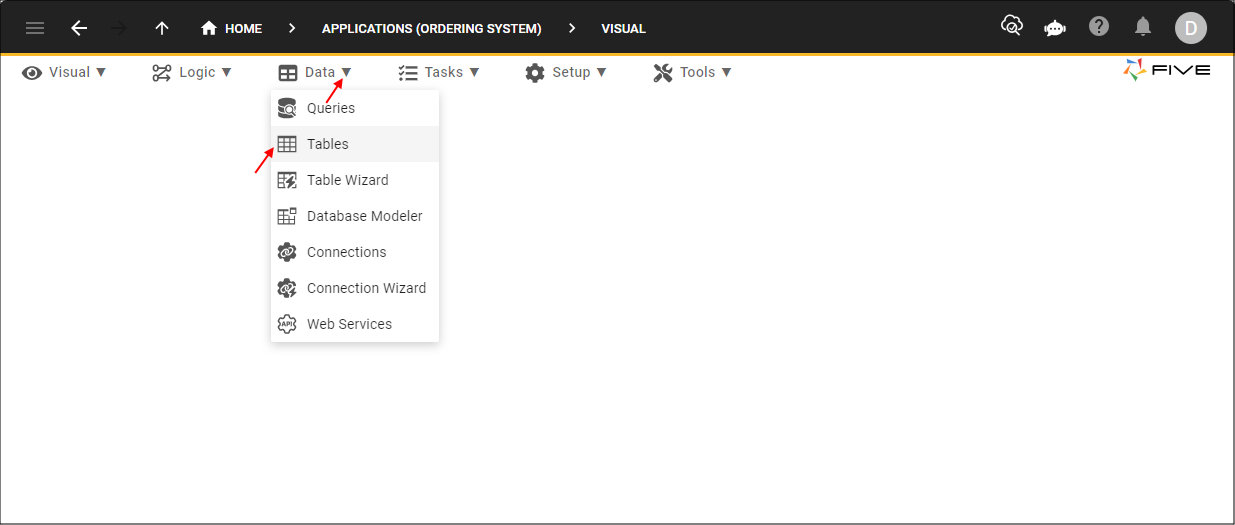
Figure 14 - Tables menu item
6. Select a table record in the list and click the Fields tab.
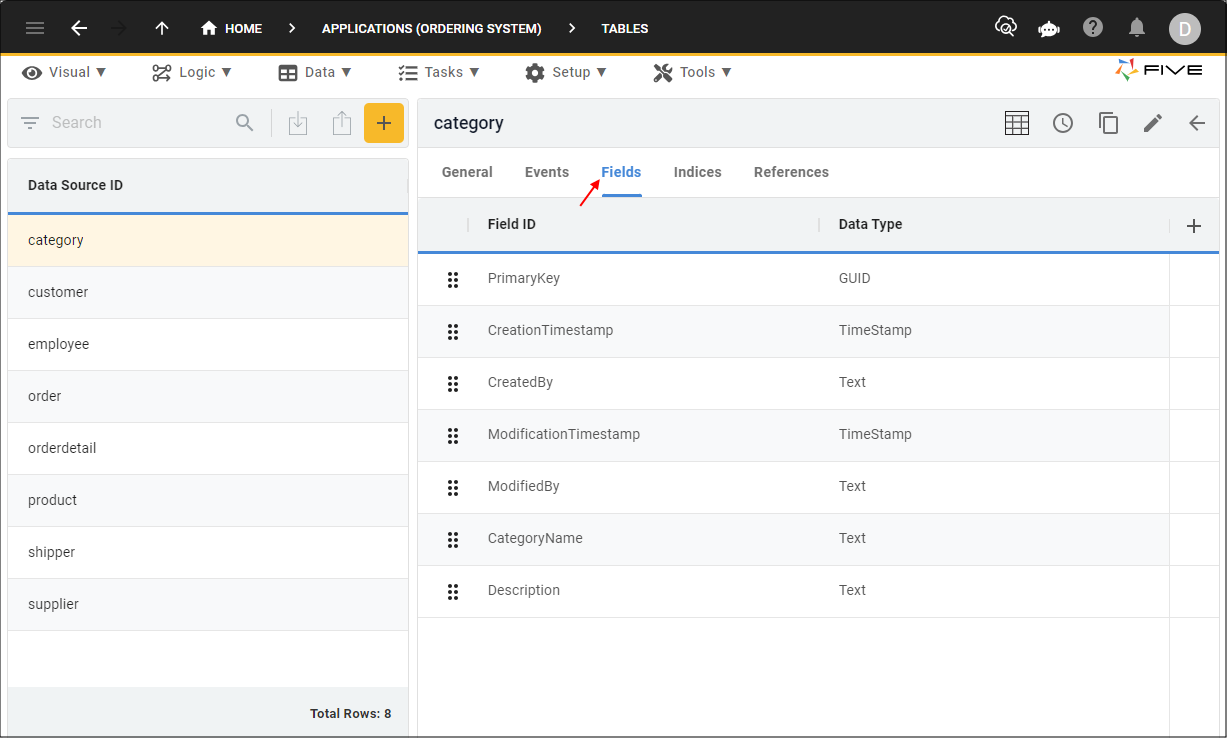
Figure 15 - Tables and fields
caution
Double check that all your data types have come through correctly because in certain scenarios, Five may bring in some of your data types
as Text.