AUTO_SCREEN_LOCK
Last updated 24/06/2025
The option AUTO_SCREEN_LOCK is a feature that automatically lock's your end-user out of their account after a certain period of inactivity. This prevents unauthorized access if the session is left unattended and helps data protection.
How Does it Work?
- Five monitors user activity such as mouse movement and typing.
- If no activity is detected for a pre-defined time, your application's session will be locked.
- Everything that is was visible on the screen will no longer be available.
- The user will need to interact with the screen again, which will force them to log in again using the same authentication method you have defined for your instance record.
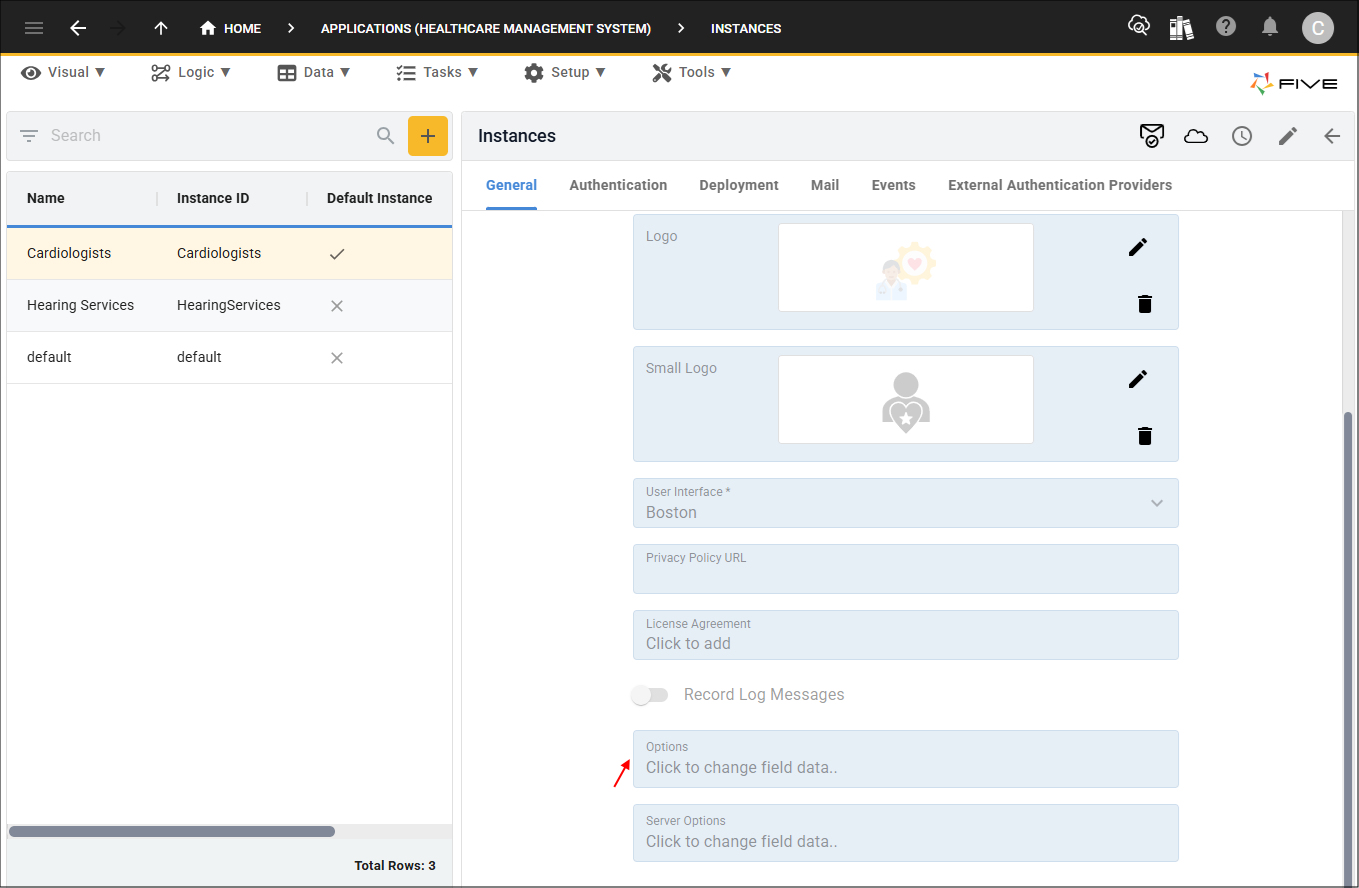
To have the auto screen lock feature in your application, you need to provide a key: value pair in the Options field for the instance record. The key is AUTO_SCREEN_LOCK and the value is an integer, the integer represents the number of minutes that a user's account can be inactive before the screen is locked. For example, 5 entered into the Value field would be 5 minutes.
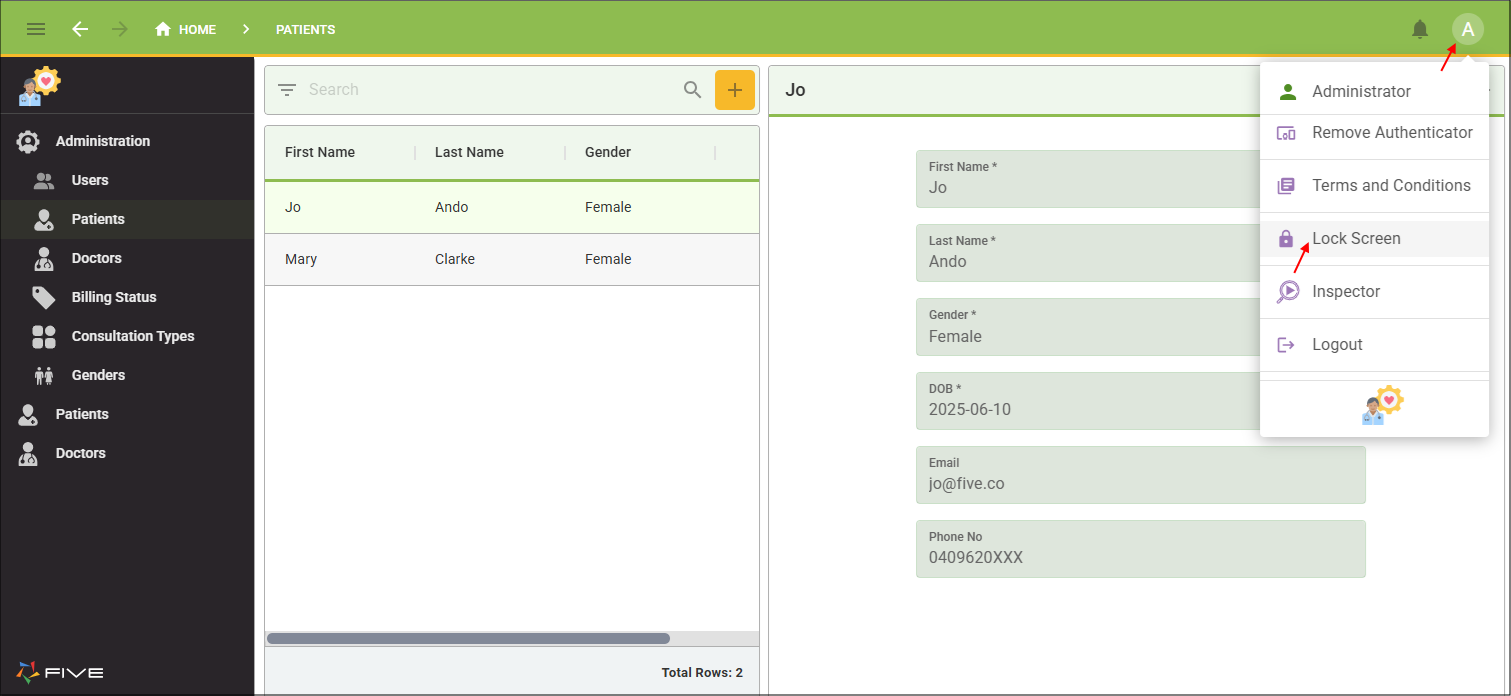
Once you have set a user's account to be locked automatically, the user also has the option of setting it themselves in the application without having to wait for the defined minutes to roll around. In their Profile, Lock Screen will be available and this enables a user to click the button and lock their screen.
The following key: value pair is required when setting up the auto screen lock feature in Five for your application.
| Key | Value |
|---|---|
| AUTO_SCREEN_LOCK | Contains the number of minutes till the screen is locked from inactivity |
Screen Lock Durations
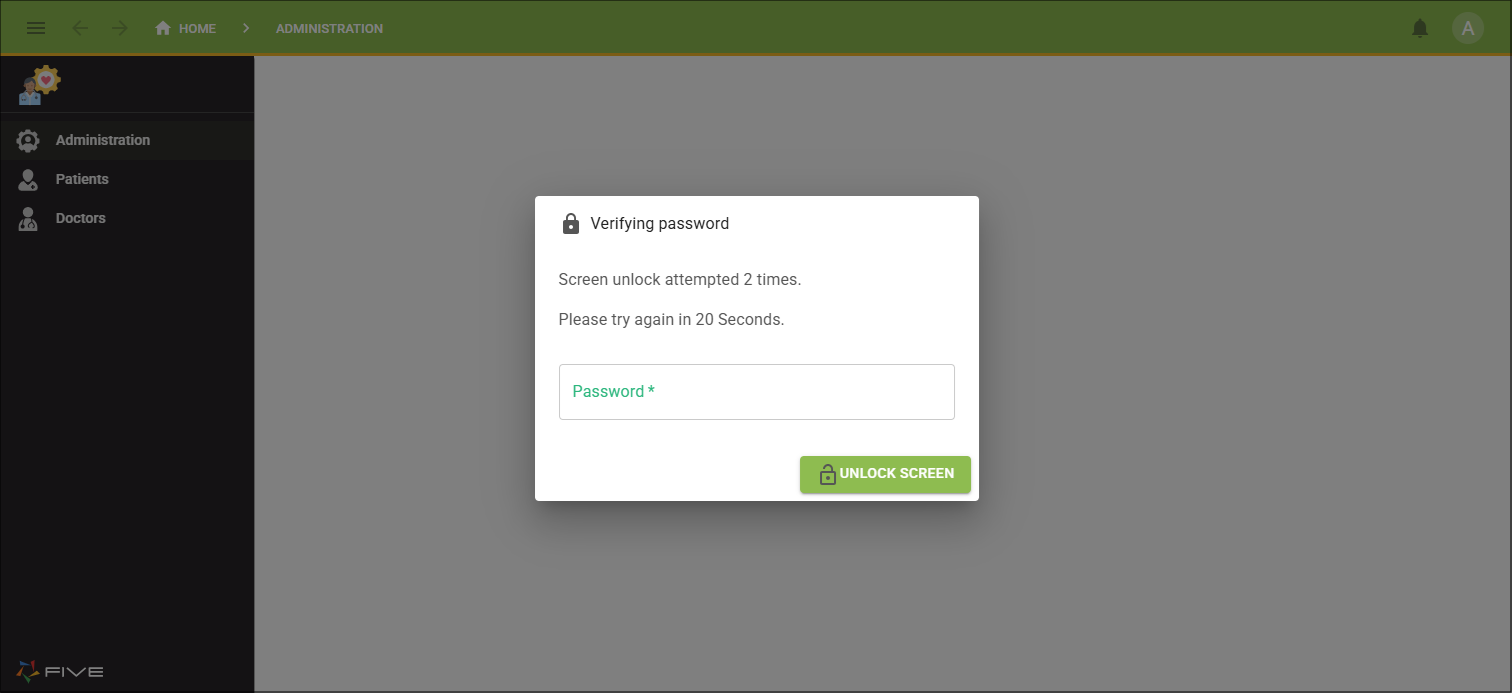
In the event a user enters the wrong password or code they may need to wait to make another attempt:
- The first failed attempt, can proceed straight away.
- The second failed attempt, will need to wait 20 seconds.
- Failed attempts after this, an additional 30 seconds will be added to the previous wait time.

Add AUTO_SCREEN_LOCK
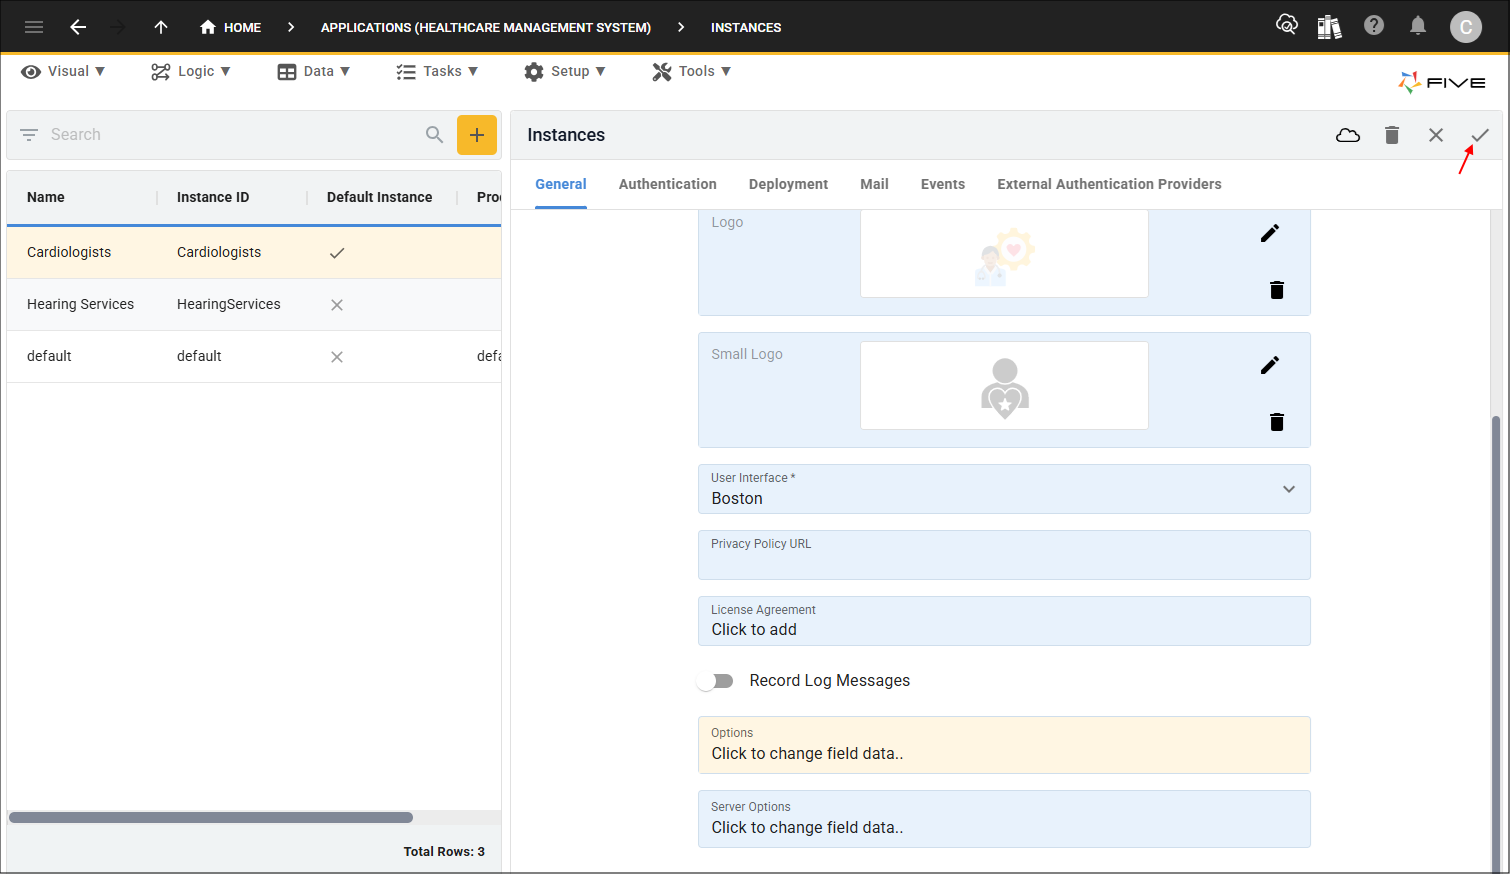
1. Select your instance record in the list.2. Click directly in the Options field to open the editor.
3. Type AUTO_SCREEN_LOCK in the Key field.
4. Type an integer in the Value field.
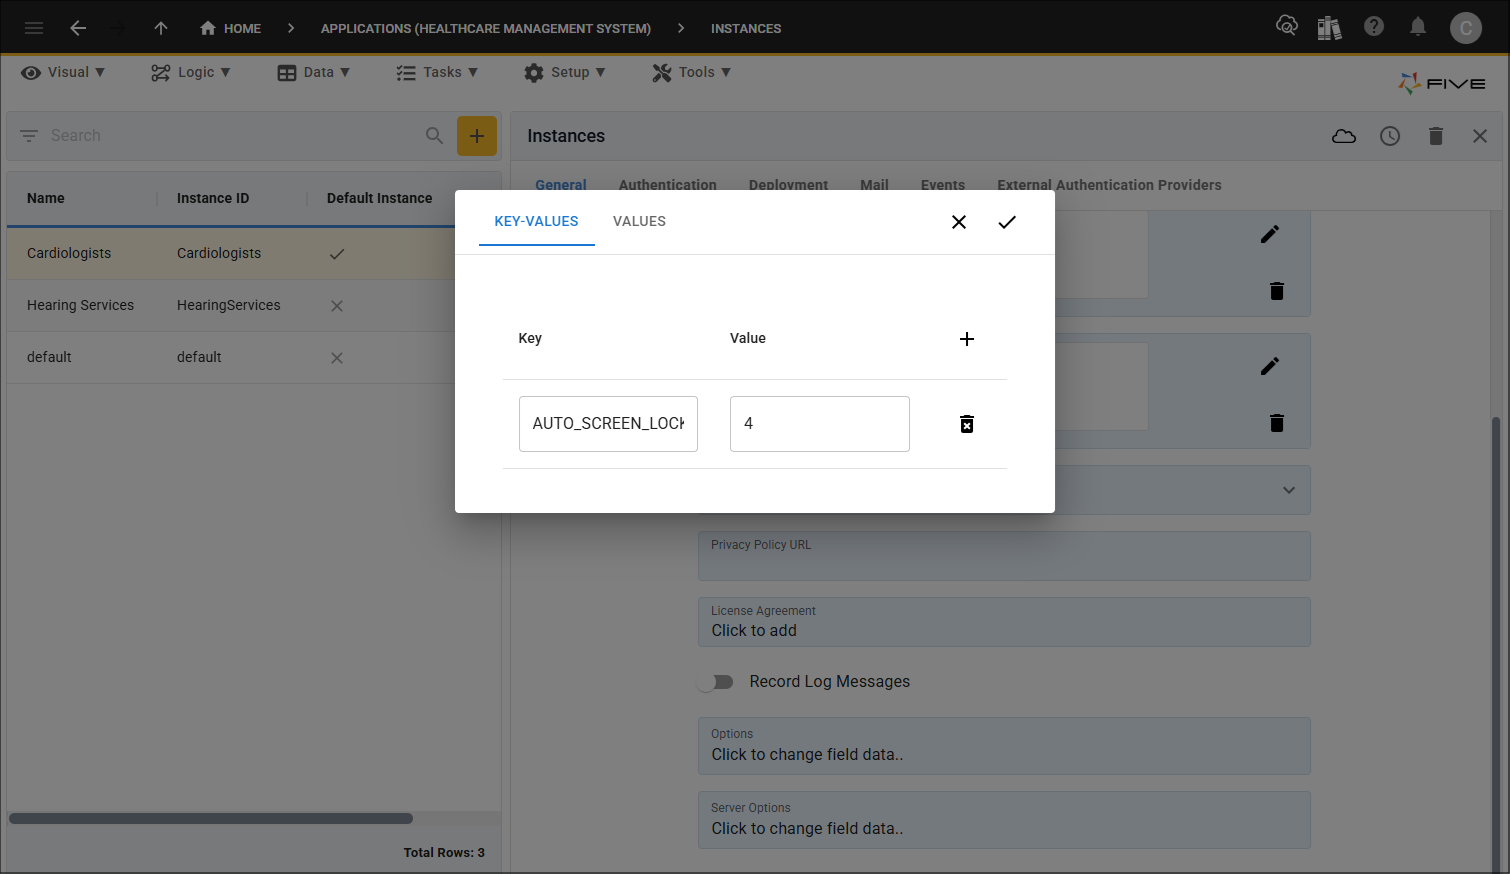
5. Click the Save button in the editor.

6. Click the Save button in the form app bar.
How This Works in an Application
A user logged into the appliction will have the data available to them that they have permission to.

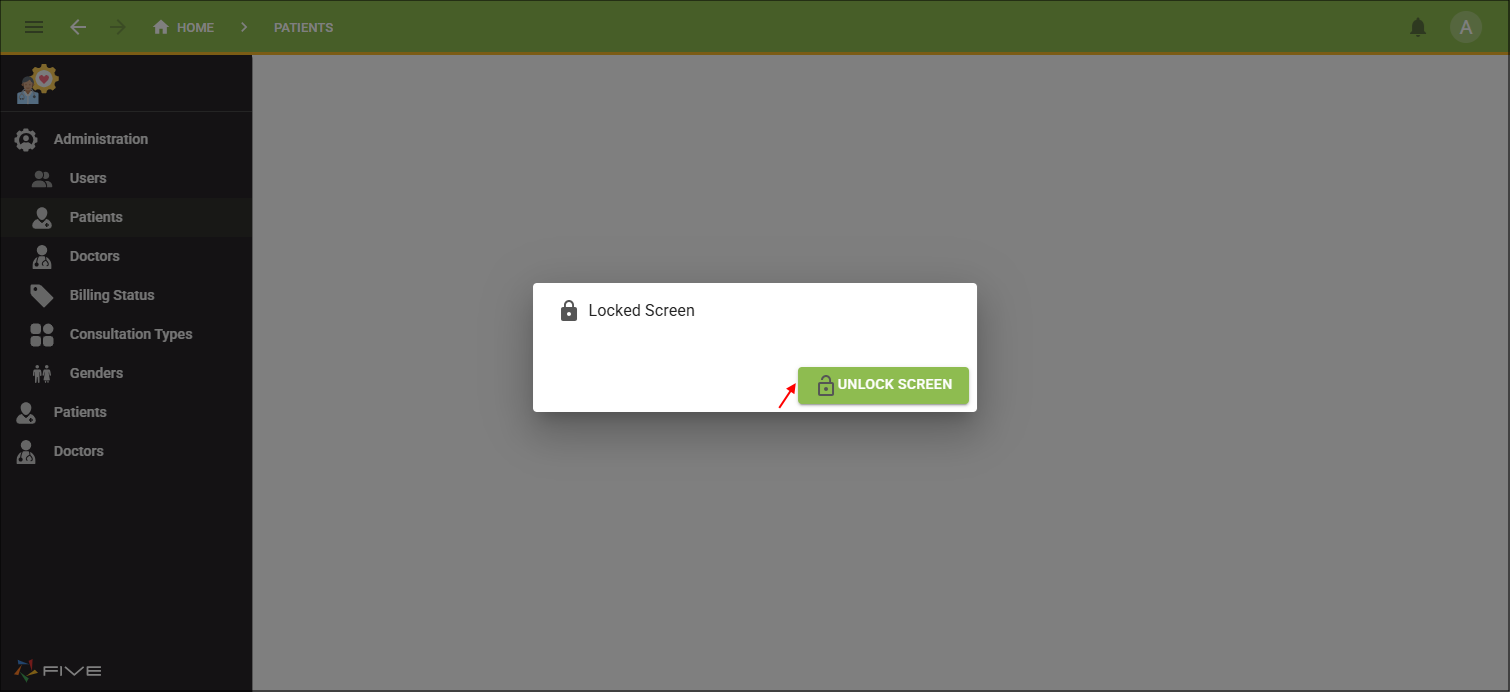
Once the user's account has been inactive for the number of minutes defined, the following will happen. The user's account will be locked, any opened data on the screen will not be visible. The screen will dull, a Locked Screen window will be shown, and the user will be forced to log in again when they return to their screen. As the primary authentication here is password, the user justs needs to add their password and click the Unlock Screen button.

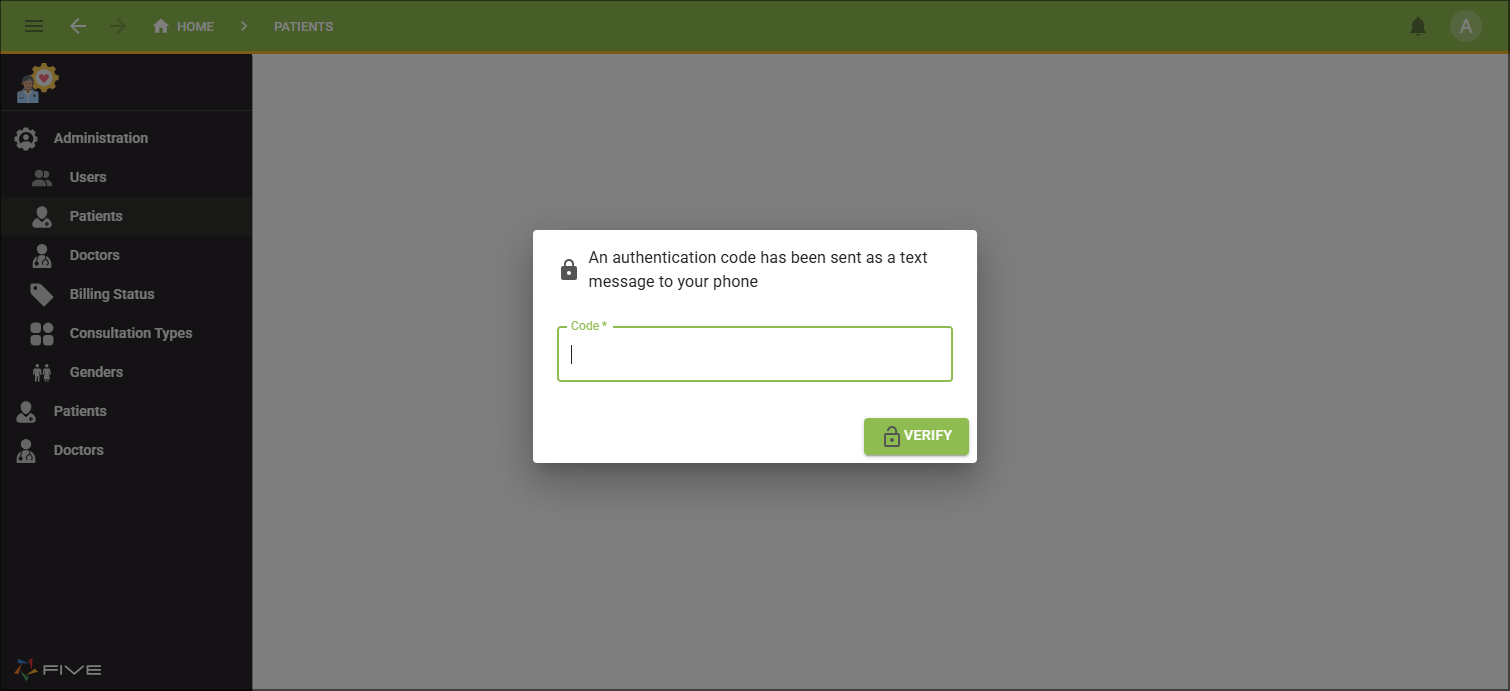
If a different primary authentication is set such as email or text message, the user will need to click the Unlock Screen button first and then provide the code sent. This will also apply if secondary authentication has been set.
Any codes sent will need to be verified, just the same as logging into their account.
As long as you have the auto lock screen set, a user of your application can lock the screen themselves without waiting for the minutes of inactivity. They simply click their Profile button in the toolbar, followed by the Lock Screen button.